SNB-D01: Canopy/Windscreen Installation
-
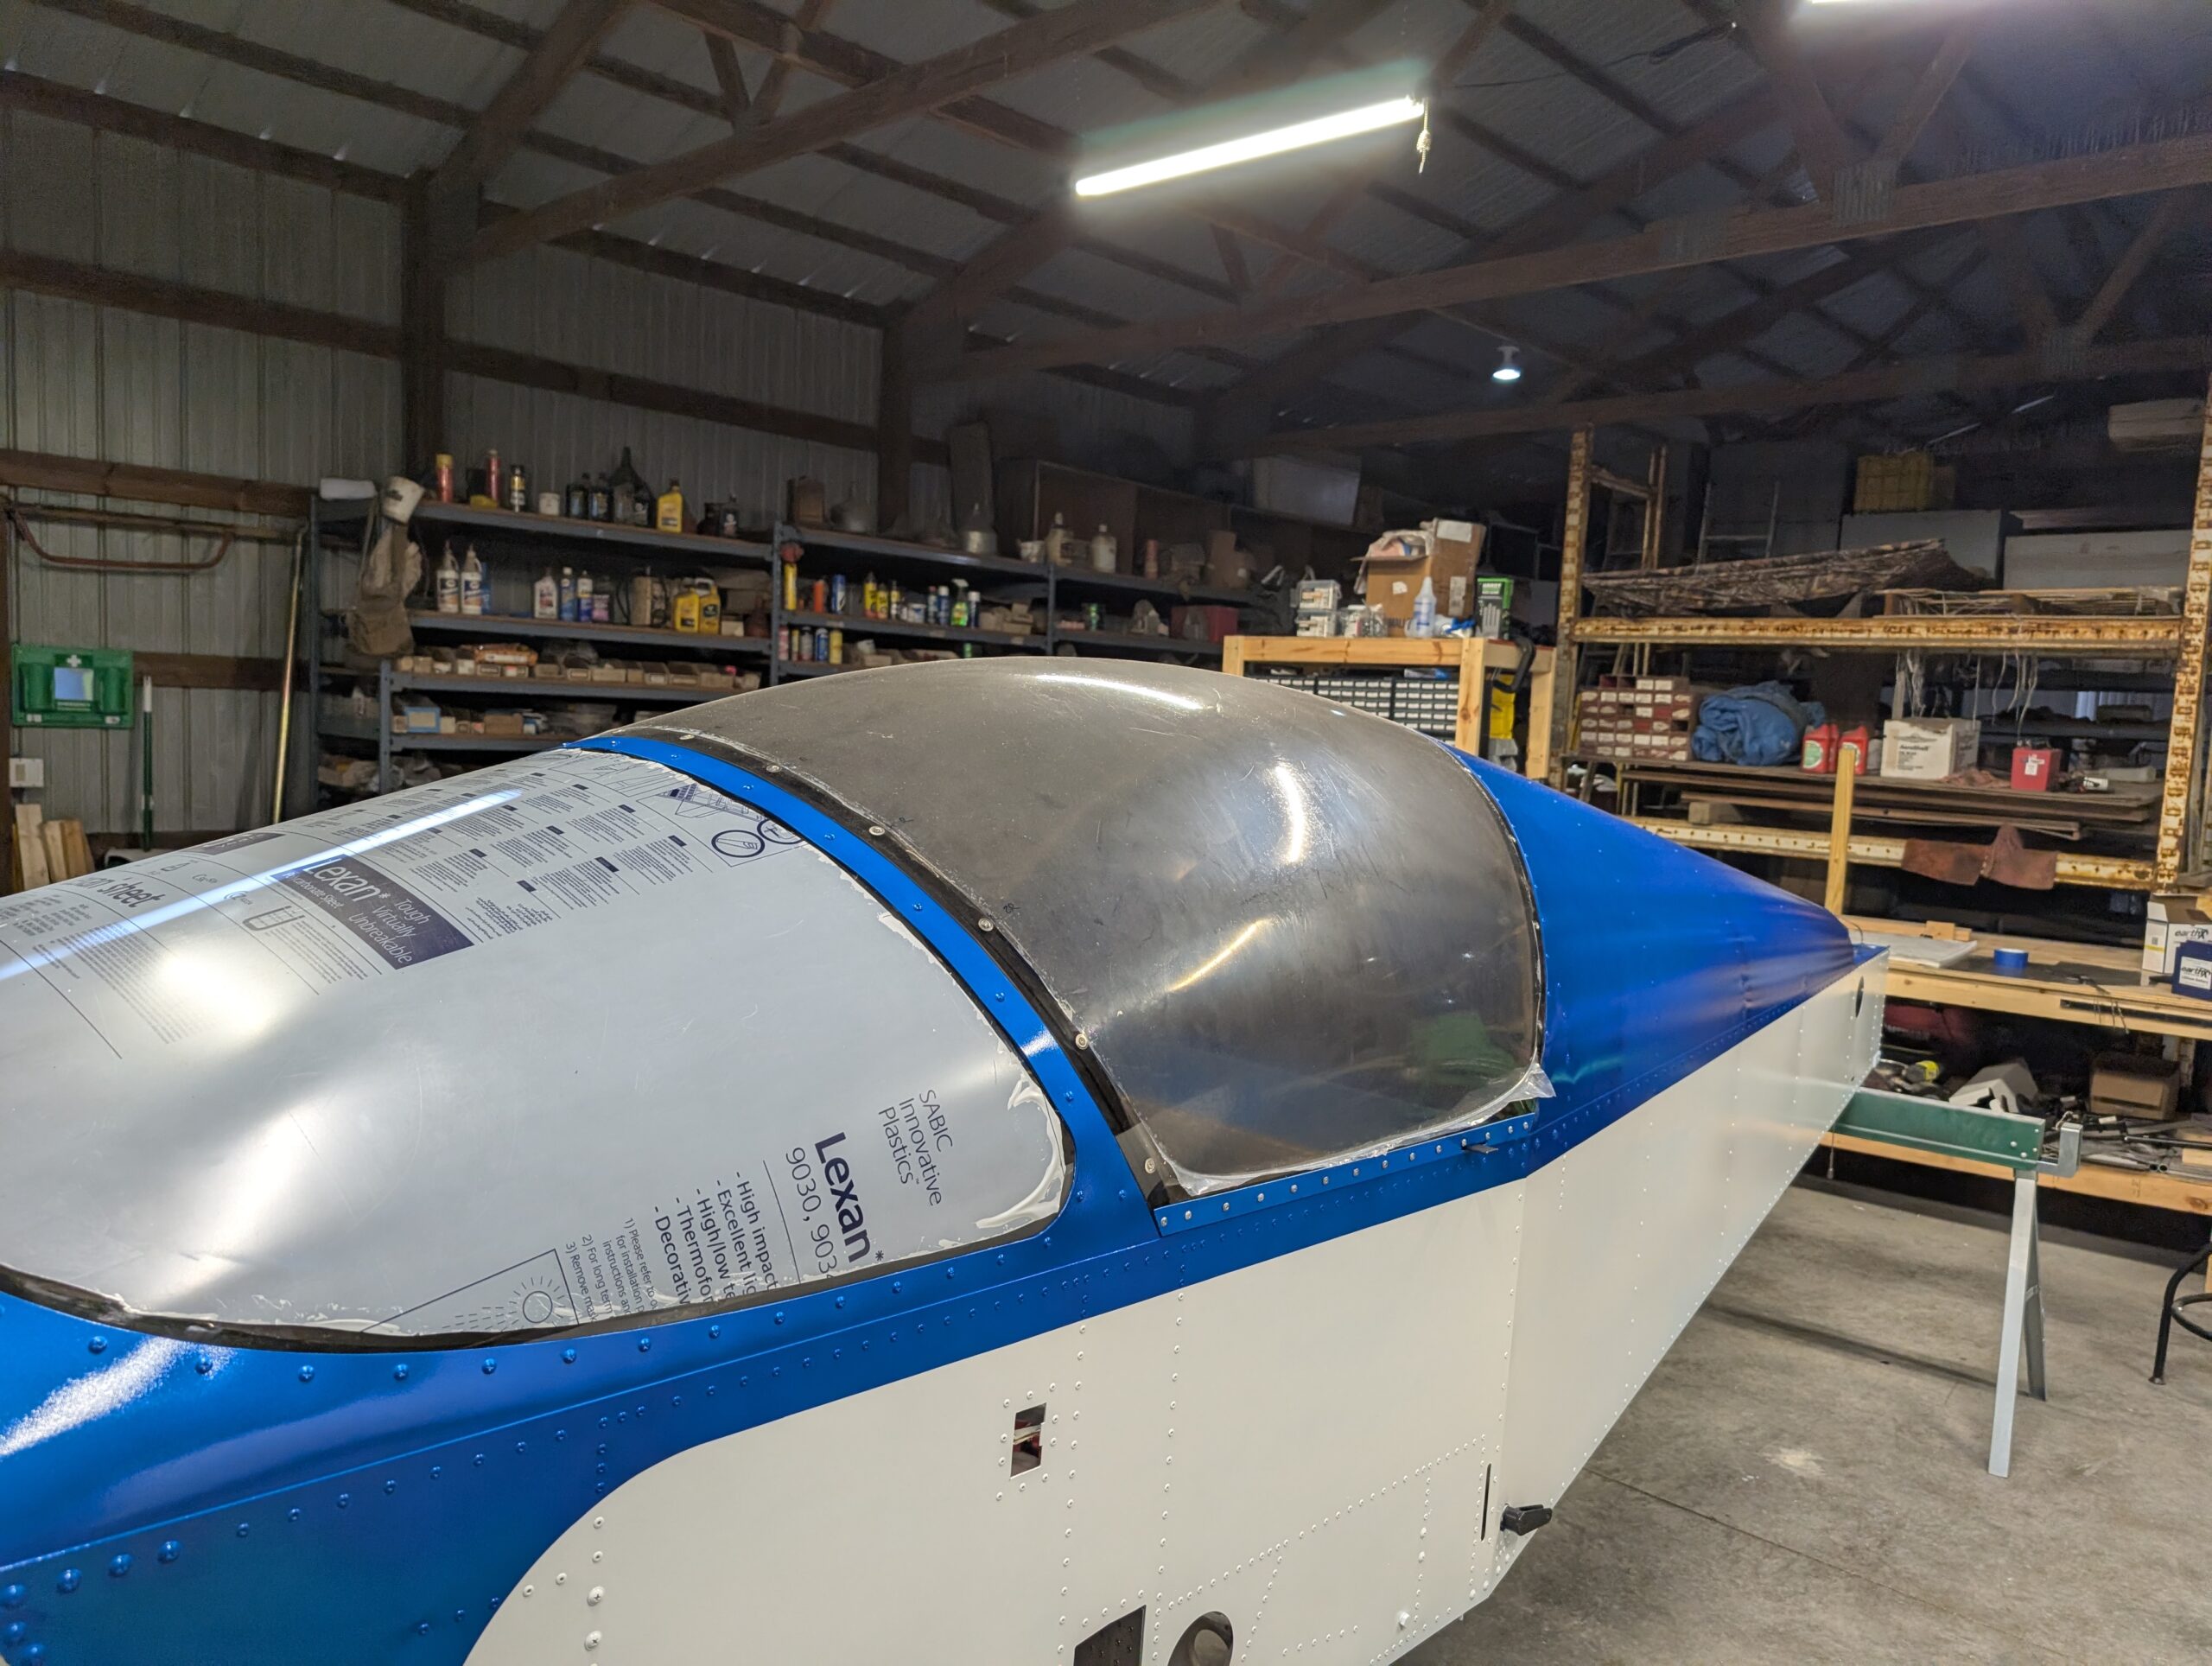
Canopy Installation – Part 3
Reattached canopy to fuselage with hinge pin and verified fitment along front and rear edges along with latch operation. Installed canopy retaining strap and tested operation. Located hole for canopy latch pin and drilled into upper longeron. Will remove plastic from inside and outside of canopy once aircraft is complete. Canopy task now complete! Hours…
-
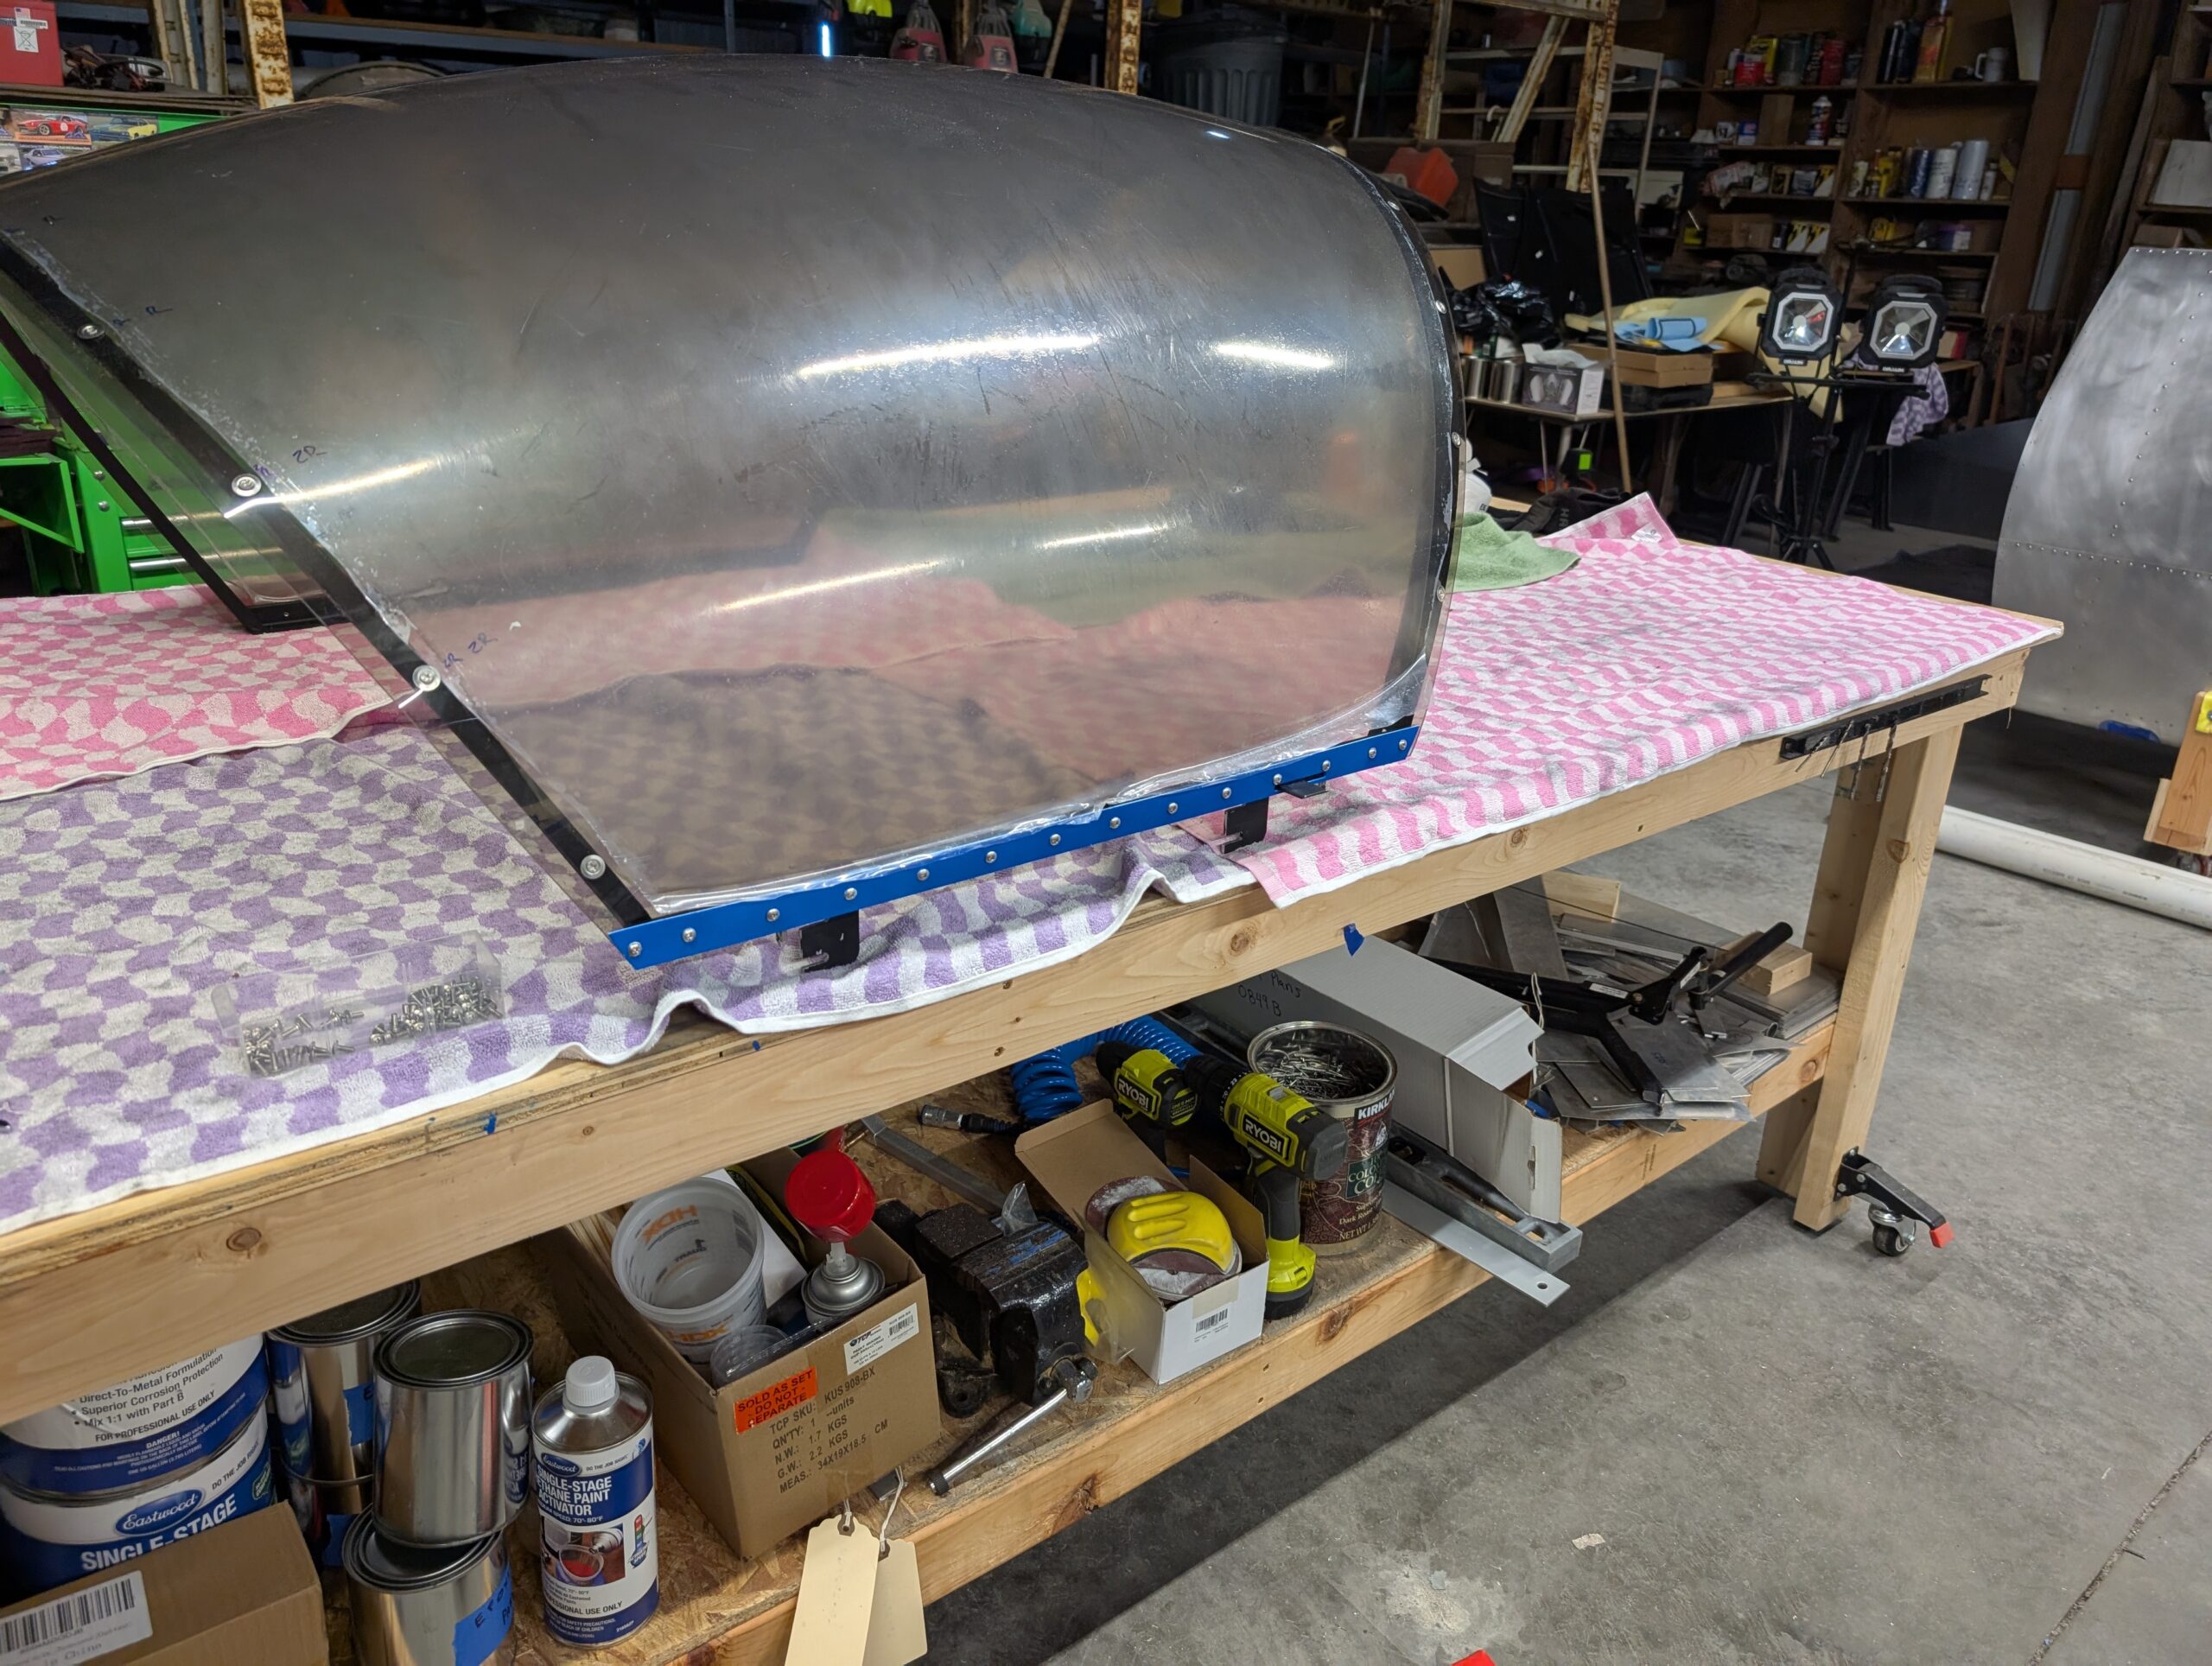
Canopy Installation – Part 2
After painting, installed canopy side trim and canopy hinge half onto canopy assembly with 6-32 screws. Canopy ready for installation onto fuselage once paint is complete. Hours Worked: 0.77
-
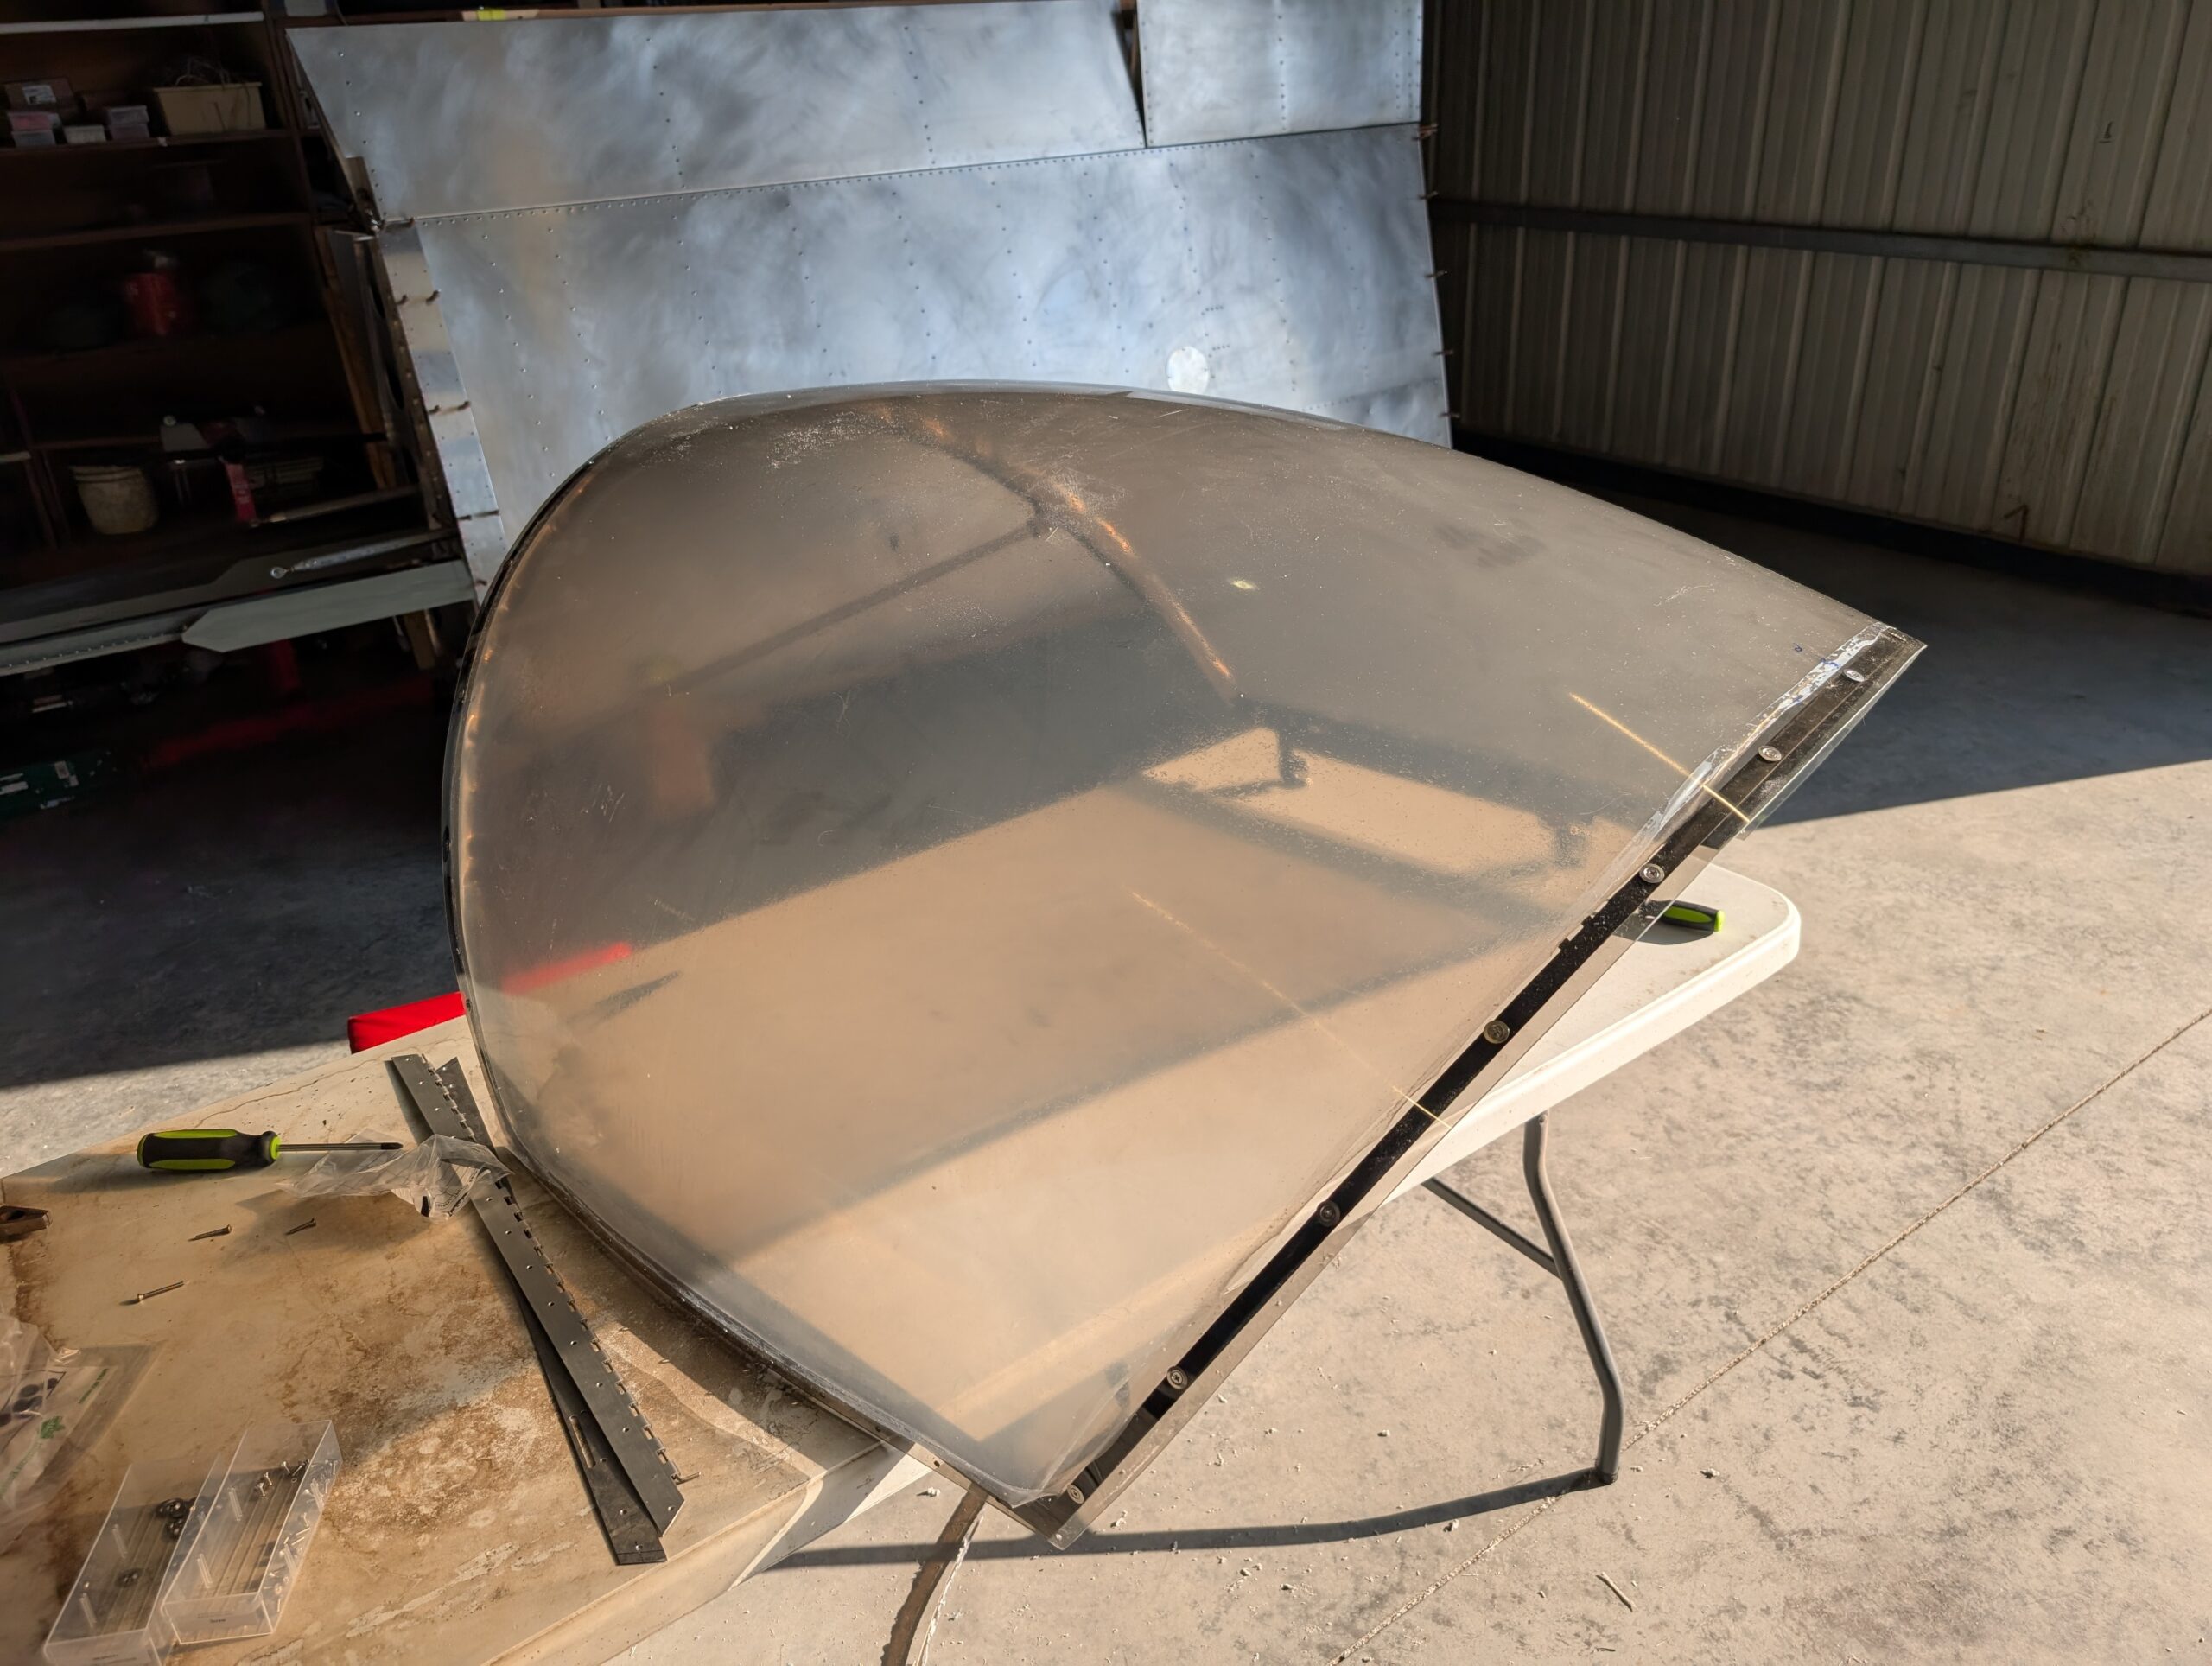
Canopy Installation – Part 1
Began final canopy installation by drilling the rest of the hinge rivet holes in the upper longeron and installing rivets. Quick painted the rivets by hand with a brush along with other minor touchups of black paint. Updrilled canopy hinge and side trim holes to 9/64″ and deburred. Installed closure spring on the canopy latch…
-
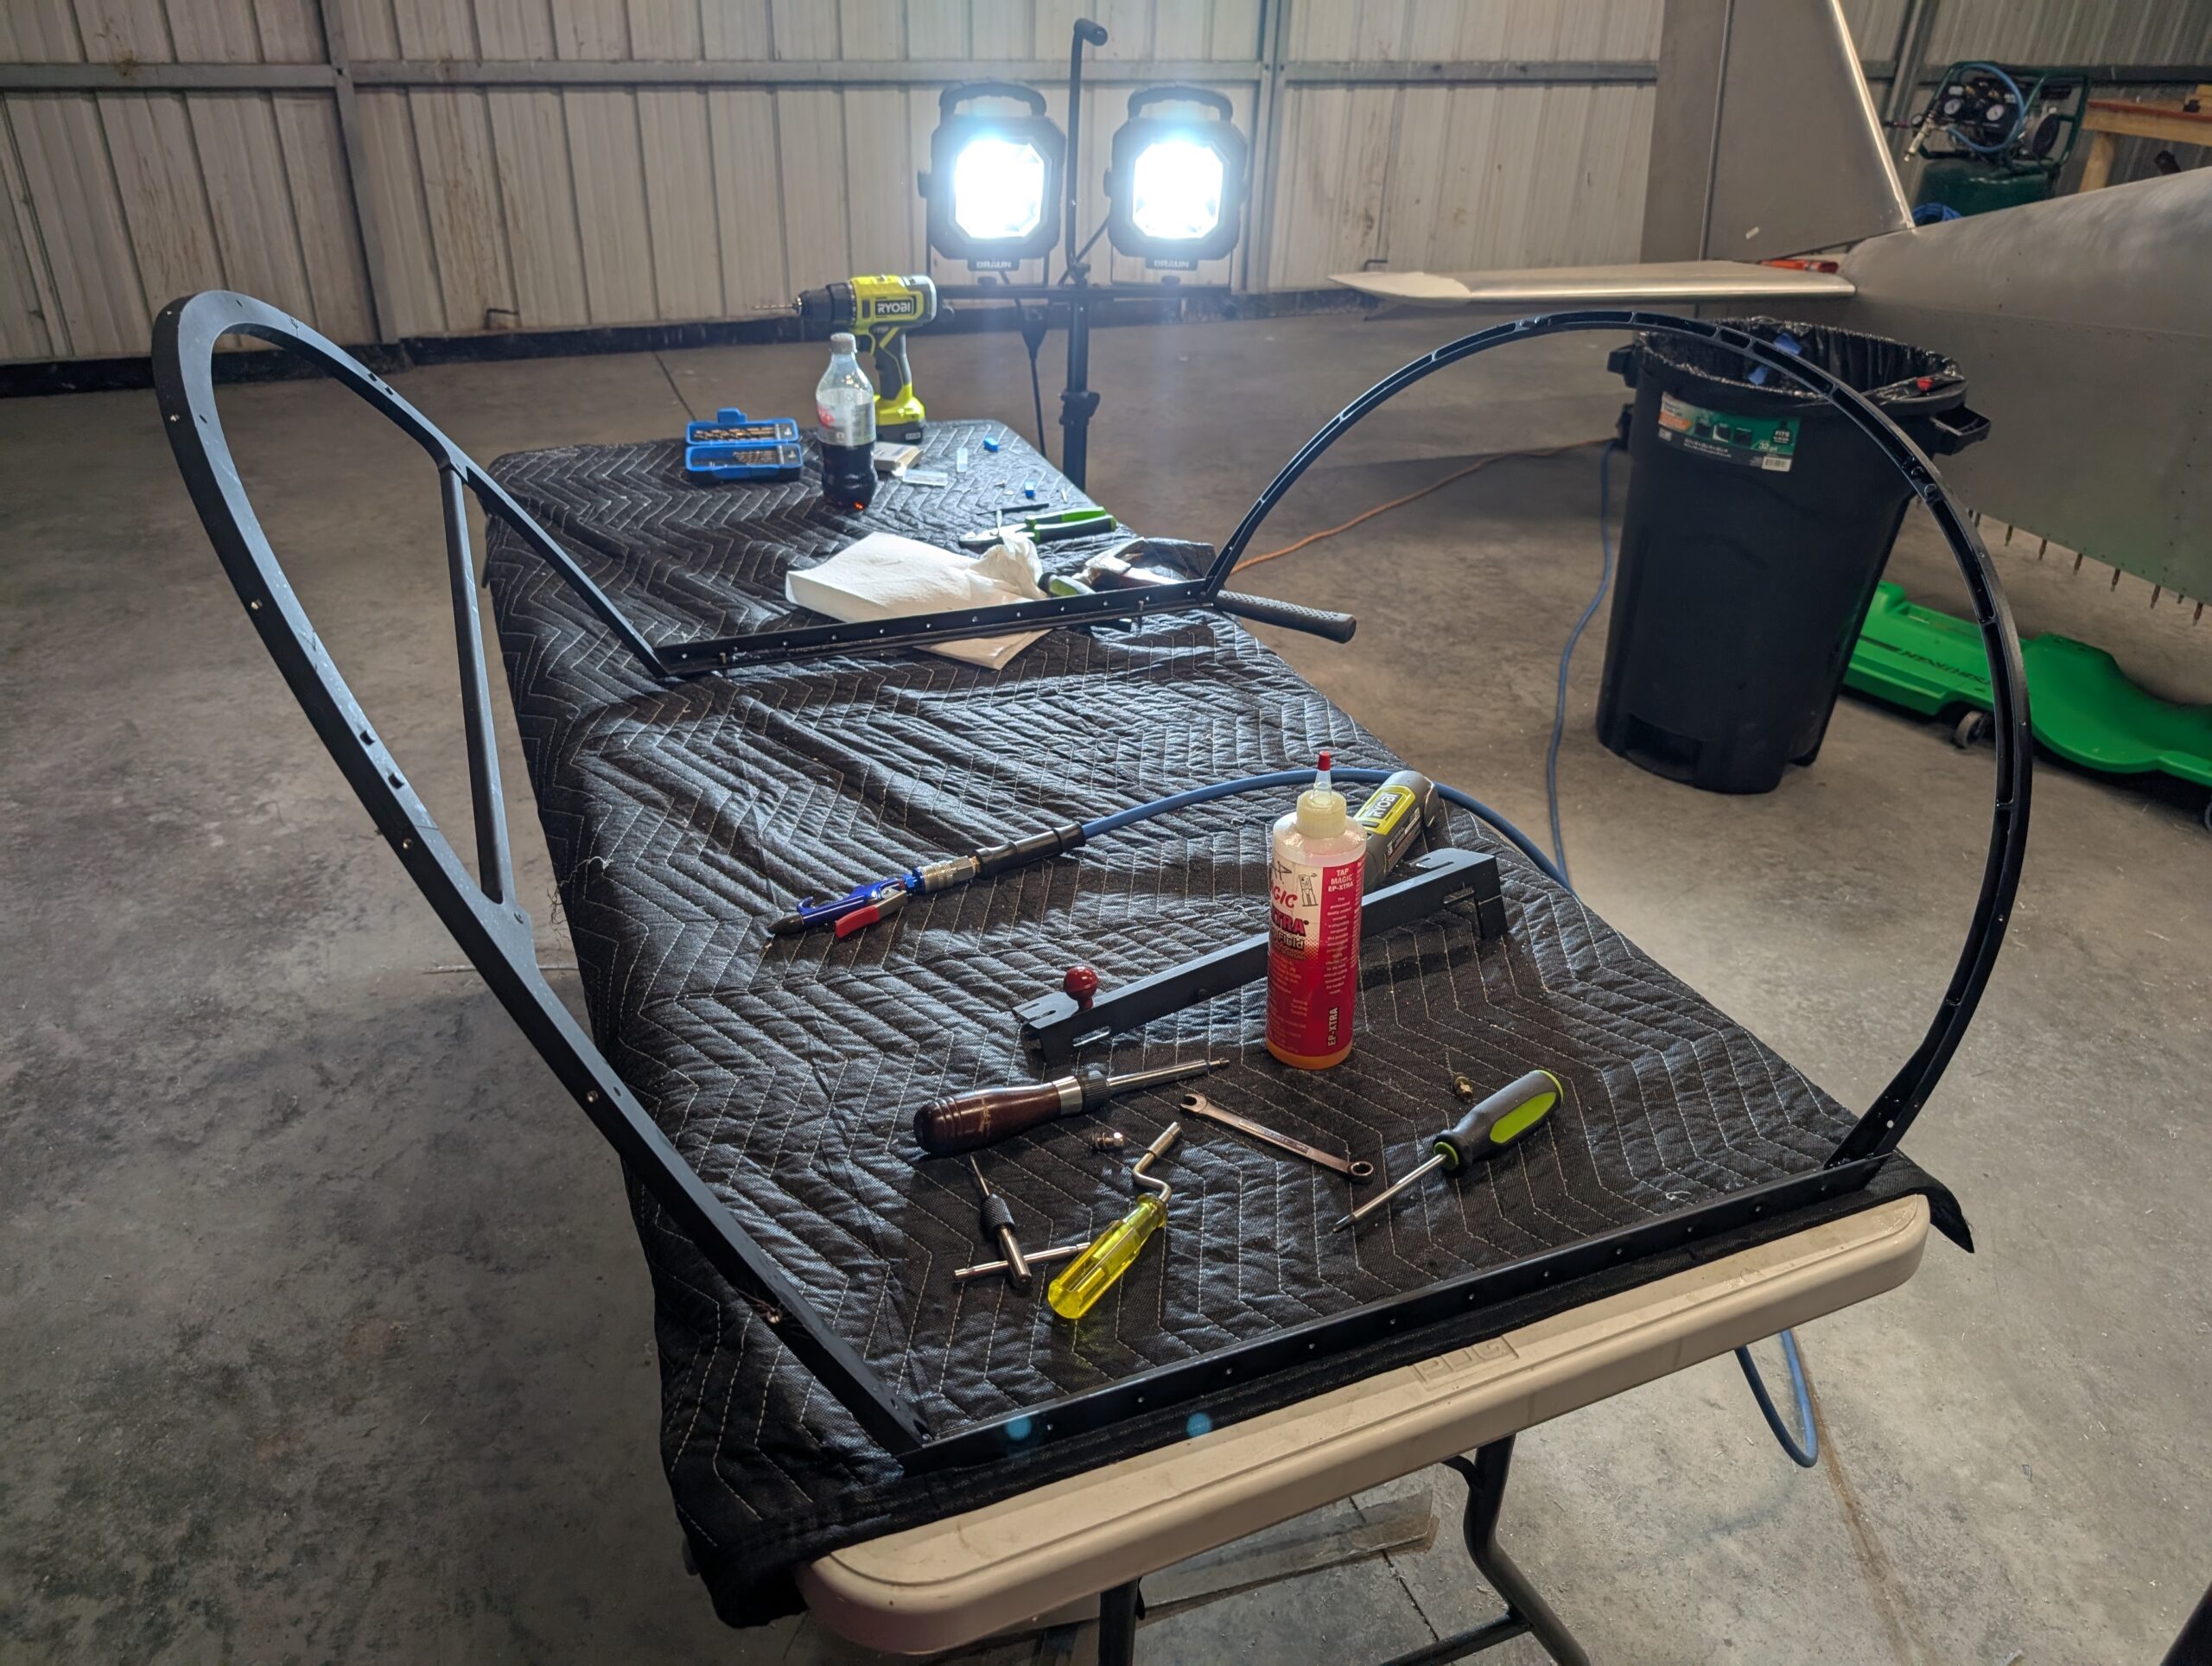
Broken Tap Extraction
Spent most of the time getting the broken off tap out of the canopy frame. Tried to remove it with cutting fluid, heat, and punches but would not budge. Ended up purchasing two solid carbide drill bits and slowly drilling out the tap. Boogered up the hole a bit in the process but the canopy…
-
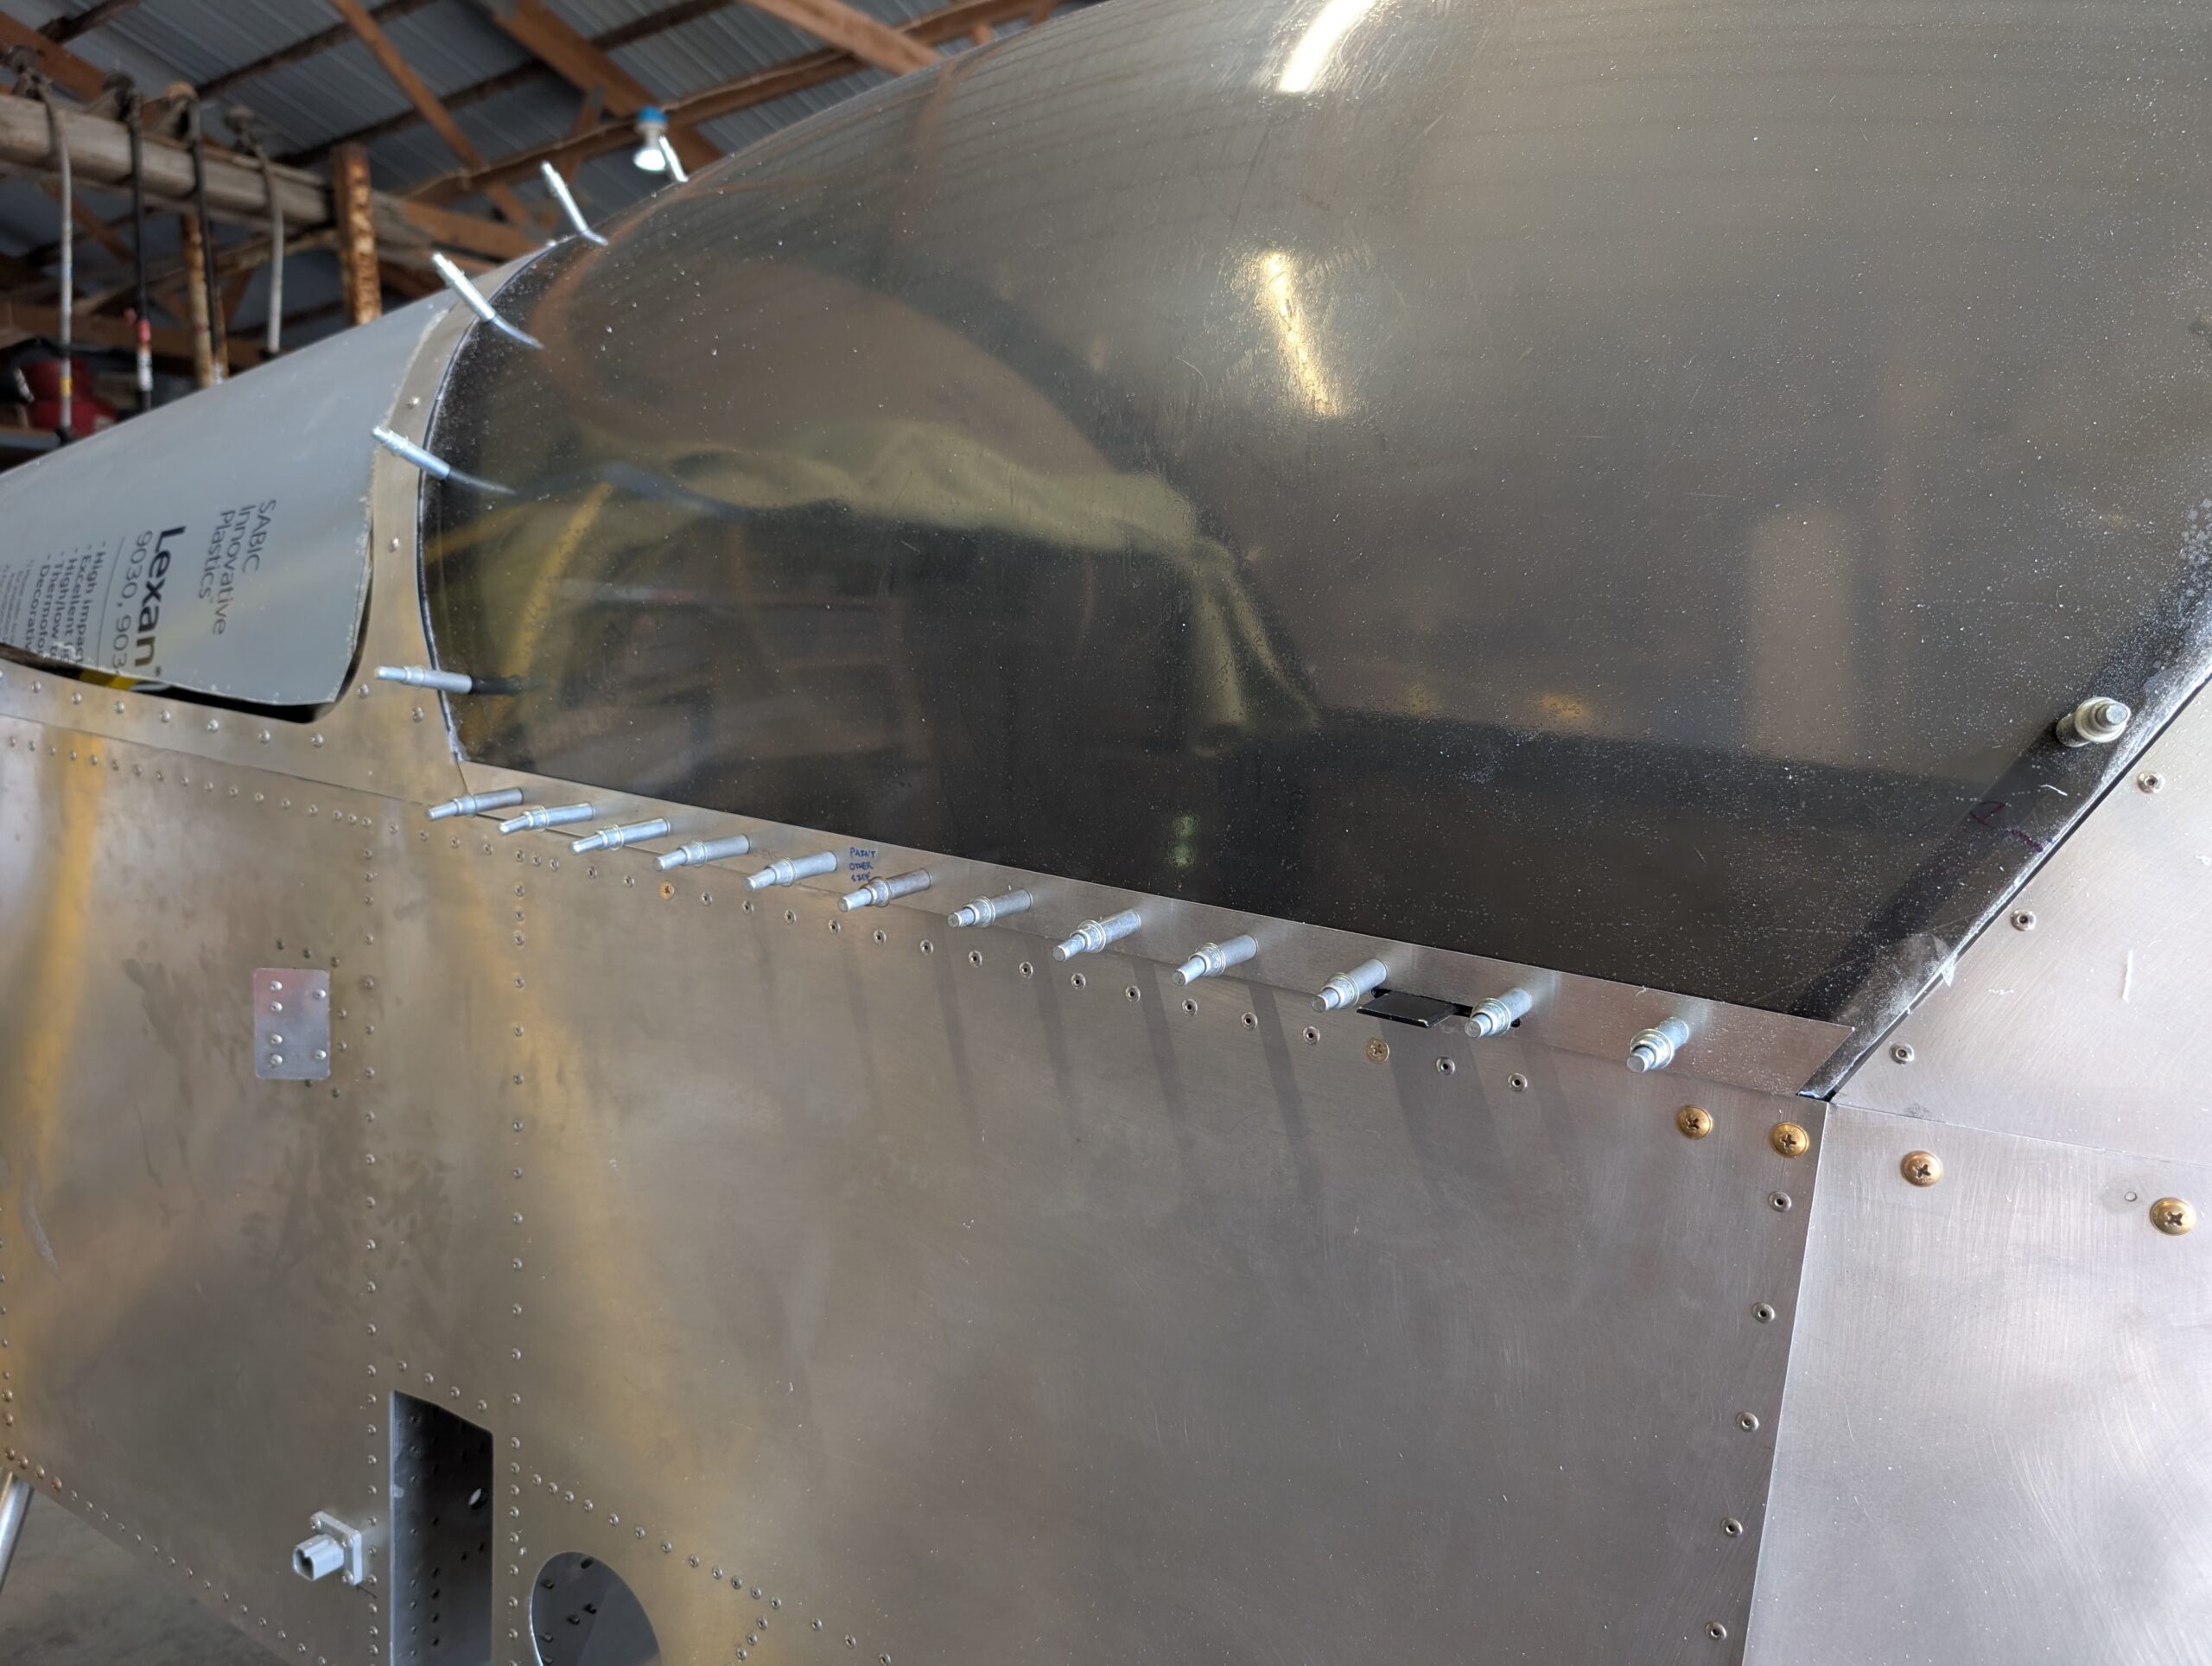
Canopy Trimming – Part 4
Updrilled canopy alignment holes in upper longeron with #F drill bit. Continued to trim, sand, and deburr canopy to achieve 1/16″ gap all around; finally achieved. Worked on latch mechanism by removing lower nylon washers to lower latch assembly slightly. Used a light coating of LPS-2 between canopy frame and latch to make it slide…
-
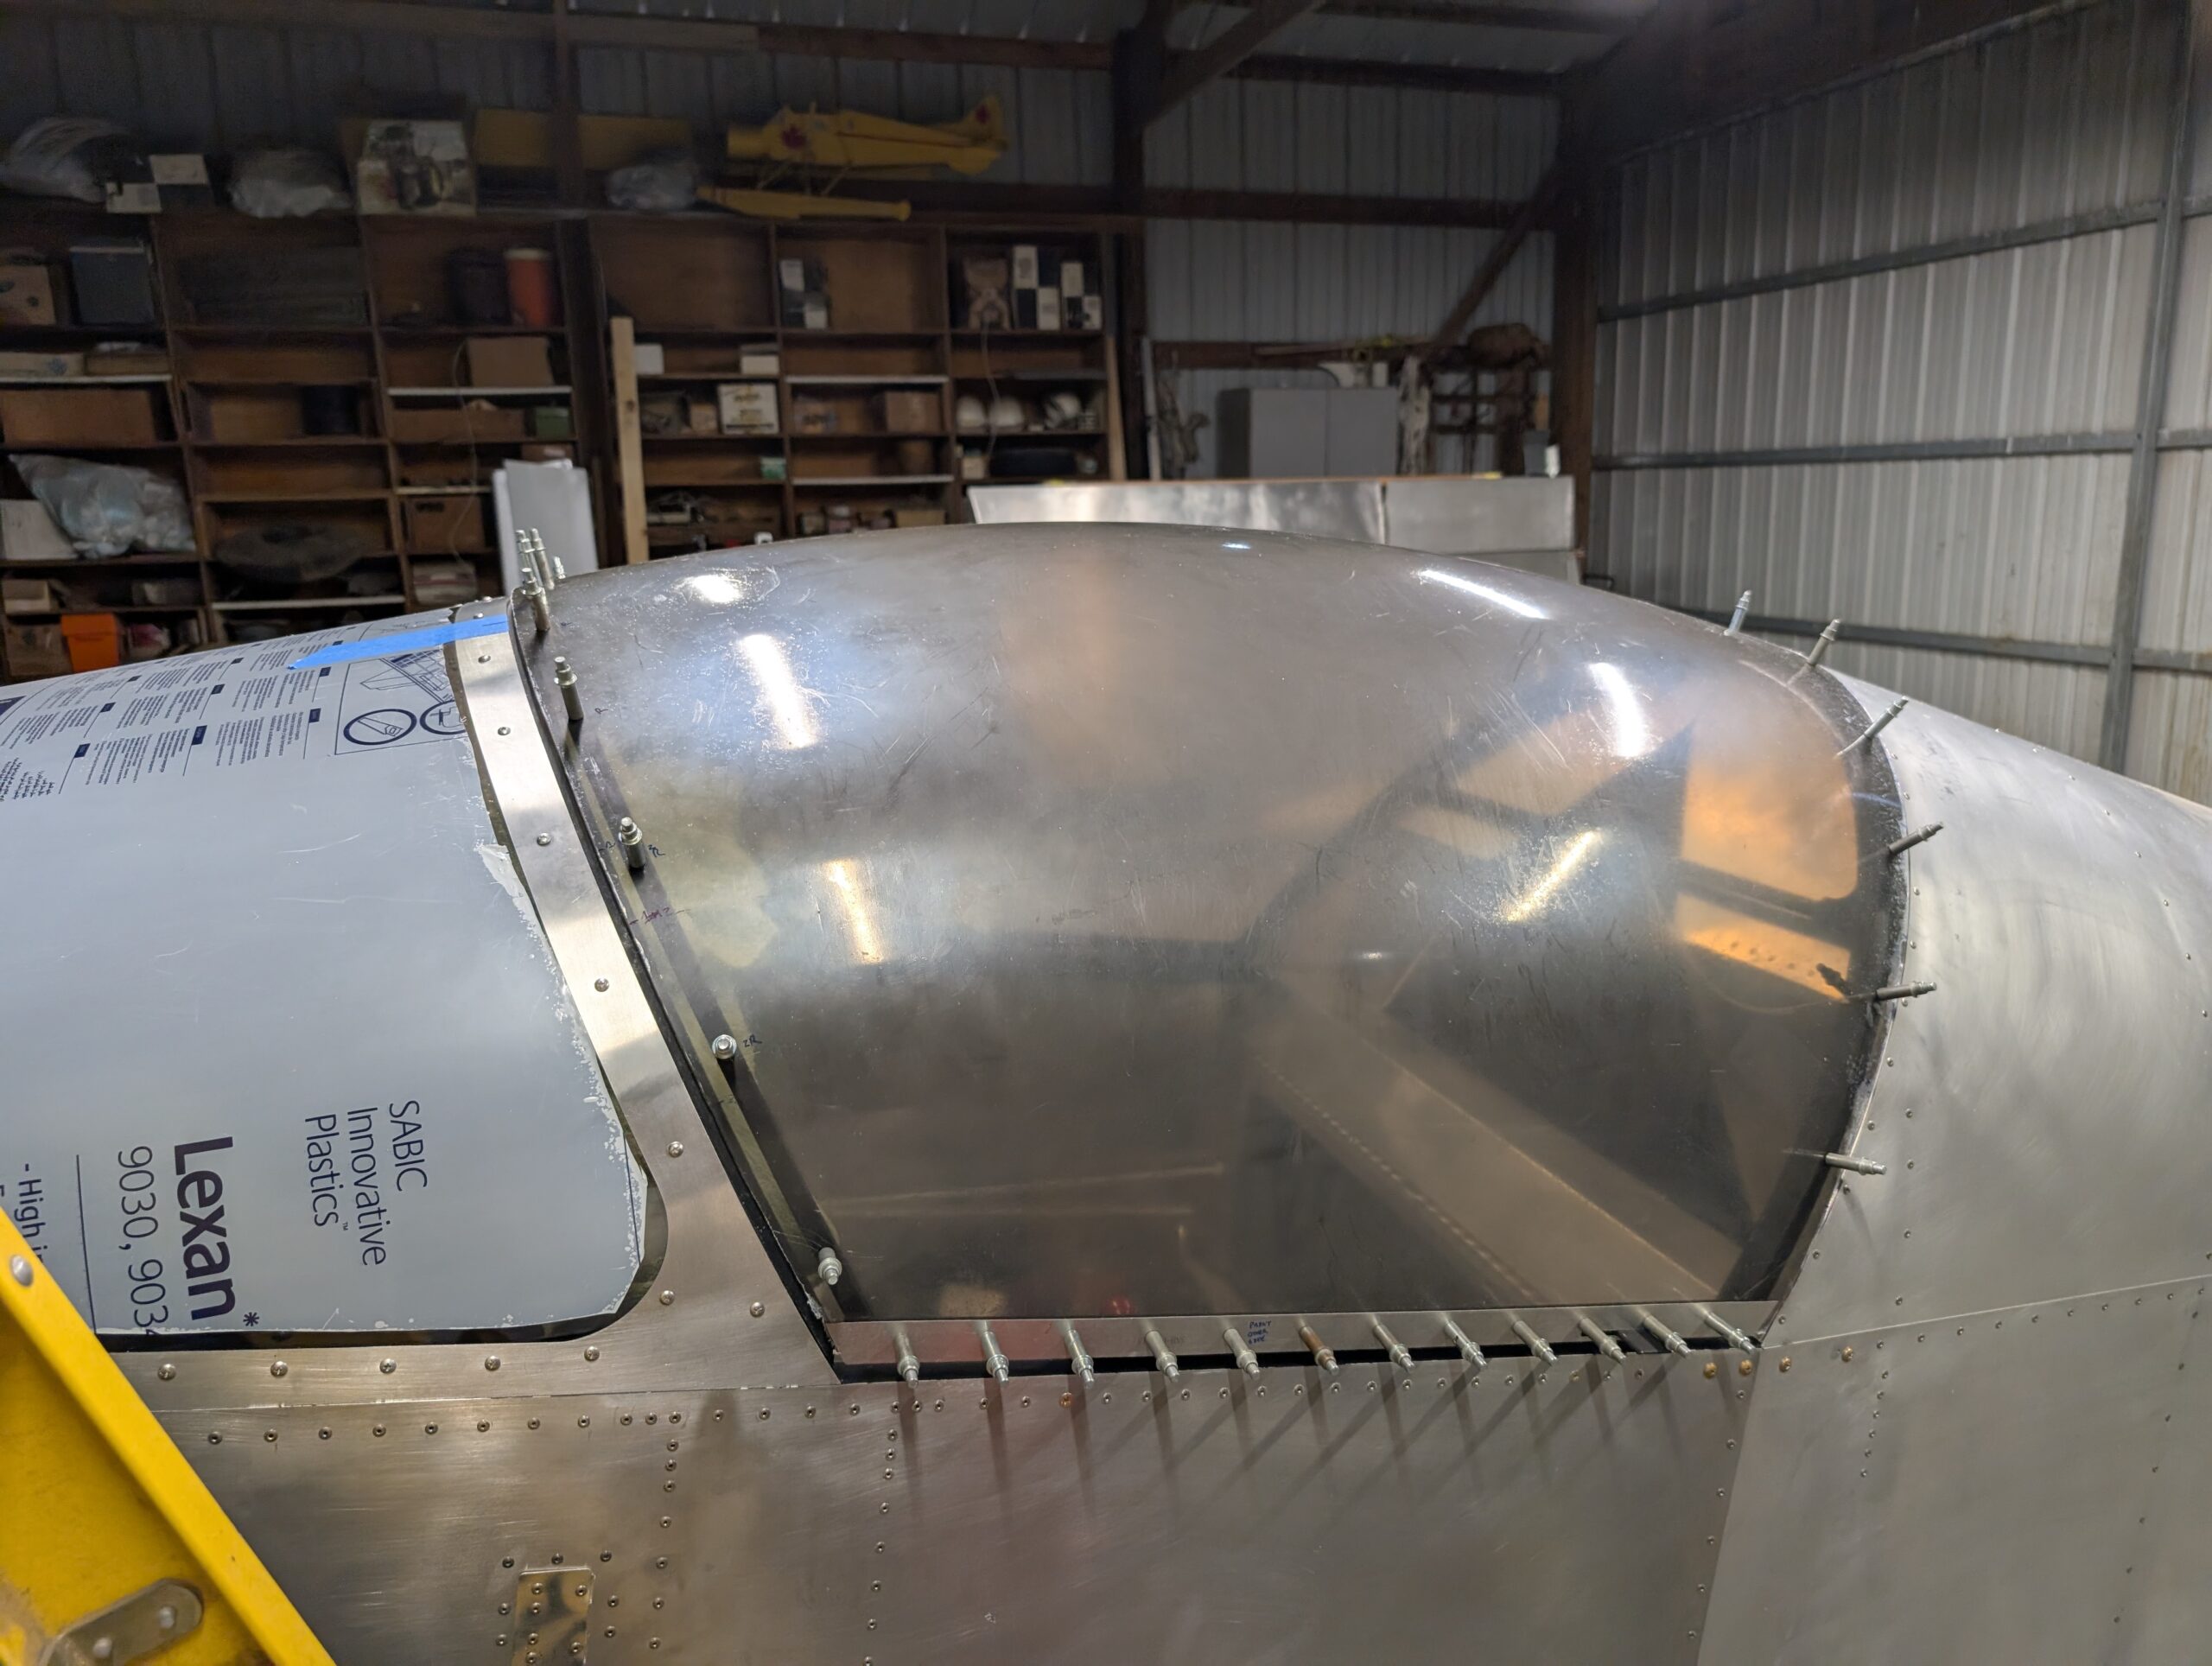
Canopy Trimming – Part 3
Continued to trim and fit canopy. Matched drilled final holes in LH side of forward and aft canopy bows and realized that canopy was pulling up the frame in the front by about 1/4″. Unbolted front left corner of canopy frame and added 1/8″ spacer to lengthen the front bow area. Also added rubber washers…
-
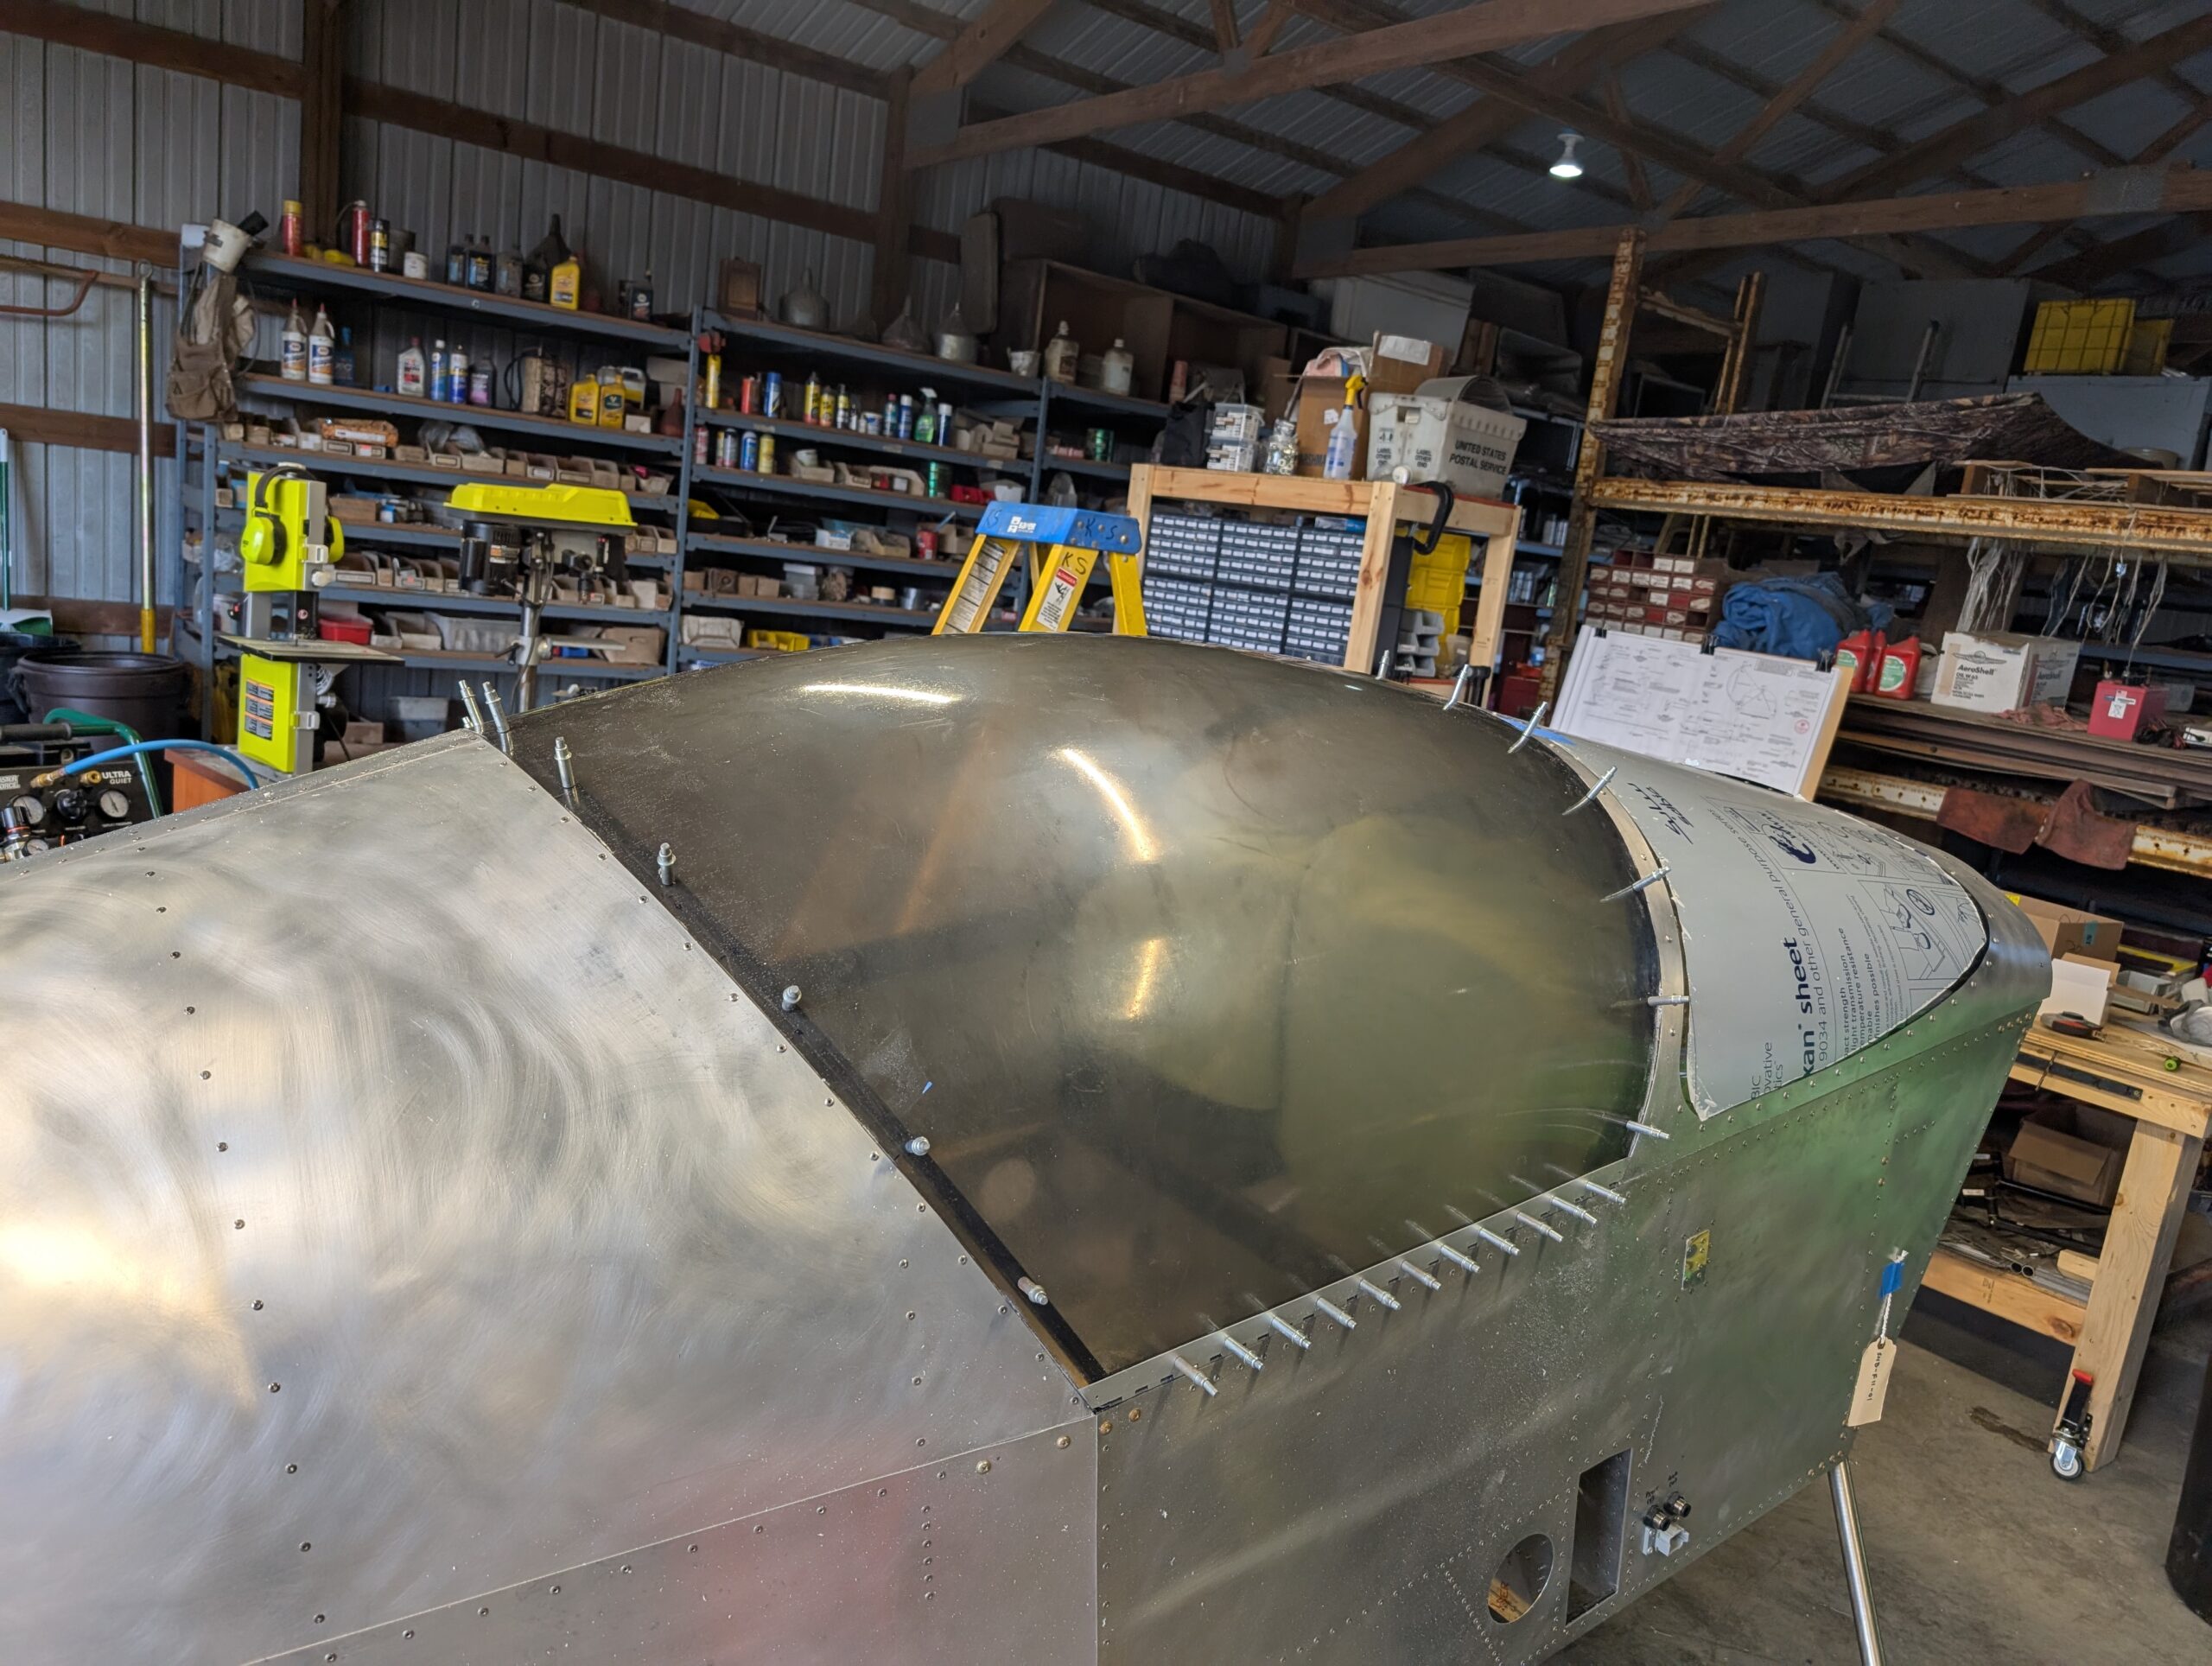
Canopy Trimming – Part 2
Continued to trim canopy by taking small bites with 80 grit sandpaper and scotchbrite die grinder. Cleaned edges with deburring tool after each cut. Trimmed canopy so that majority of it would fit in between windshield and turtle deck. Once rough trimming was complete, drilled pilot holes for clecoes looking through canopy at bows. Started…
-
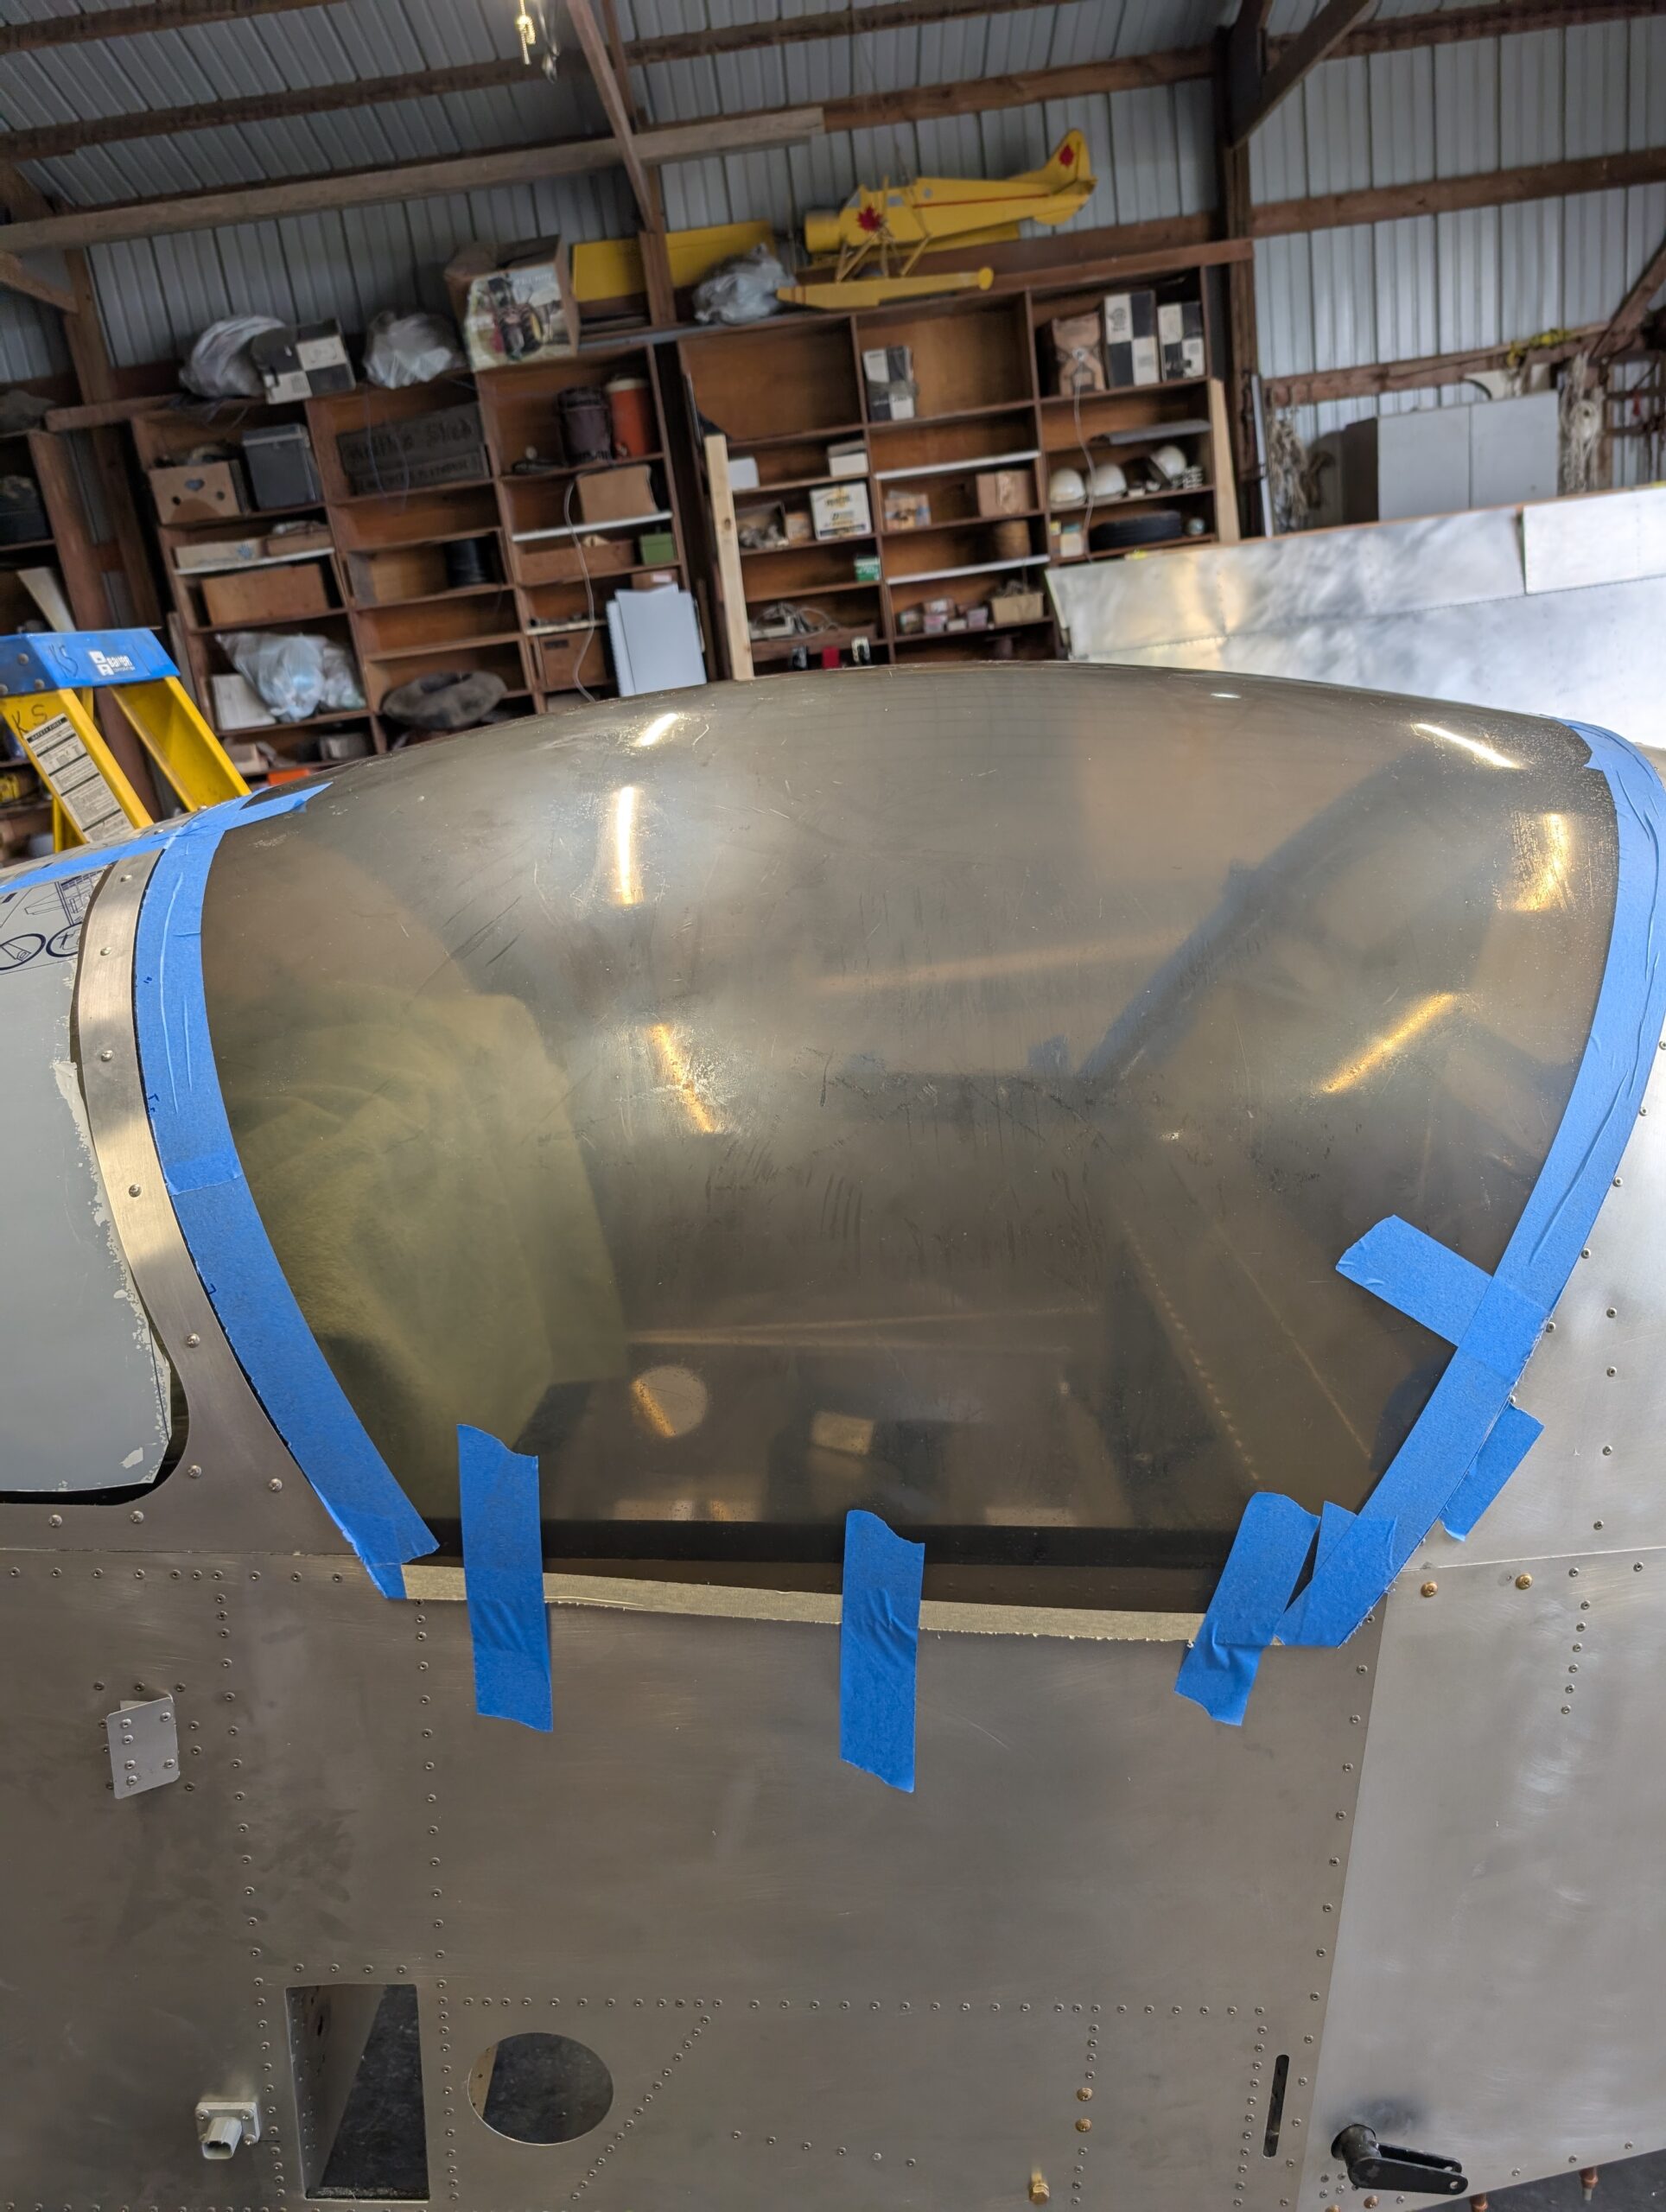
Canopy Trimming – Part 1
Started the tedious process of fitting and trimming the canopy. Started by marking the center of the front and rear edges of the canopy and aligning them with the fuselage center line. Scooted canopy up to the front and marked a trim line with most of the canopy hanging on the back of the turtle…
-
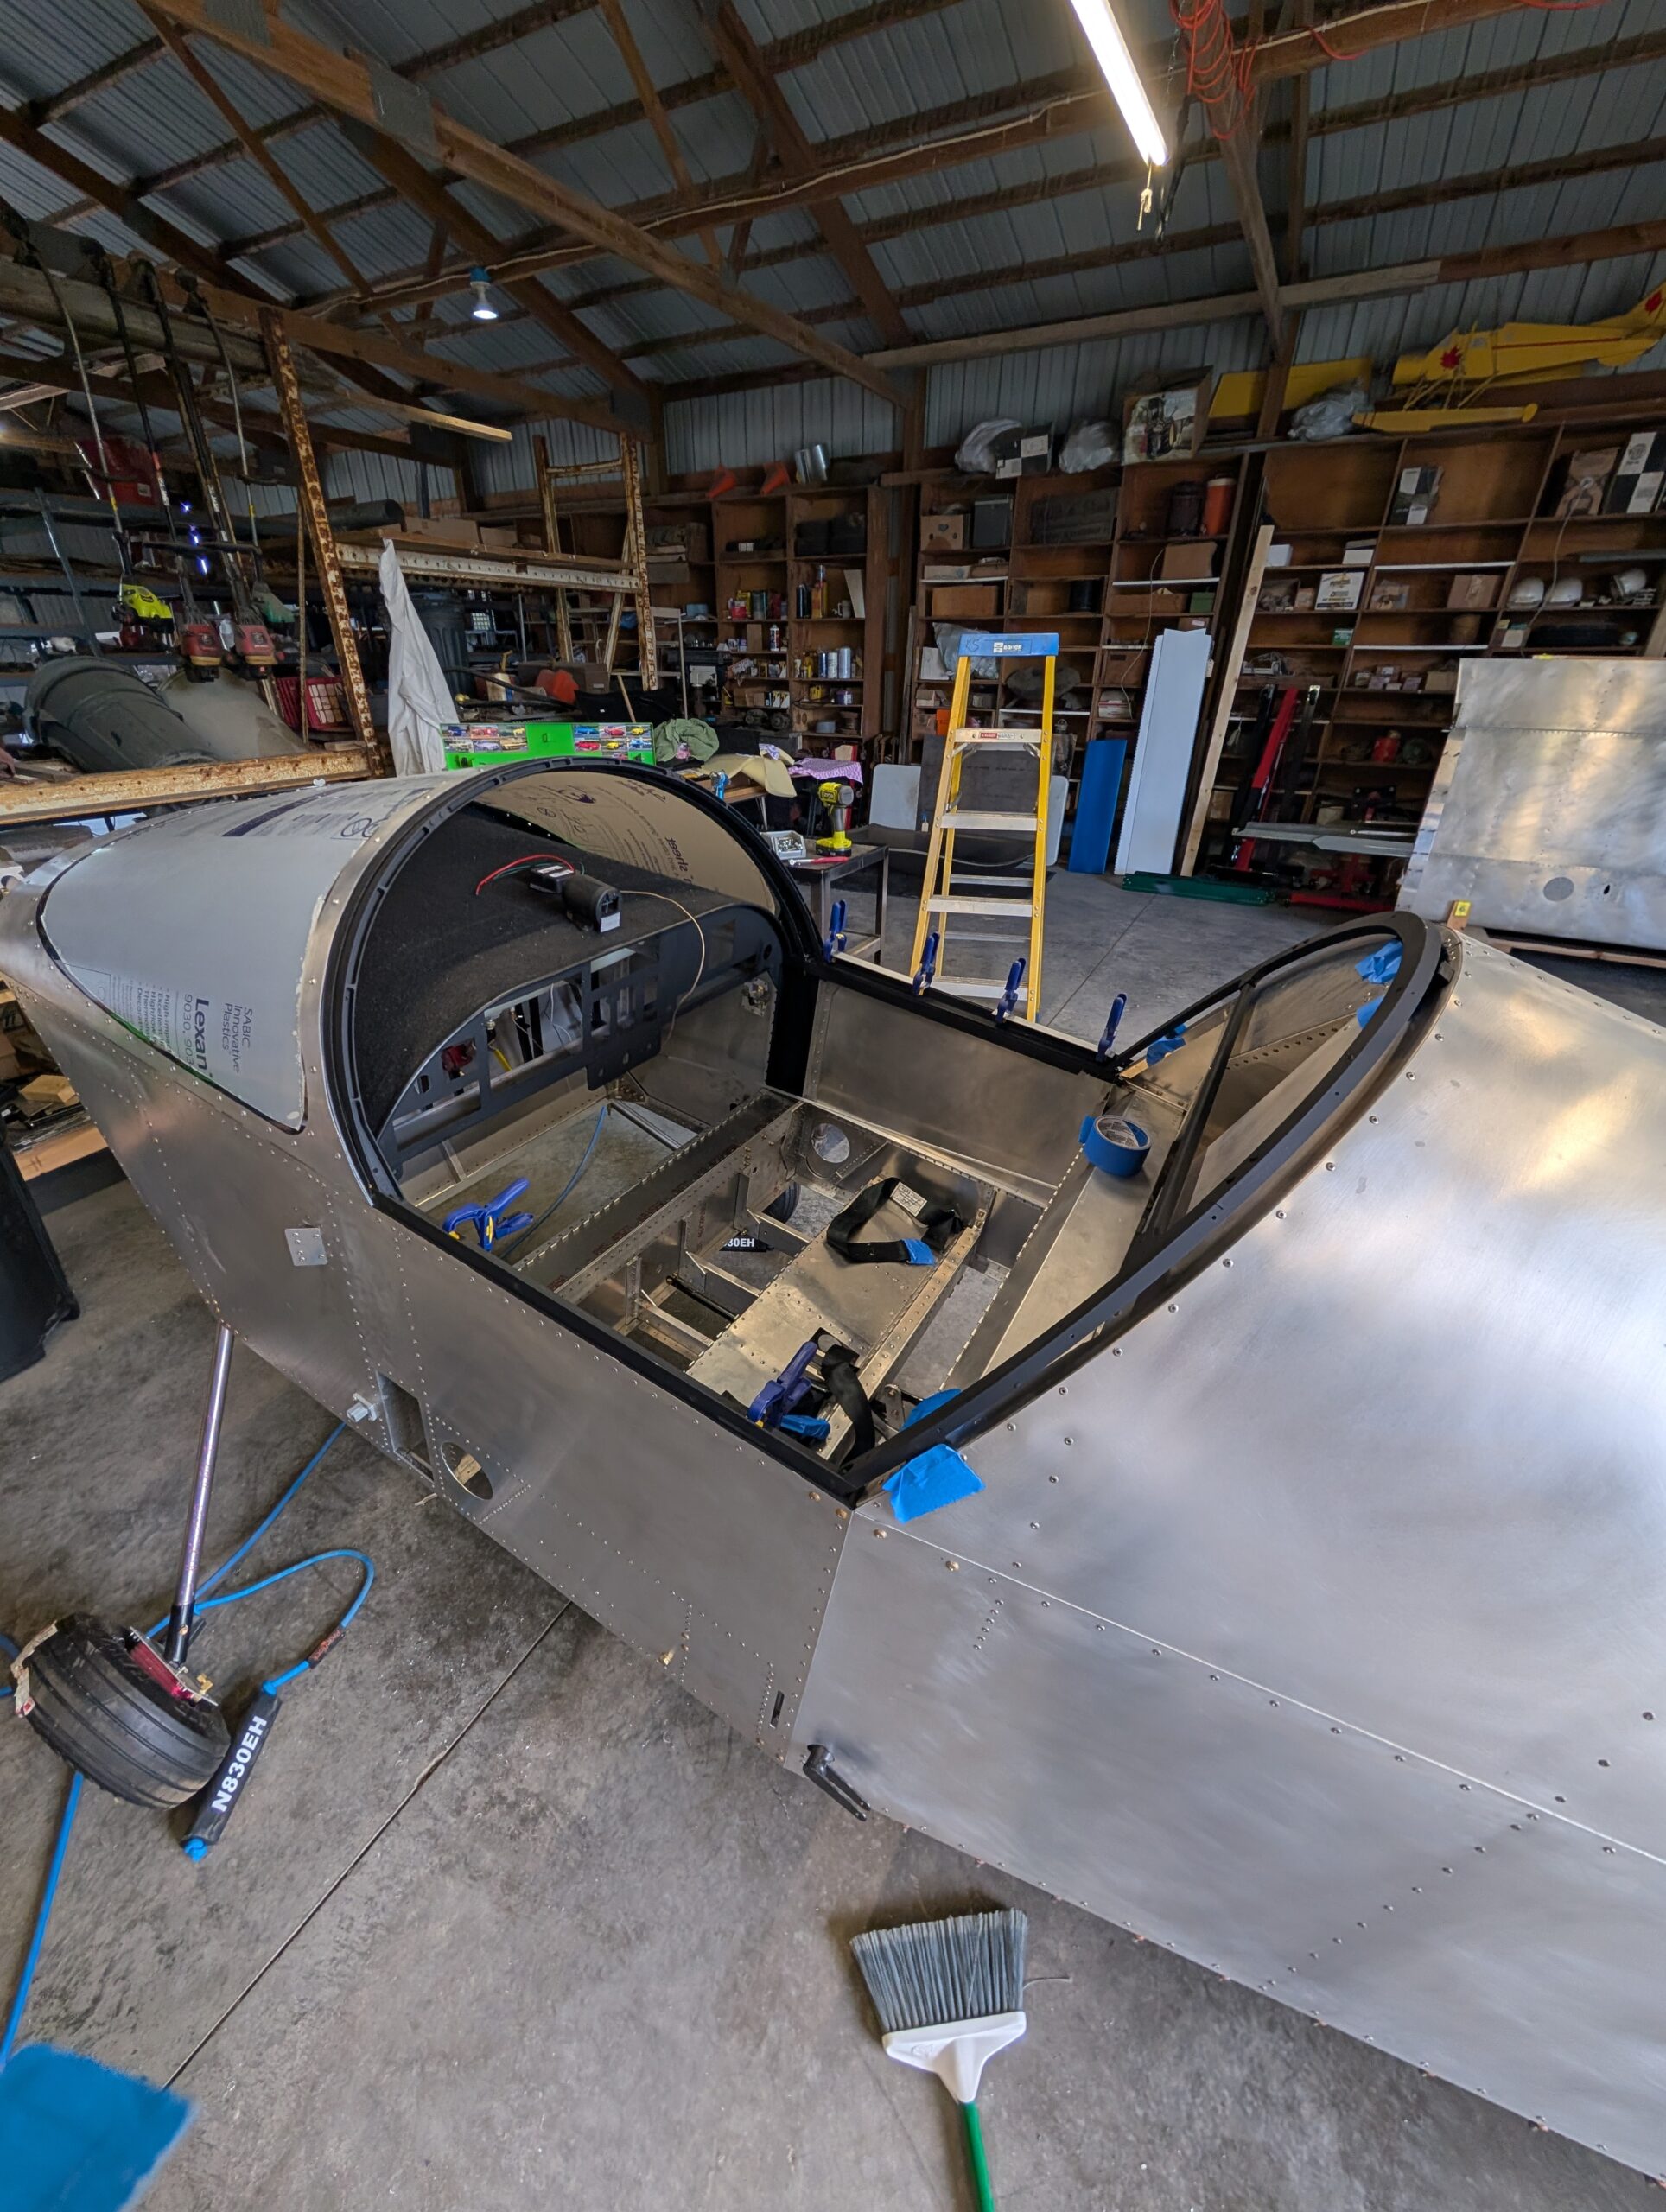
Canopy Frame Installation
Began assembling canopy frame to fuselage by locating canopy frame hinge on RH longeron. Since clecoes would impede placing the canopy frame on the hinge, installed three rivets in the canopy frame hinge to make it easier to remove (if needed later on). Placed canopy frame onto fuselage and aligned it 1/2″ from the turtle…
-
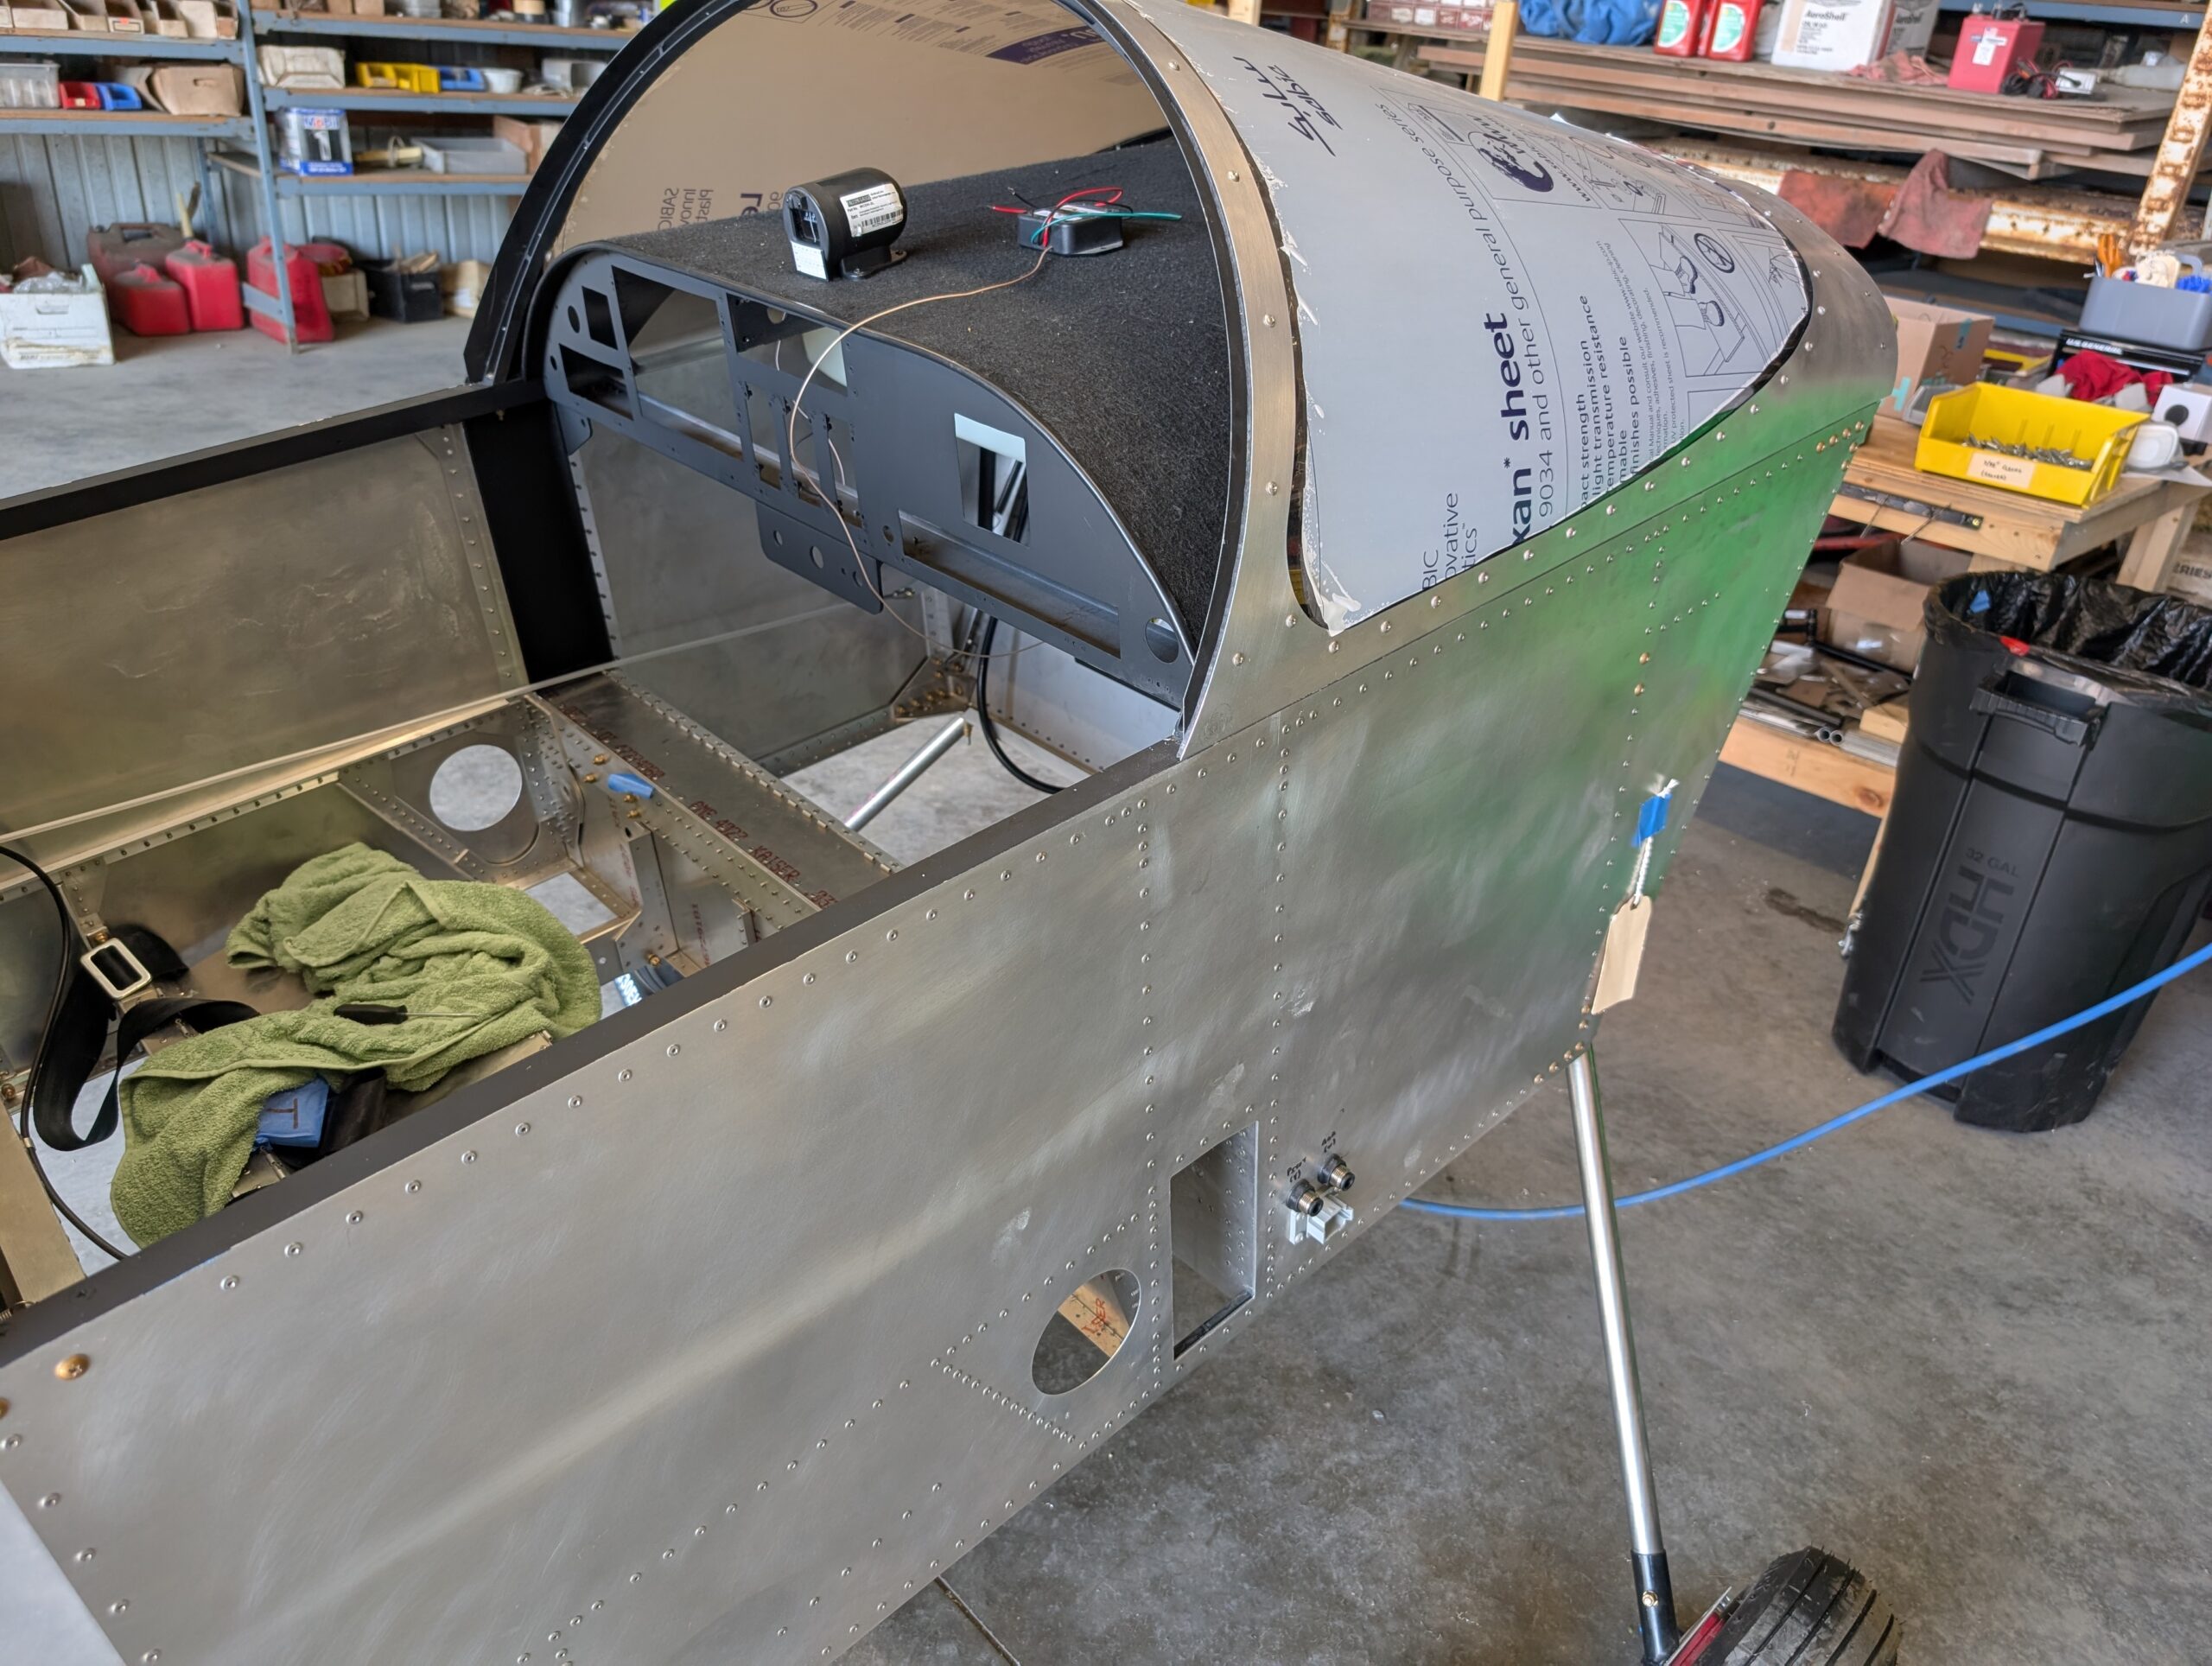
Windshield Installation – Part 6
Finished installing windshield onto fuselage by installing screws from front to back, skipping last bottom screw on each side. Aligned windshield bow with top center screw and installed sandwiching strap in between. Needed to run tap through each screw hole to clean paint out of threads; should have done before installing bow, however. Worked from…
-
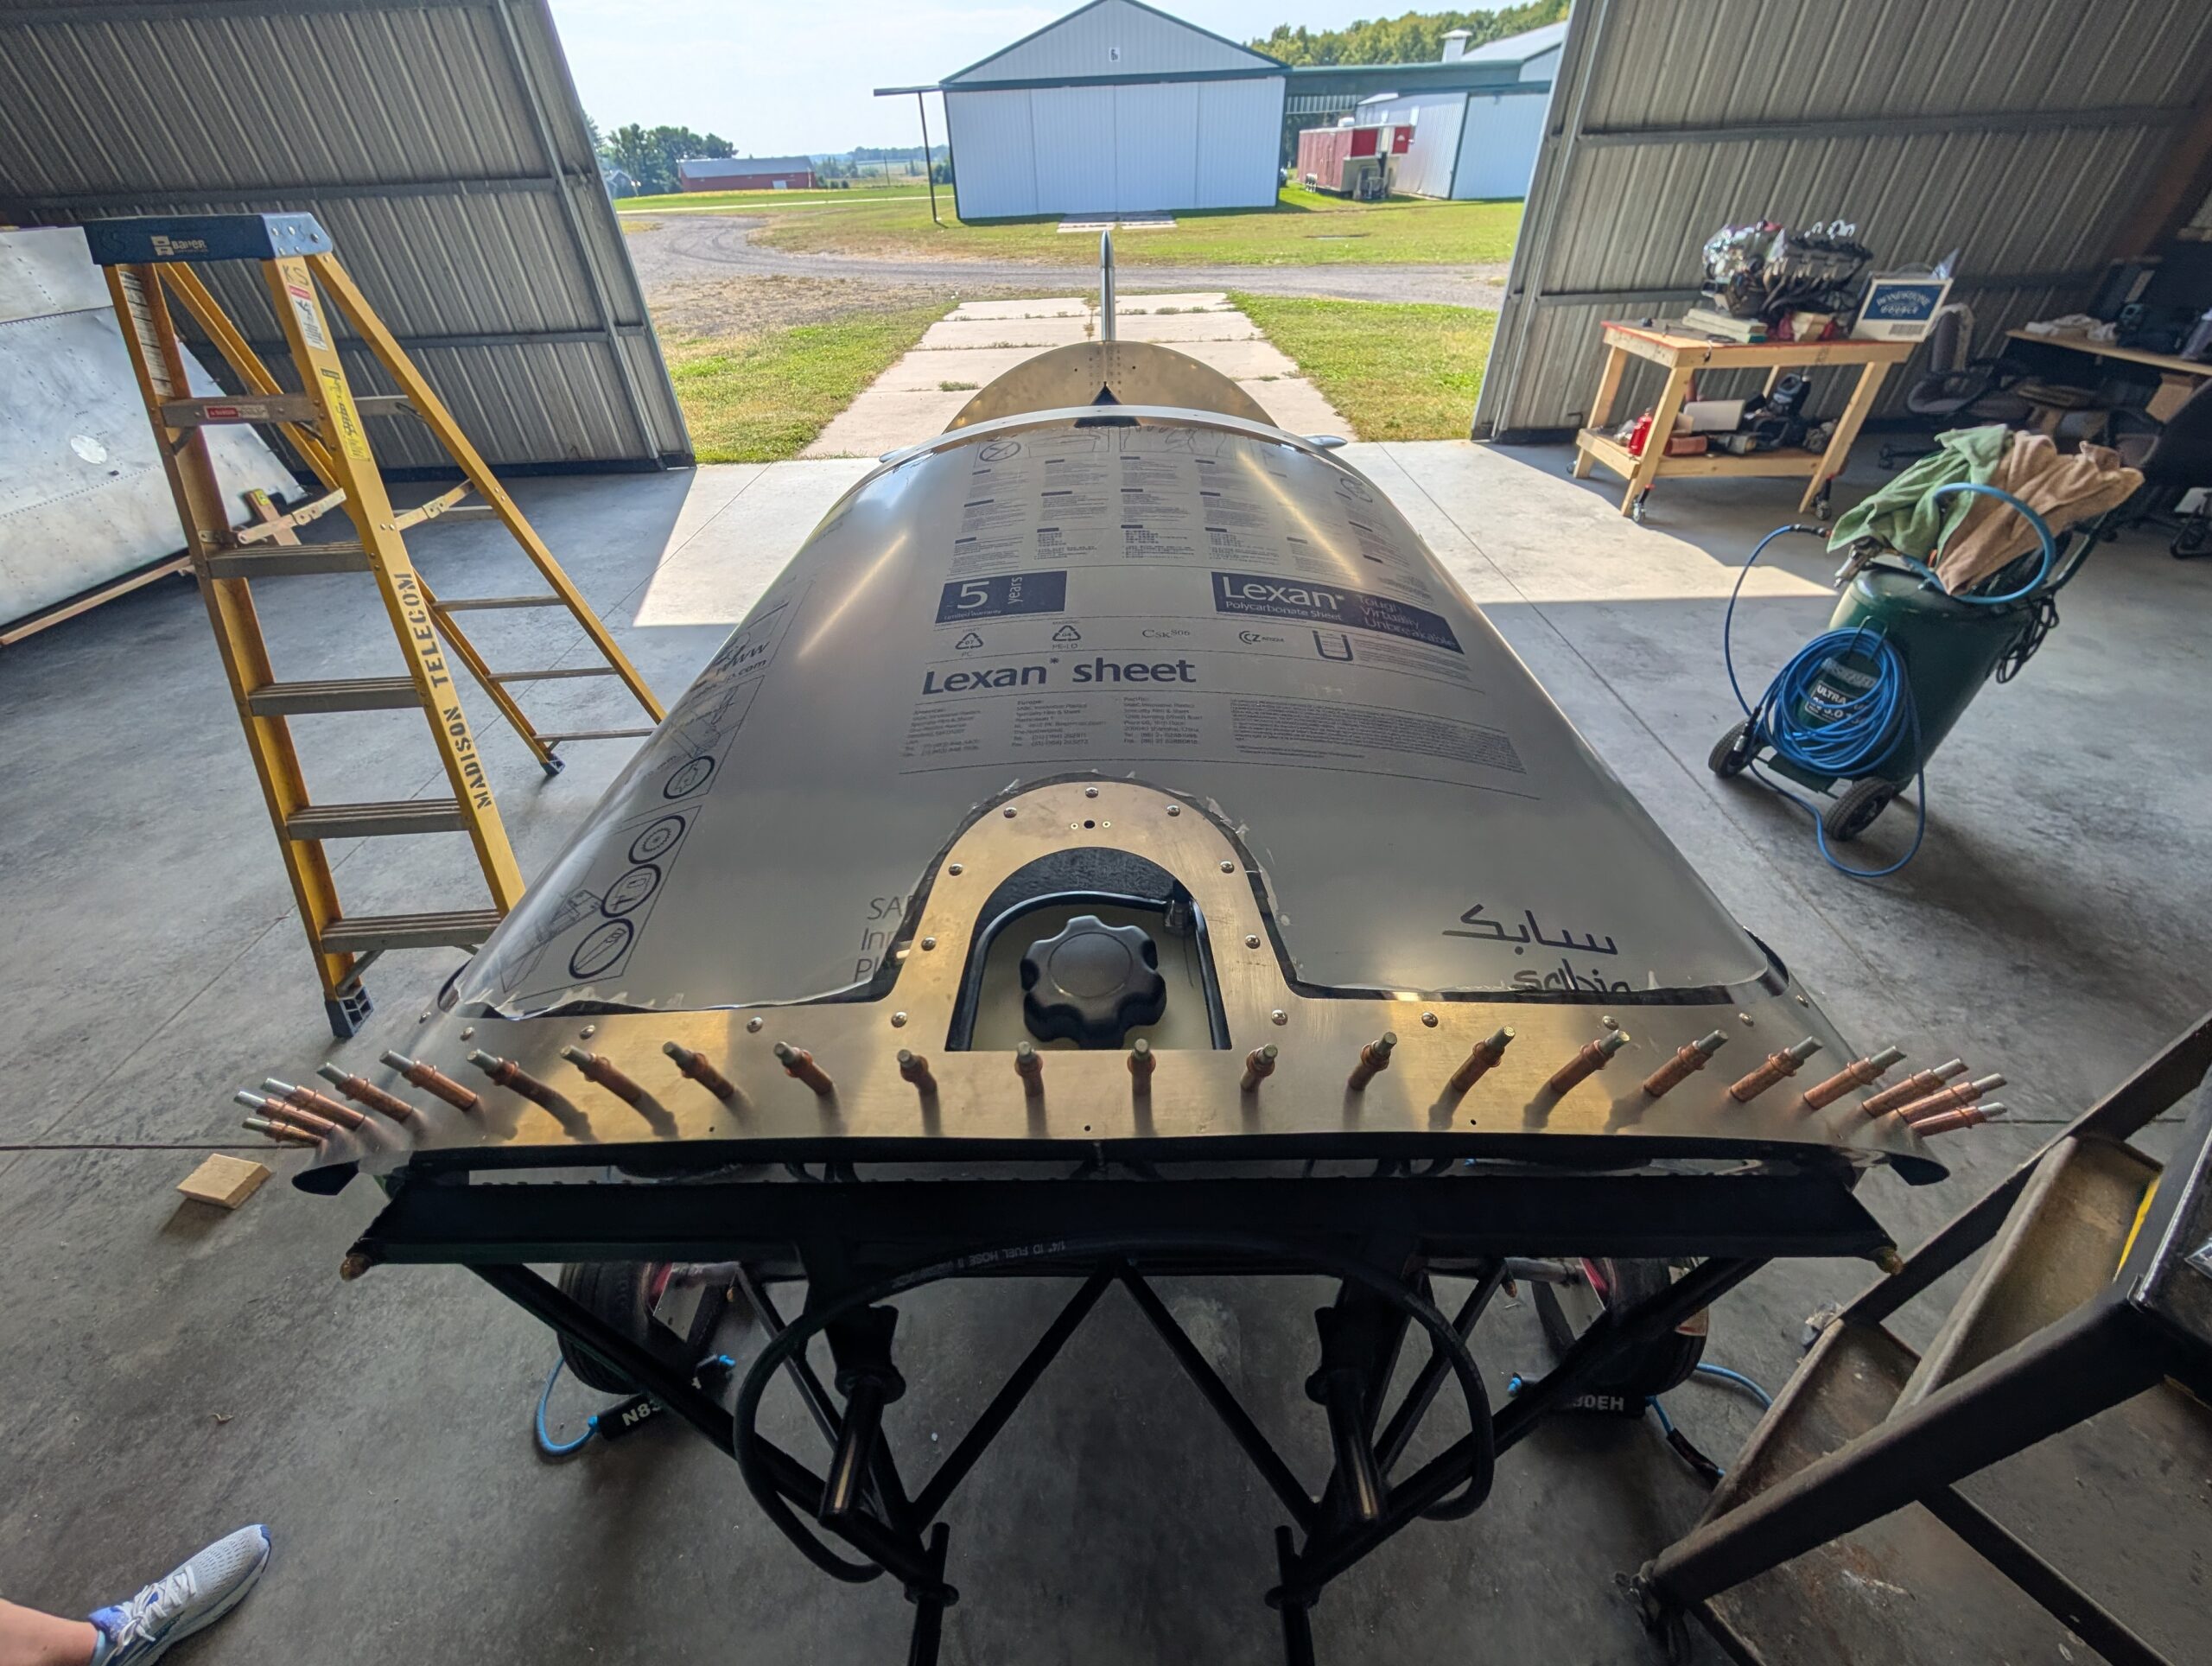
Windshield Installation – Part 5
Using two people, reinstalled bolts in upper longerons, windshield skirt, and upper motor mounts. Applied torque check to bolts to monitor torque. Slid windshield into place and began installing bolts starting from forward center and working backwards. Used a piece of tape on wrench to prevent nut from falling out. Hours Worked: 1.95
-
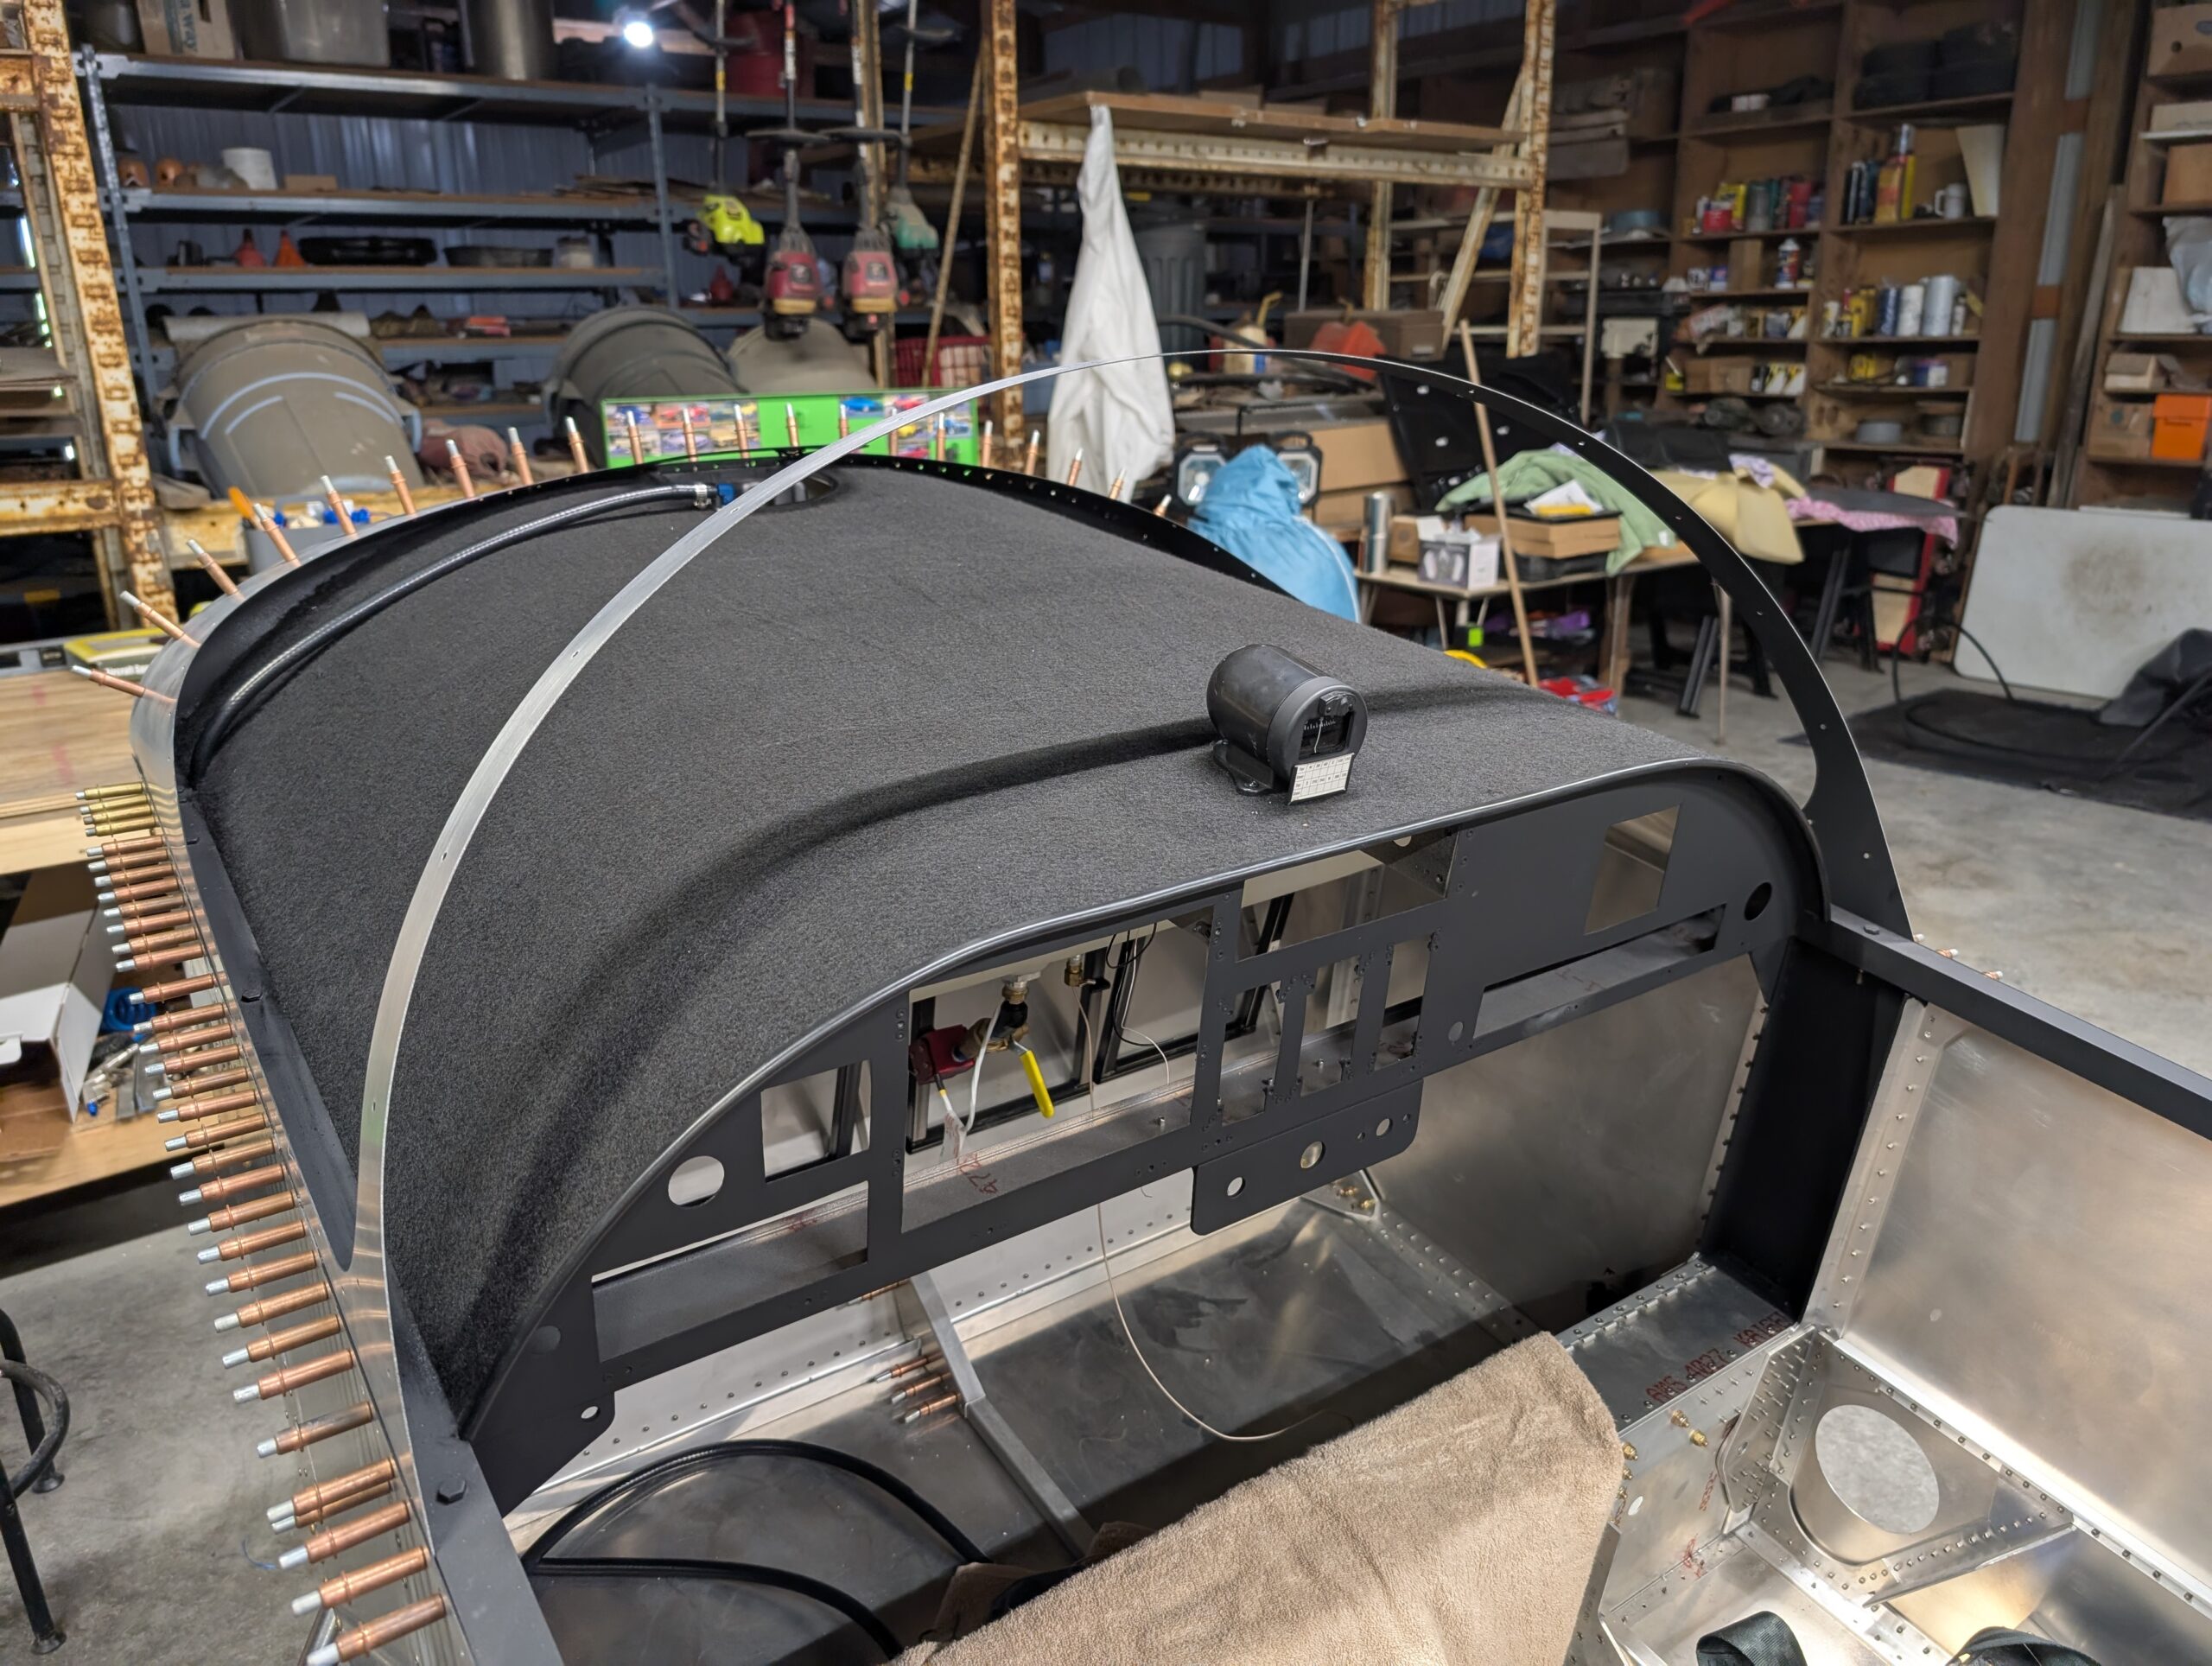
Windshield Installation – Part 4
Routed fuel vent hose up through hole in glareshield and attached to fuel vent fitting with hose clamp. Clecoed newly-painted windshield skirt onto fuselage. Hours Worked: 1.30