Tail
-
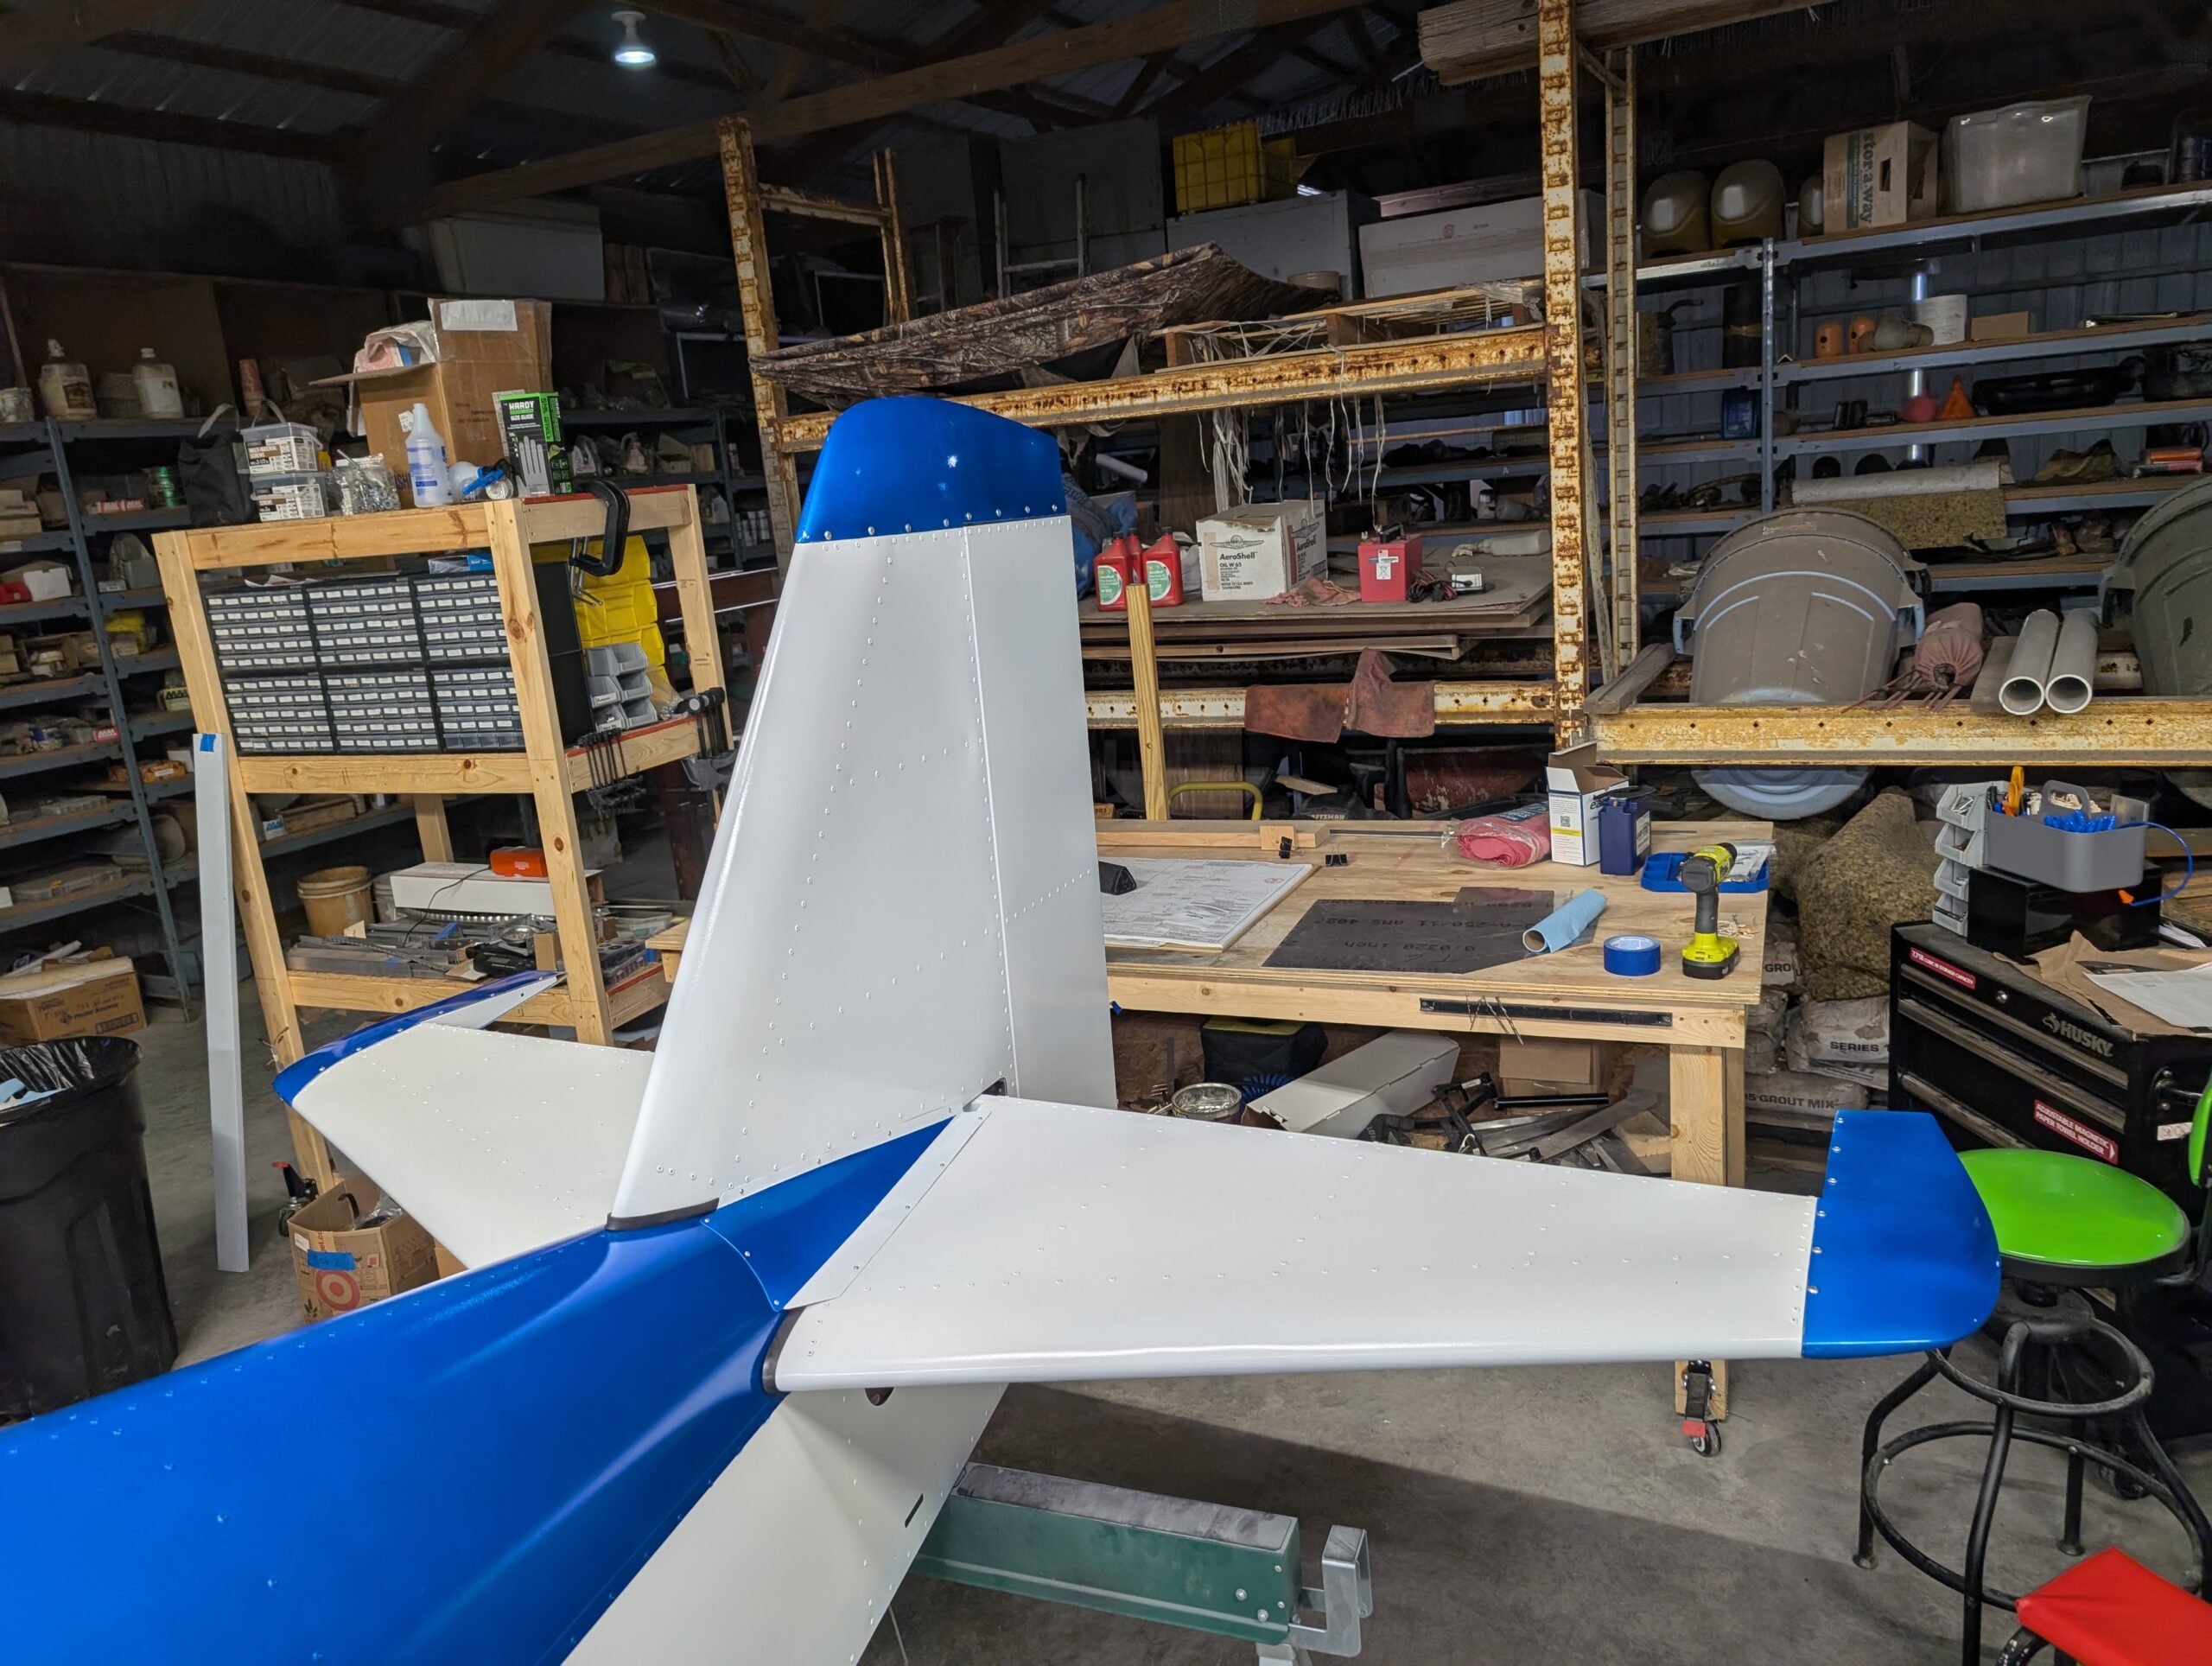
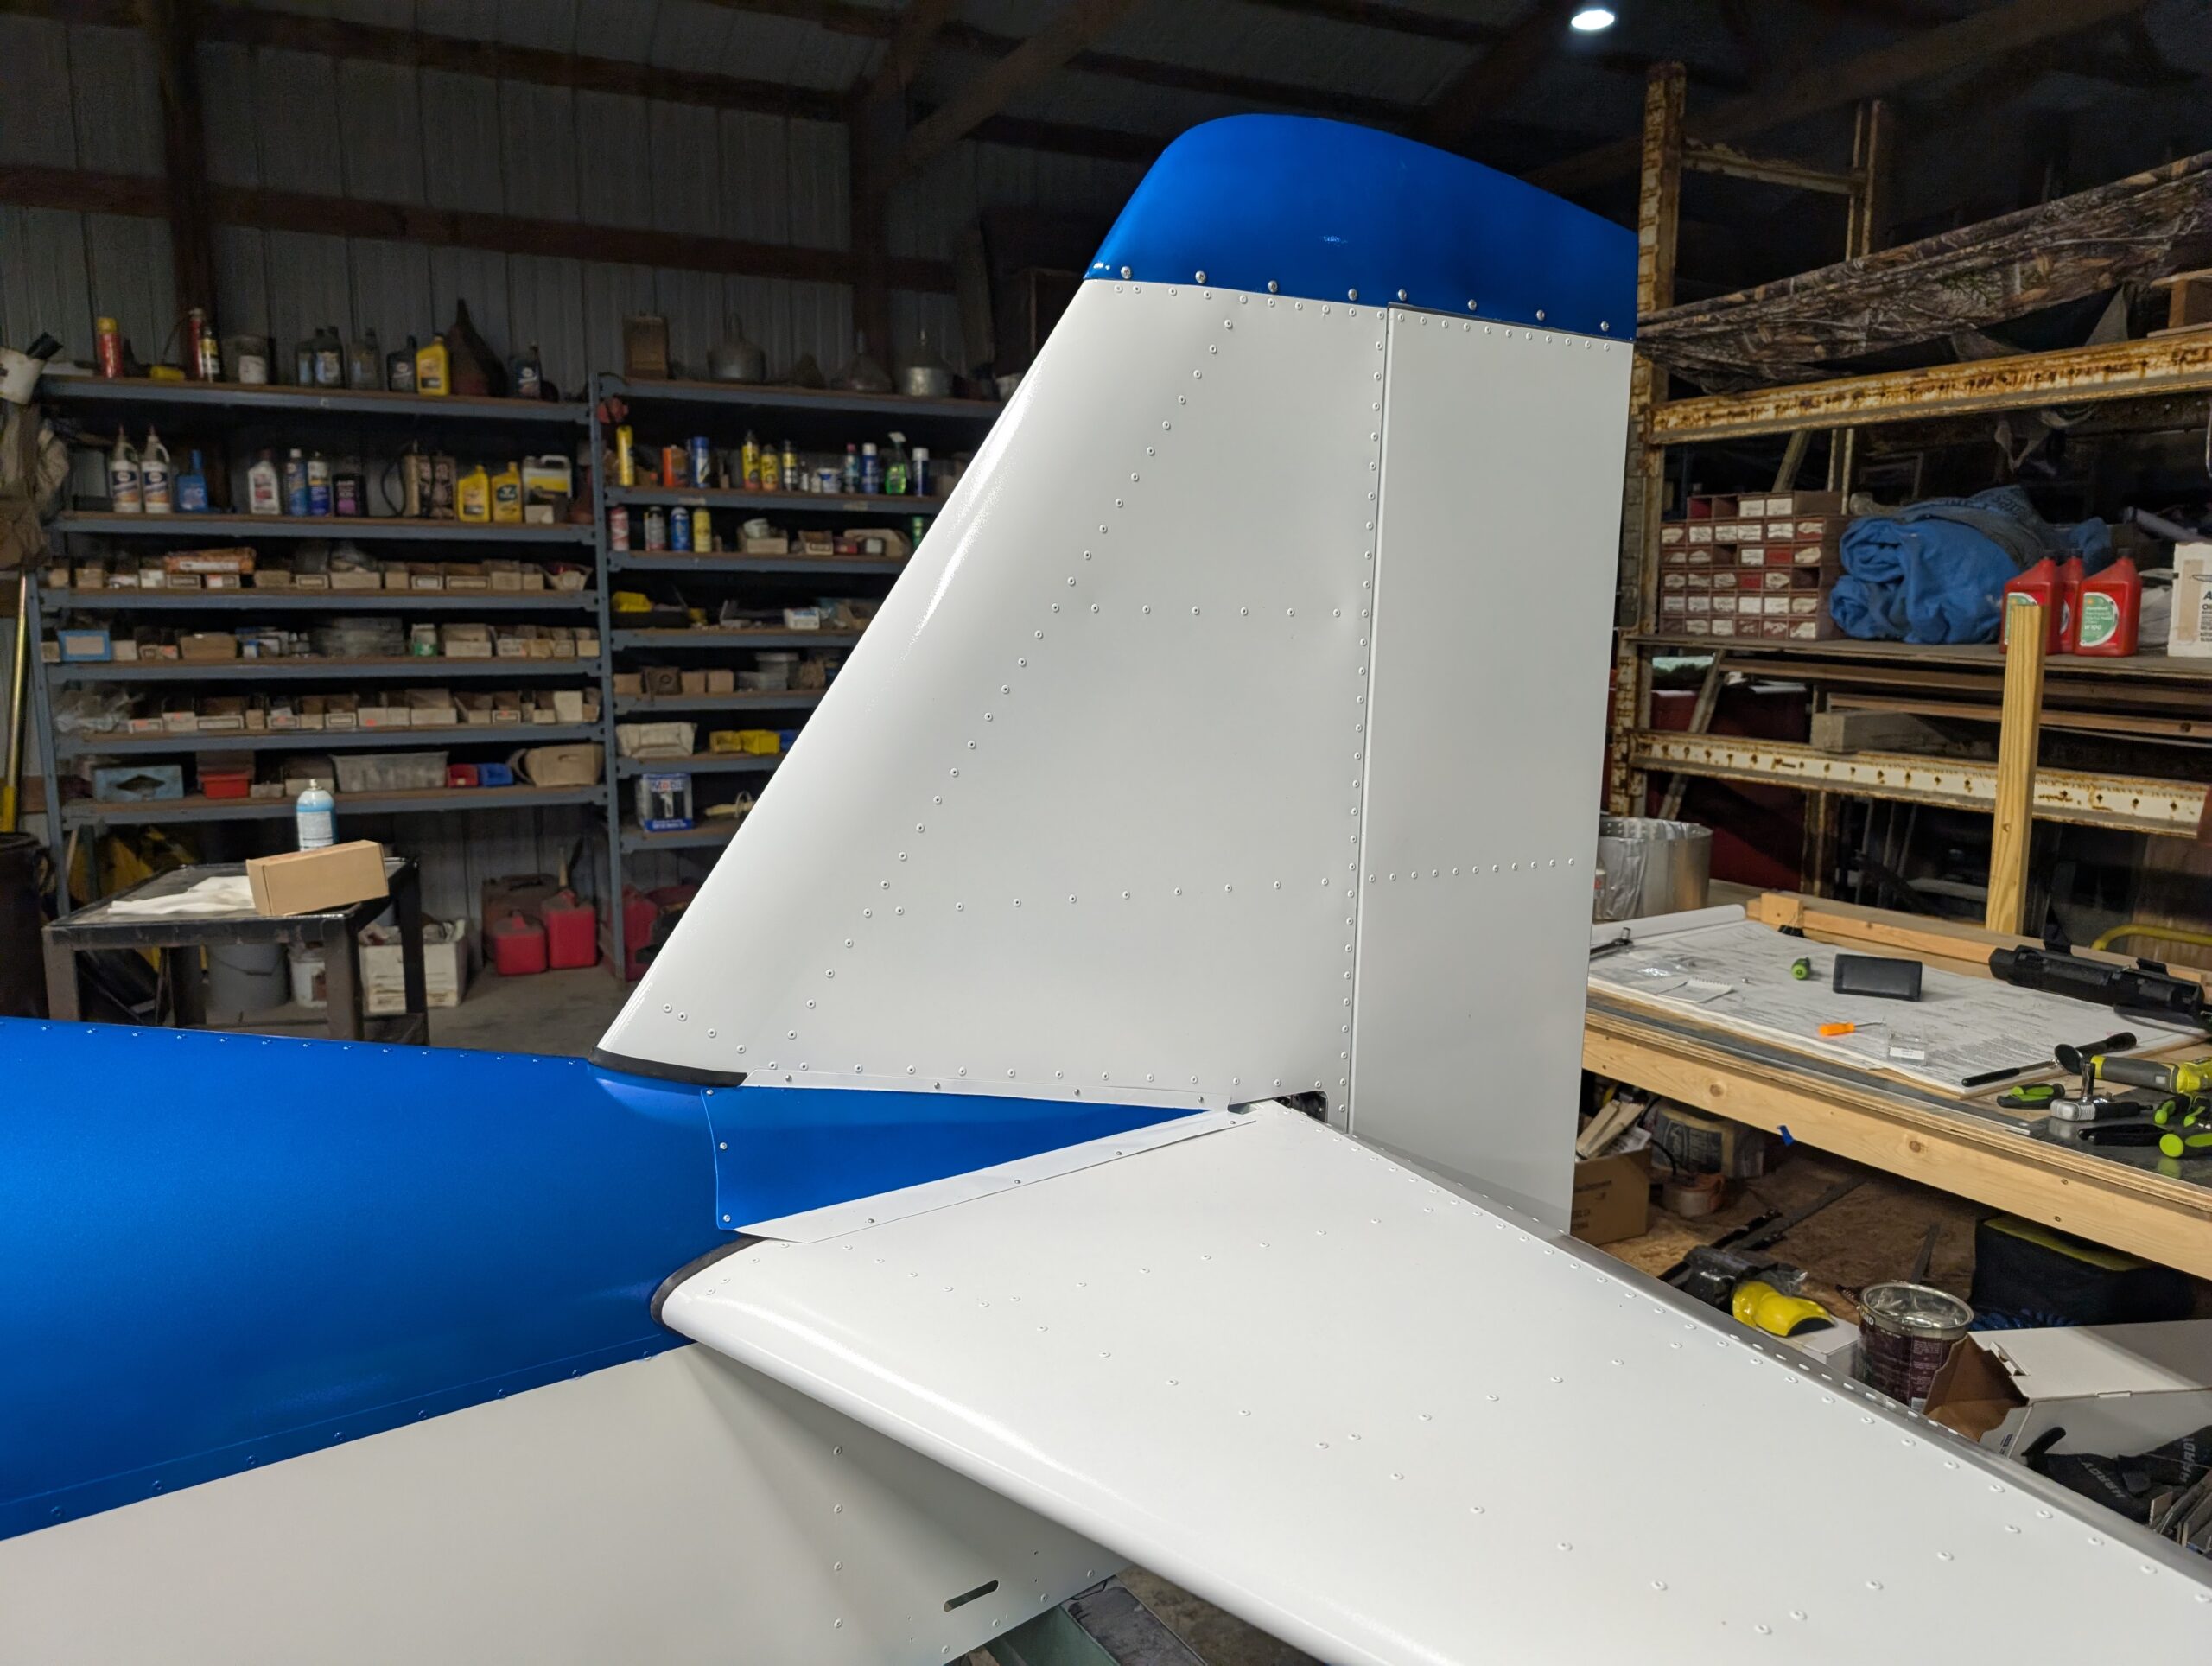
Final Tail Installation – Part 4
Painted tail fairing angles with white spray paint then installed onto tail. T01 complete! Hours Worked: 0.72
-
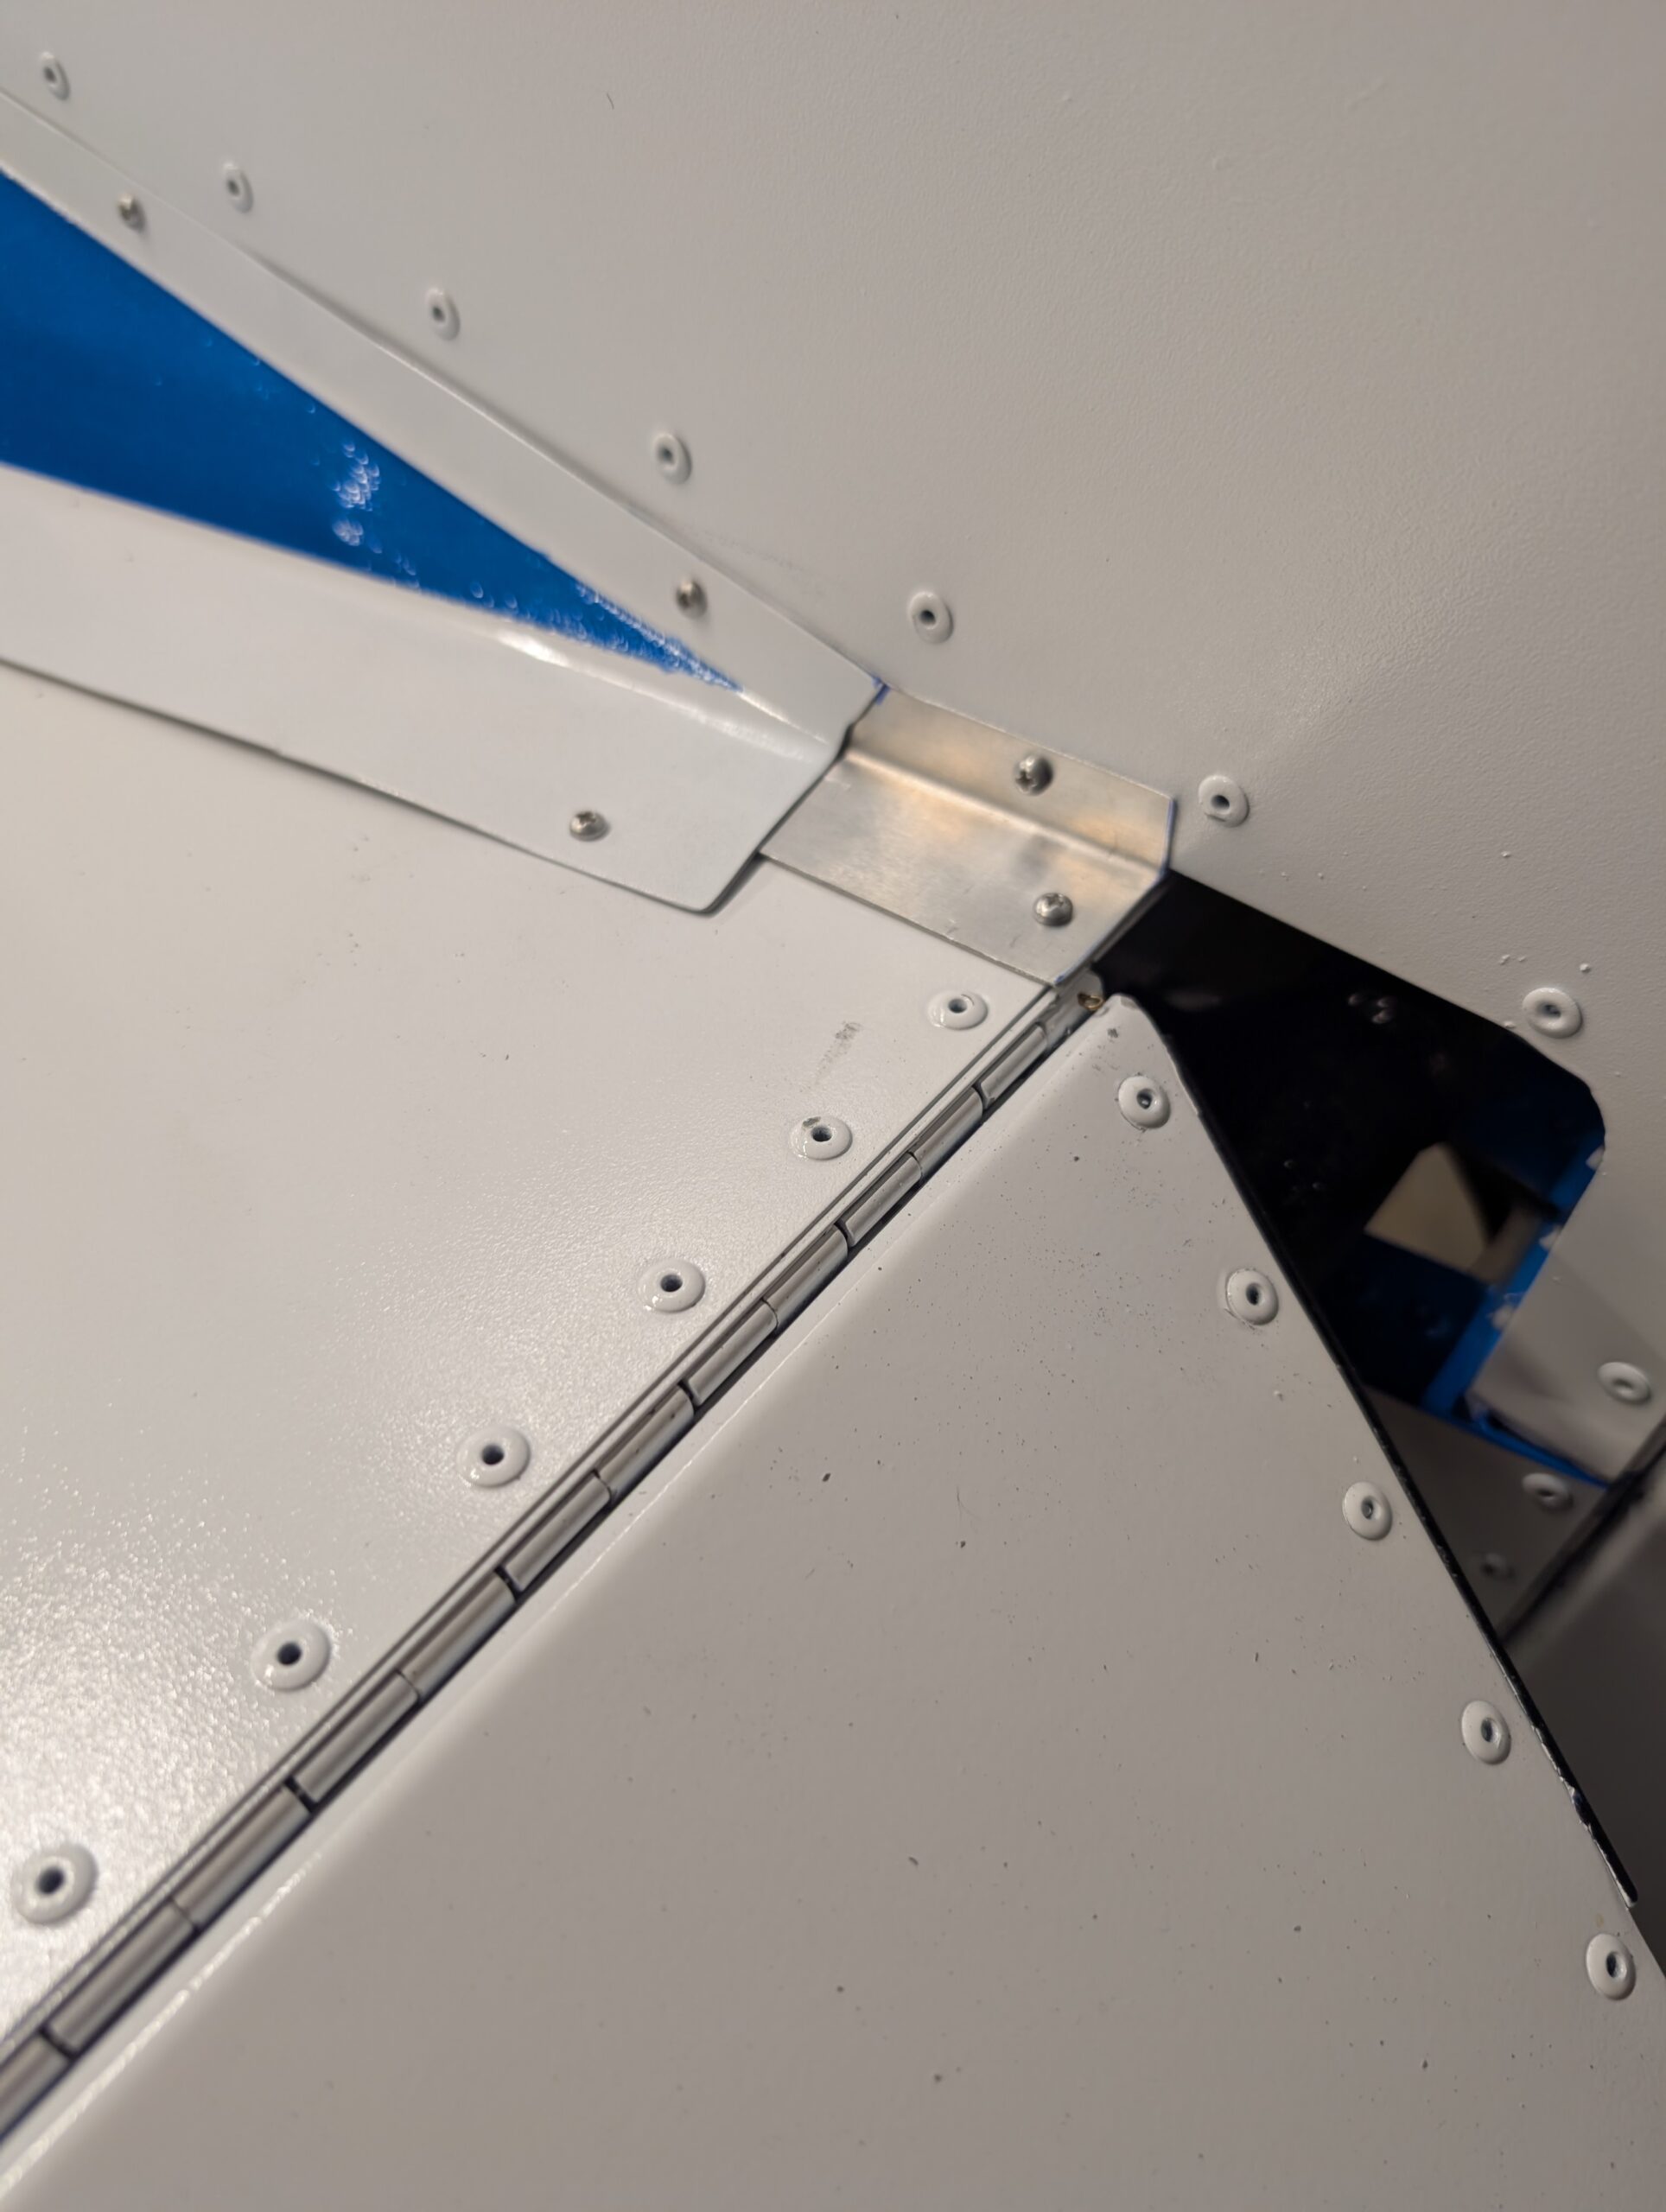
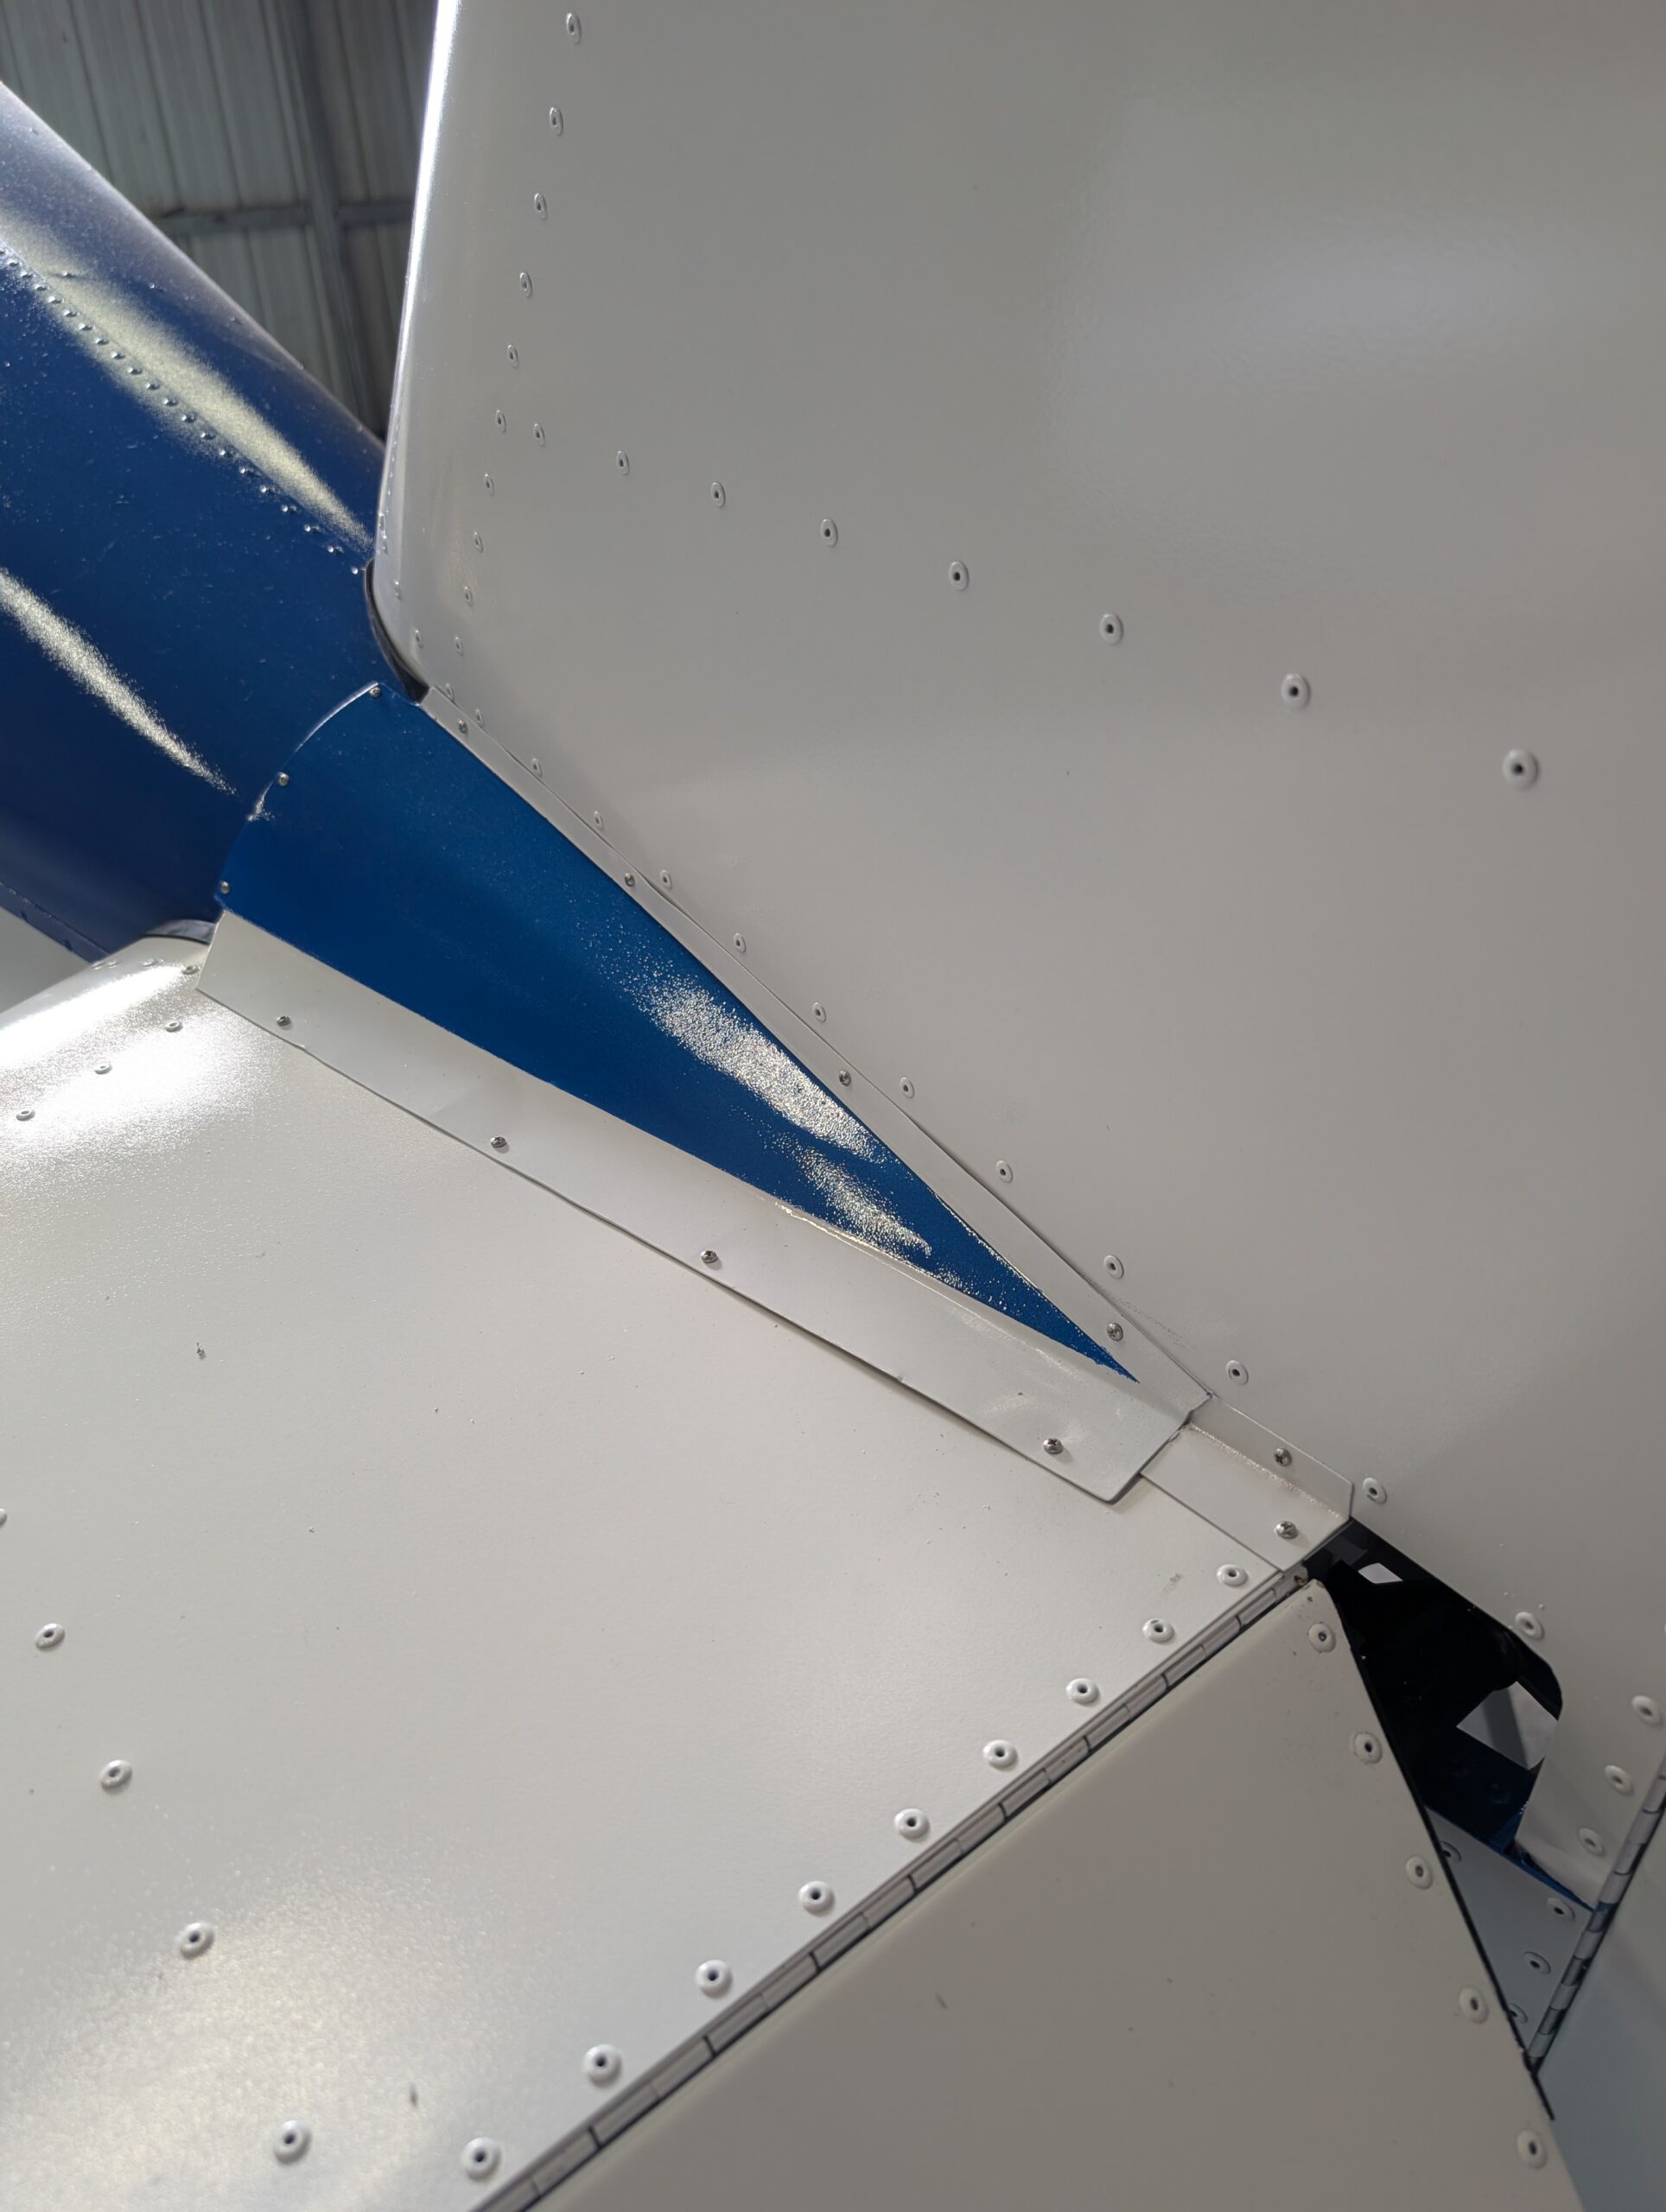
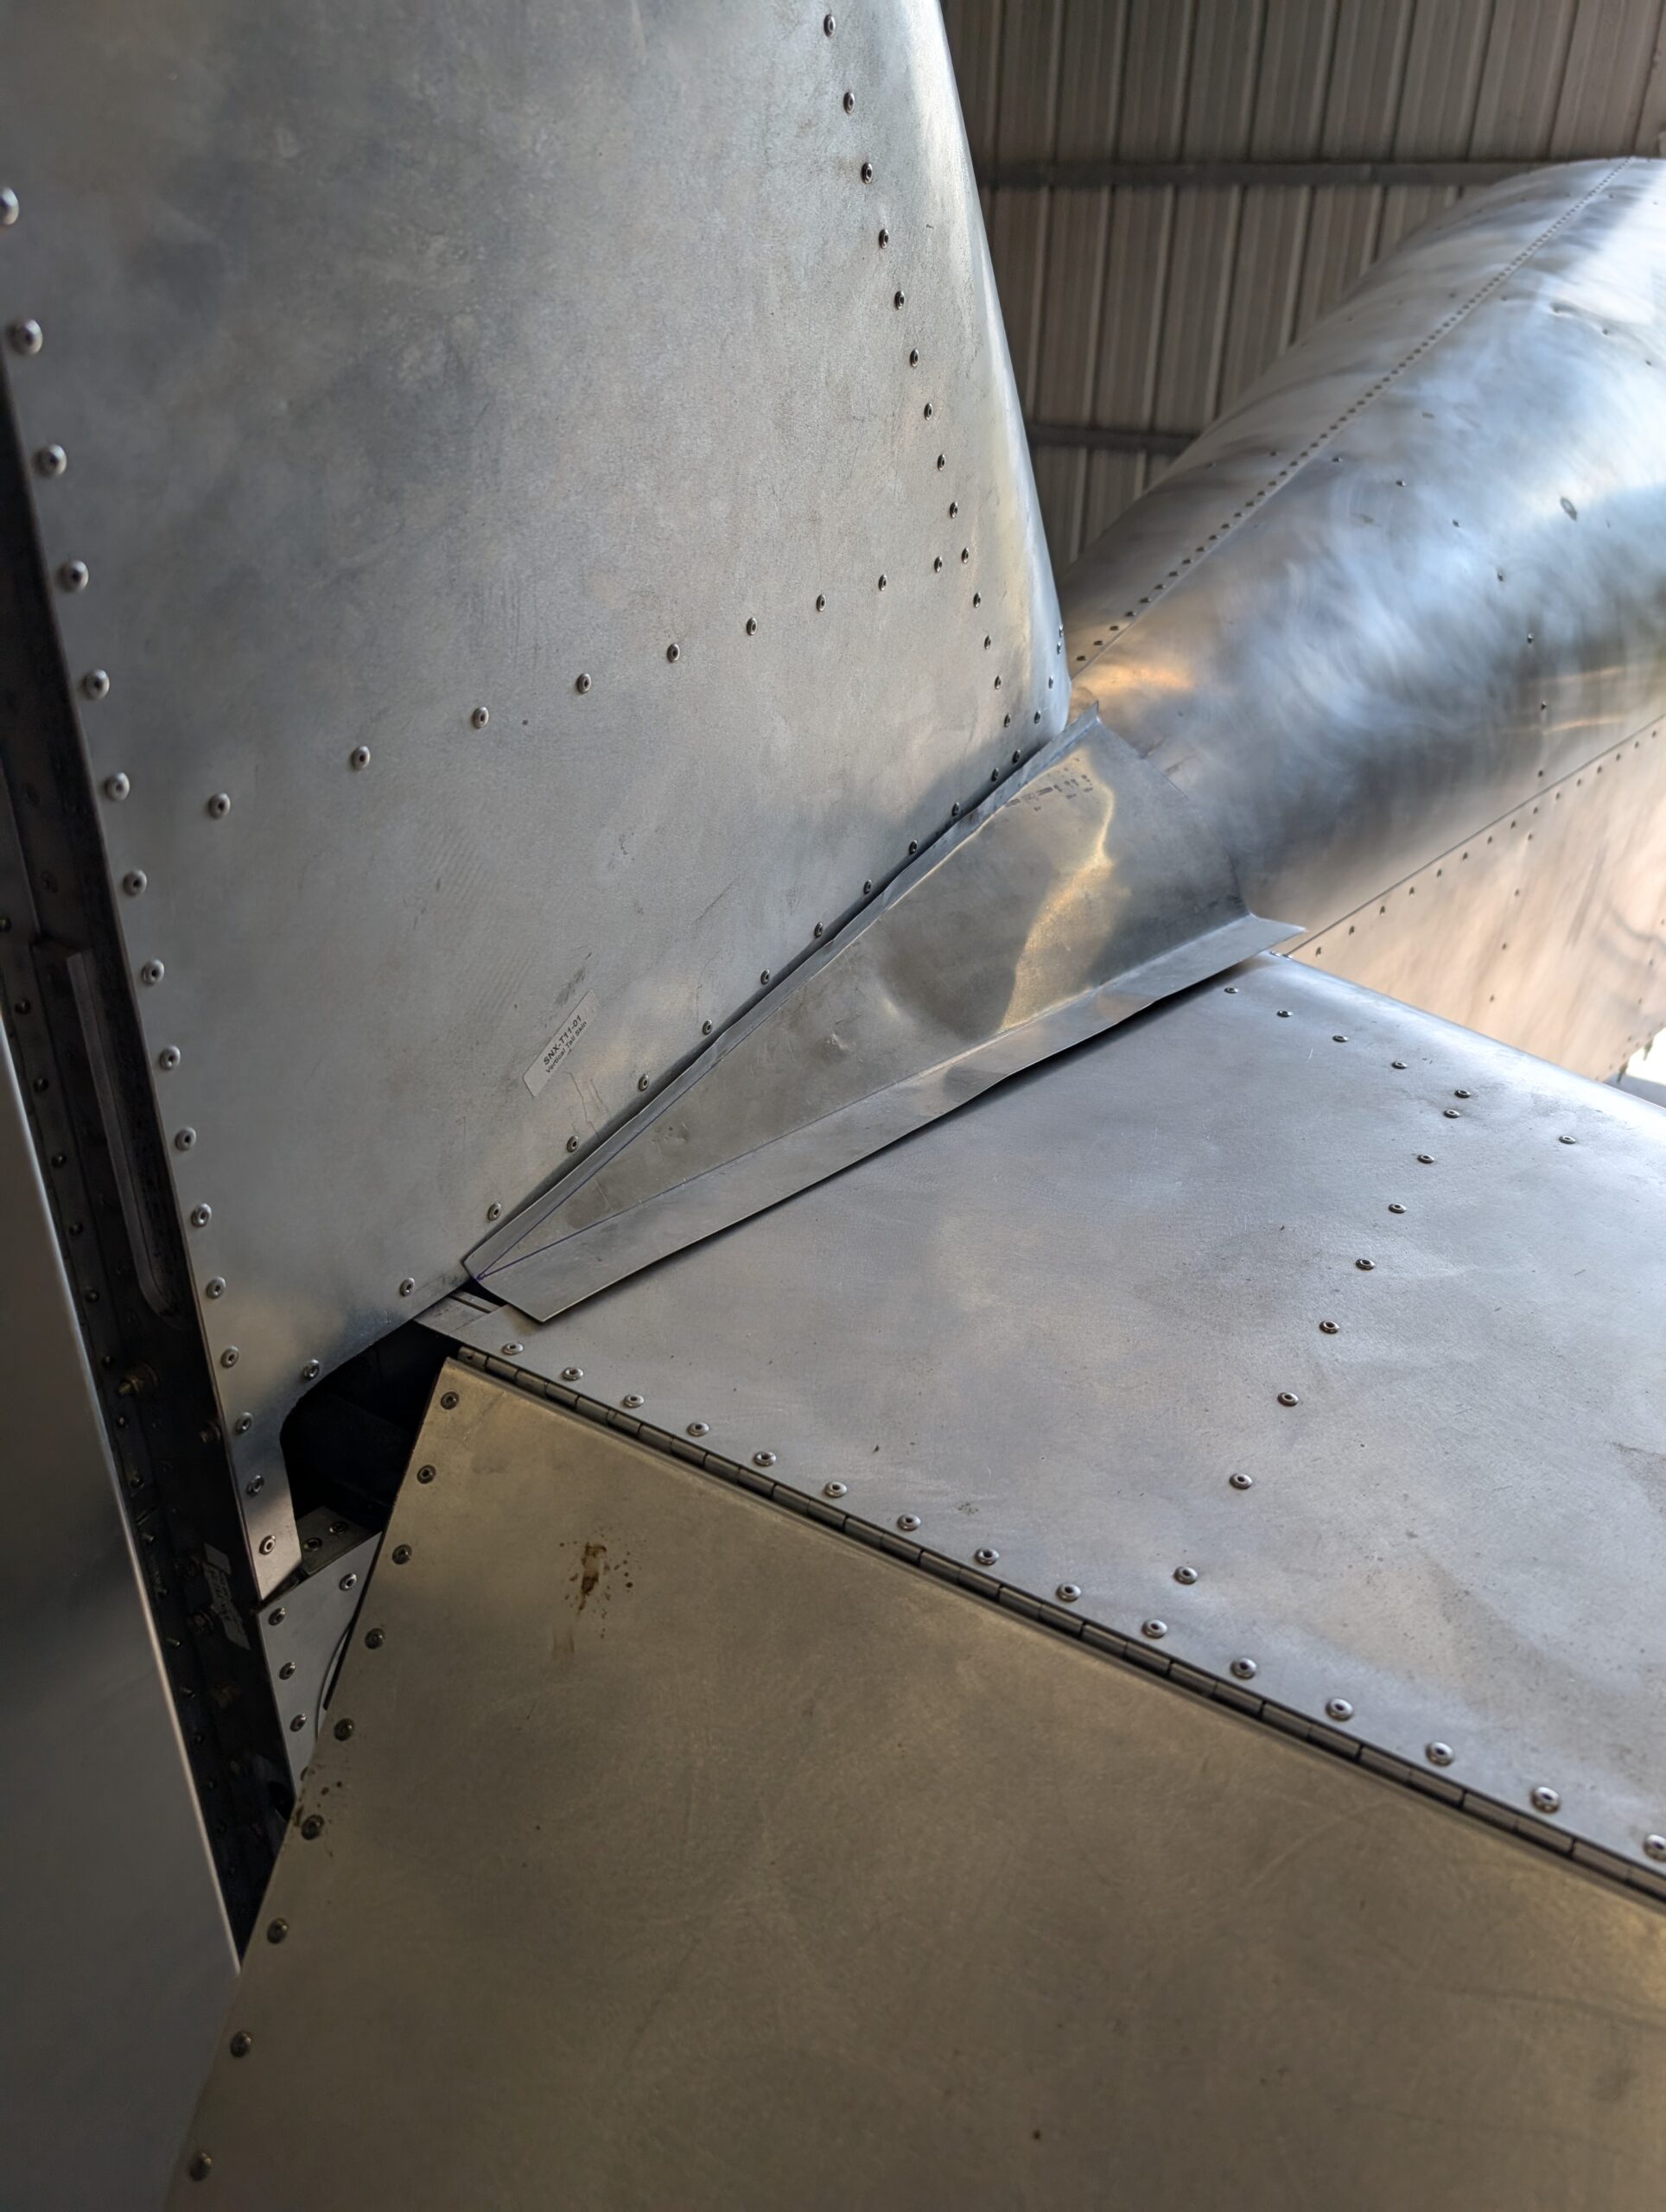
Tail Fairing Panels – Part 3
In lieu of using plan -06 angles to cover small gap behind tail fairing, opted to create a custom piece to seal up compartment where ELT sits. Cut Z01-03 stock to size and slipped underneath tail panel fairings. Overlapped furthest aft screw hole from fairing panels and marked two new PK screw holes. Cut angles…
-
Tail Tips Installation
Installed remaining tail tips onto tail feathers with AN526-832 screws. T14 complete! Hours Worked: 0.44
-
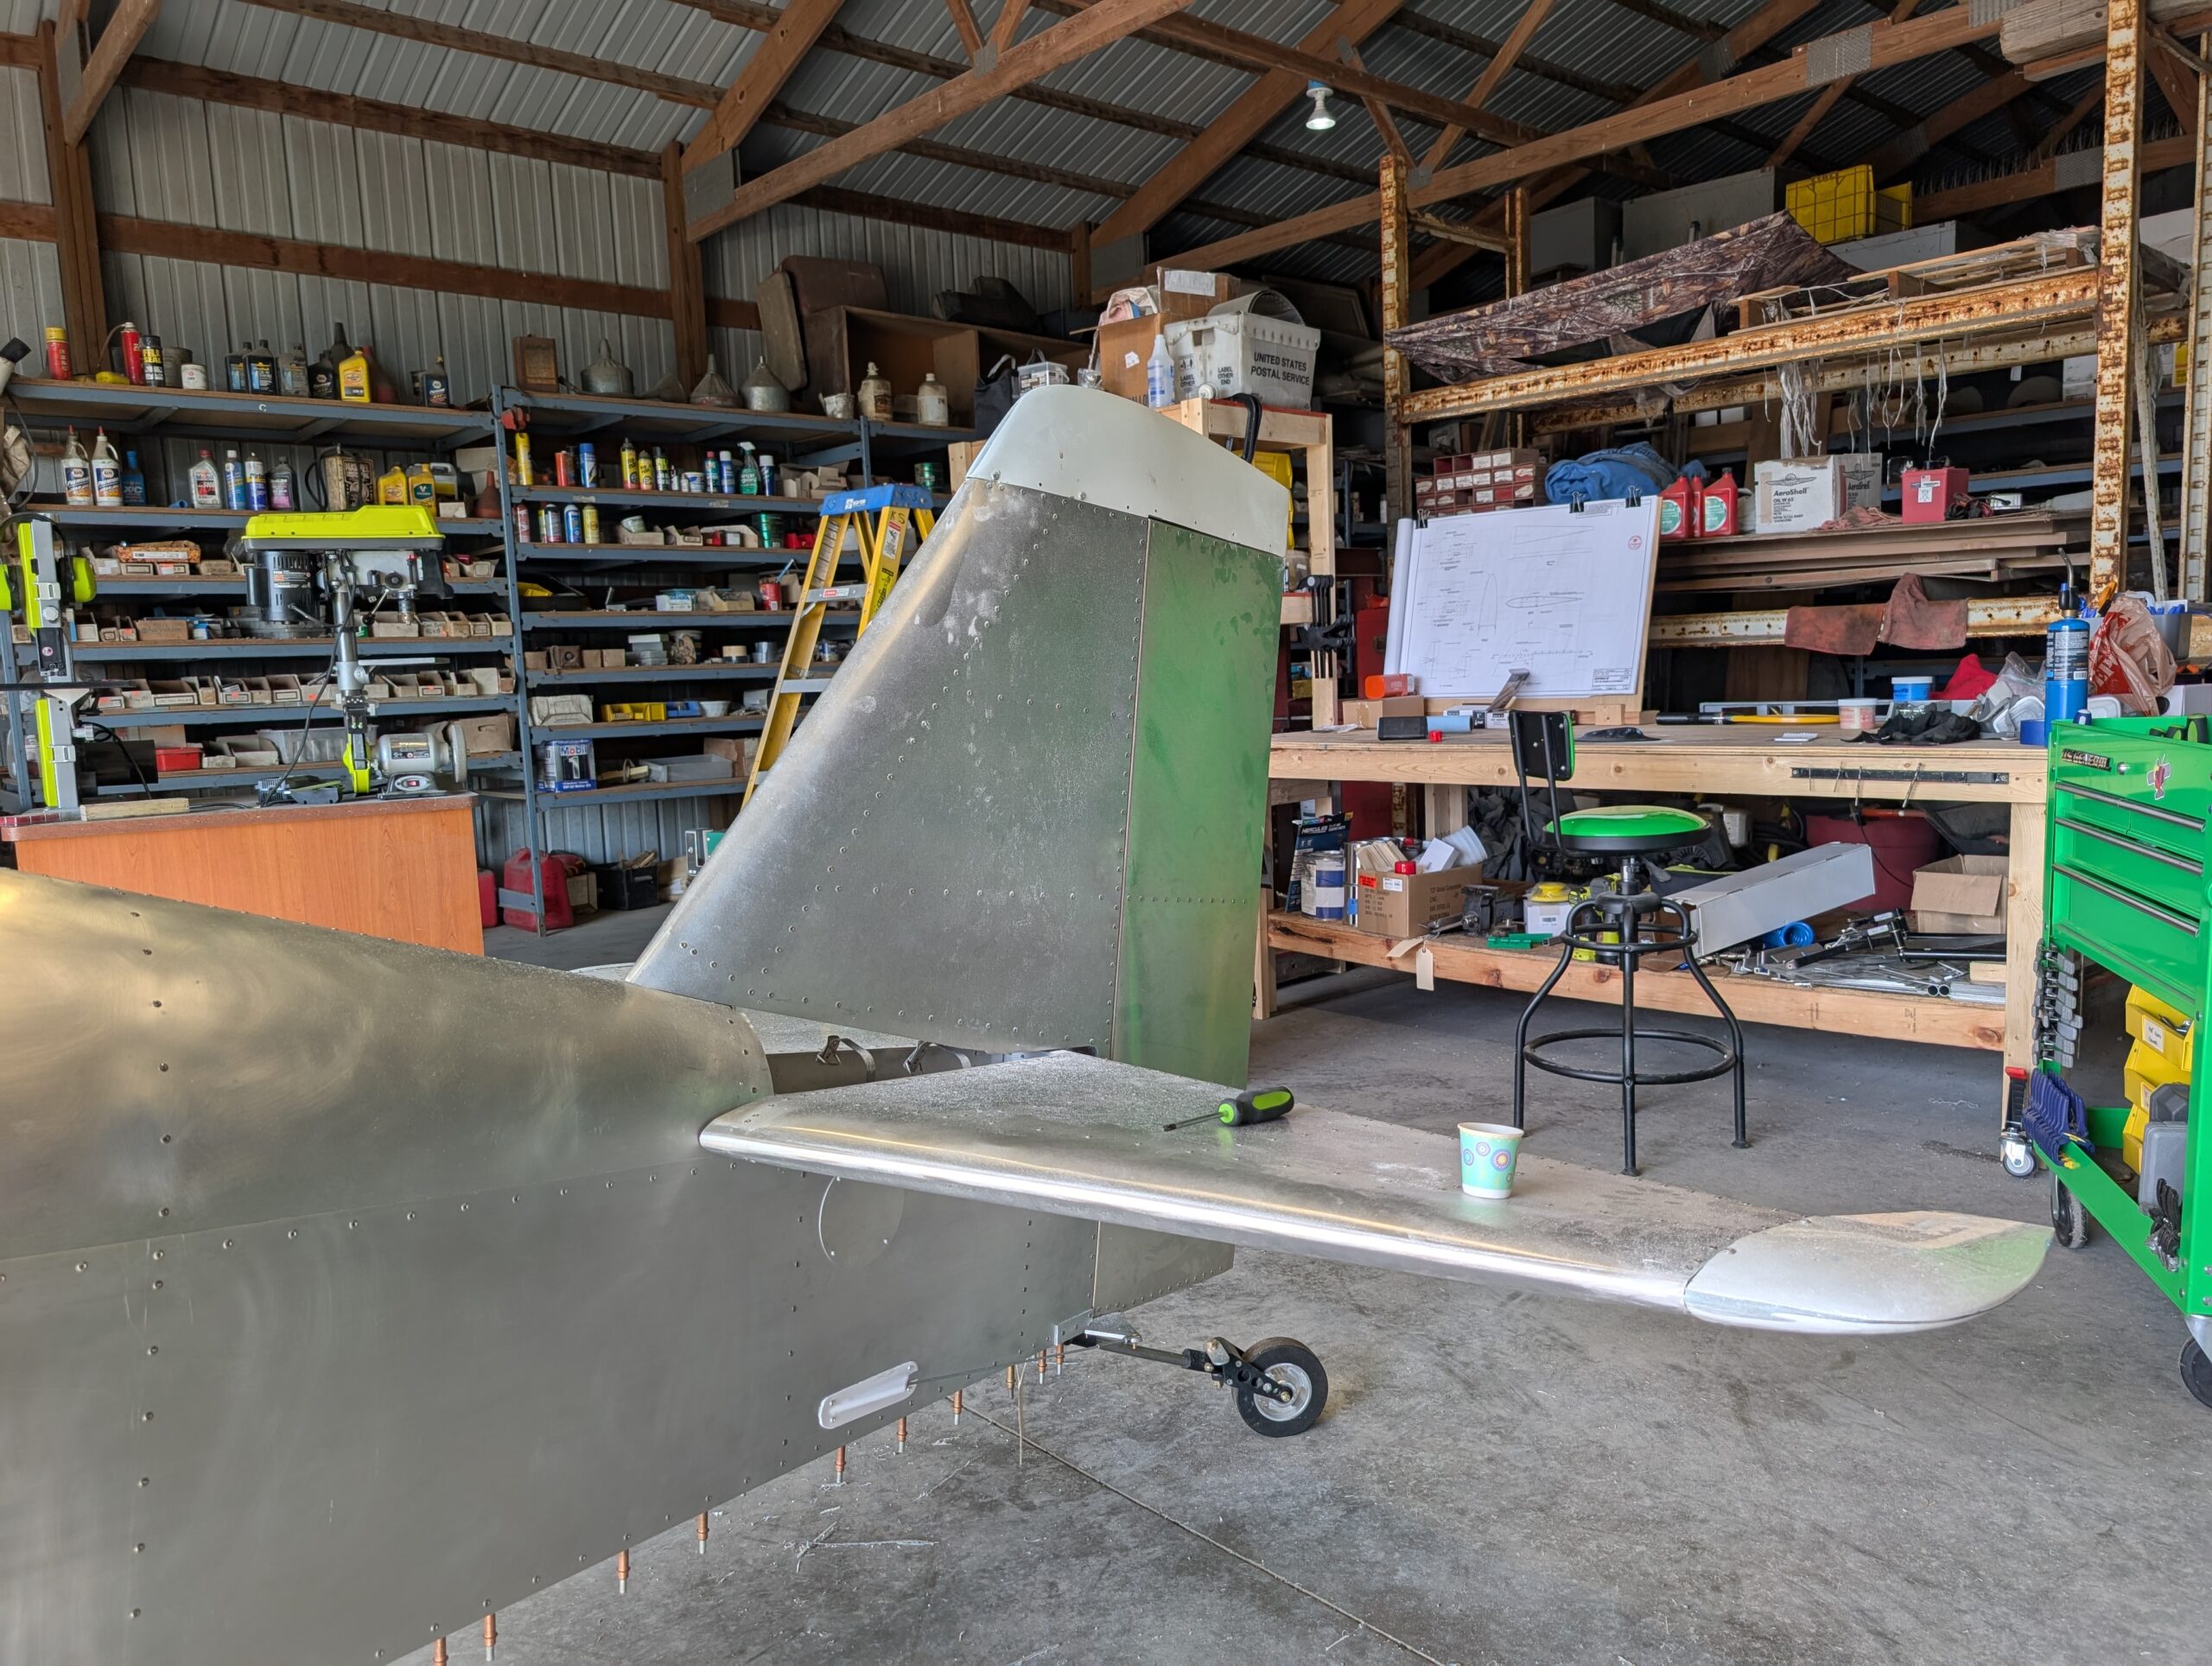
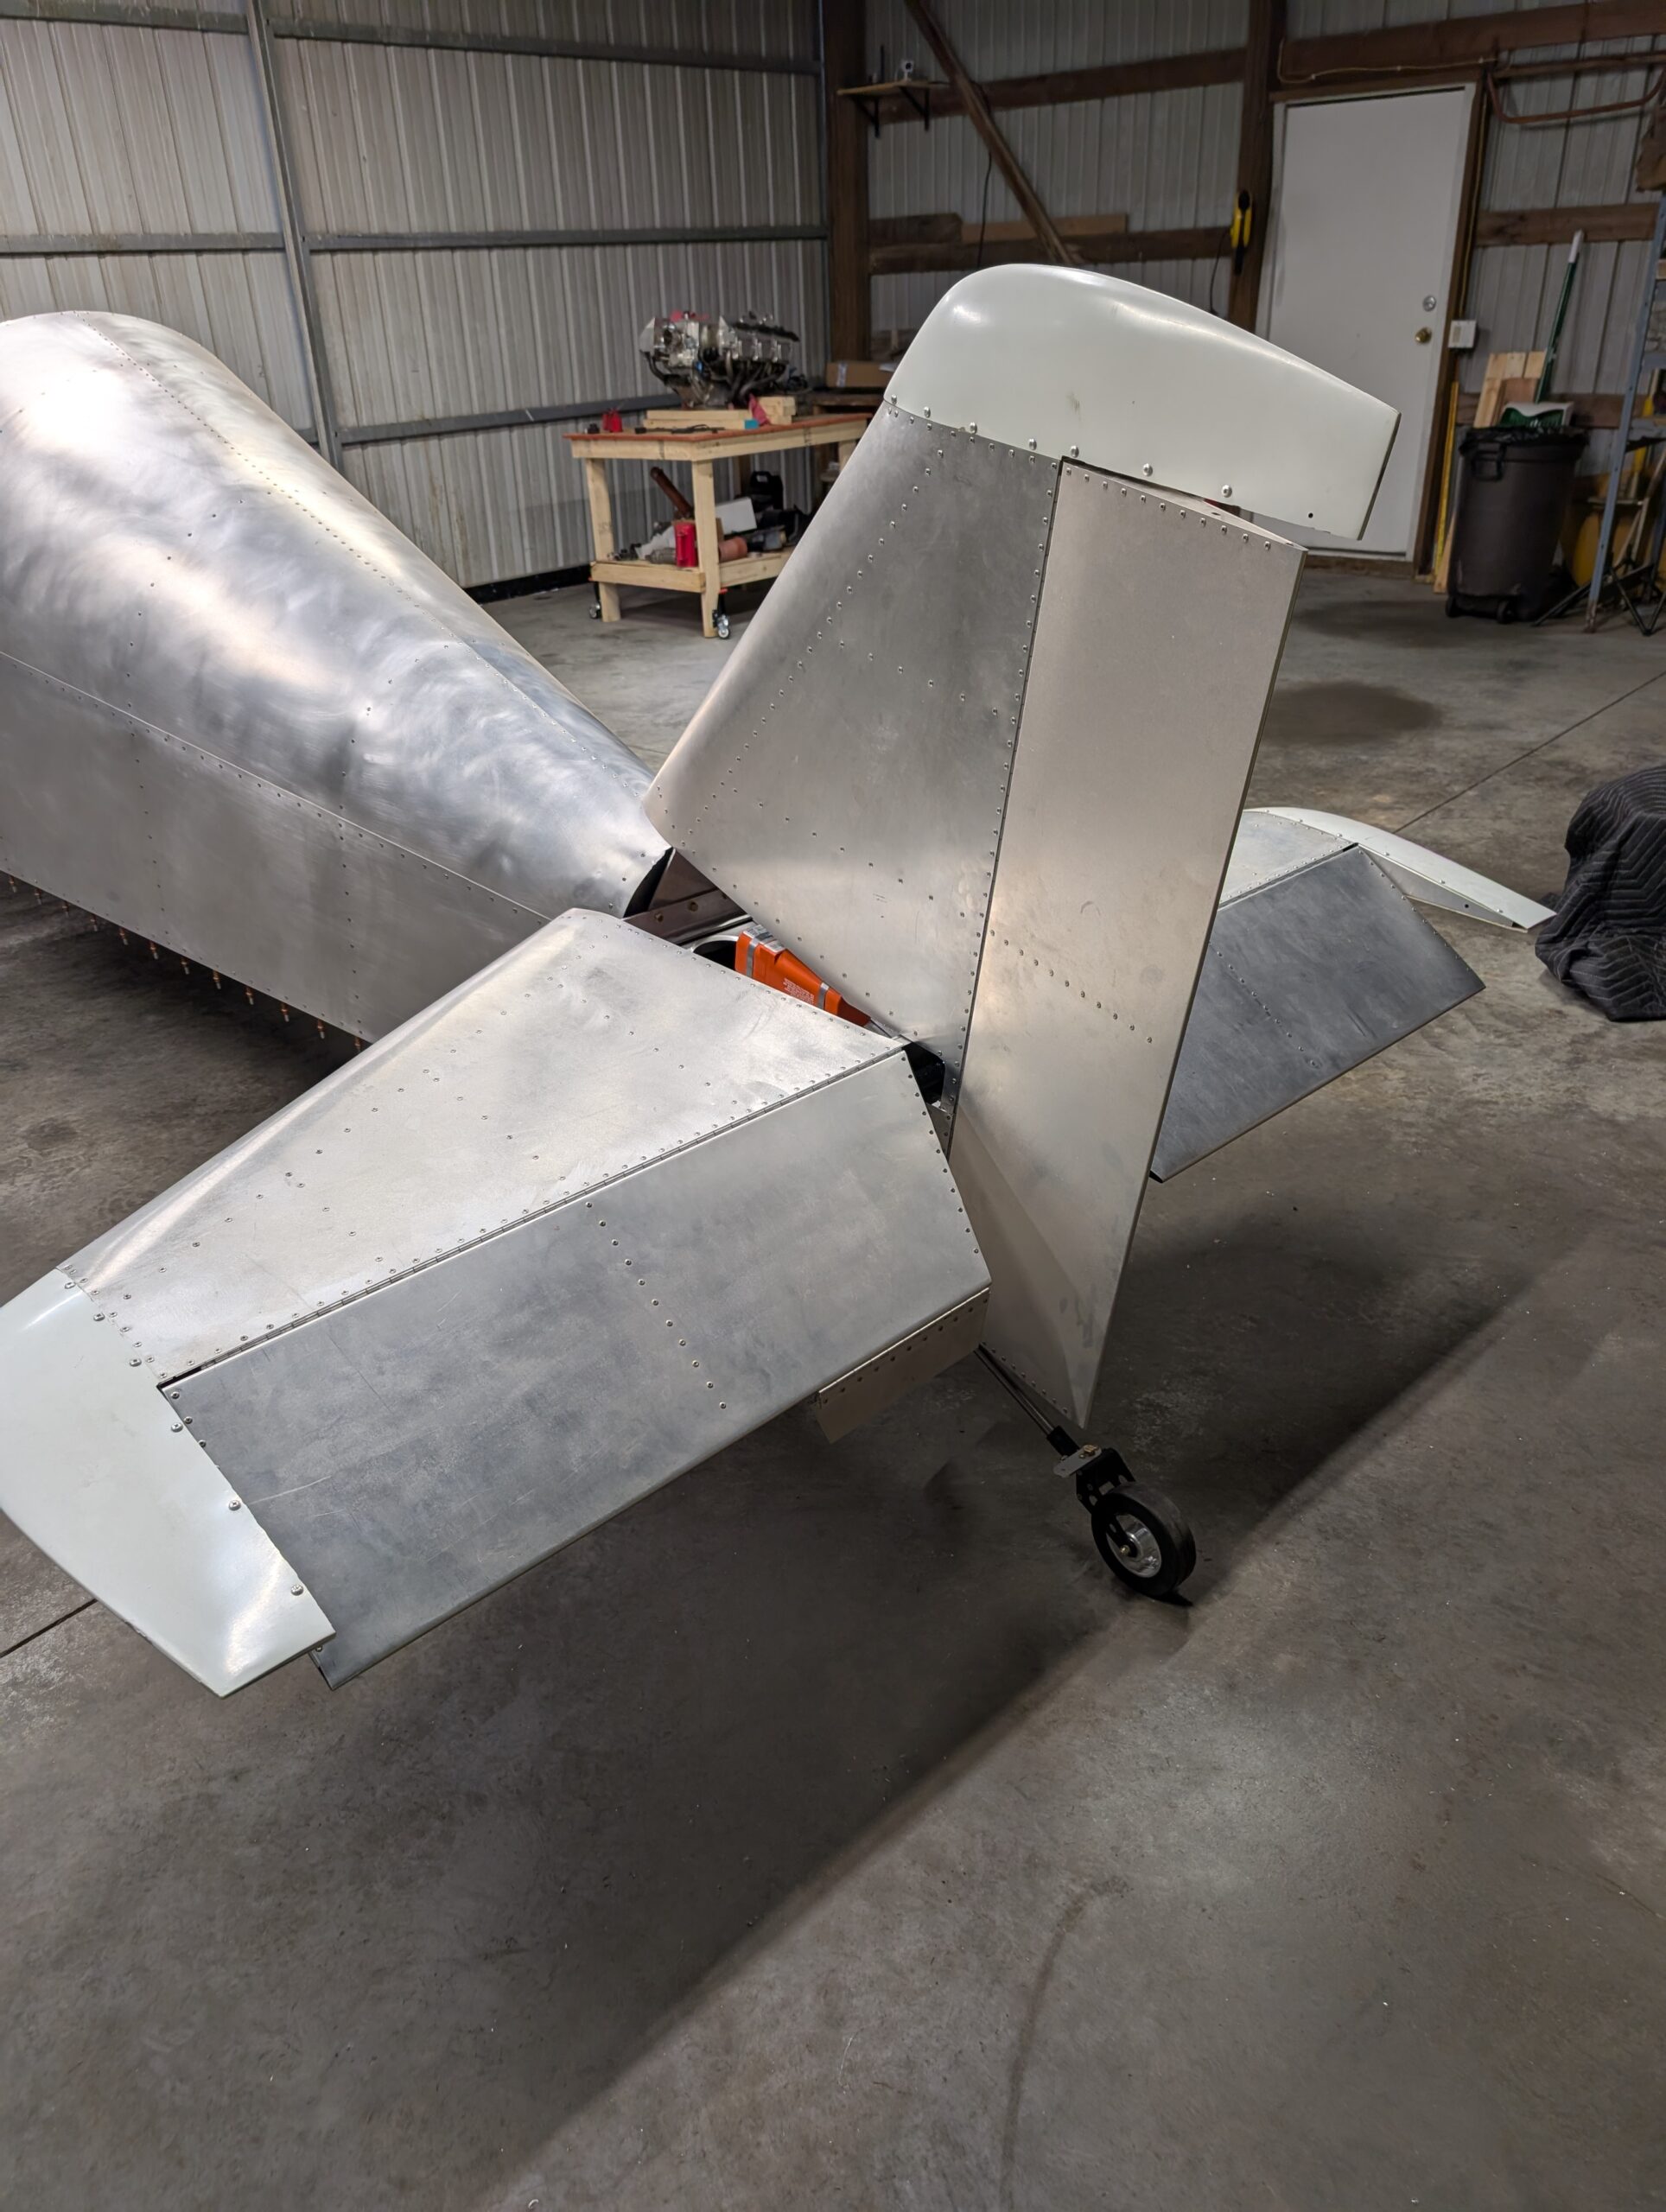
Final Tail Installation – Part 3
Installed vertical stabilizer onto fuselage. Replaced AN3-6A bolts in tail with AN3-5A bolts for better fit and to ensure nut wasn’t bottoming out on bolts. Installed weather stripping on bottom edge of vertical stabilizer. Removed hinge pin from rudder installed during painting and reamed out hinge loops. Cut rudder hinge pin to size then installed…
-
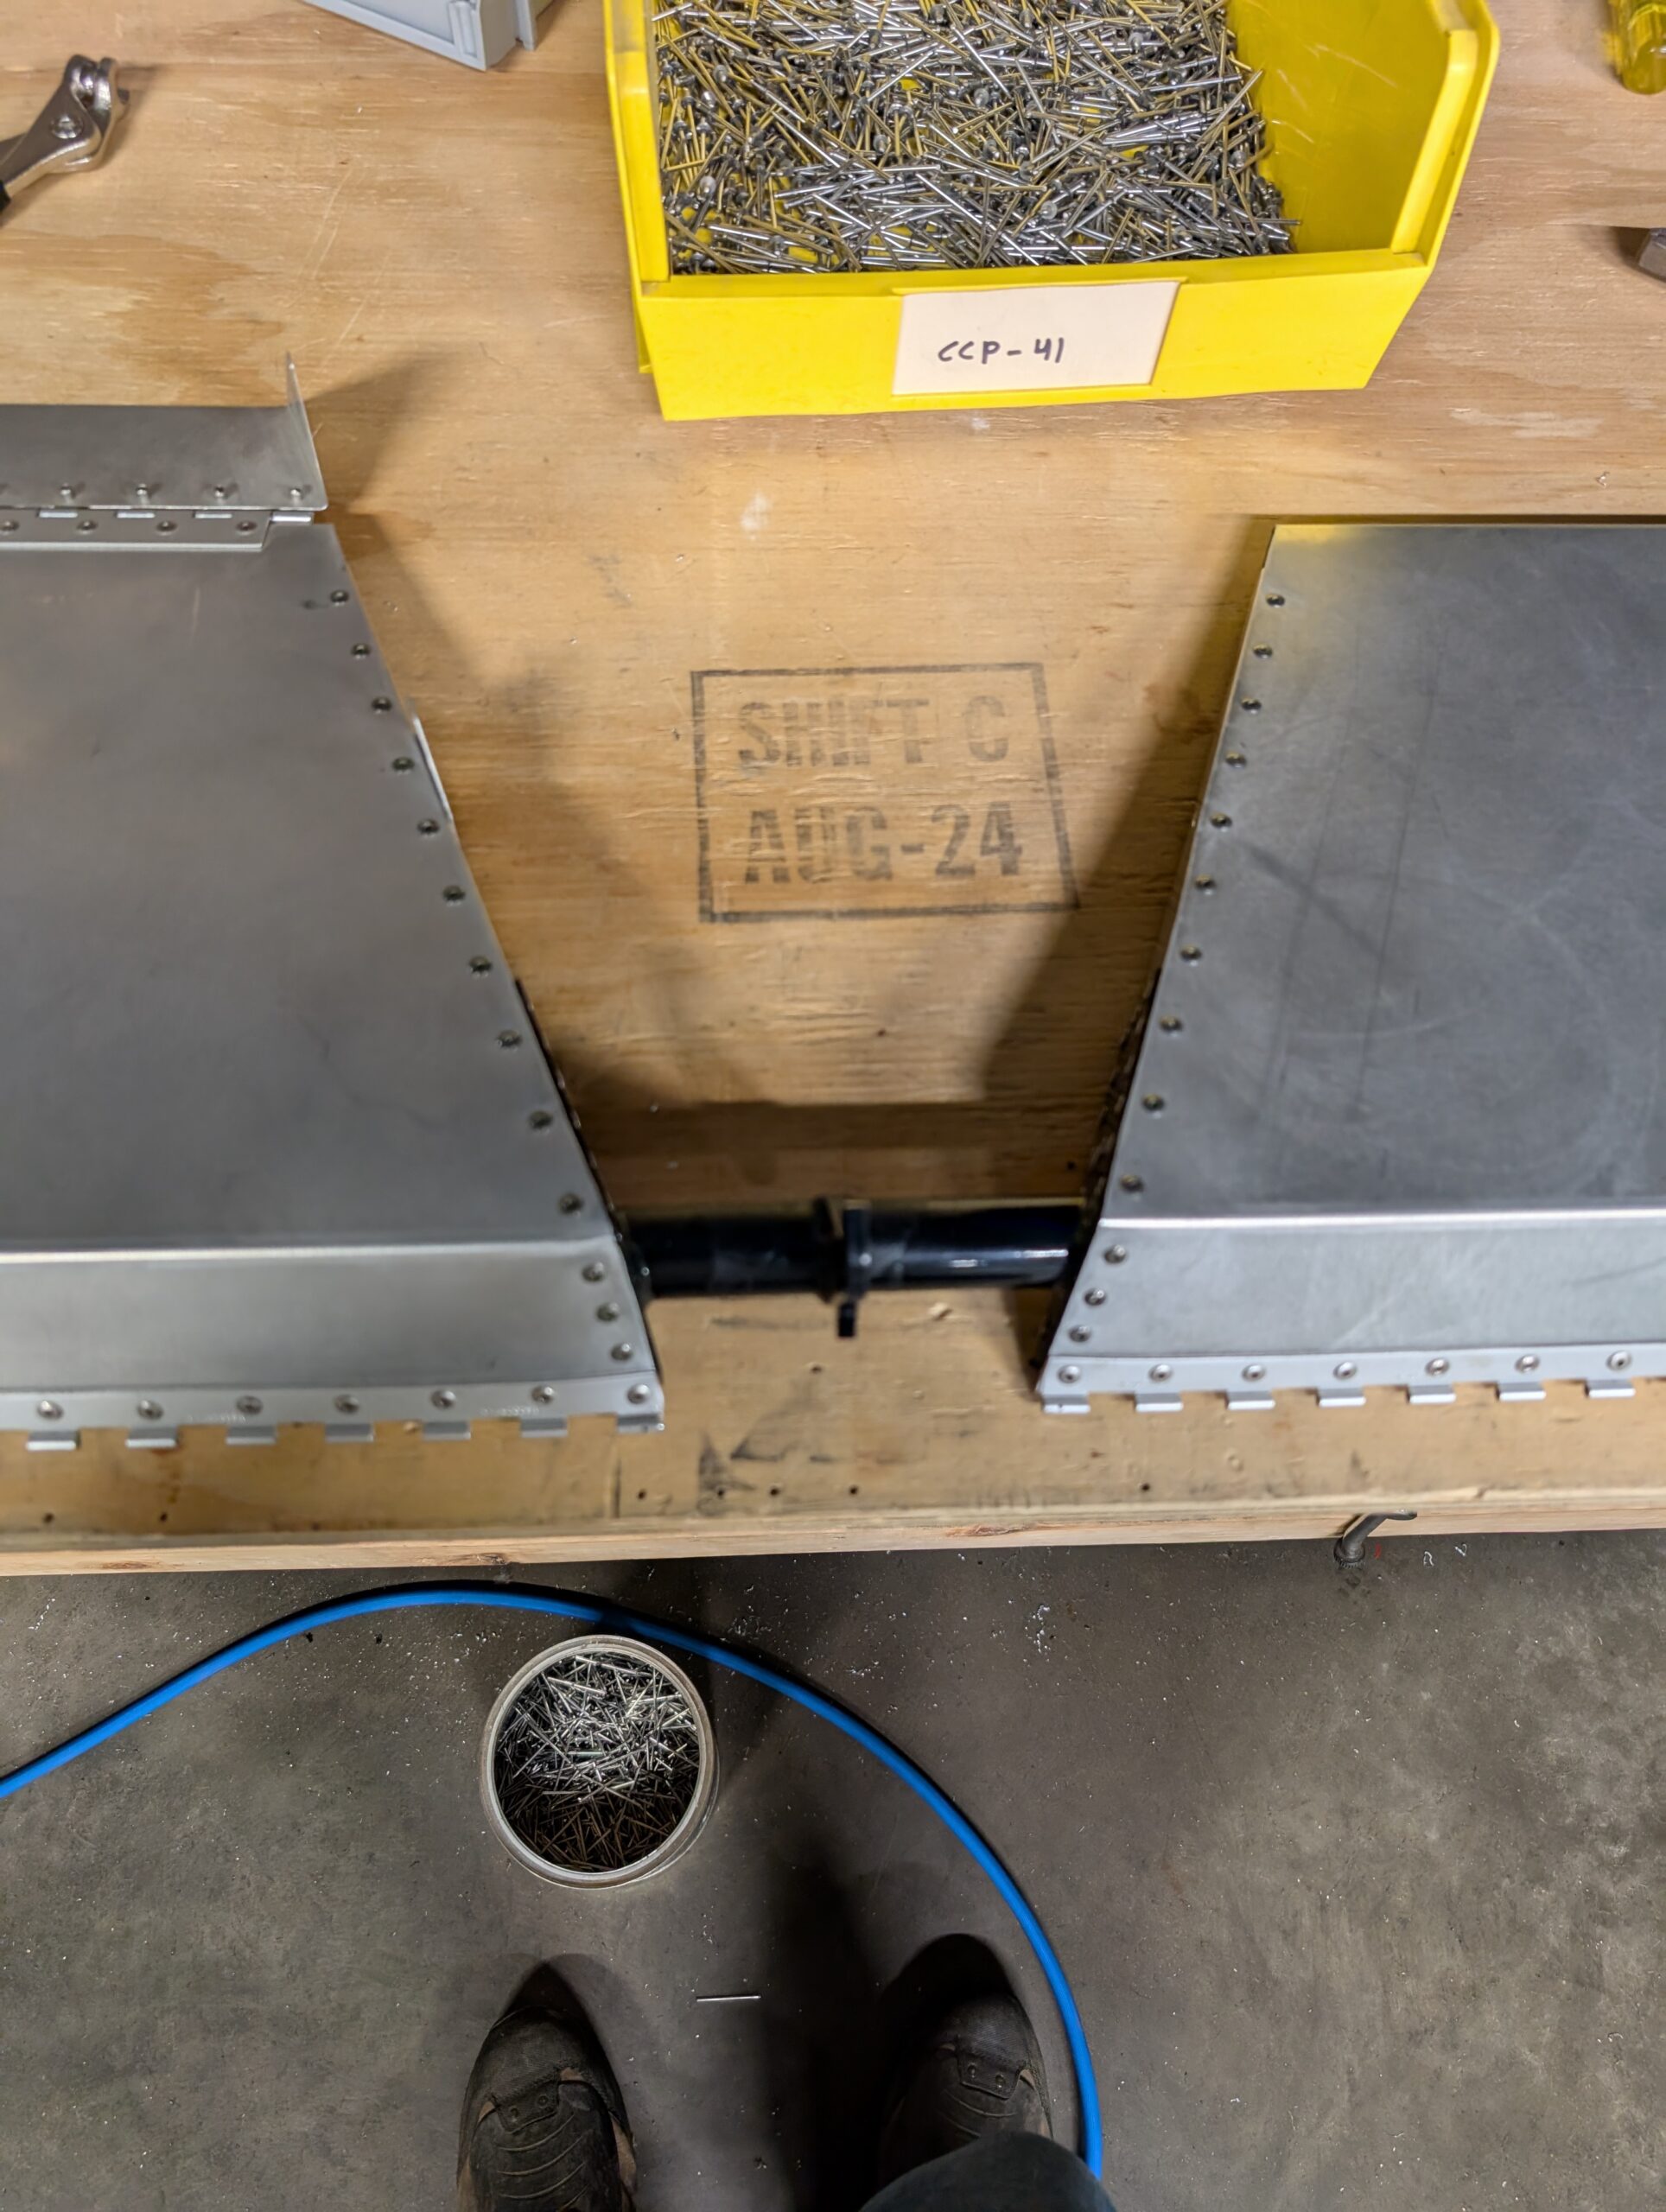
Final Tail Installation – Part 2
Removed piano hinges installed in elevator during paint process and reamed out hinge loops. Installed elevator onto fuselage and horizontal stabilizer with piano hinges. Drilled cotter pin holes in hinge loops per plans and installed cotter pins. T02 complete! Hours Worked: 1.72
-
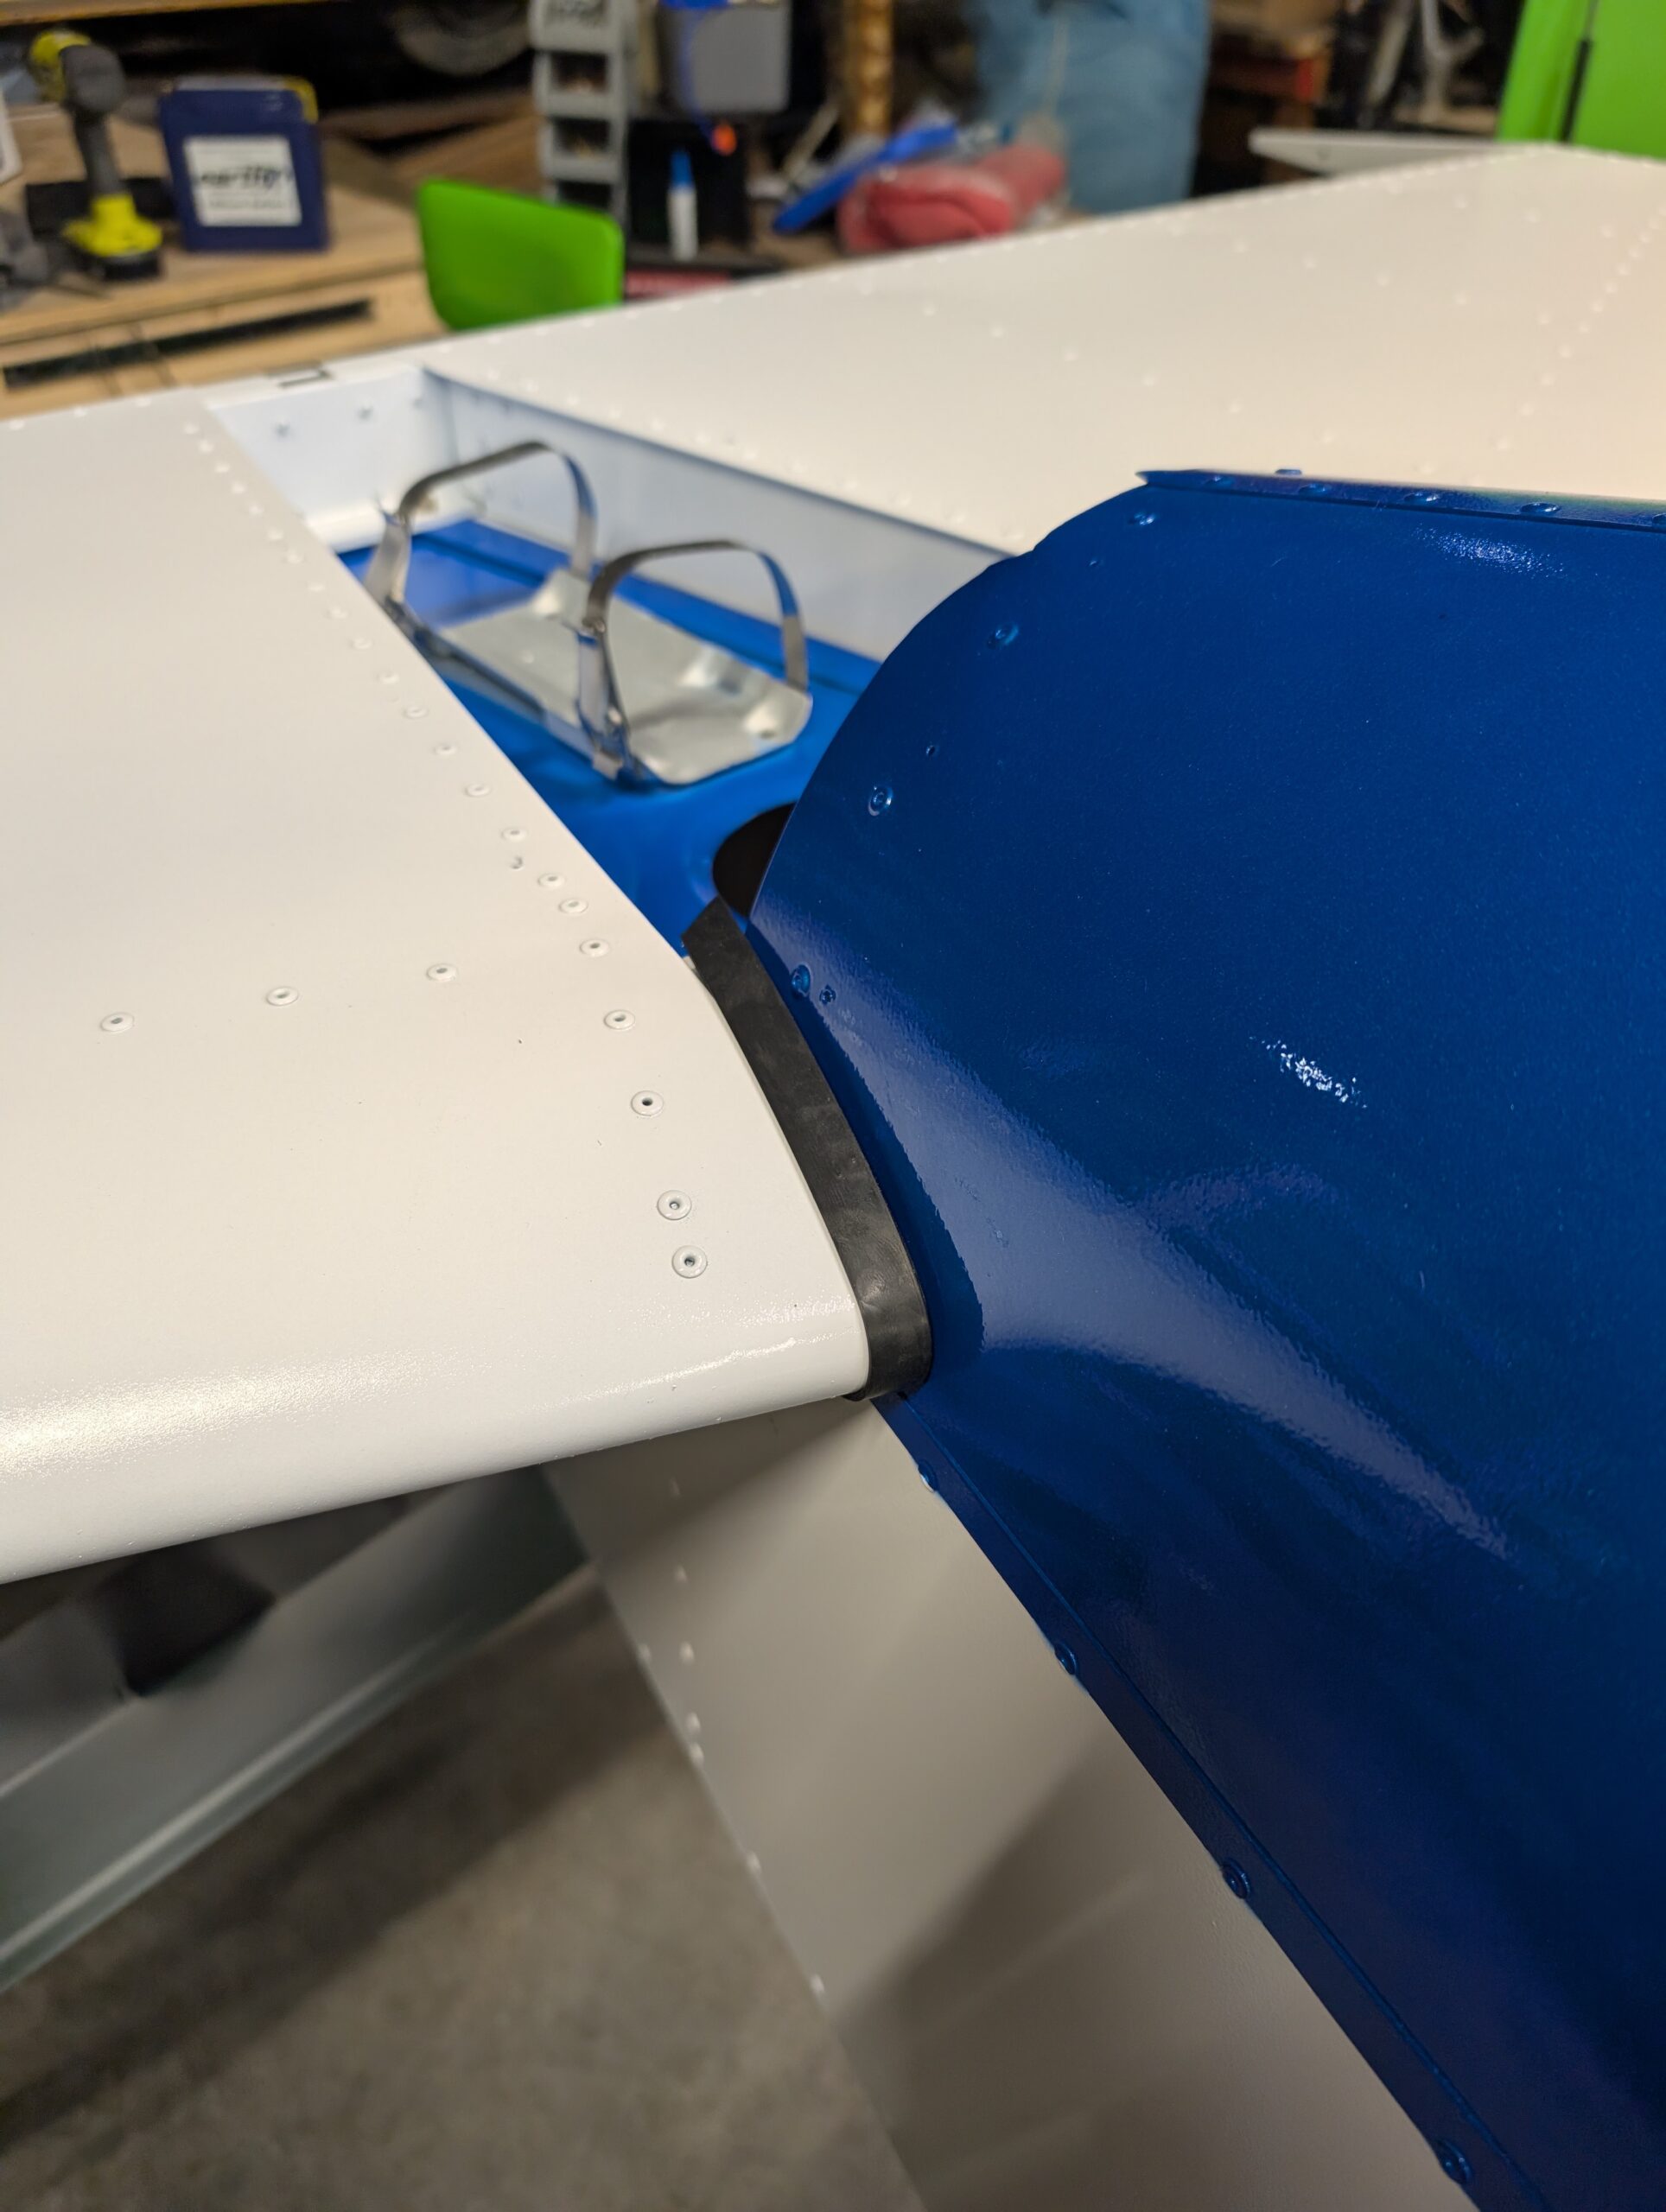
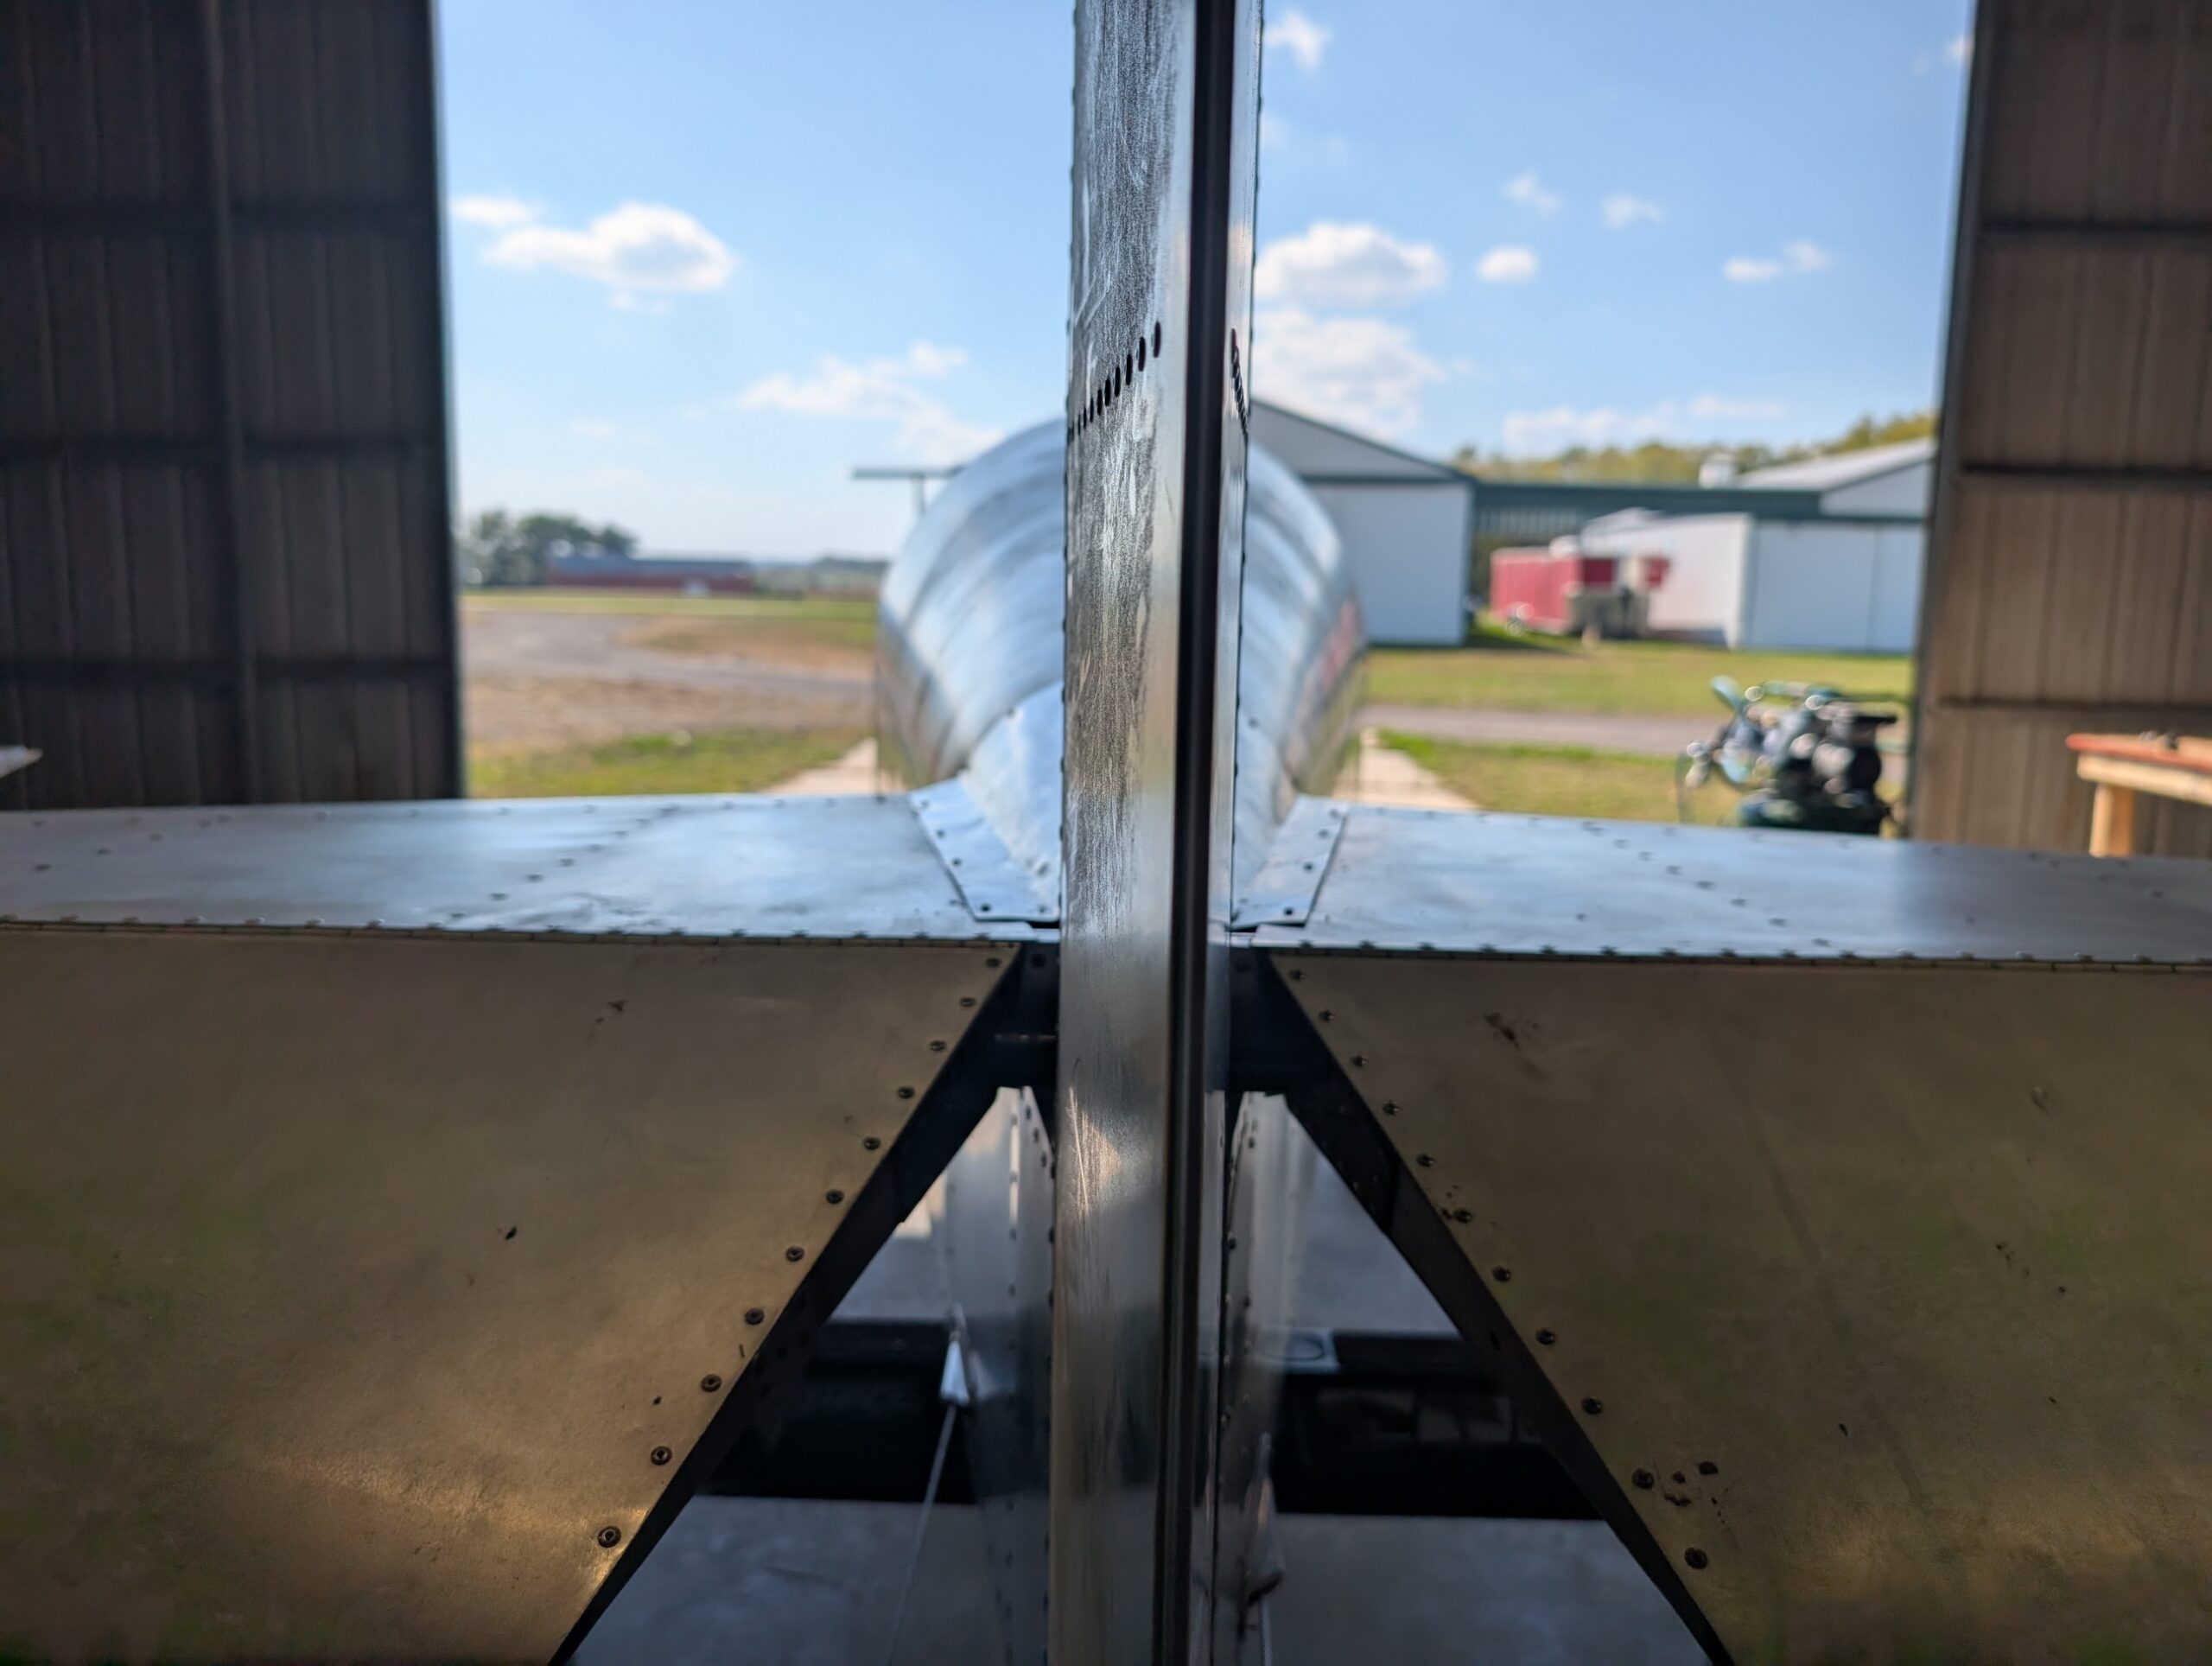
Final Tail Installation – Part 1
Began final assembly of tail by mounting horizontal stabilizer to fuselage with AN4 hardware. Installed weatherstripping along inboard leading edge to help take up gap between stabilizer and turtledeck. Applied torque seal to mounting bolts. Hours Worked: 0.89
-
Tail Tip Fairings – Part 2
Started process of final shaping of the tail tip fairings by mounting fairings back onto the tail and contouring leading edge with 80 grit sandpaper. Luckily put enough SuperFil into each cavity that there was enough material to work with. After tips were shaped, removed them and sanded entire tip with 120 grit then 240…
-
Tail Fairing Panels – Part 2
Continued to work on tail fairing panels by annealing panels via sharpie method; scribbled sharpie on the panels then heated them via torch until sharpie marks began to disappear. After annealing, worked panels over a couple scrap pieces of pipe to work curve into the panels; this method worked much better than expected. After shaping…
-
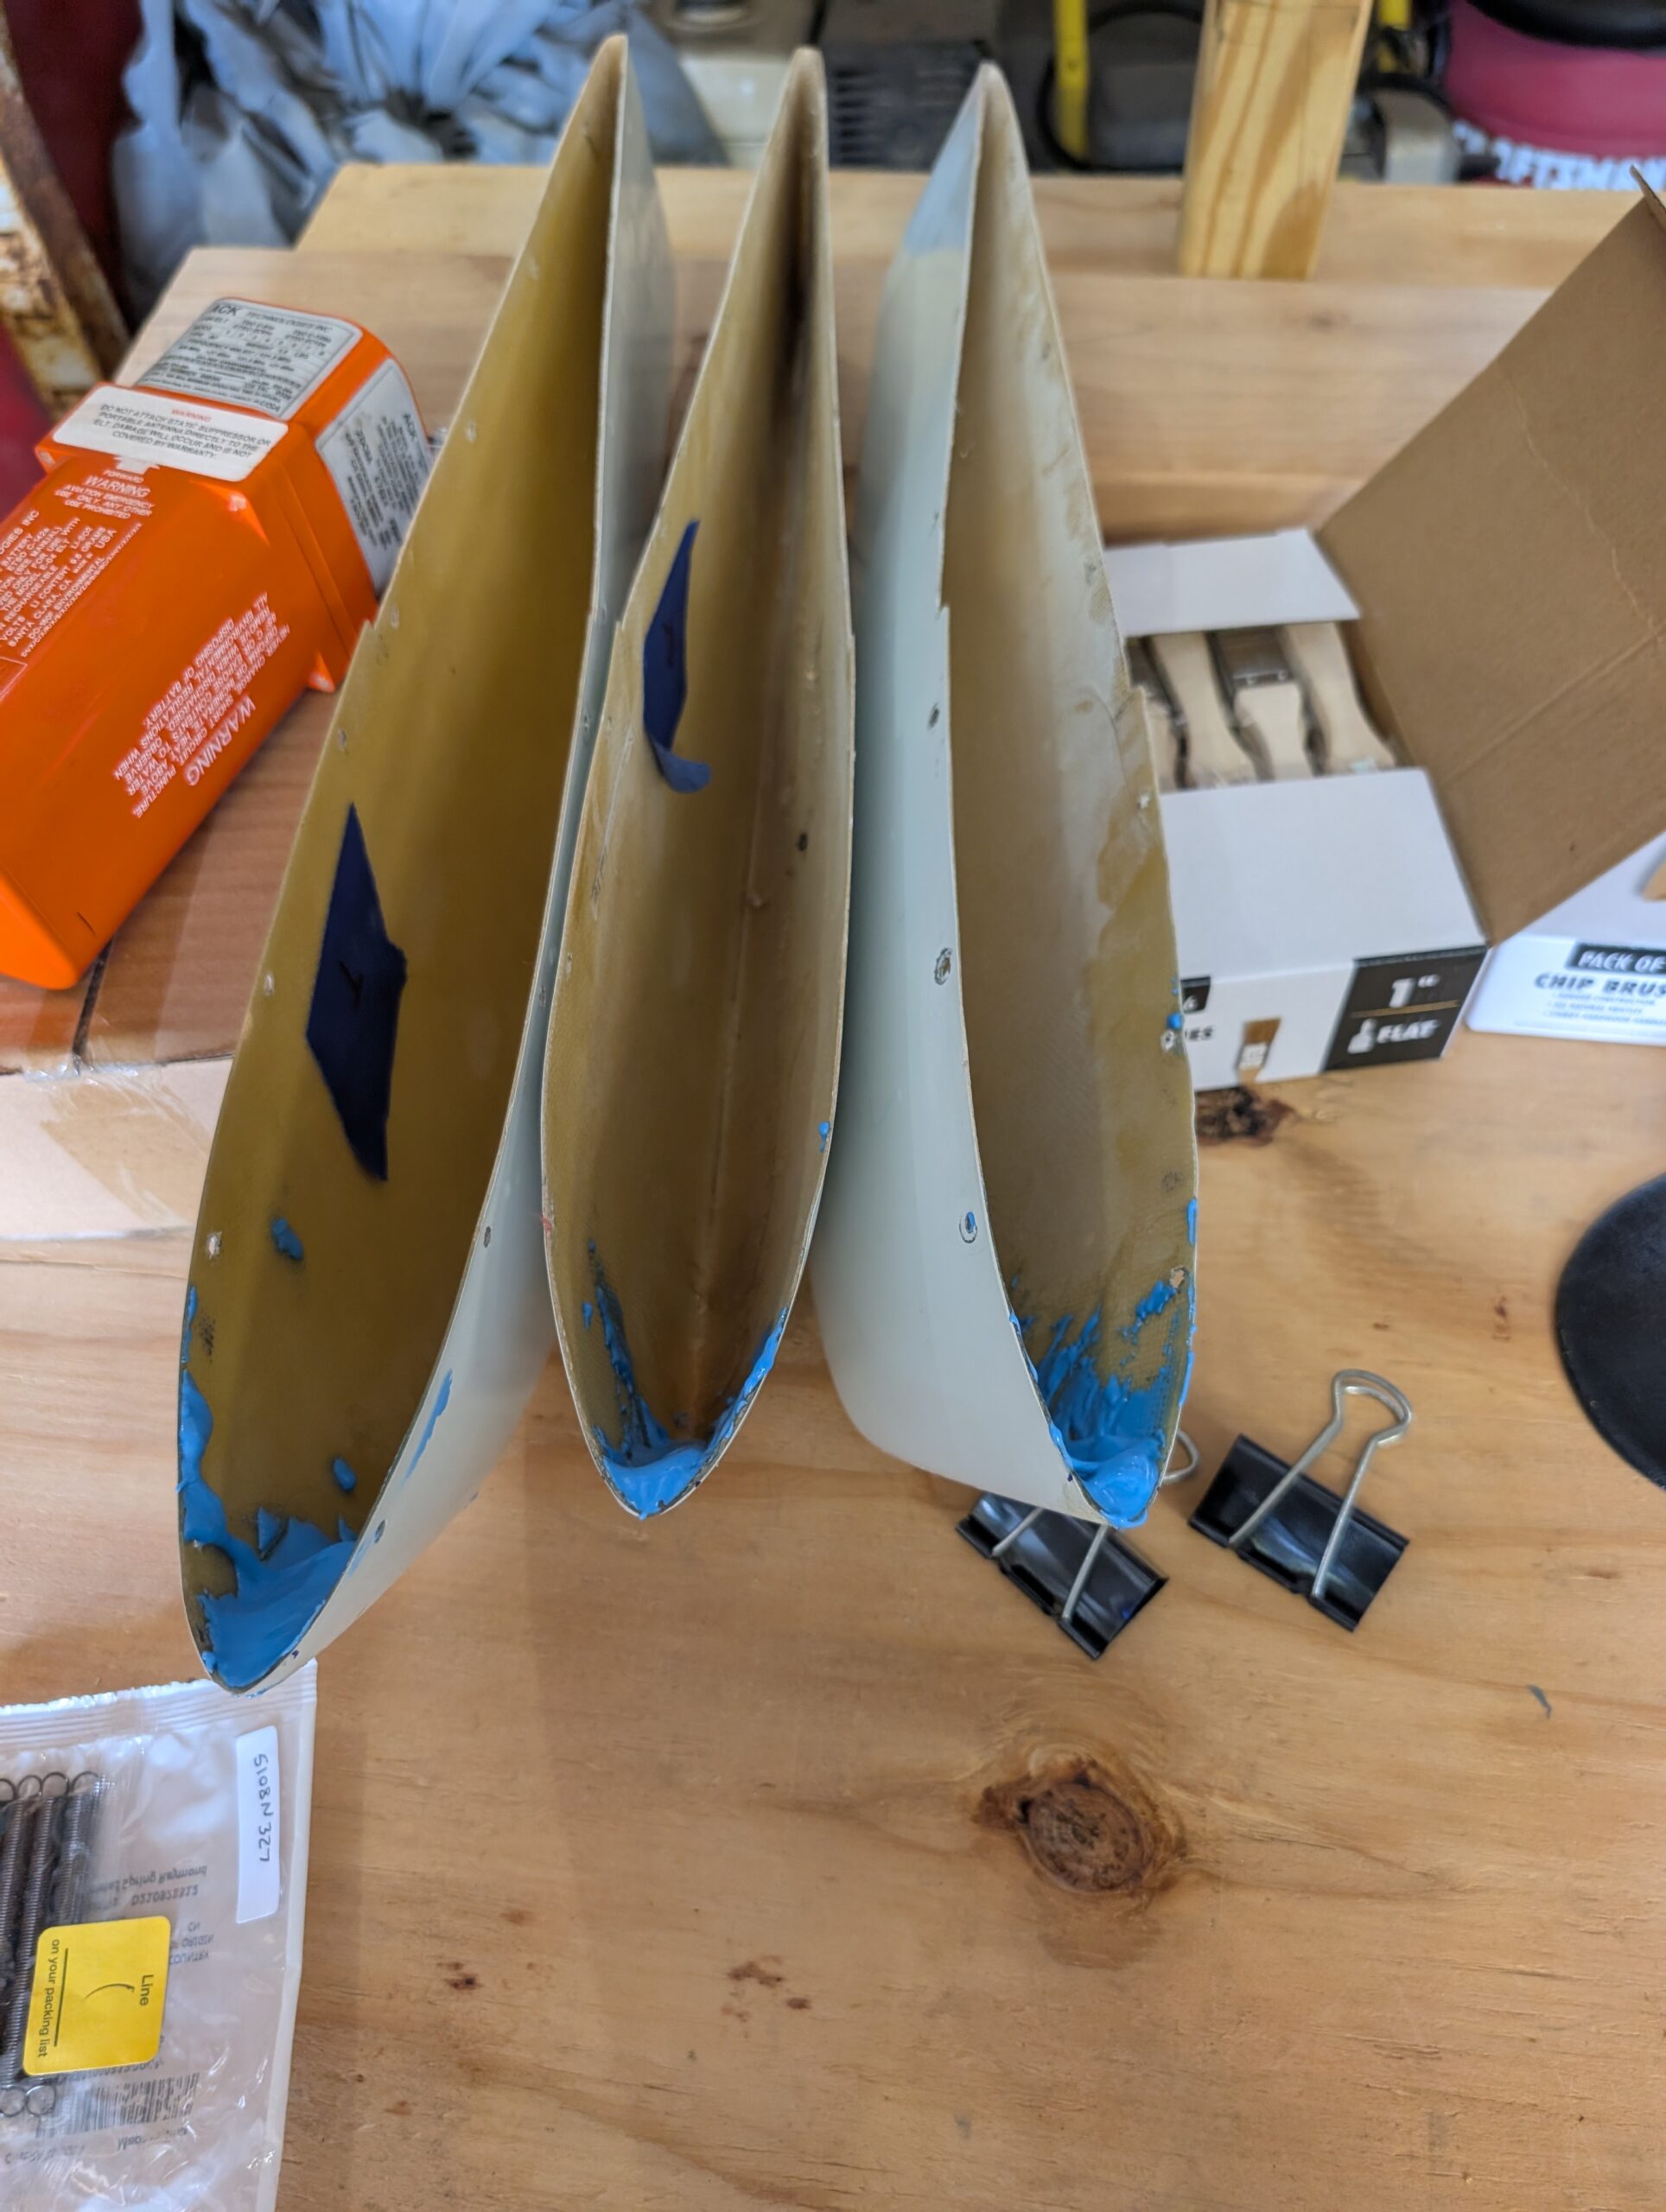
Tail Tip Fairings – Part 1
Began prepping fiberglass tail fairings for final fit by marking front overhang on each fairing to note how much filler will be needed to recontour the leading edge. Removed fairings from the tail and used SuperFil to build up inside crevice of leading edge. Also put SuperFil in any divots in fairings. Trialed using SuperFil…
-
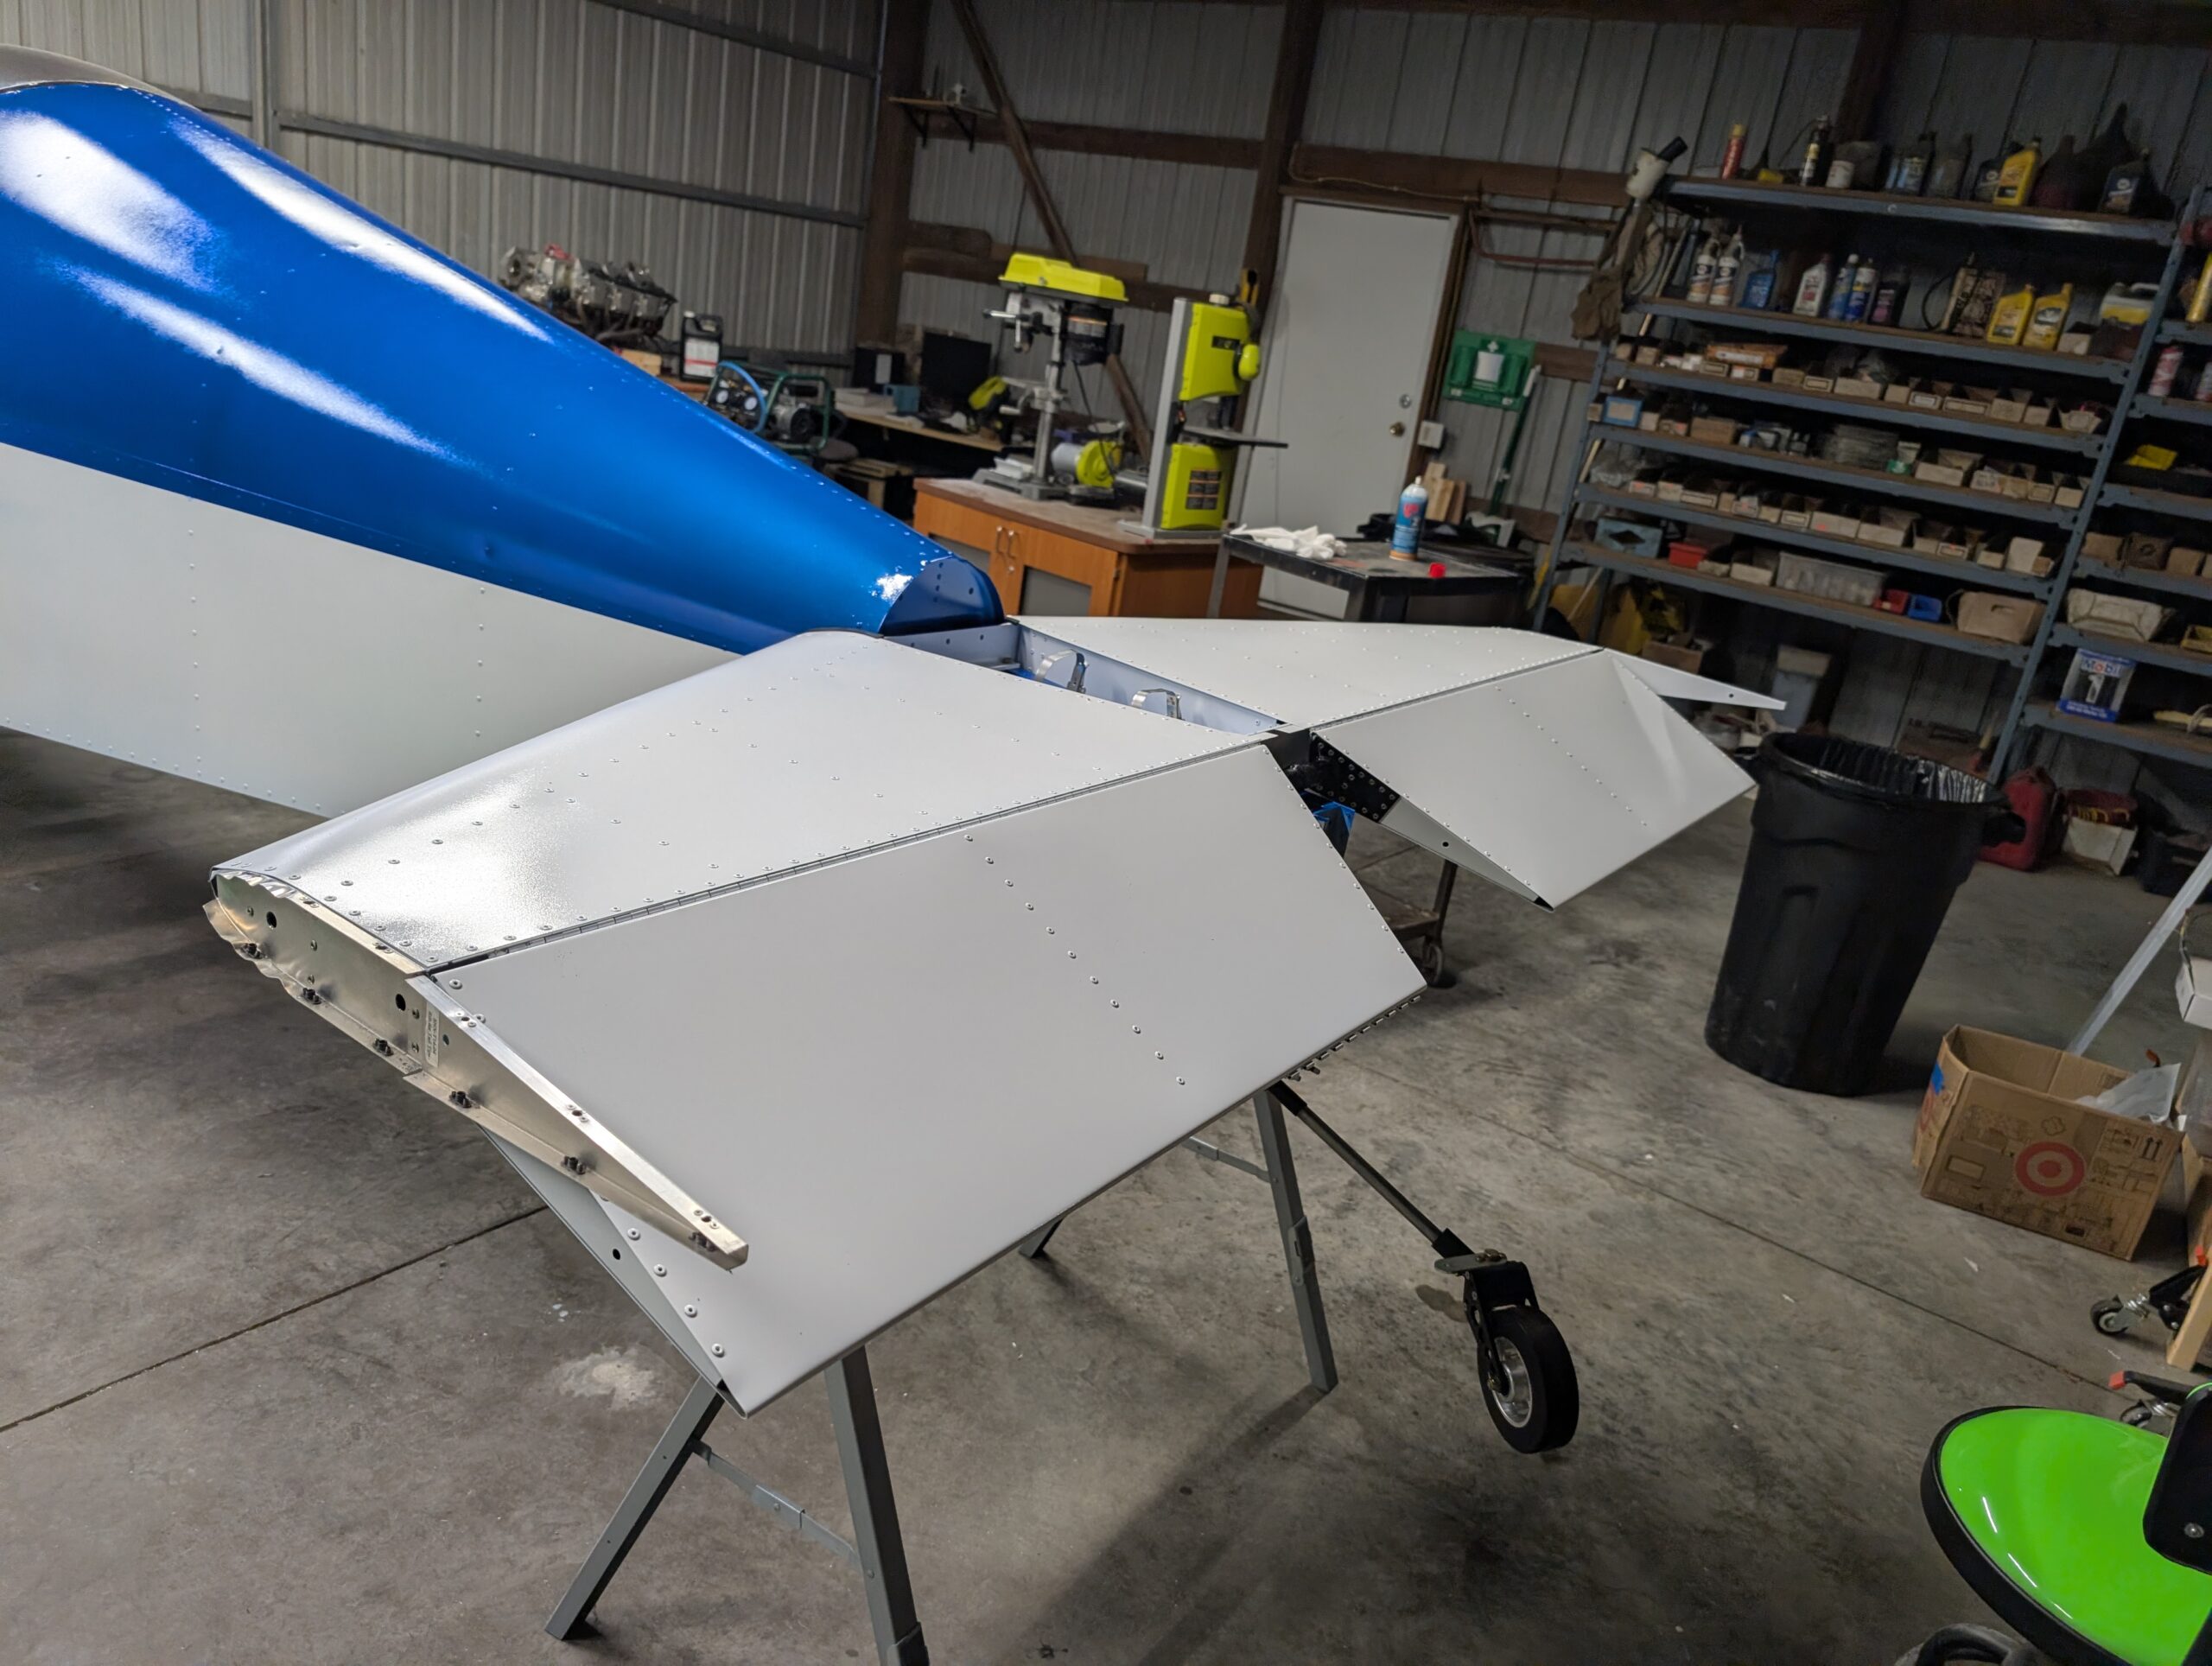
Tail Fairing Panels – Part 1
Began working on the tail fairing panels by cutting out template from plans on poster paper and mocking it up on the fuselage. Because the tail skin was installed upside down and needed extra trimming, will need to modify plans template. Expanded template forward and outboard to better match profile of upper fuselage and cover…
-
Tail Installation – Part 4
Placed newly rebuilt elevator onto horizontal stabilizer to check fitment; fit checked good with overall width not changing. Reinstalled elevator hinge pins then reinstalled vertical tail and rudder. Checked elevator travel and verified 23 degrees up travel and 24 degrees down travel limited by stops on elevator horn. Hours Worked: 2.82
-
Elevator Horn Re-do – Part 3
Verified flatness and squareness of elevator assembly on workbench then final drilled inboard elevator ribs using existing holes in elevator skin. Disassembled, deburred, then riveted elevators together. Hours Worked: 1.27