SNB-T01: Tail Installation
-
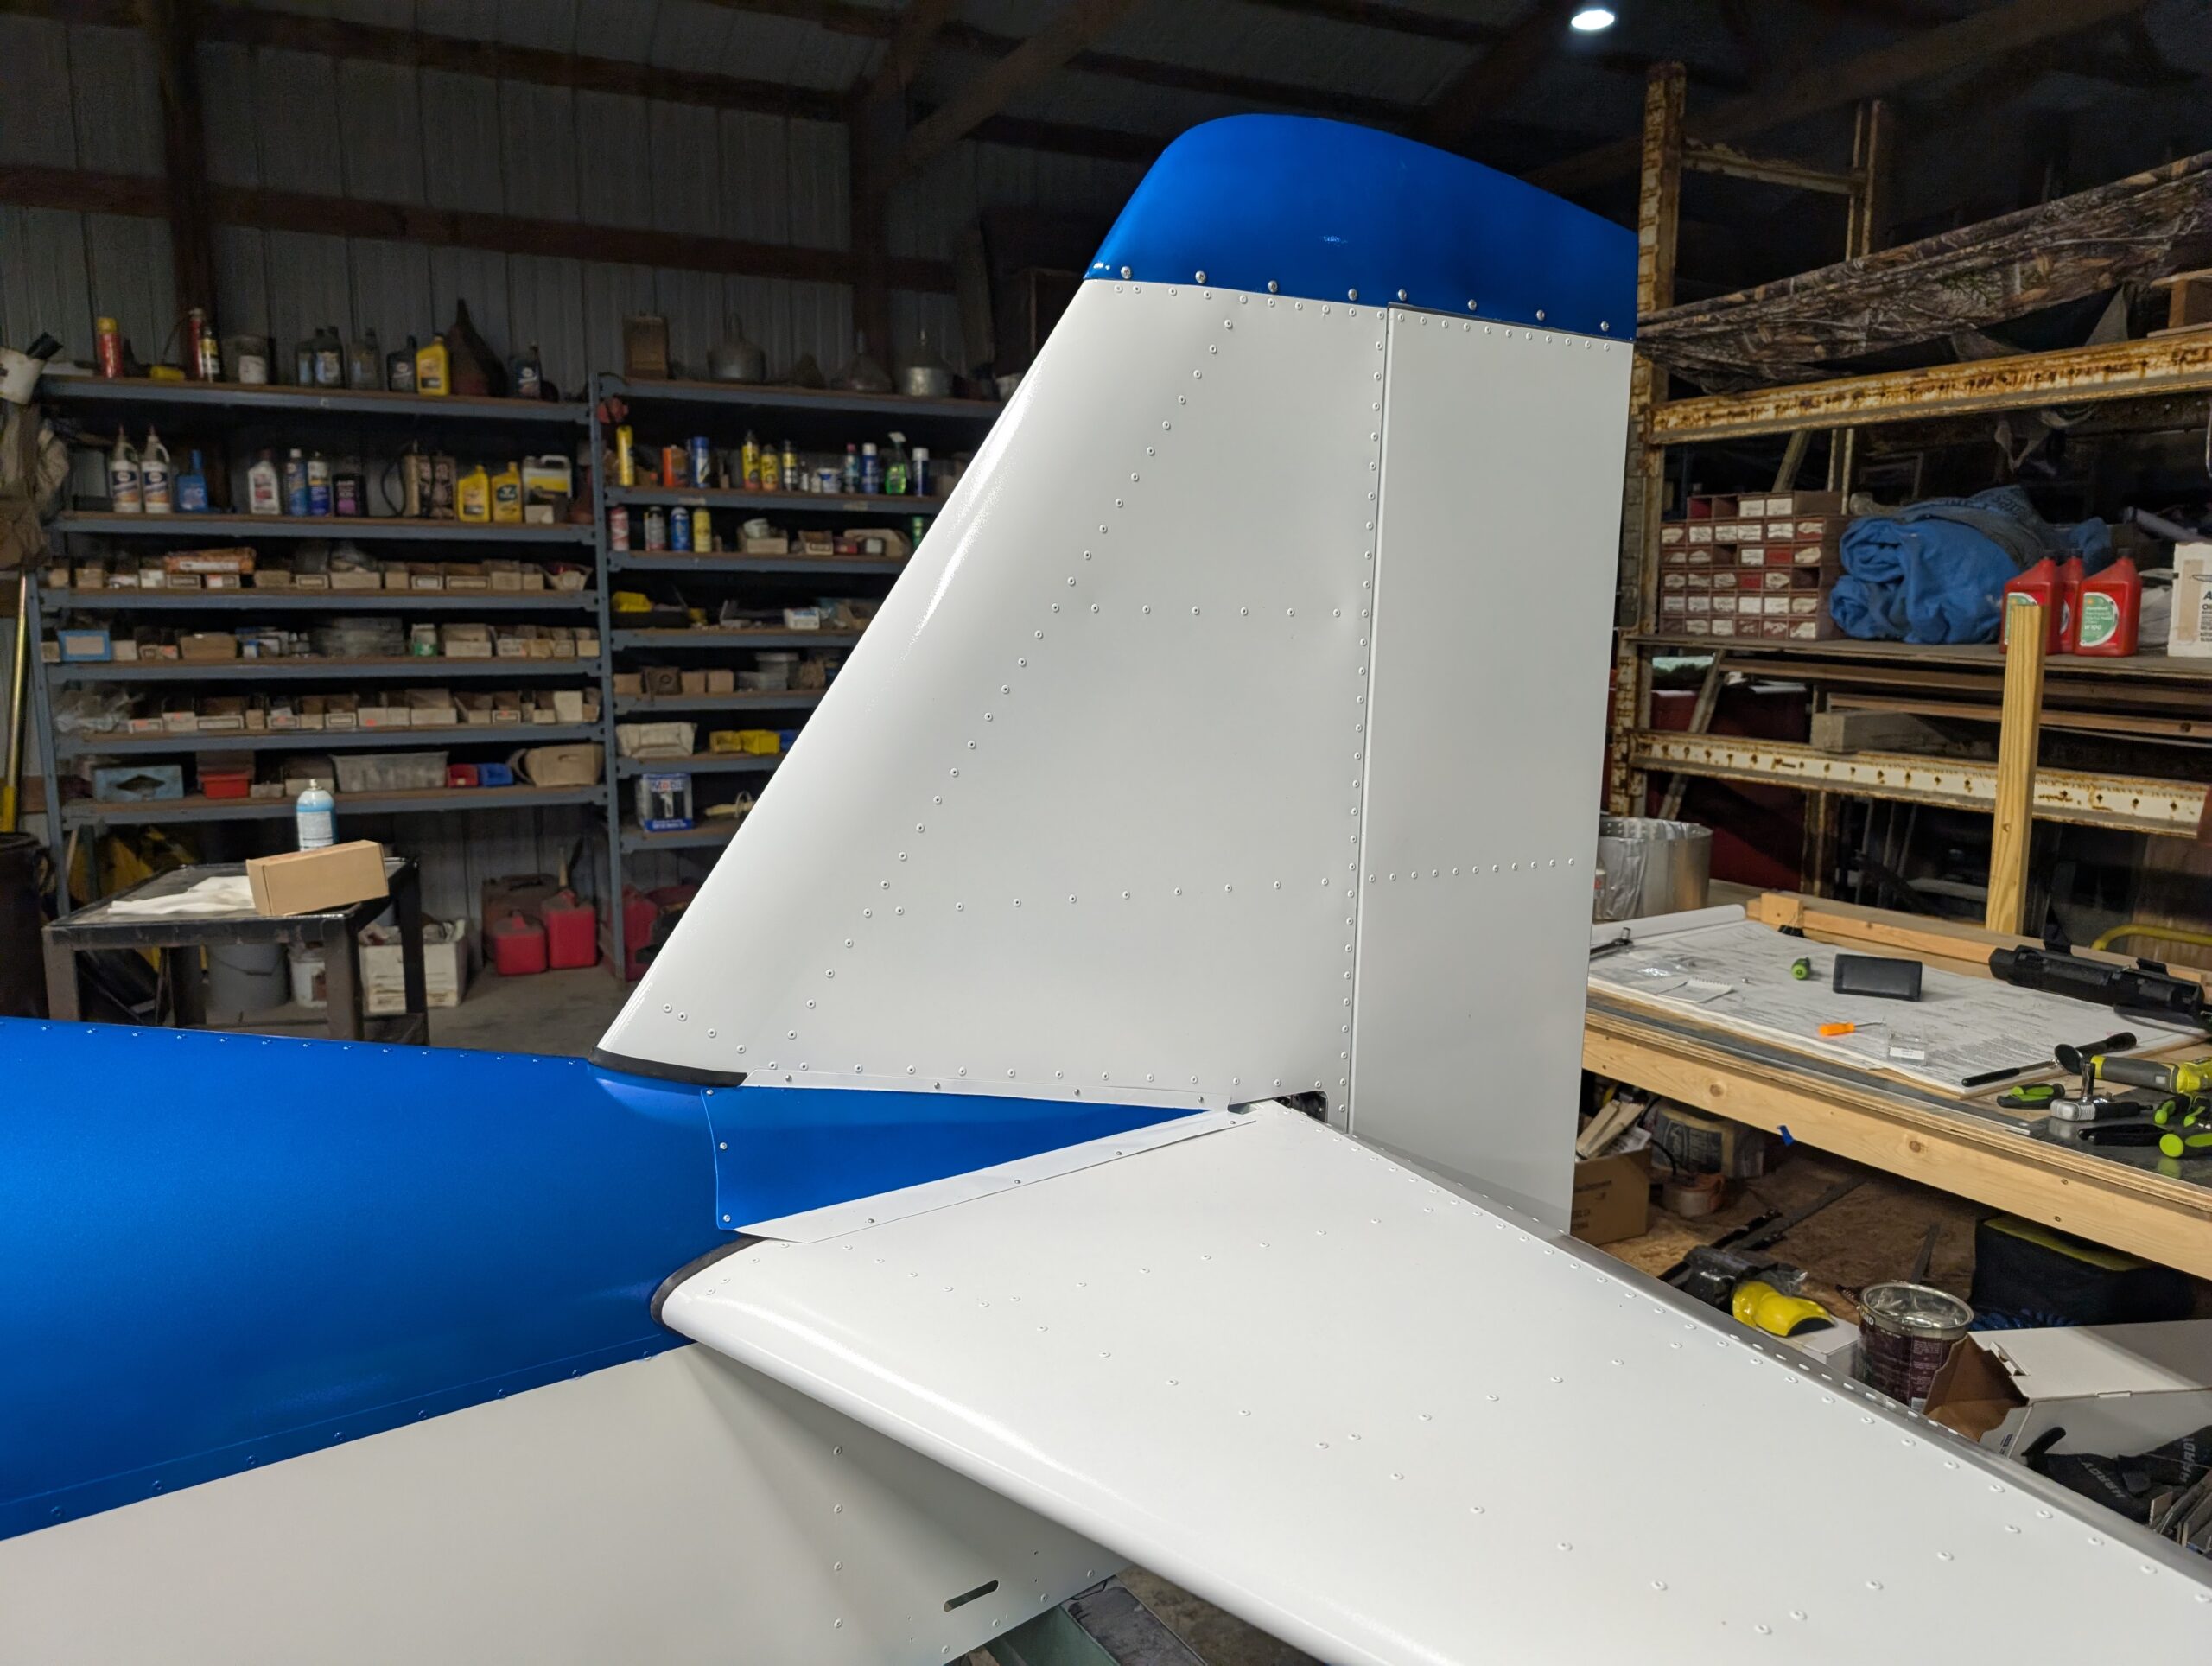
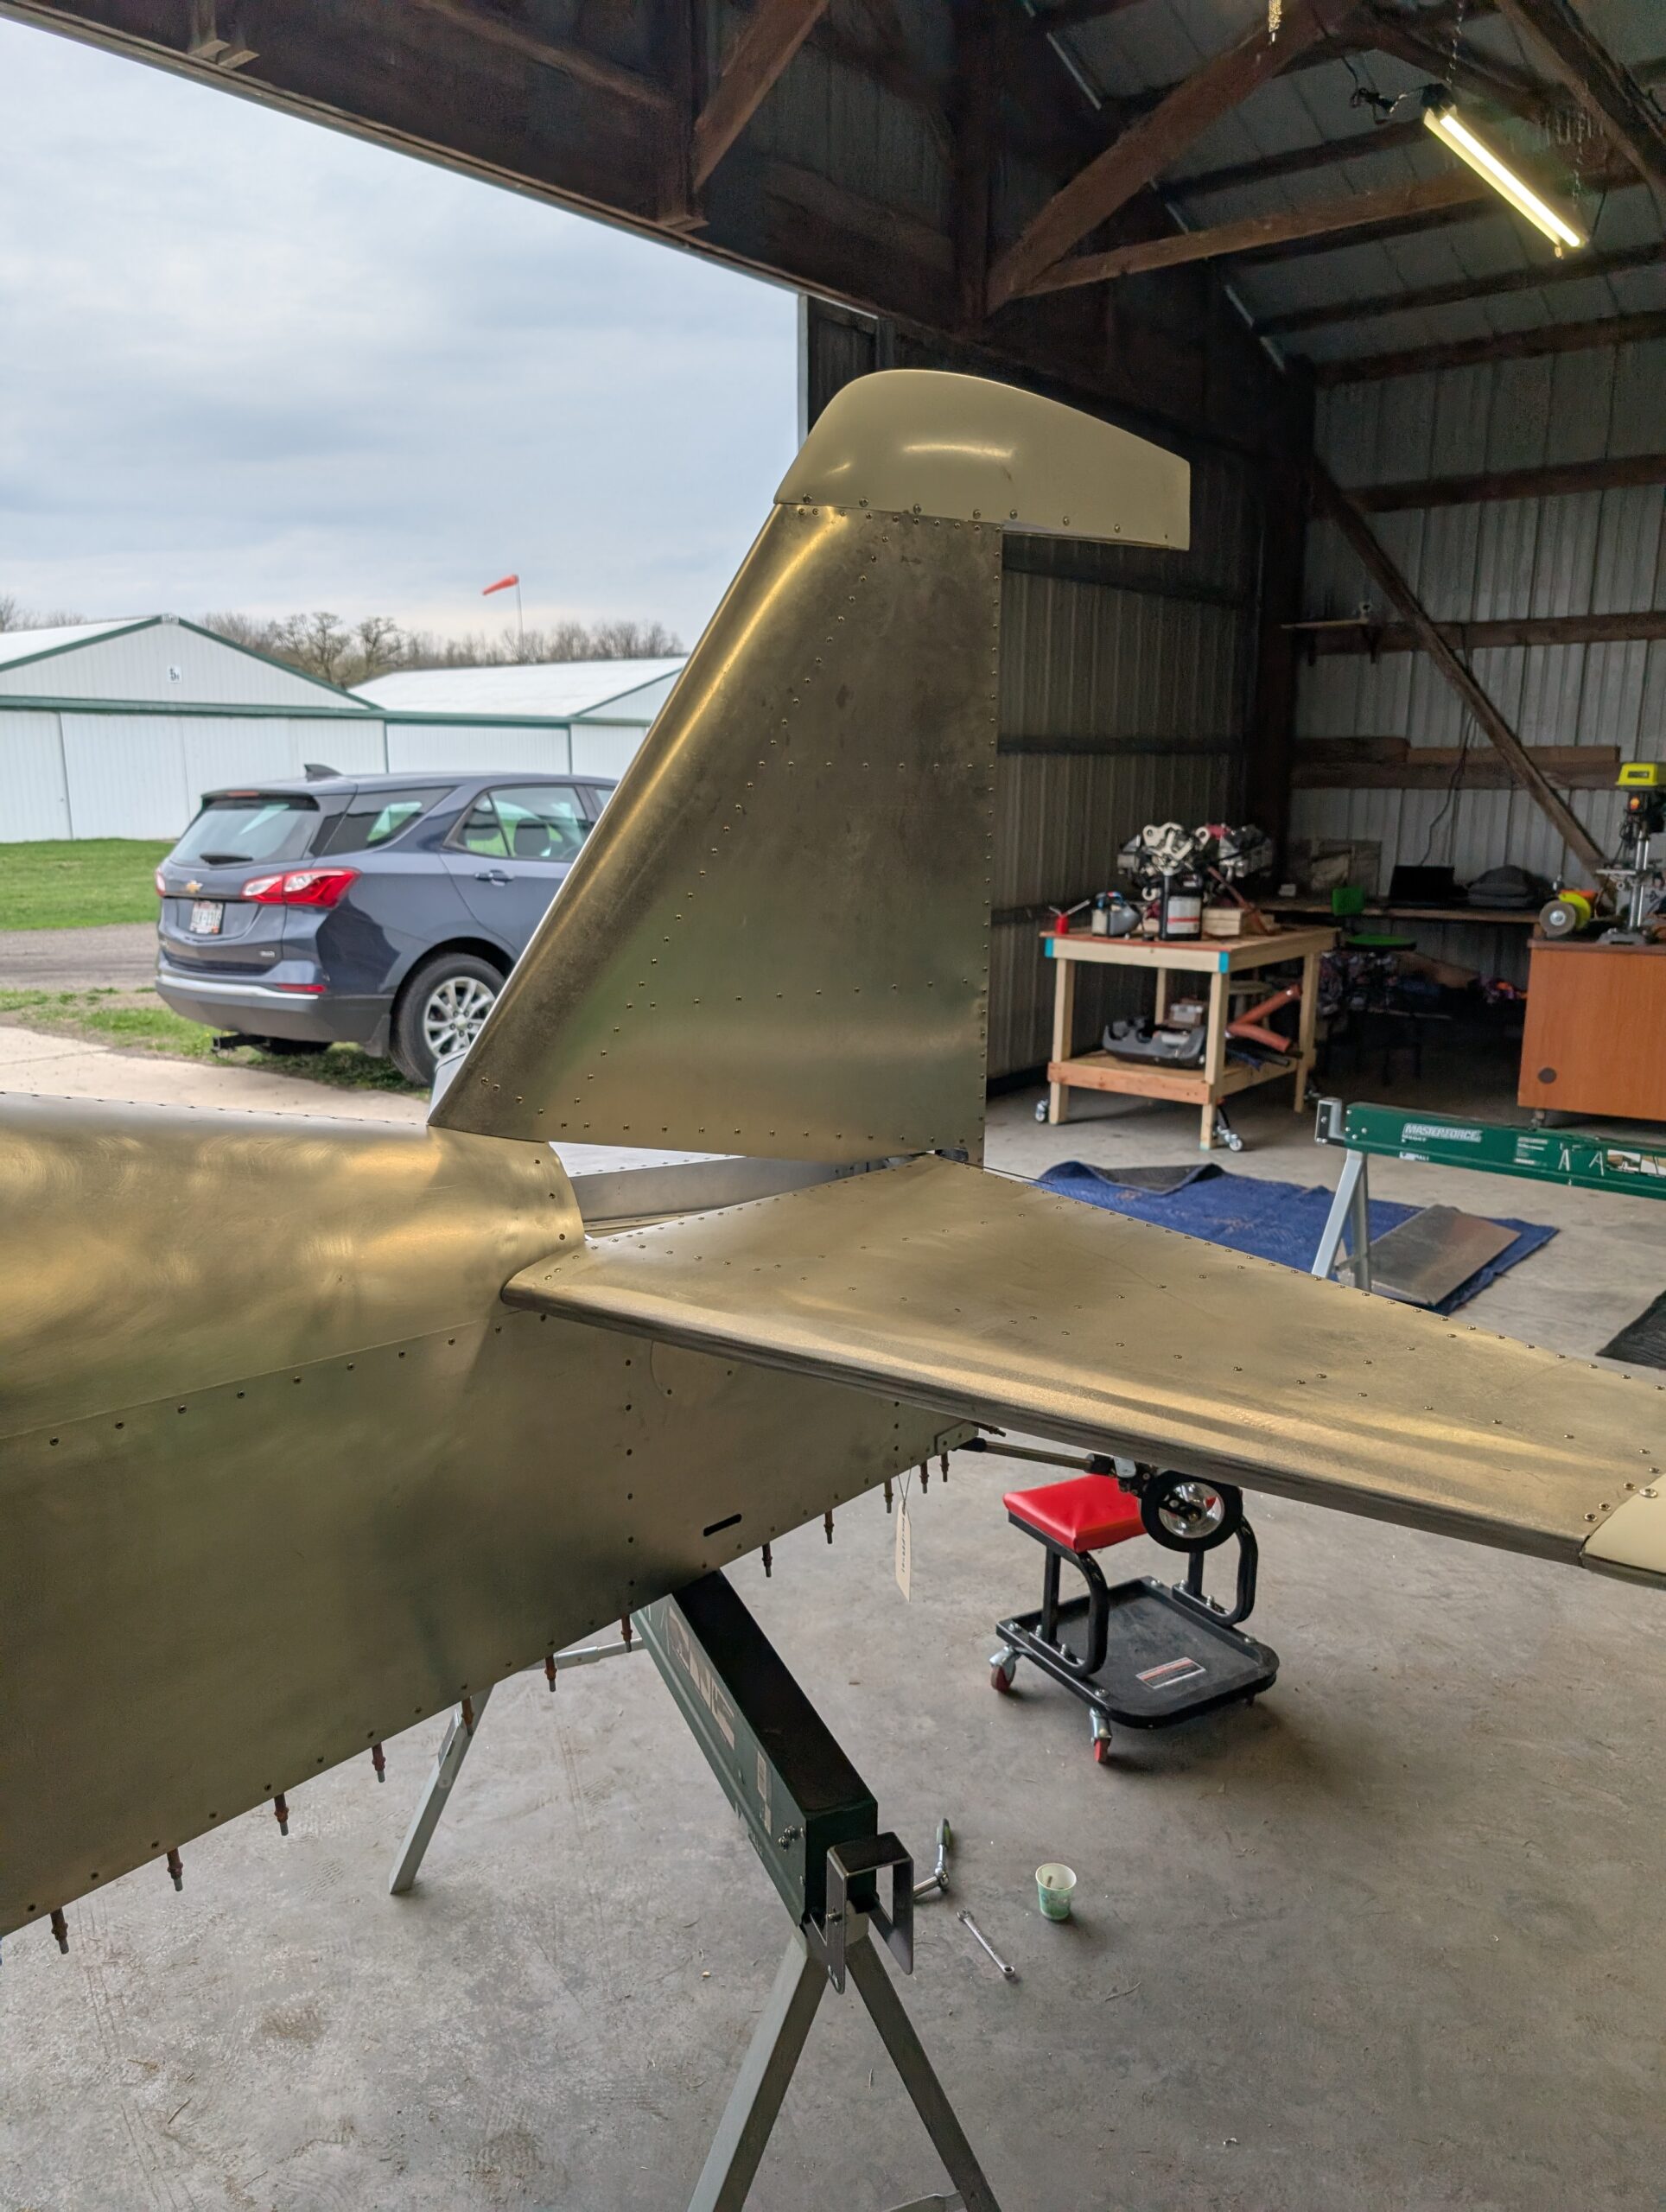
Final Tail Installation – Part 4
Painted tail fairing angles with white spray paint then installed onto tail. T01 complete! Hours Worked: 0.72
-
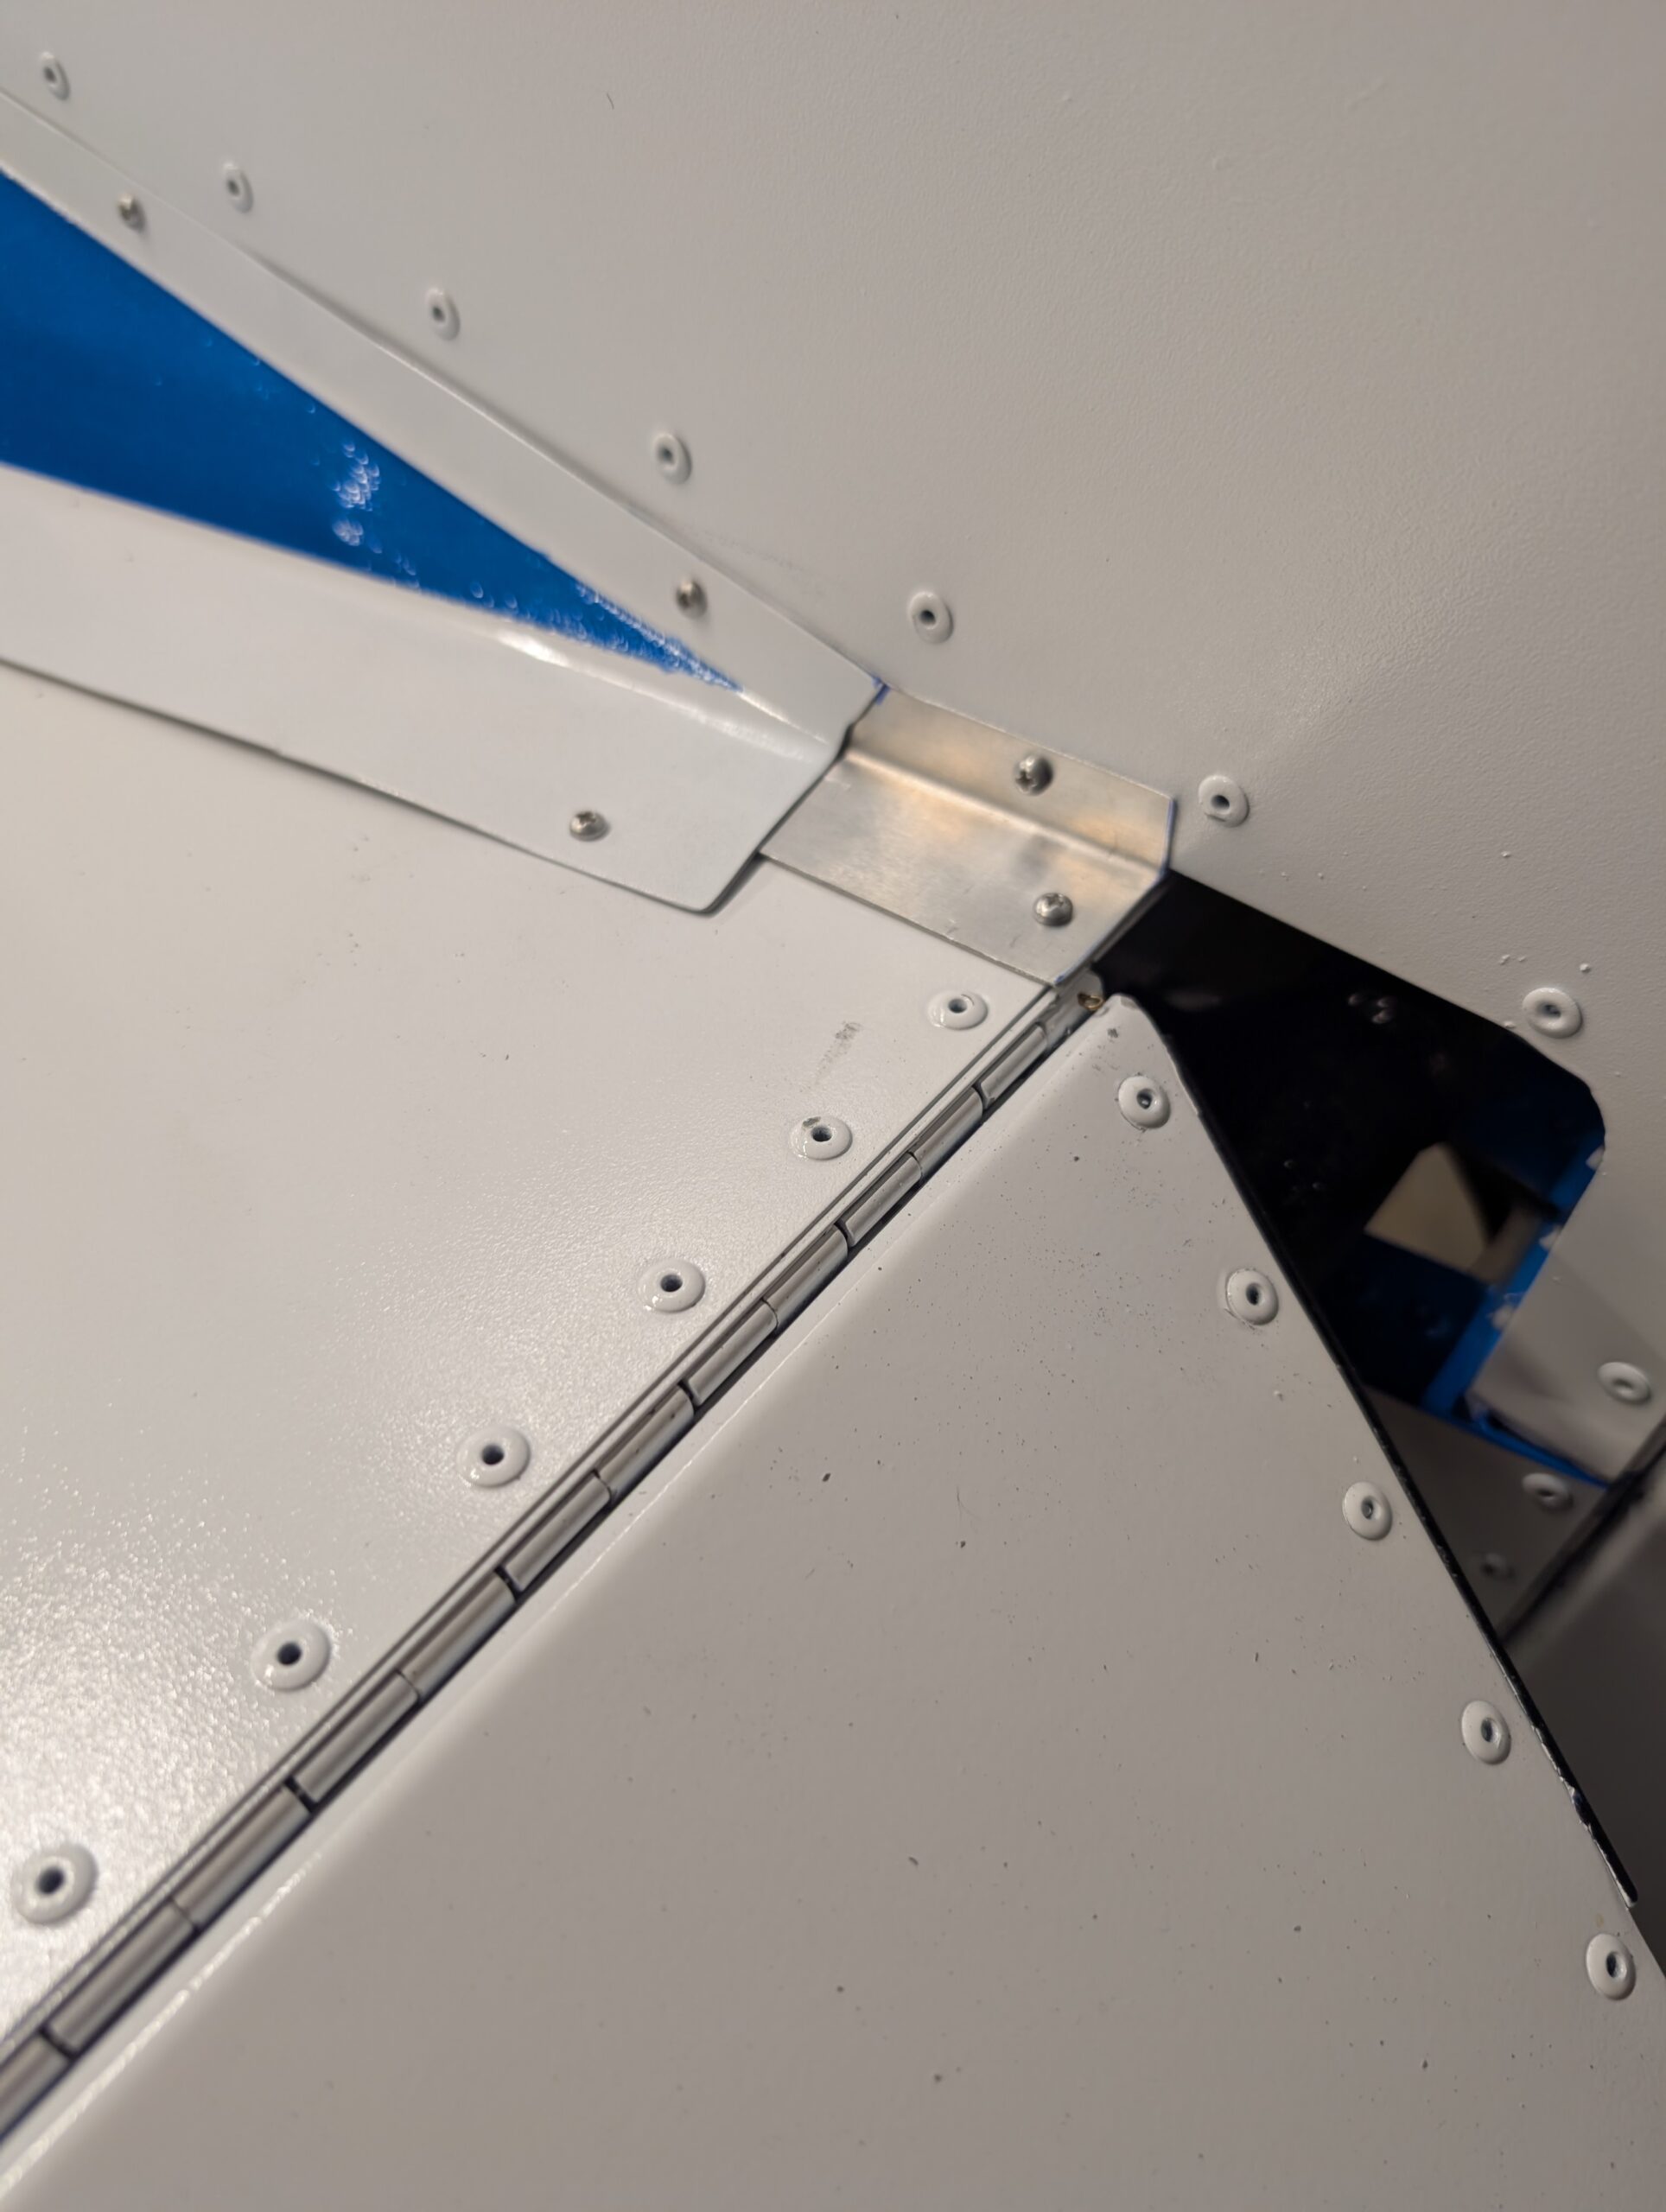
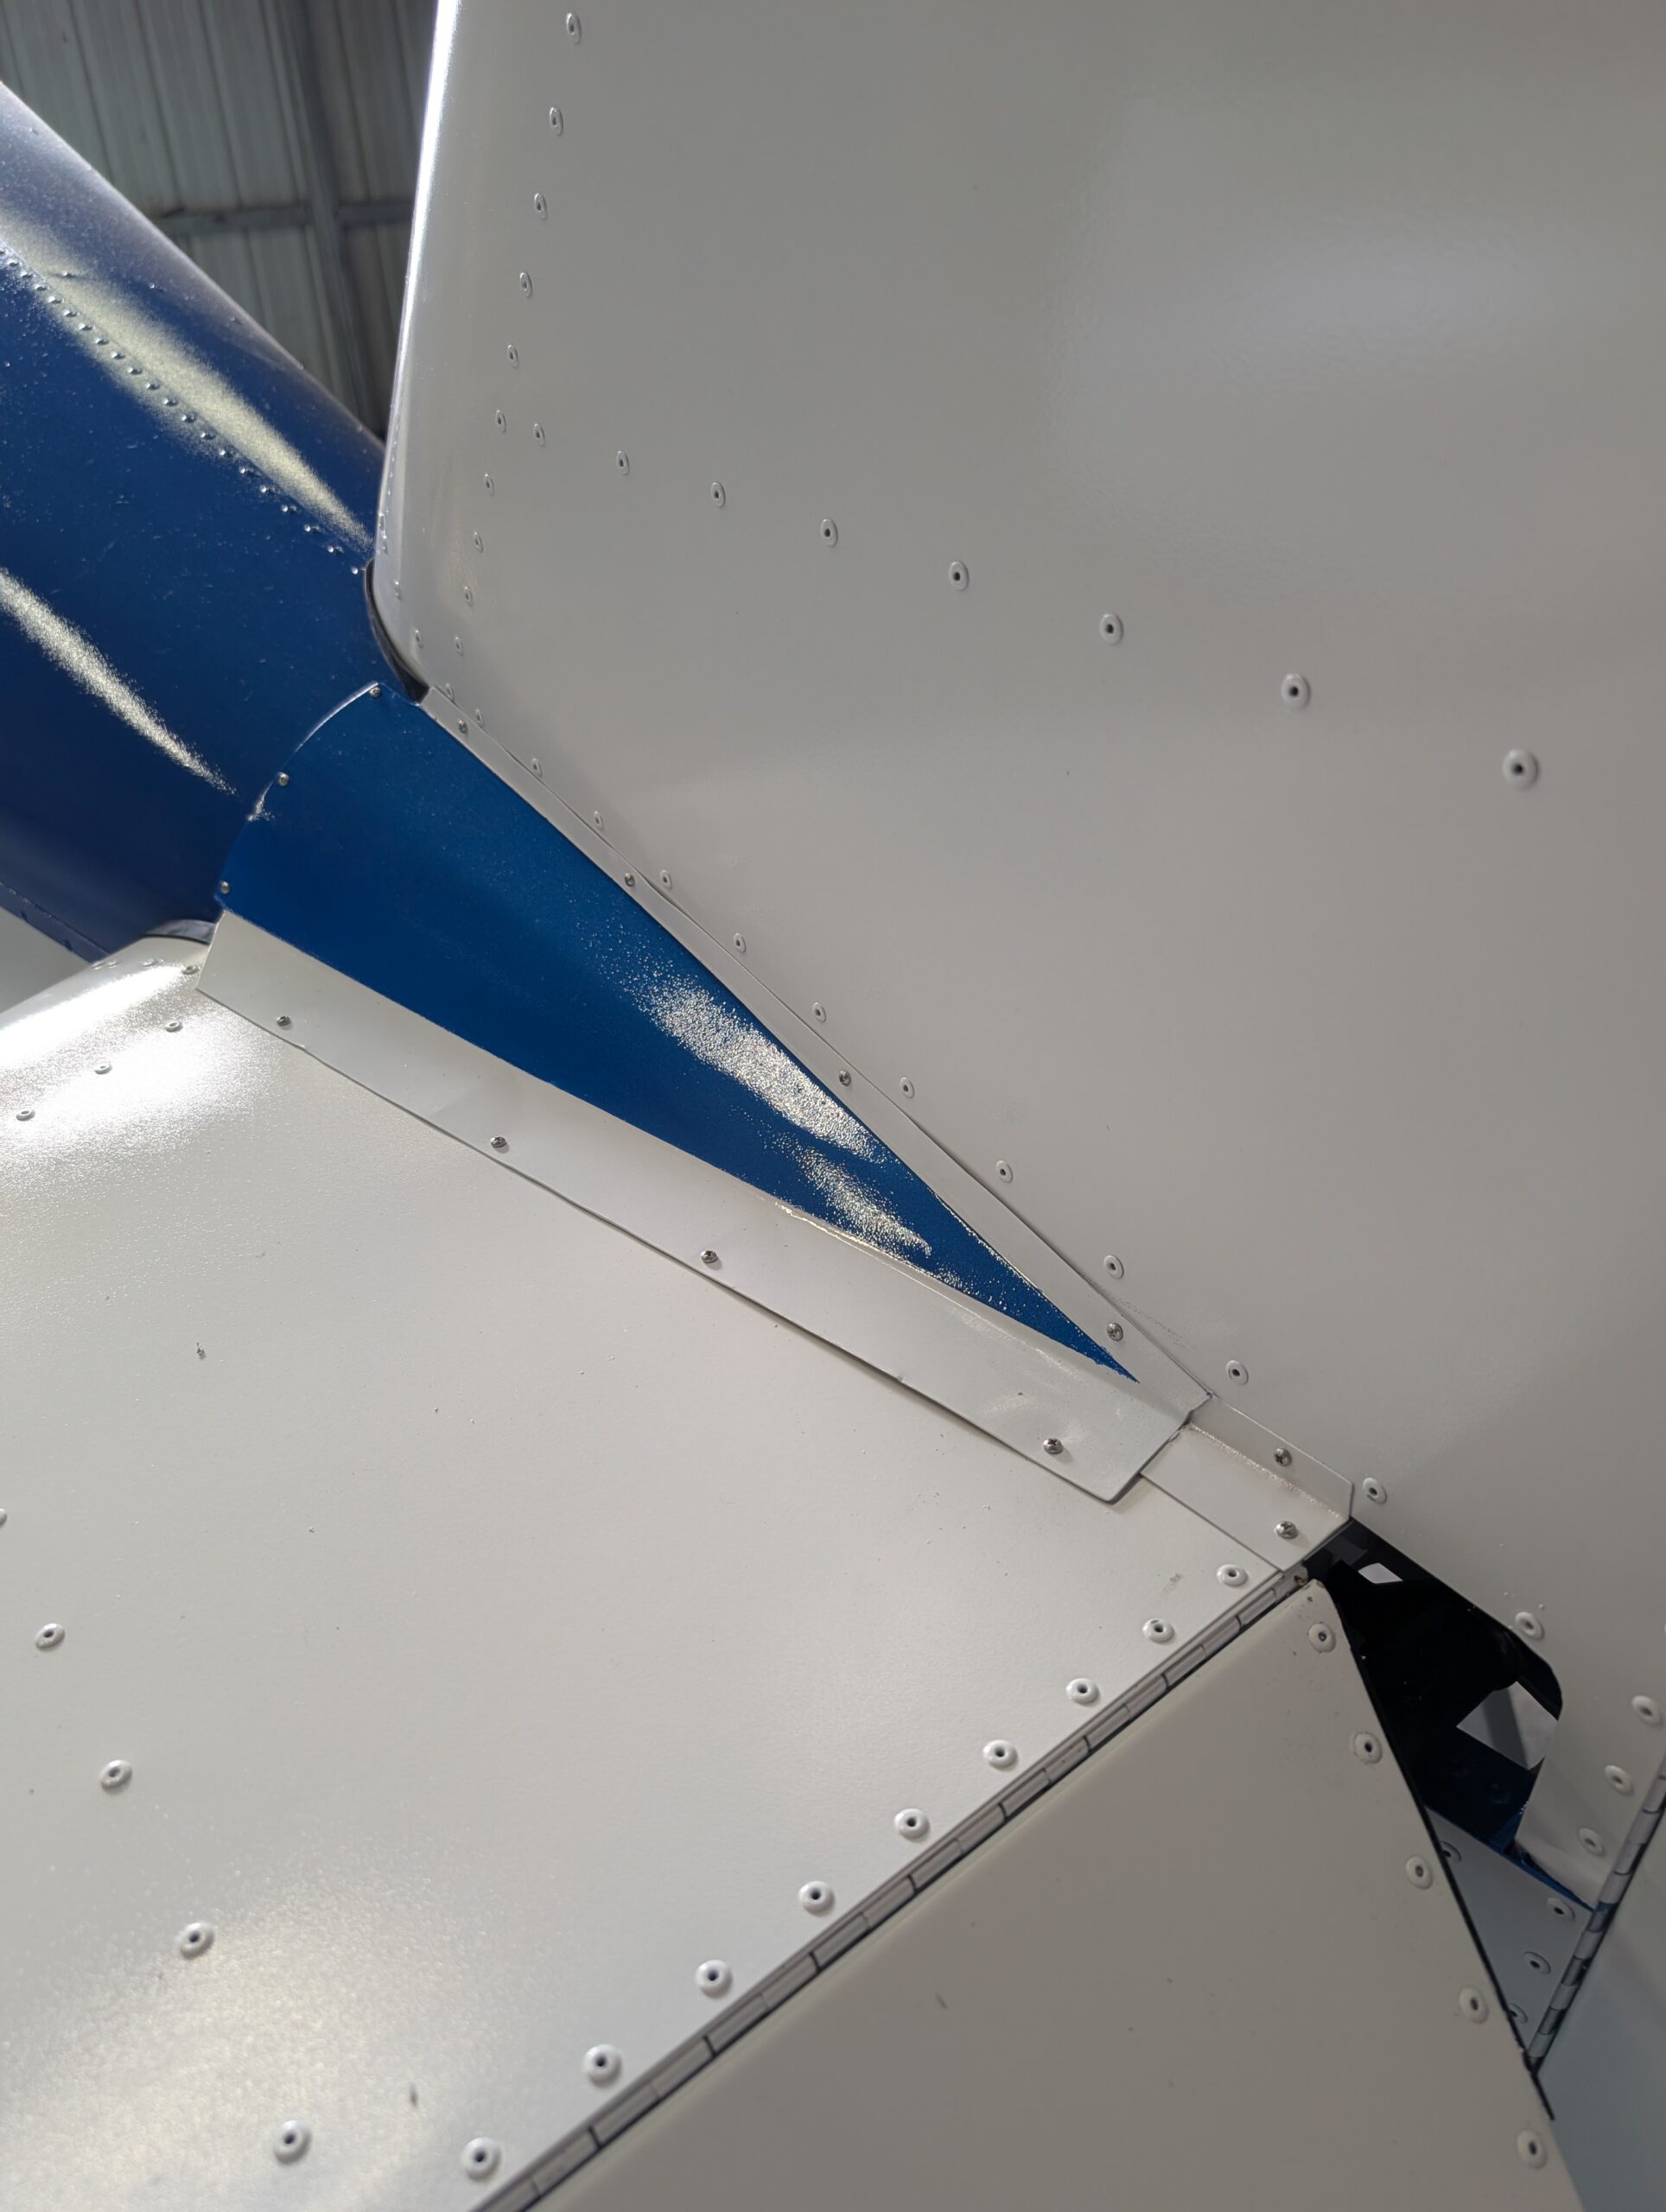
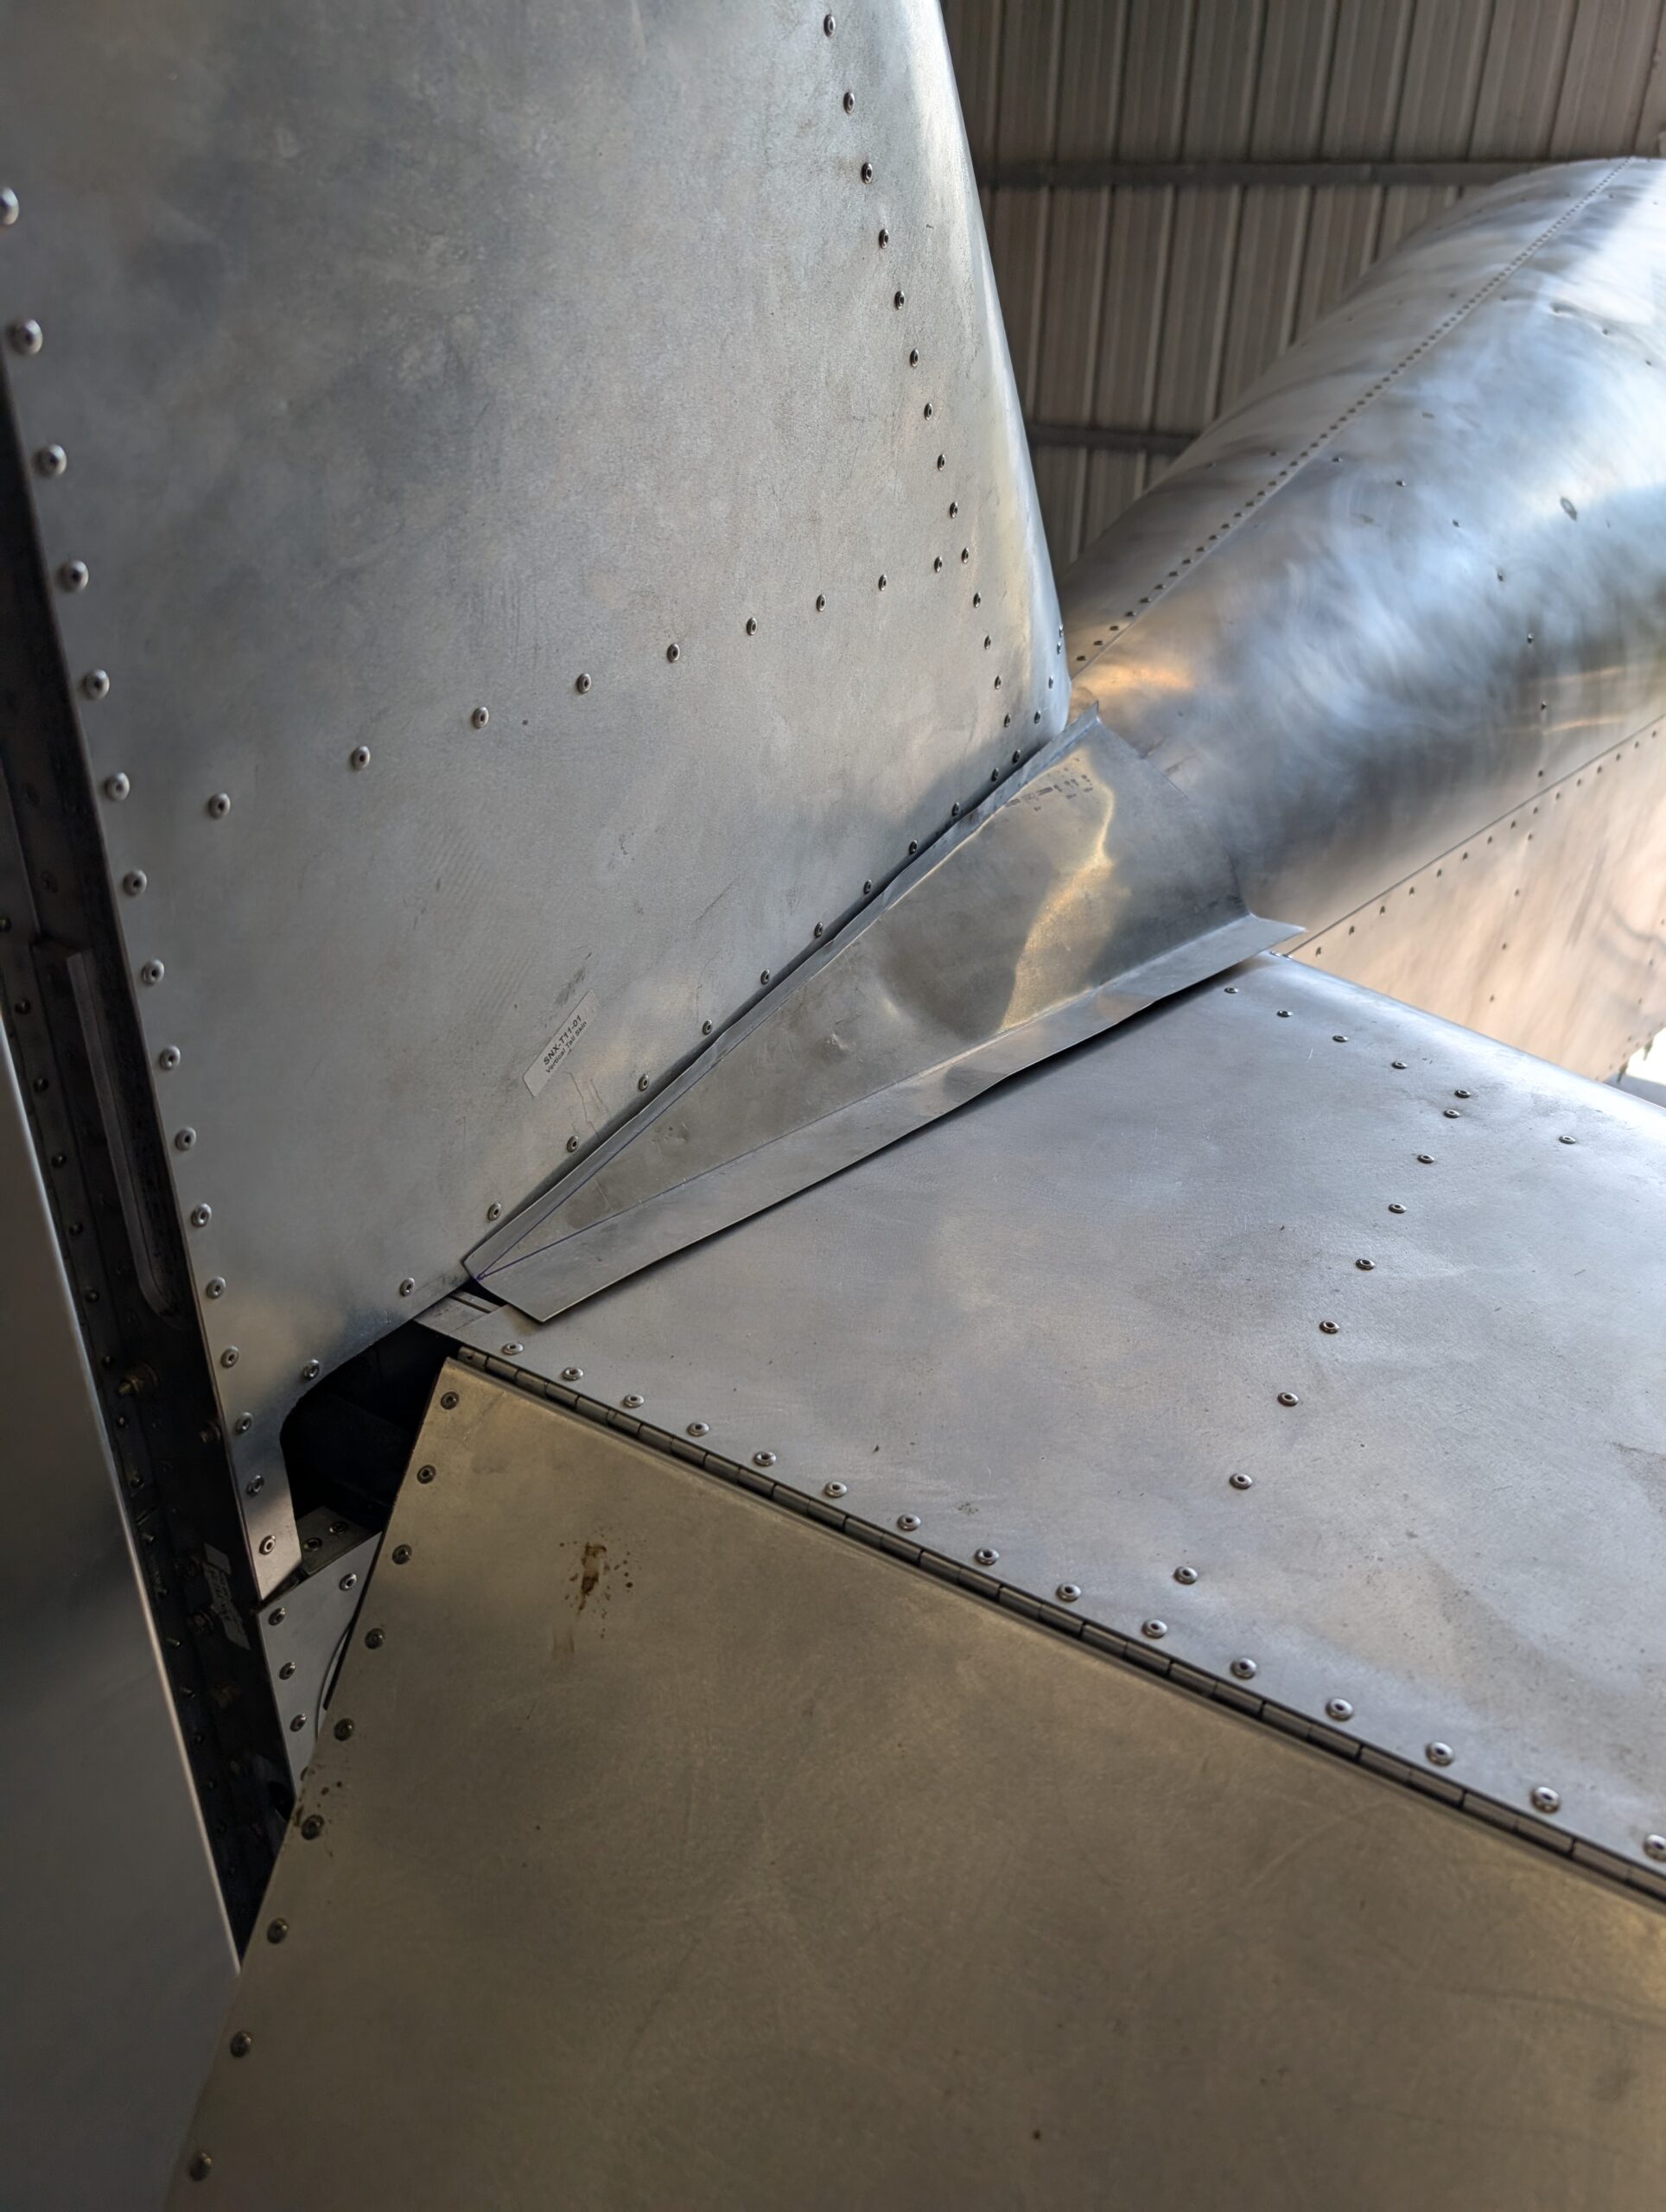
Tail Fairing Panels – Part 3
In lieu of using plan -06 angles to cover small gap behind tail fairing, opted to create a custom piece to seal up compartment where ELT sits. Cut Z01-03 stock to size and slipped underneath tail panel fairings. Overlapped furthest aft screw hole from fairing panels and marked two new PK screw holes. Cut angles…
-
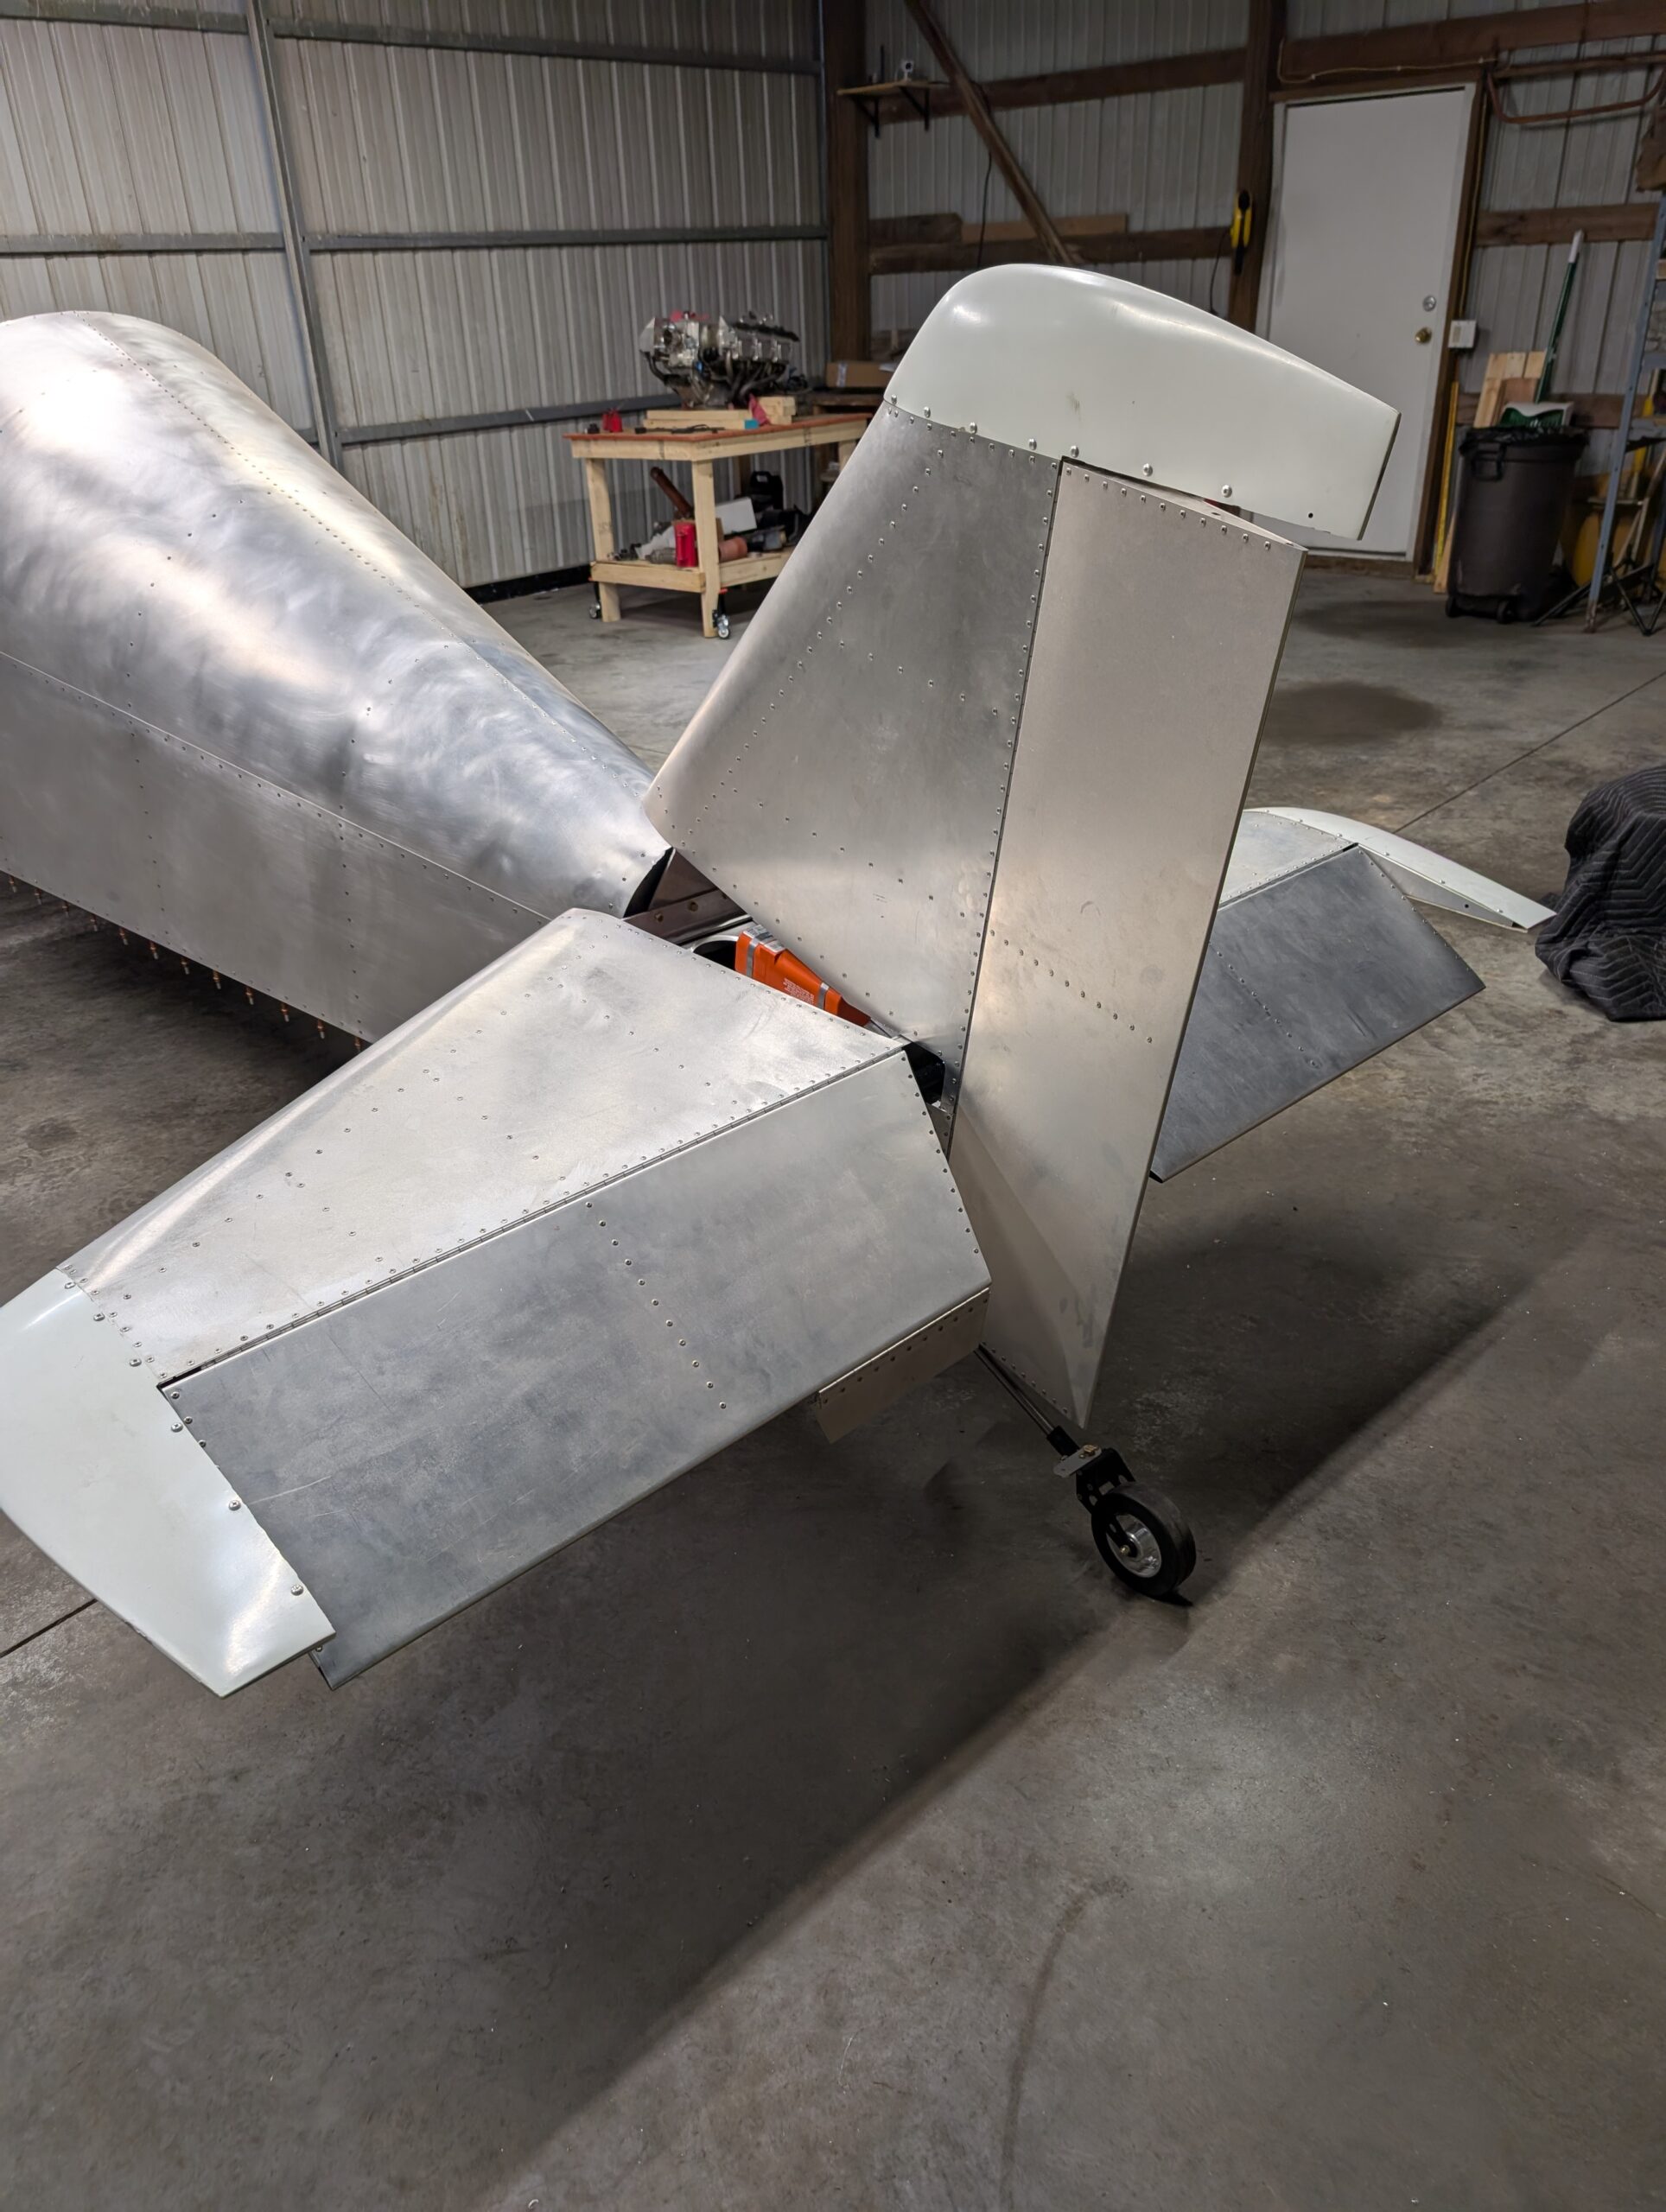
Final Tail Installation – Part 3
Installed vertical stabilizer onto fuselage. Replaced AN3-6A bolts in tail with AN3-5A bolts for better fit and to ensure nut wasn’t bottoming out on bolts. Installed weather stripping on bottom edge of vertical stabilizer. Removed hinge pin from rudder installed during painting and reamed out hinge loops. Cut rudder hinge pin to size then installed…
-
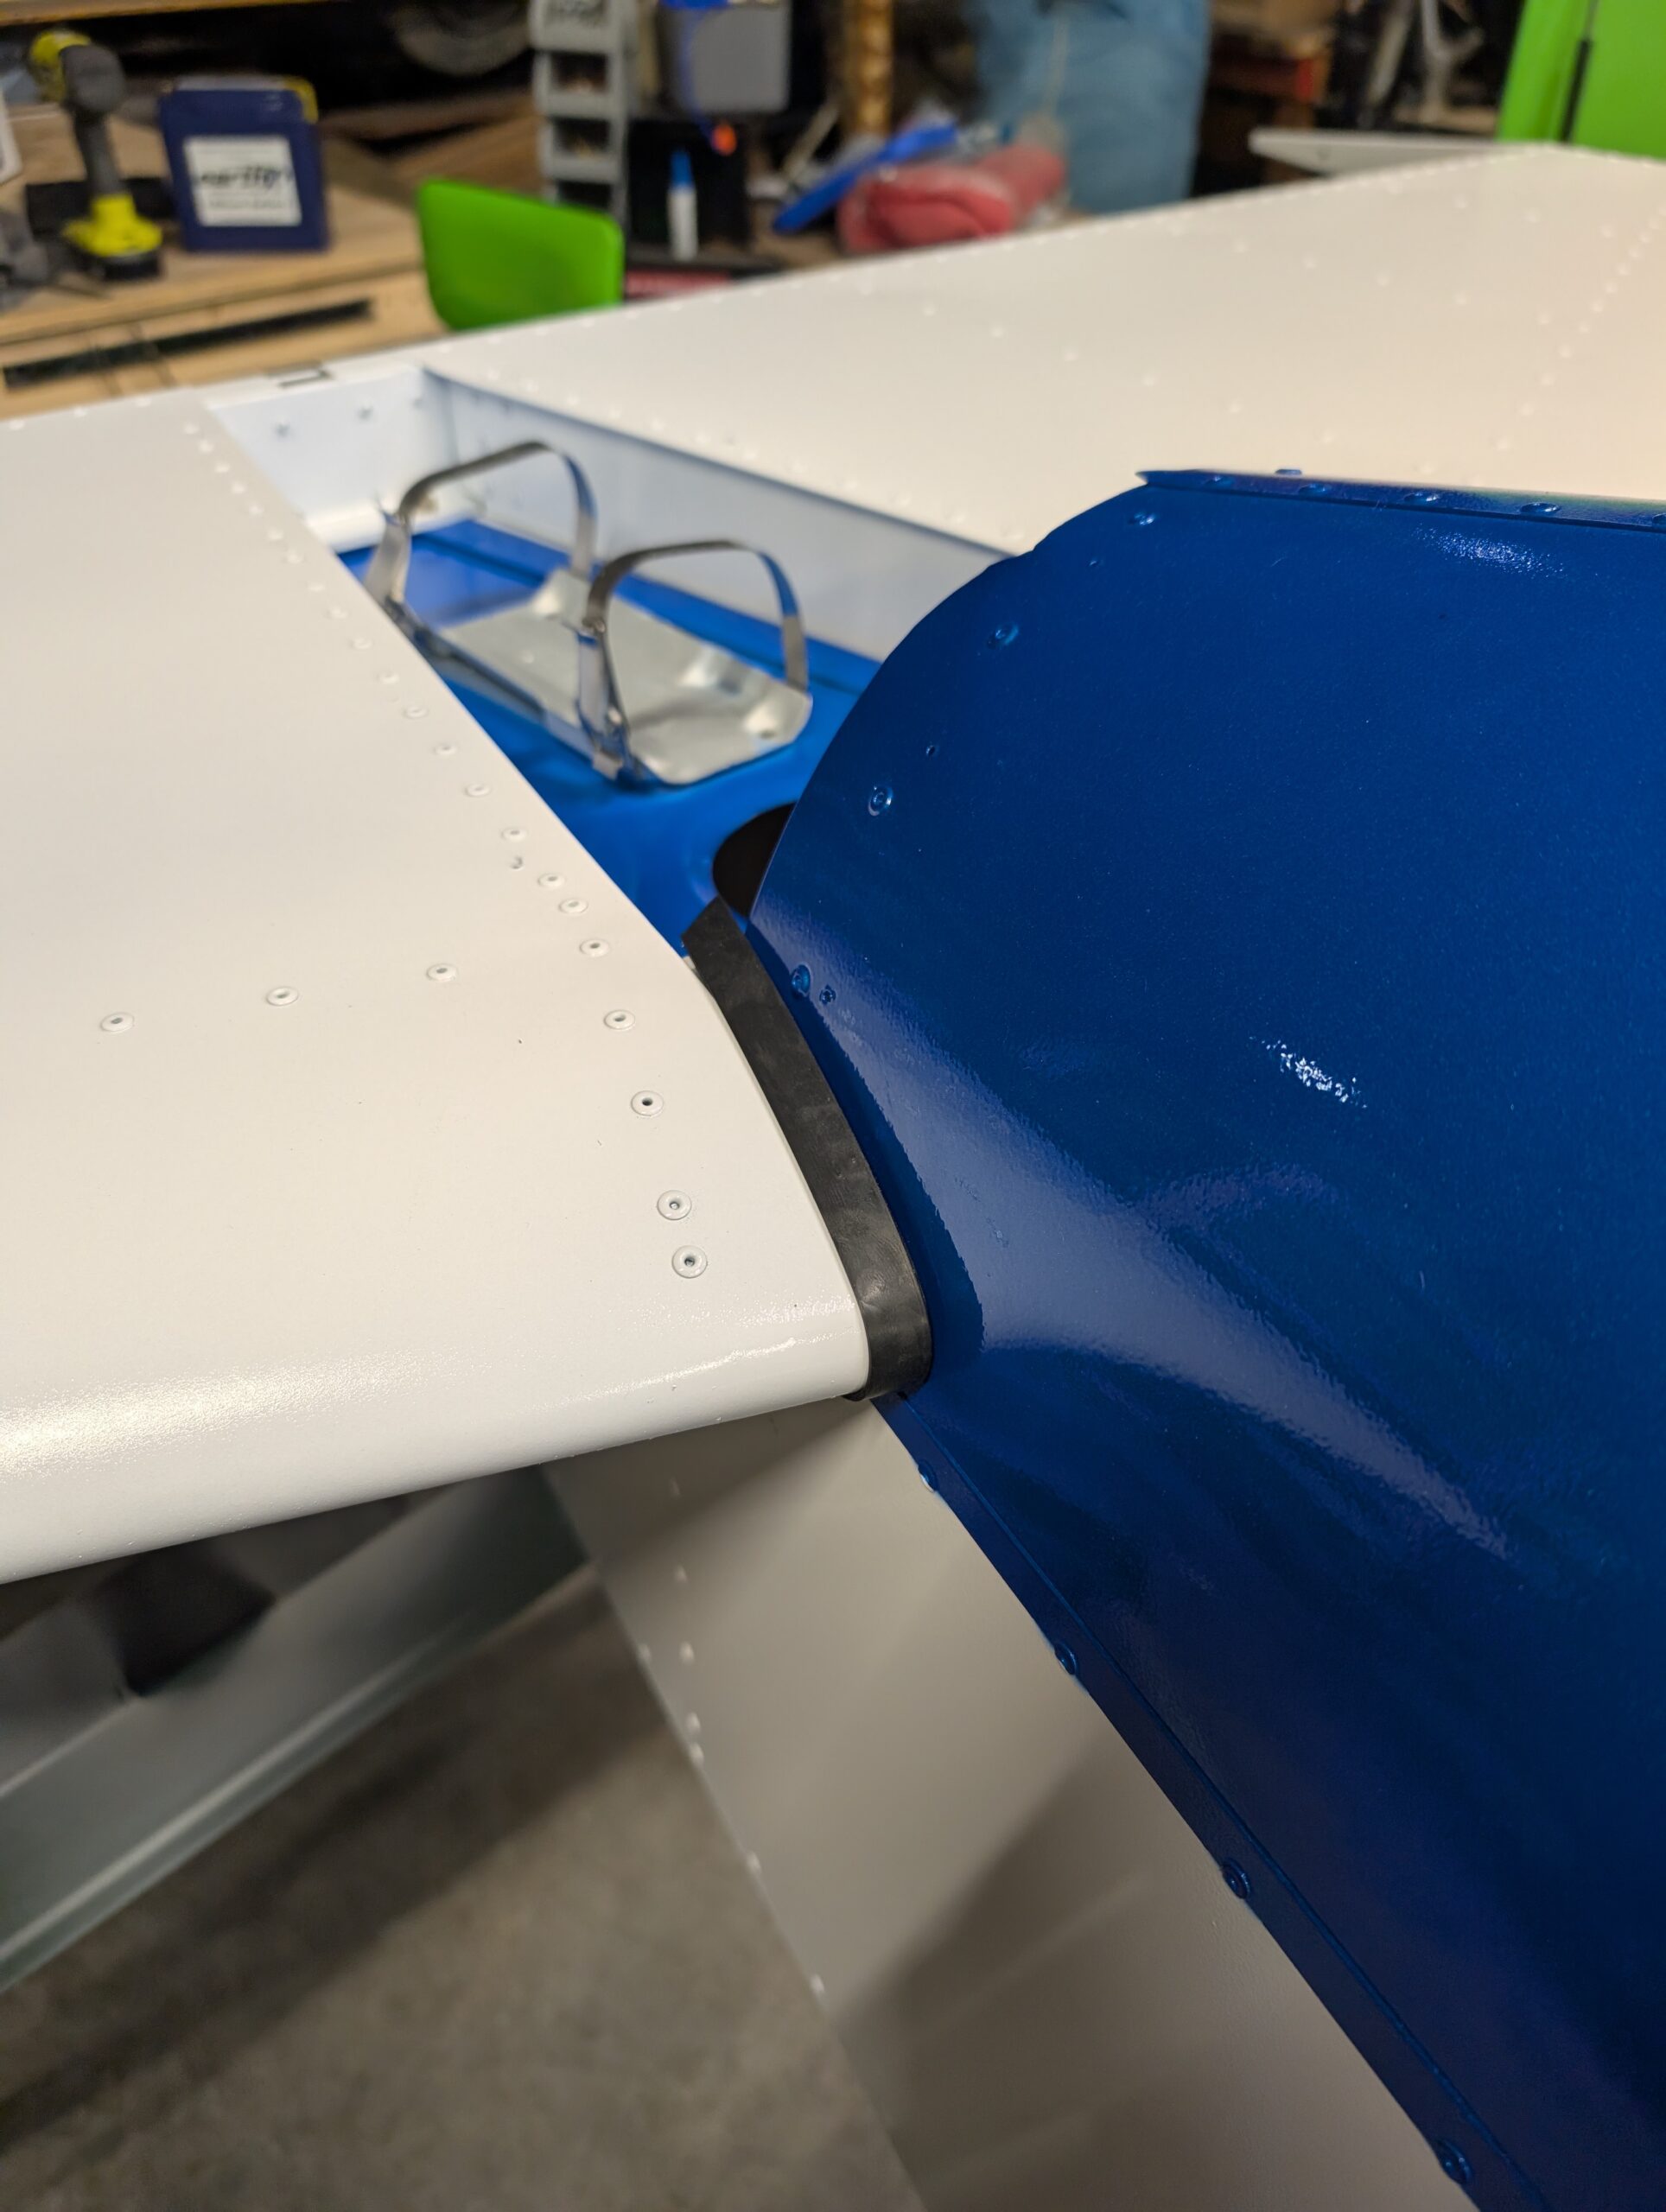
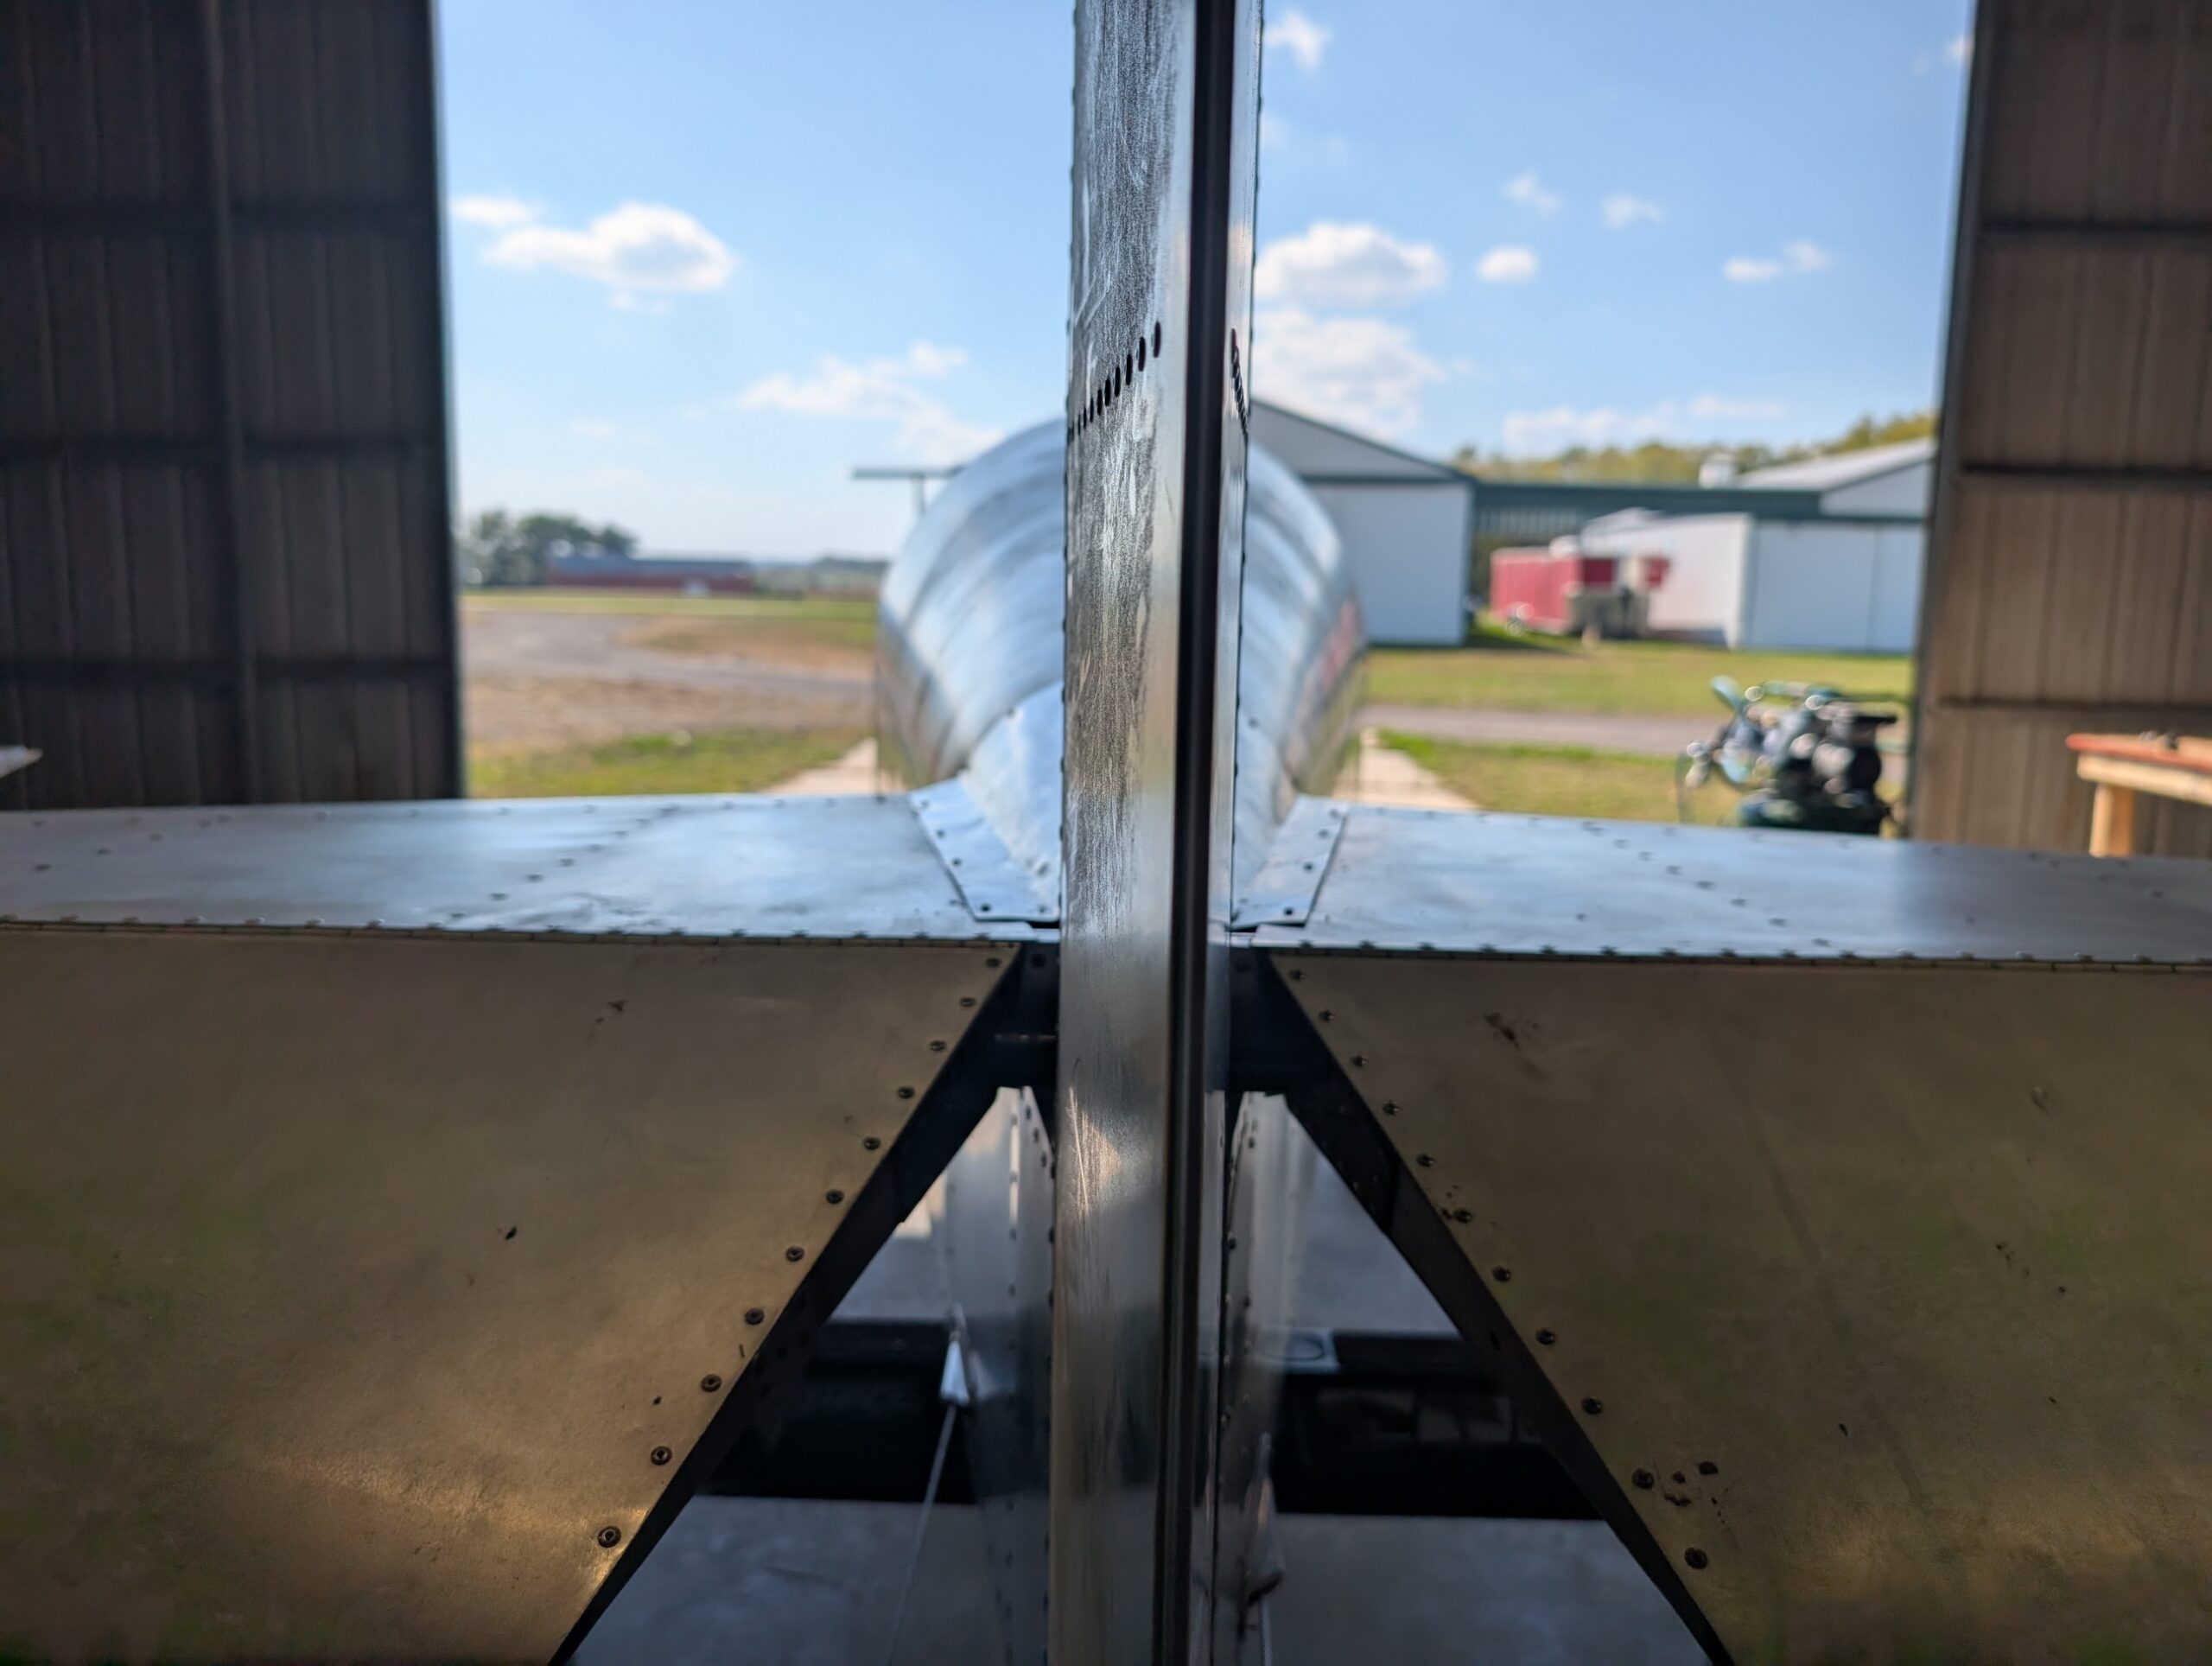
Final Tail Installation – Part 1
Began final assembly of tail by mounting horizontal stabilizer to fuselage with AN4 hardware. Installed weatherstripping along inboard leading edge to help take up gap between stabilizer and turtledeck. Applied torque seal to mounting bolts. Hours Worked: 0.89
-
Tail Fairing Panels – Part 2
Continued to work on tail fairing panels by annealing panels via sharpie method; scribbled sharpie on the panels then heated them via torch until sharpie marks began to disappear. After annealing, worked panels over a couple scrap pieces of pipe to work curve into the panels; this method worked much better than expected. After shaping…
-
Tail Fairing Panels – Part 1
Began working on the tail fairing panels by cutting out template from plans on poster paper and mocking it up on the fuselage. Because the tail skin was installed upside down and needed extra trimming, will need to modify plans template. Expanded template forward and outboard to better match profile of upper fuselage and cover…
-
Tail Installation – Part 4
Placed newly rebuilt elevator onto horizontal stabilizer to check fitment; fit checked good with overall width not changing. Reinstalled elevator hinge pins then reinstalled vertical tail and rudder. Checked elevator travel and verified 23 degrees up travel and 24 degrees down travel limited by stops on elevator horn. Hours Worked: 2.82
-

Tail Installation – Part 3
Mocked up ELT location on rear shear web and marked vertical stabilizer on where skin needs to be trimmed. Removed vertical stabilizer and marked out mounting hole location on shear web. Trimmed vertical stabilizer skin and riveted ELT mount and clamps to fuselage. Painted elevator horn with spray paint. Reattached vertical stabilizer with AN3 and…
-

Tail Installation – Part 2
Mocked up vertical stabilizer into place and noticed elevator horn was impacting vertical stabilizer skin and preventing full motion. Removed vertical stabilizer and trimmed skin at base. Continued to file elevator horn to ensure full 25 degrees of pitch up. Inserted elevator pushrod into fuselage before getting too far. Set elevator hinge pins all the…
-
Tail Installation – Part 1
Began tail surface installation by moving tail surfaces from house to hangar. Discovered that horizontal stabilizer skins were installed upside down and that the bottom skins would need to be trimmed to fit around fuselage tail cone. Using the top side skin as a reference, trimmed bottom skin to clear fuselage tail cone. Will need…