emkrueger830

Tail Fairing Panels – Part 3
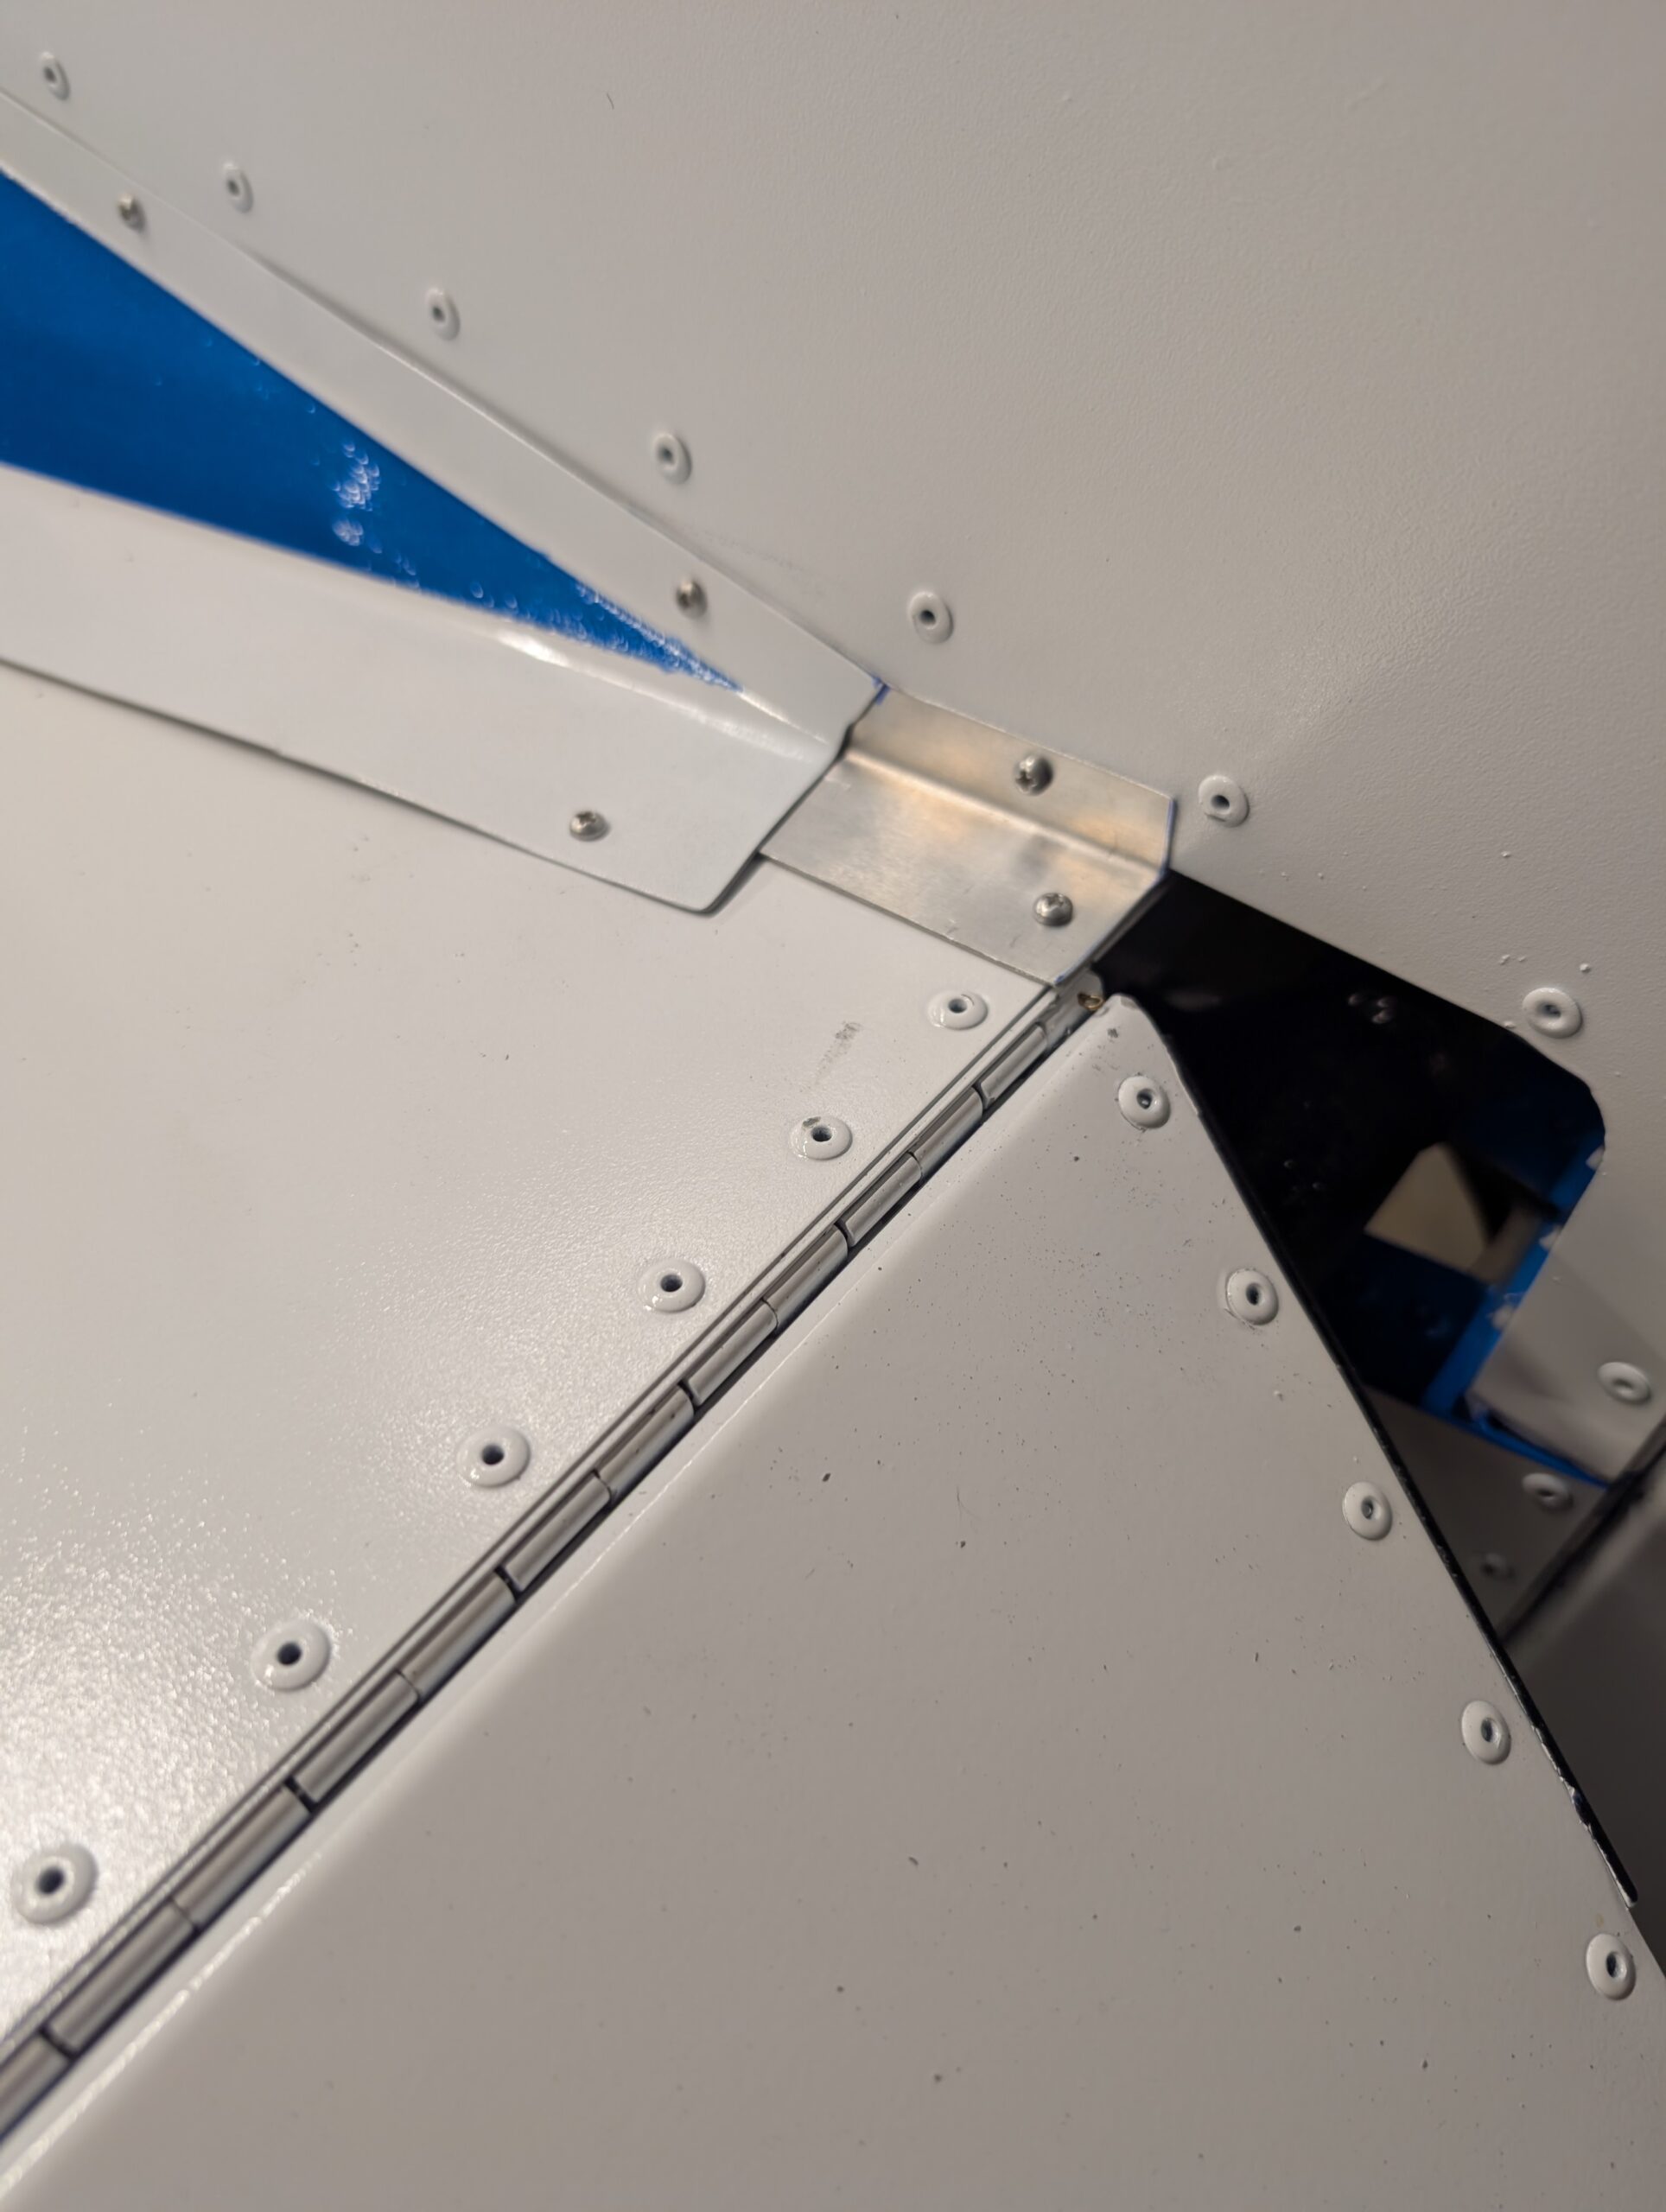
In lieu of using plan -06 angles to cover small gap behind tail fairing, opted to create a custom piece to seal up compartment where ELT sits. Cut Z01-03 stock to size and slipped underneath tail panel fairings. Overlapped furthest aft screw hole from fairing panels and marked two new PK screw holes. Cut angles…

Tail Tips Installation
Installed remaining tail tips onto tail feathers with AN526-832 screws. T14 complete! Hours Worked: 0.44
Final Tail Installation – Part 3
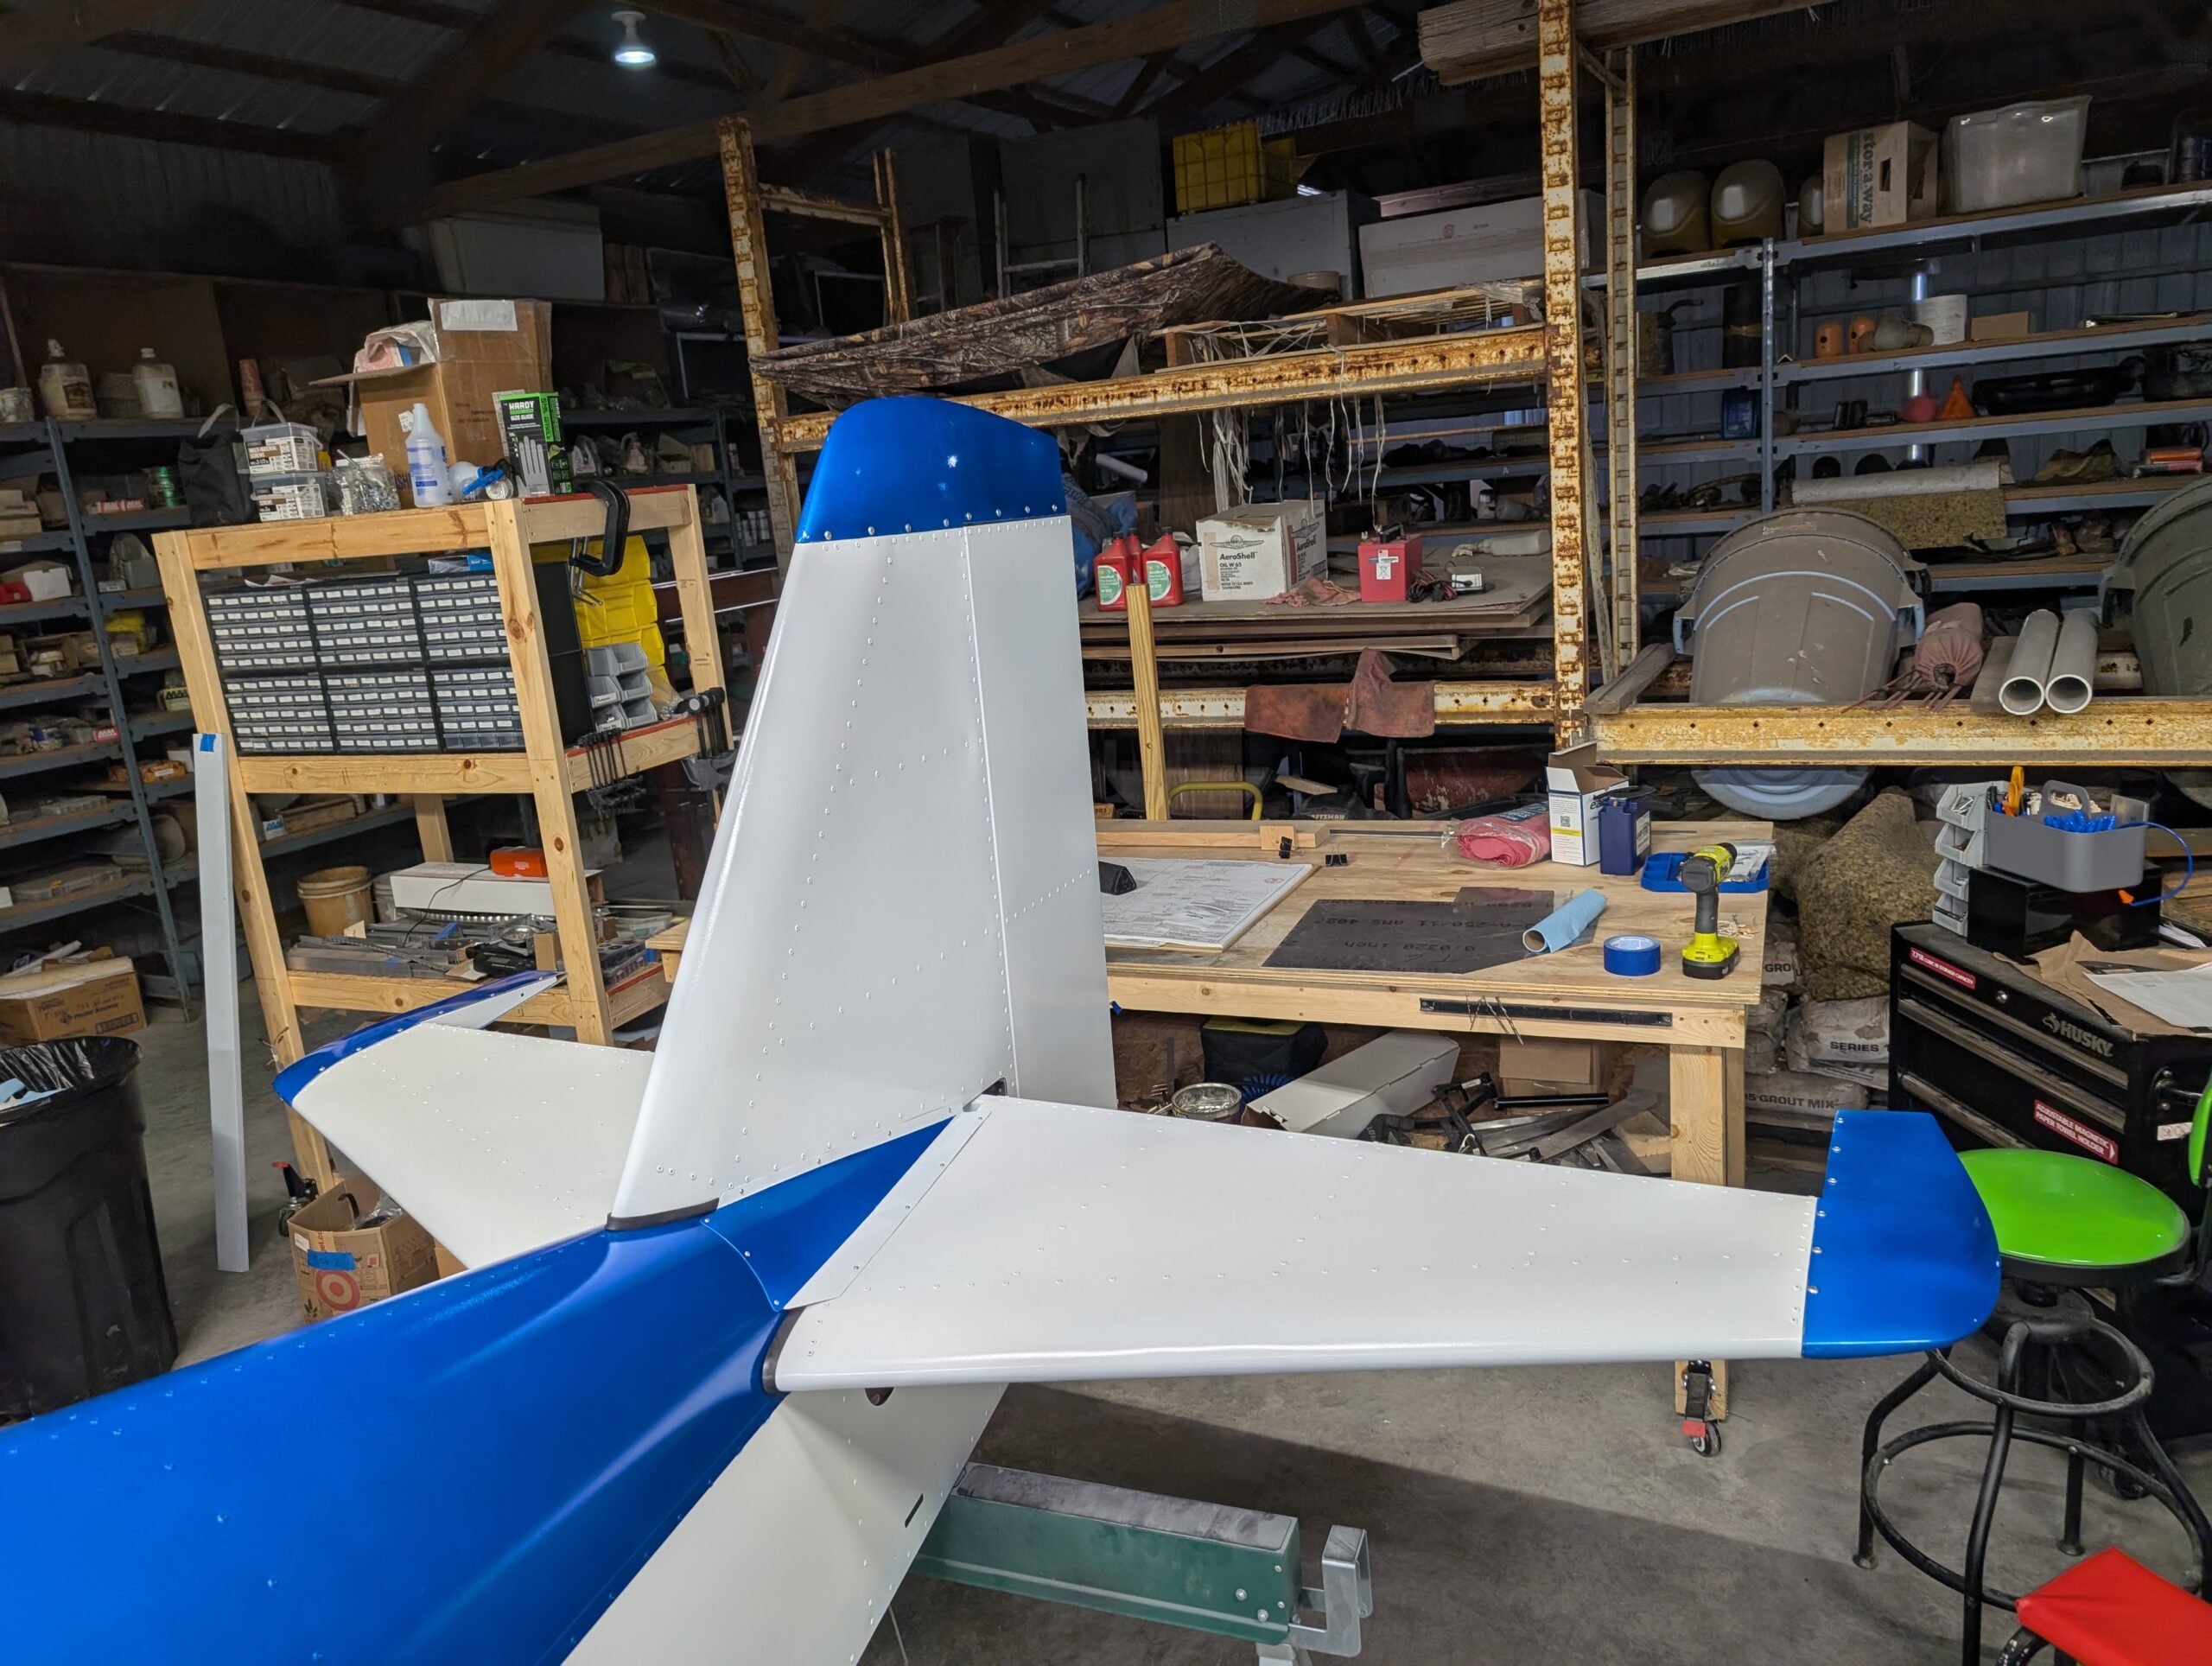
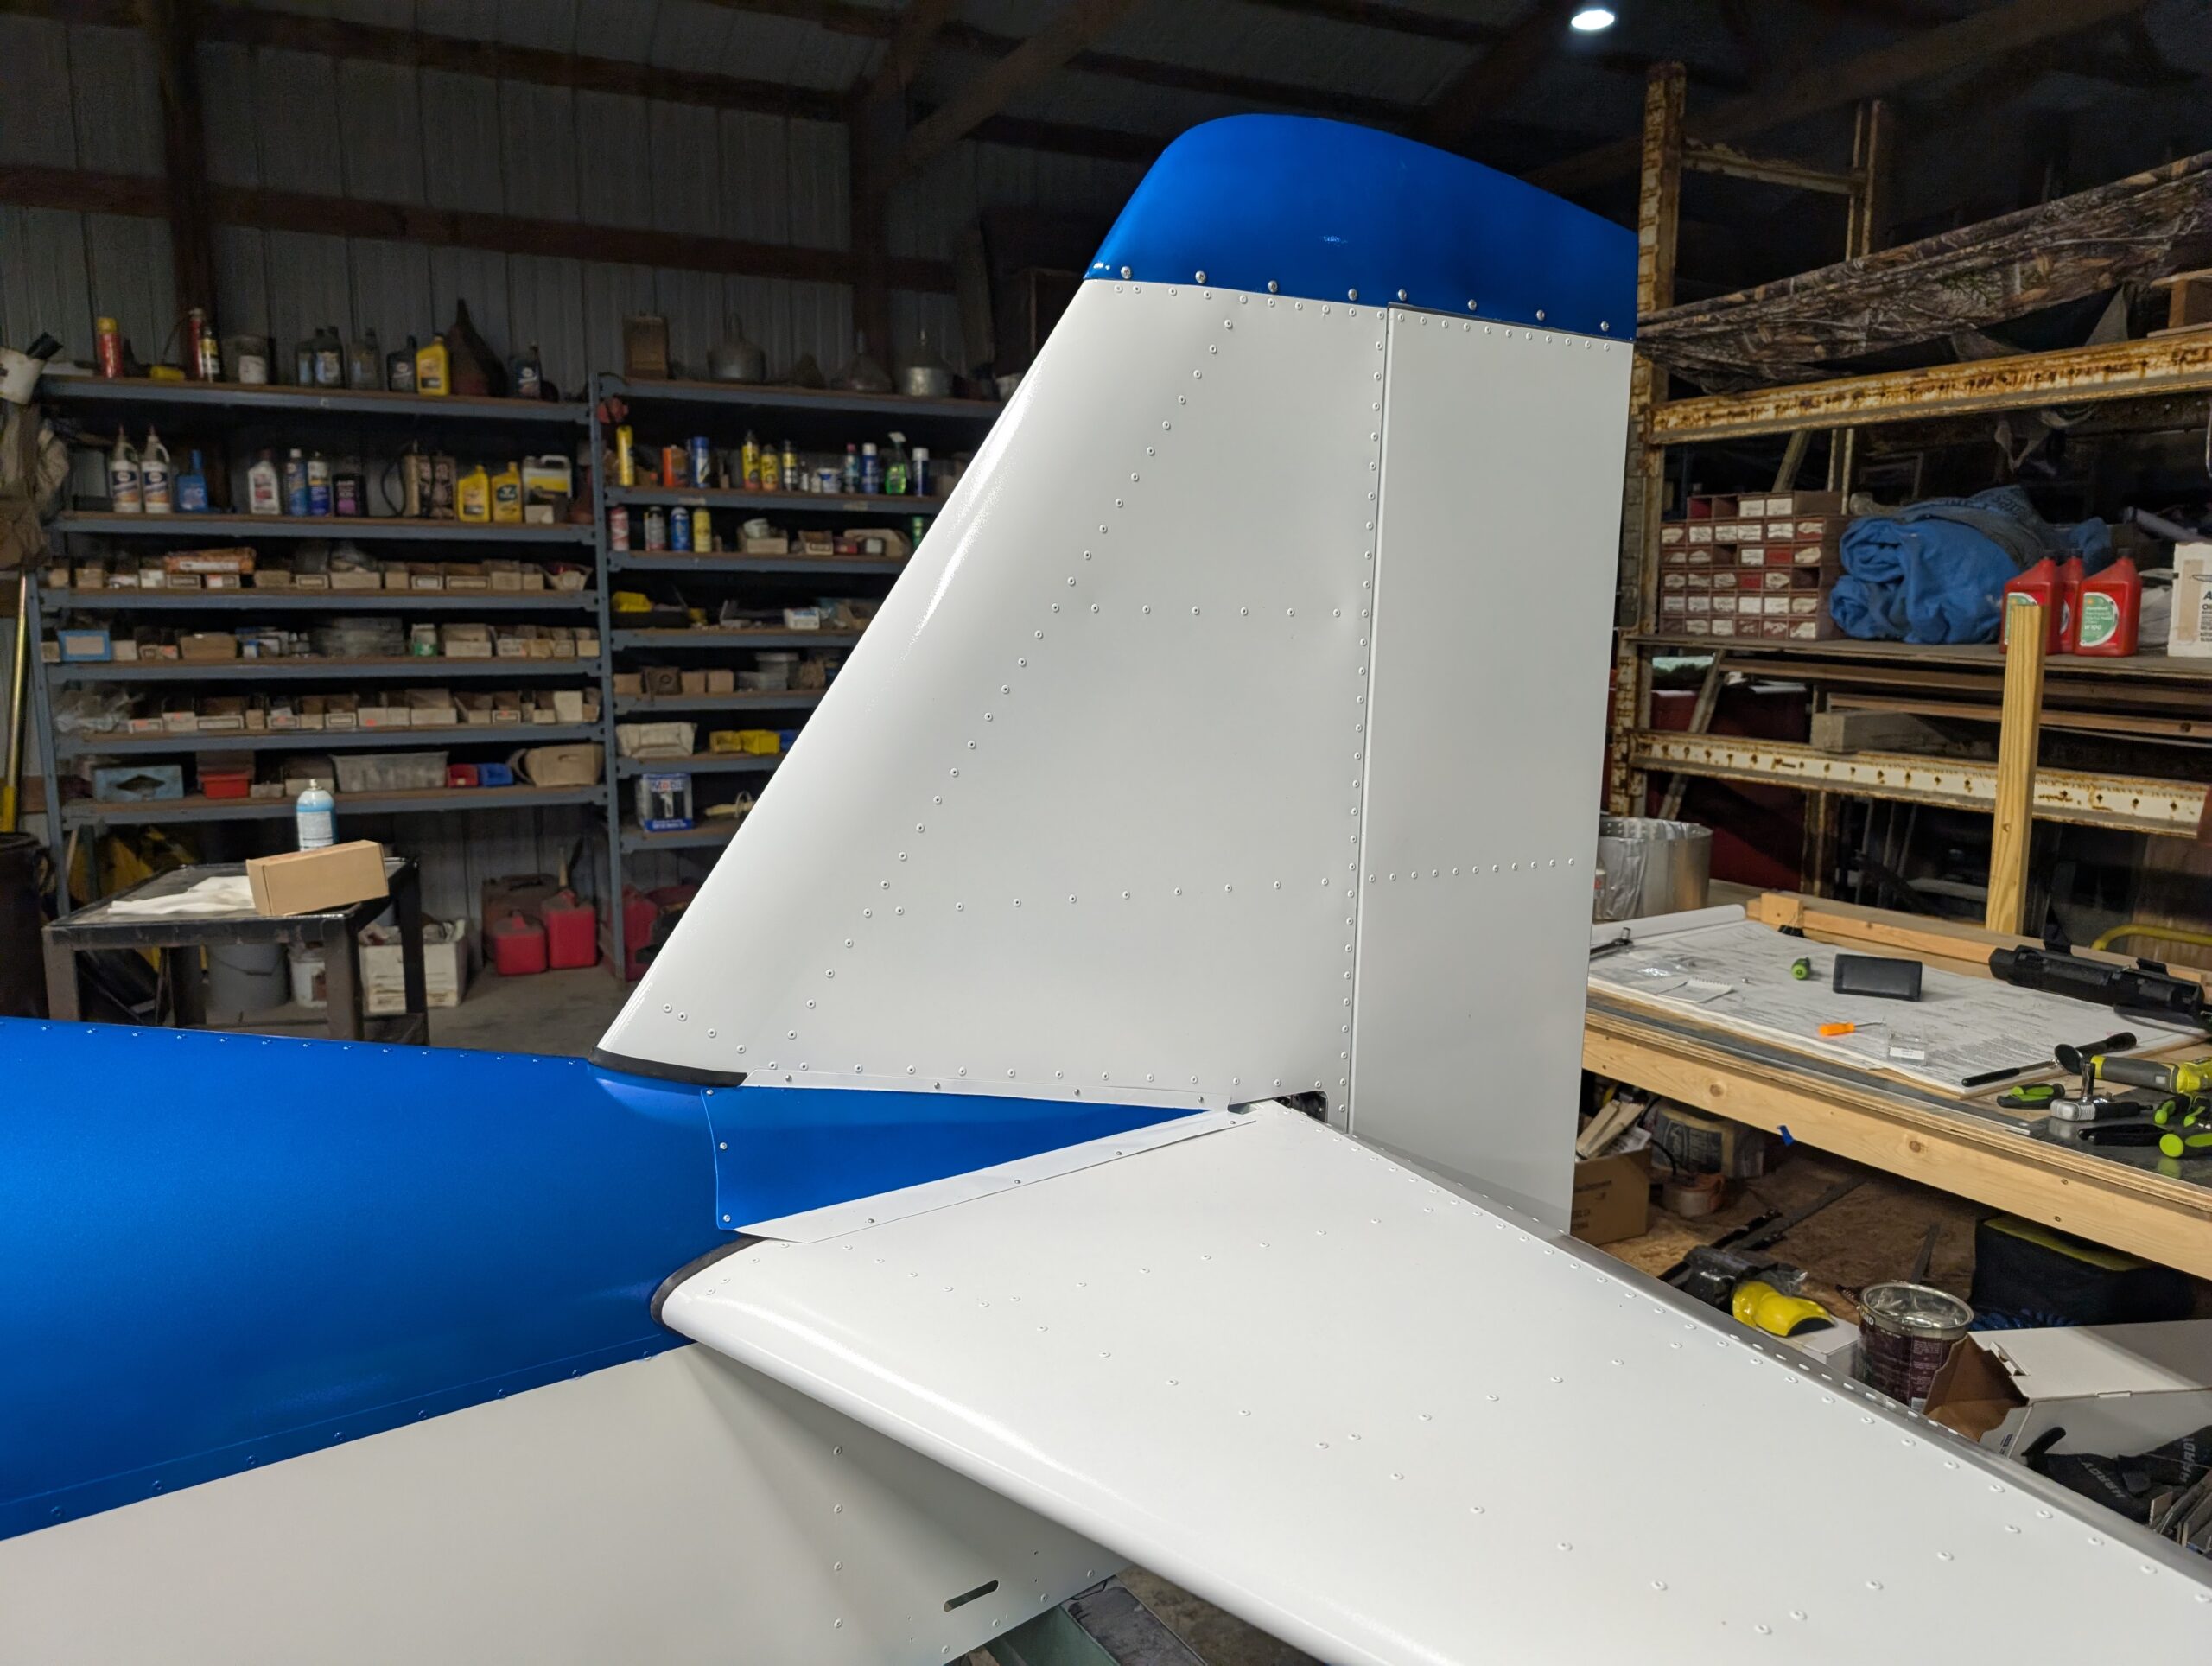
Installed vertical stabilizer onto fuselage. Replaced AN3-6A bolts in tail with AN3-5A bolts for better fit and to ensure nut wasn’t bottoming out on bolts. Installed weather stripping on bottom edge of vertical stabilizer. Removed hinge pin from rudder installed during painting and reamed out hinge loops. Cut rudder hinge pin to size then installed…
Final Tail Installation – Part 2
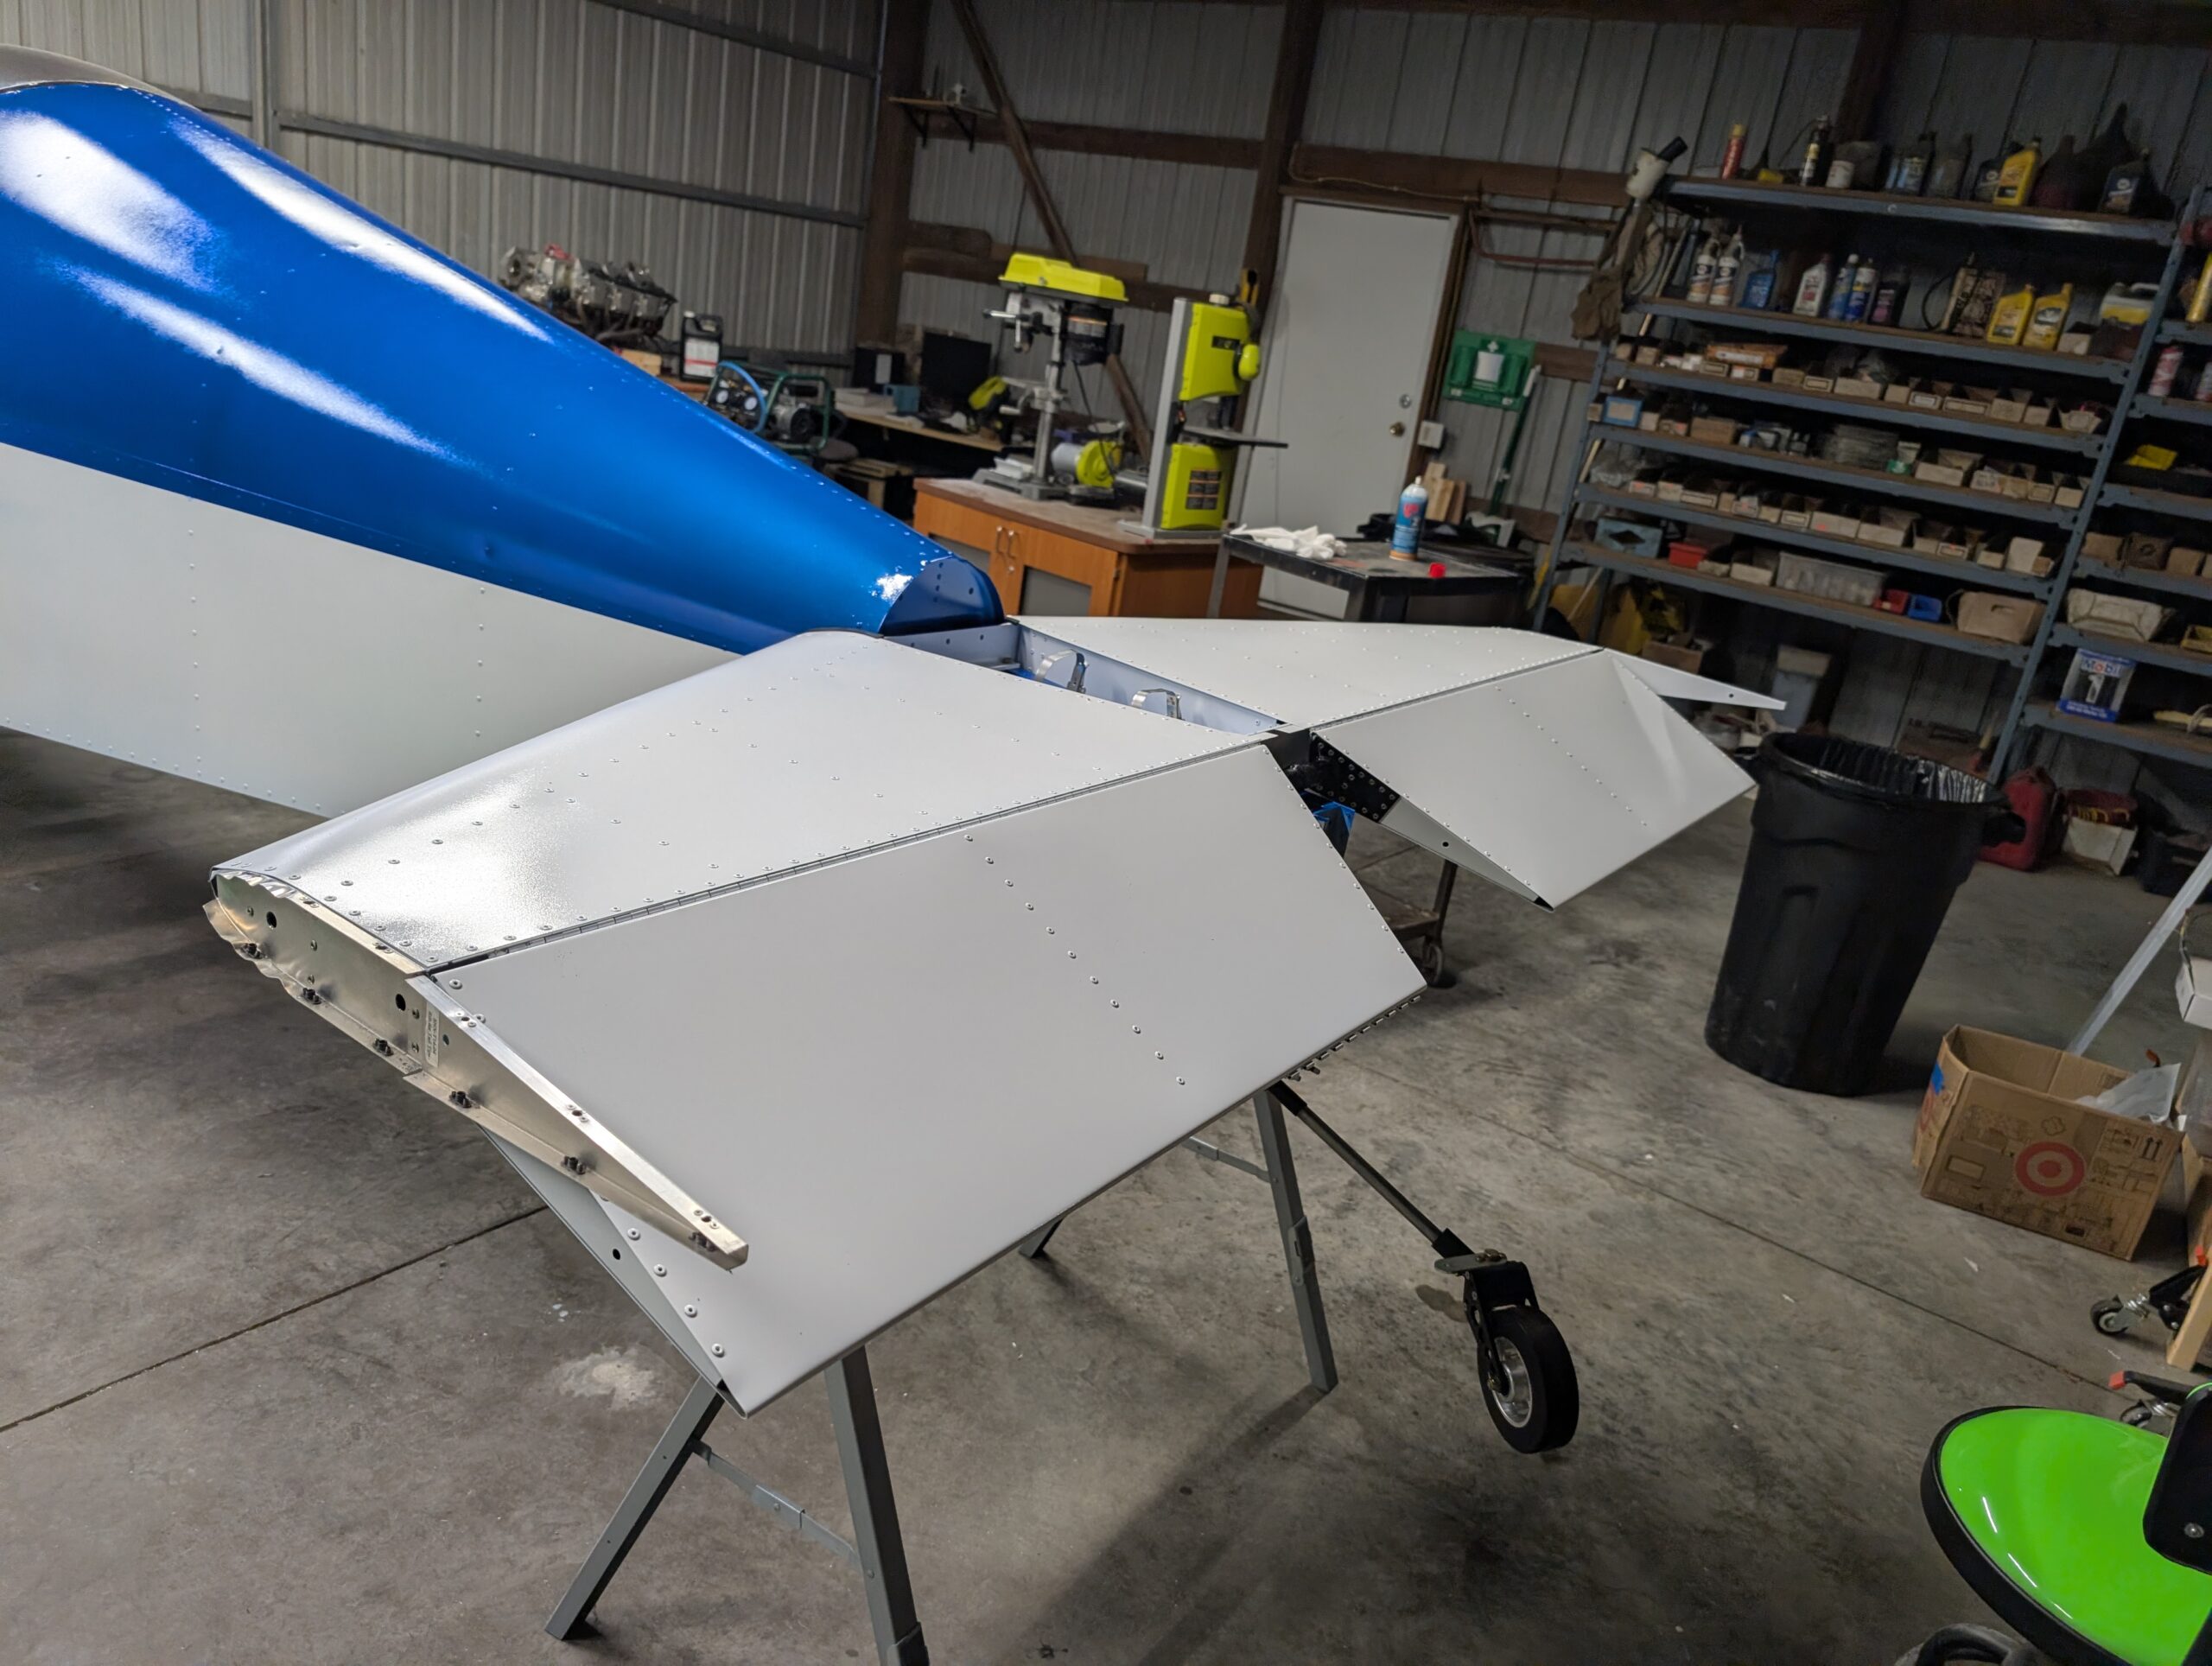
Removed piano hinges installed in elevator during paint process and reamed out hinge loops. Installed elevator onto fuselage and horizontal stabilizer with piano hinges. Drilled cotter pin holes in hinge loops per plans and installed cotter pins. T02 complete! Hours Worked: 1.72
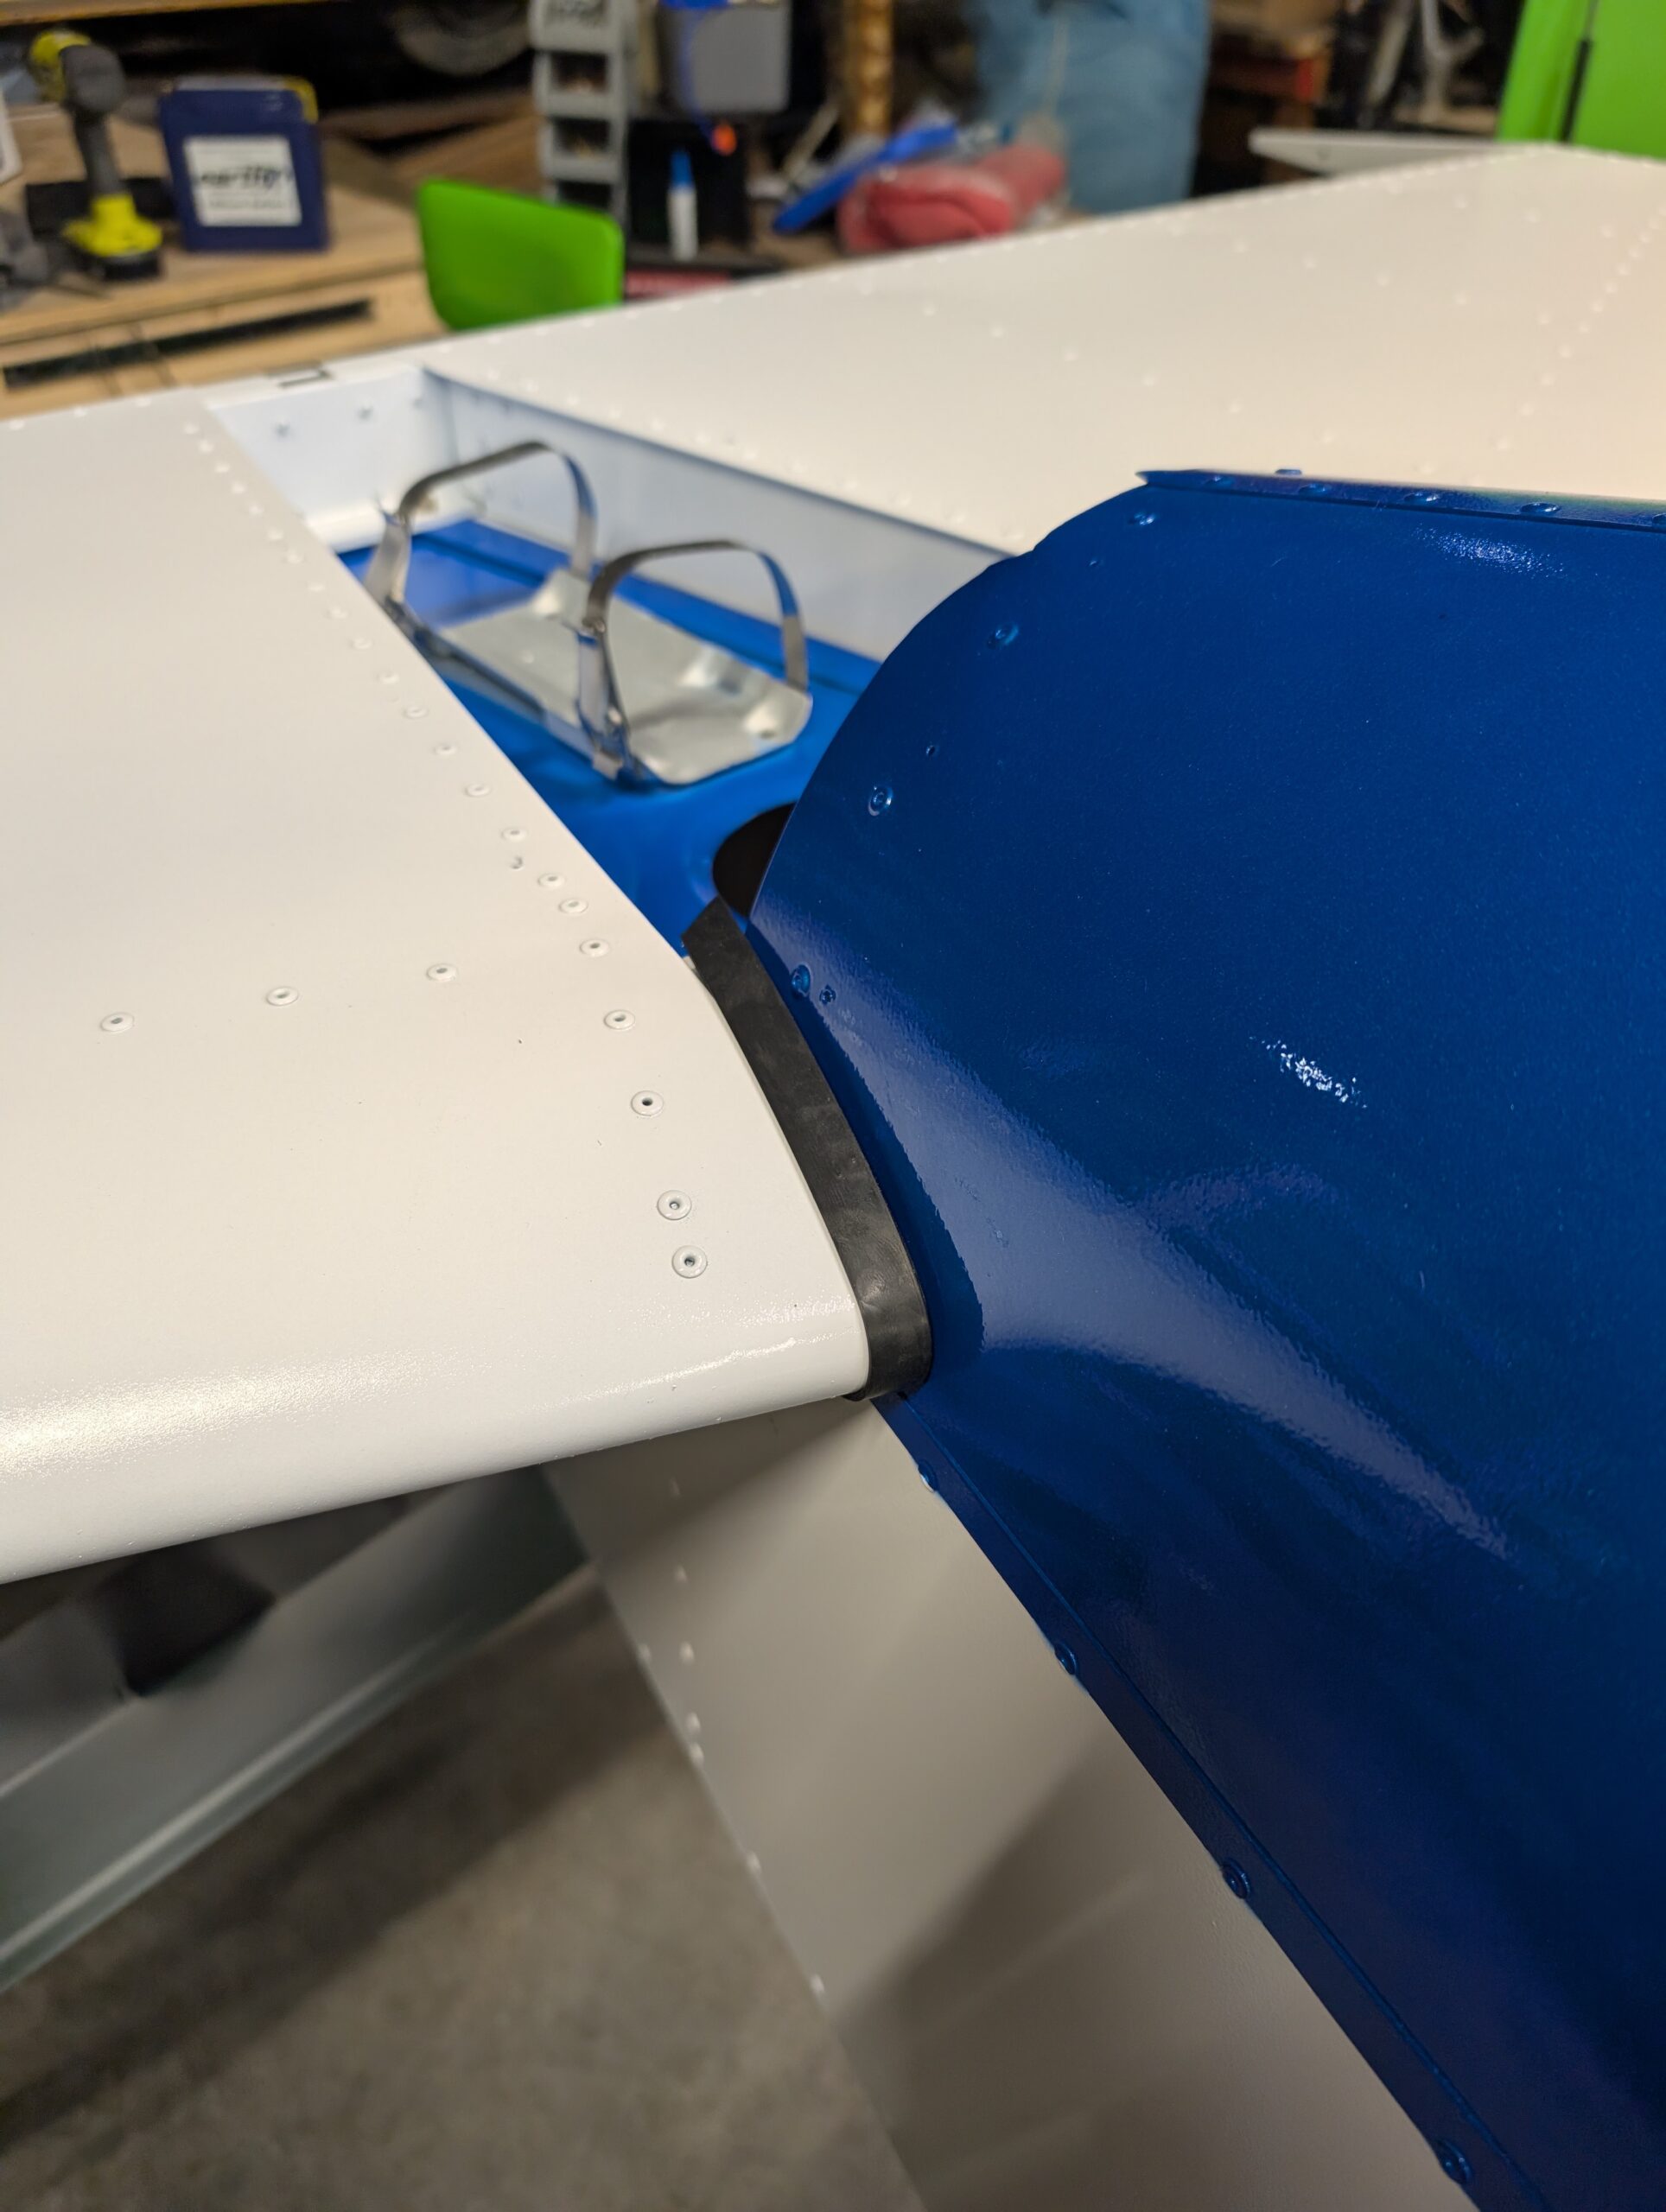
Final Tail Installation – Part 1
Began final assembly of tail by mounting horizontal stabilizer to fuselage with AN4 hardware. Installed weatherstripping along inboard leading edge to help take up gap between stabilizer and turtledeck. Applied torque seal to mounting bolts. Hours Worked: 0.89
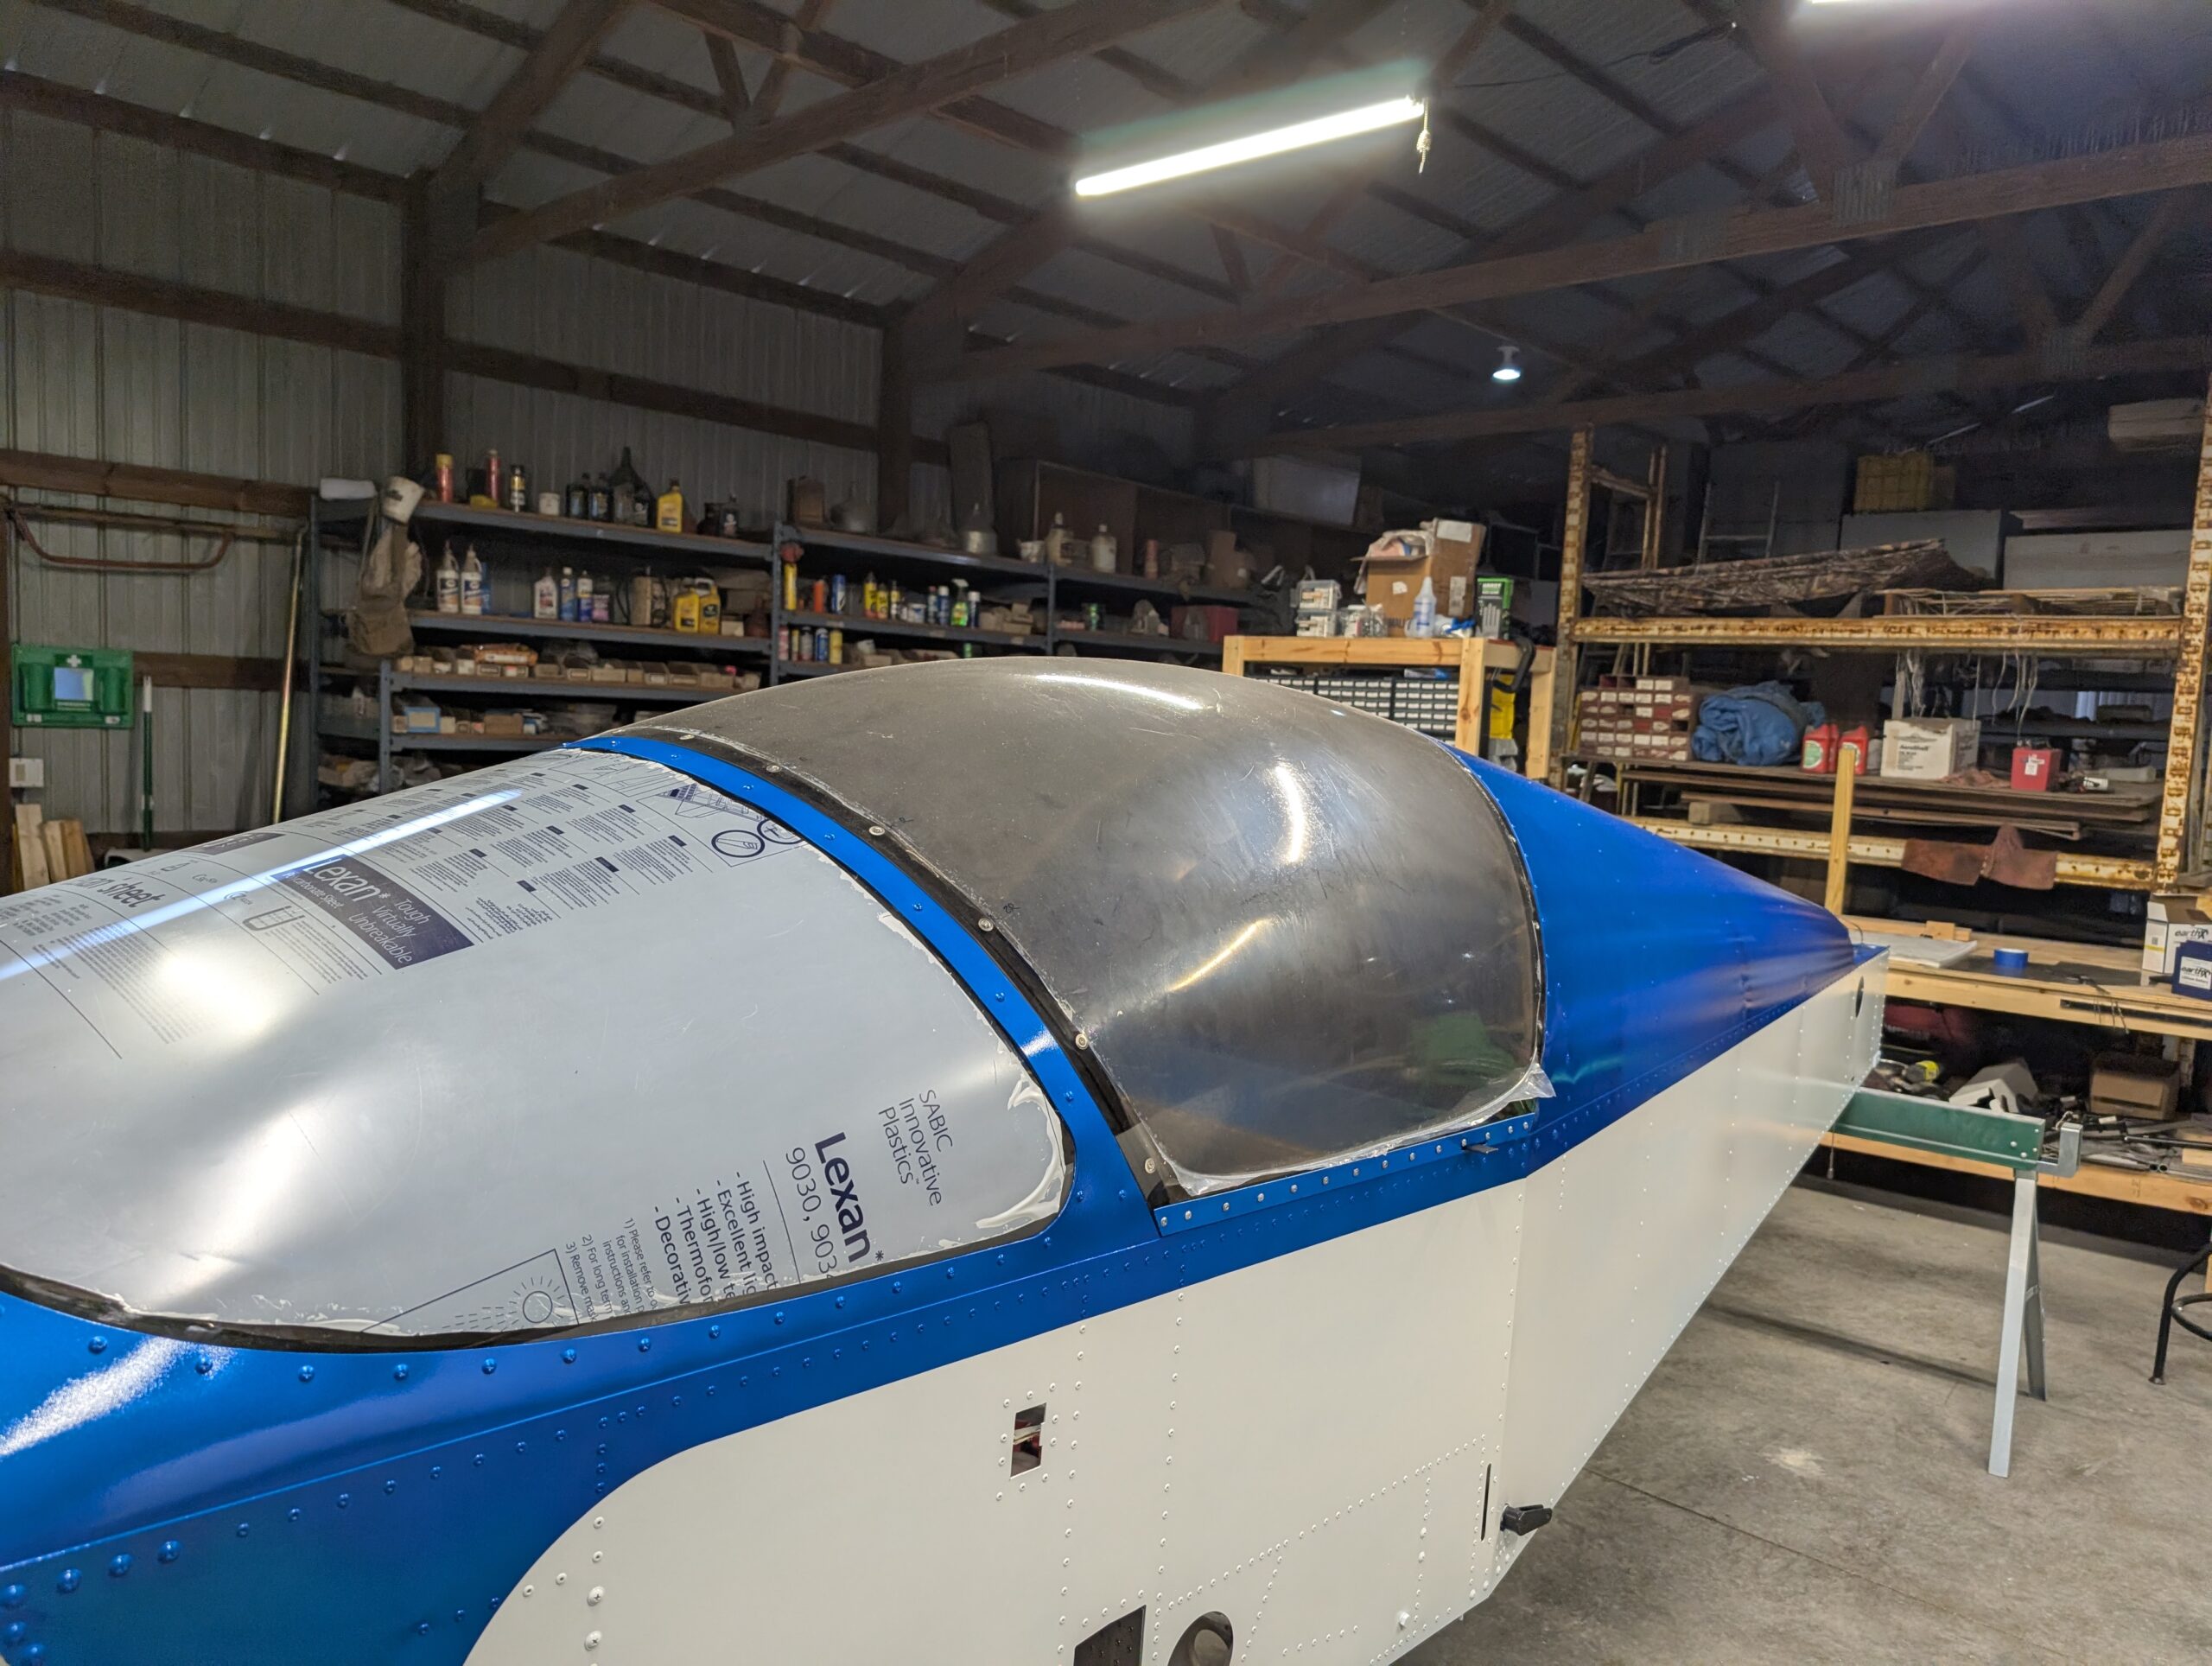
Canopy Installation – Part 3
Reattached canopy to fuselage with hinge pin and verified fitment along front and rear edges along with latch operation. Installed canopy retaining strap and tested operation. Located hole for canopy latch pin and drilled into upper longeron. Will remove plastic from inside and outside of canopy once aircraft is complete. Canopy task now complete! Hours…
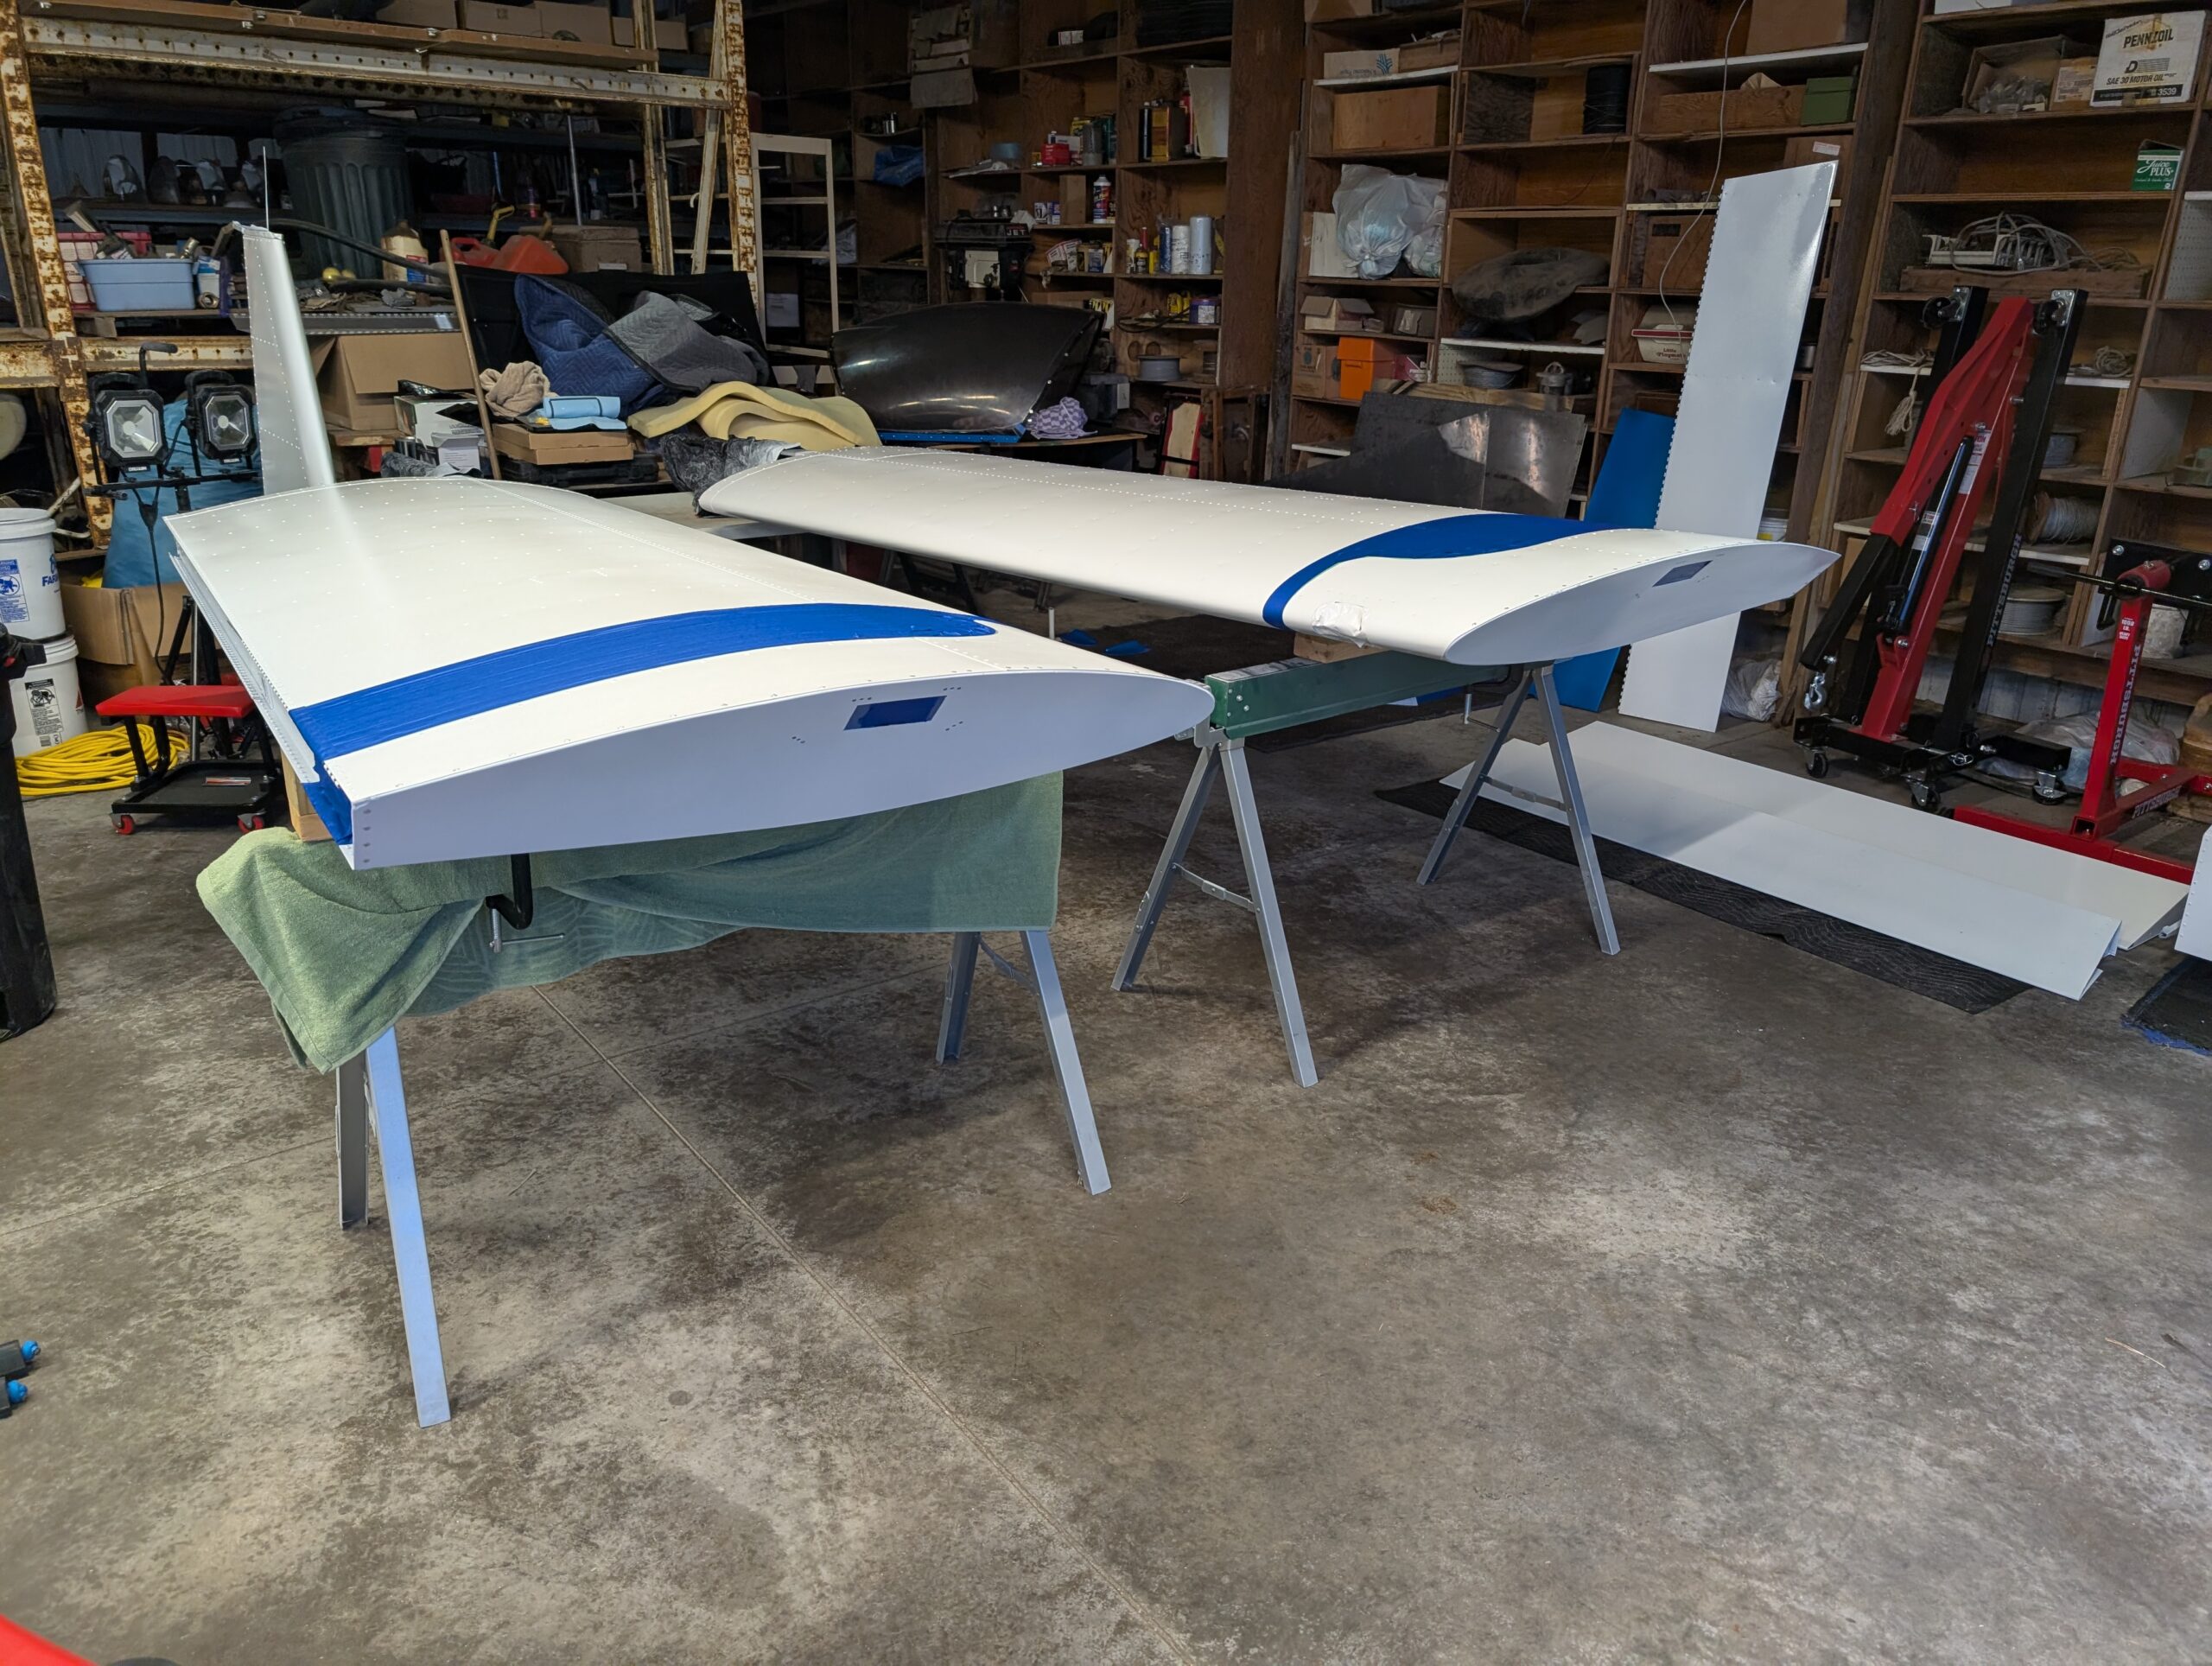
Fuselage and Wing Blue Paint
Final prepped wings, fuselage, ailerons, and tail fairing panels for blue paint by cleaning with pre paint prep. Setup items in paint booth then masked items while in booth. Painted in two batches just the blue color. Let paint cure for about two hours before removing mask and tape. Hours Worked: 5.17
Wingtip Installation
Installed nutplates for wingtip light fairings onto wing tips and riveted wingtips onto wings with AAP-42 aluminum rivets. After wingtips were installed, sanded rivets in preparation of paint. Hours Worked: 1.30
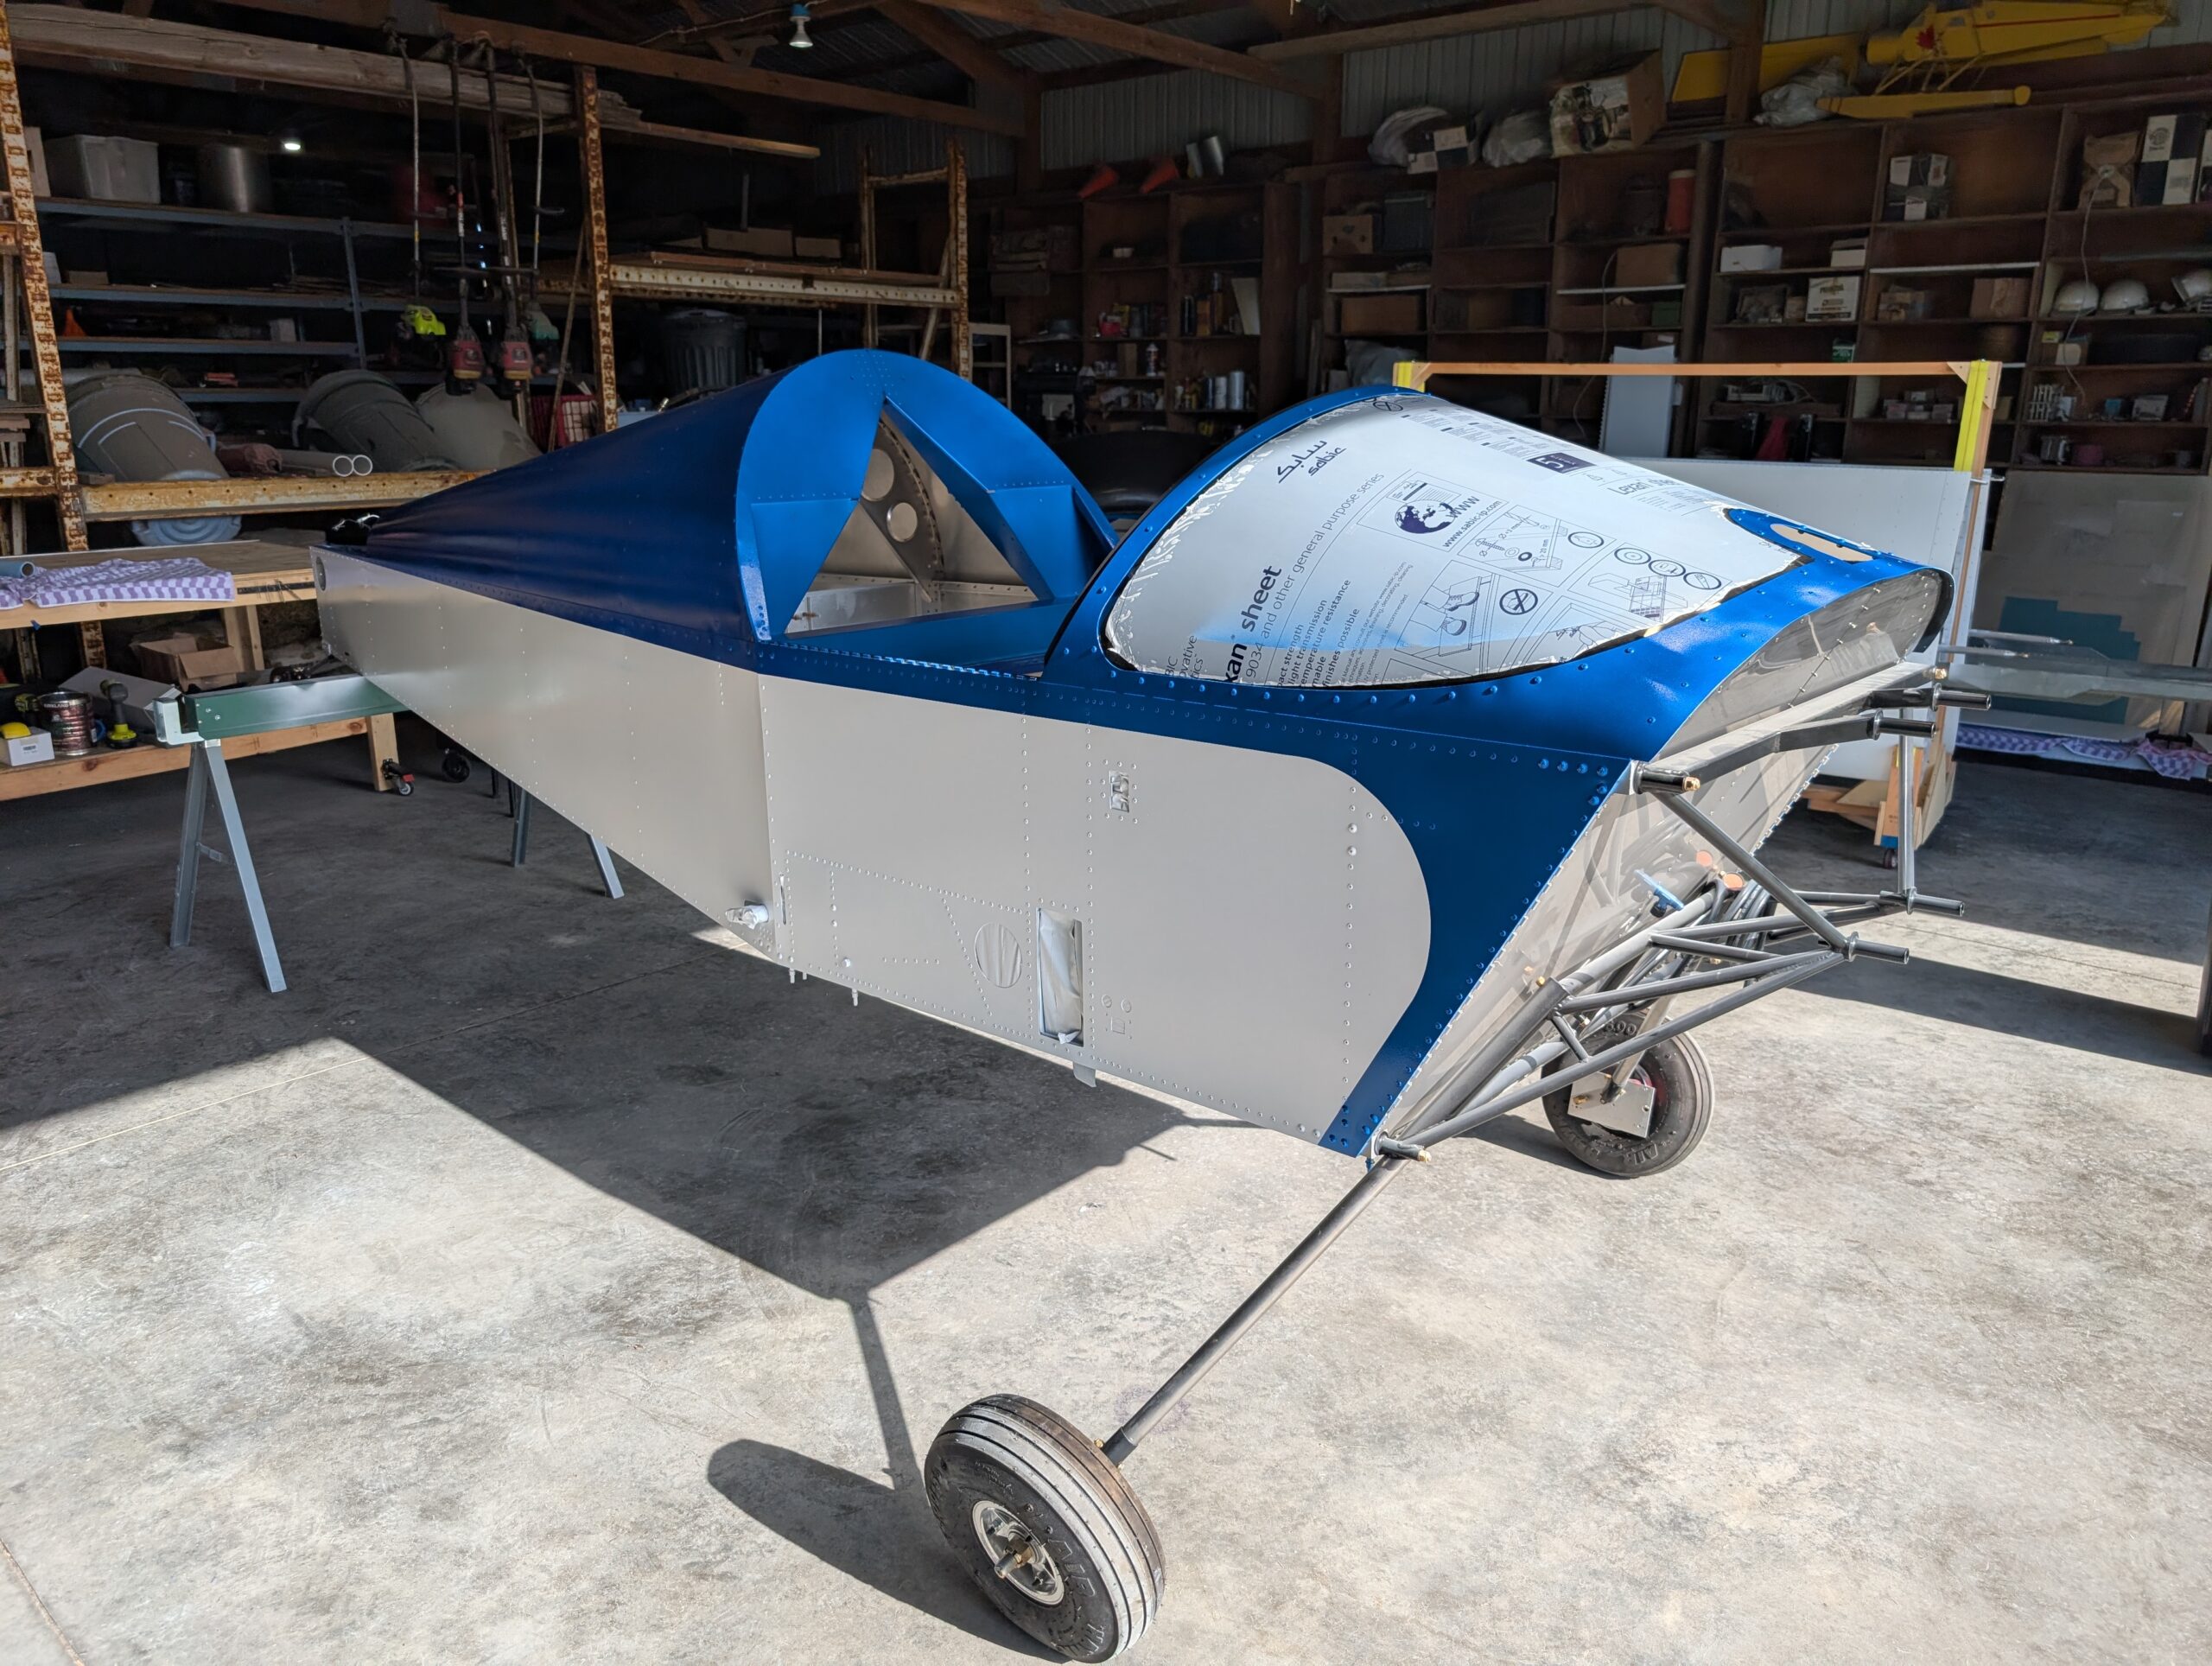
Blue Paint Prep
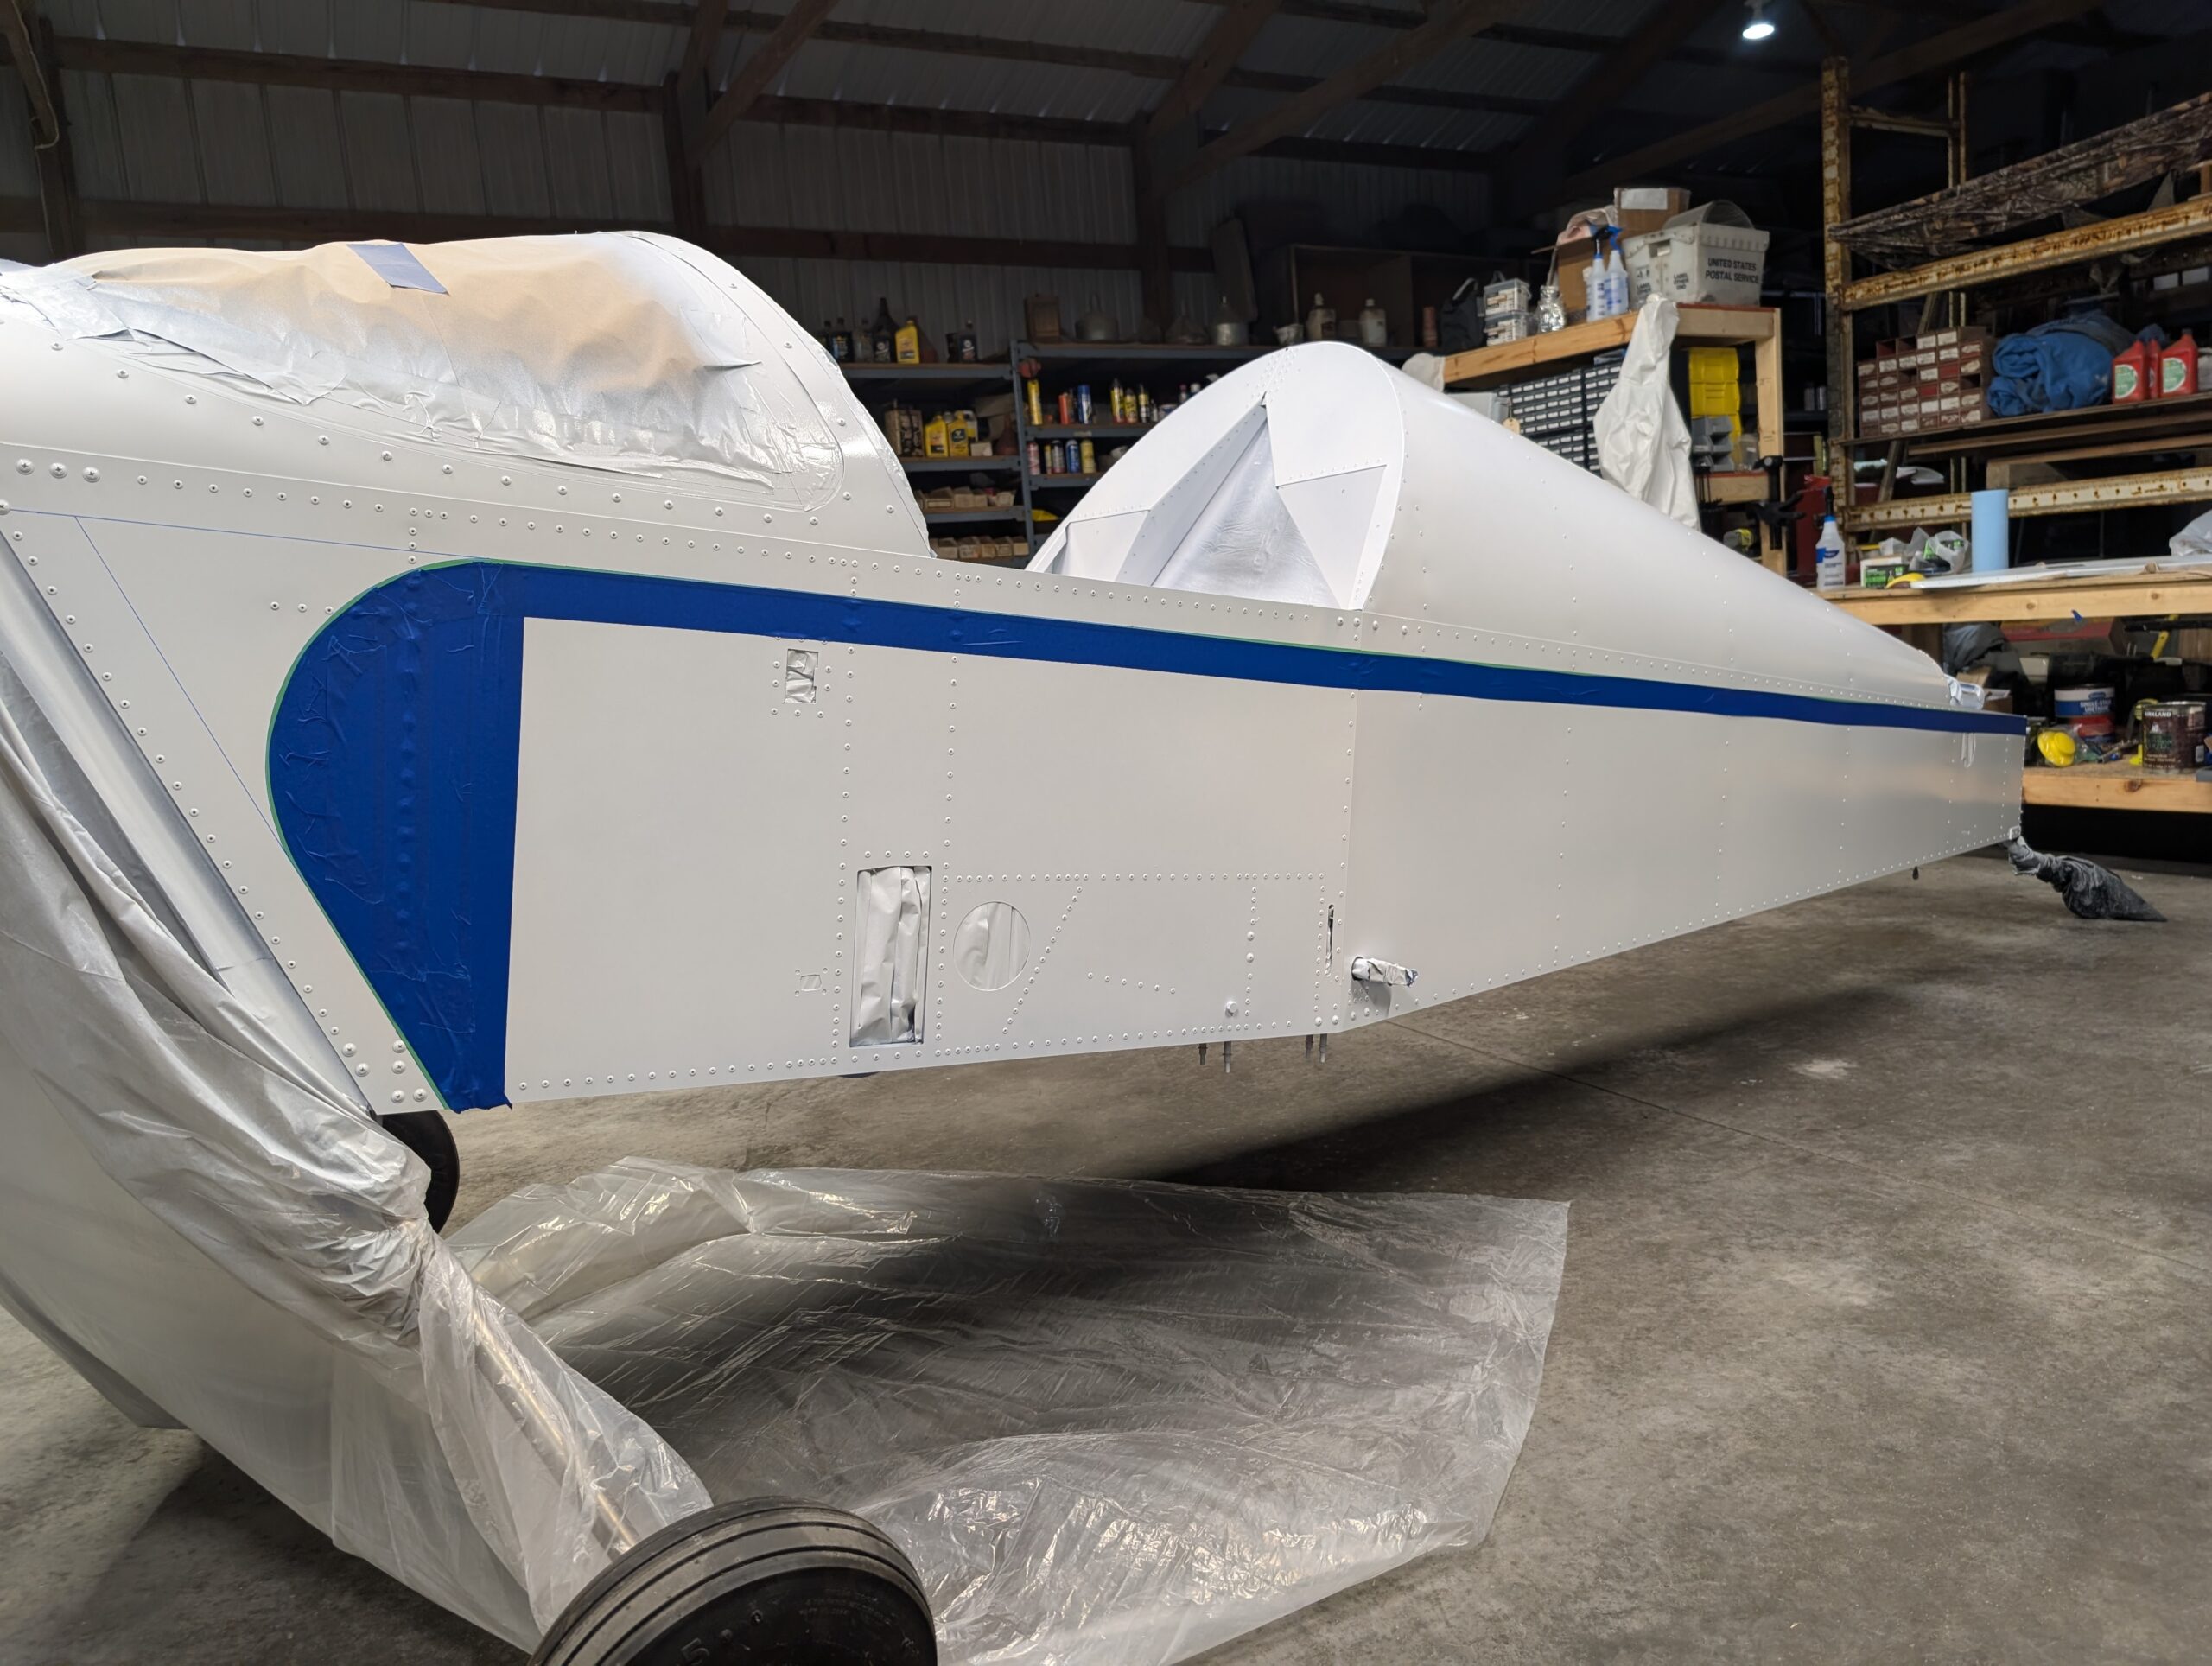
Started prepping the fuselage for blue paint by laying out lines as designed in CAD. Bottom edge of the blue will be 2″ below skin overlap and taper to 0″ at the aft end of the aircraft and forward vertical blue stripe is 2″ from firewall edge. Radius at front of plane will be 7.5″.…
Tail Surfaces and Fuselage White Paint
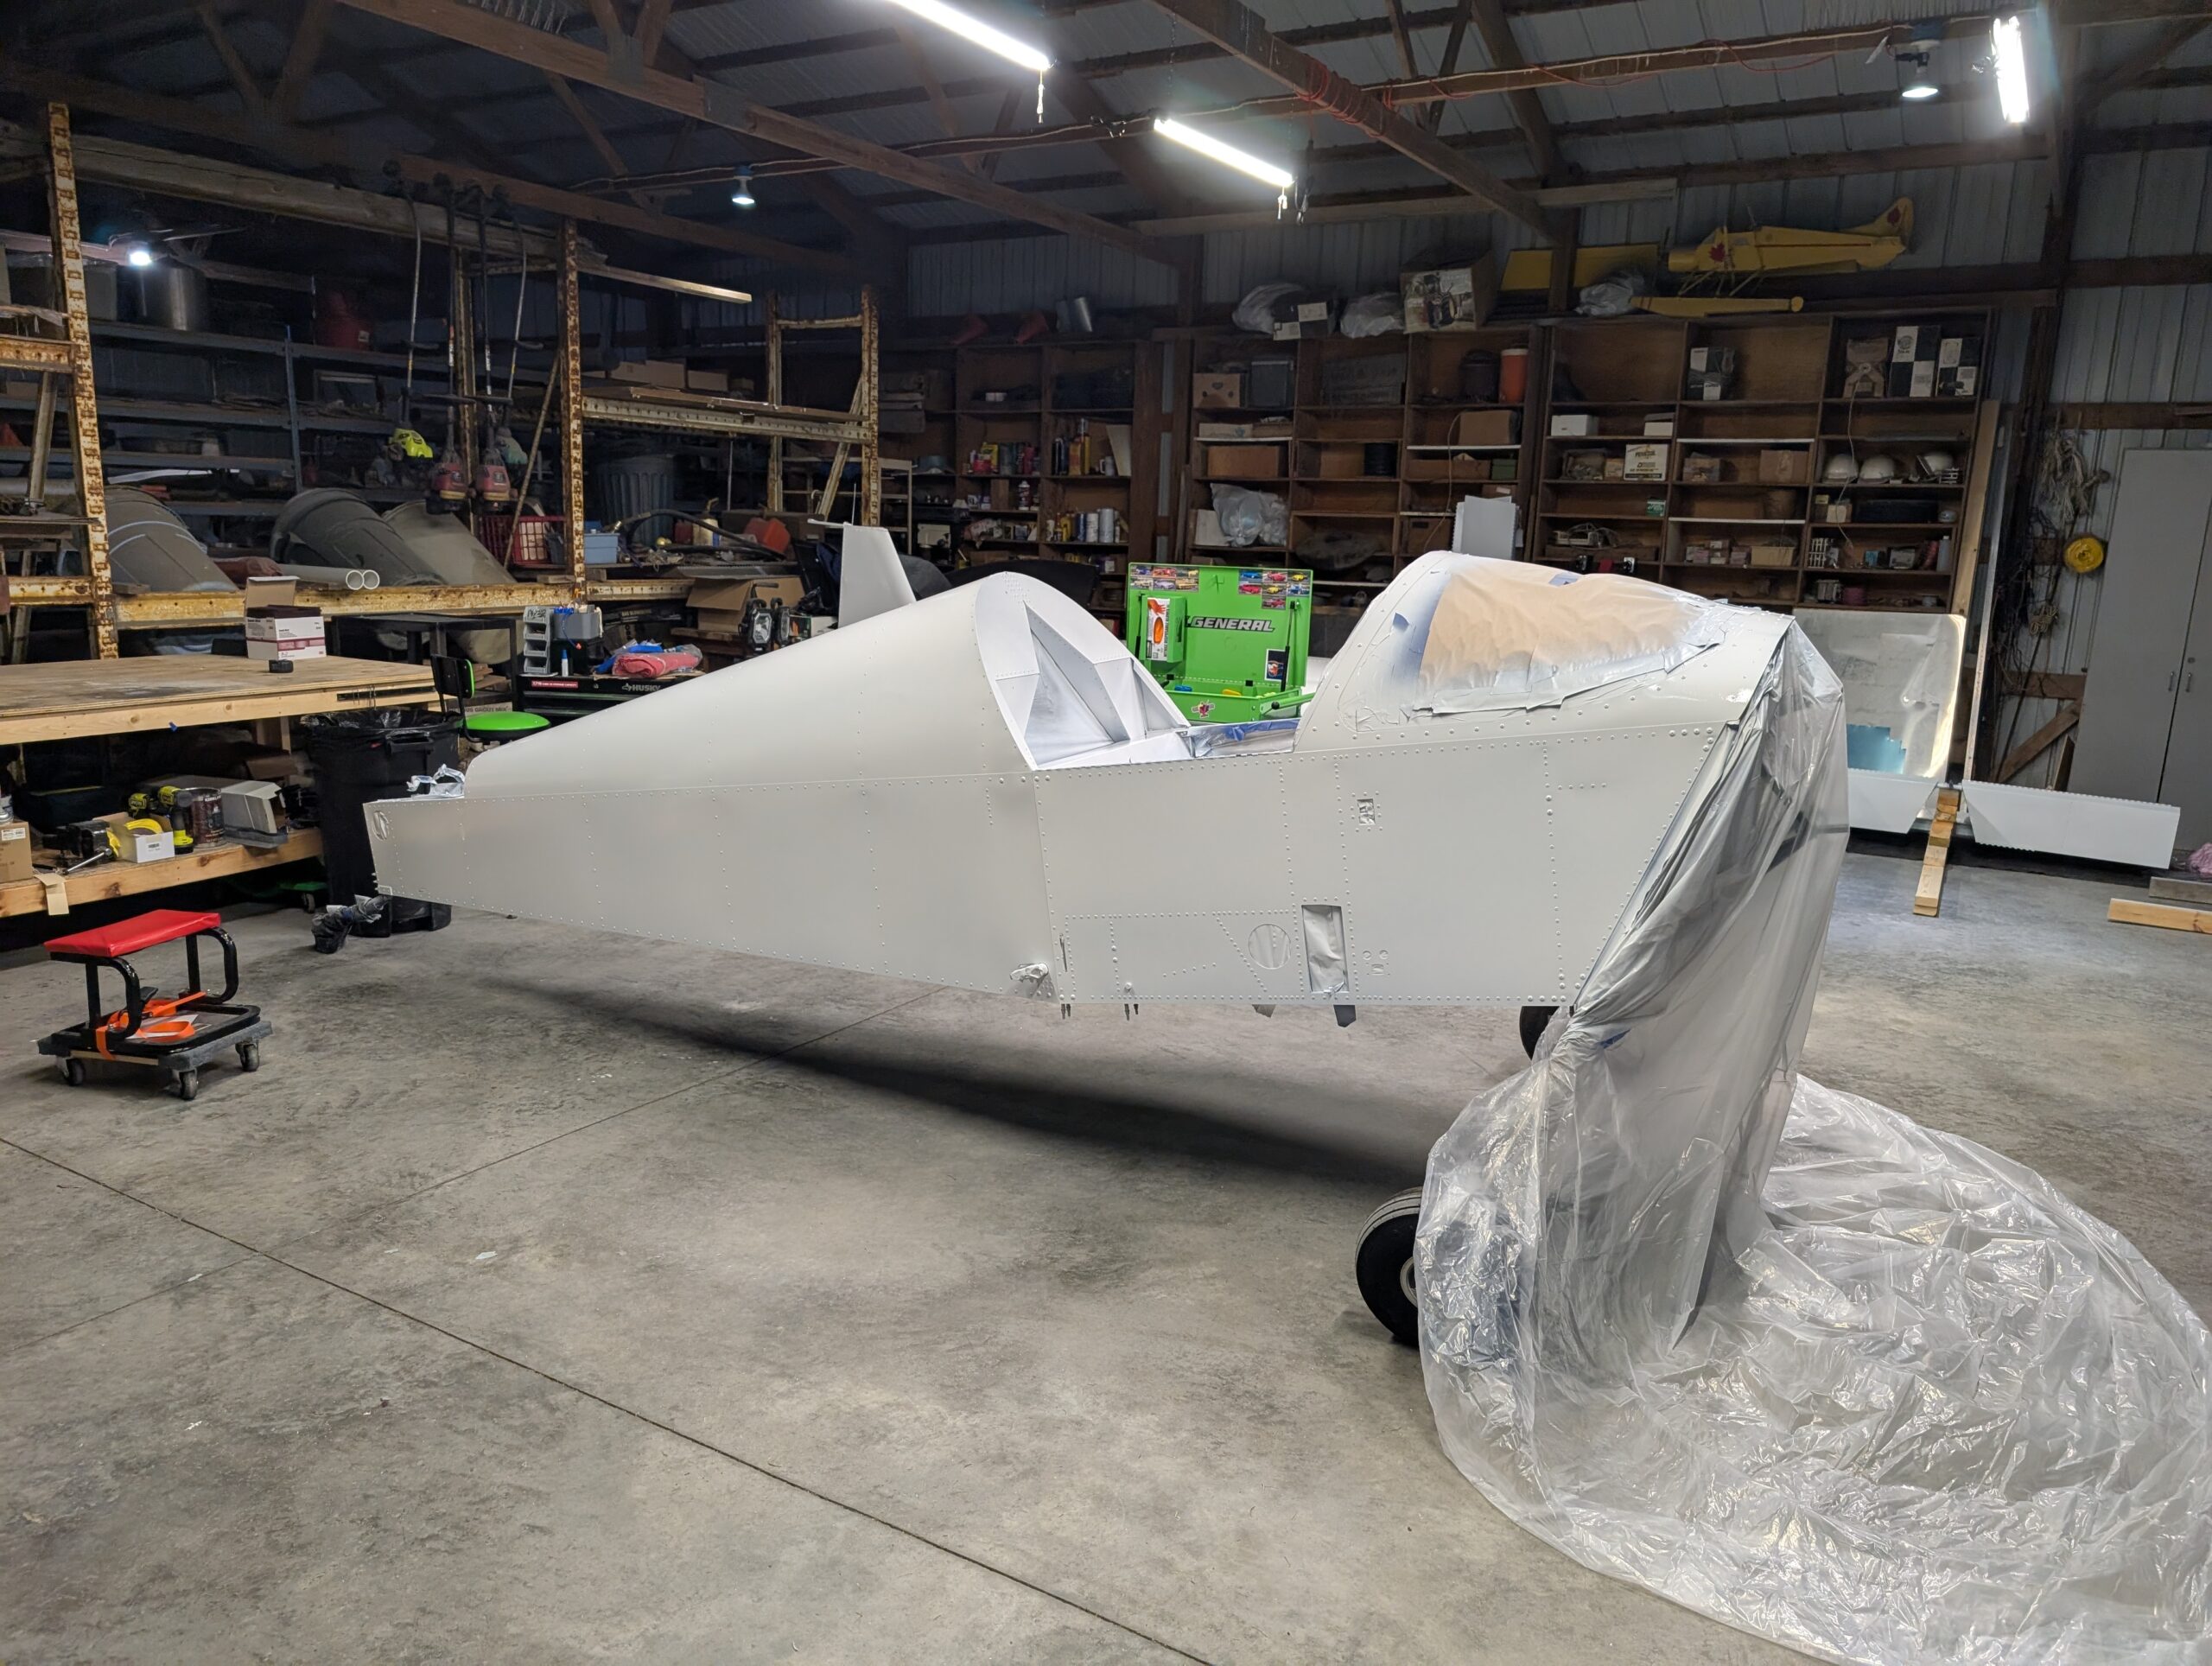
Repeated painting process for tail surfaces and fuselage. All available components now painted white. Hours Worked: 7.27
White Wing Paint
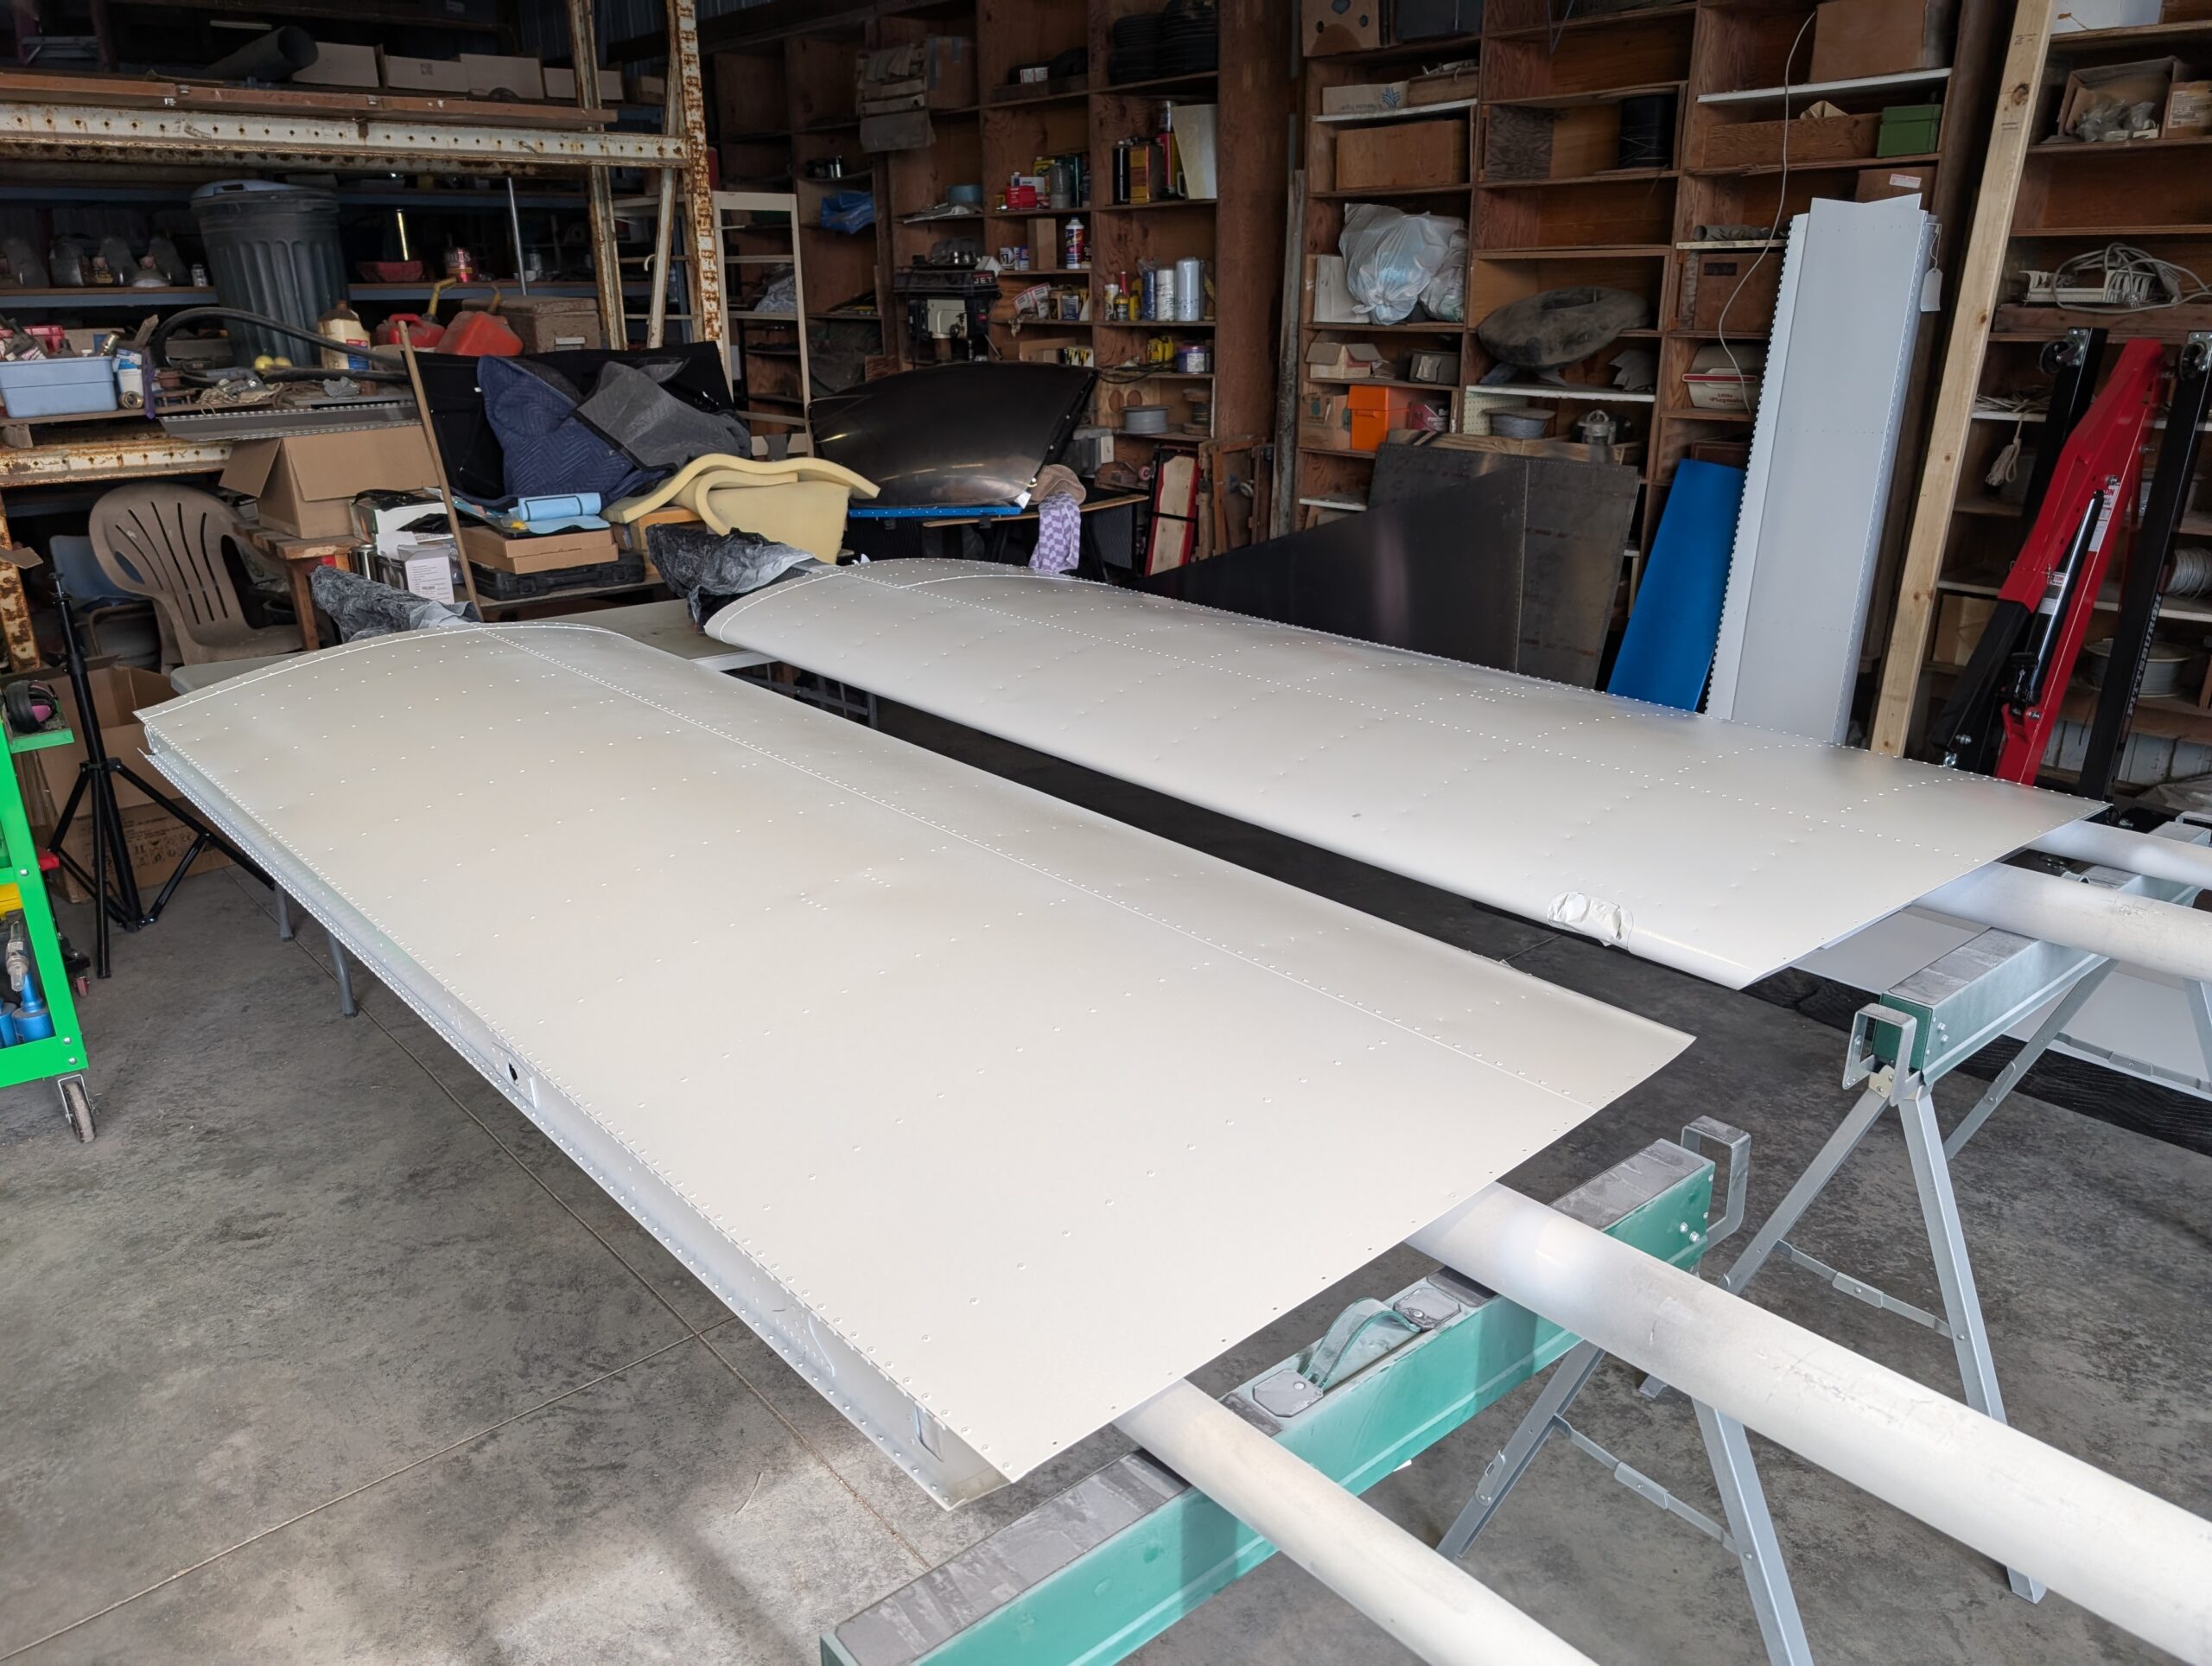
Setup paint booth and painted primer and white paint onto wings using same method as flaps and ailerons. Used 3″ PVC pipe and 2″ PVC pipe to support ends of wings by running it through the lightning holes. Hours Worked: 5.14
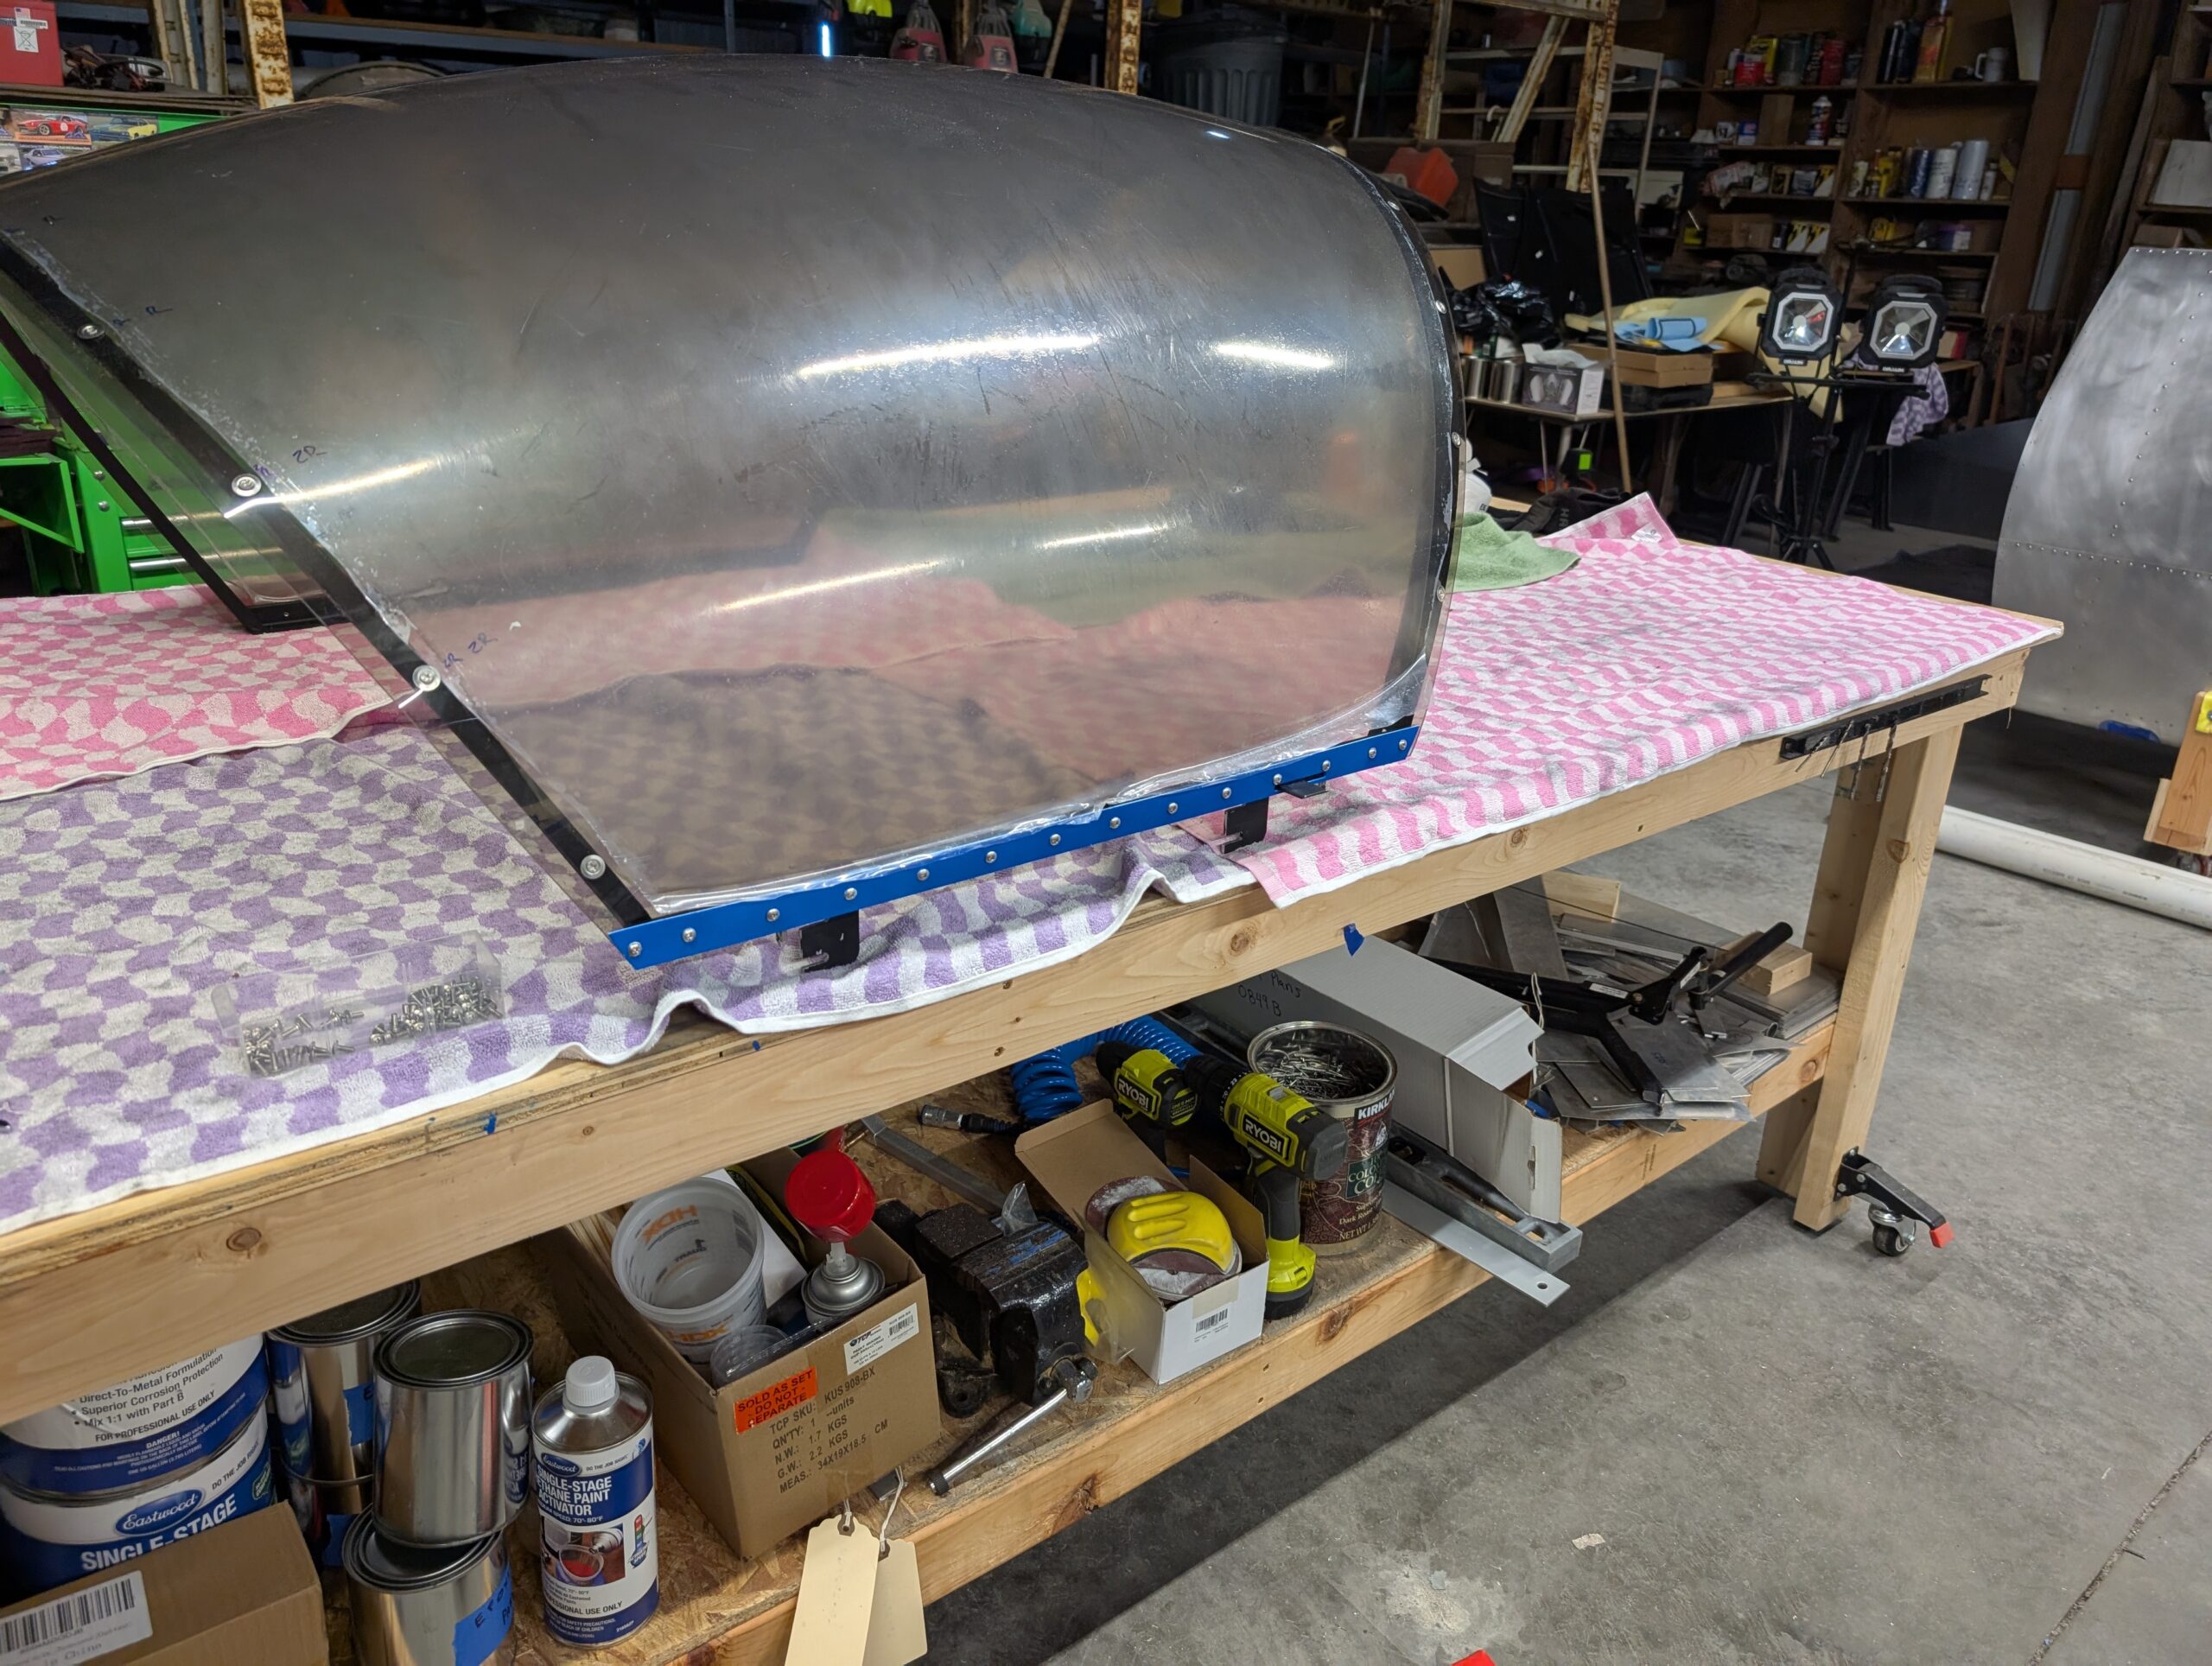
Canopy Installation – Part 2
After painting, installed canopy side trim and canopy hinge half onto canopy assembly with 6-32 screws. Canopy ready for installation onto fuselage once paint is complete. Hours Worked: 0.77