SNB-F06: Glareshield
-
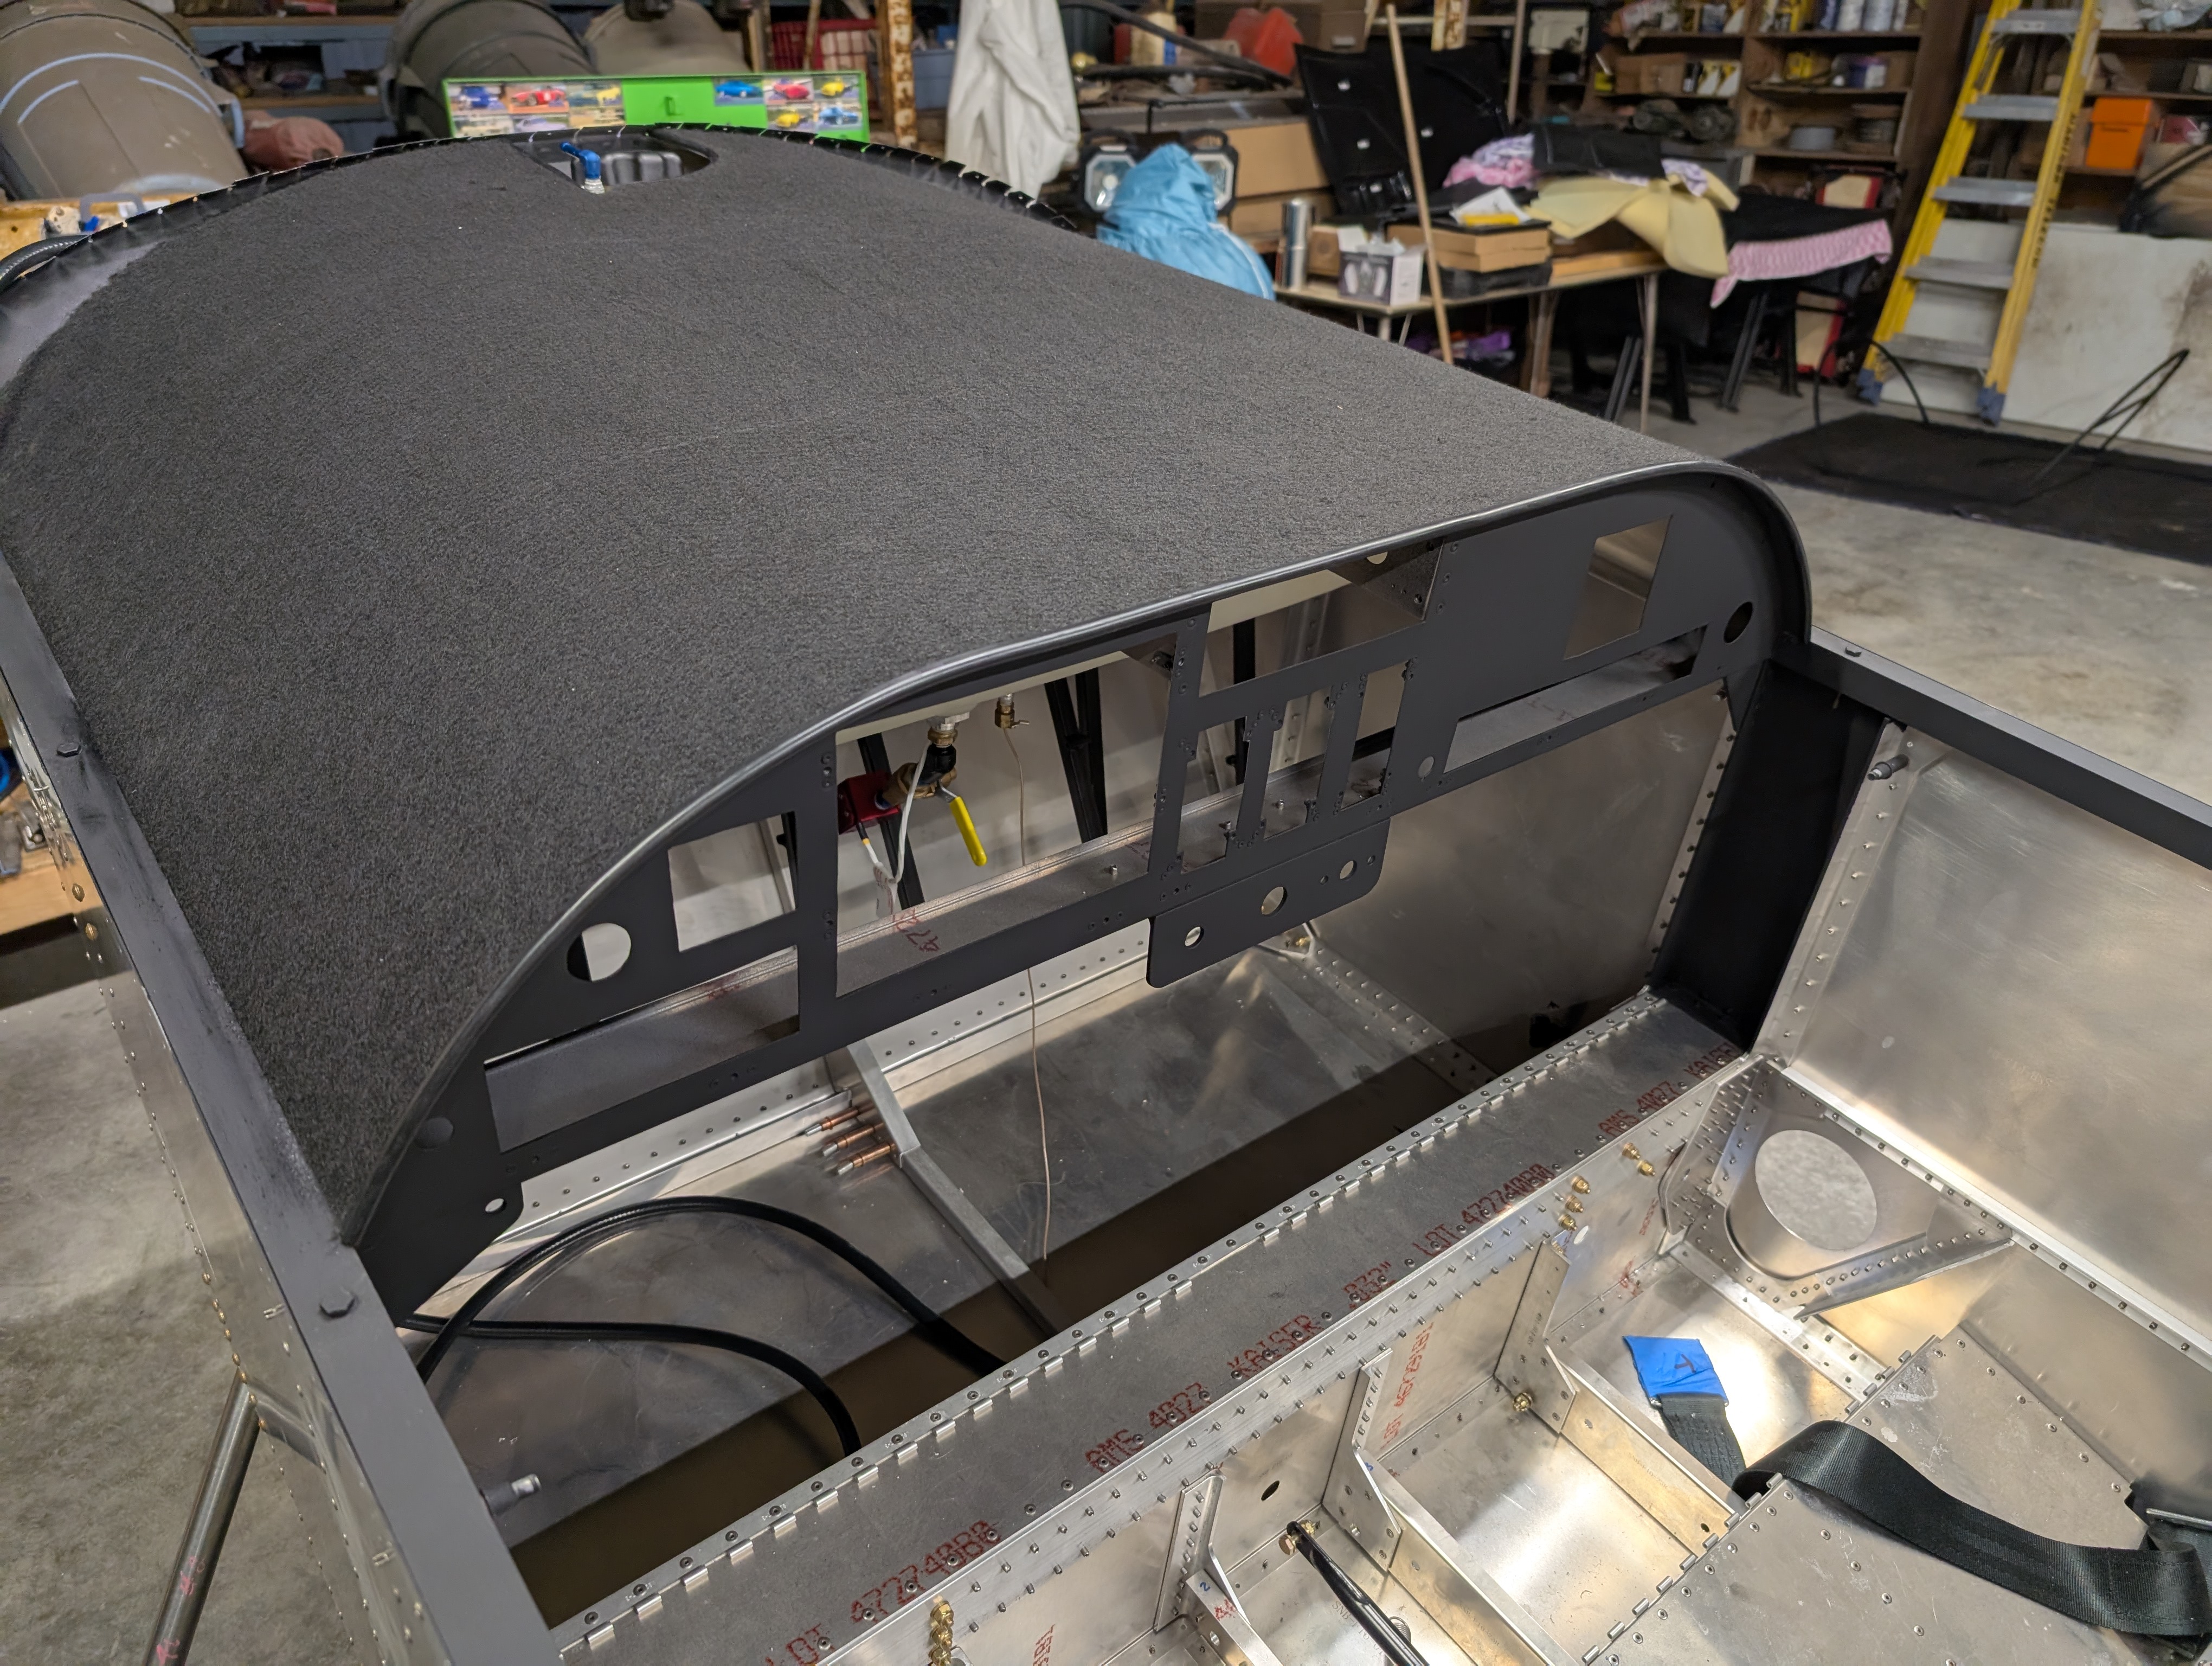
Glareshield Covering
Prepped glareshield for cover installation by scotchbriting surface then cleaning with paint prep. Blew debris off glareshield then laid fabric on top of glareshield and rough cut edges. Sprayed 3M Super 77 adhesive onto half of glareshield then rolled fabric flat. Repeated the process for the right side of the glareshield then rolled entire area…
-
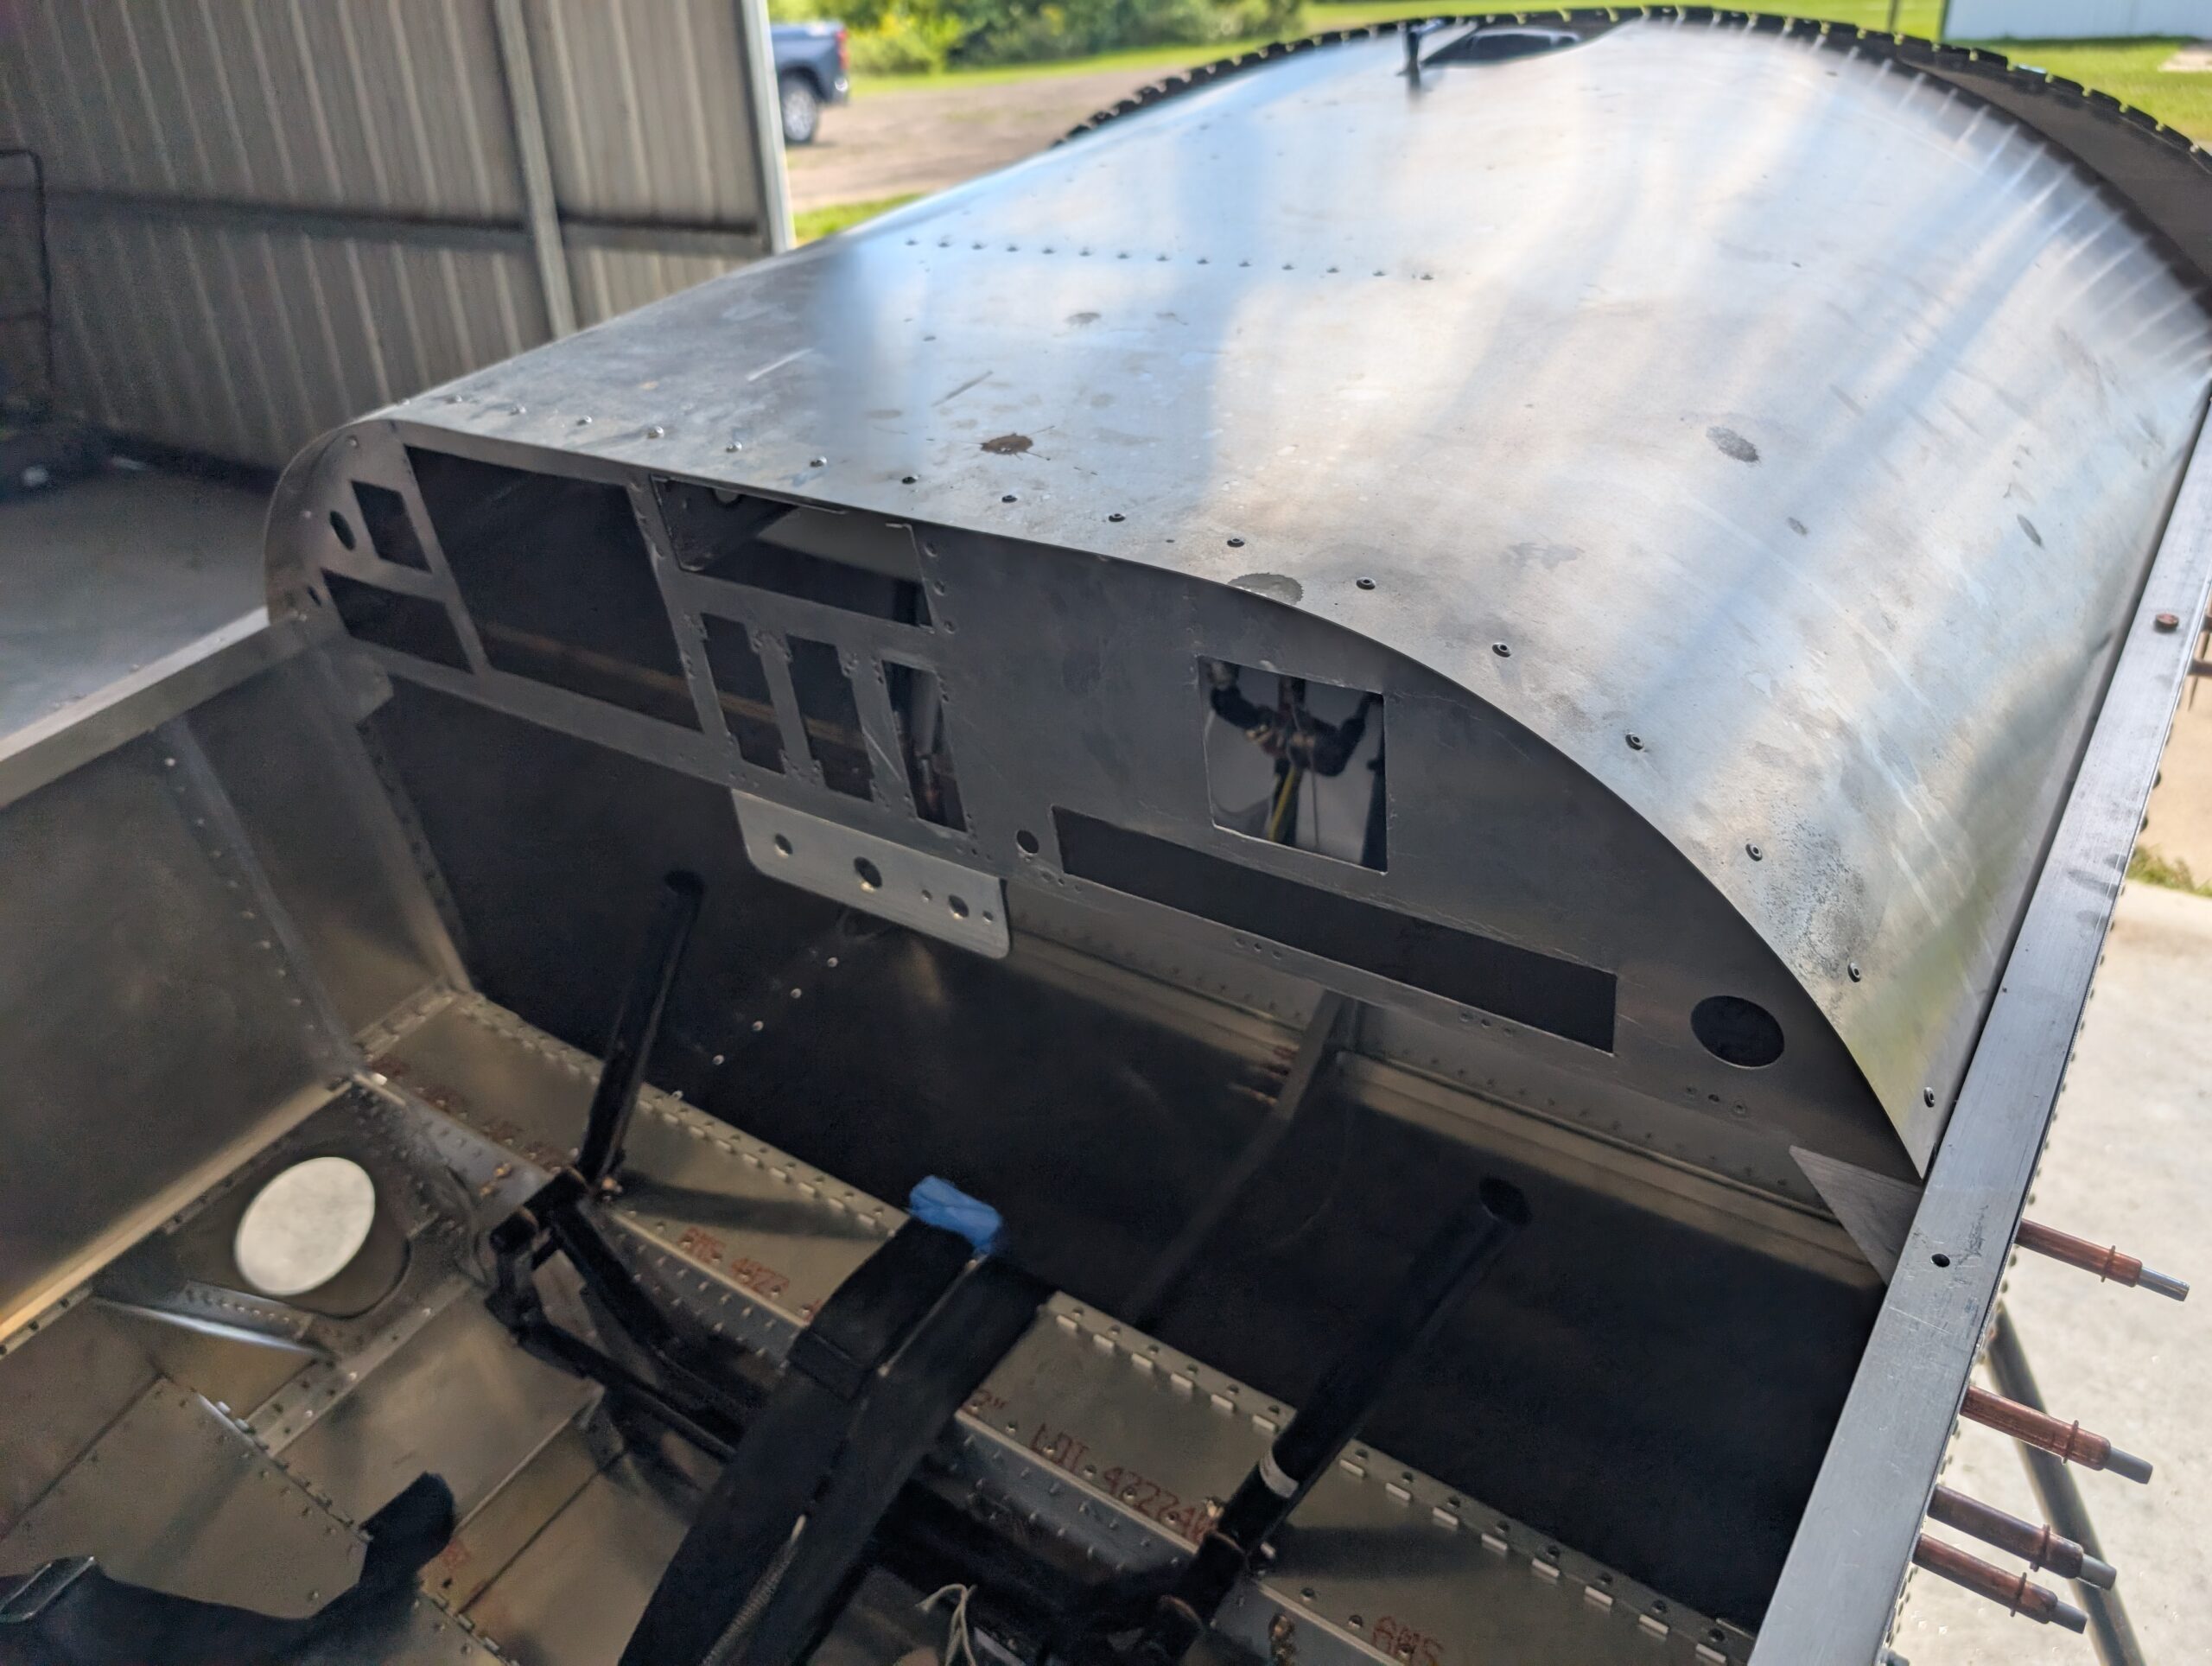
Panel and Glareshield Wrap up
Installed rivets between panel blank and cross tie fittings. Riveted lower control angle for throttle, mixture, and trim onto lower edge of panel blank. Installed temporary #6 screws into panel blank then flush riveted panel to angles. Then riveted panel angle to front of glareshield. Notched out small area on right side of glareshield for…
-
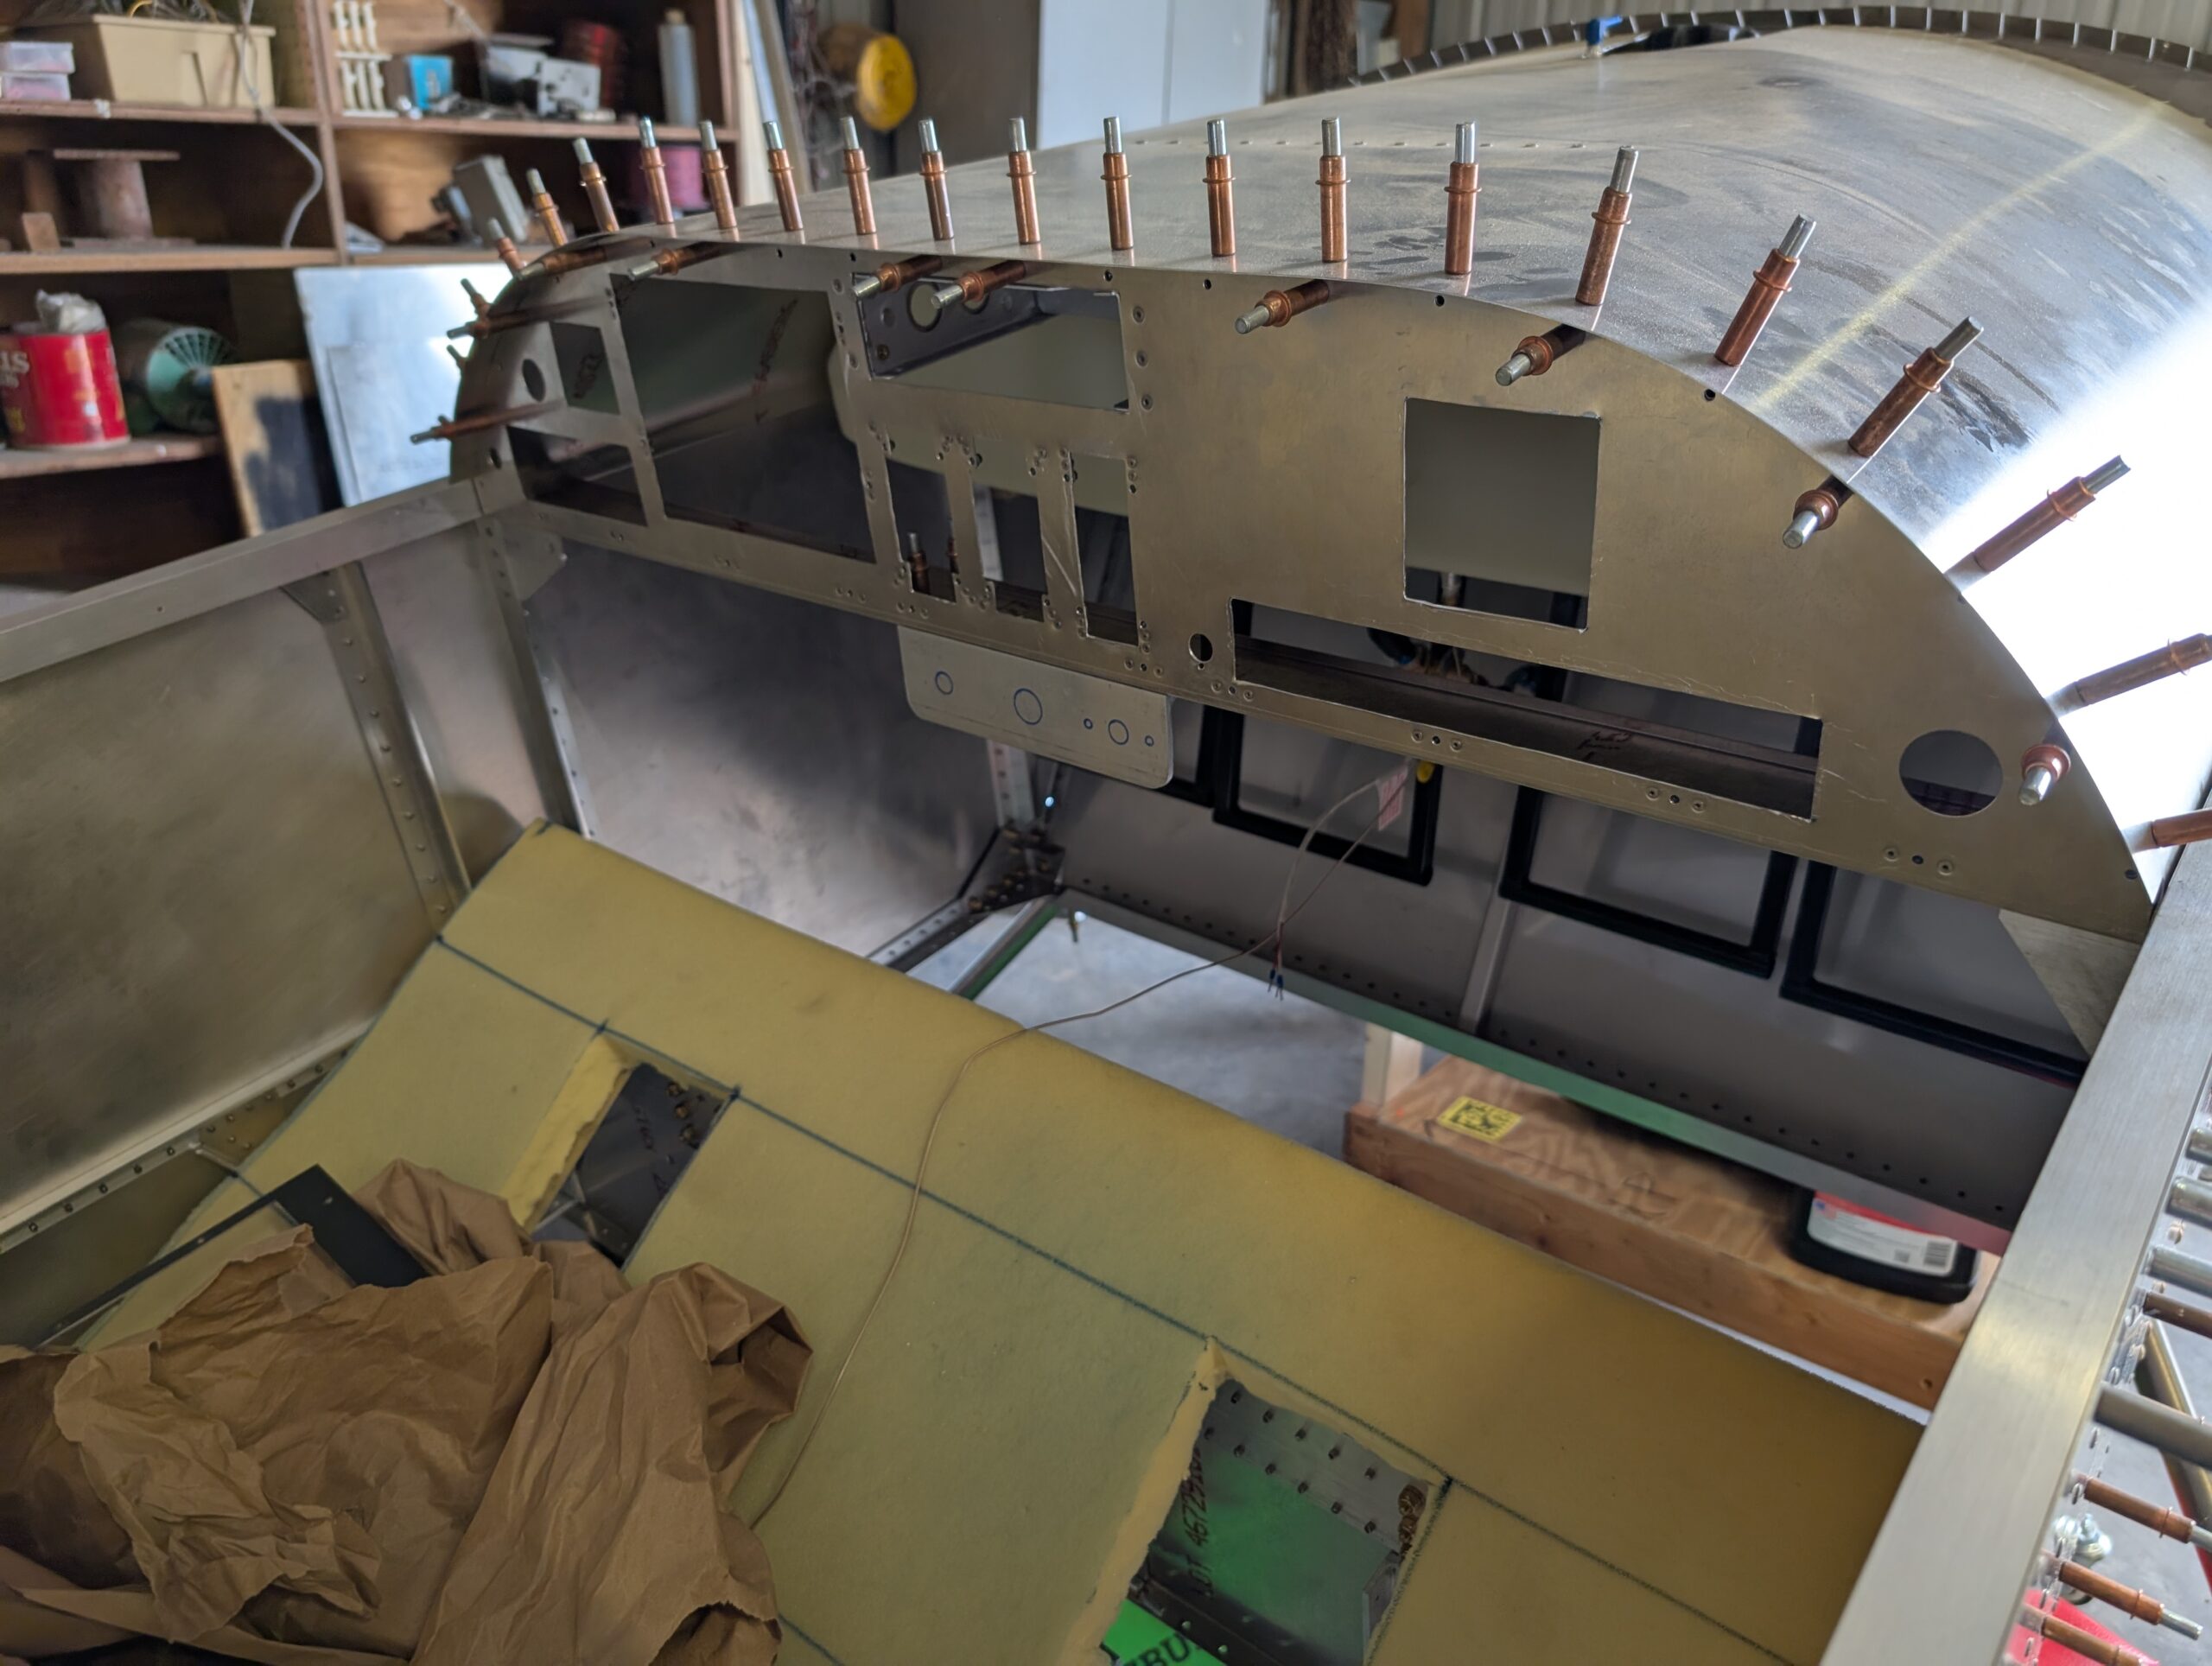
Panel Installation – Part 6
Finished cutting out access holes in right side of panel blank. Test fit right panel with circuit breakers installed for clearance; fit okay. Temporarily reinstalled panel backer into fuselage with clecos. Hours Worked: 1.18
-

Panel Installation – Part 5
Located GPS175 tray brackets onto tray and marked hole locations. Drilled screw holes into side brackets then installed 8-32 nutplates. Attached brackets to tray and mocked up location on panel backer. Updrilled bracket attach holes then prepped brackets and panel backer for flush rivets. Riveted GPS175 mounting tray to panel backer. Drilled out holes for…
-
Panel Installation – Part 4
Continued cutting out holes for instruments in panel backer. Test fit with components part-way through cutting. Began prepping GPS175 tray for installation by cutting out side brackets from .063 sheet. Bent brackets and drilled lighting holes. Cut out notch in LH bracket for SkyView display nutplate. Hours Worked: 3.72
-

Panel Installation – Part 3
Continued locating and installing nutplates into panel blank. Marked access hole locations on RH side of panel blank. Marked hole centers and began cutting out instrument holes into panel backer. Hours Worked: 2.57
-
Panel Installation – Part 2
Continued prepping panel flange by dimpling right side flange and installing nut plates. Installed flanges back onto glareshield and checked fitment with panel and panel covers. Removed panel and covers and marked hole and cutout locations on panel. Cut a piece of aluminum angle scrap to fit in throttle/mixture area behind panel cover and below…
-
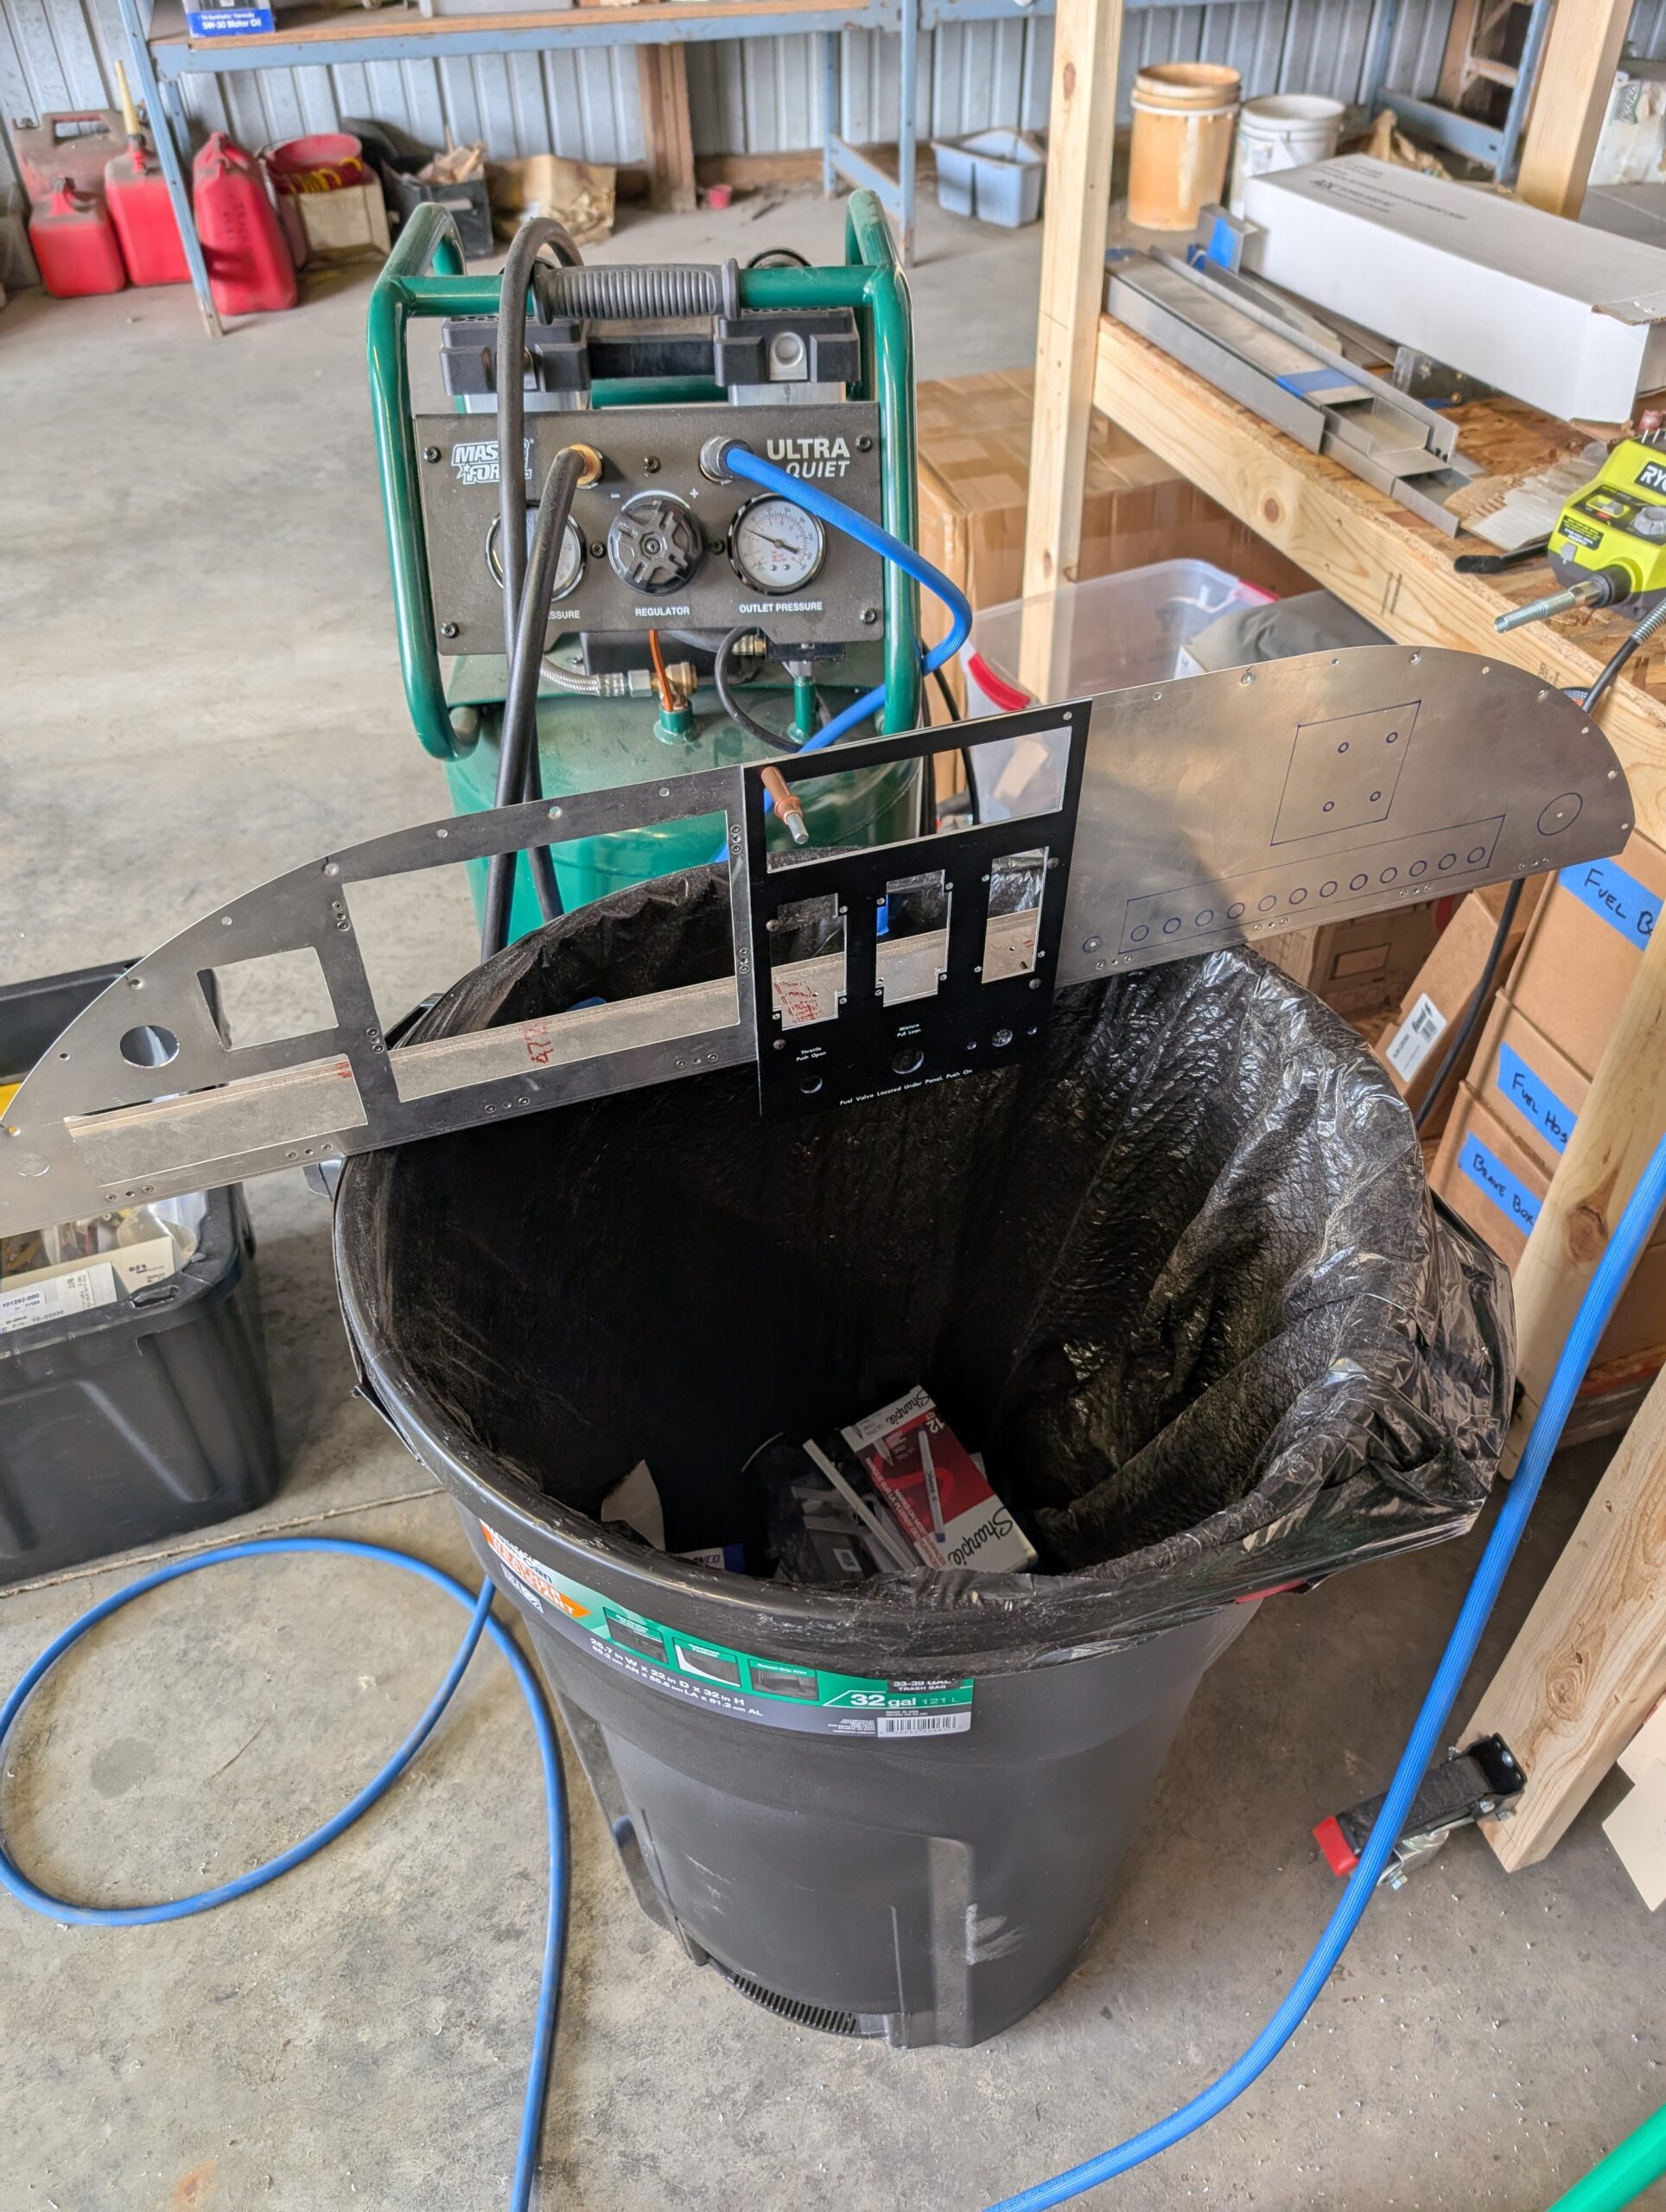
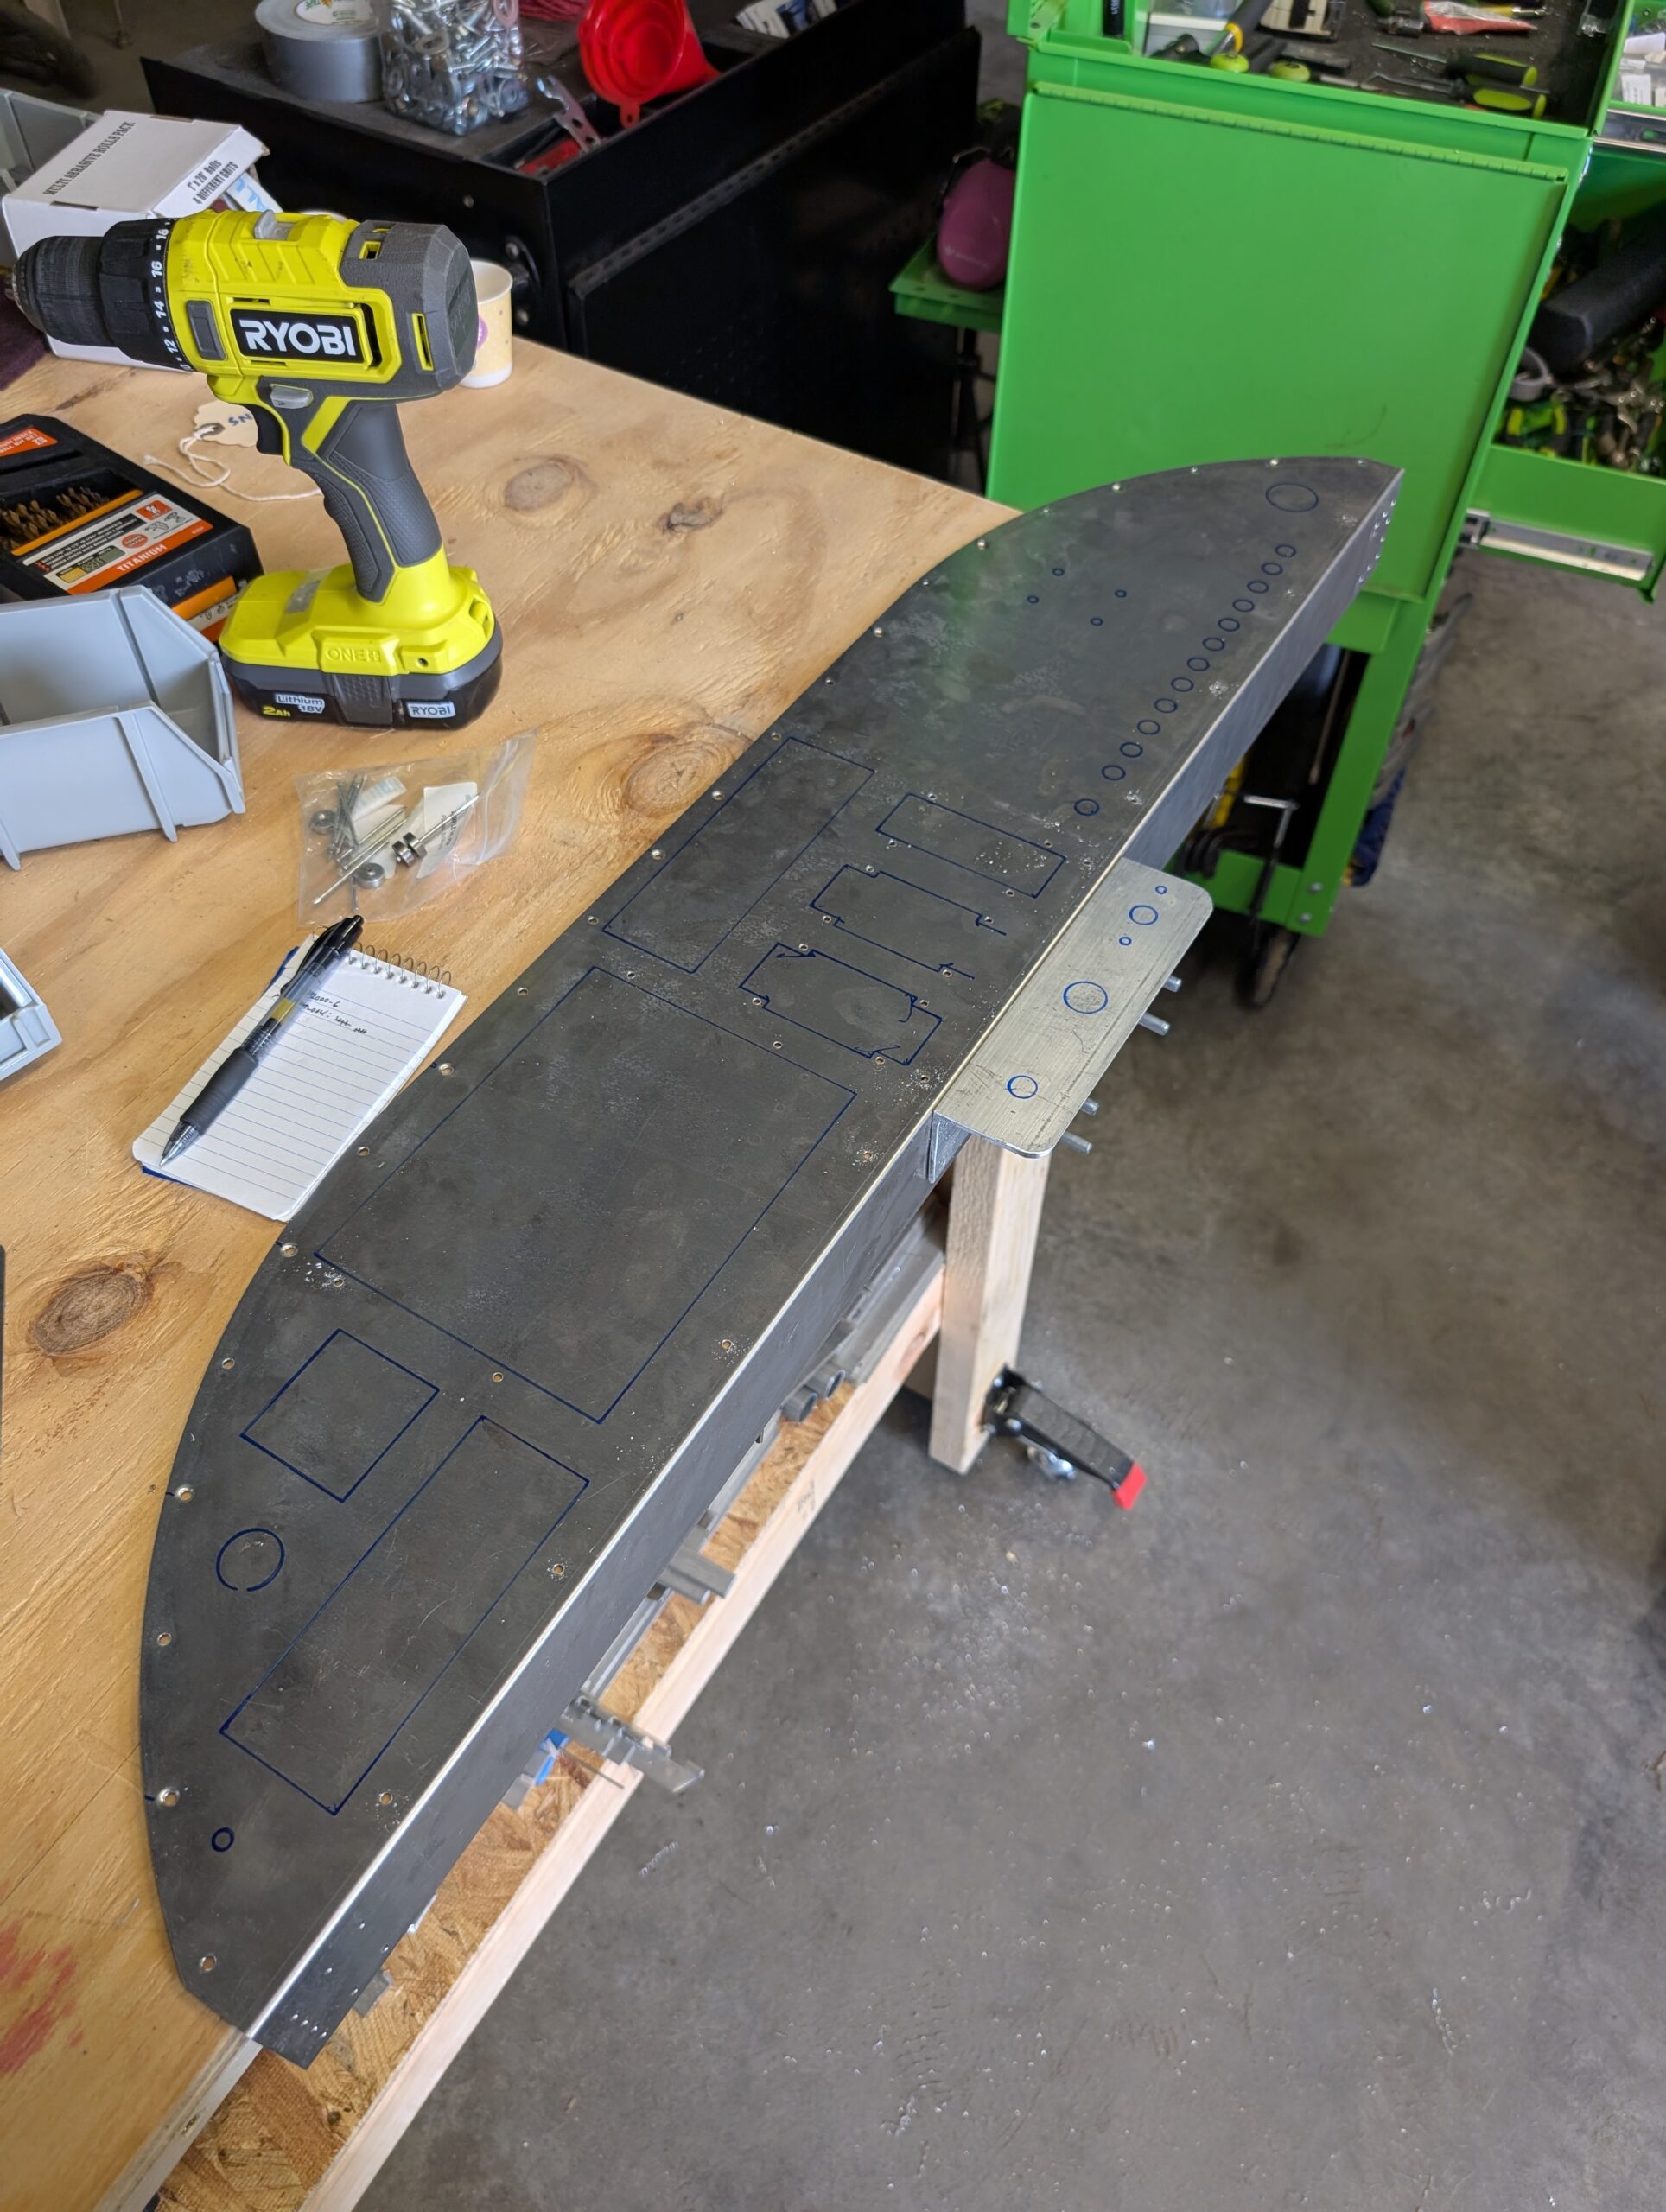
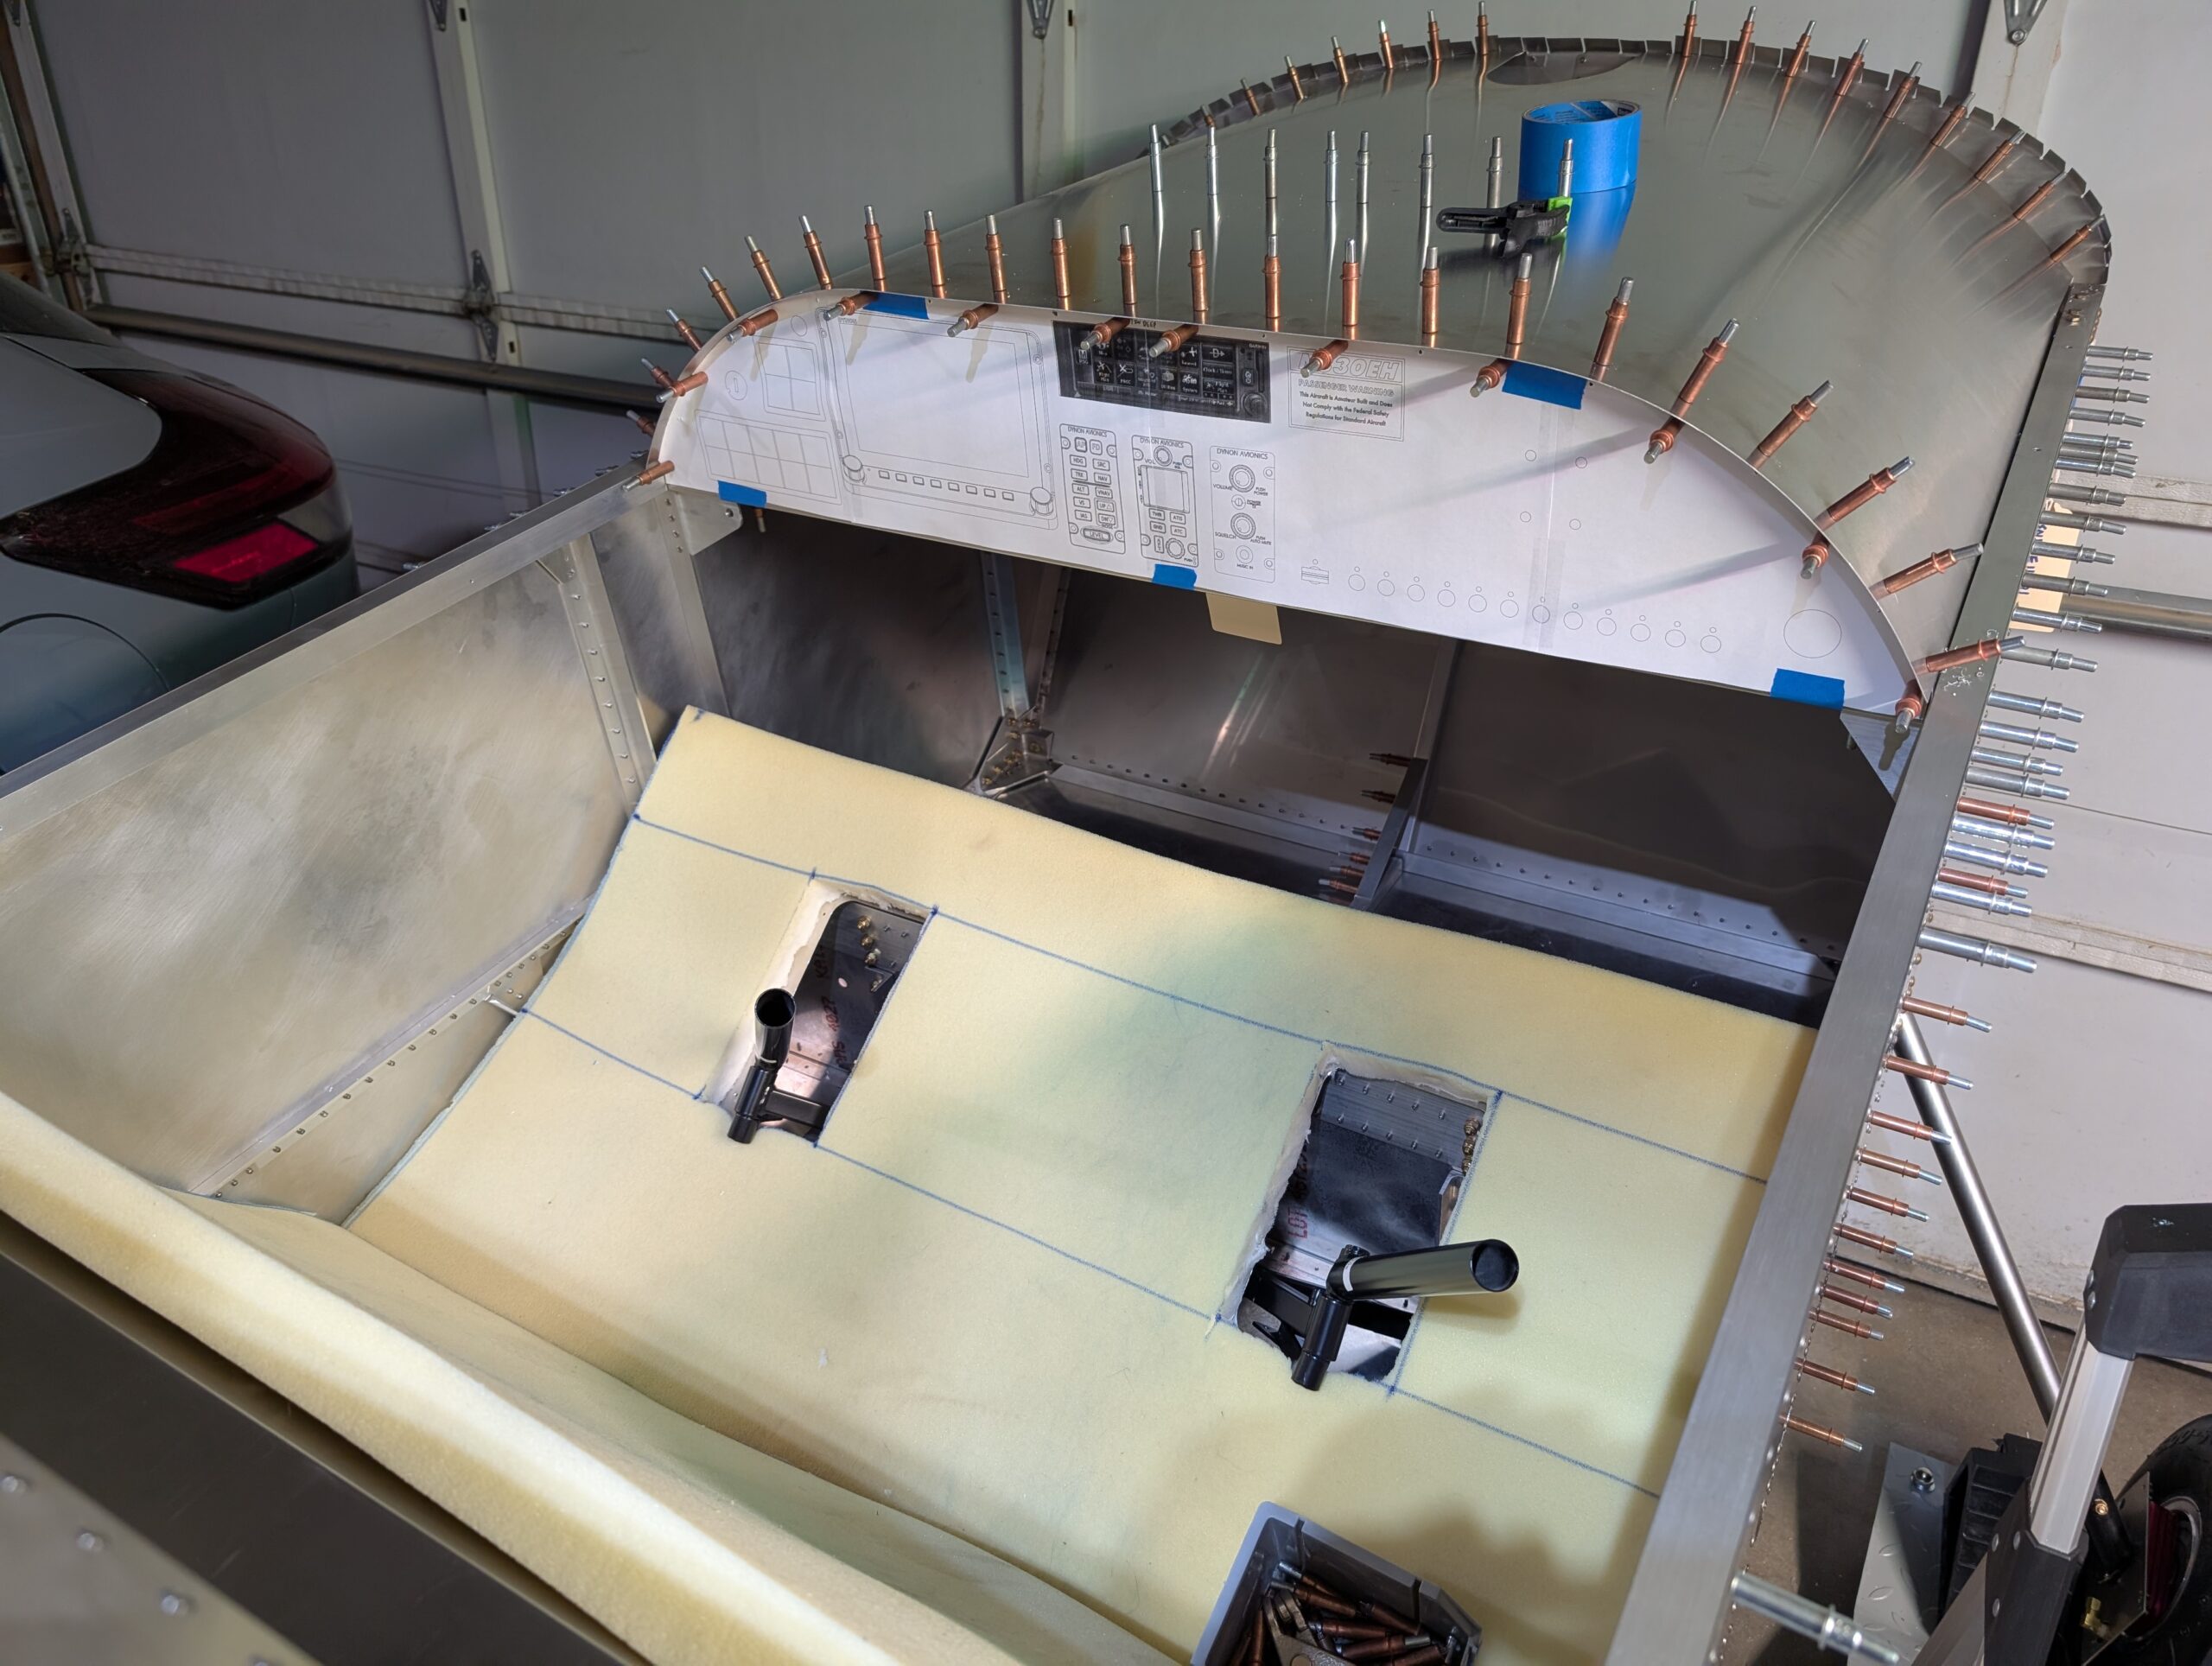
Panel Installation – Part 1
Began prepping panel for final riveting and installation by mocking up panel covers on panel backer. Fitment was just a little tight so filed away some material from inside edges of panel covers. Removed panel and flanges and dimpled every other hole for flush CCC rivets. Began installing nut plates in other holes on panel…
-
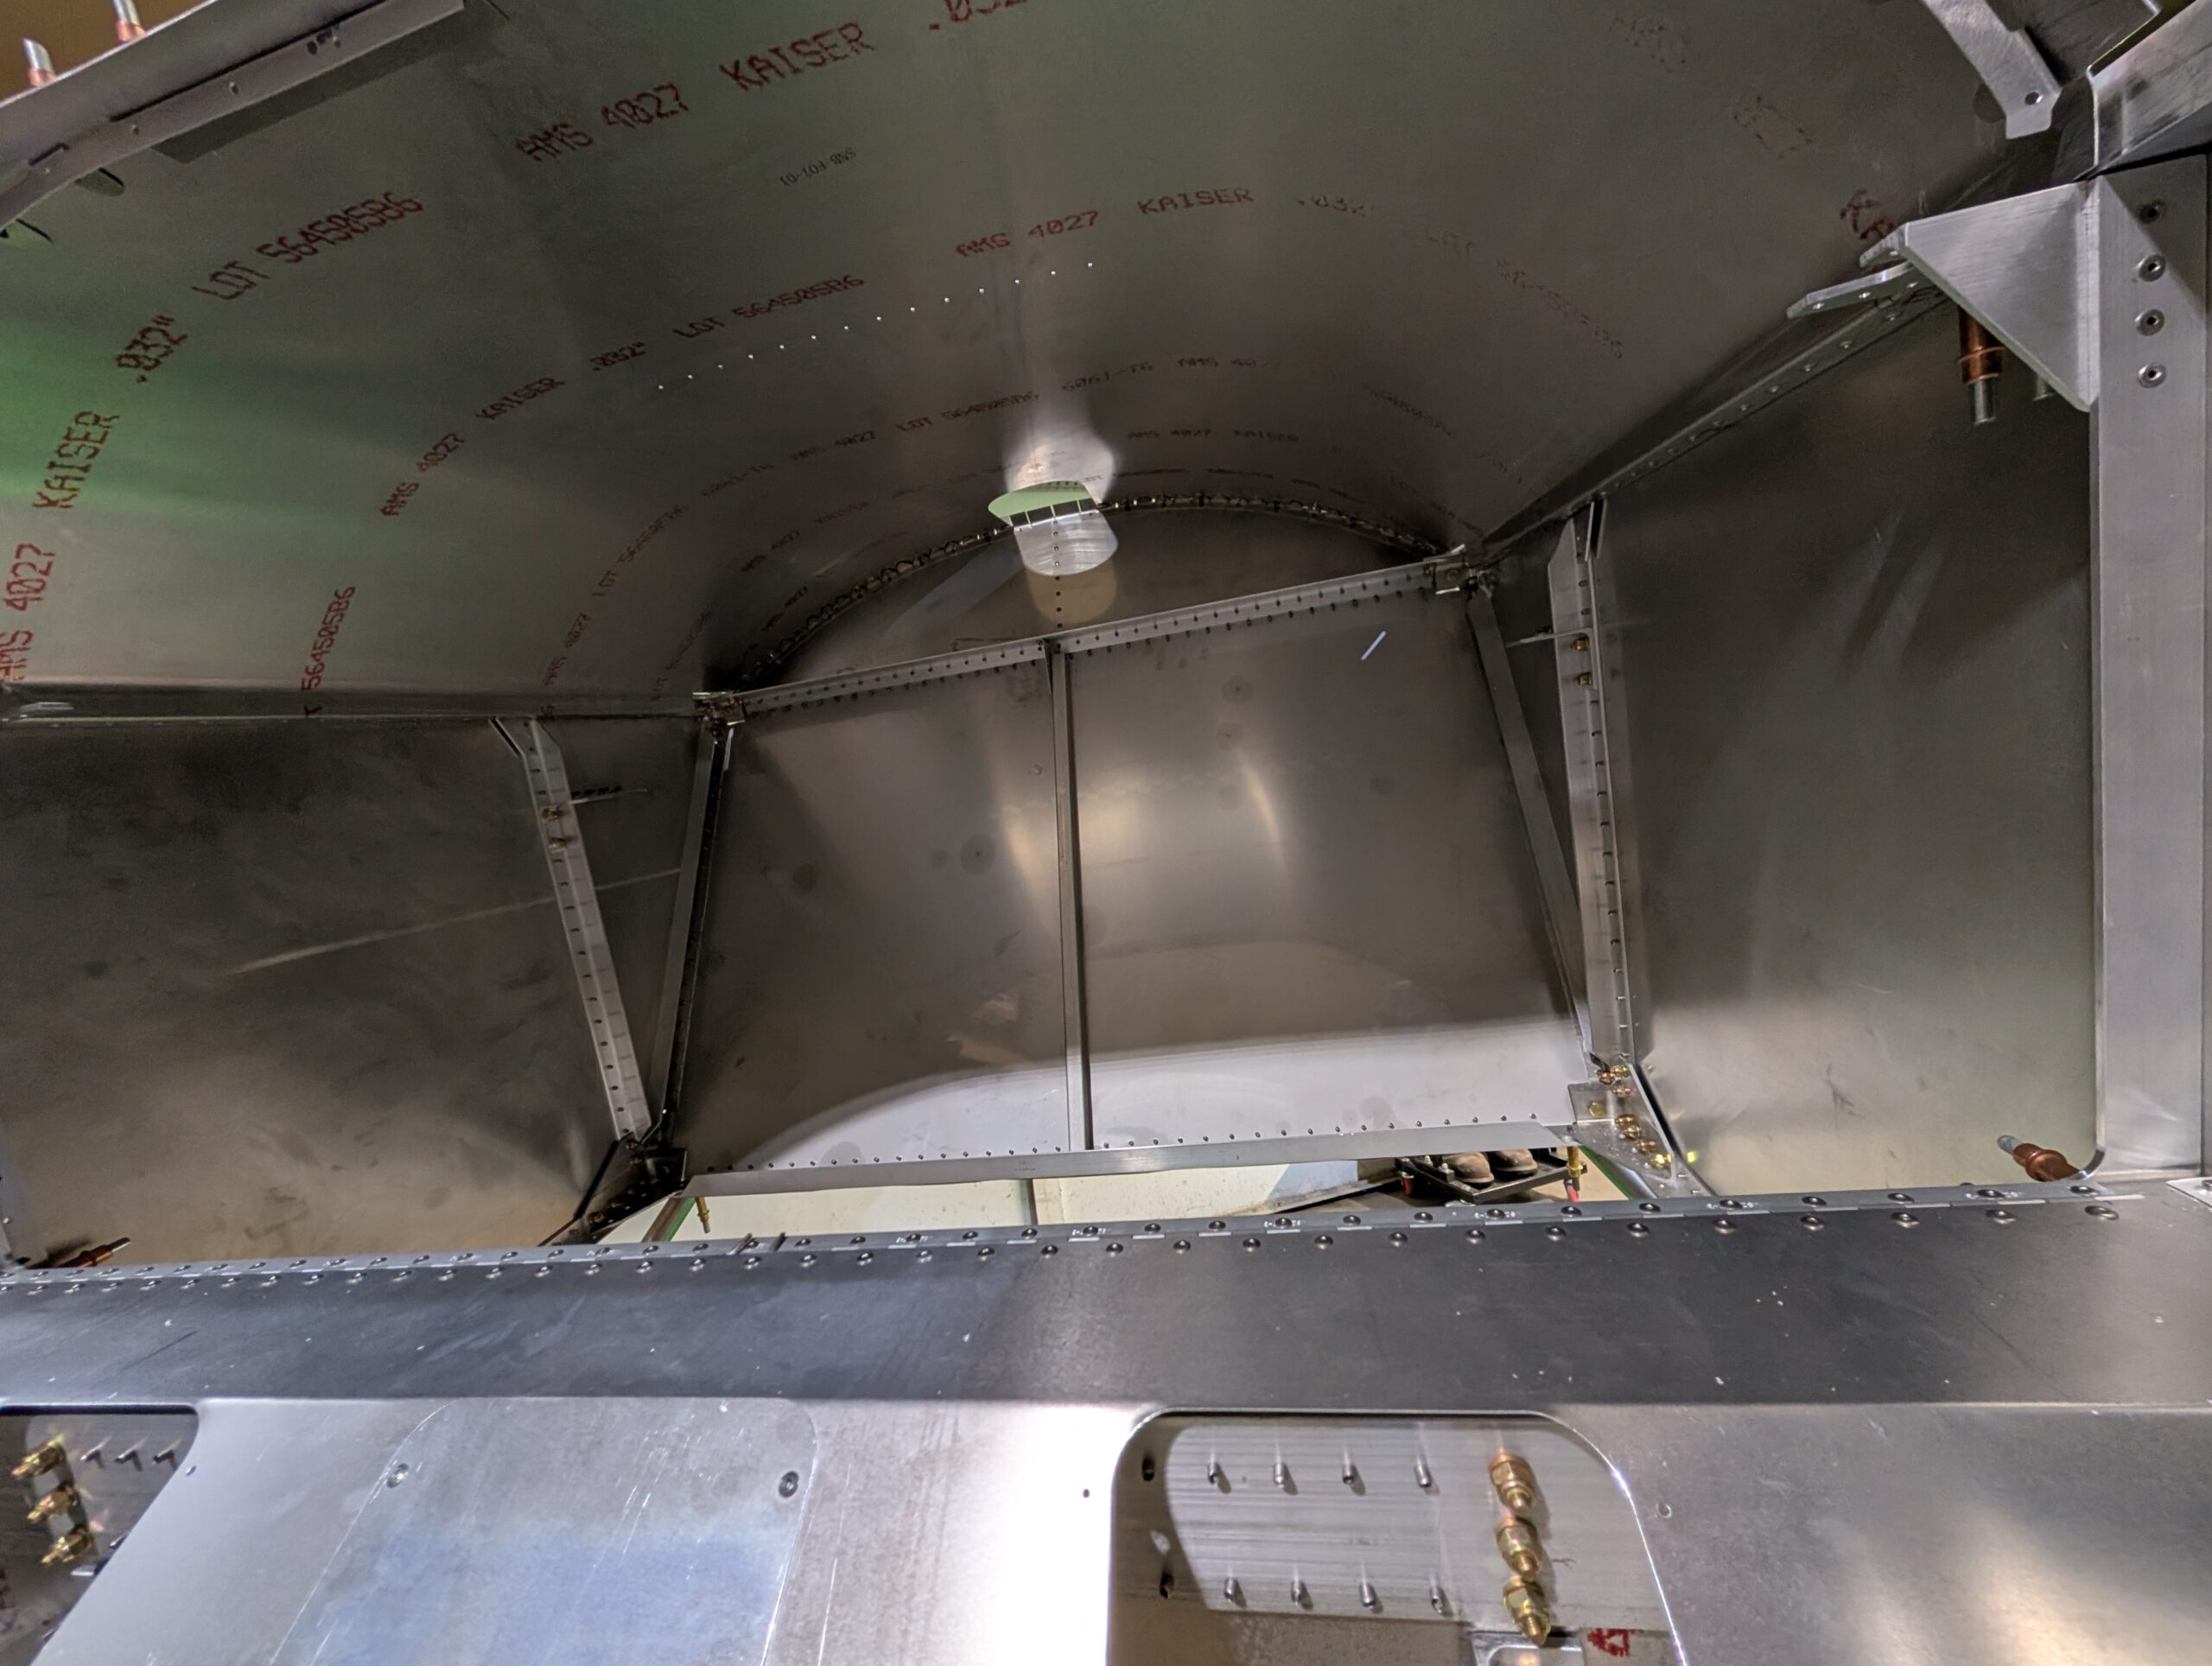
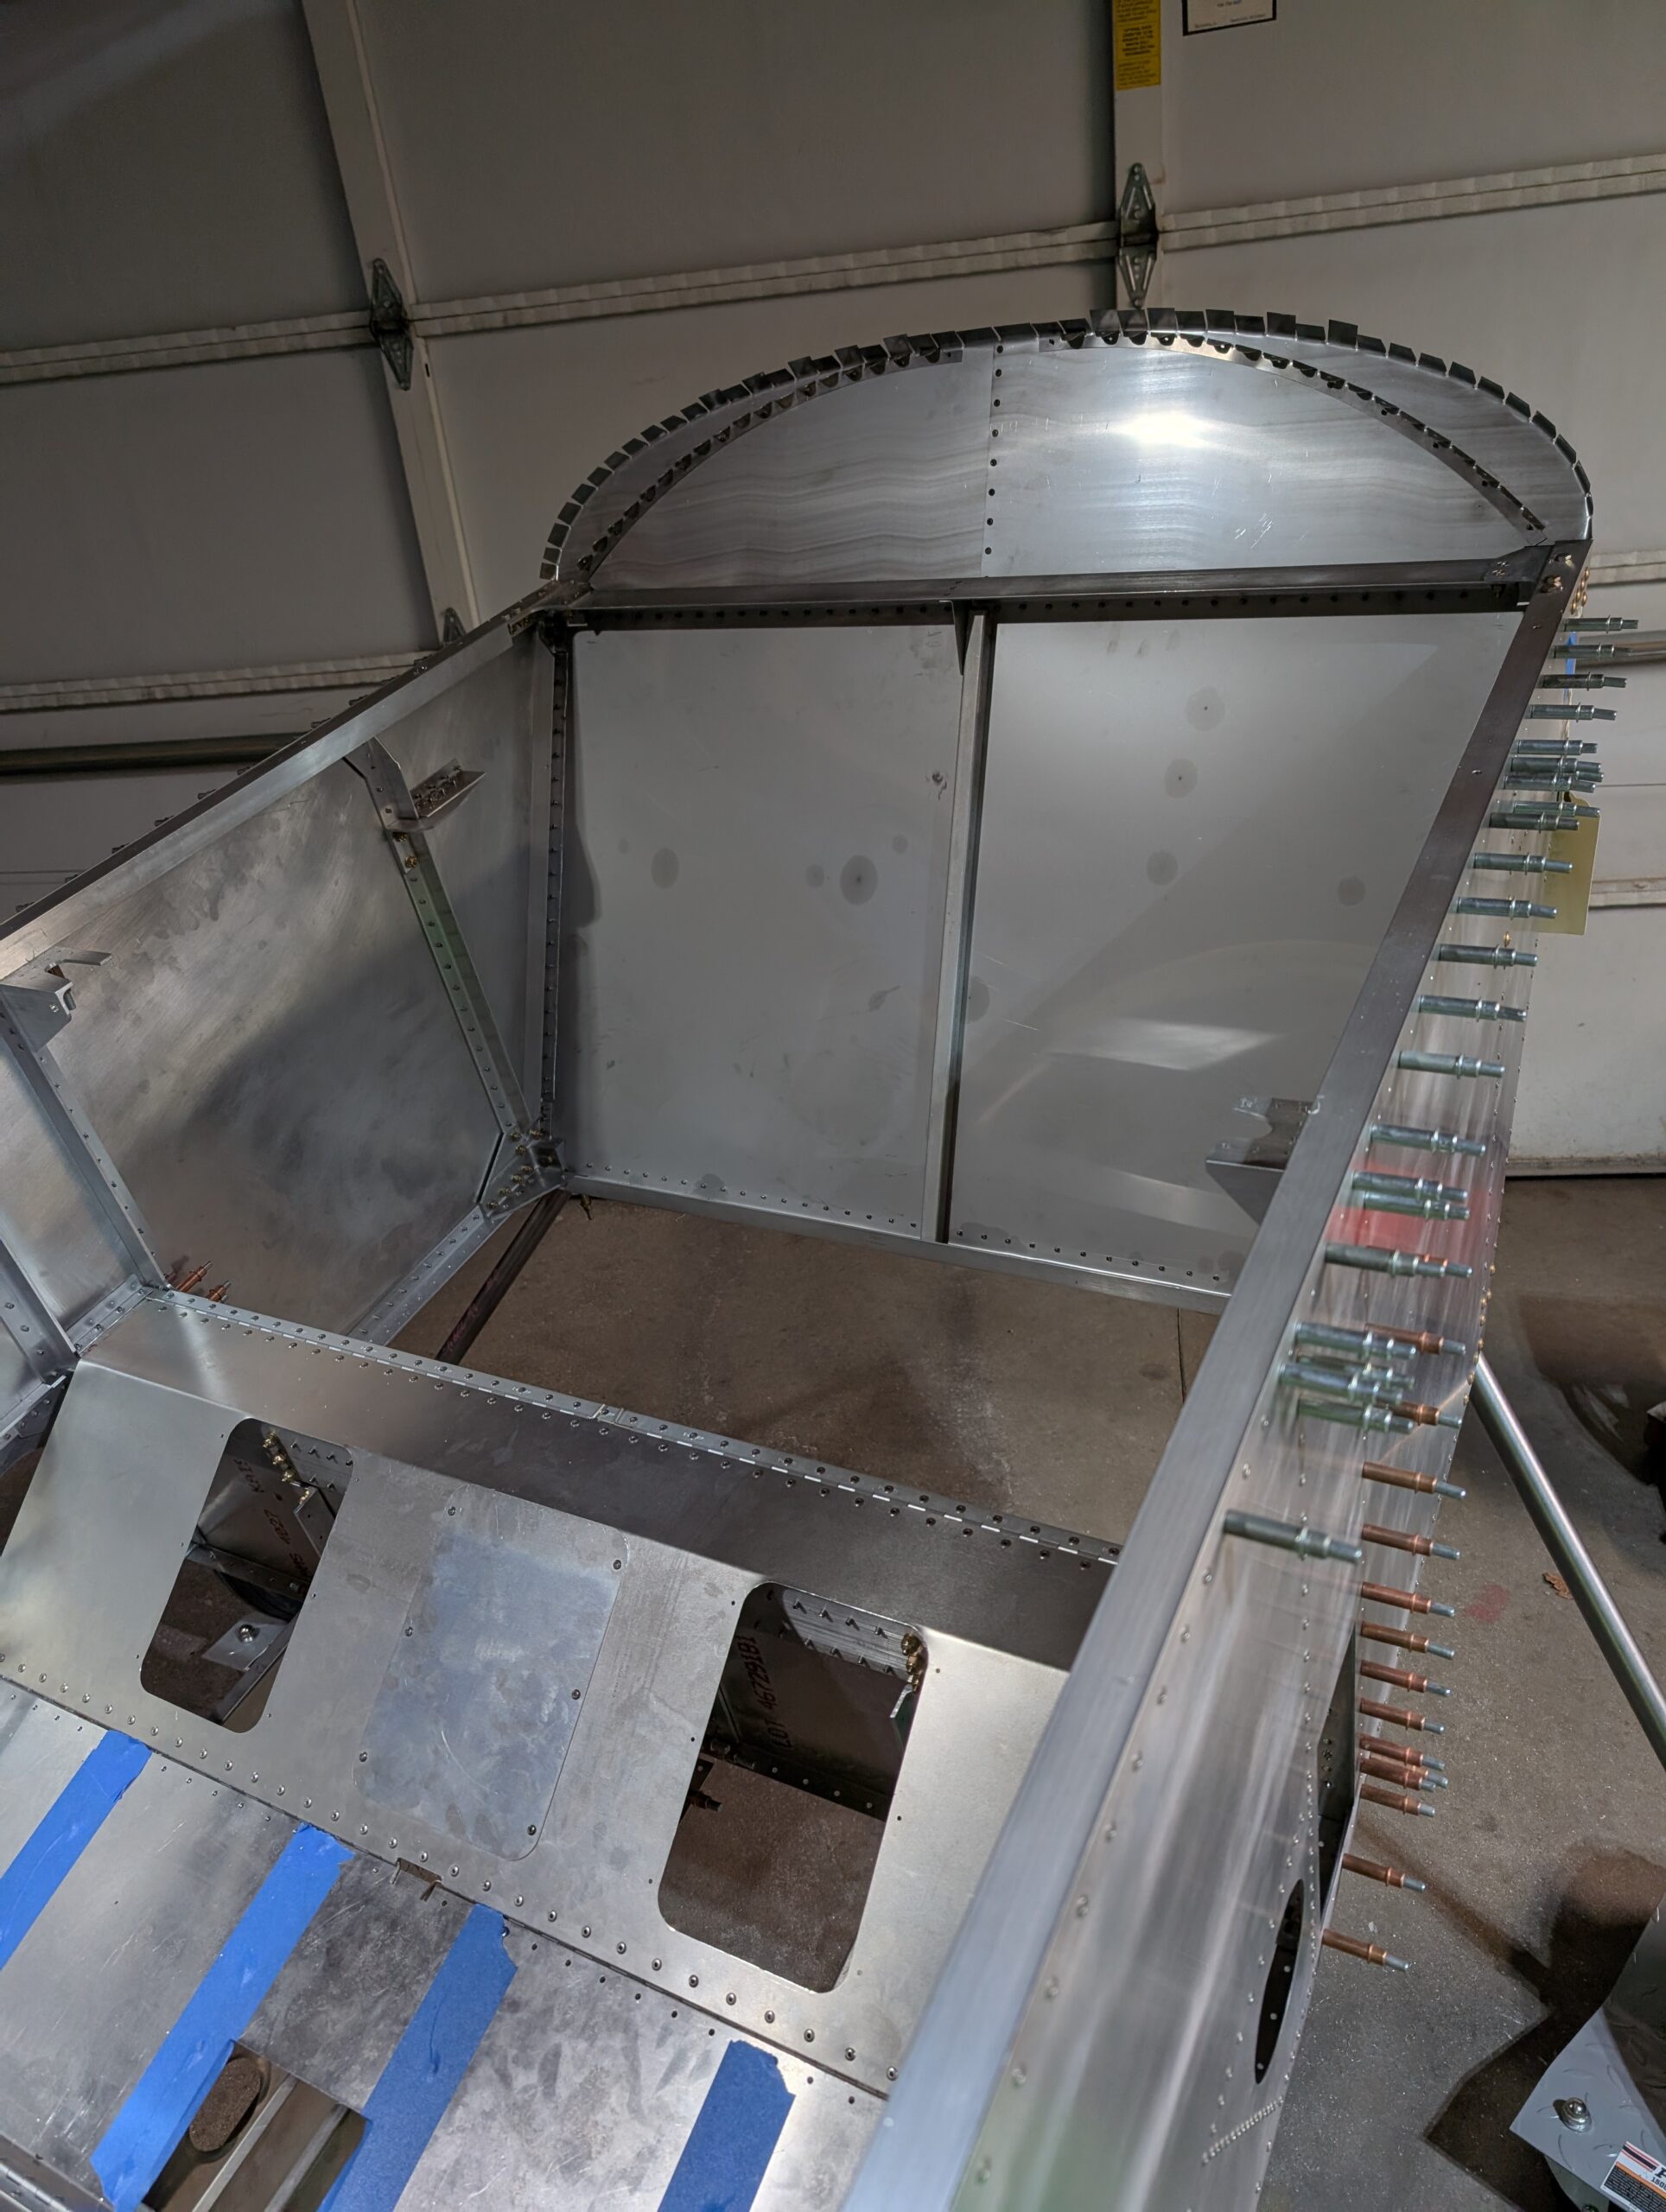
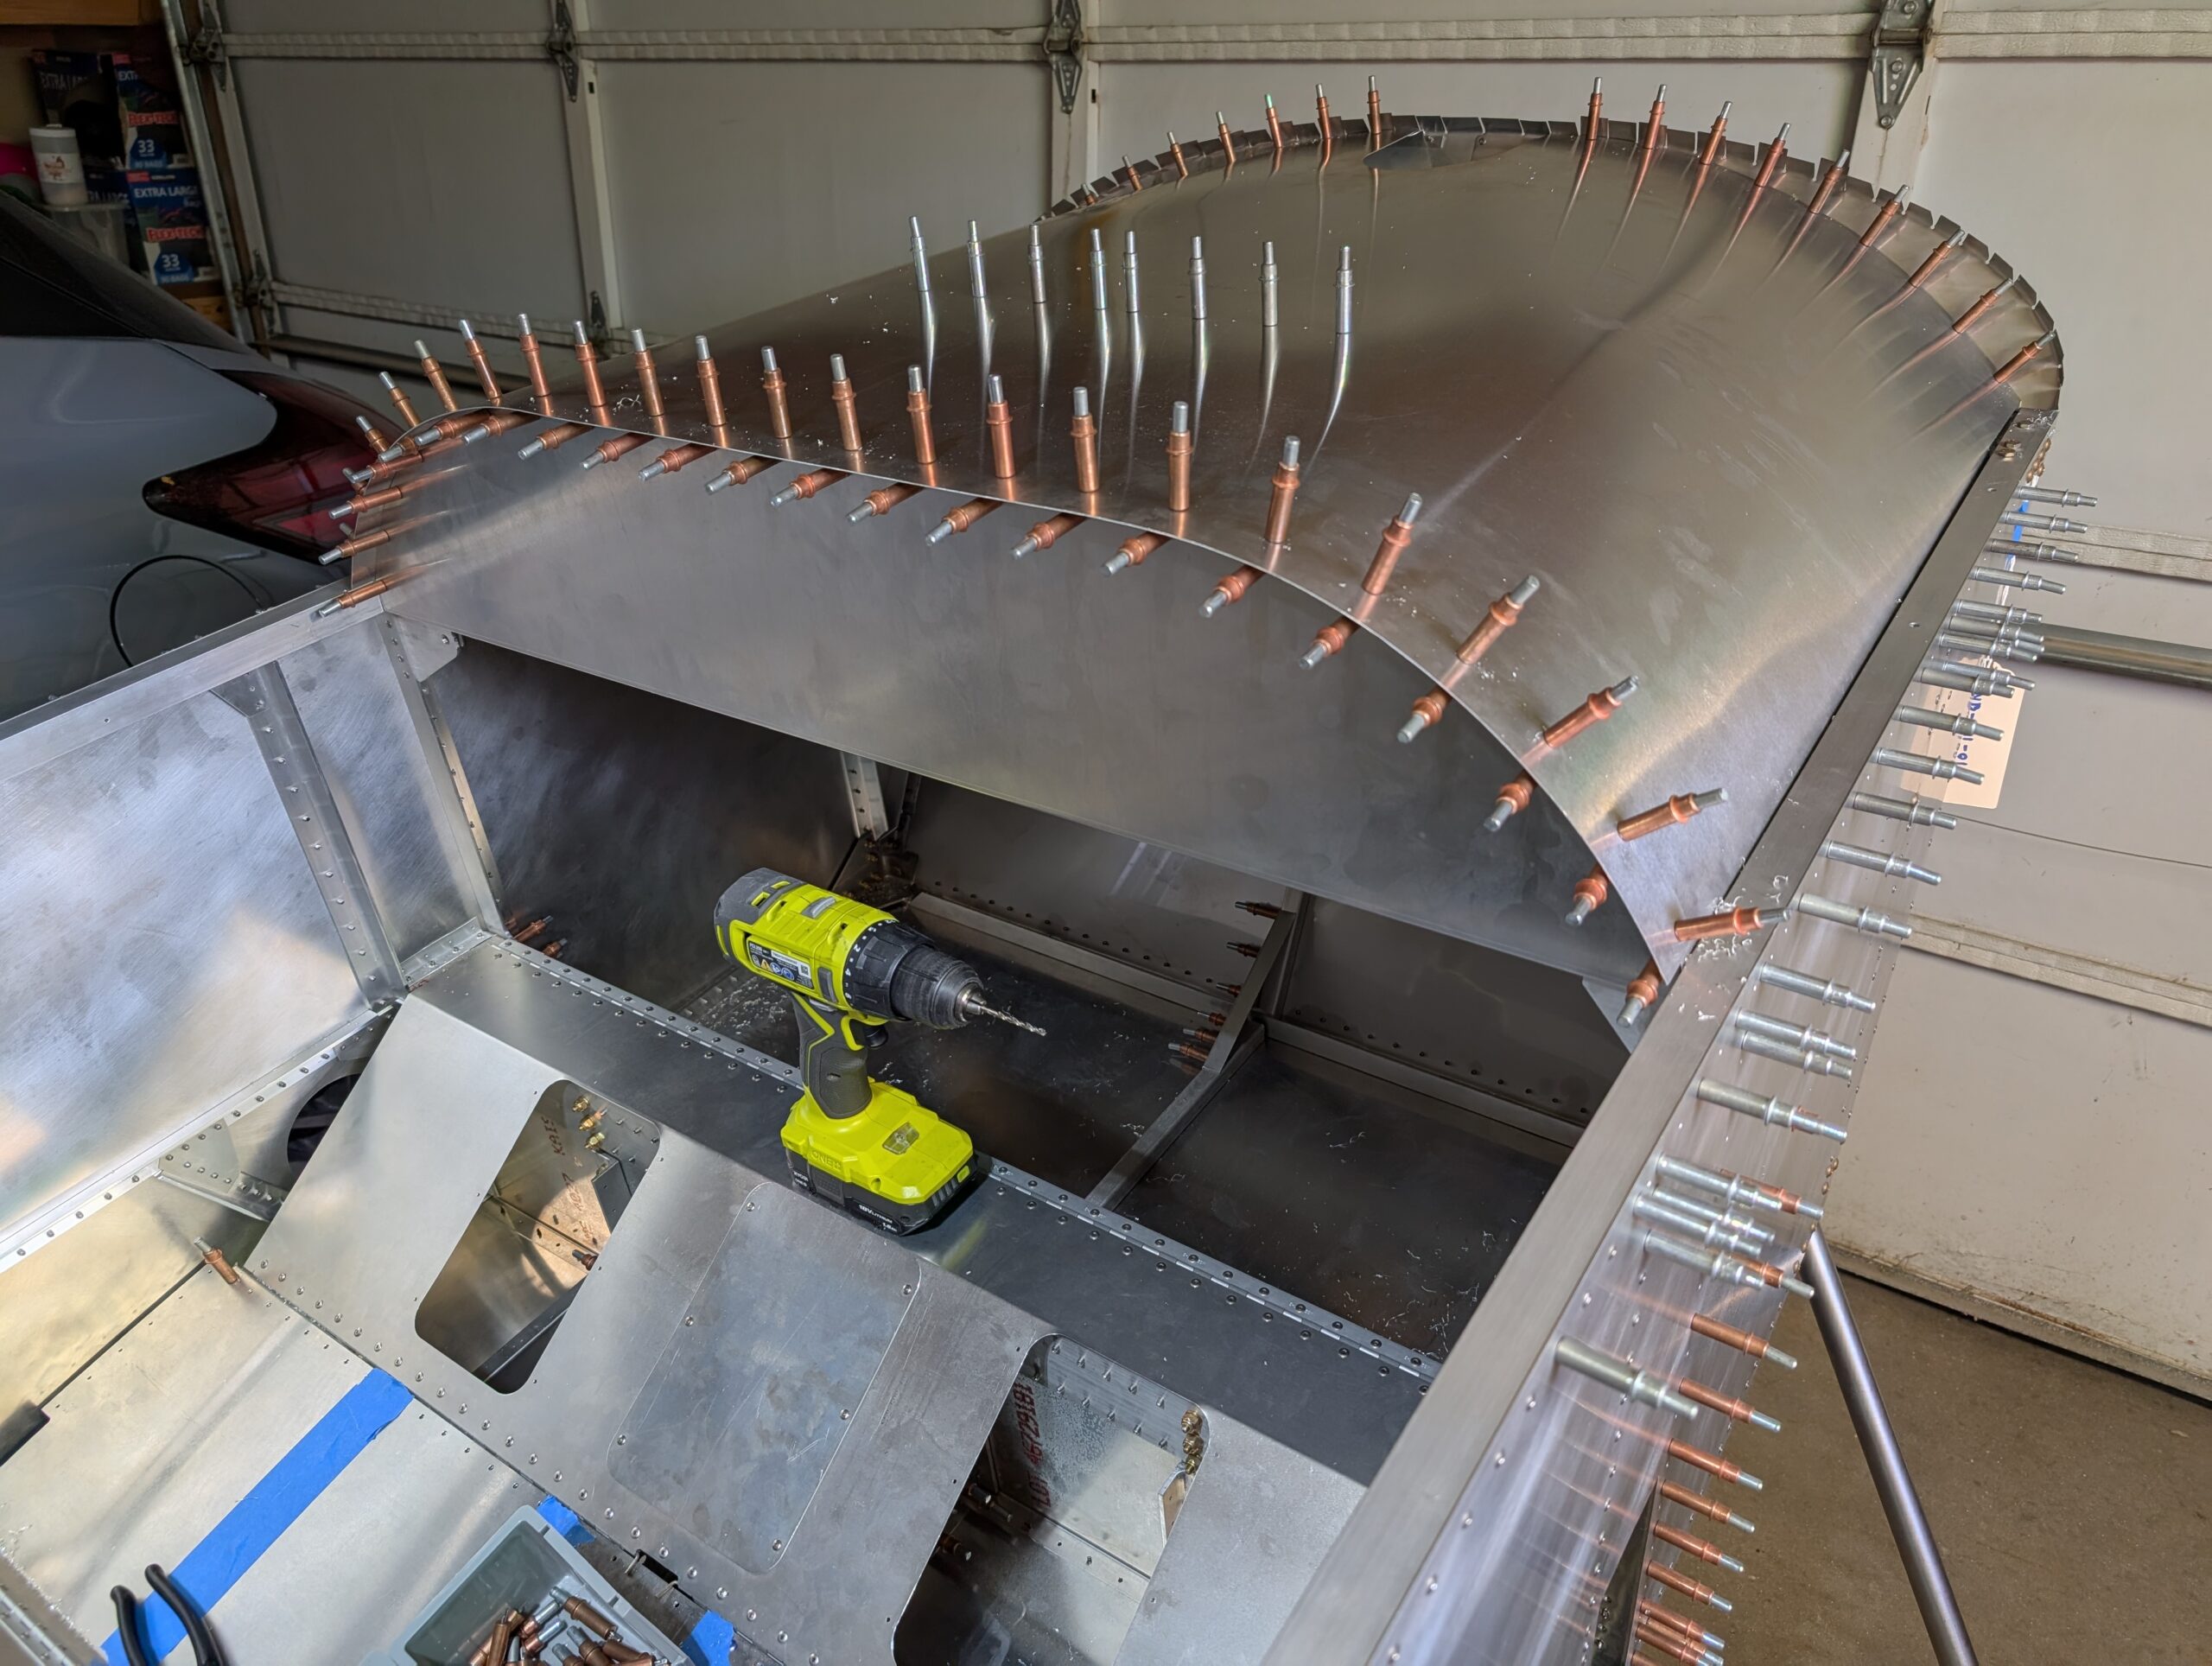
Glareshield Installation – Part 5
Deburred glareshield parts then riveted firewall angles to firewall. Clecoed glareshield into place then riveted to upper forward longerons and firewall angles. Left out stiffener until gas tank installation. Hours Worked: 2.24
-
Glareshield Installation – Part 4
Removed panel, control sticks, forward fuselage floor, and glareshield in preparation for part prep Hours Worked: 1.24
-
Glareshield Installation – Part 3
Pilot then updrilled panel to corner plates. Removed panel and taped on proposed panel layout for mockup. Temporarily bolted control sticks into place to verify fitment of everything. Hours Worked: 1.25
-
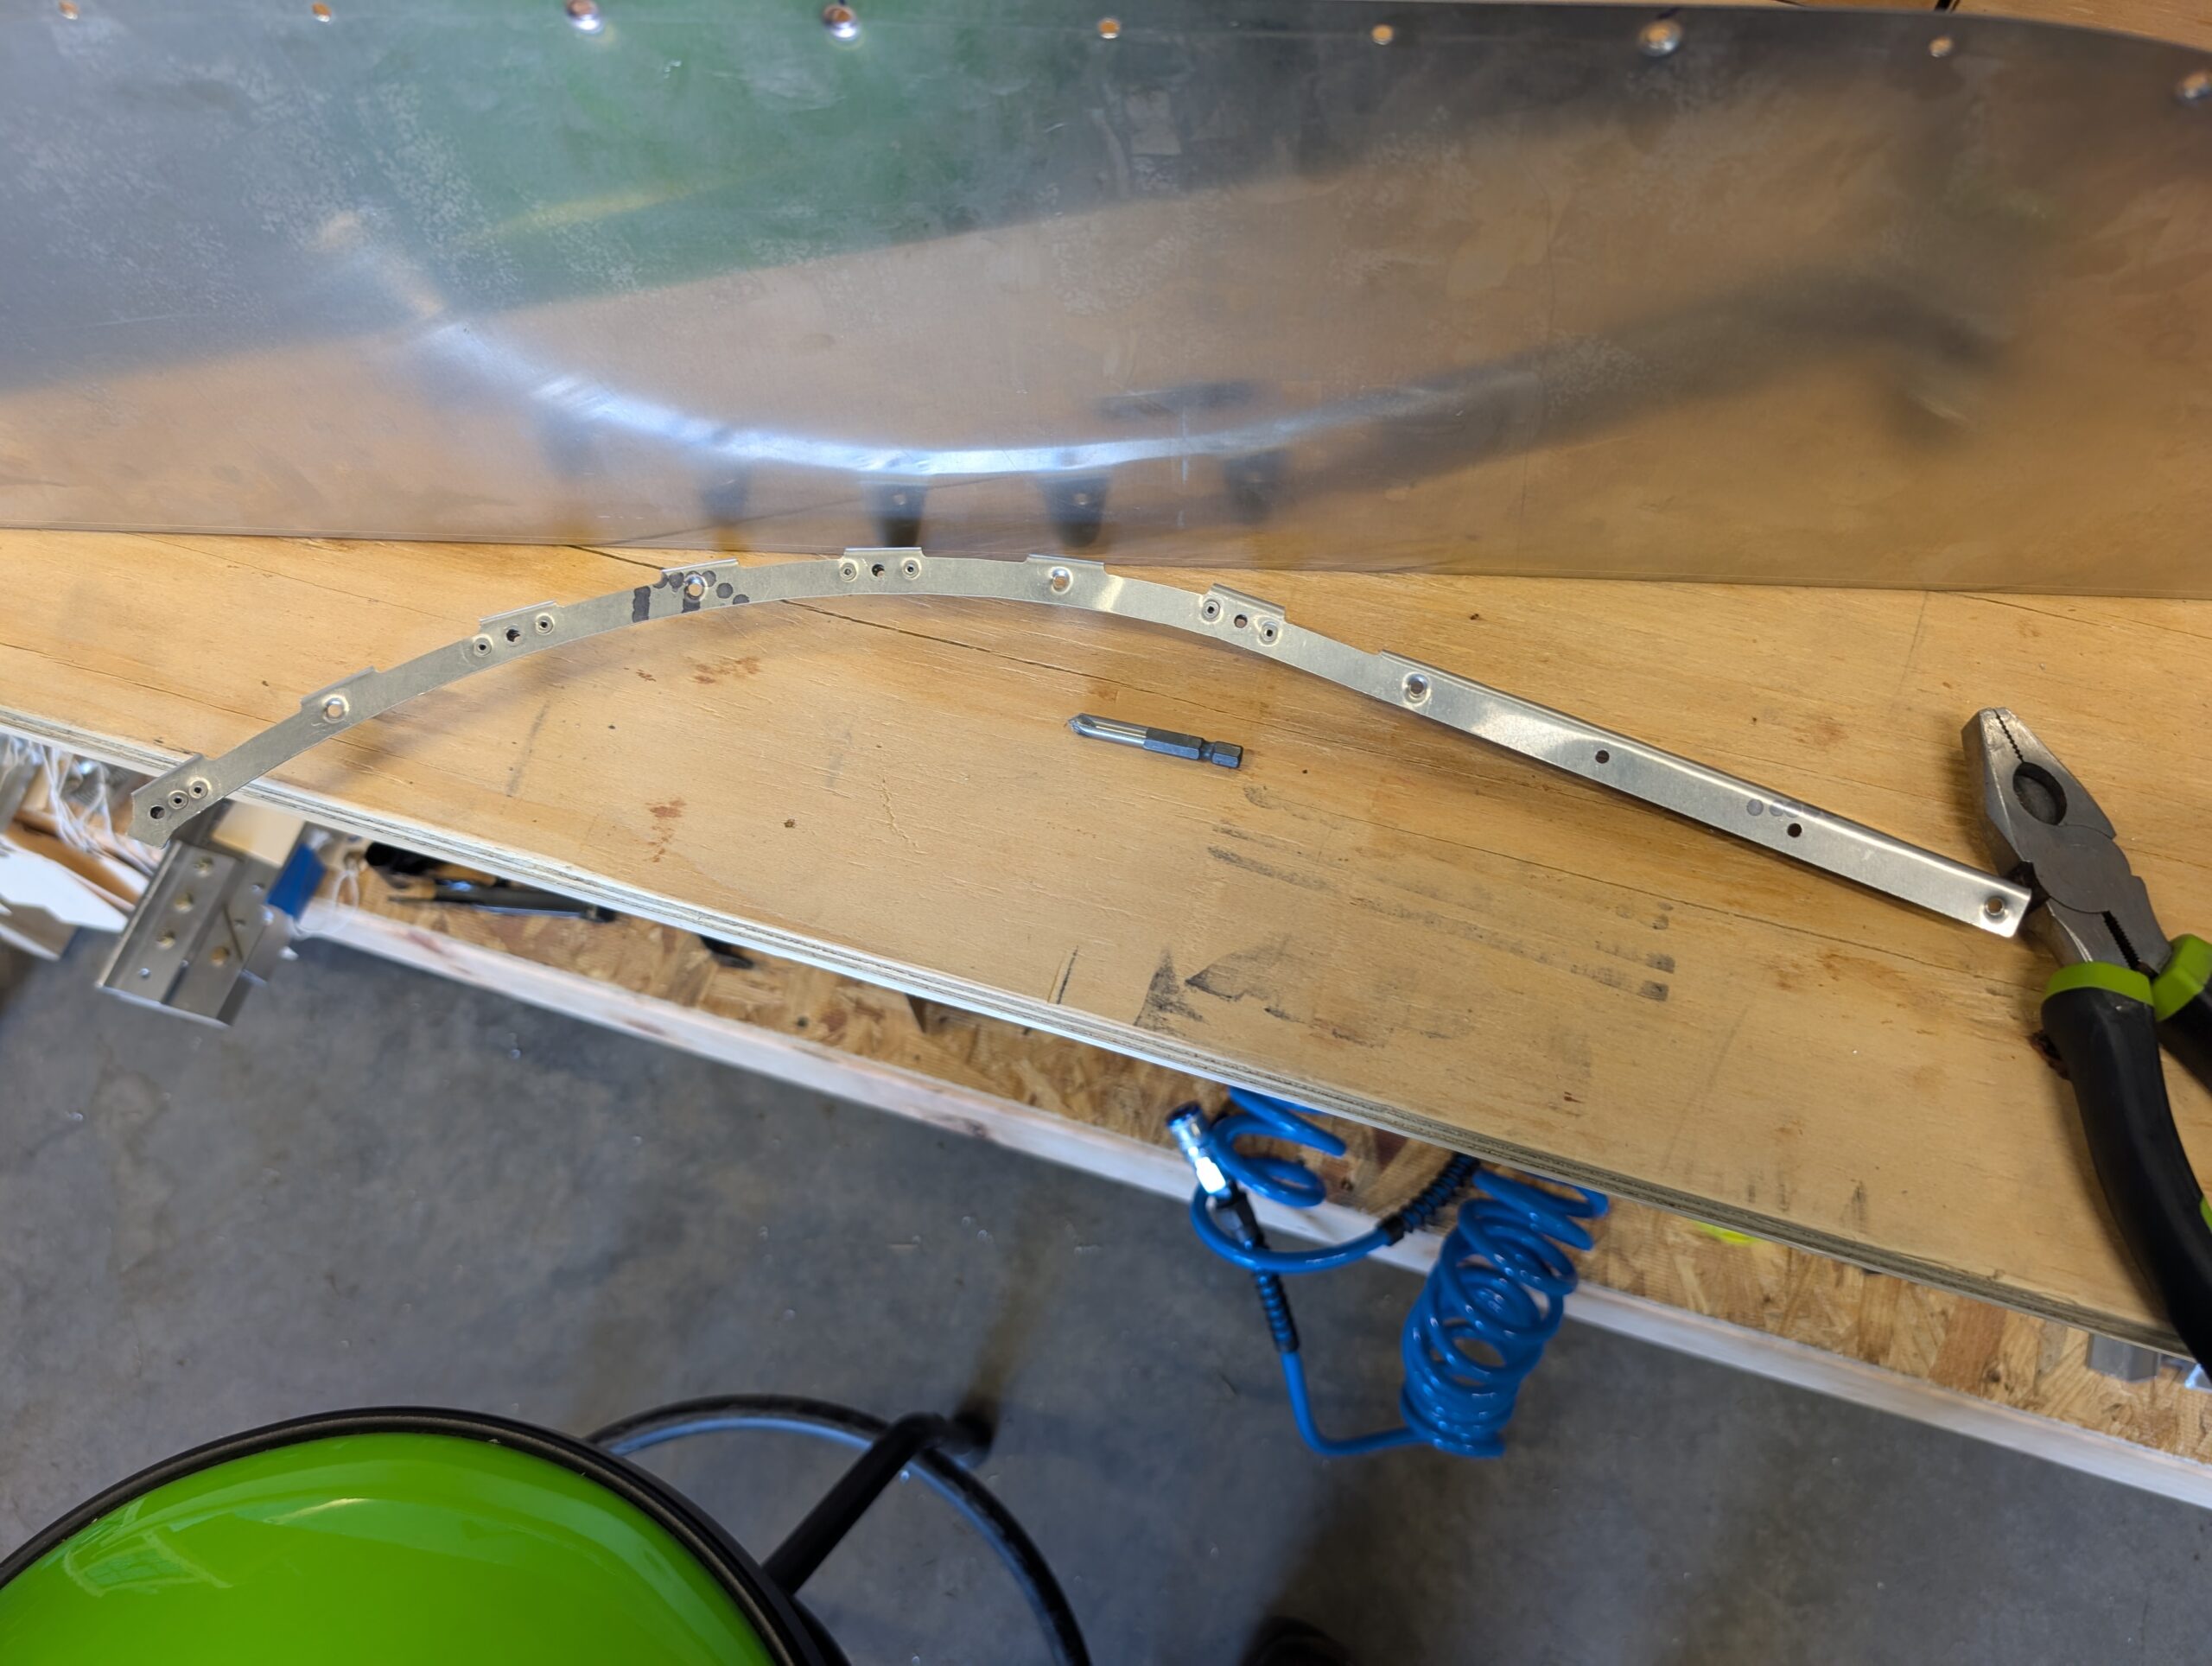
Glareshield Installation – Part 2
Made temporary seat cushions out of old mattress pad. Realigned glareshield to longerons and upper firewall and pilot drilled glareshield to firewall angle. Located instrument panel 3/4″ back from edge of glareshield and pilot drilled glareshield to instrument panel angle. Updrilled all glareshield holes. Hours Worked: 4.20