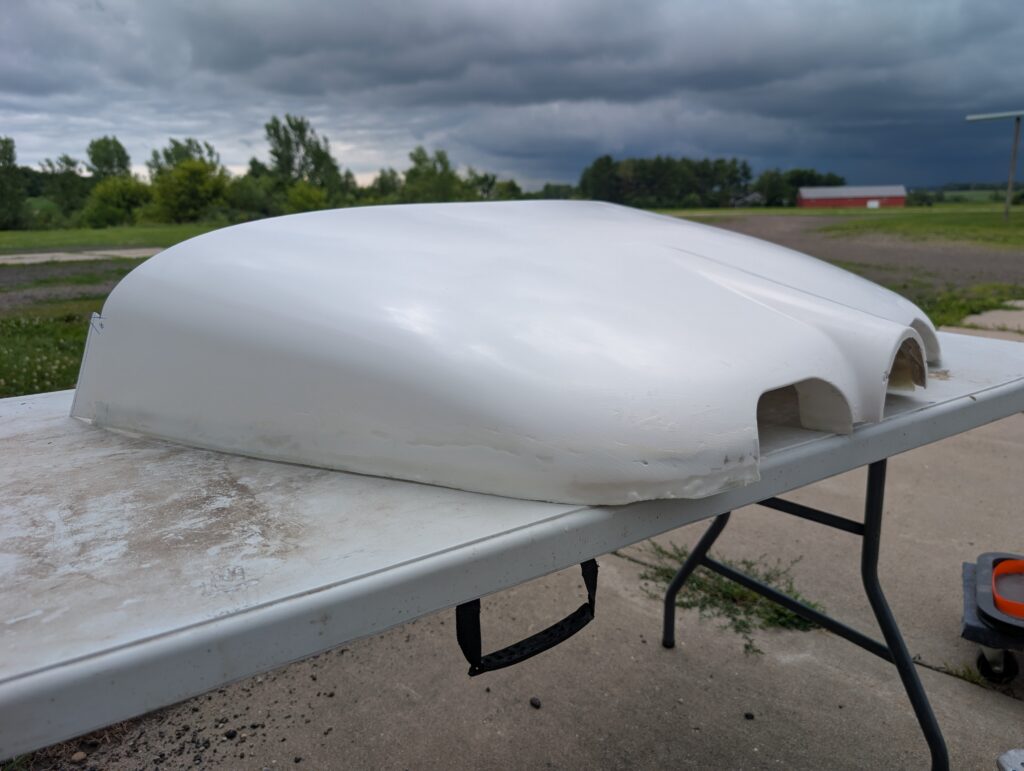
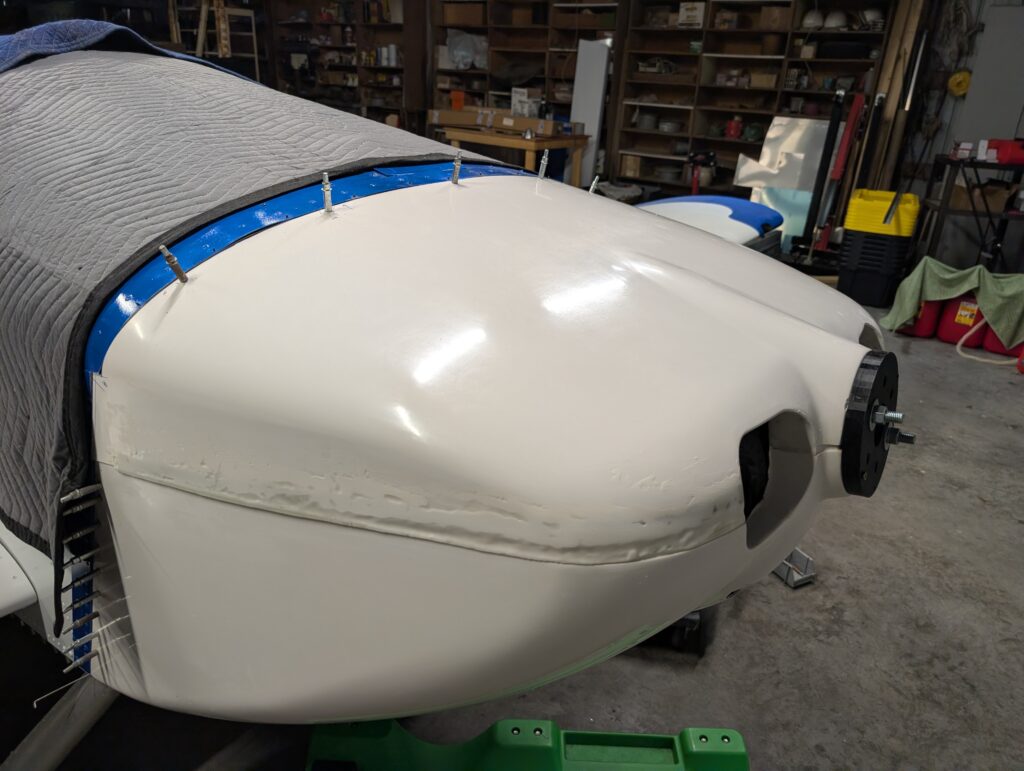
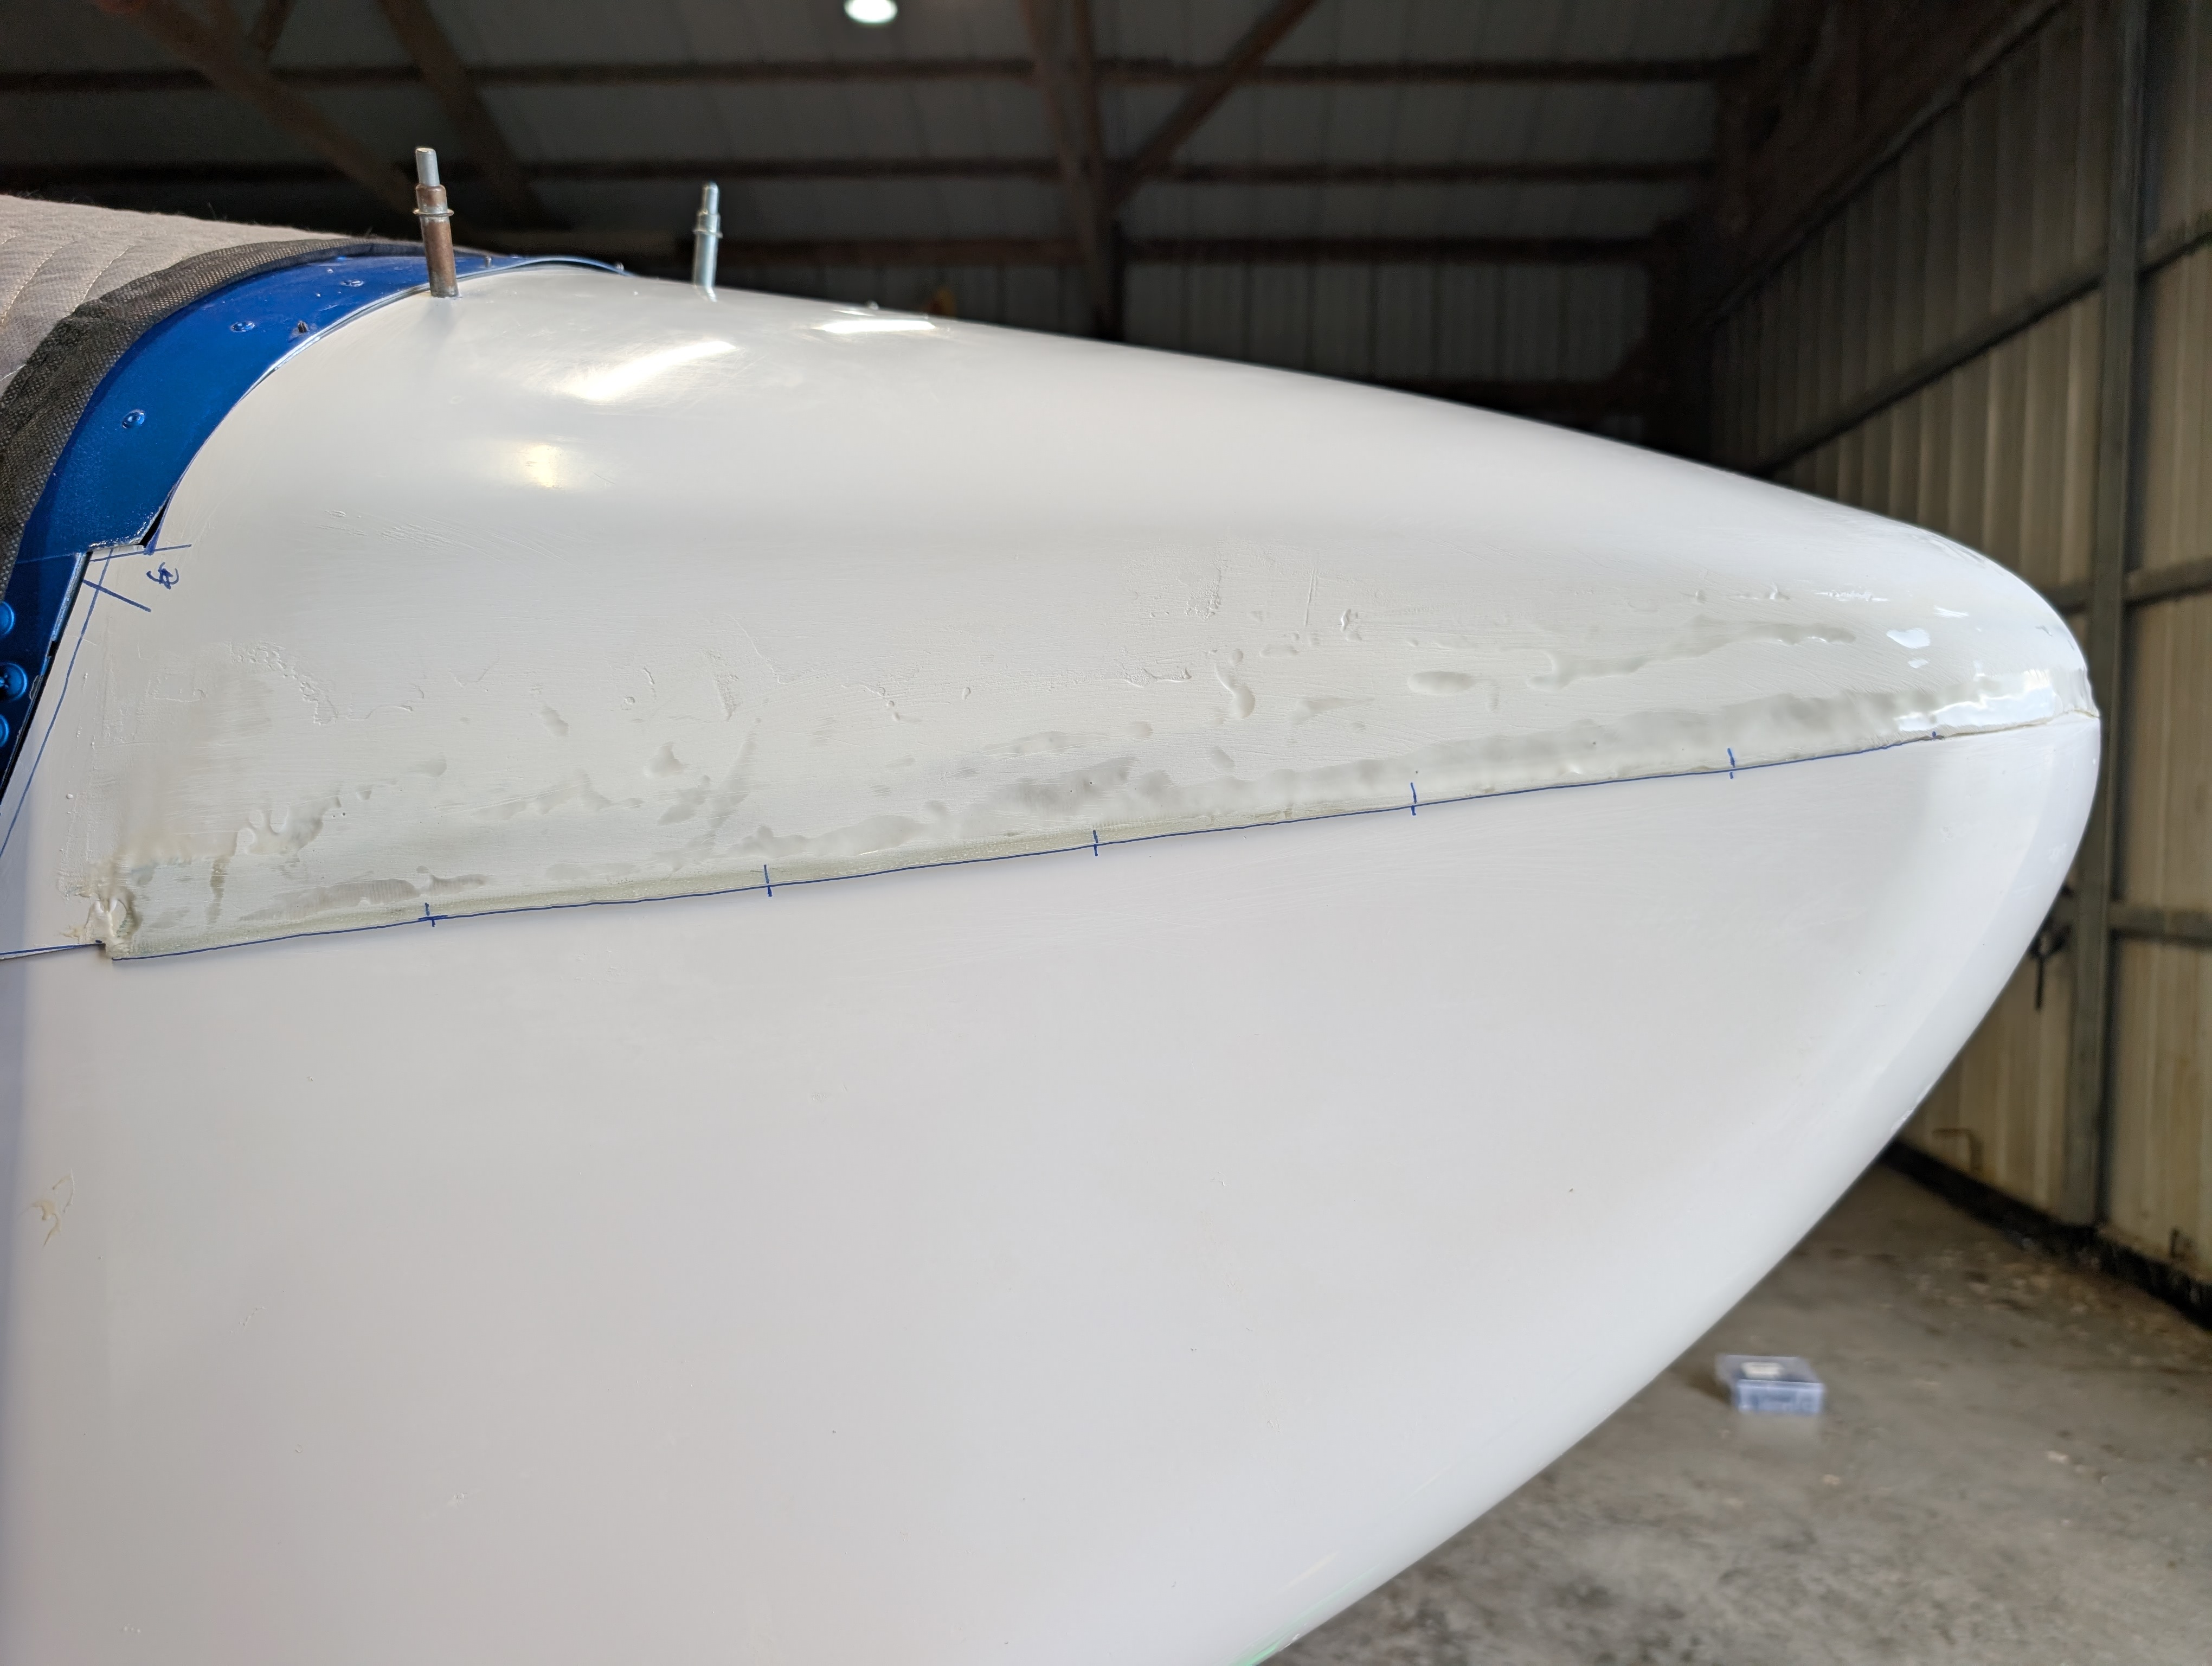
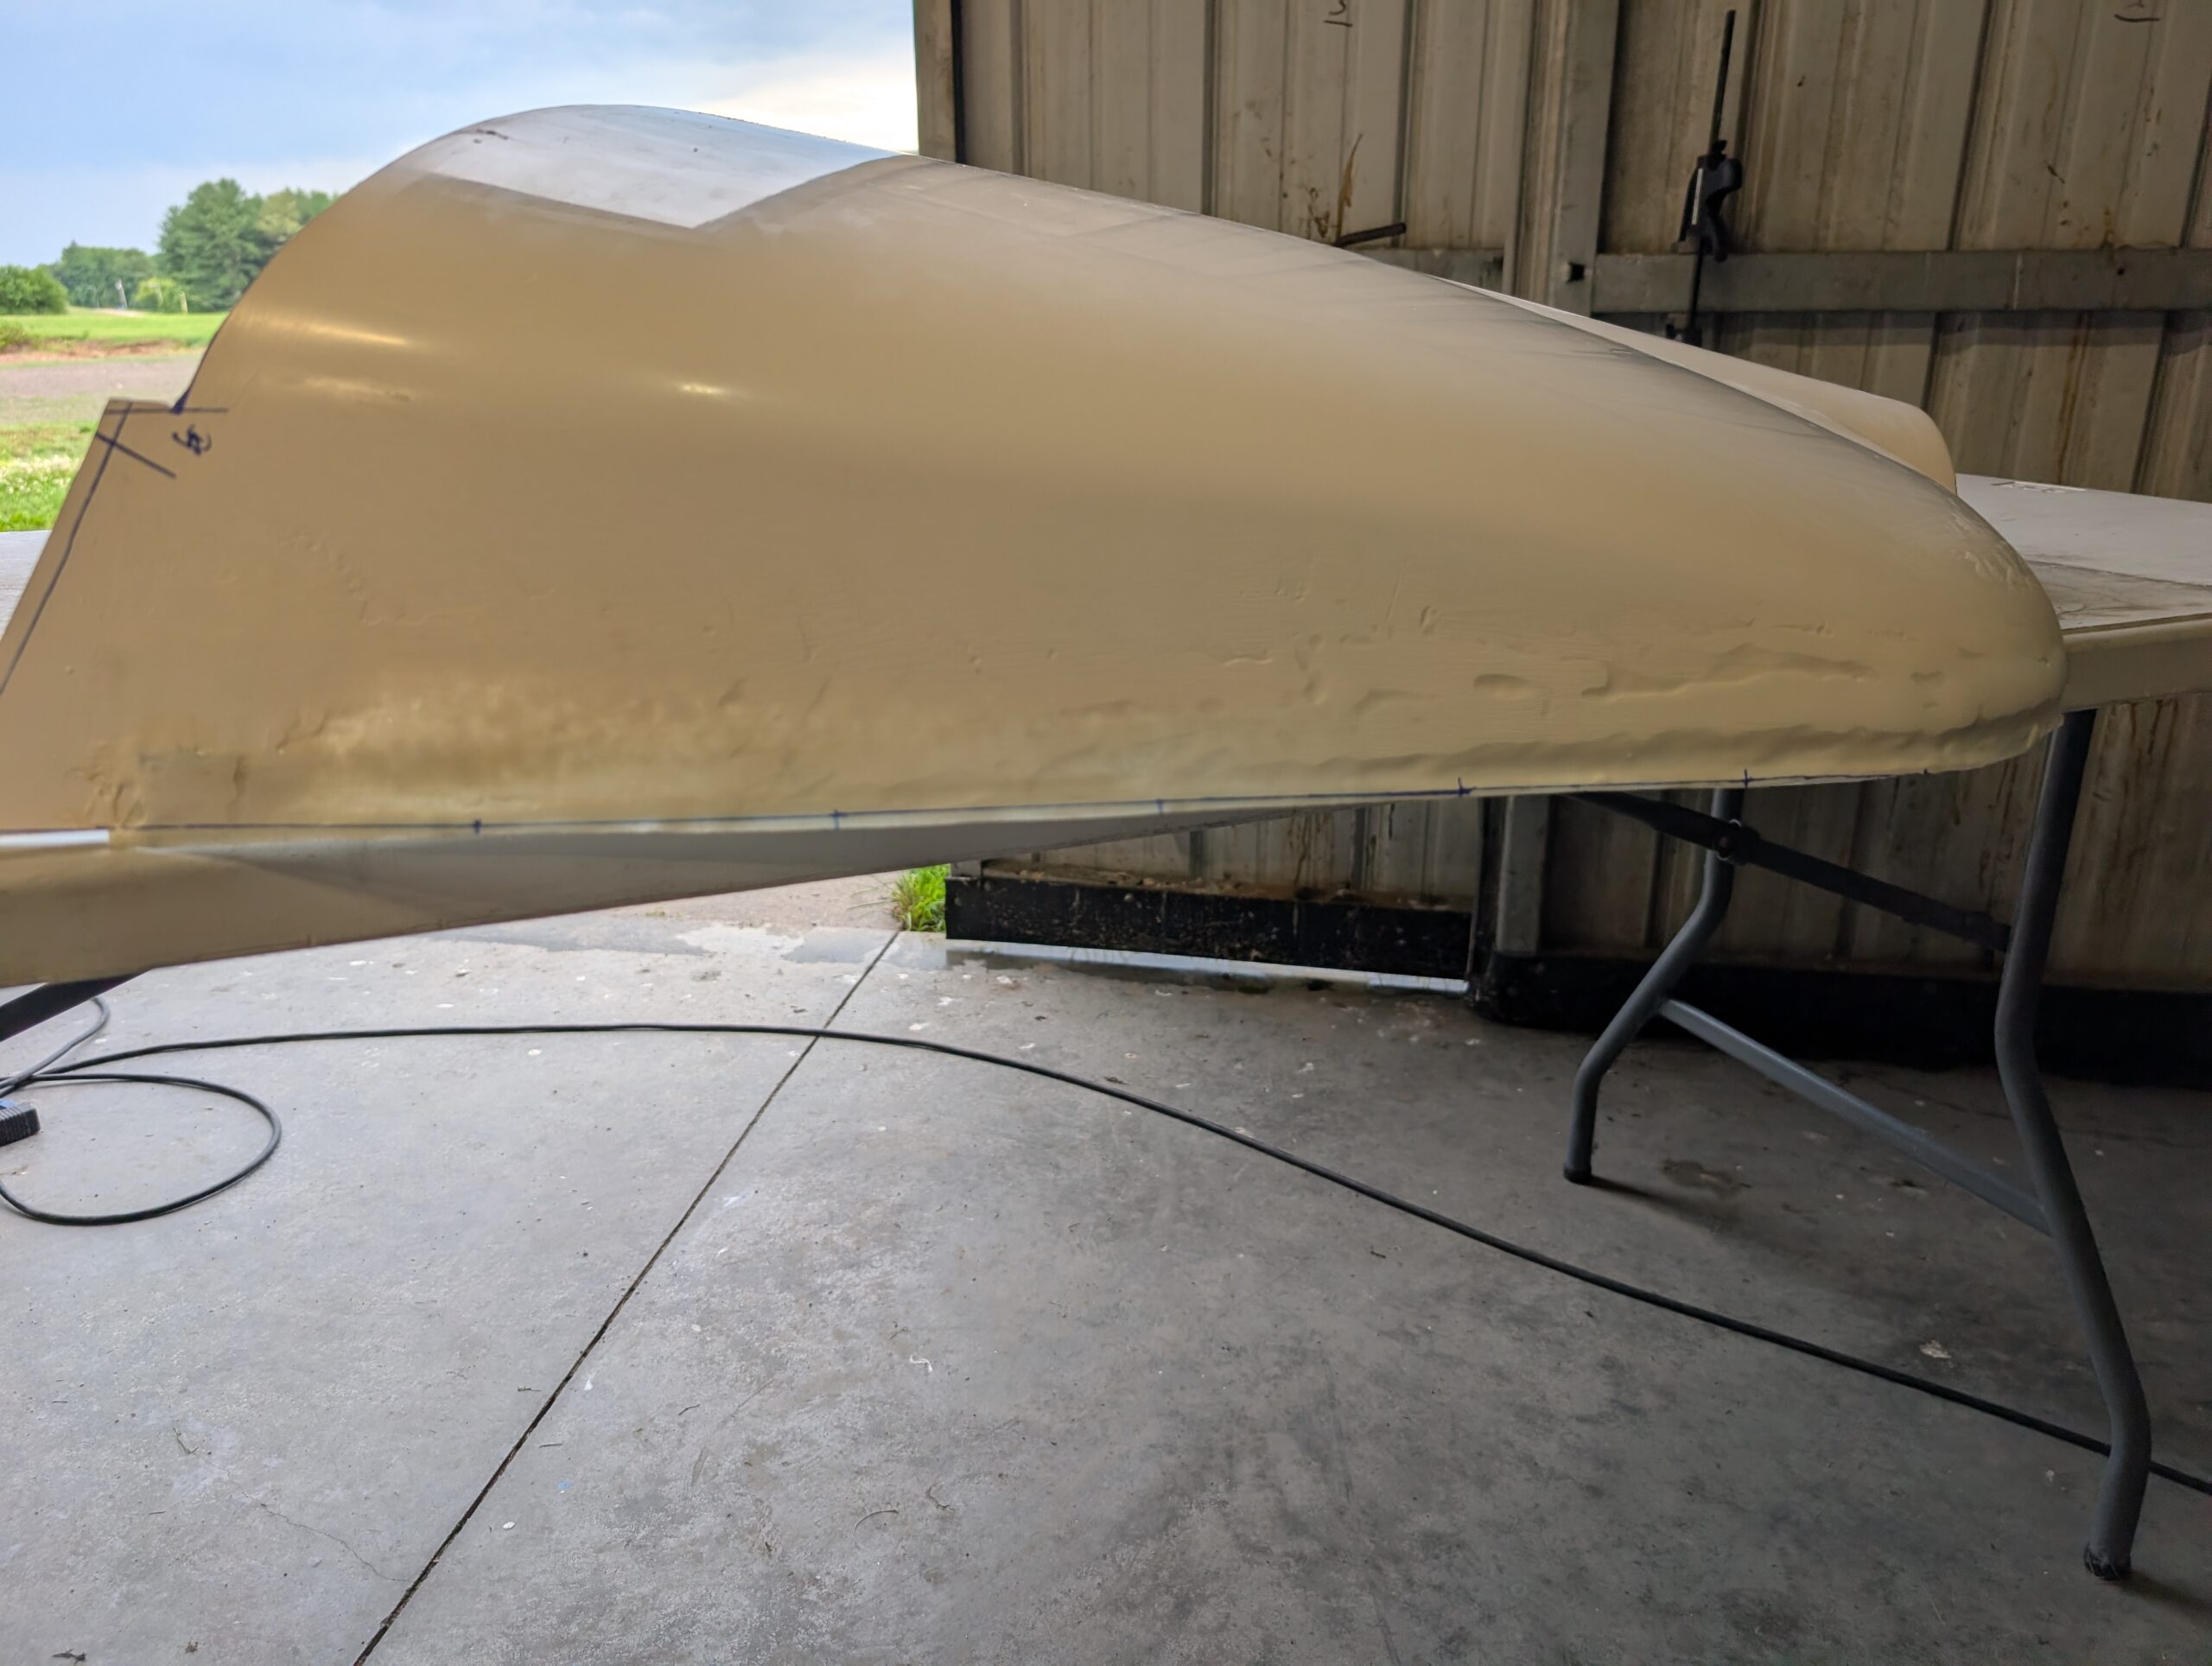
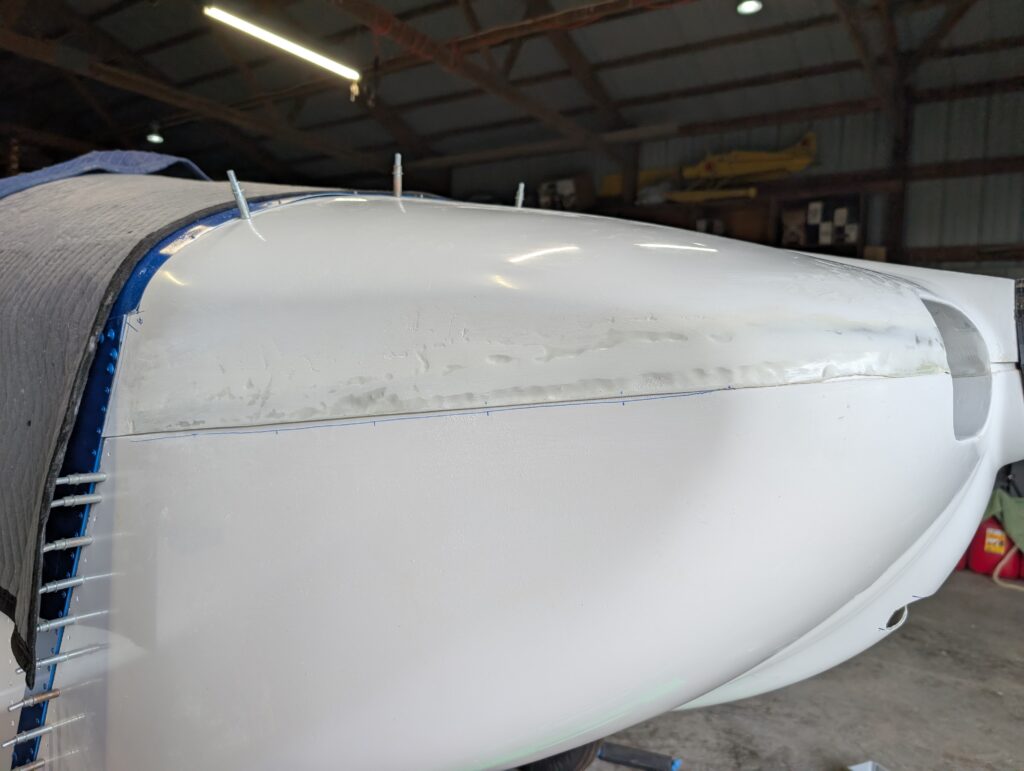
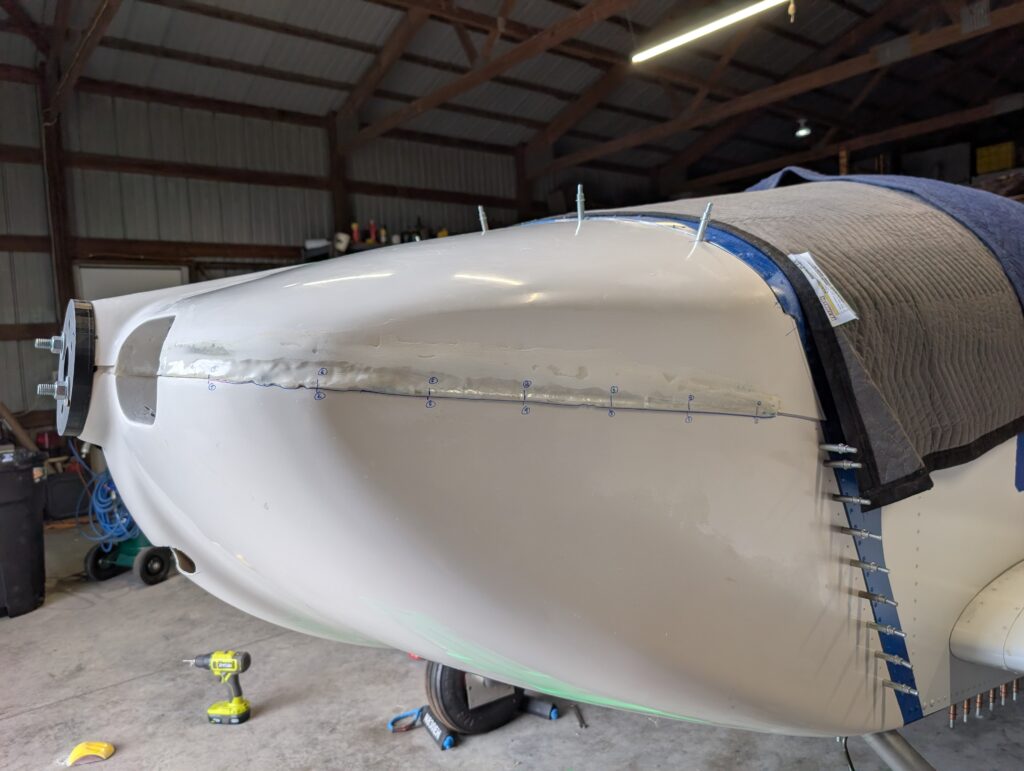
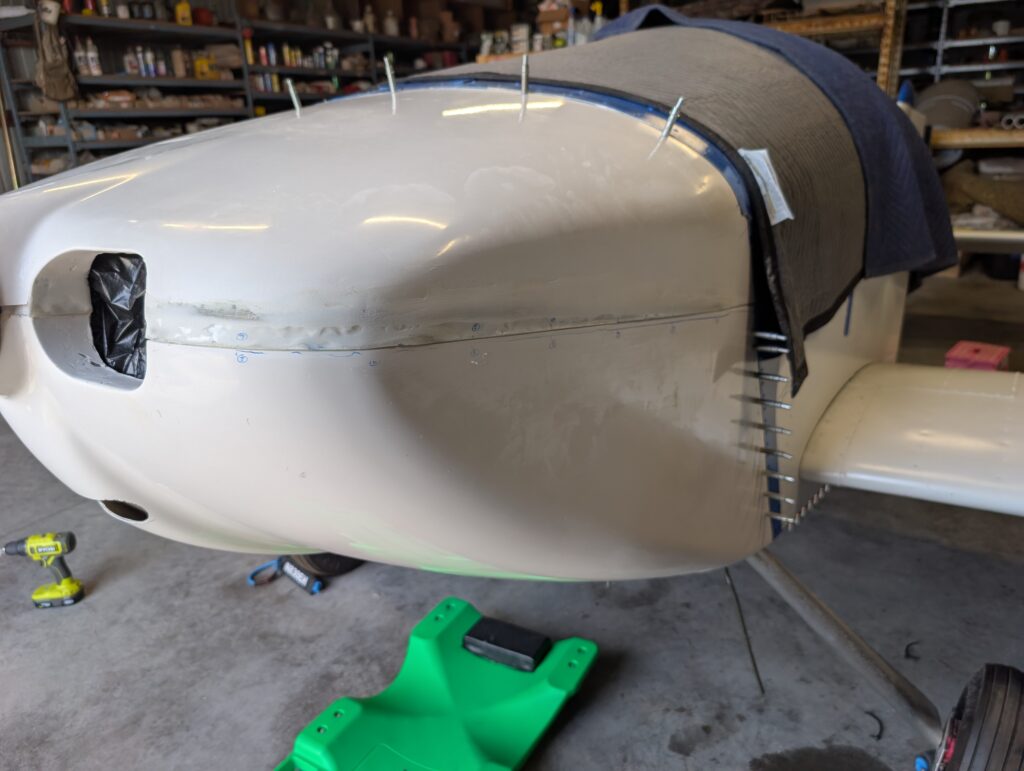
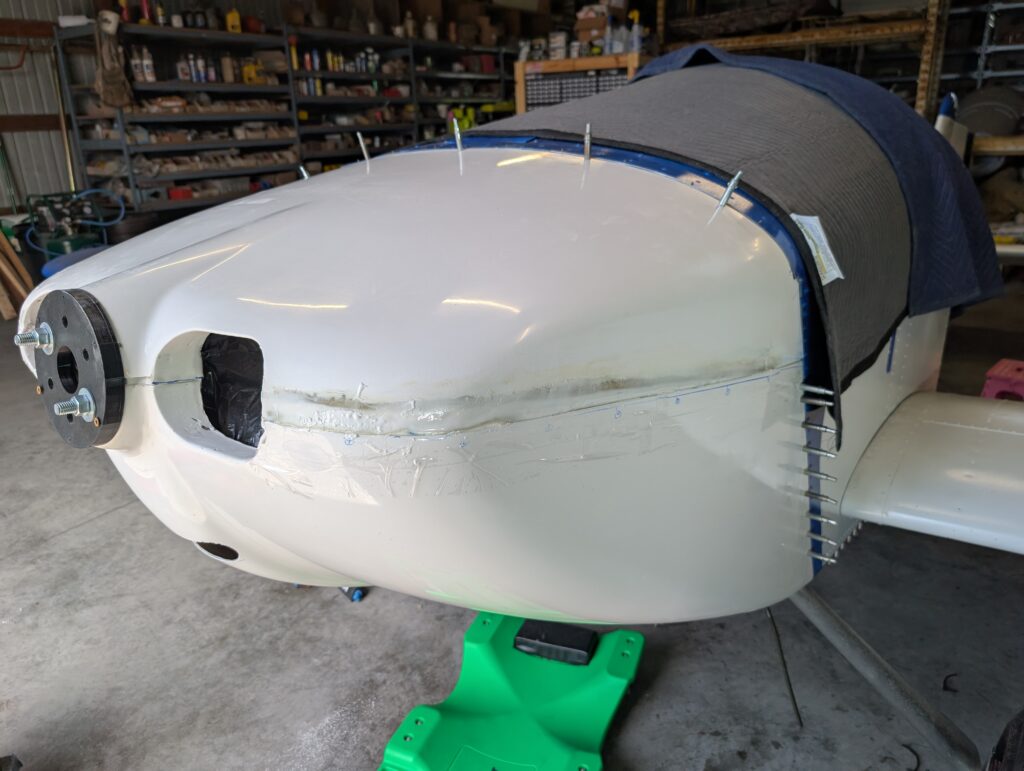
After allowing epoxy to cure, used 60 grit sandpaper and hand sanding block to rough shape cowl curvature and knock down spatter and high spots. Tried to focus on transition areas between existing cowl and new work to make transition smoother. Initial sanding identified multiple valleys and pin holes that will need another coat of filler. Laid cowling back onto airframe and drilled pilot holes in upper cowl and firewall shelf to hold the backside of the upper cowl in place. Traced upper cowl edge onto lower cowl with sharpie and created “station lines” every 4 inches. Removed upper cowl and measured offset from existing cowl edge to desired cowl edge at stations then transferred measurements onto upper cowl. Connected points with a ruler then began hand sanding the cowl edge down to the sharpie line. Reinstalled upper cowl and made fine adjustments by pulling edge out from lower cowl. Repeated process for the LH side as well. Removed upper cowl and placed packing tape onto lower cowl in preparation for another round of micro balloons. Cleaned upper cowl with acetone then made a stiffer micro mixture then last time that seemed to work better (1.5oz epoxy mixture to ~3.5oz of micro balloons). Applied filler to low spots with cowl in position.
Hours Worked: 3.40
Leave a Reply