Finishing

Exterior Wrap-up
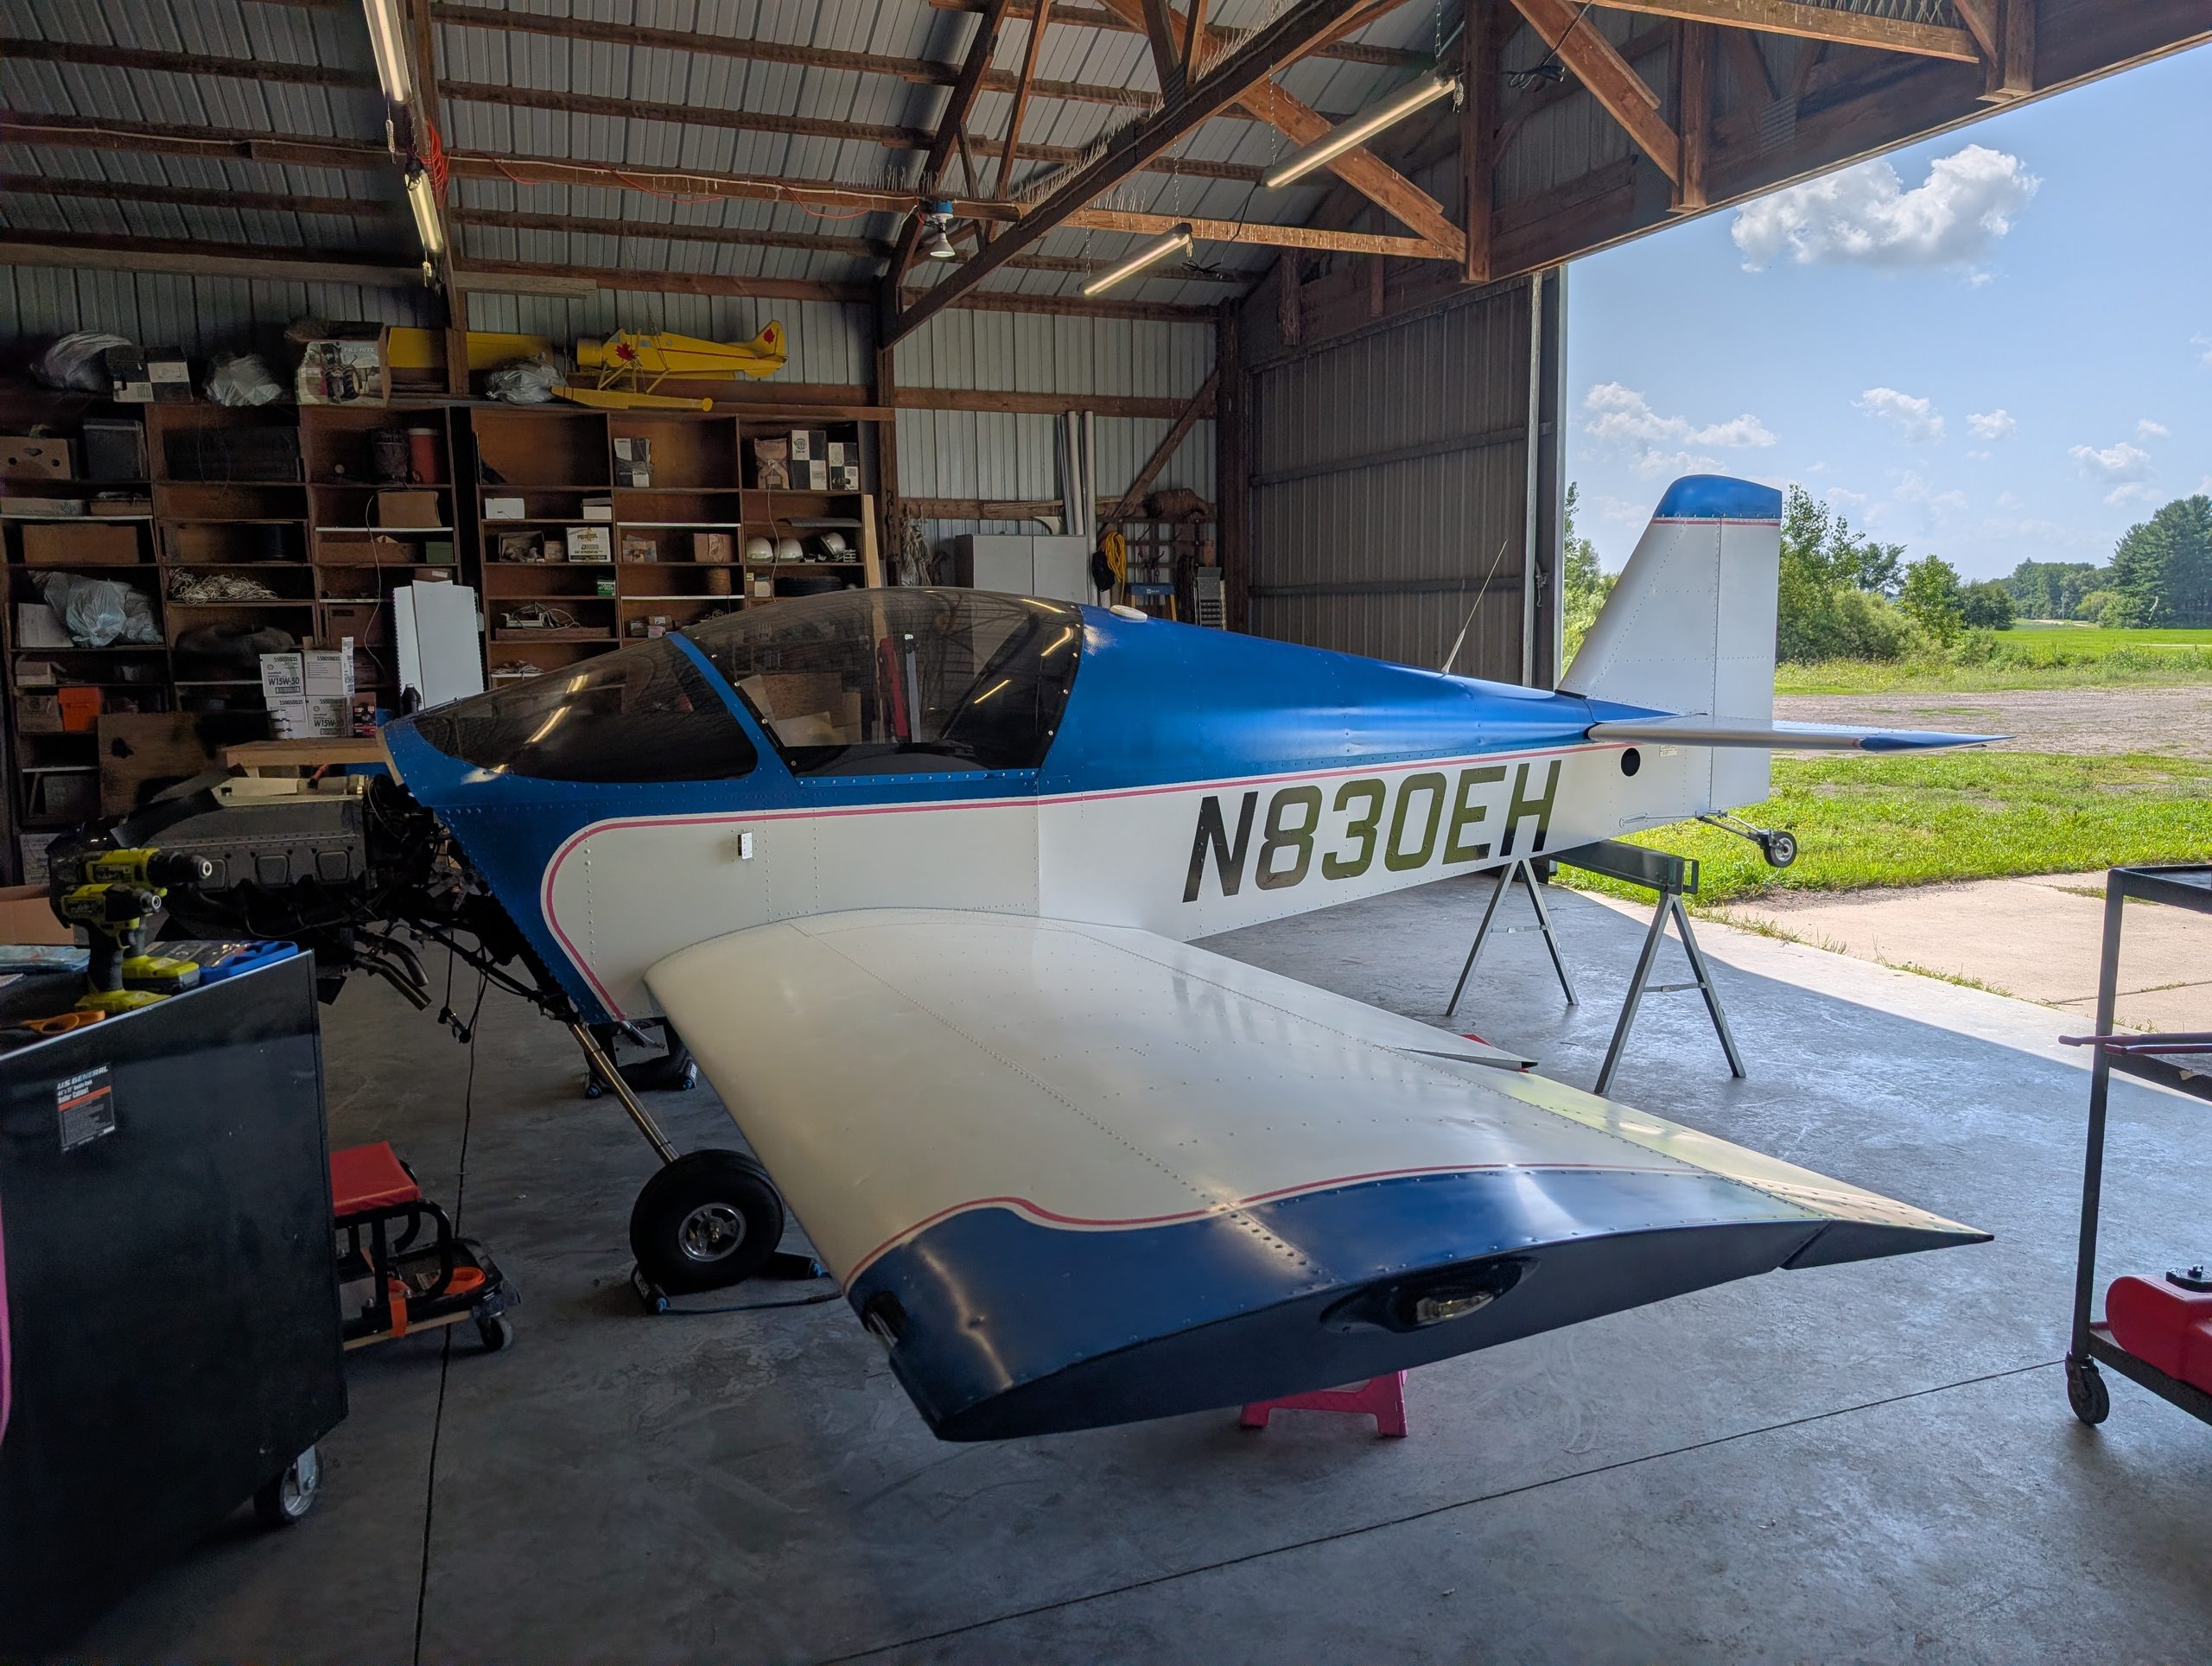
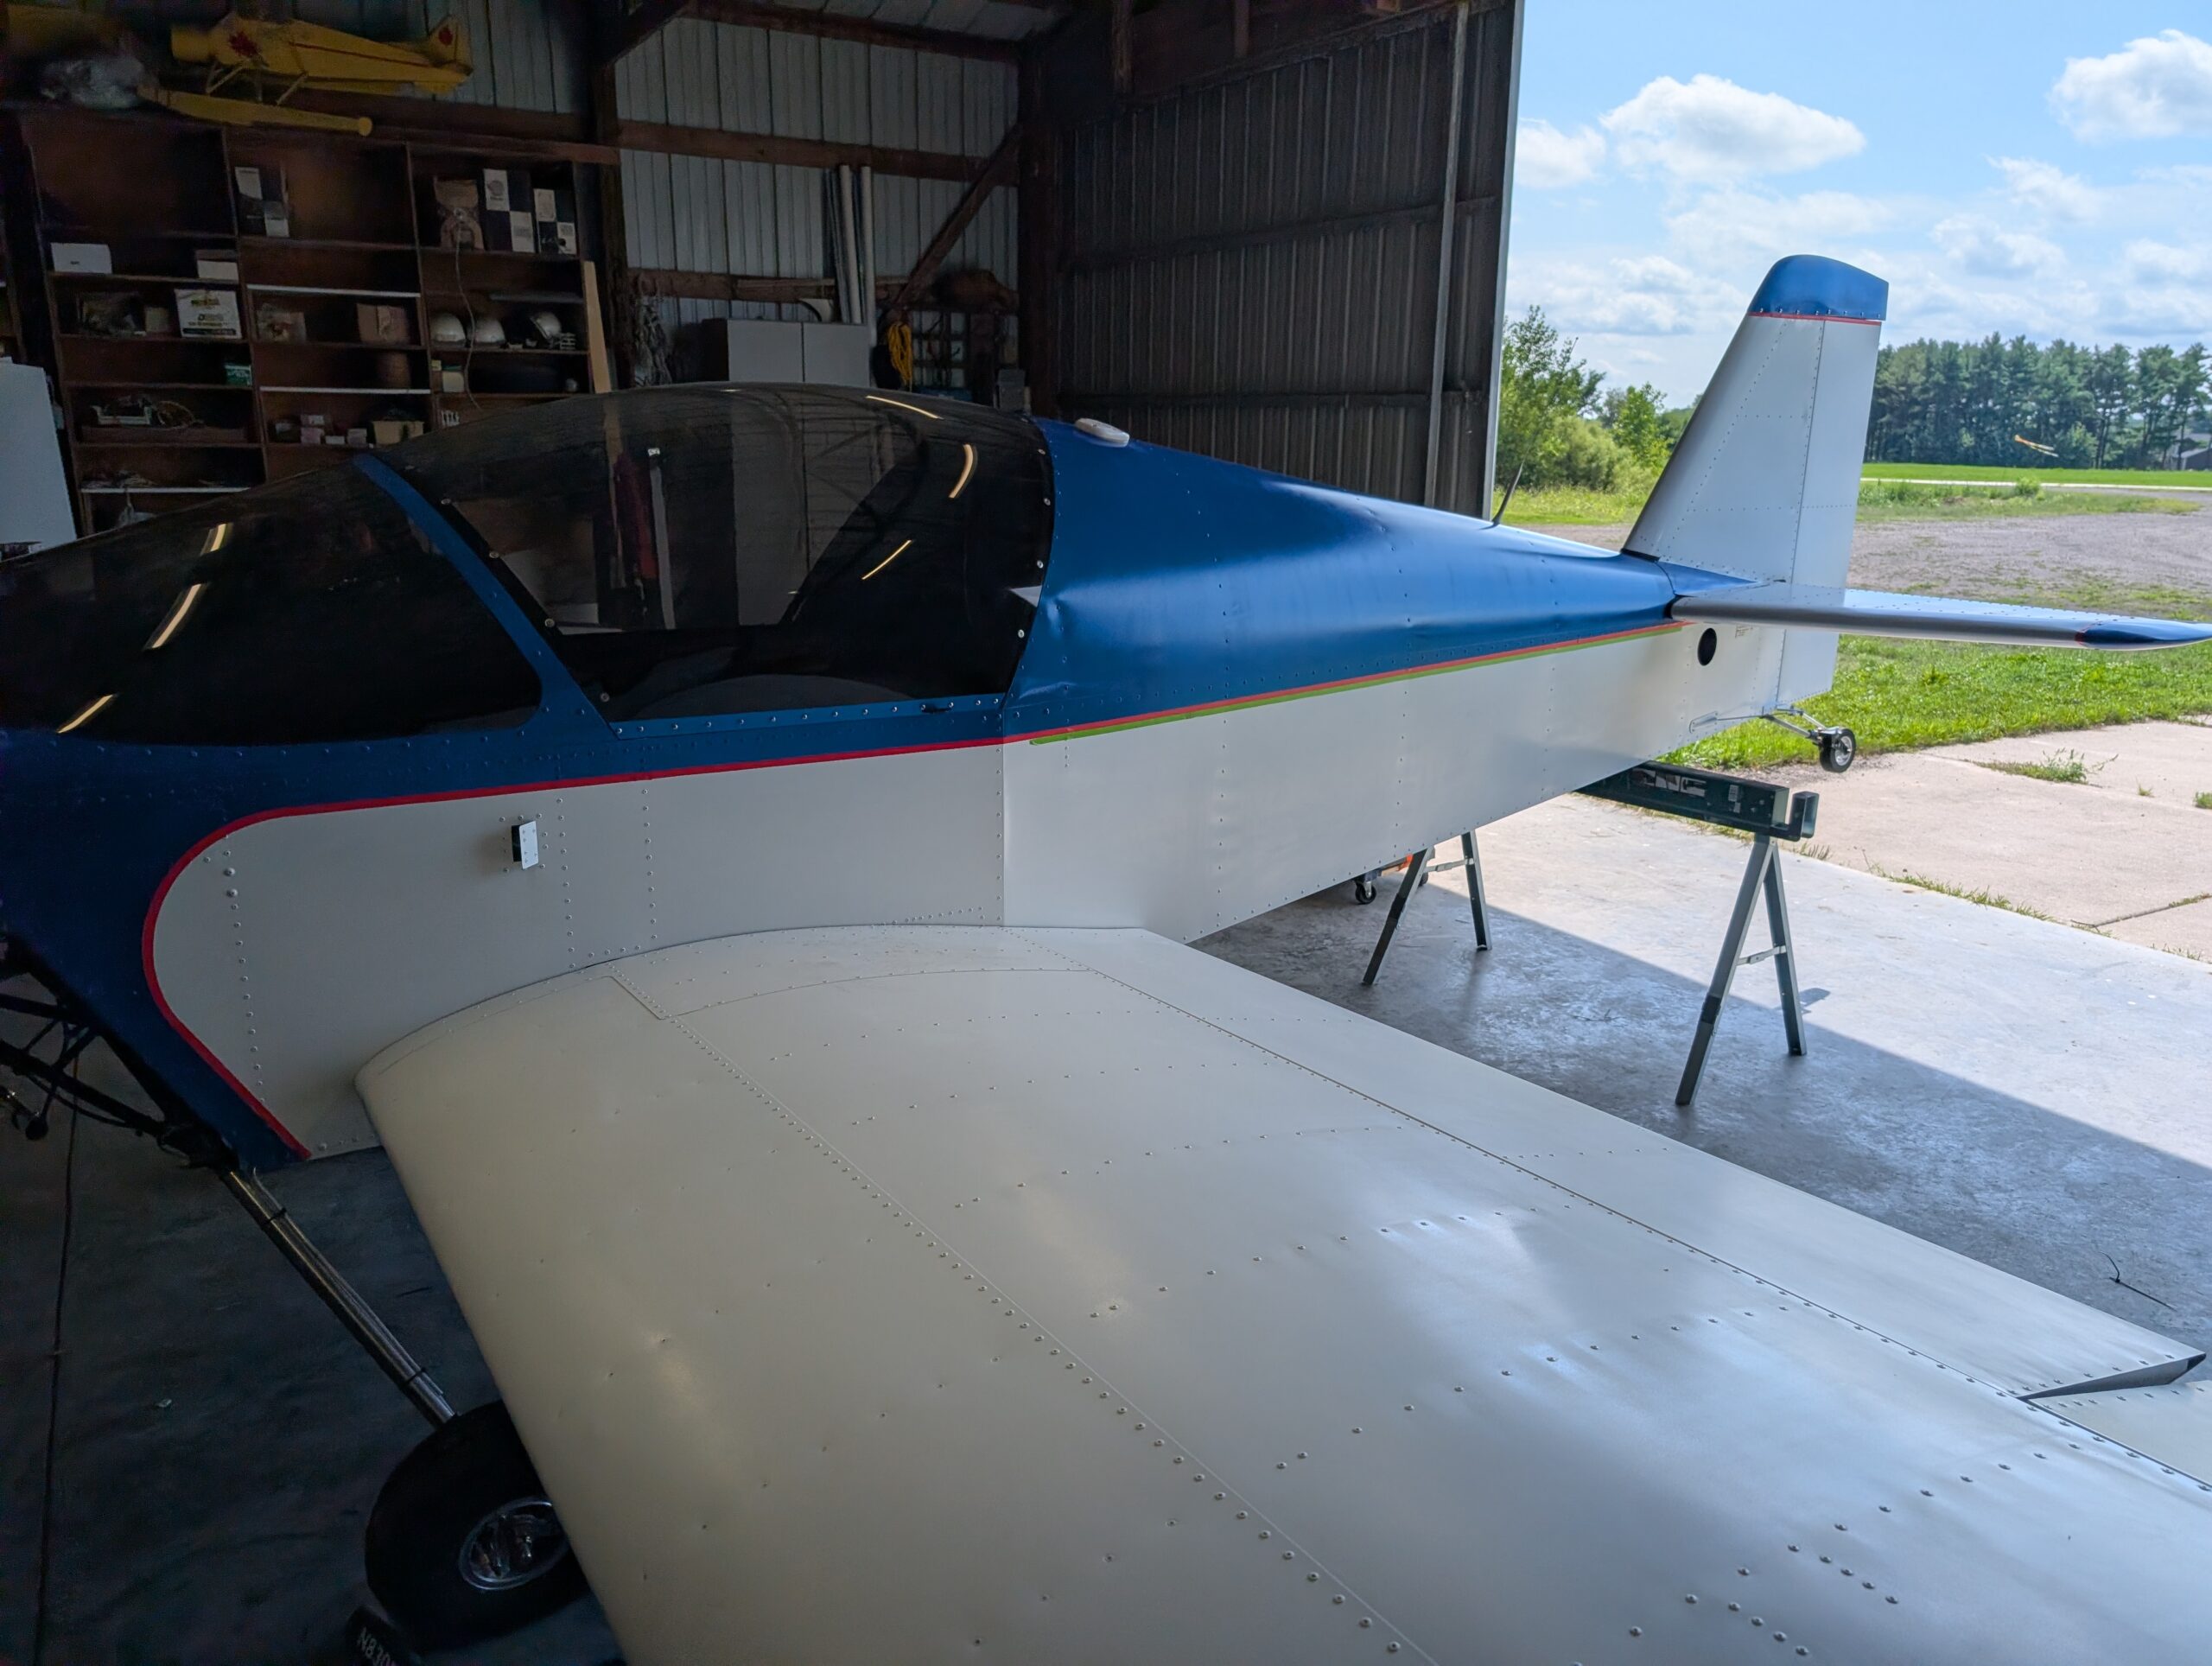
Applied N-number decals to both sides of fuselage by taping decal sets to sides and “hinging” decals on top with blue painters tape. Right side worked better to prevent bubbles by cutting numbers and letters apart after taping the entire side to the fuselage. Applied pink vinyl stripe to fuselage, wings, ailerons, tail surfaces, rudder,…
Vinyl Stripe Prep
Used 1/2″ fine line tape to create layout for vinyl striping. Applied tape to wings, ailerons, tail surfaces, and fuselage sides. Temporarily applied green masking tape to fuselage sides to help guide N-number placement. Hours Worked: 0.79
Color Sanding and Buffing – Part 3
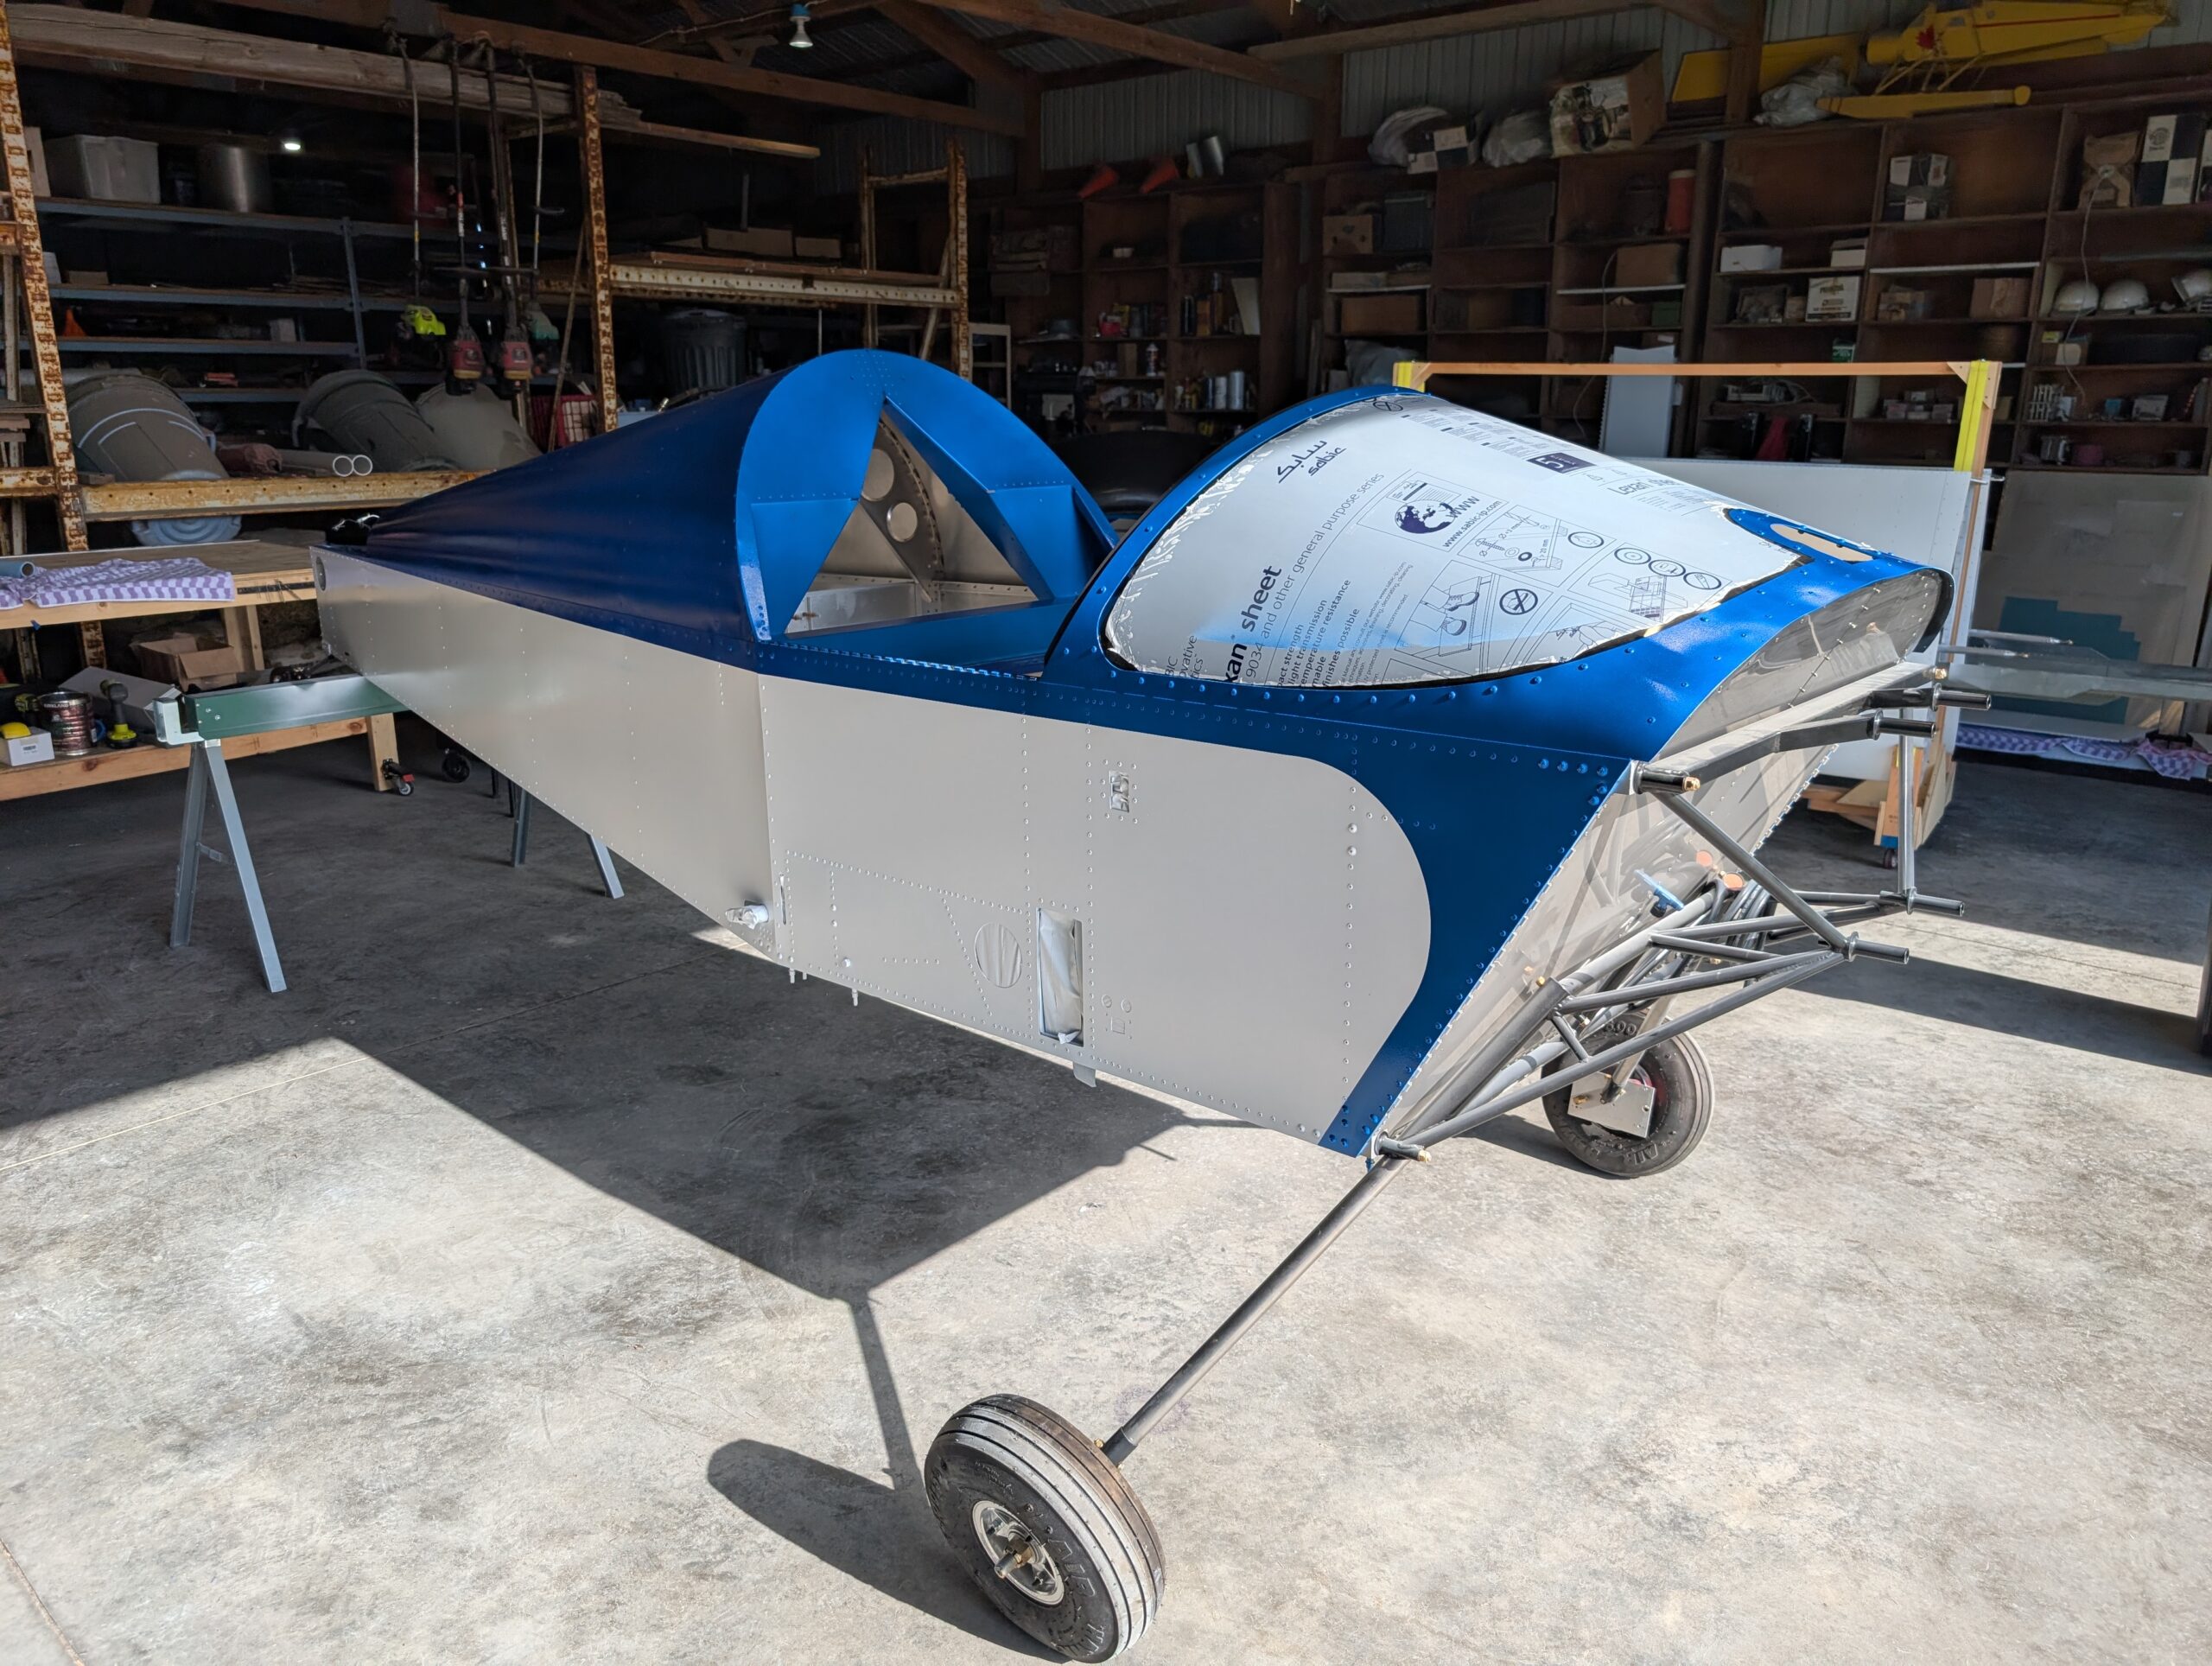
Finished color sanding and polishing process with left and right side of fuselage. Used same process as previously described. Opted to not color sand blue paint on fuselage sides. Polishing complete! Hours Worked: 1.85
Cowl and Small Parts Paint
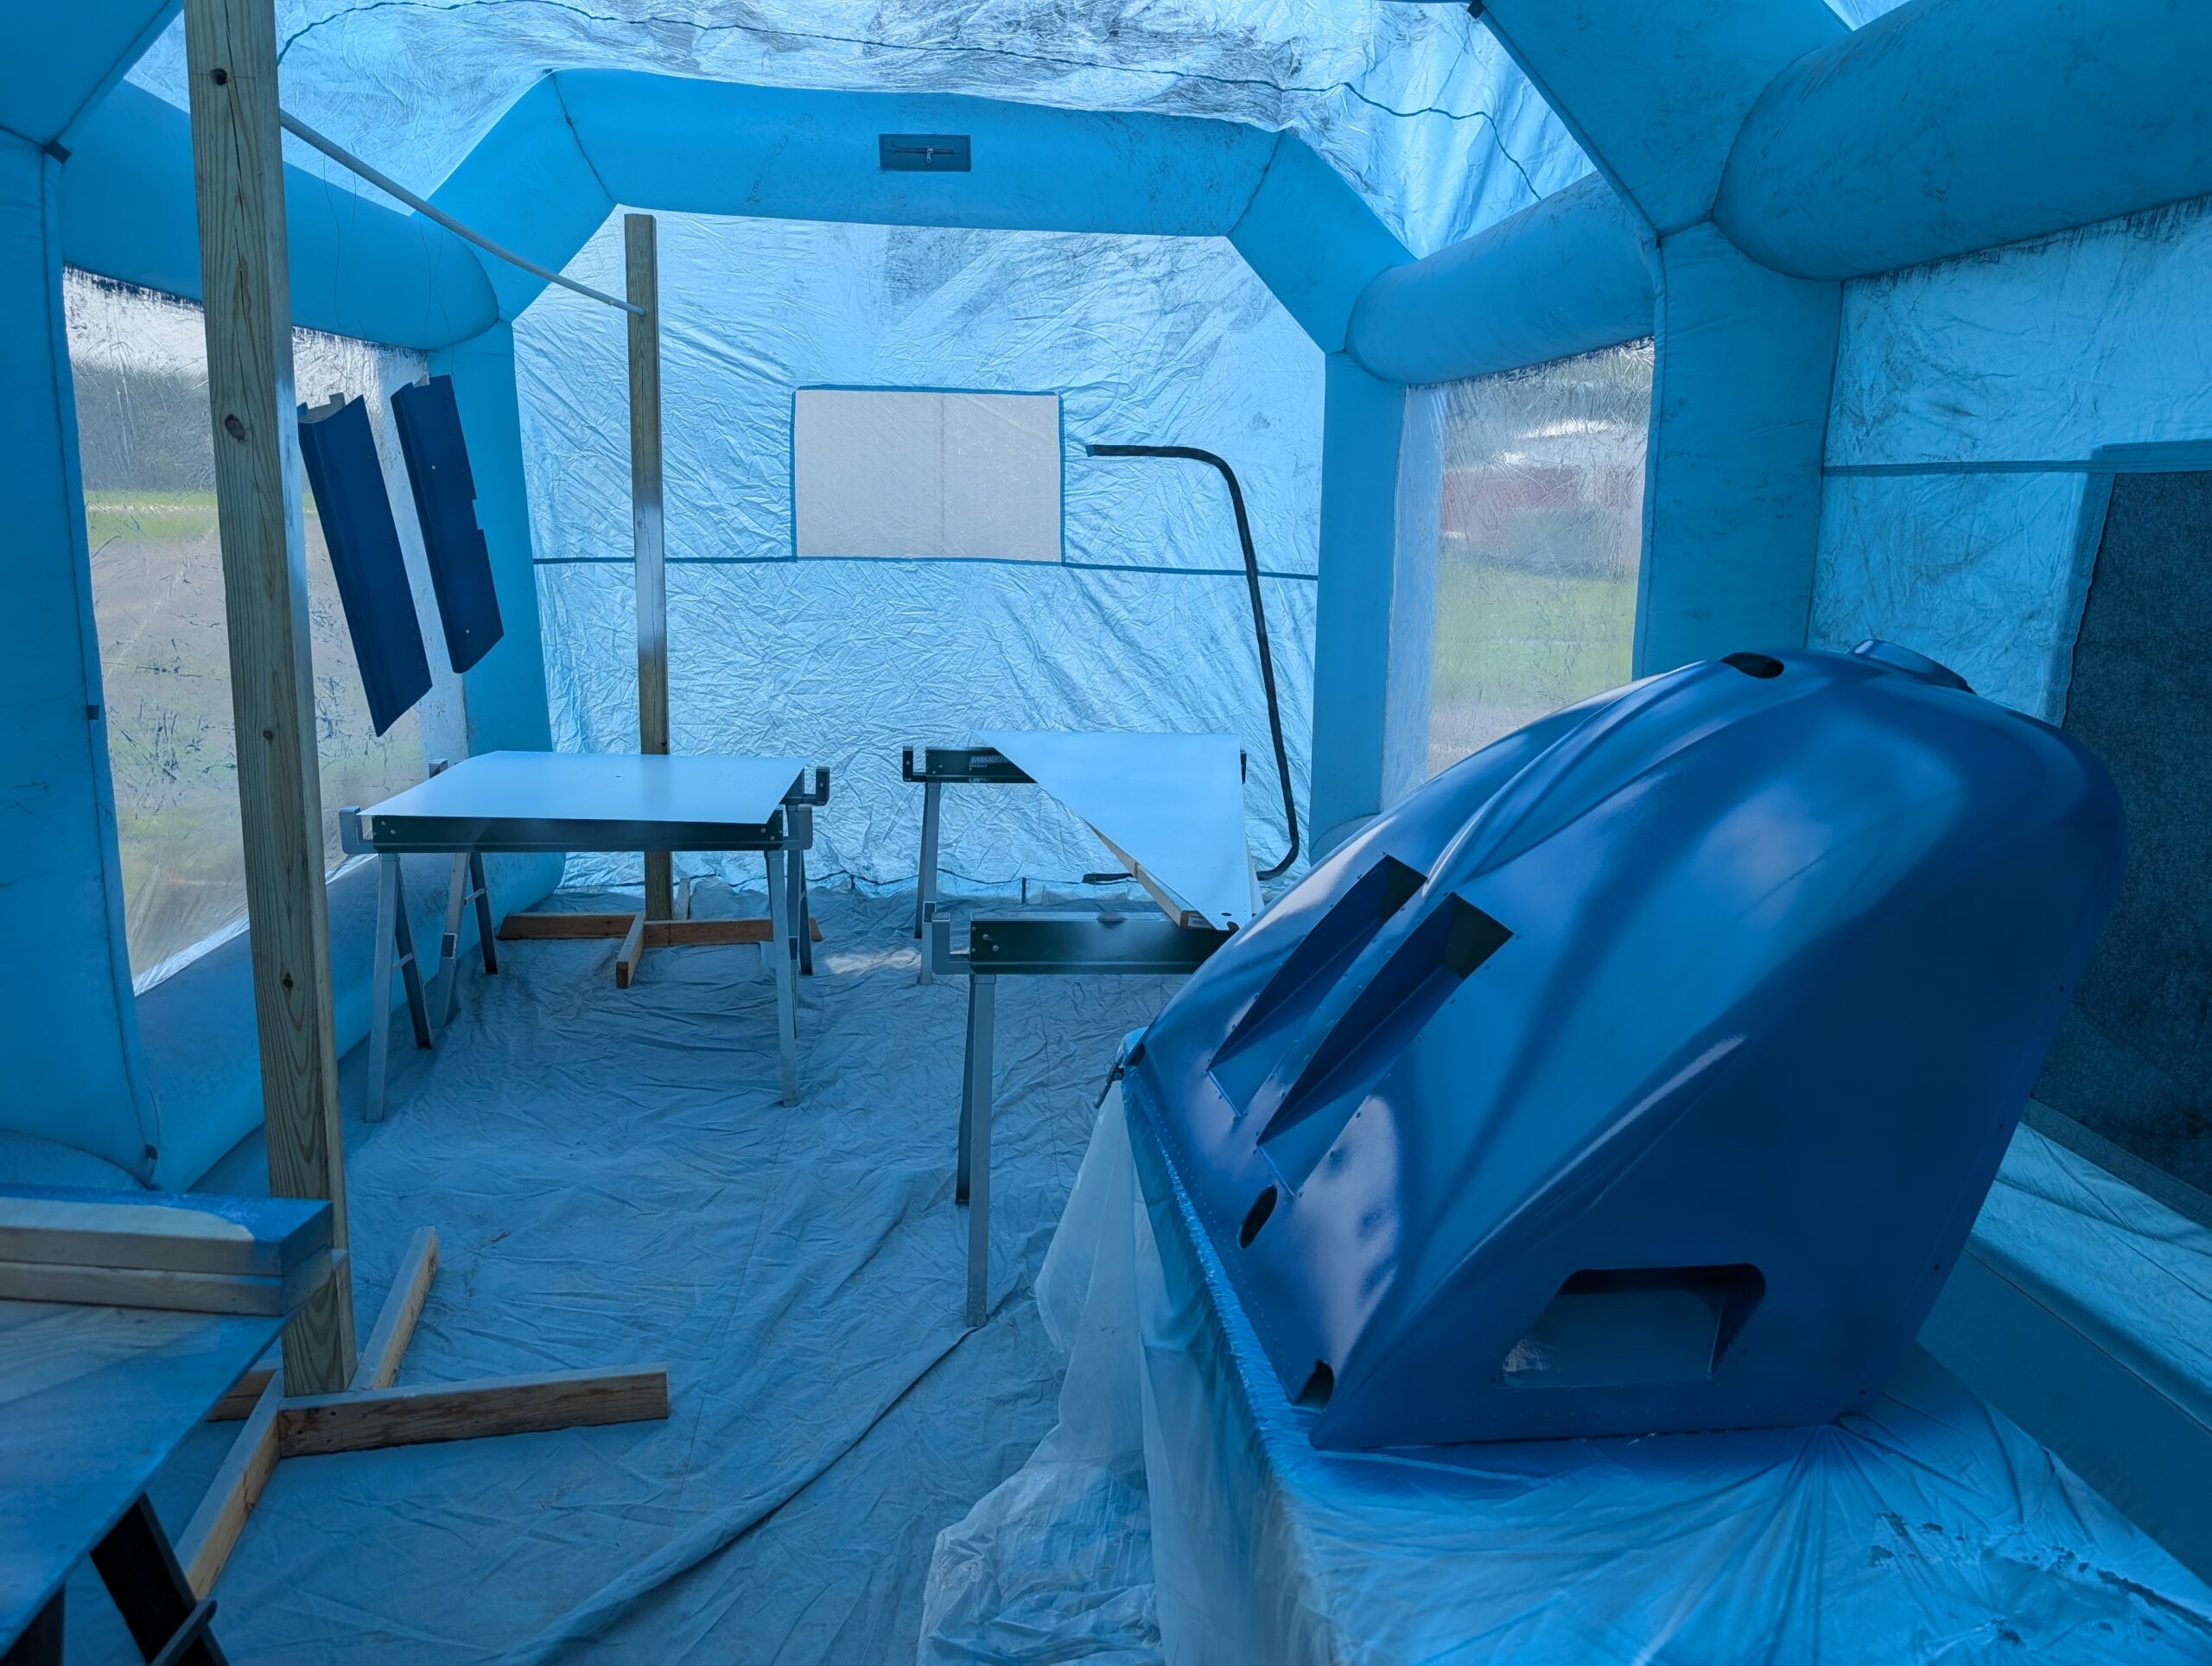
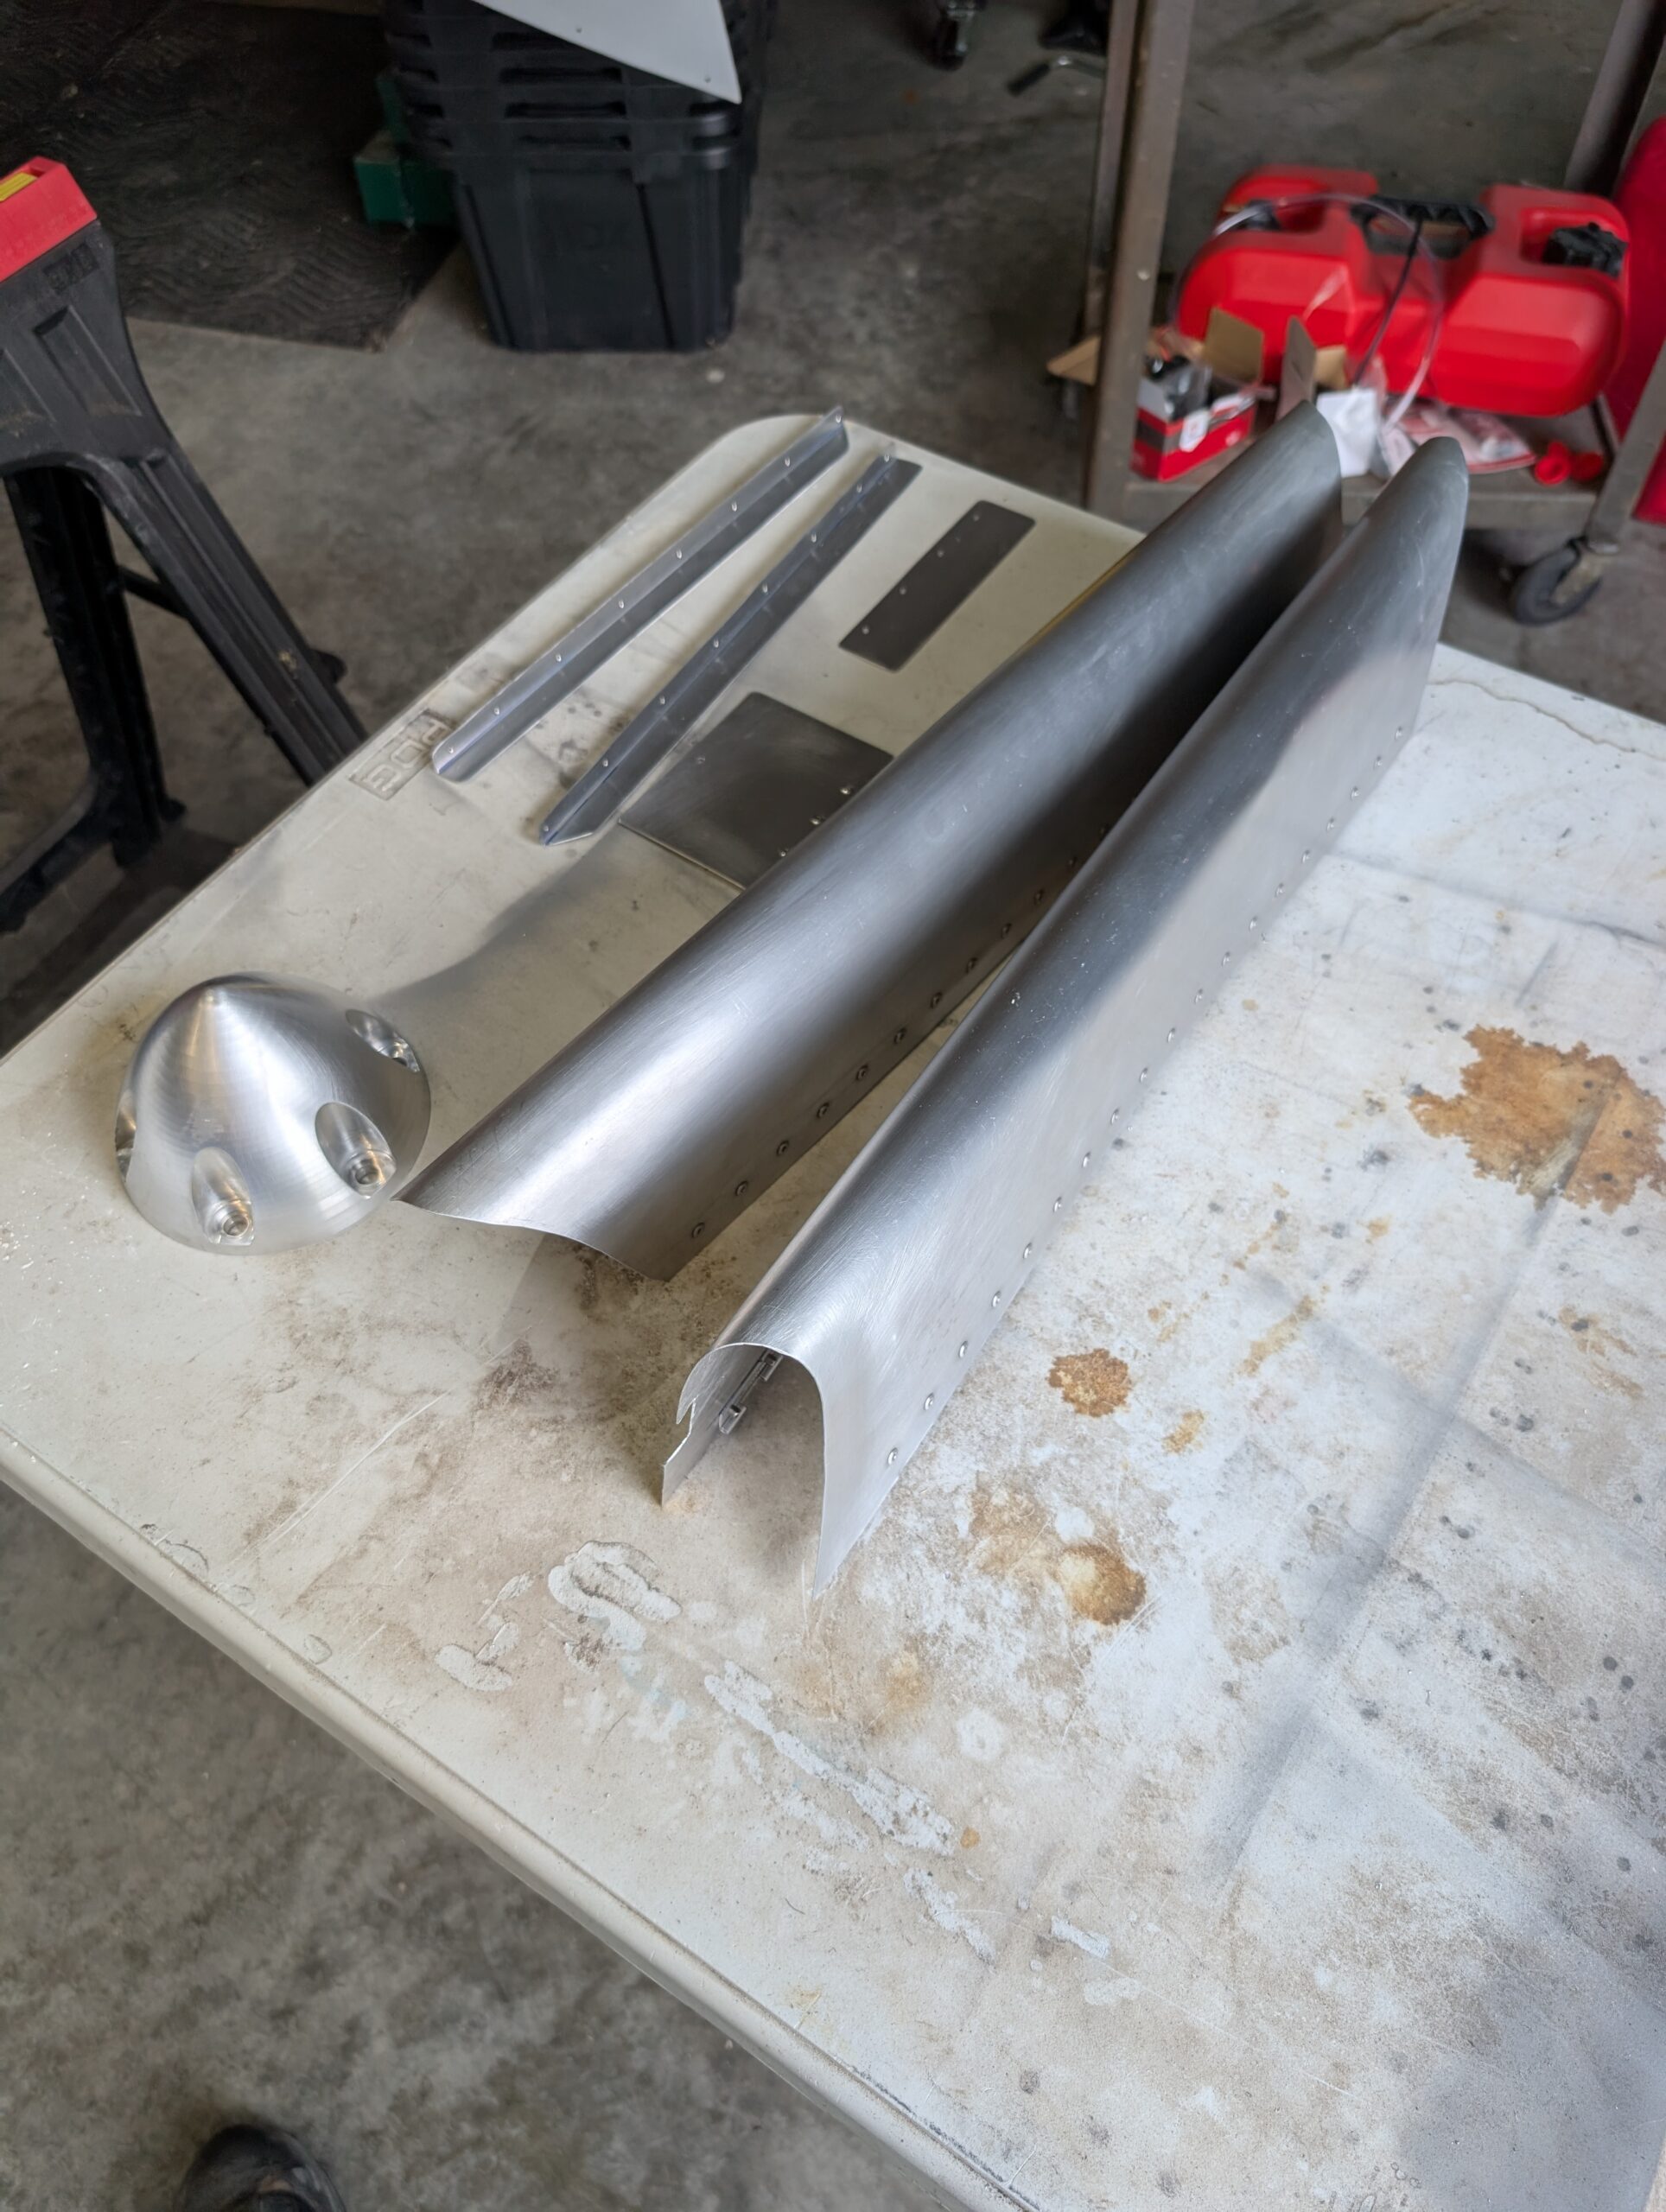
Setup paint booth and sprayed cowls, flap fairings, trim tab, spinner, oil door, gear leg fairings, and fuselage floors. Used previous gun settings with success and applied 2 primer coats, 3 white coats, and 4 blue coats to parts. Painting complete! Hours Worked: 7.42
Color Sanding and Buffing – Part 2
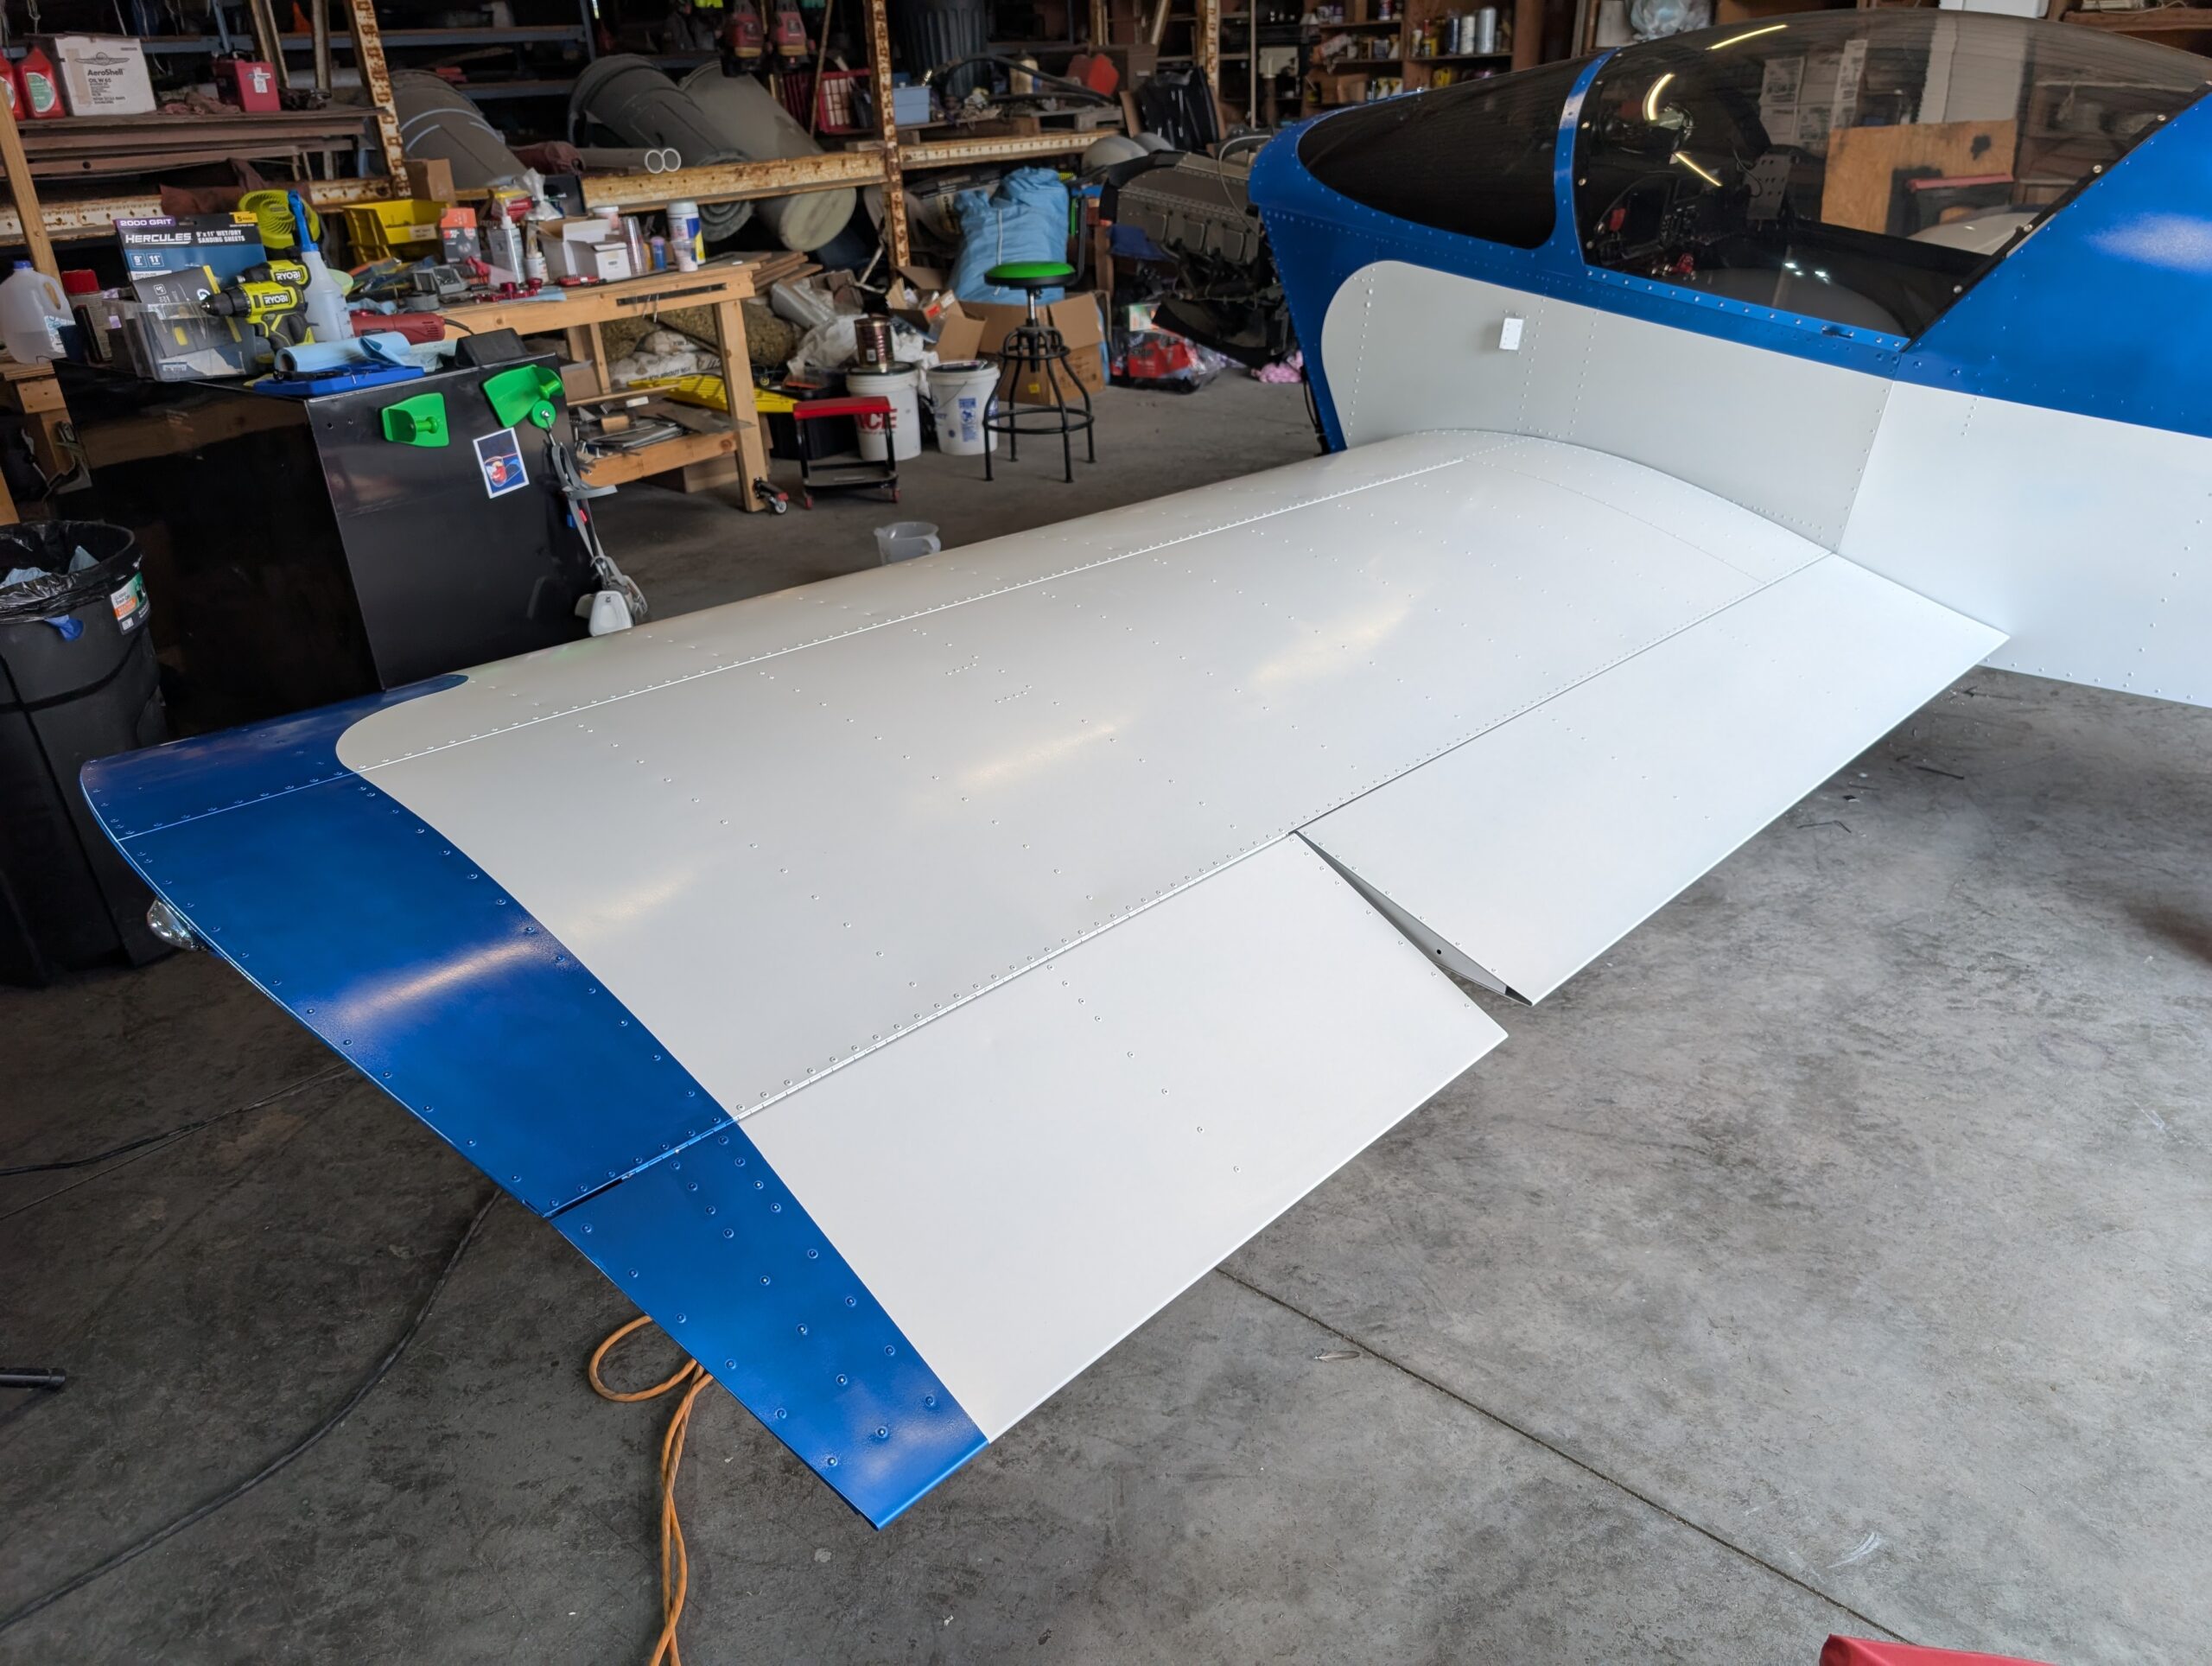
Wet sanded and polished LH wing, aileron, and flaps using method previously described. Spent more time on blue paint as it shows imperfections much more than the white paint. Hours Worked: 1.59

Cowl and Small Parts Paint Prep
Prepped the last of the unpainted parts for paint. Sprayed upper and lower cowls with high-build primer then worked on sanding small imperfections and pin holes with 600 grit sandpaper. Both cowls got three coats of primer. Scotchbrited and cleaned rear fuselage floor. Removed gear leg fairings and prepped for paint in the same manner…
Color Sanding and Buffing – Part 1
Began the process of color sanding and buffing painted surfaces. Starting with the tail, wet sanded each surface with 1000 grit sanding sponges to knock down high spots and imperfections. Avoided sanding rivets and focusing on one area too long. Sanded until surface felt smooth and most orange peel was gone. Wiped area clean then…
Fuselage and Wing Blue Paint
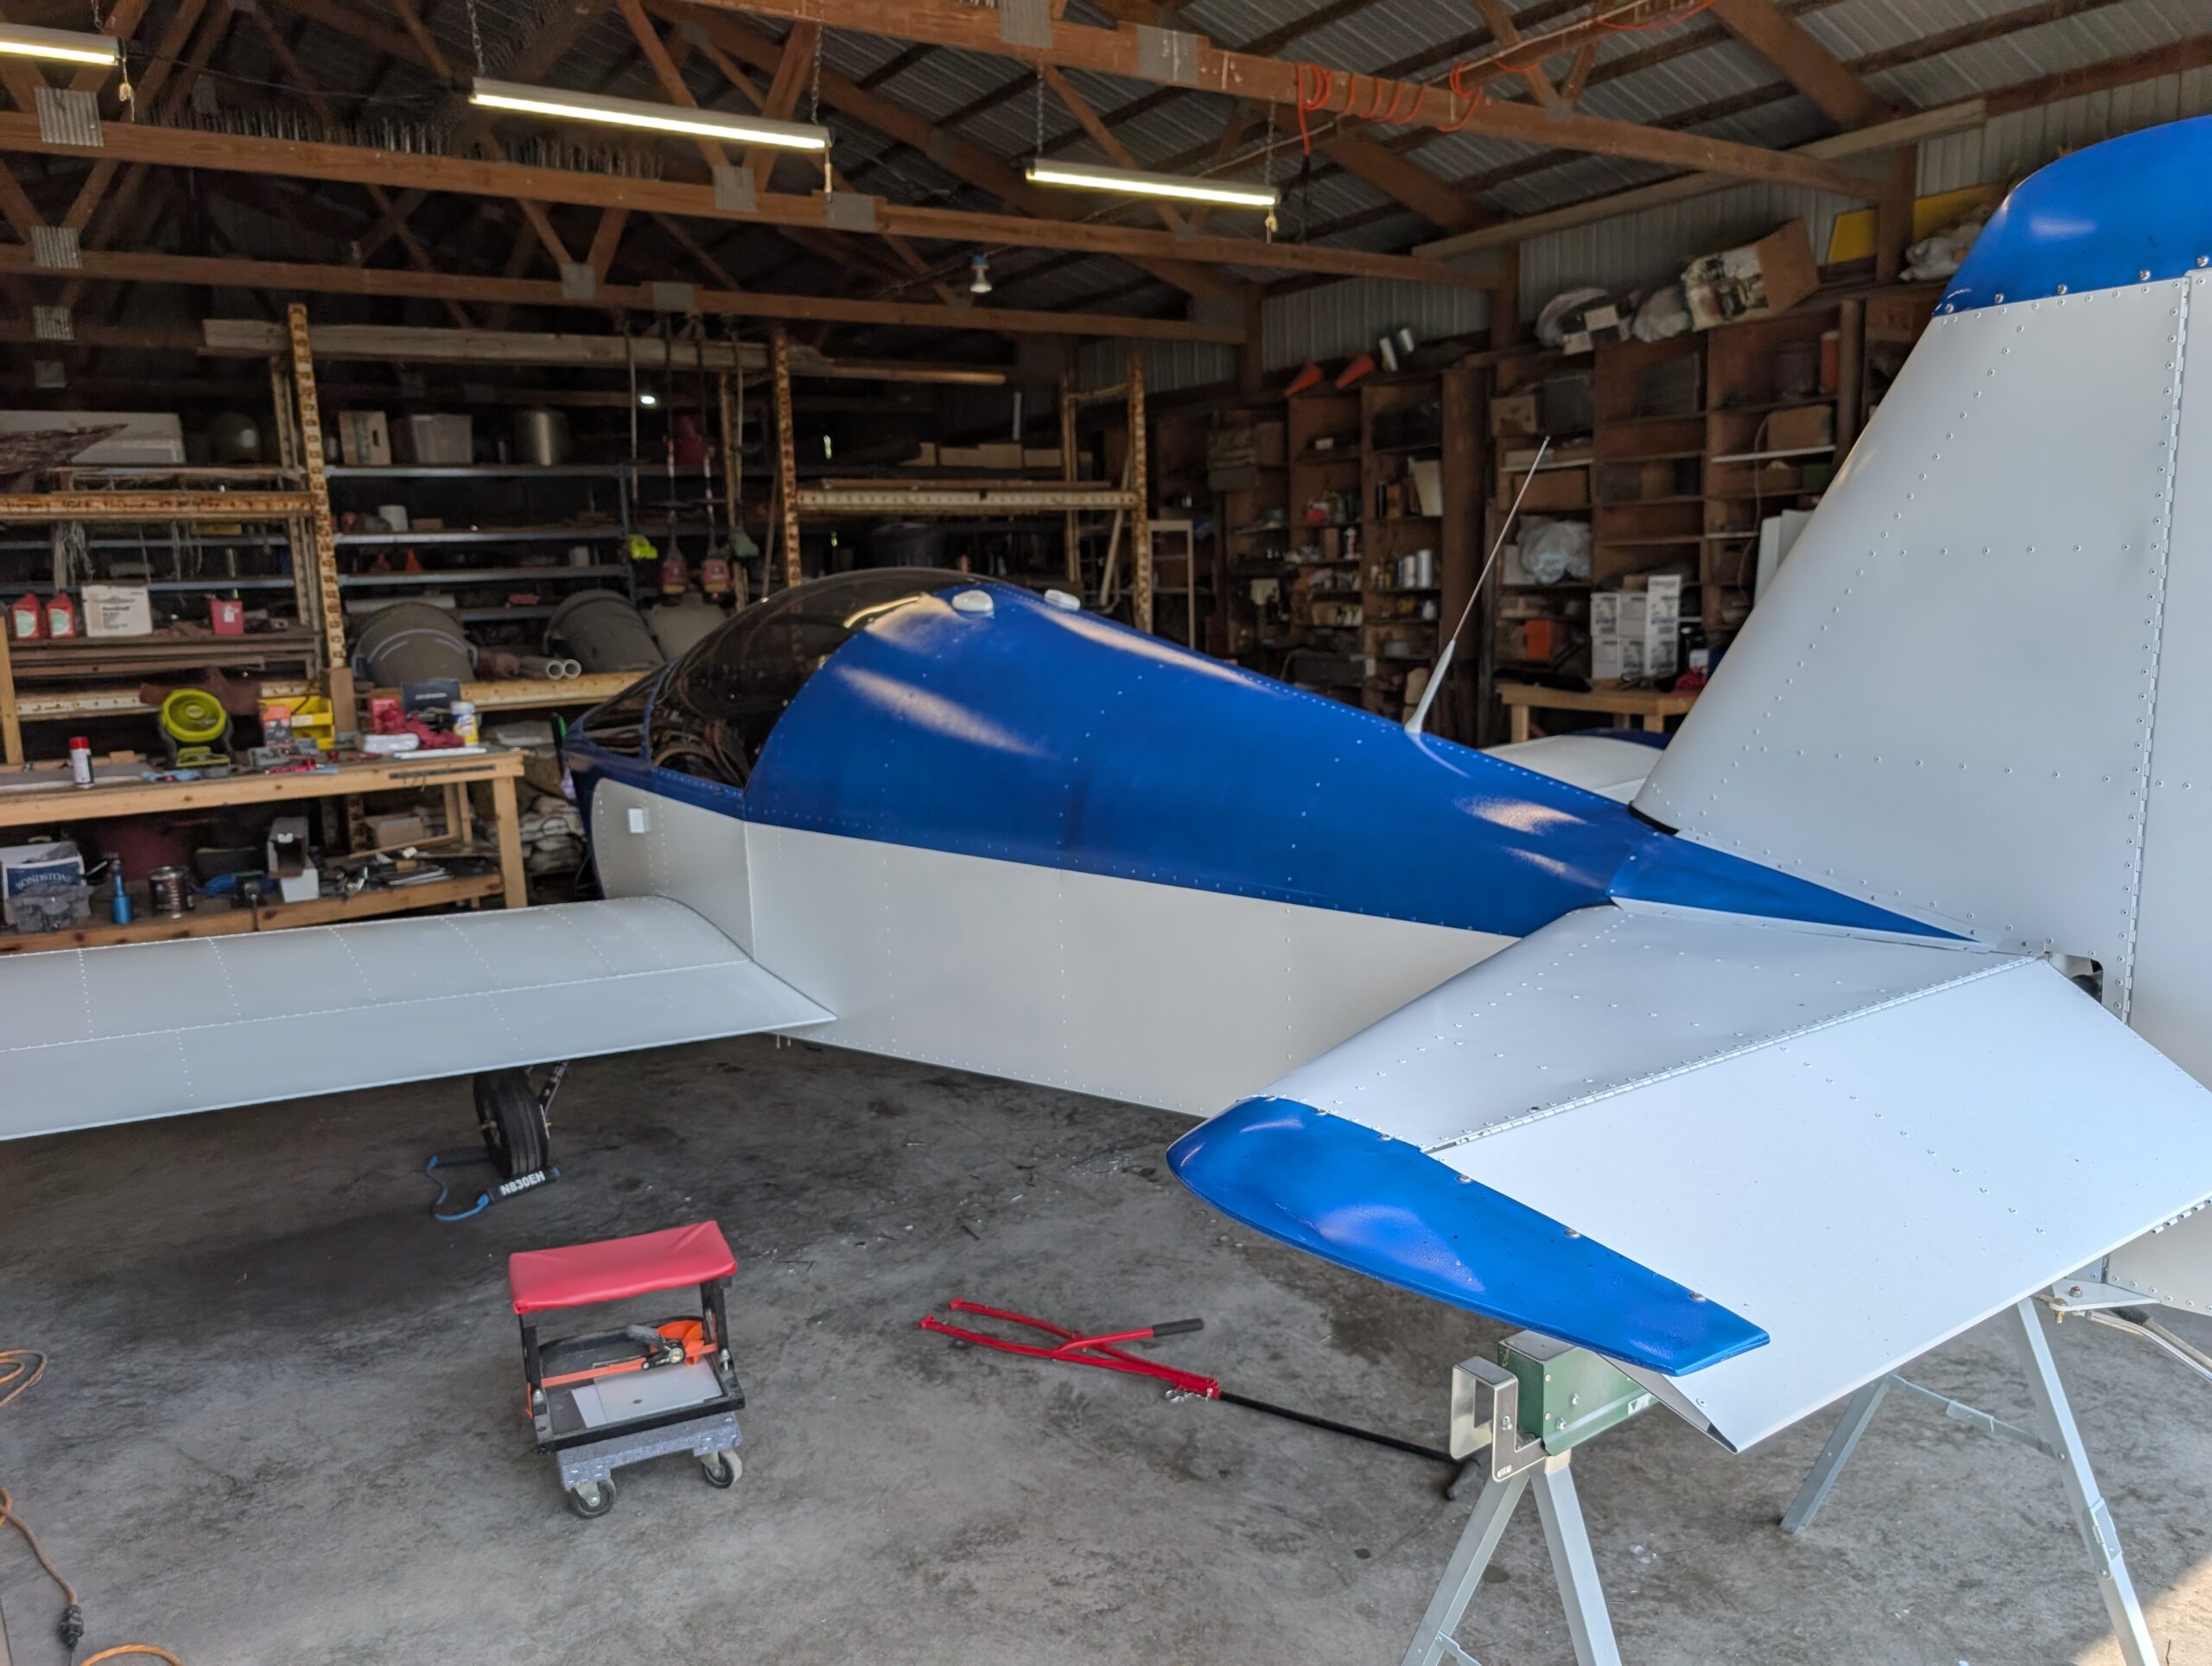
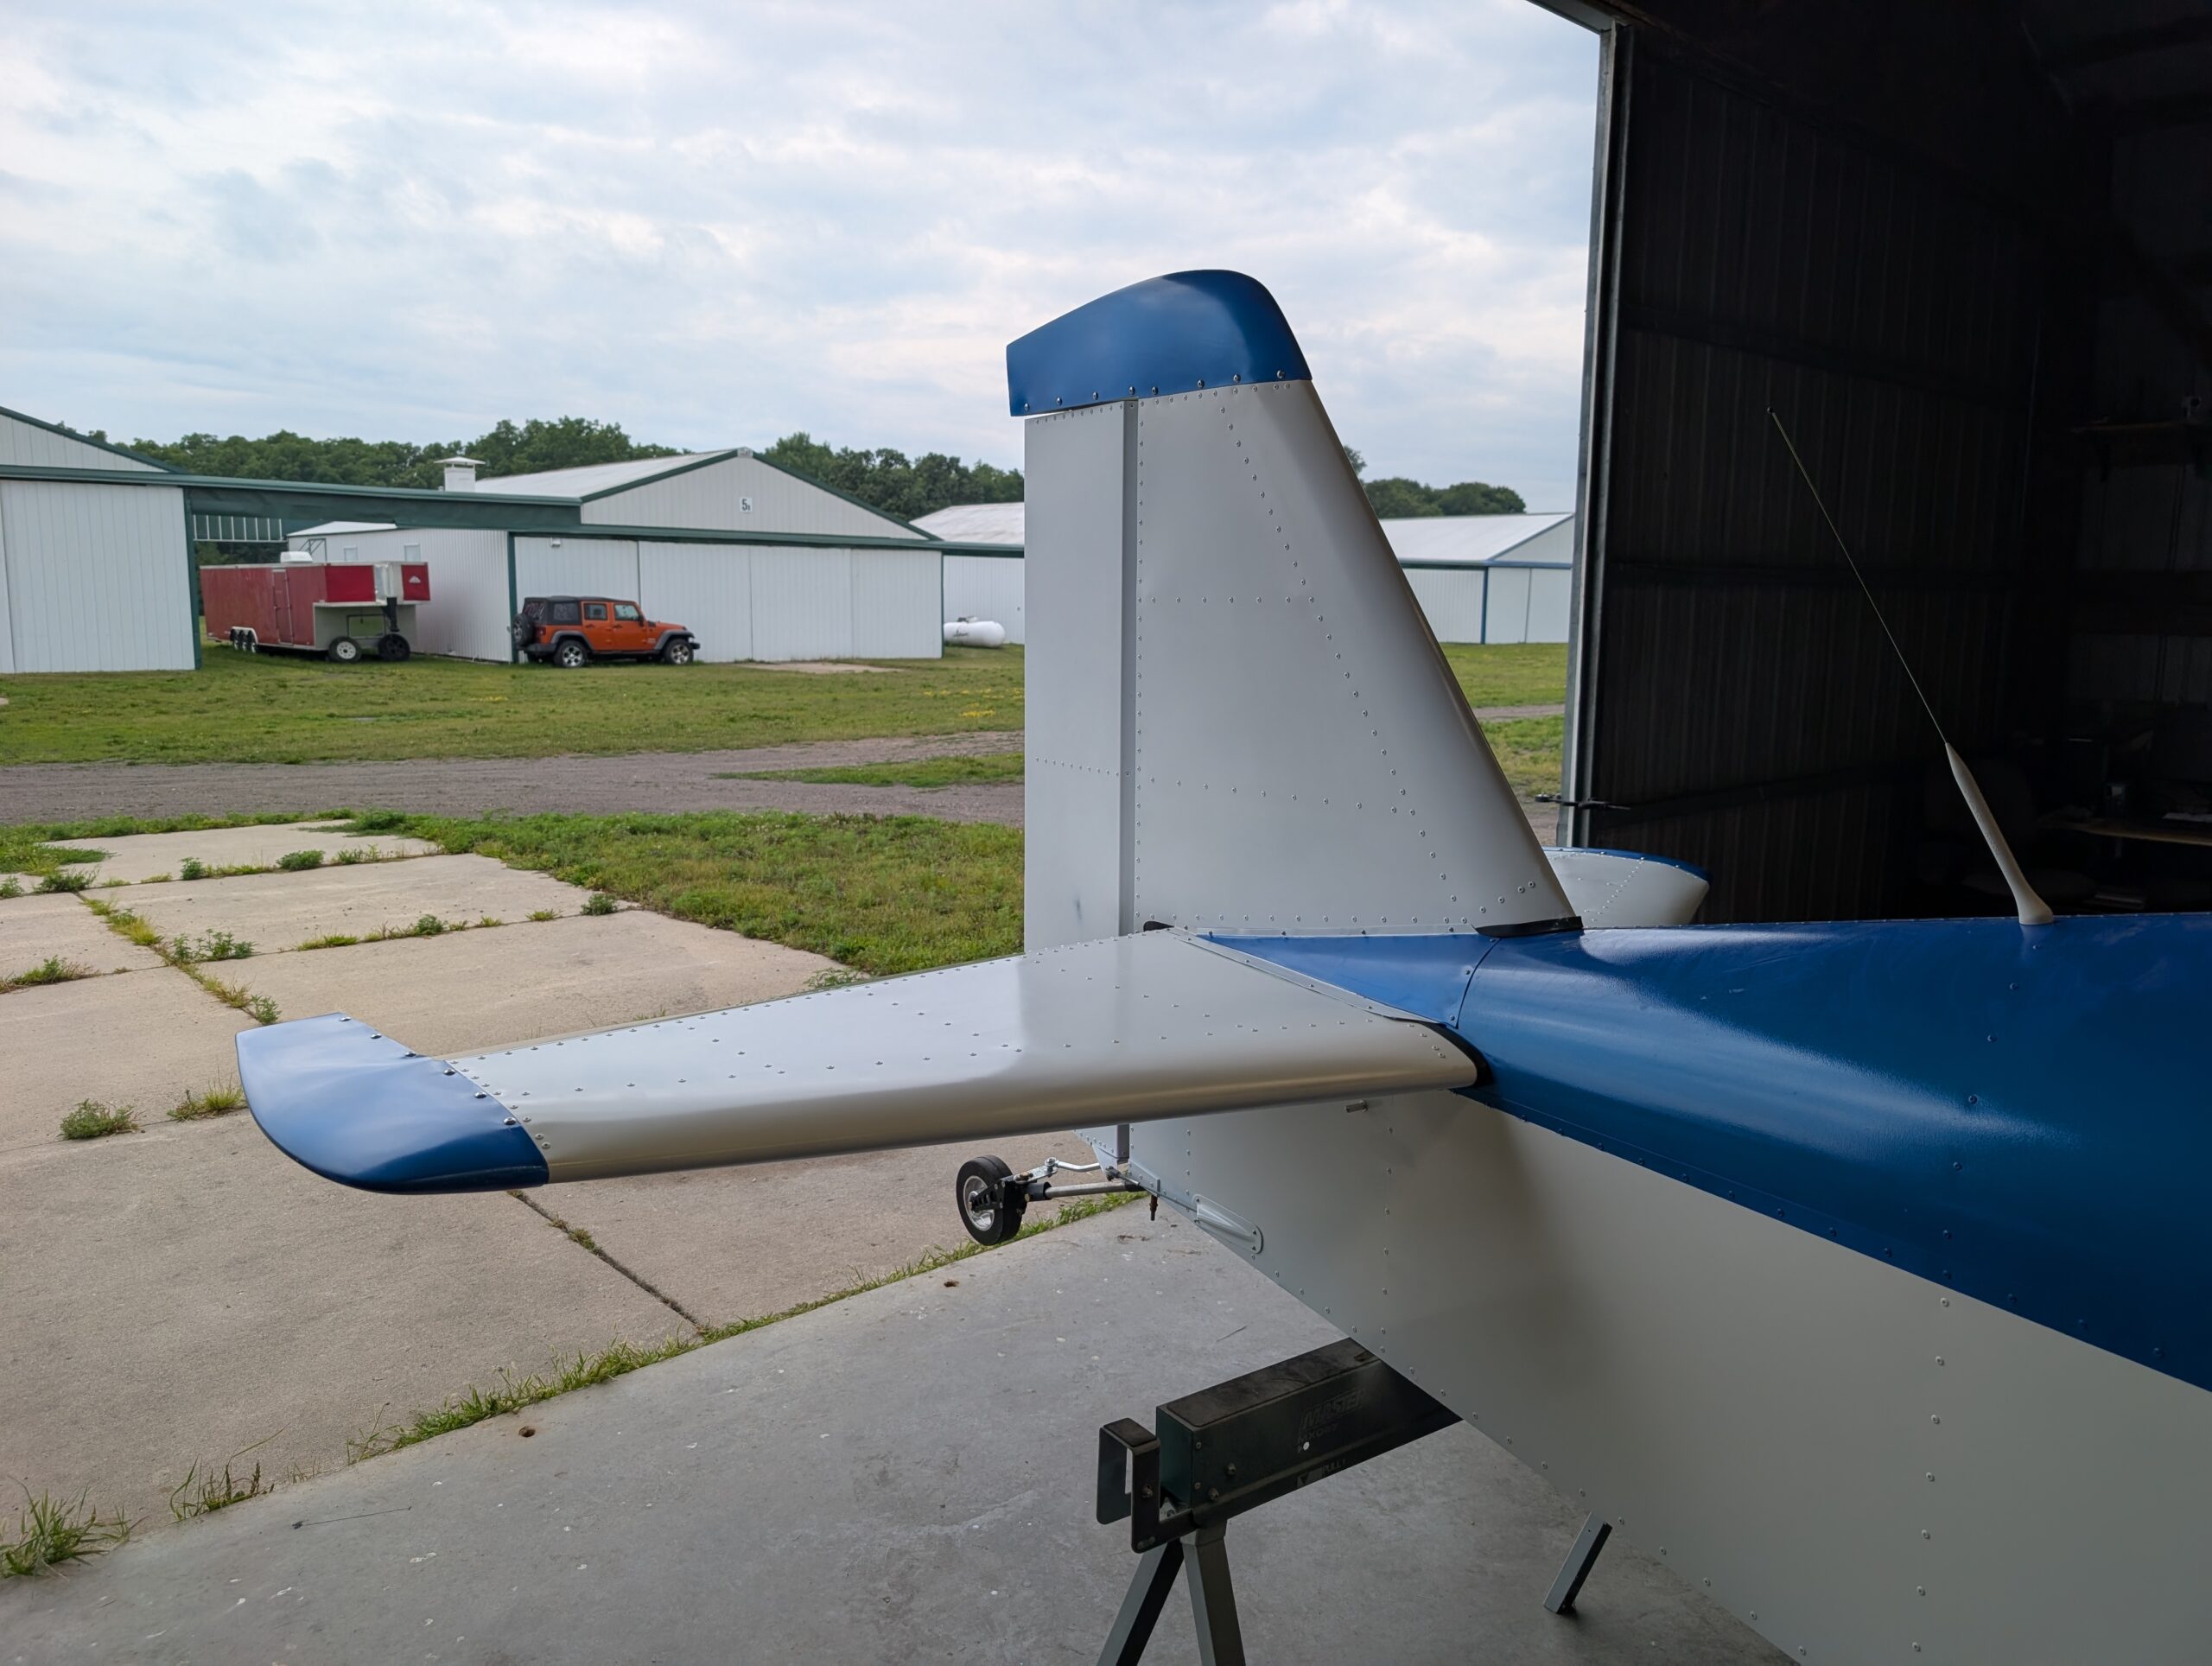
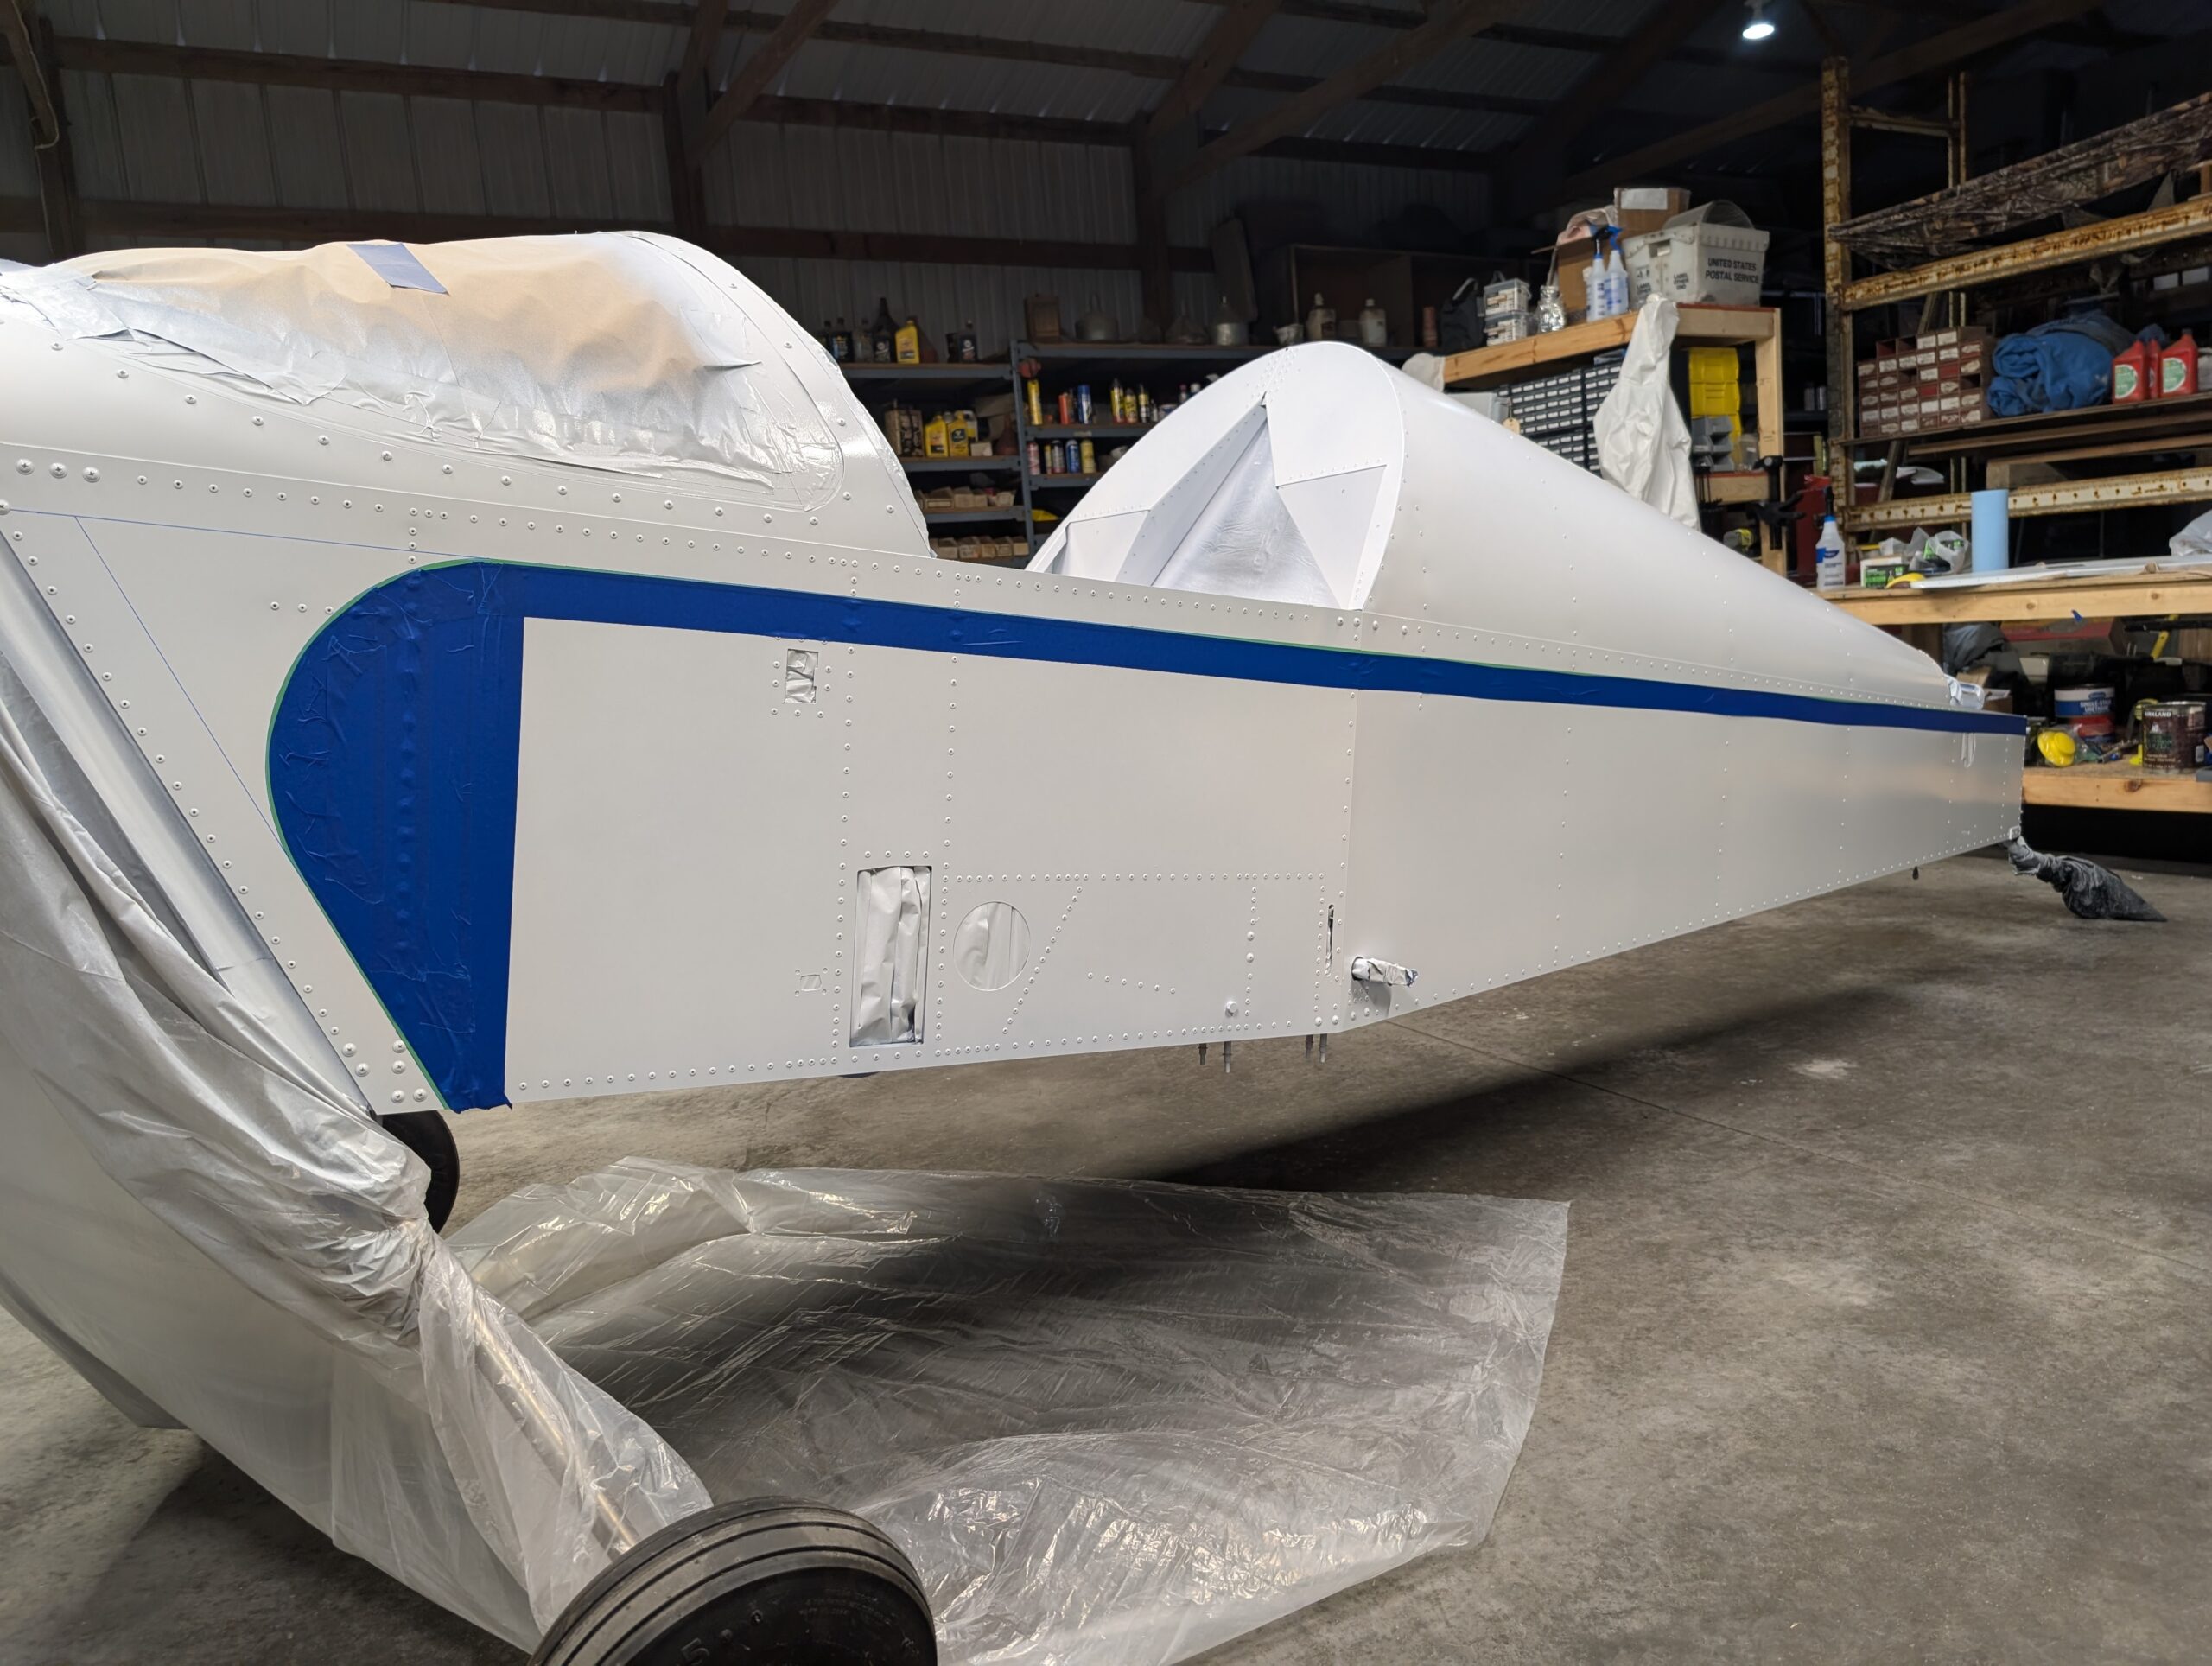
Final prepped wings, fuselage, ailerons, and tail fairing panels for blue paint by cleaning with pre paint prep. Setup items in paint booth then masked items while in booth. Painted in two batches just the blue color. Let paint cure for about two hours before removing mask and tape. Hours Worked: 5.17
Blue Paint Prep
Started prepping the fuselage for blue paint by laying out lines as designed in CAD. Bottom edge of the blue will be 2″ below skin overlap and taper to 0″ at the aft end of the aircraft and forward vertical blue stripe is 2″ from firewall edge. Radius at front of plane will be 7.5″.…
Tail Surfaces and Fuselage White Paint
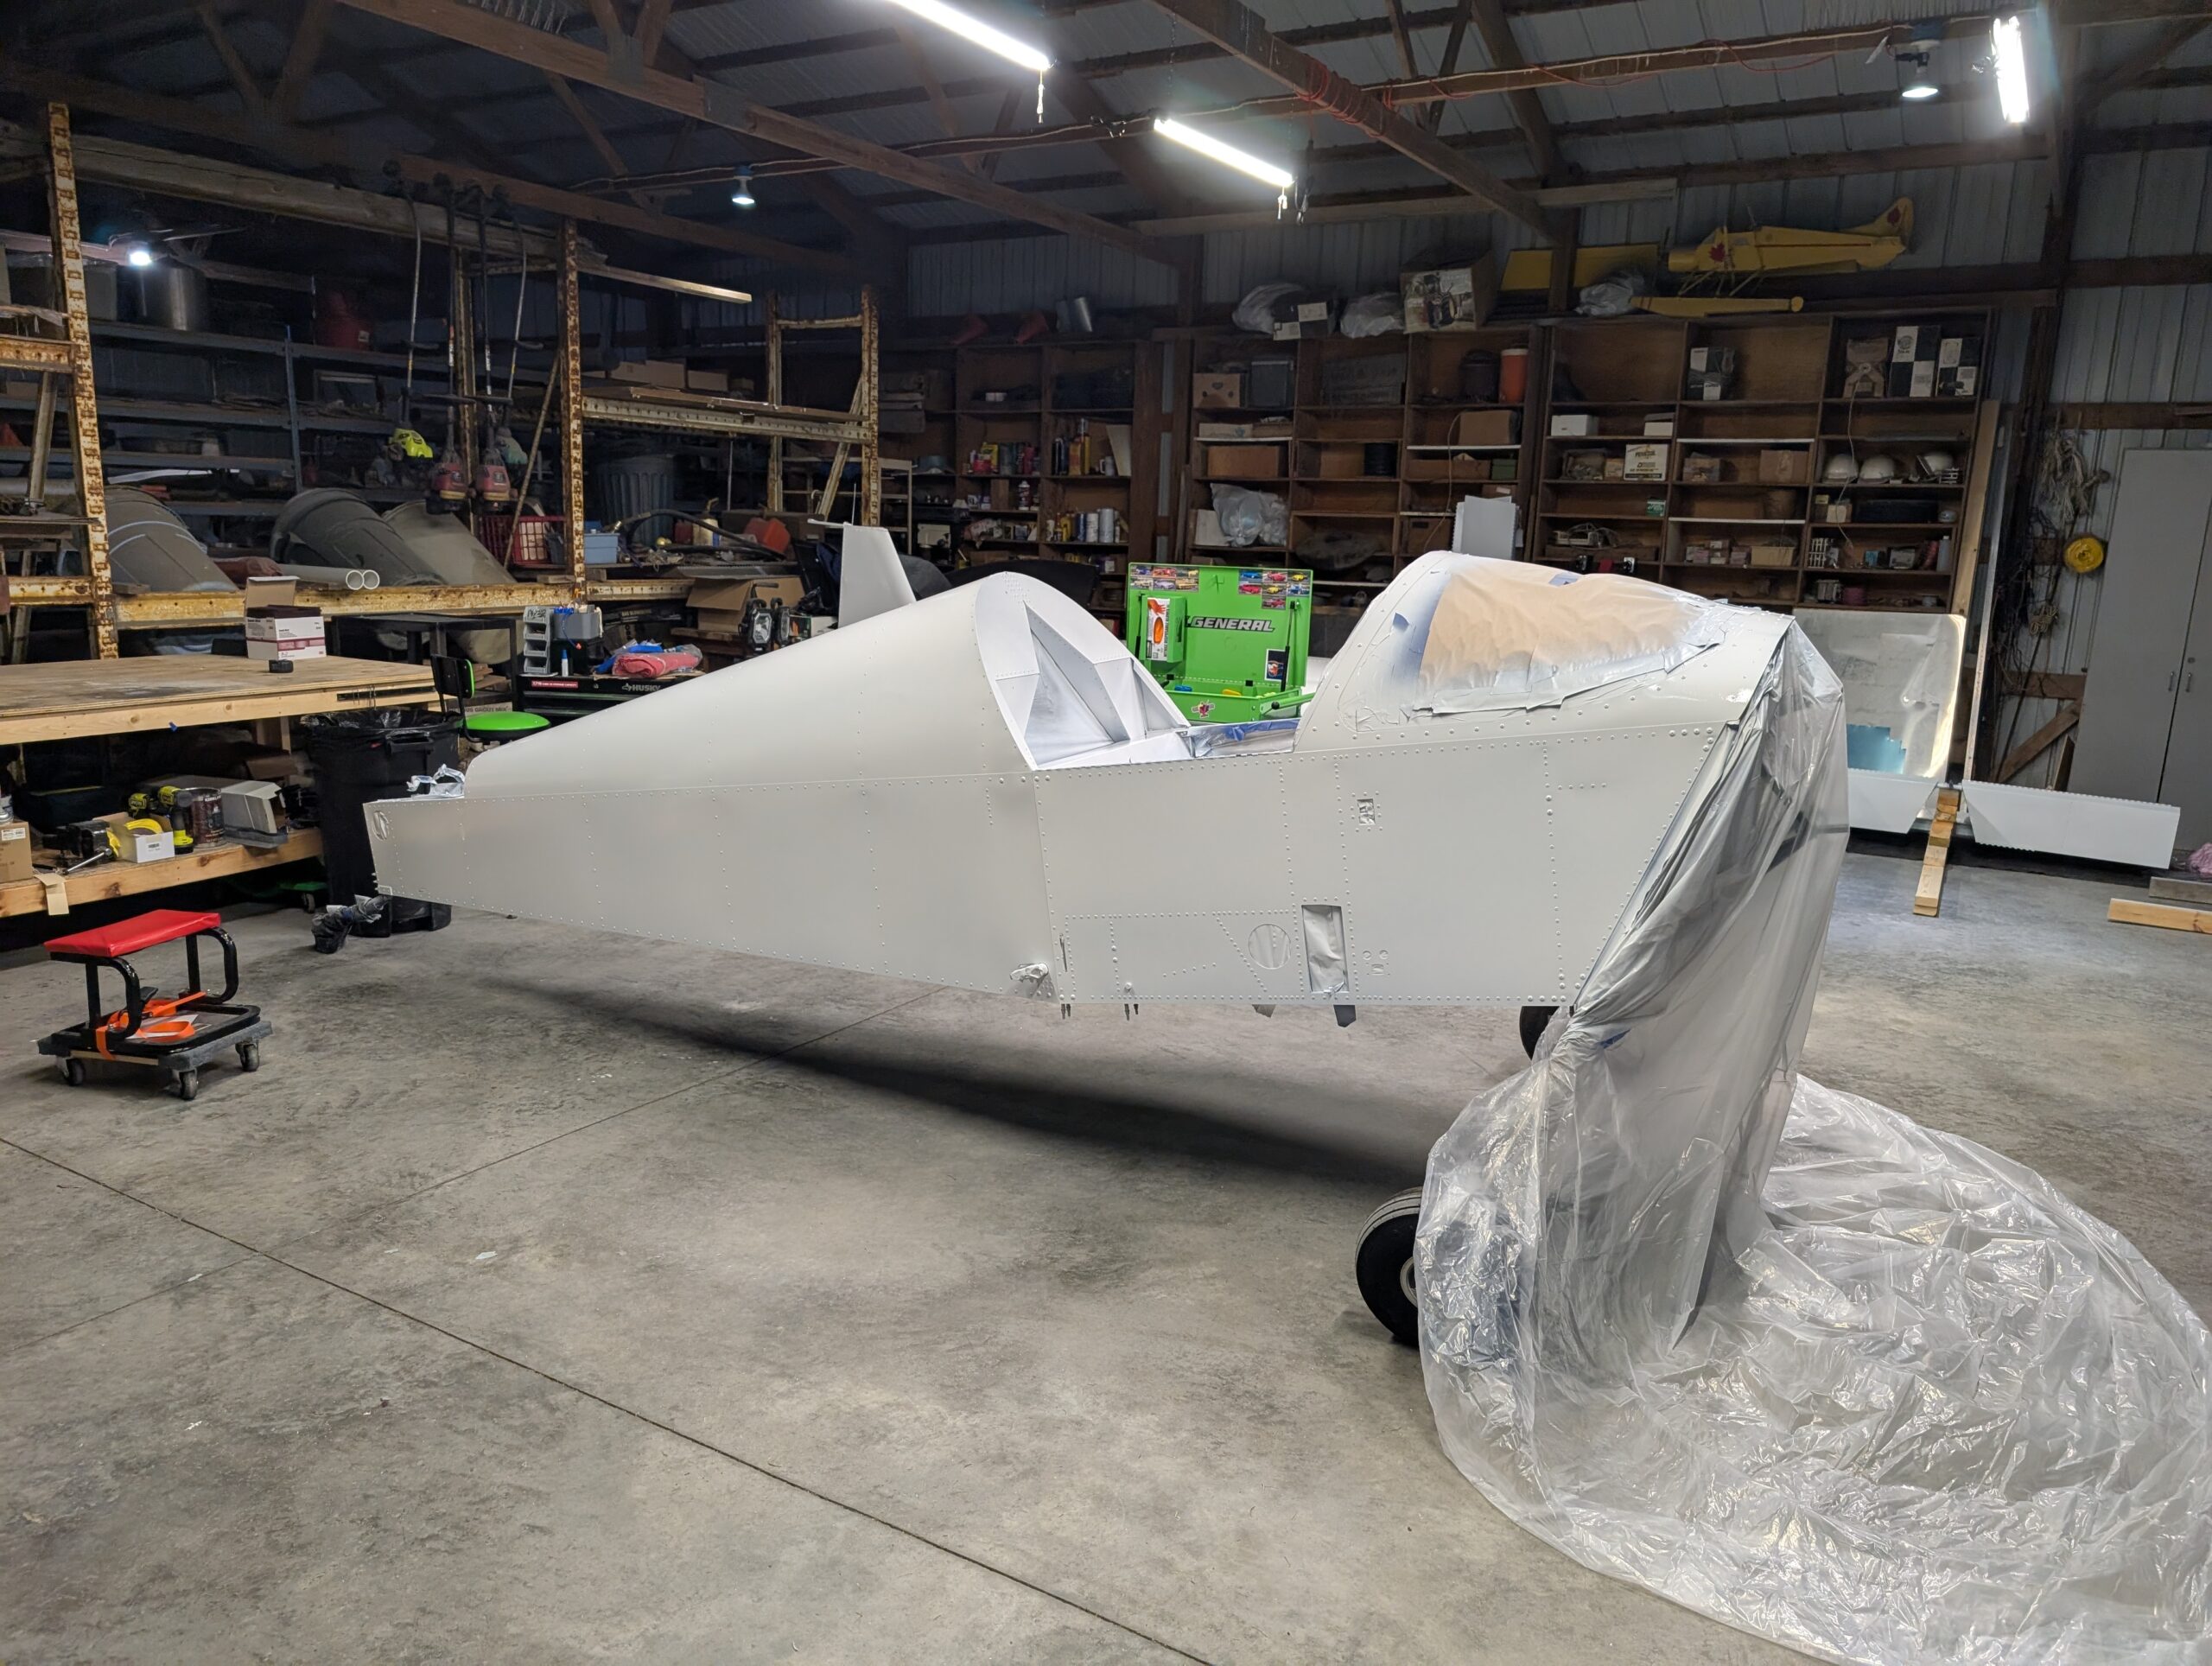
Repeated painting process for tail surfaces and fuselage. All available components now painted white. Hours Worked: 7.27
White Wing Paint
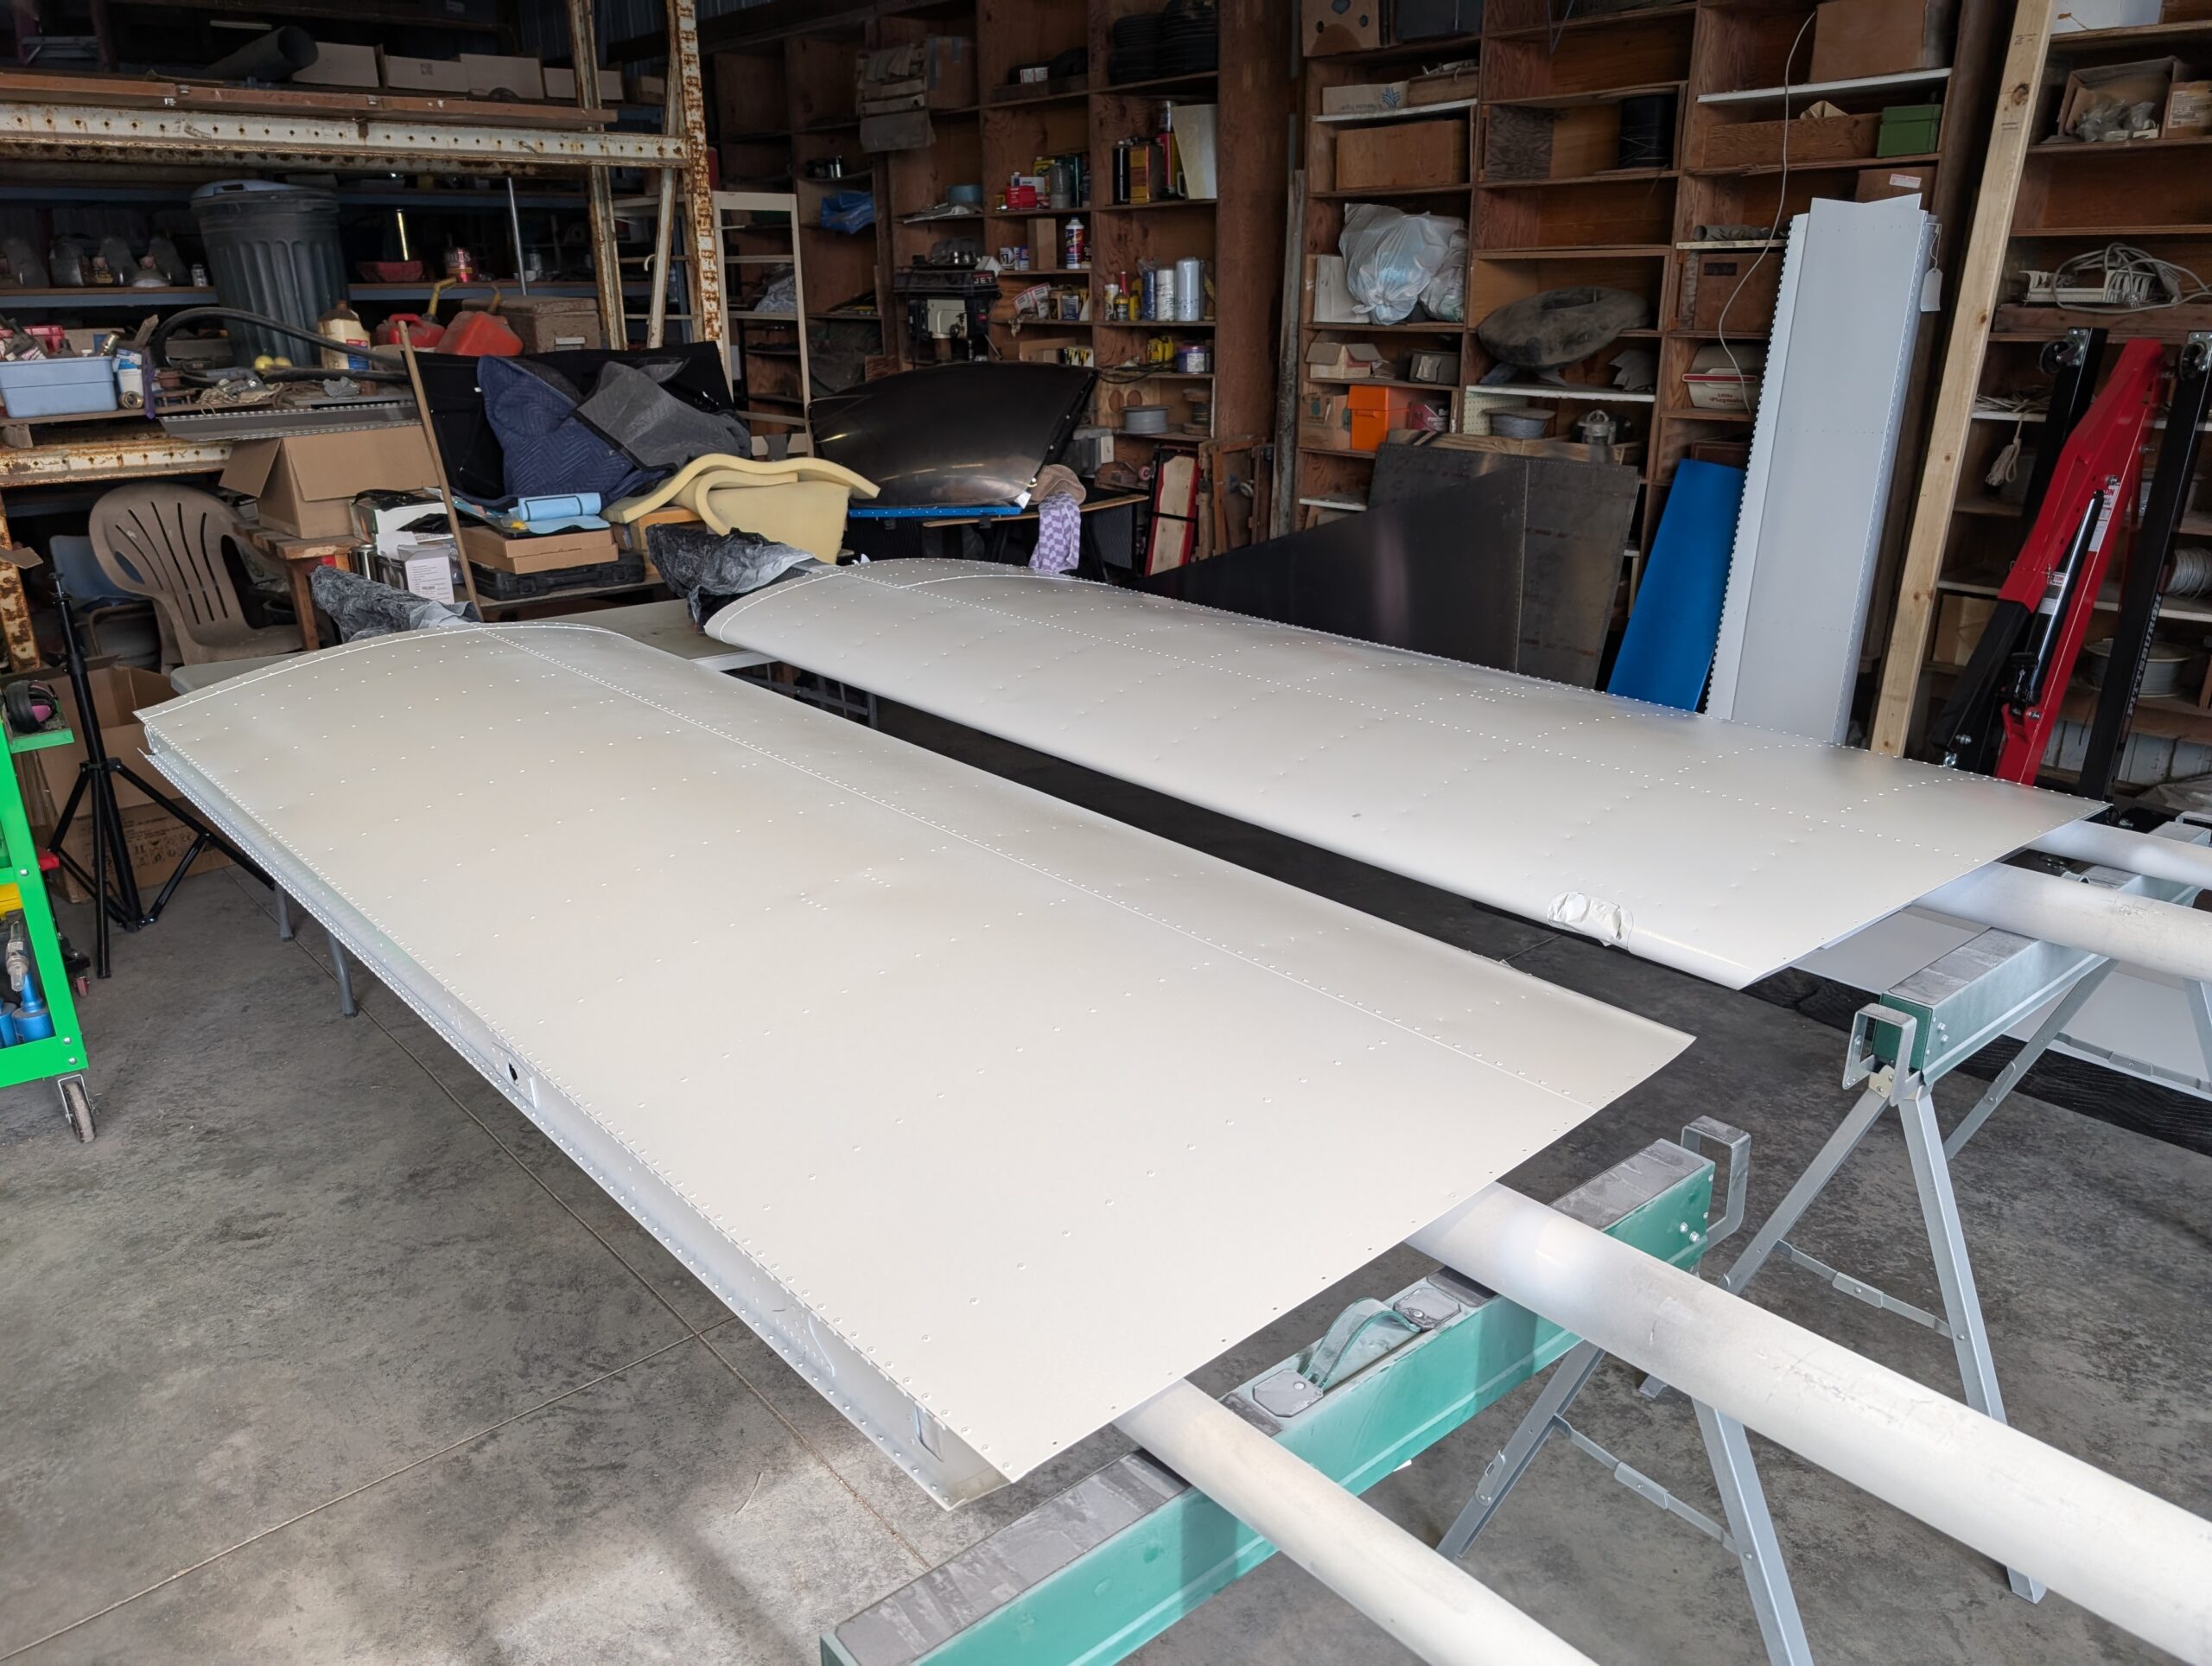
Setup paint booth and painted primer and white paint onto wings using same method as flaps and ailerons. Used 3″ PVC pipe and 2″ PVC pipe to support ends of wings by running it through the lightning holes. Hours Worked: 5.14
Tail Surfaces Paint Prep
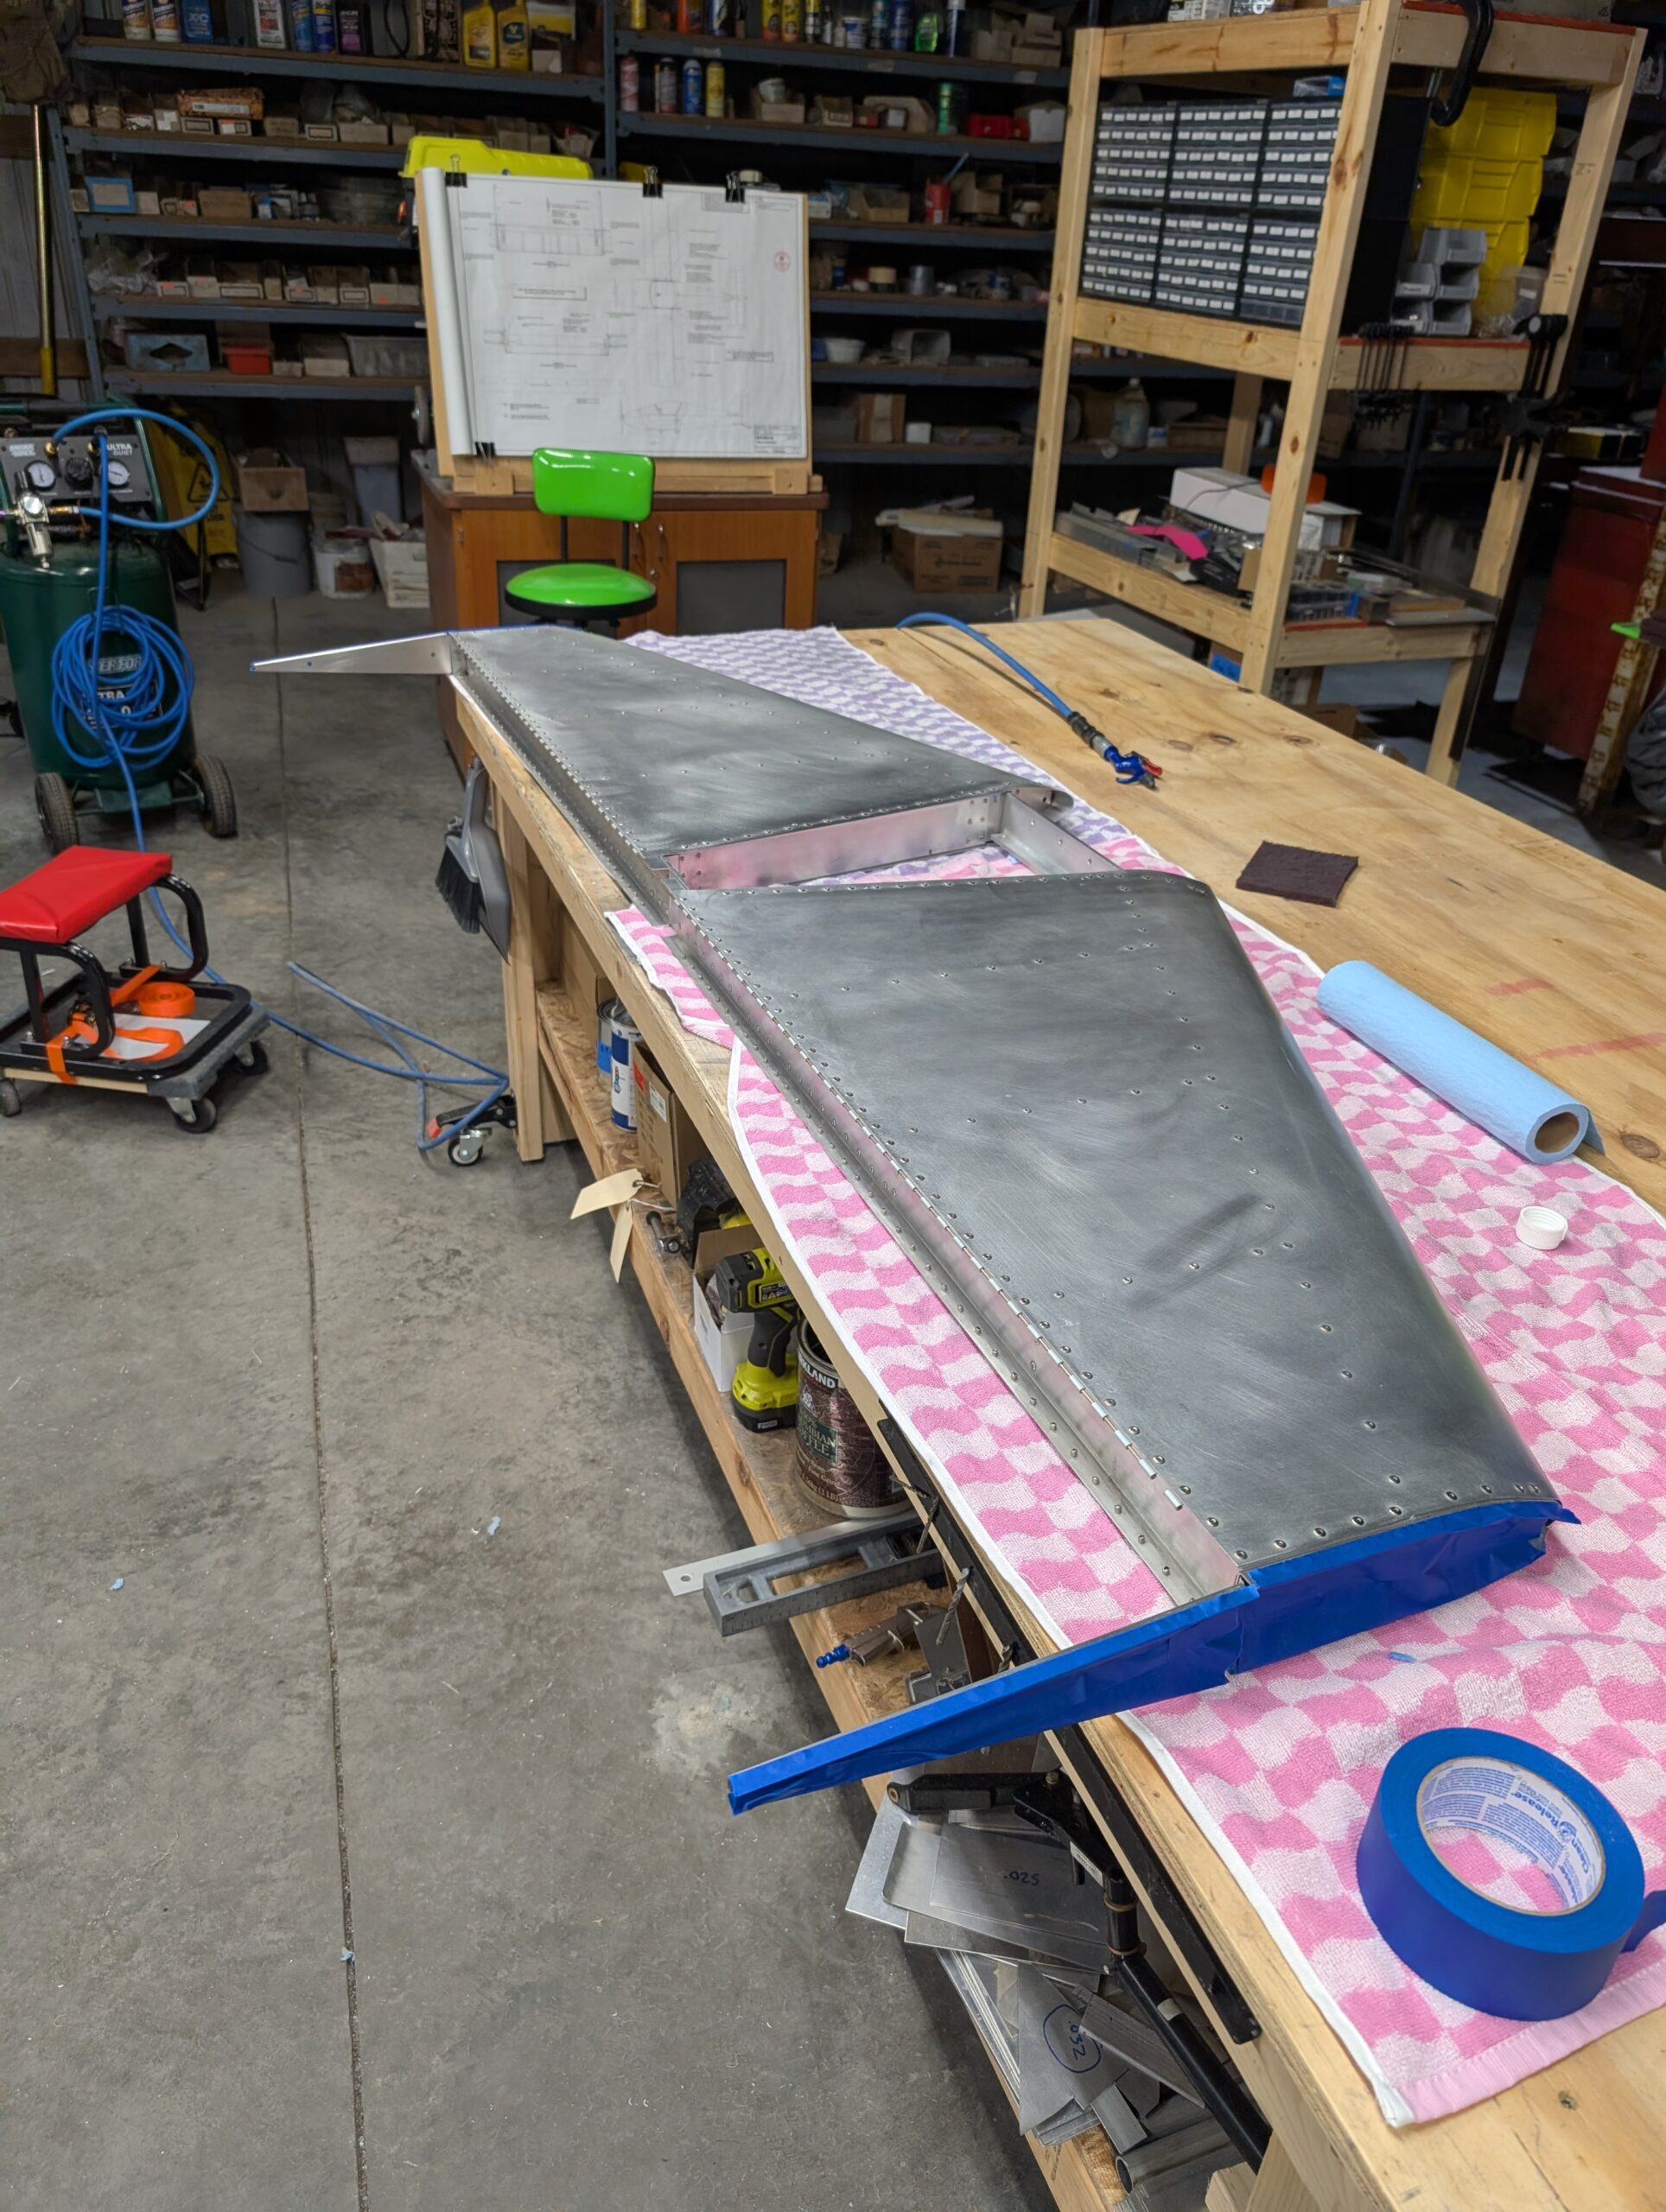
Cleaned, prepped, and masked tail surfaces in same manner as previous parts. Removed hinge pins from flaps and ailerons to use on other parts while painting. Hours Worked: 2.15