Fuselage
-
Hole Filling
Finished fuselage conversion steps by applying jb weld to holes from original side skin left over from conversion process. Hours Worked: 0.14
-
Fresh Air Vents
Rather than installing round vents in the windshield as is shown in the plans, decided to use the Vans vent sidewall kit. Worked on fresh air vents by cutting apart components from Vans vent kit and cleaning edges of parts. Riveted vent door assembly together using pulled rivets then measured and laid out doubler plate…
-
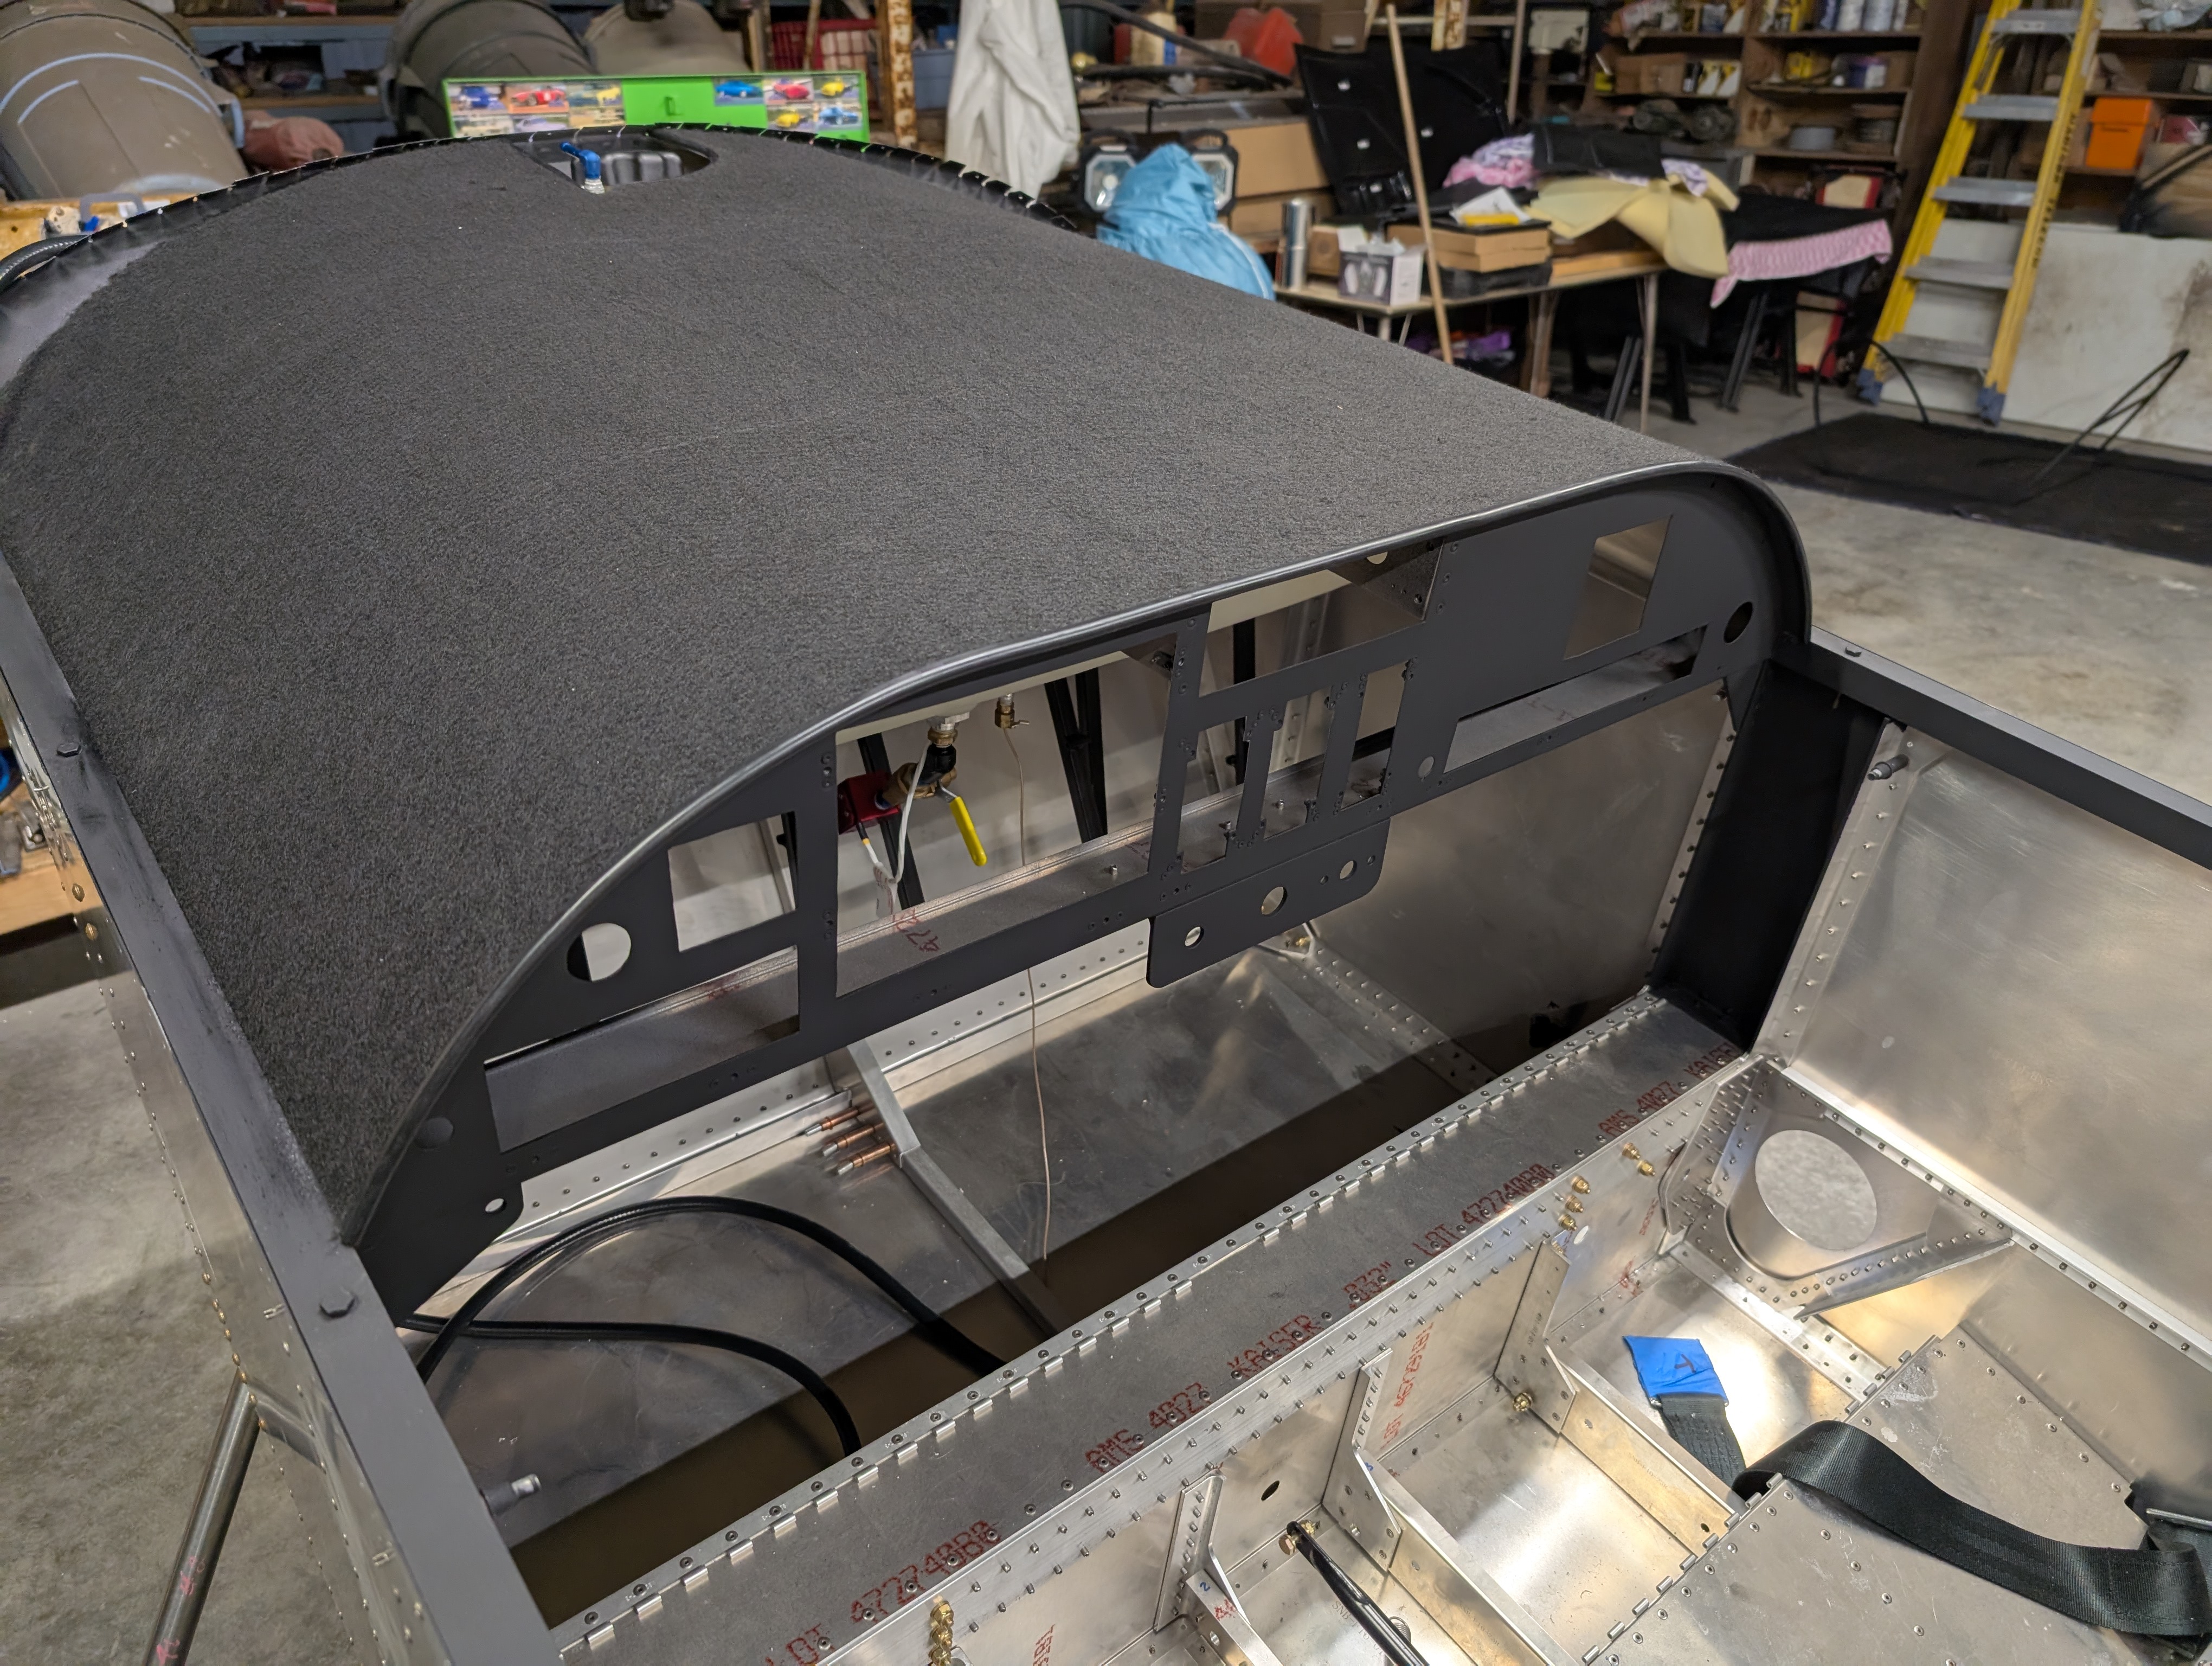
Glareshield Covering
Prepped glareshield for cover installation by scotchbriting surface then cleaning with paint prep. Blew debris off glareshield then laid fabric on top of glareshield and rough cut edges. Sprayed 3M Super 77 adhesive onto half of glareshield then rolled fabric flat. Repeated the process for the right side of the glareshield then rolled entire area…
-
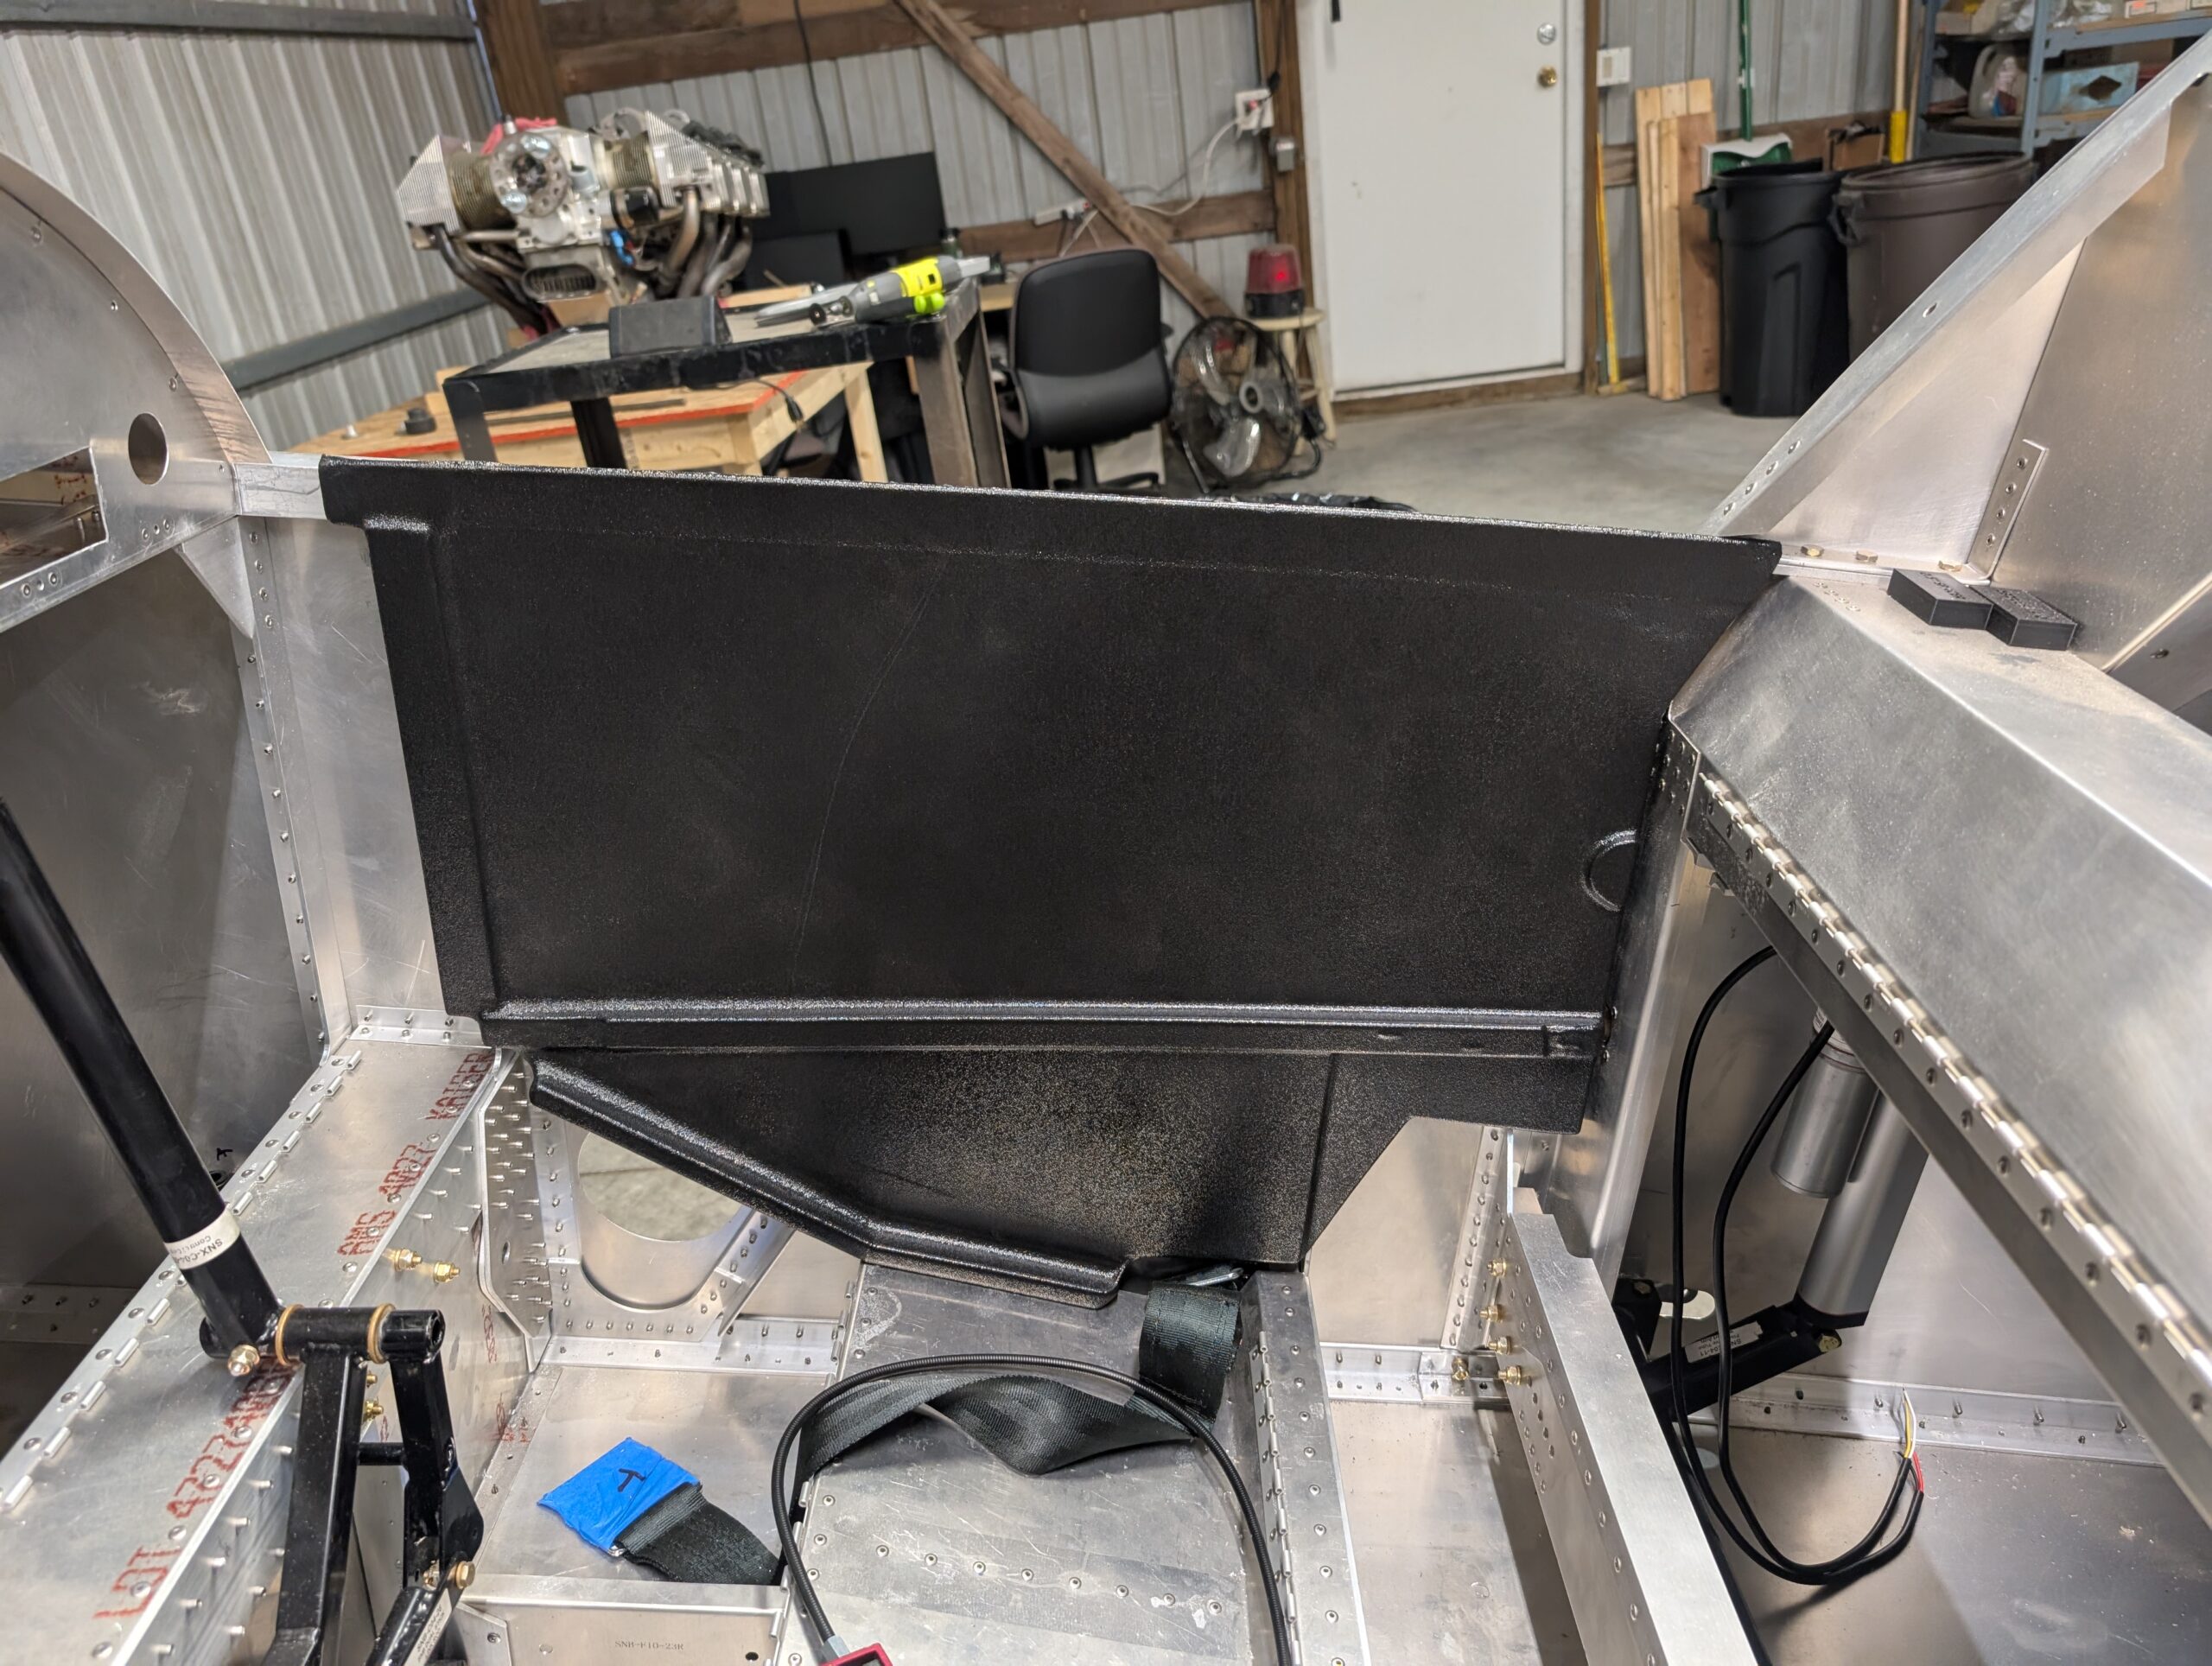
Fuselage Side Panels – Part 1
Tested fuselage side panels by trimming RH side panel from ABS sheet and making small adjustments to test fit. Hours Worked: 1.50
-
Panel and Glareshield Wrap up
Installed rivets between panel blank and cross tie fittings. Riveted lower control angle for throttle, mixture, and trim onto lower edge of panel blank. Installed temporary #6 screws into panel blank then flush riveted panel to angles. Then riveted panel angle to front of glareshield. Notched out small area on right side of glareshield for…
-
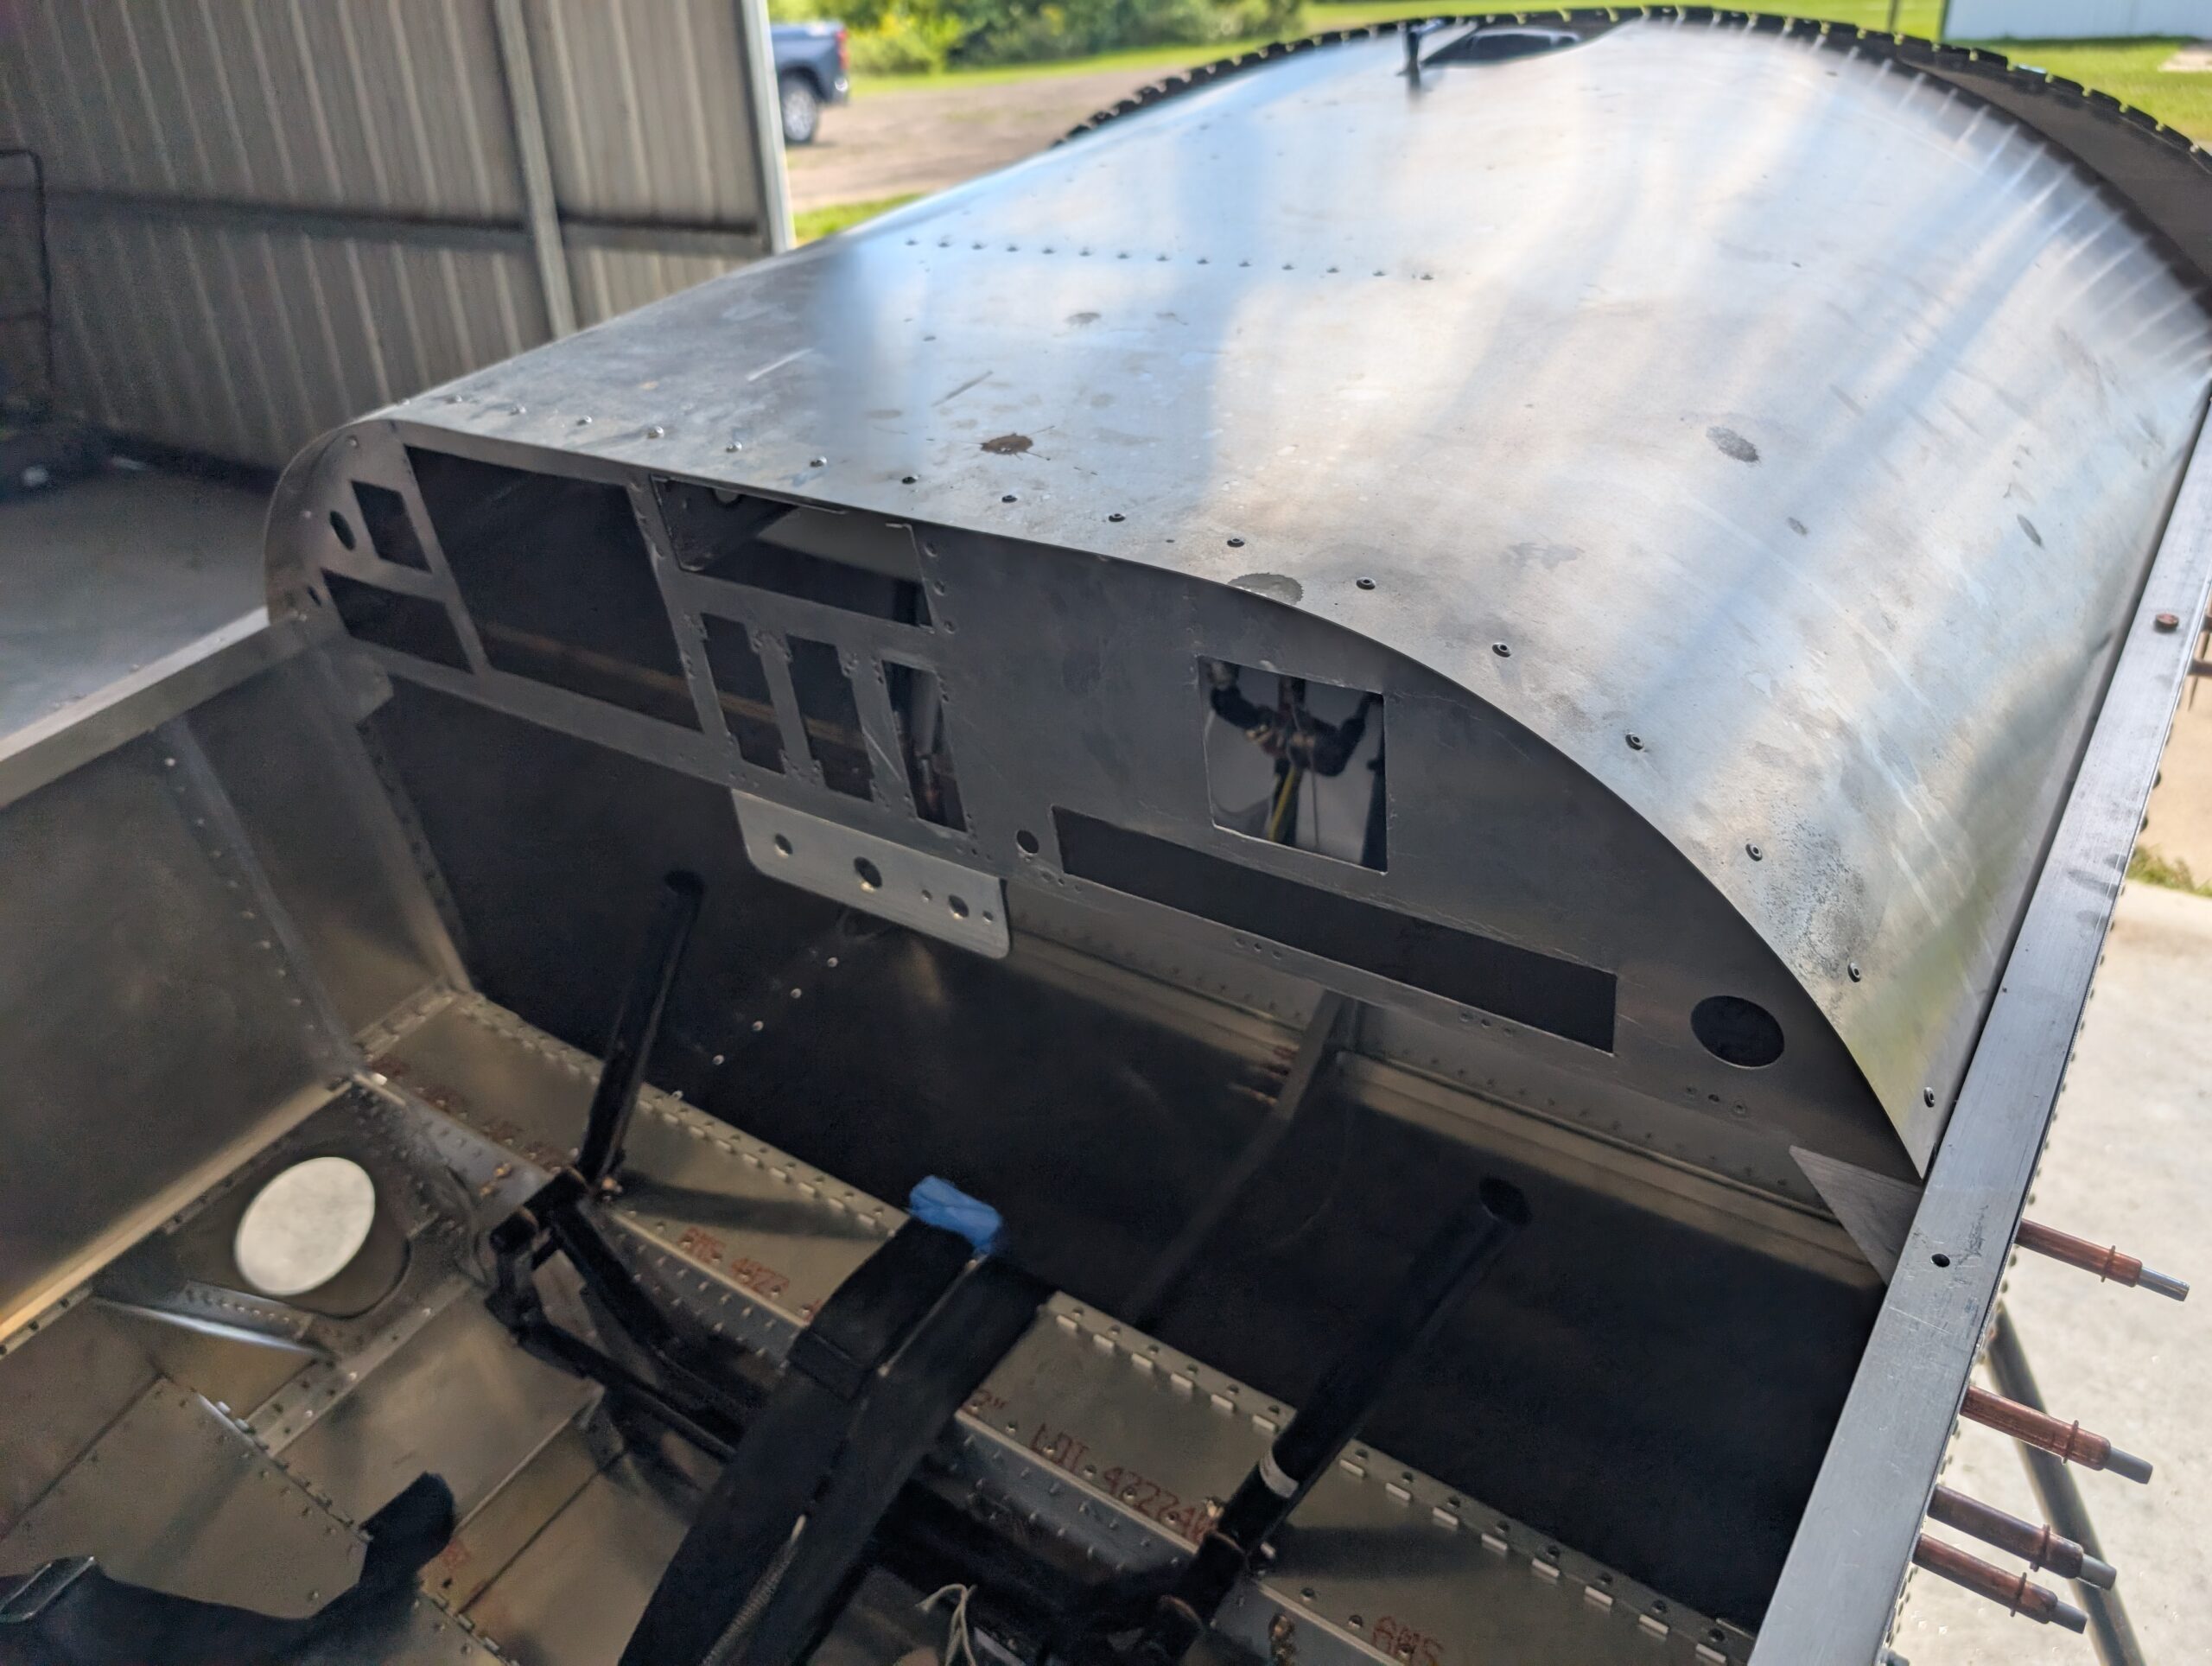
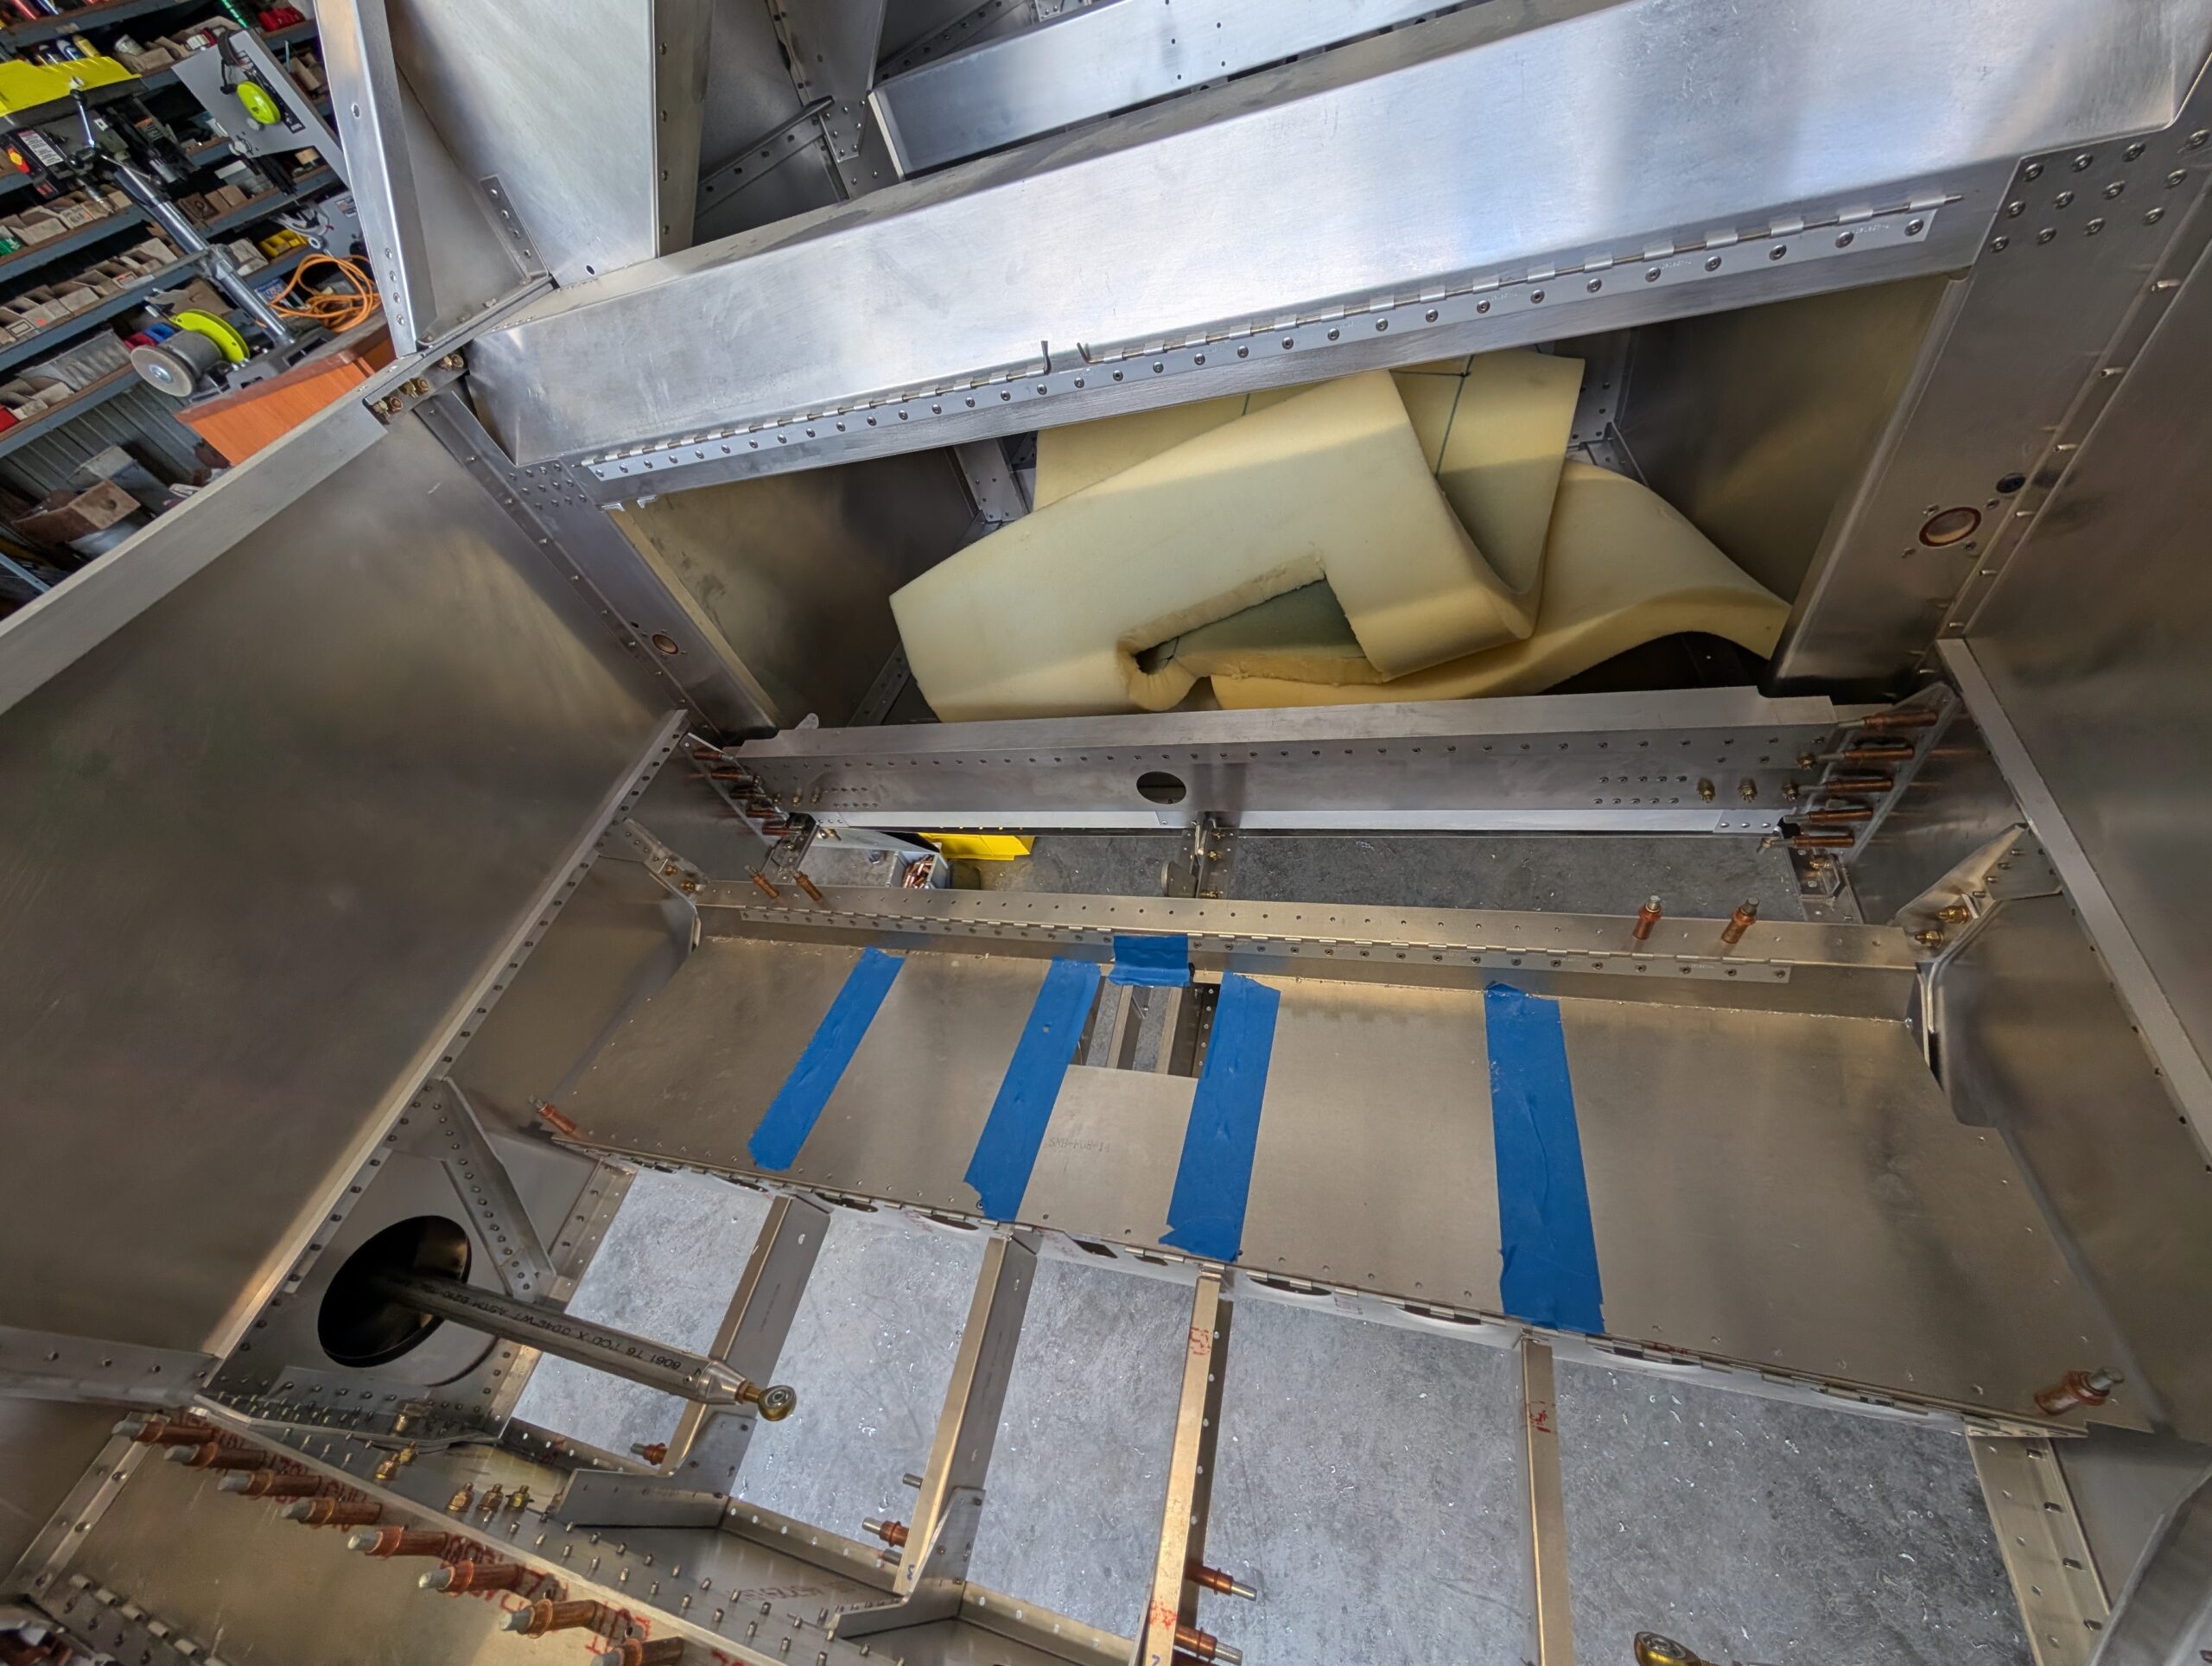
Fuselage Final Riveting – Part 4
Now that all work under the aft seat pan has been completed, clecoed aft seat pan to ribs and final riveted. Hours Worked: 1.09
-
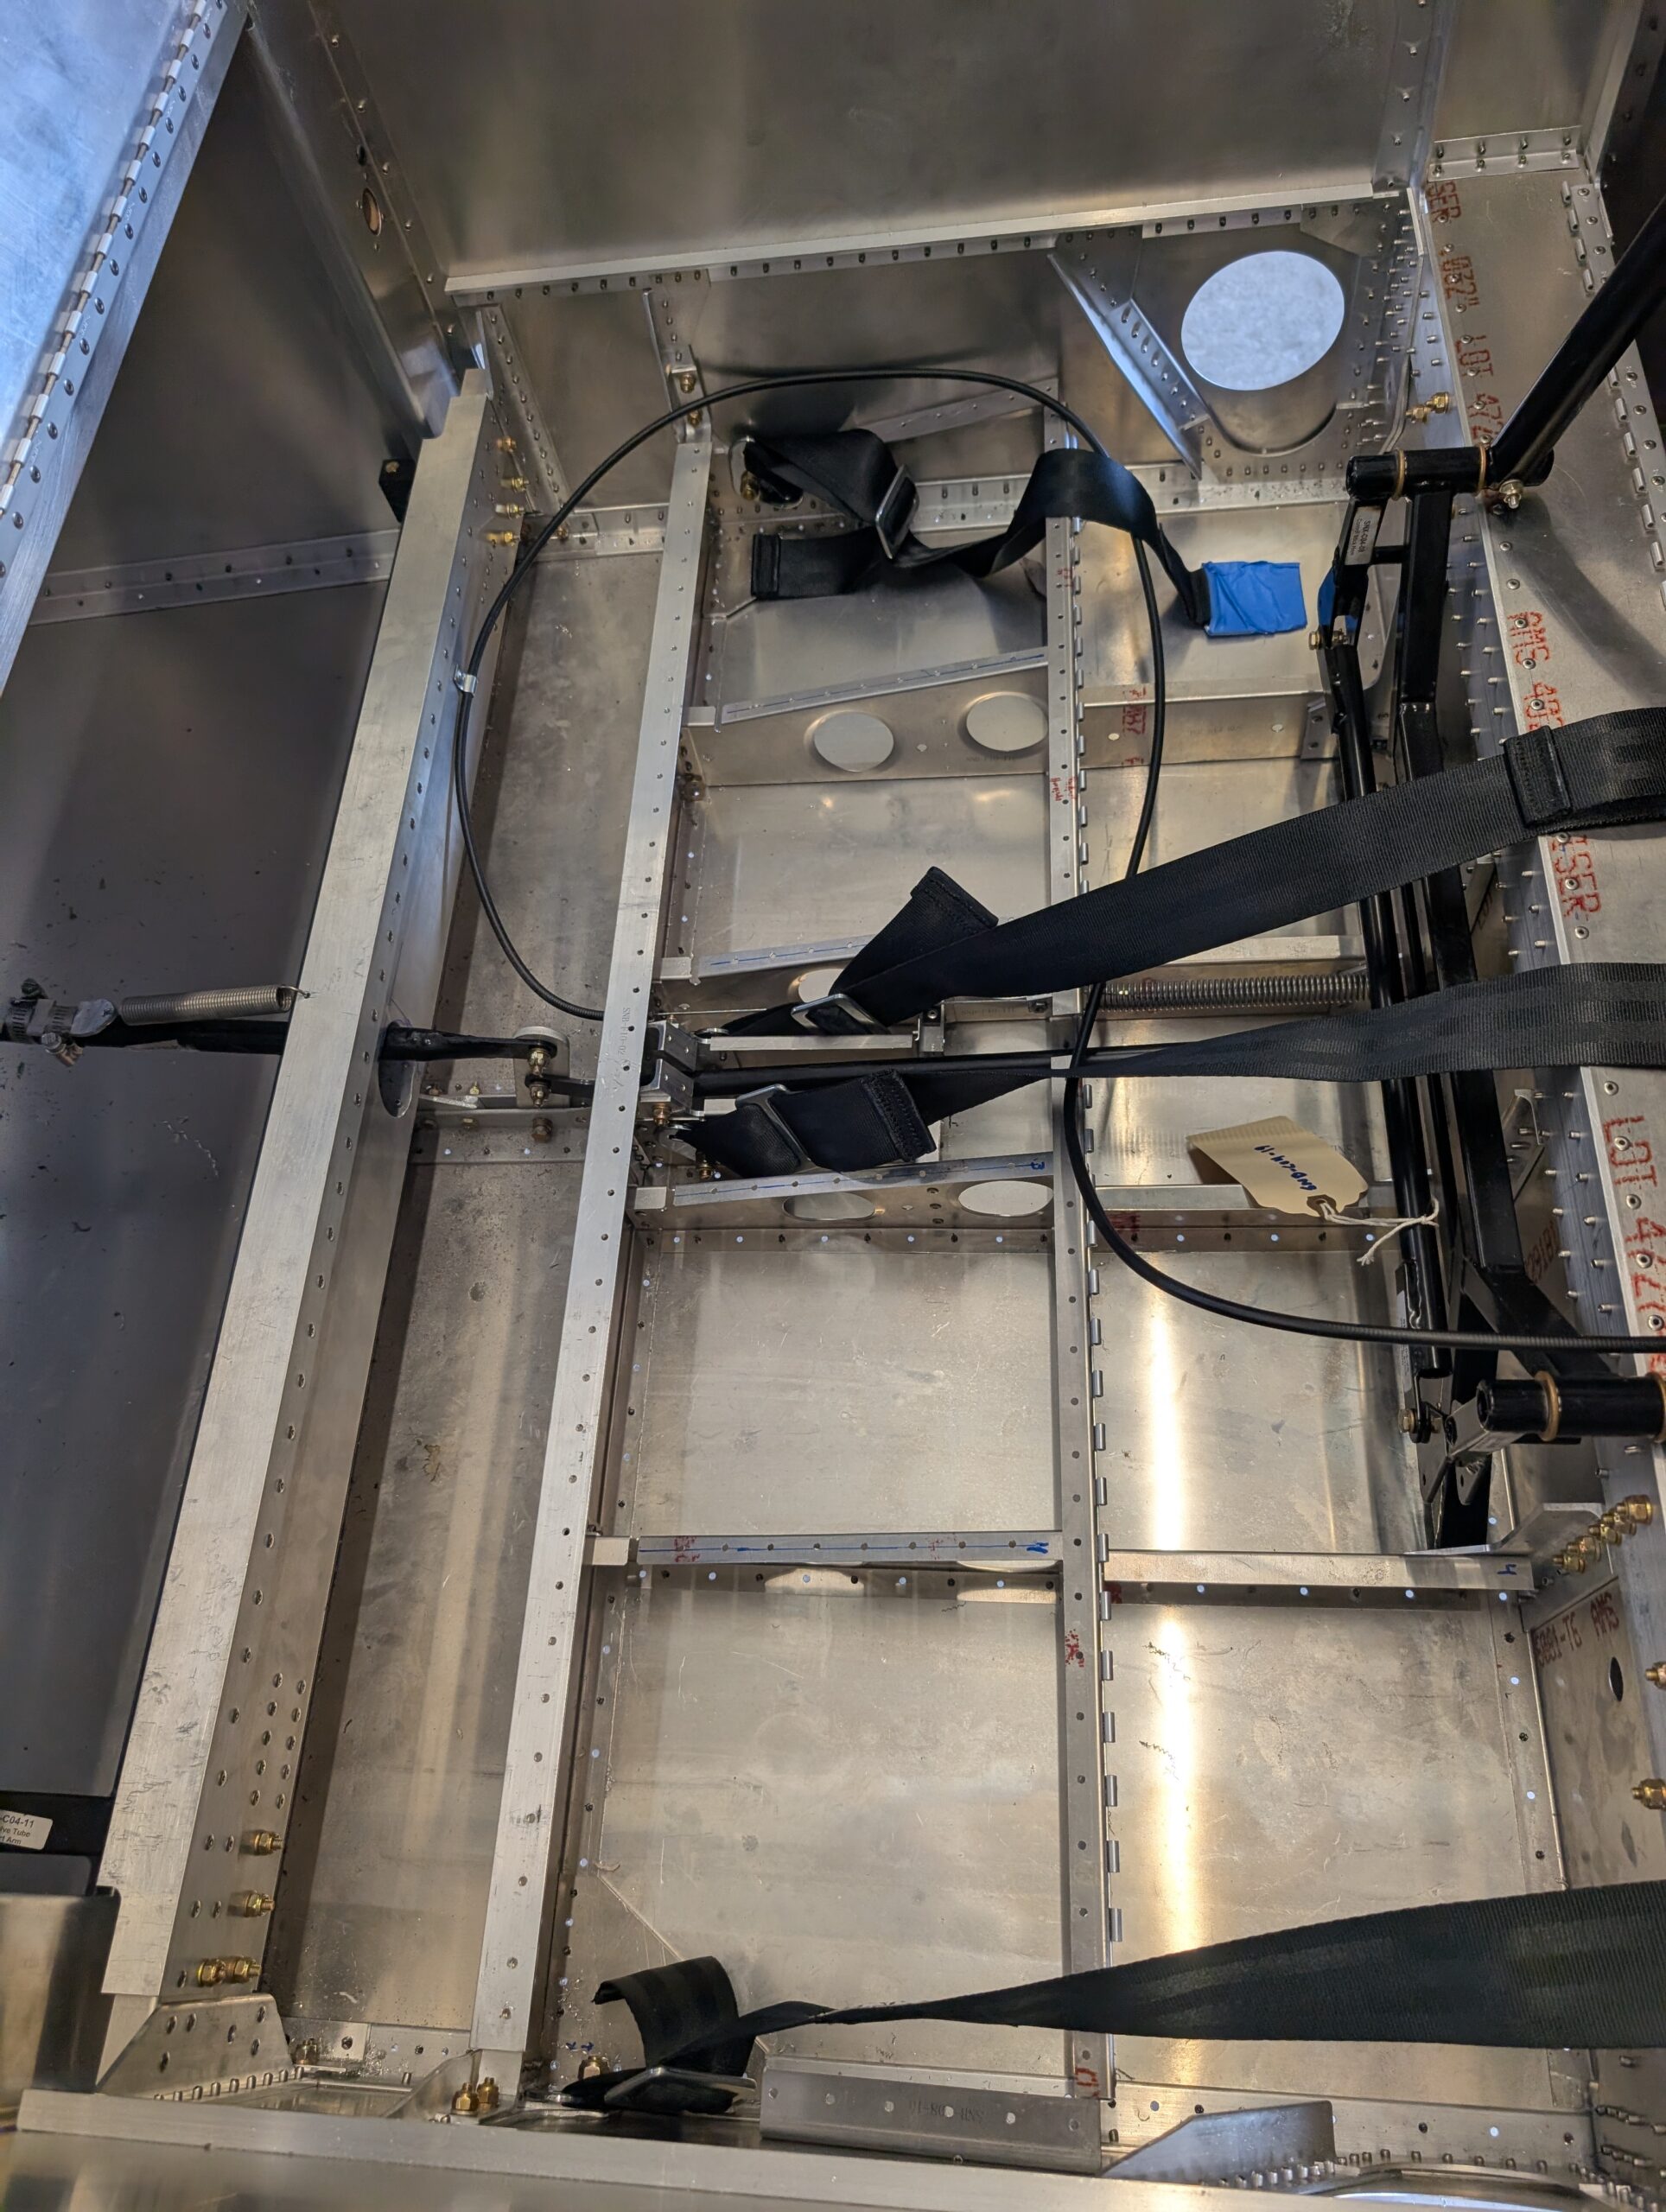
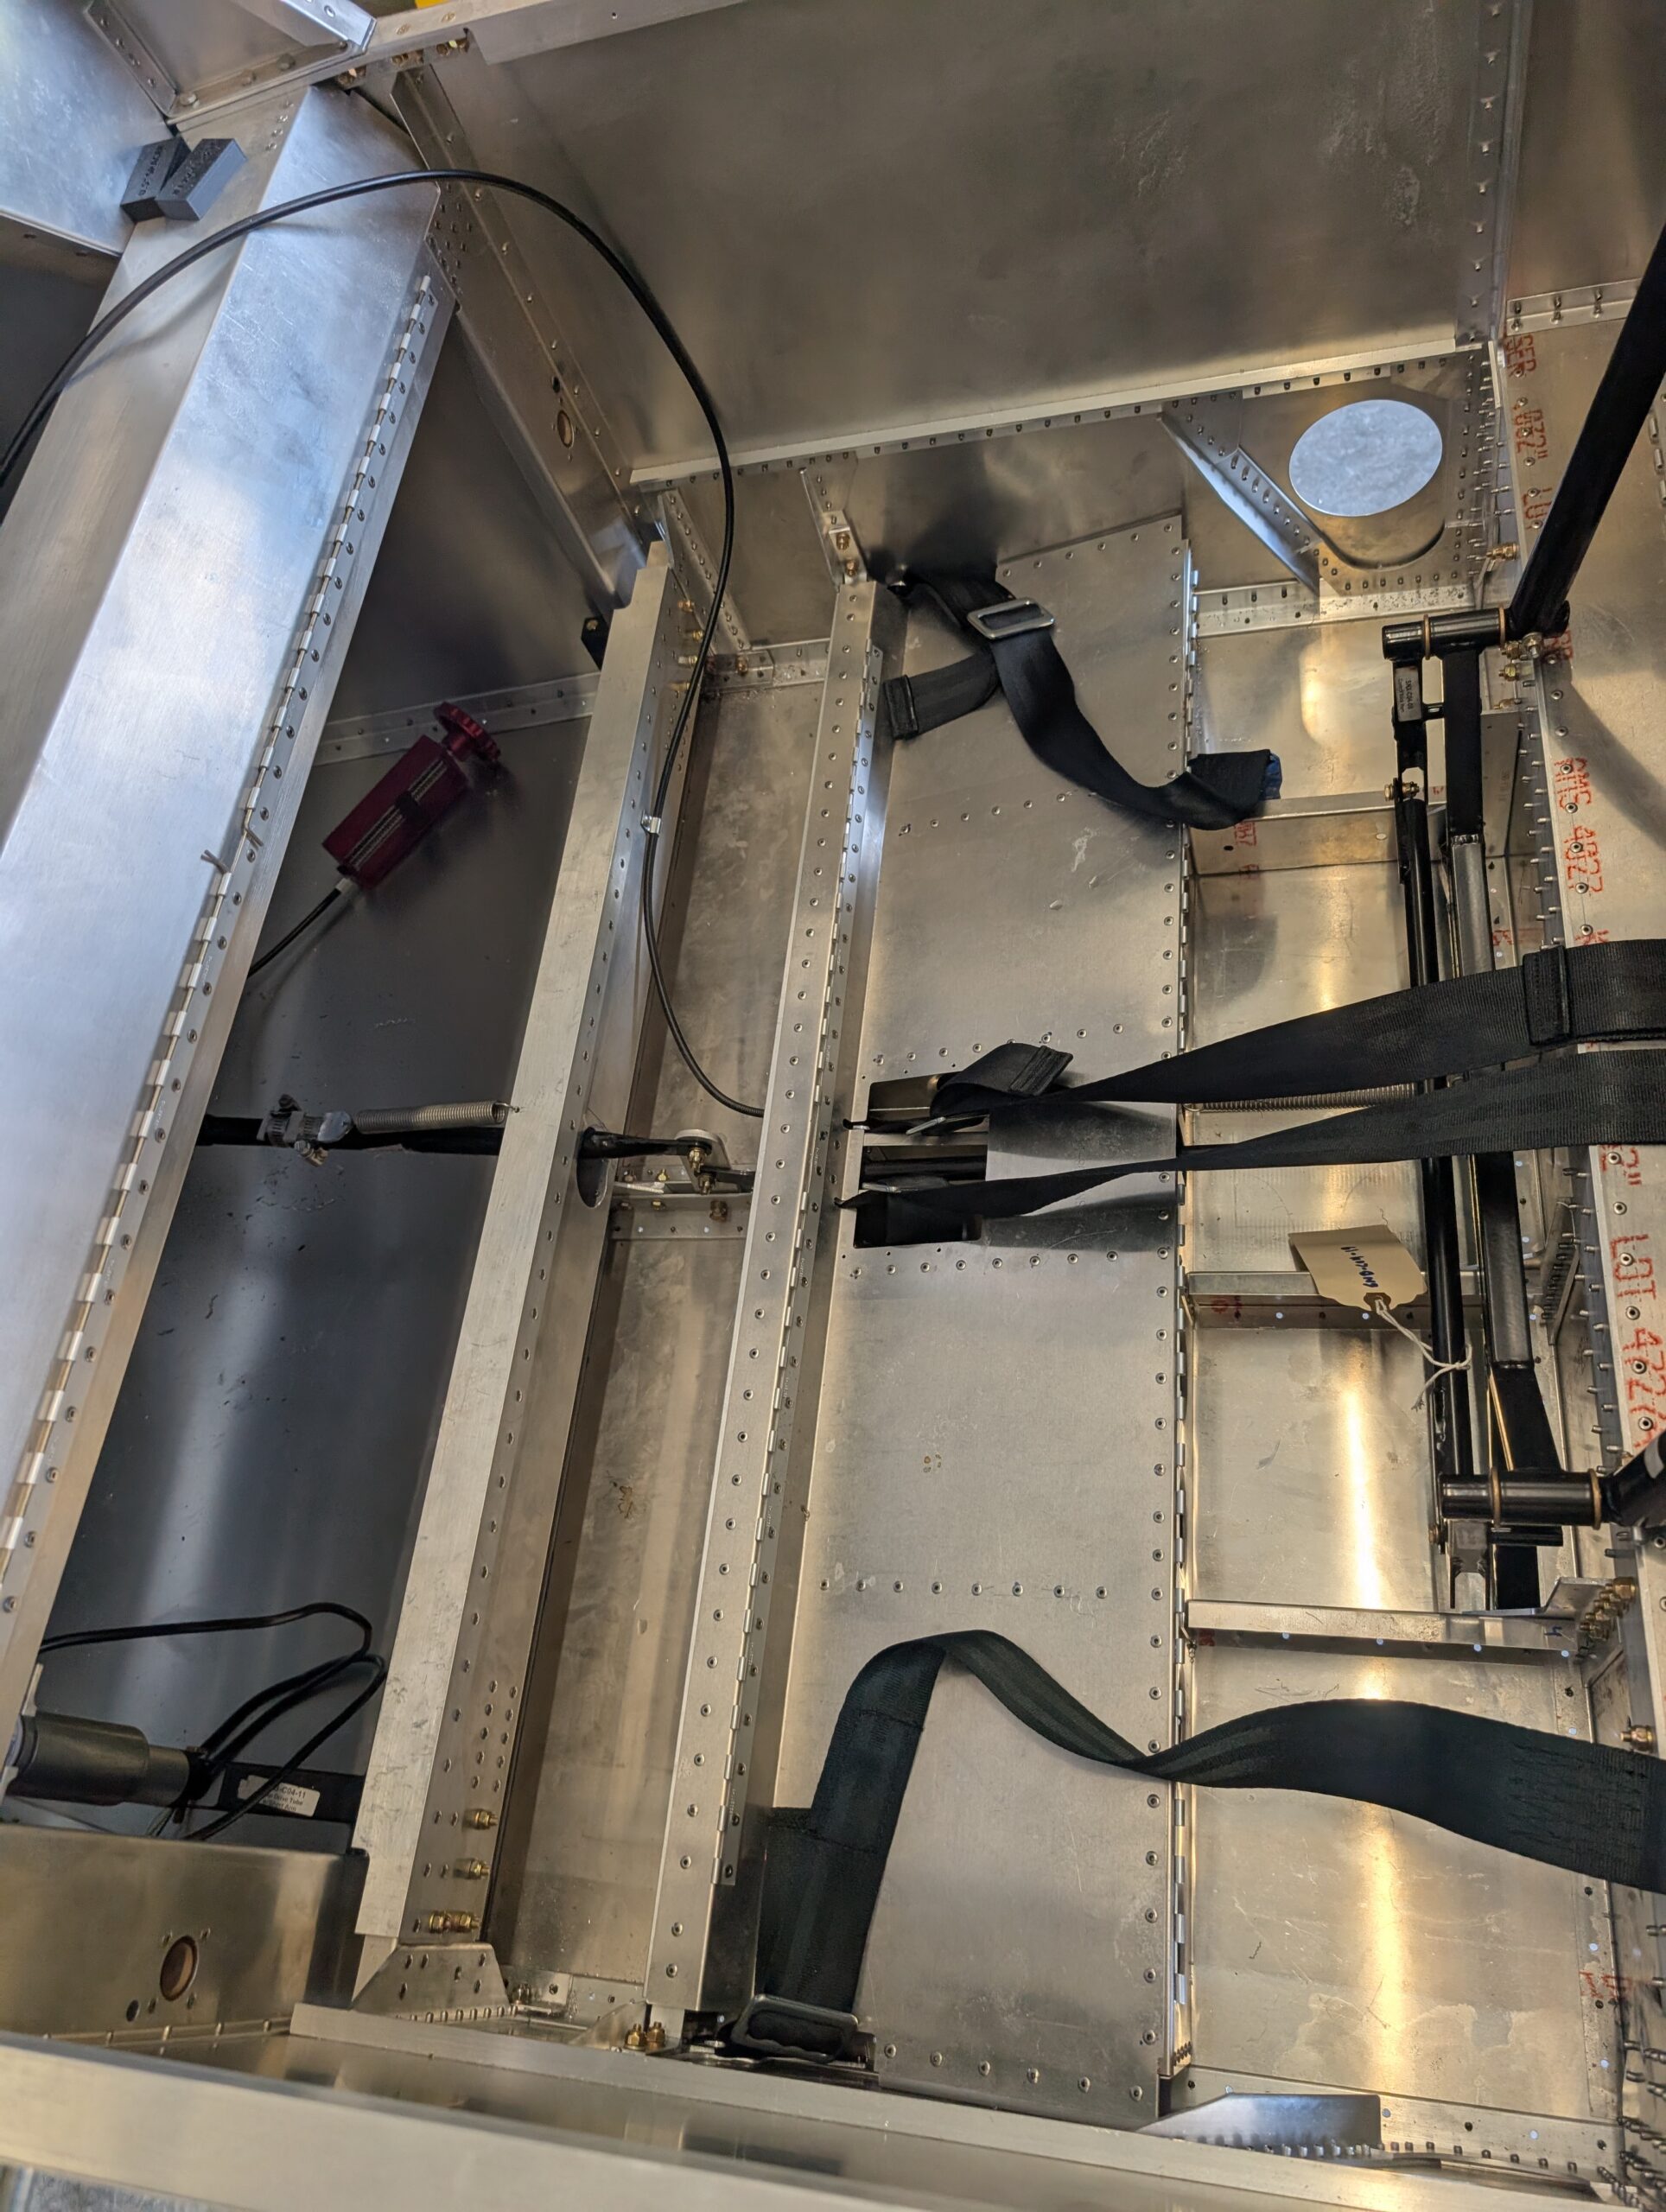
Seatbelt Installation – Part 1
Began seatbelt installation by placing AN5 bolts in center seatbelt channel with grabber extension. Wrapped chrome ends of lap belts in painters tape to prevent scratching. Followed plans and placed buckle ends of seatbelt on inside. Set approximate lap belt angle and tightened AN5 hardware. Repeated process for outside belts. Marked all four seatbelt bolts…
-
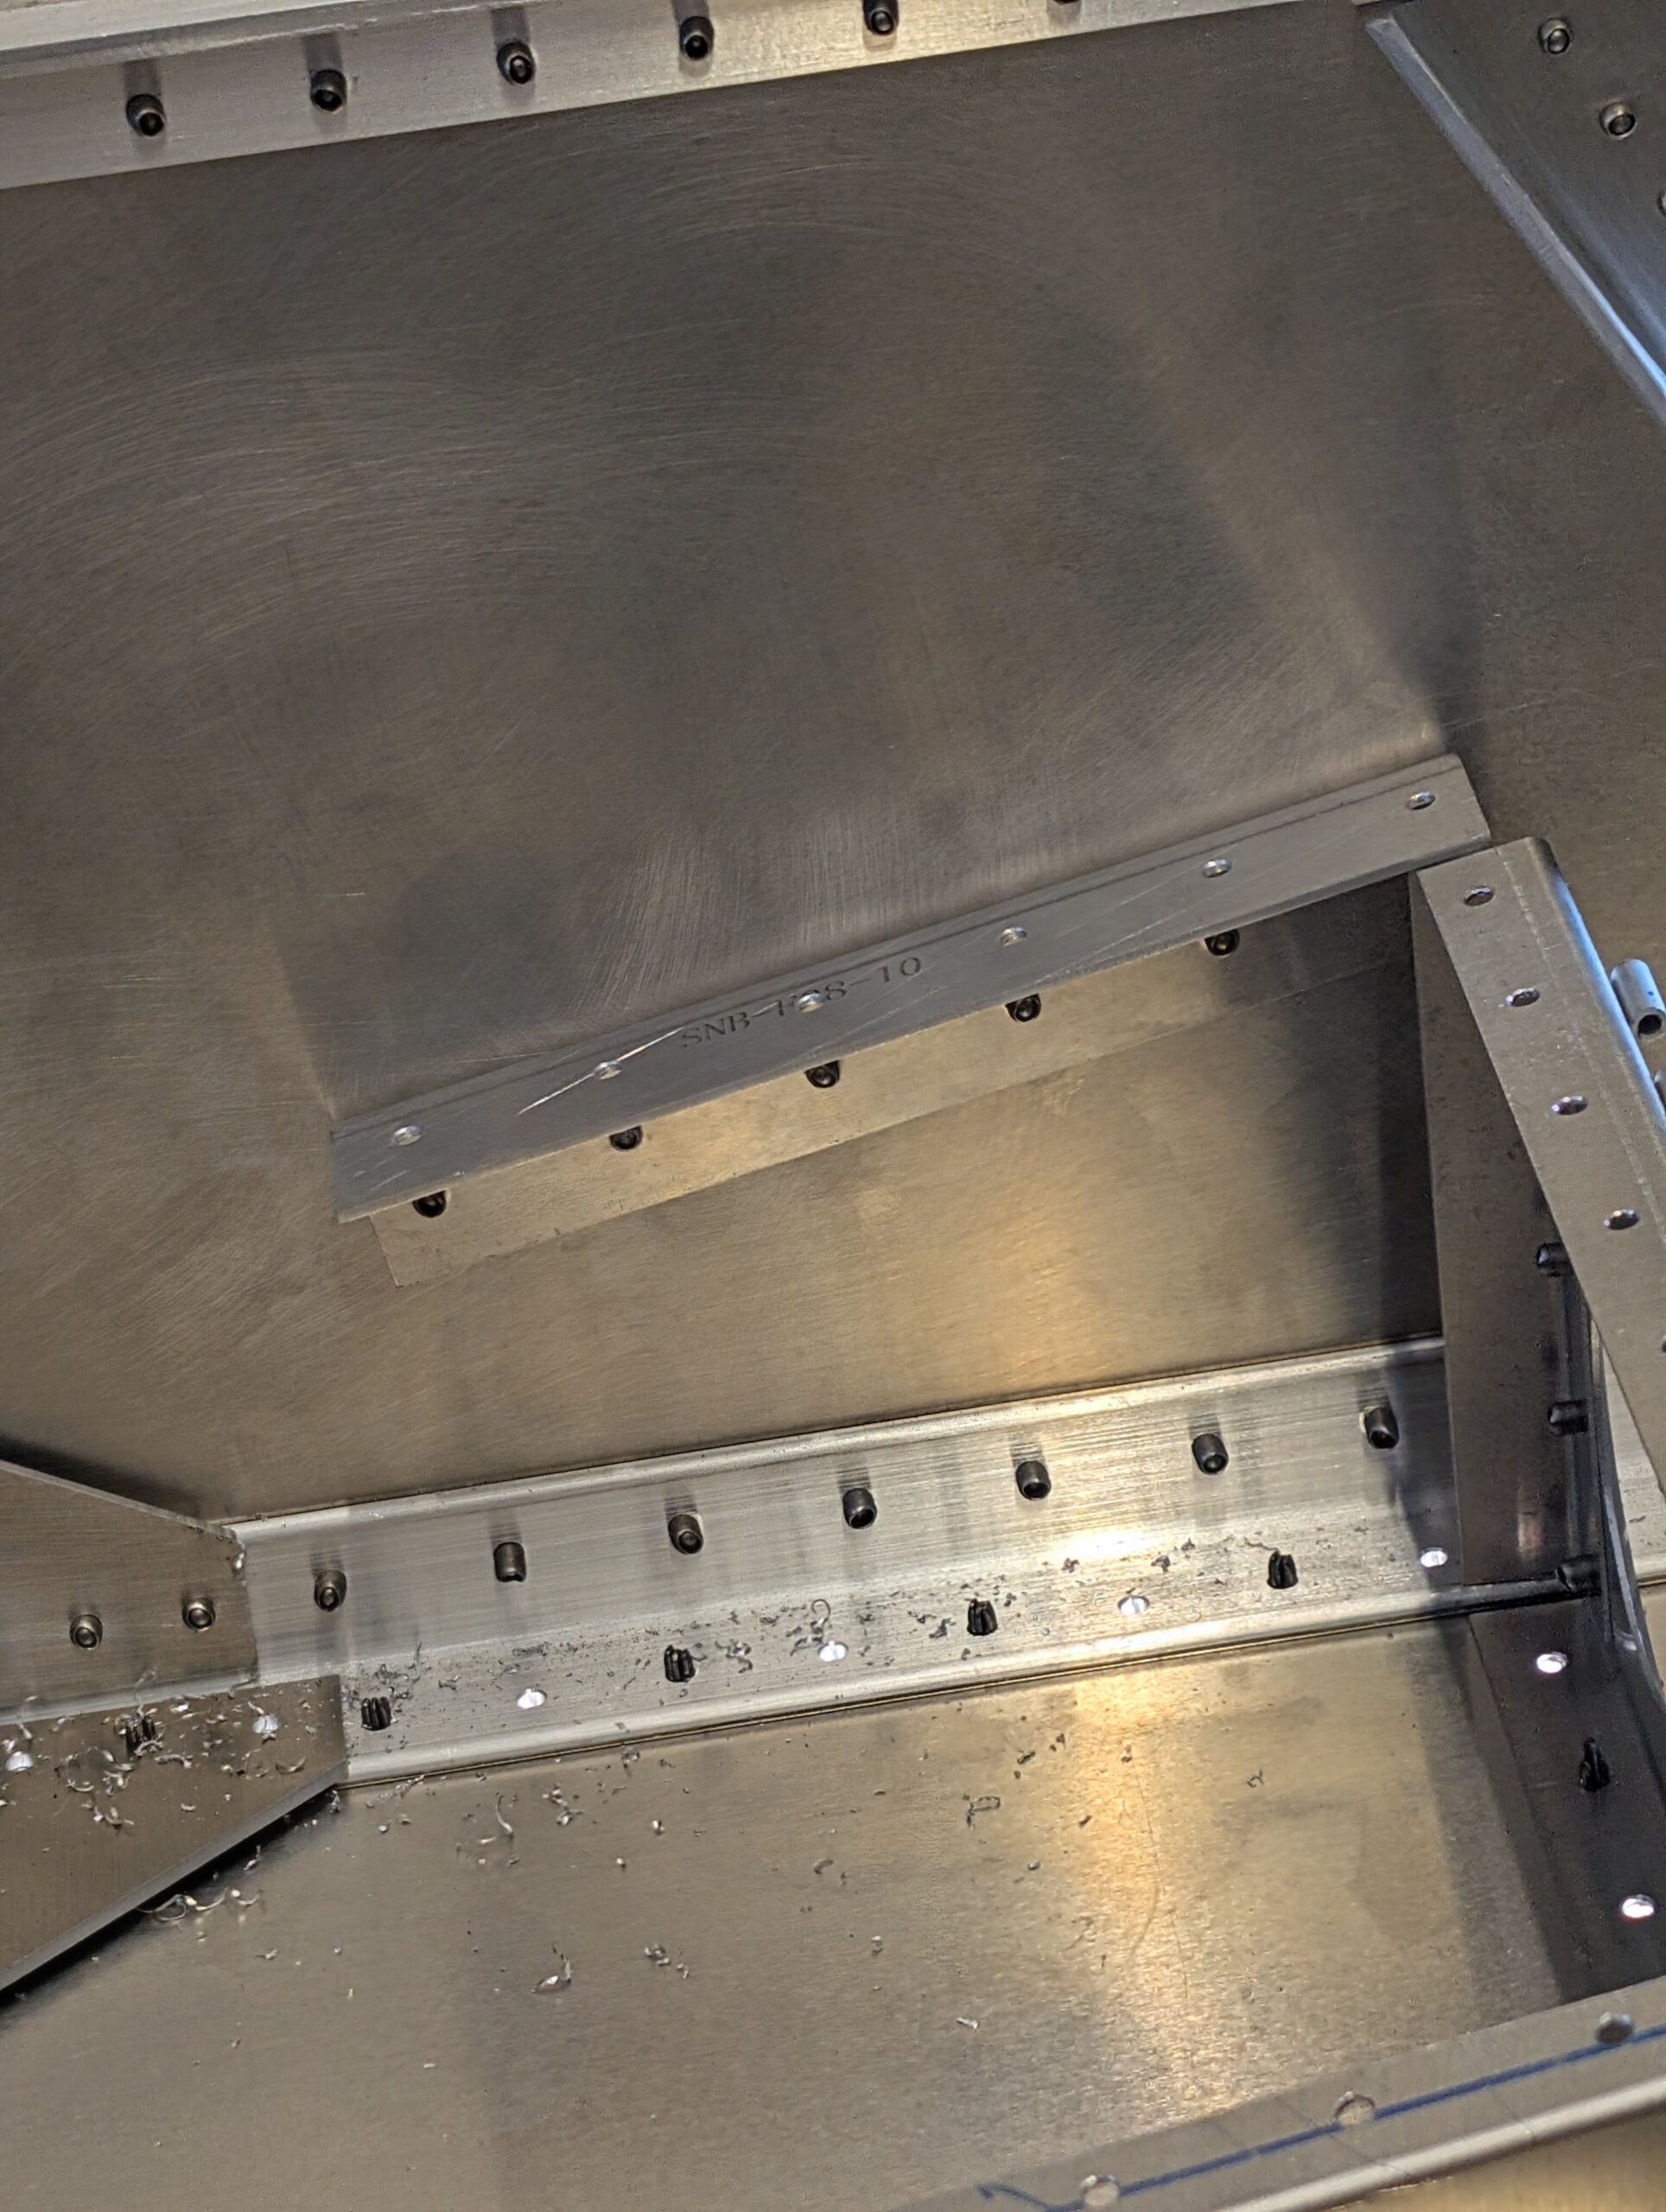
Fuselage Final Riveting – Part 3
Did some more final fuselage work by temporarily reinstalling forward fuselage floor then riveting rear spar angles to fuselage sides and forward seatbelt channel to inside seat ribs. Transferred pilot holes from angles on top of spar tunnel to fuselage sides, updrilled and deburred, then riveted angles and forward wing mount angles to fuselage sides.…
-
Fuselage Final Riveting – Part 2
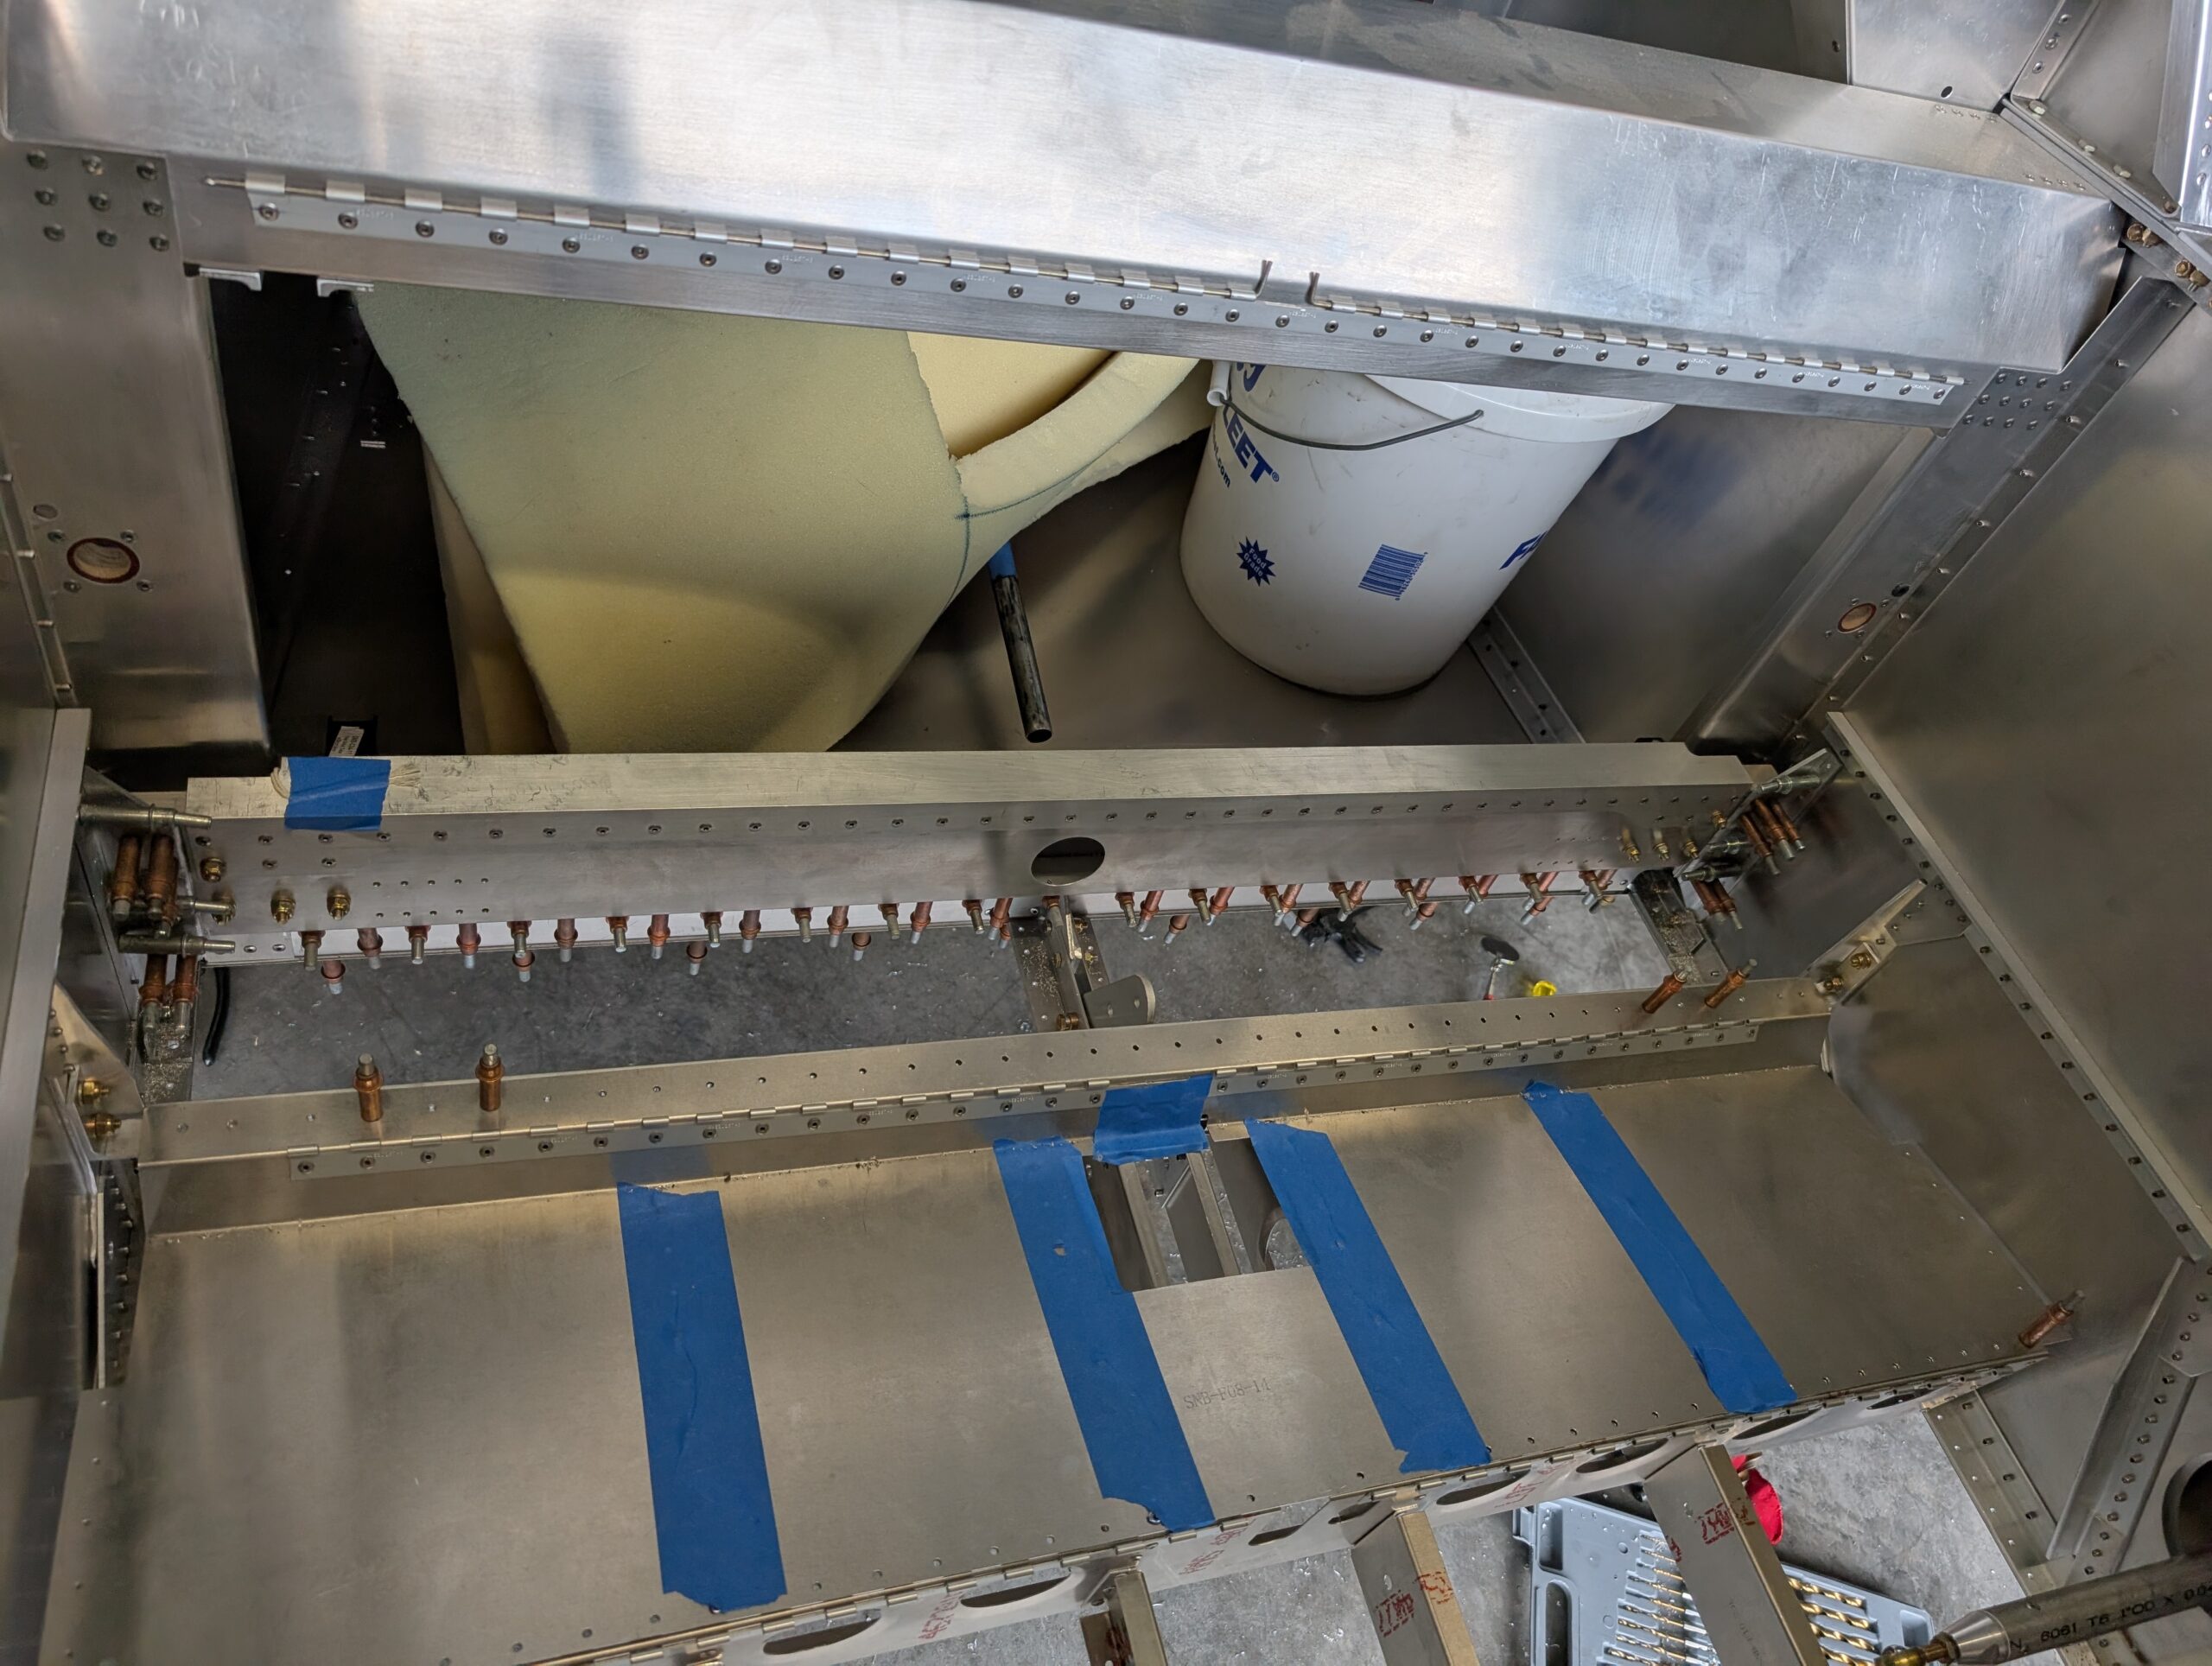
Removed forward fuselage floor for better access to forward tunnel zee. Deburred new holes in fuselage floor and new bottom holes in forward zee. Used hand riveter to flush rivet forward wing mount plates to forward tunnel zee. Hours Worked: 1.13
-
Fuselage Final Riveting – Part 1
Drilled holes through spar bumpers then riveted to fuselage with spars in place. Clecoed fuselage floor into place to check fitment with all holes aligning. Transferred pilot holes from floor into bottom of forward spar tunnel assembly then updrilled to #30 and clecoed into place. Hours Worked: 1.85
-
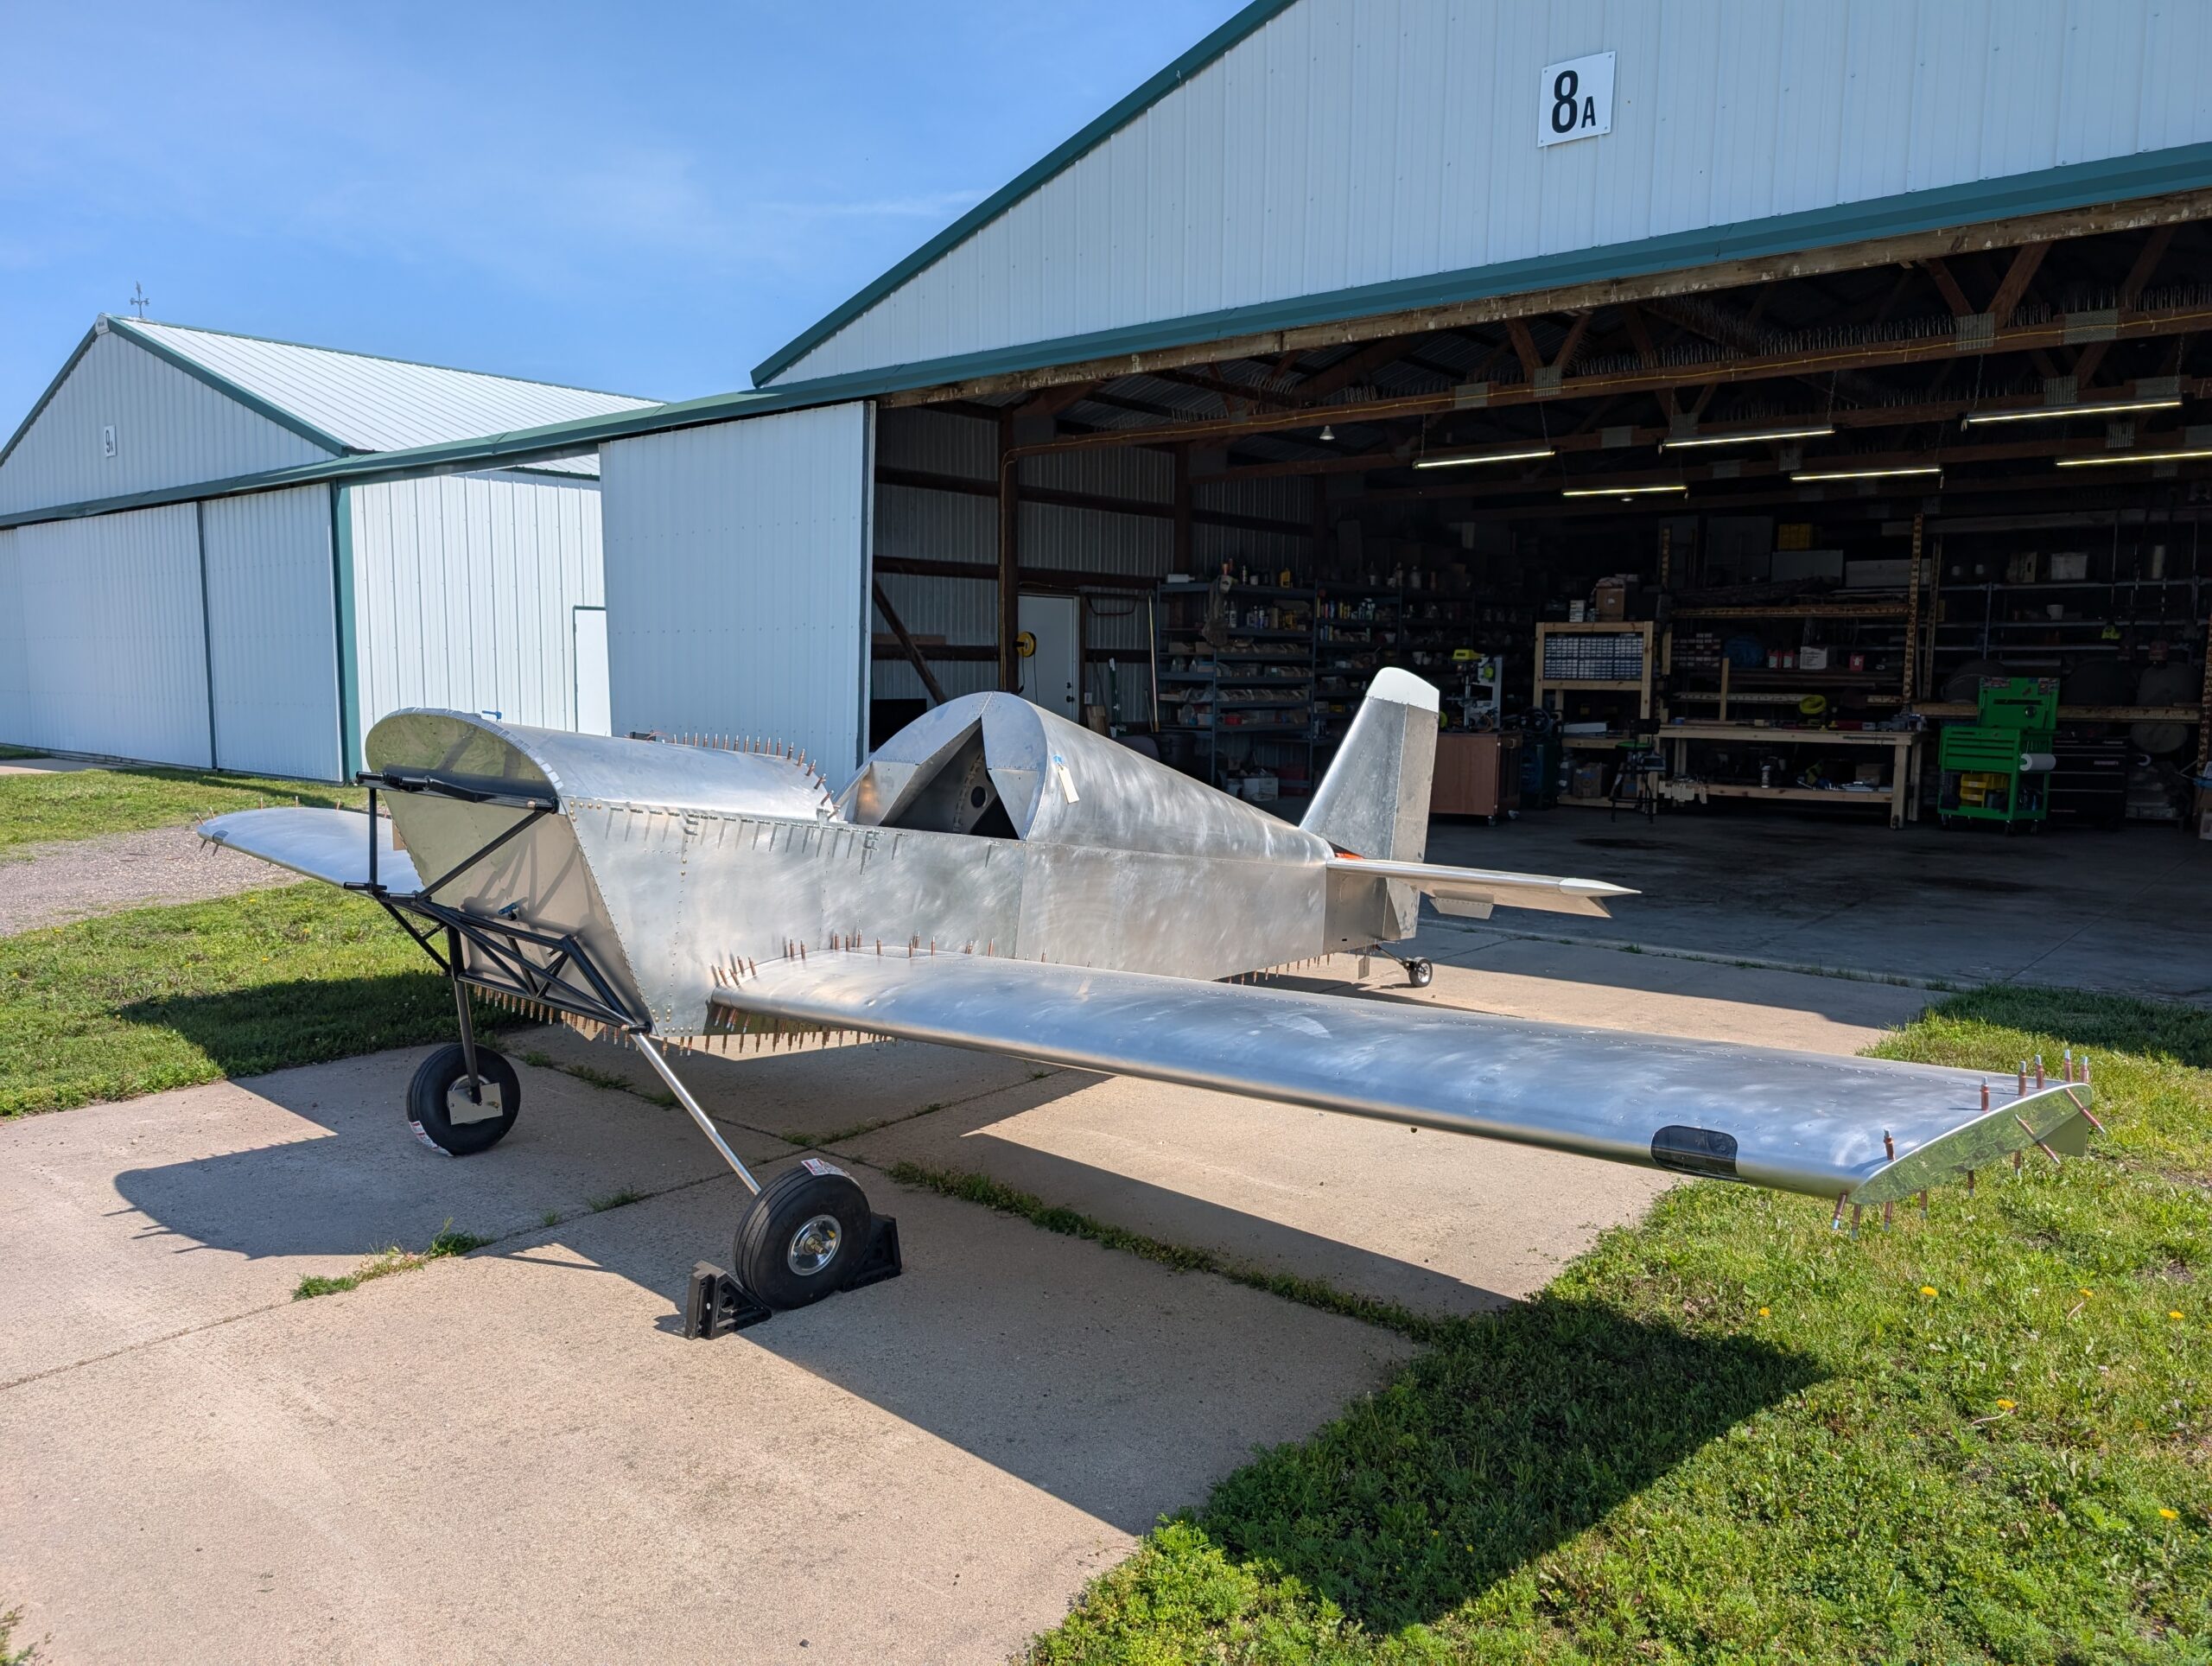
Wing Rigging – Part 4
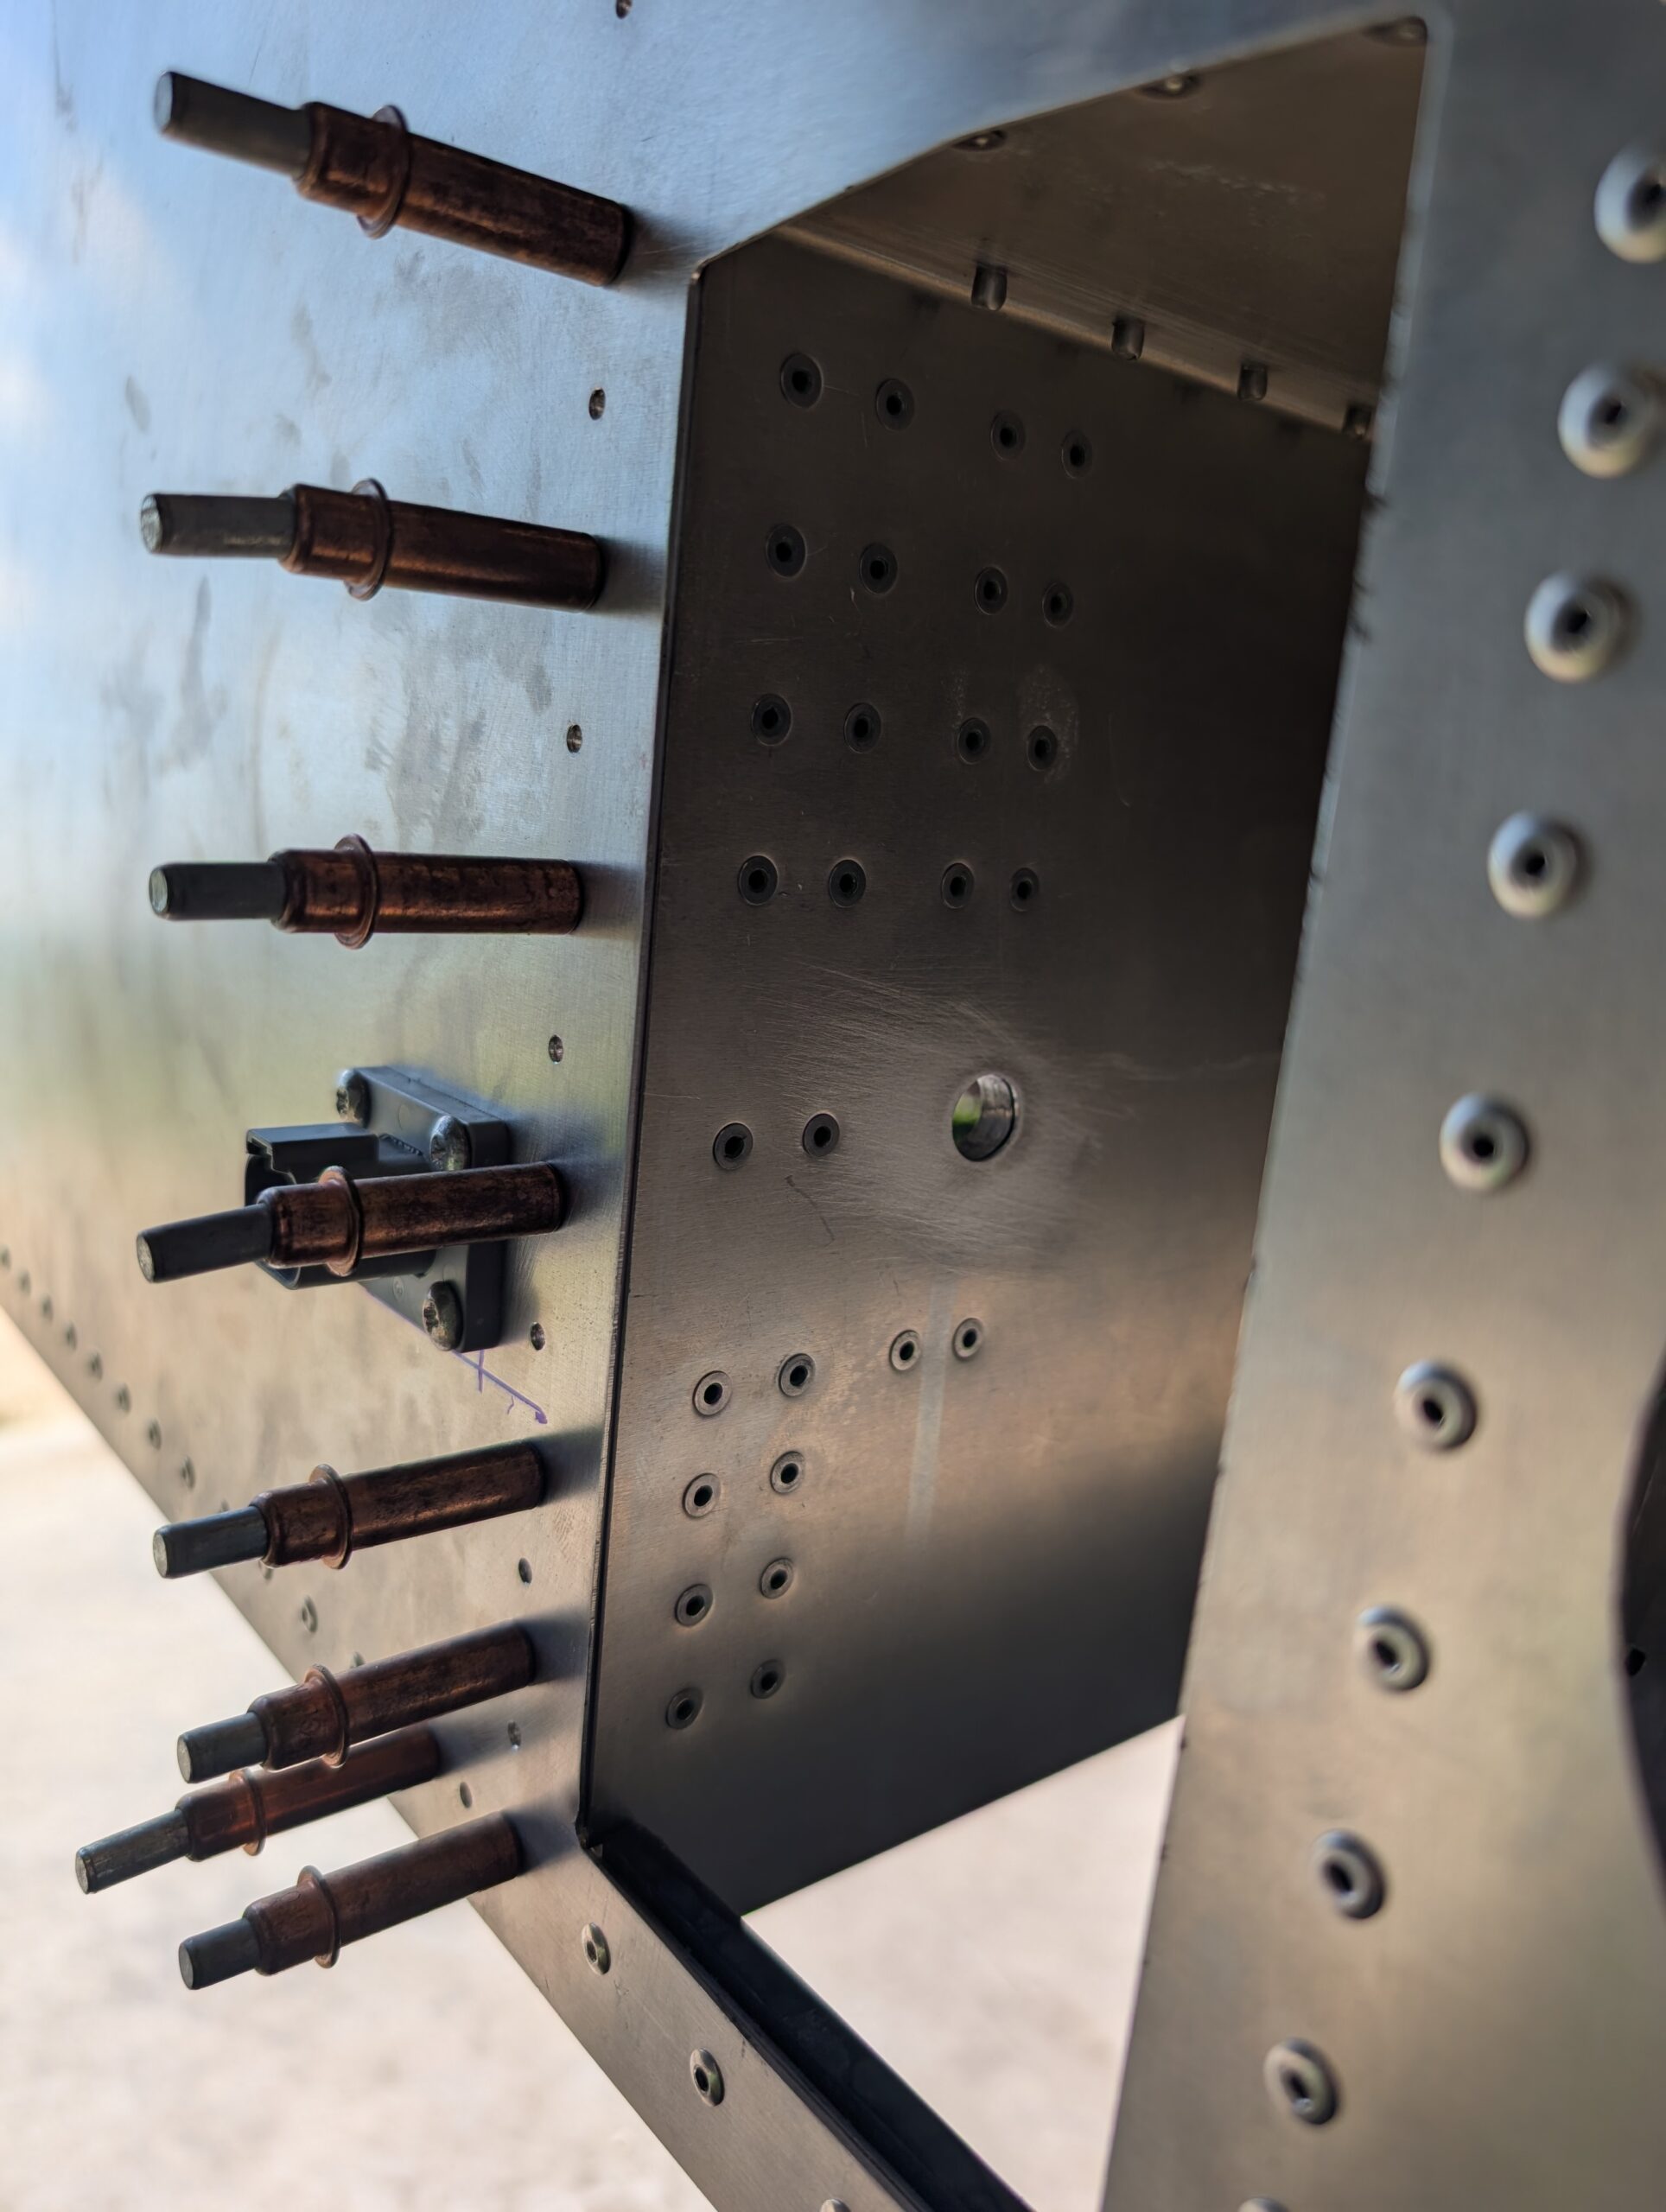
Removed rear spar carry through from fuselage then updrilled attach angle holes through fuselage. Removed attach angles from fuselage then deburred rear spar carry through, shear web, and attach angles. Finished riveting rear spar carry through then riveted shear web onto carry through. Placed assembly back into fuselage and clecoed into place with spars pinned…
-
Wing Rigging – Part 3
Finished drilling main wing attach holes by using drill guide to drill 3/8″ holes in forward wing attach angles (from back to front) then updrilling each side to 1/2″. Wing pins fit it snug and wings do not wiggle on fuselage. Realized rear spar carry through was installed backwards so flipped it and made temporary…