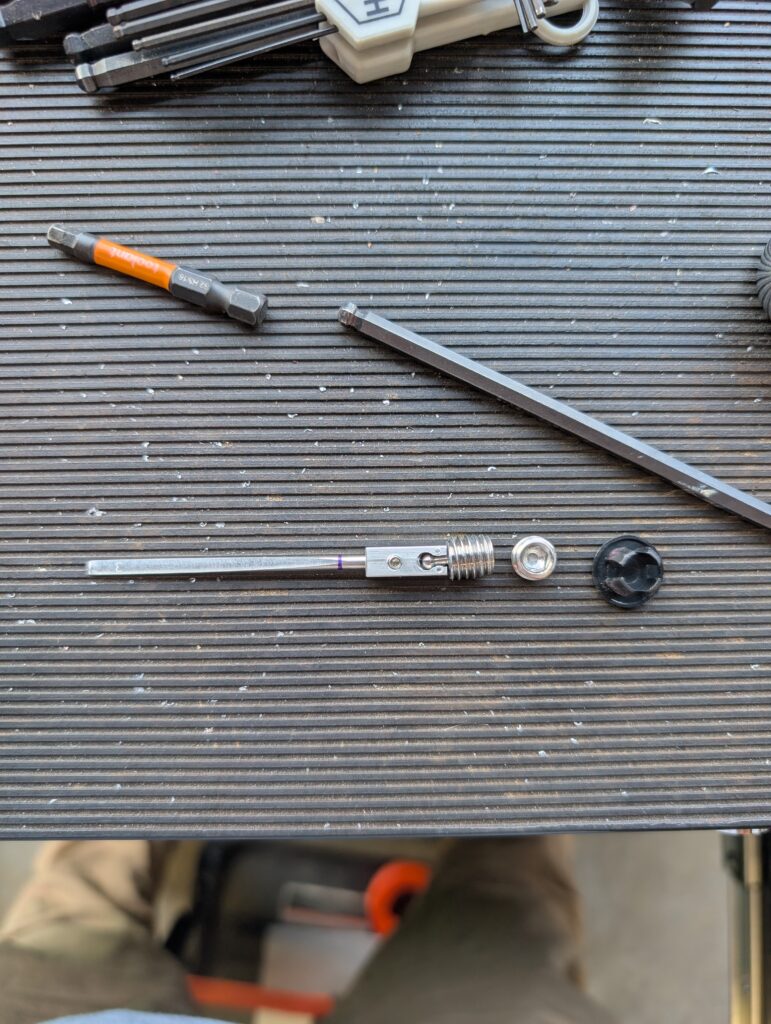
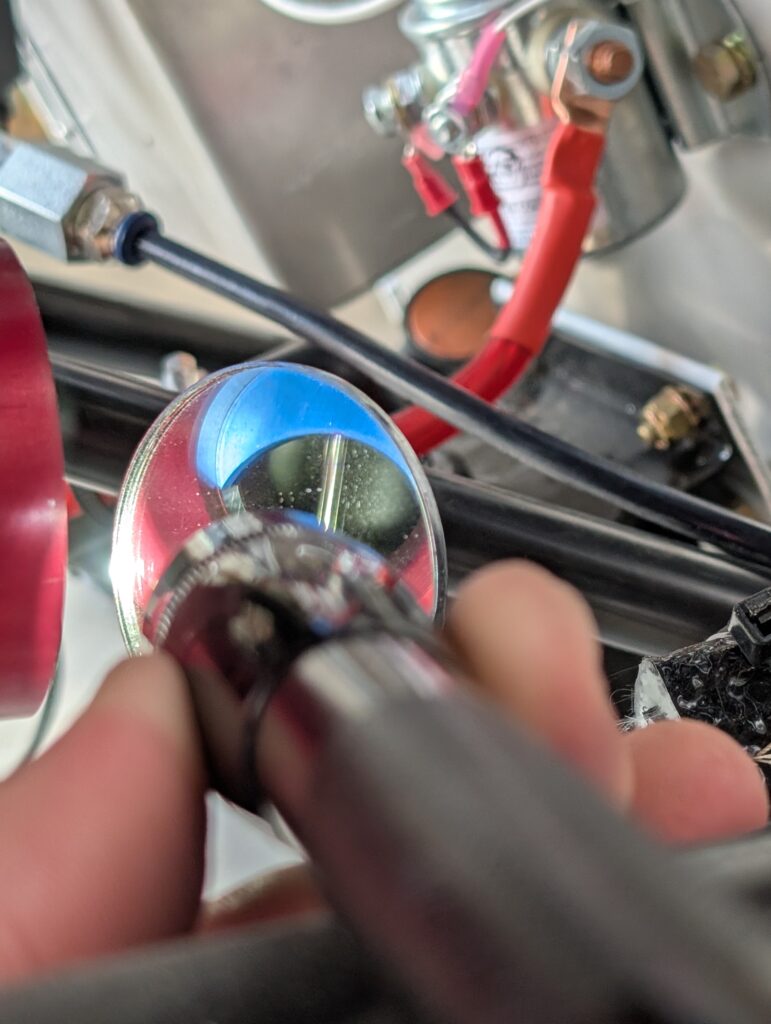
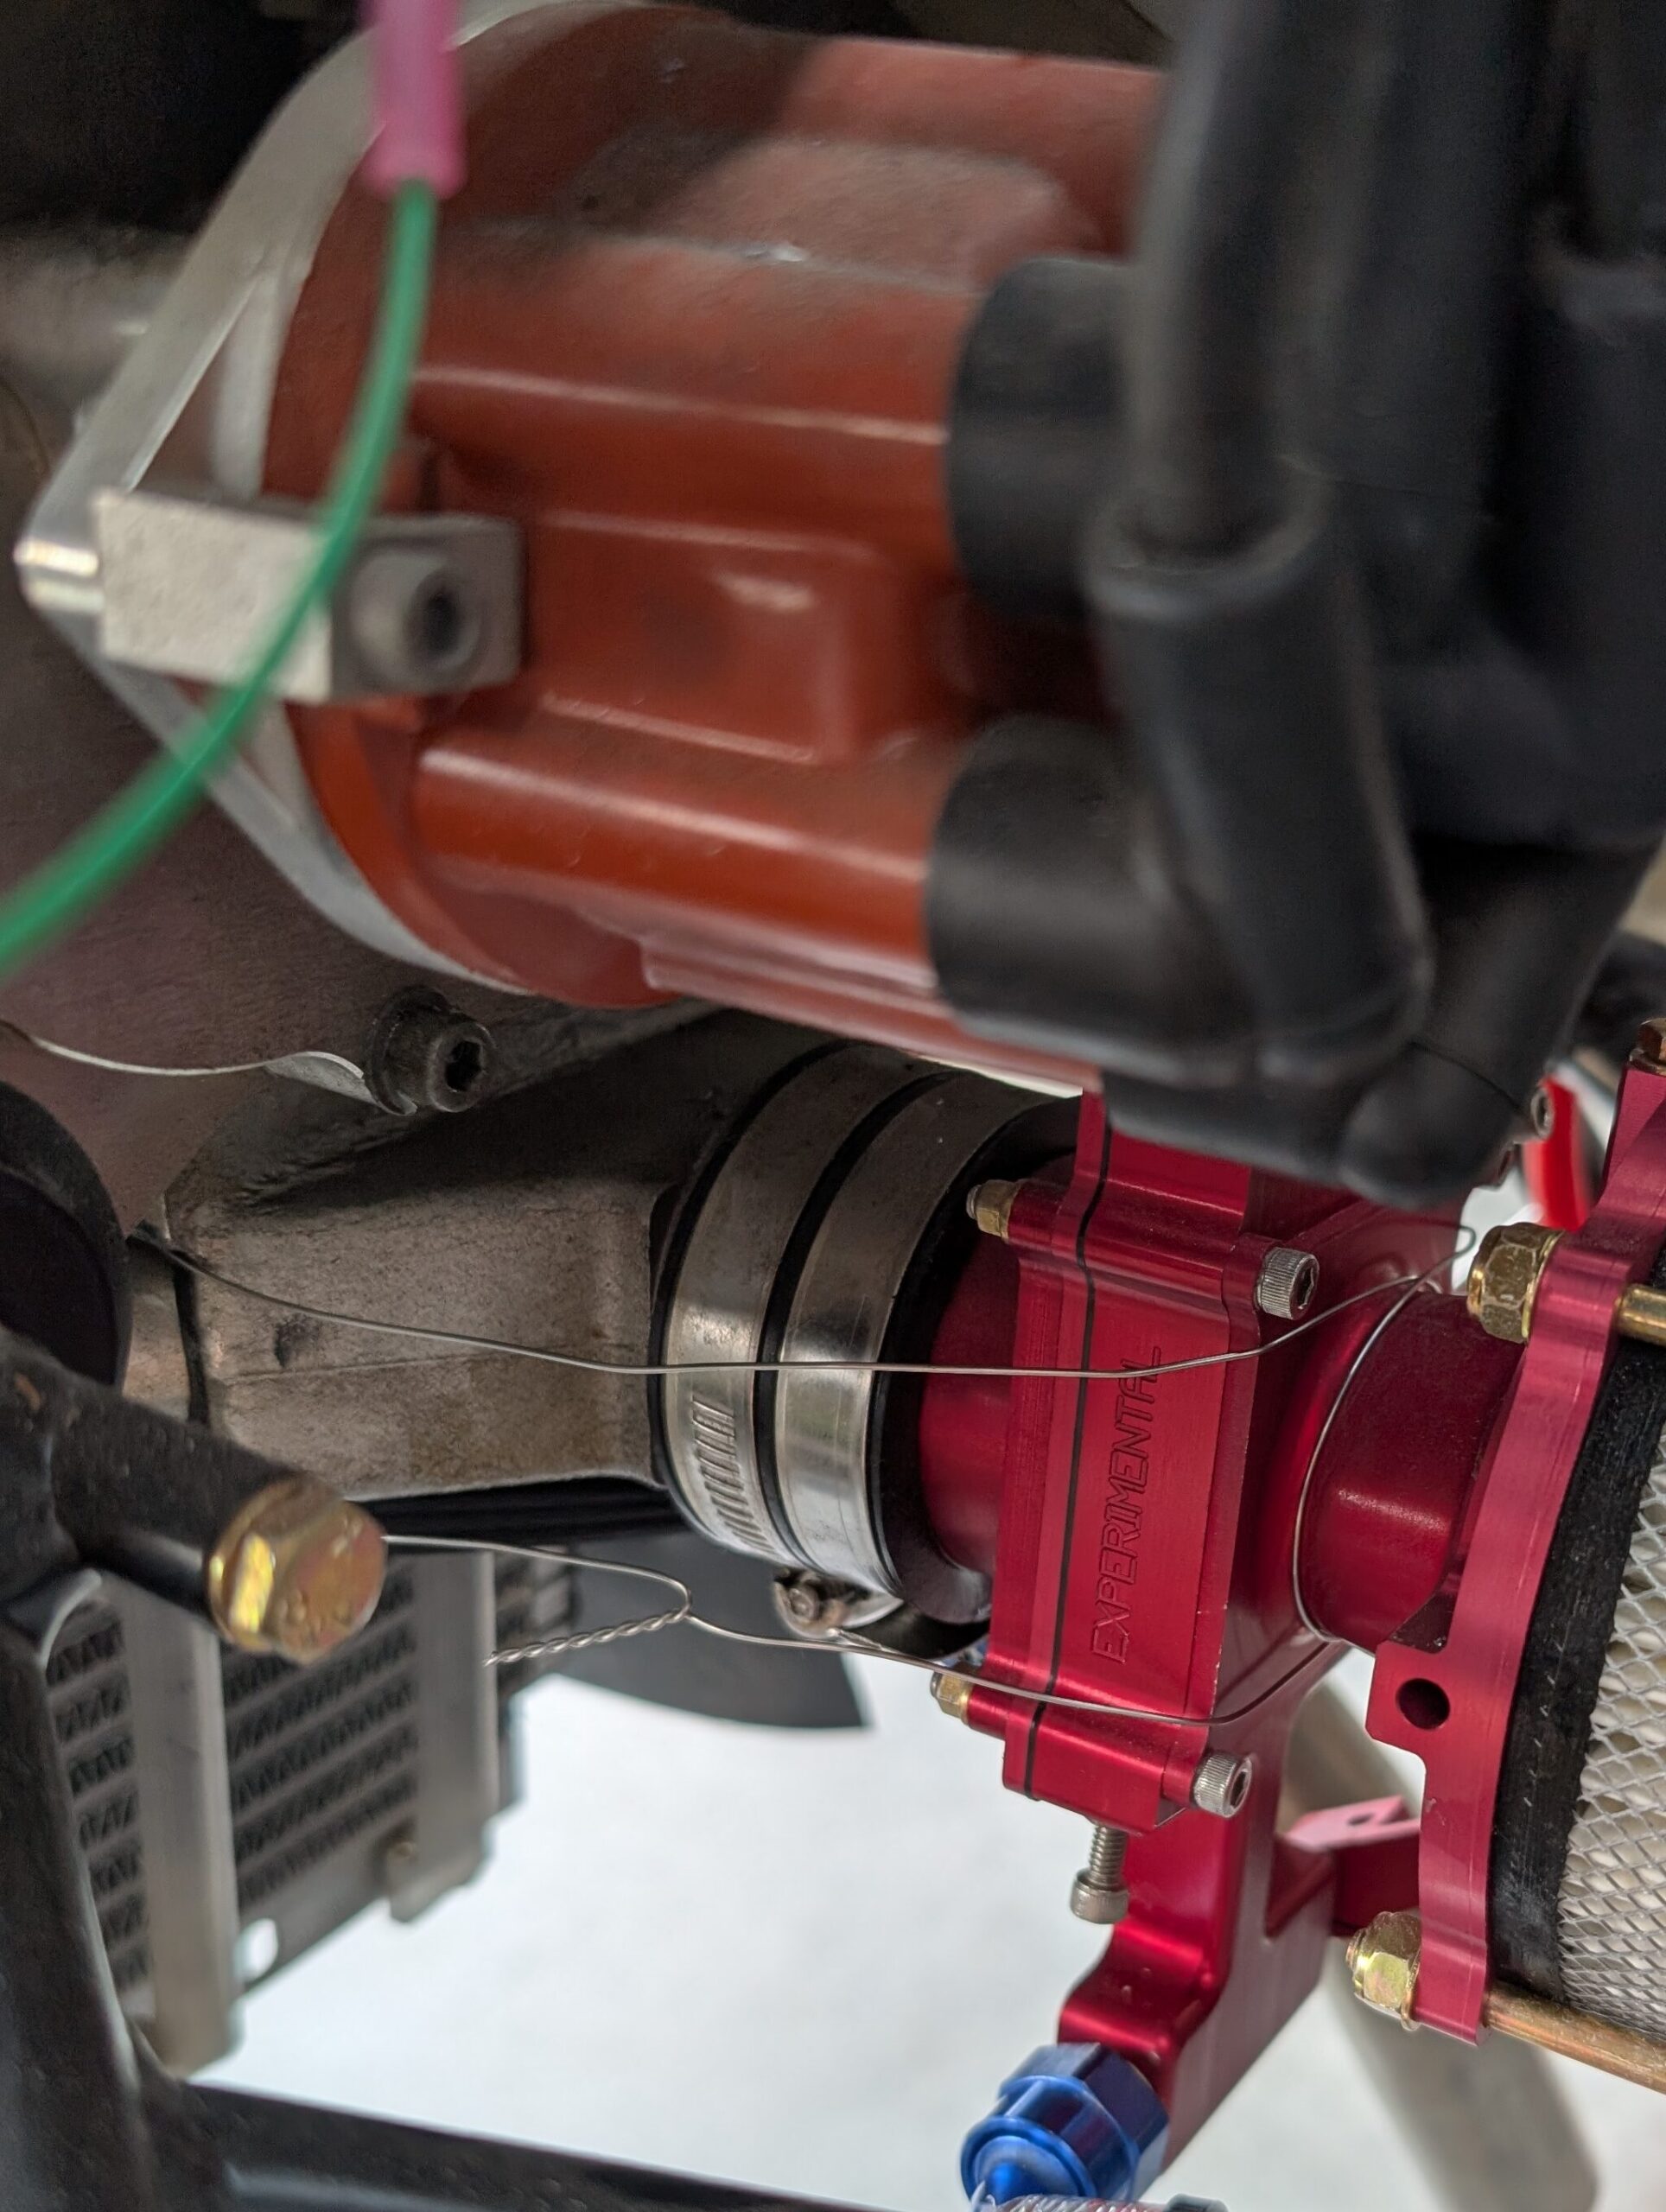
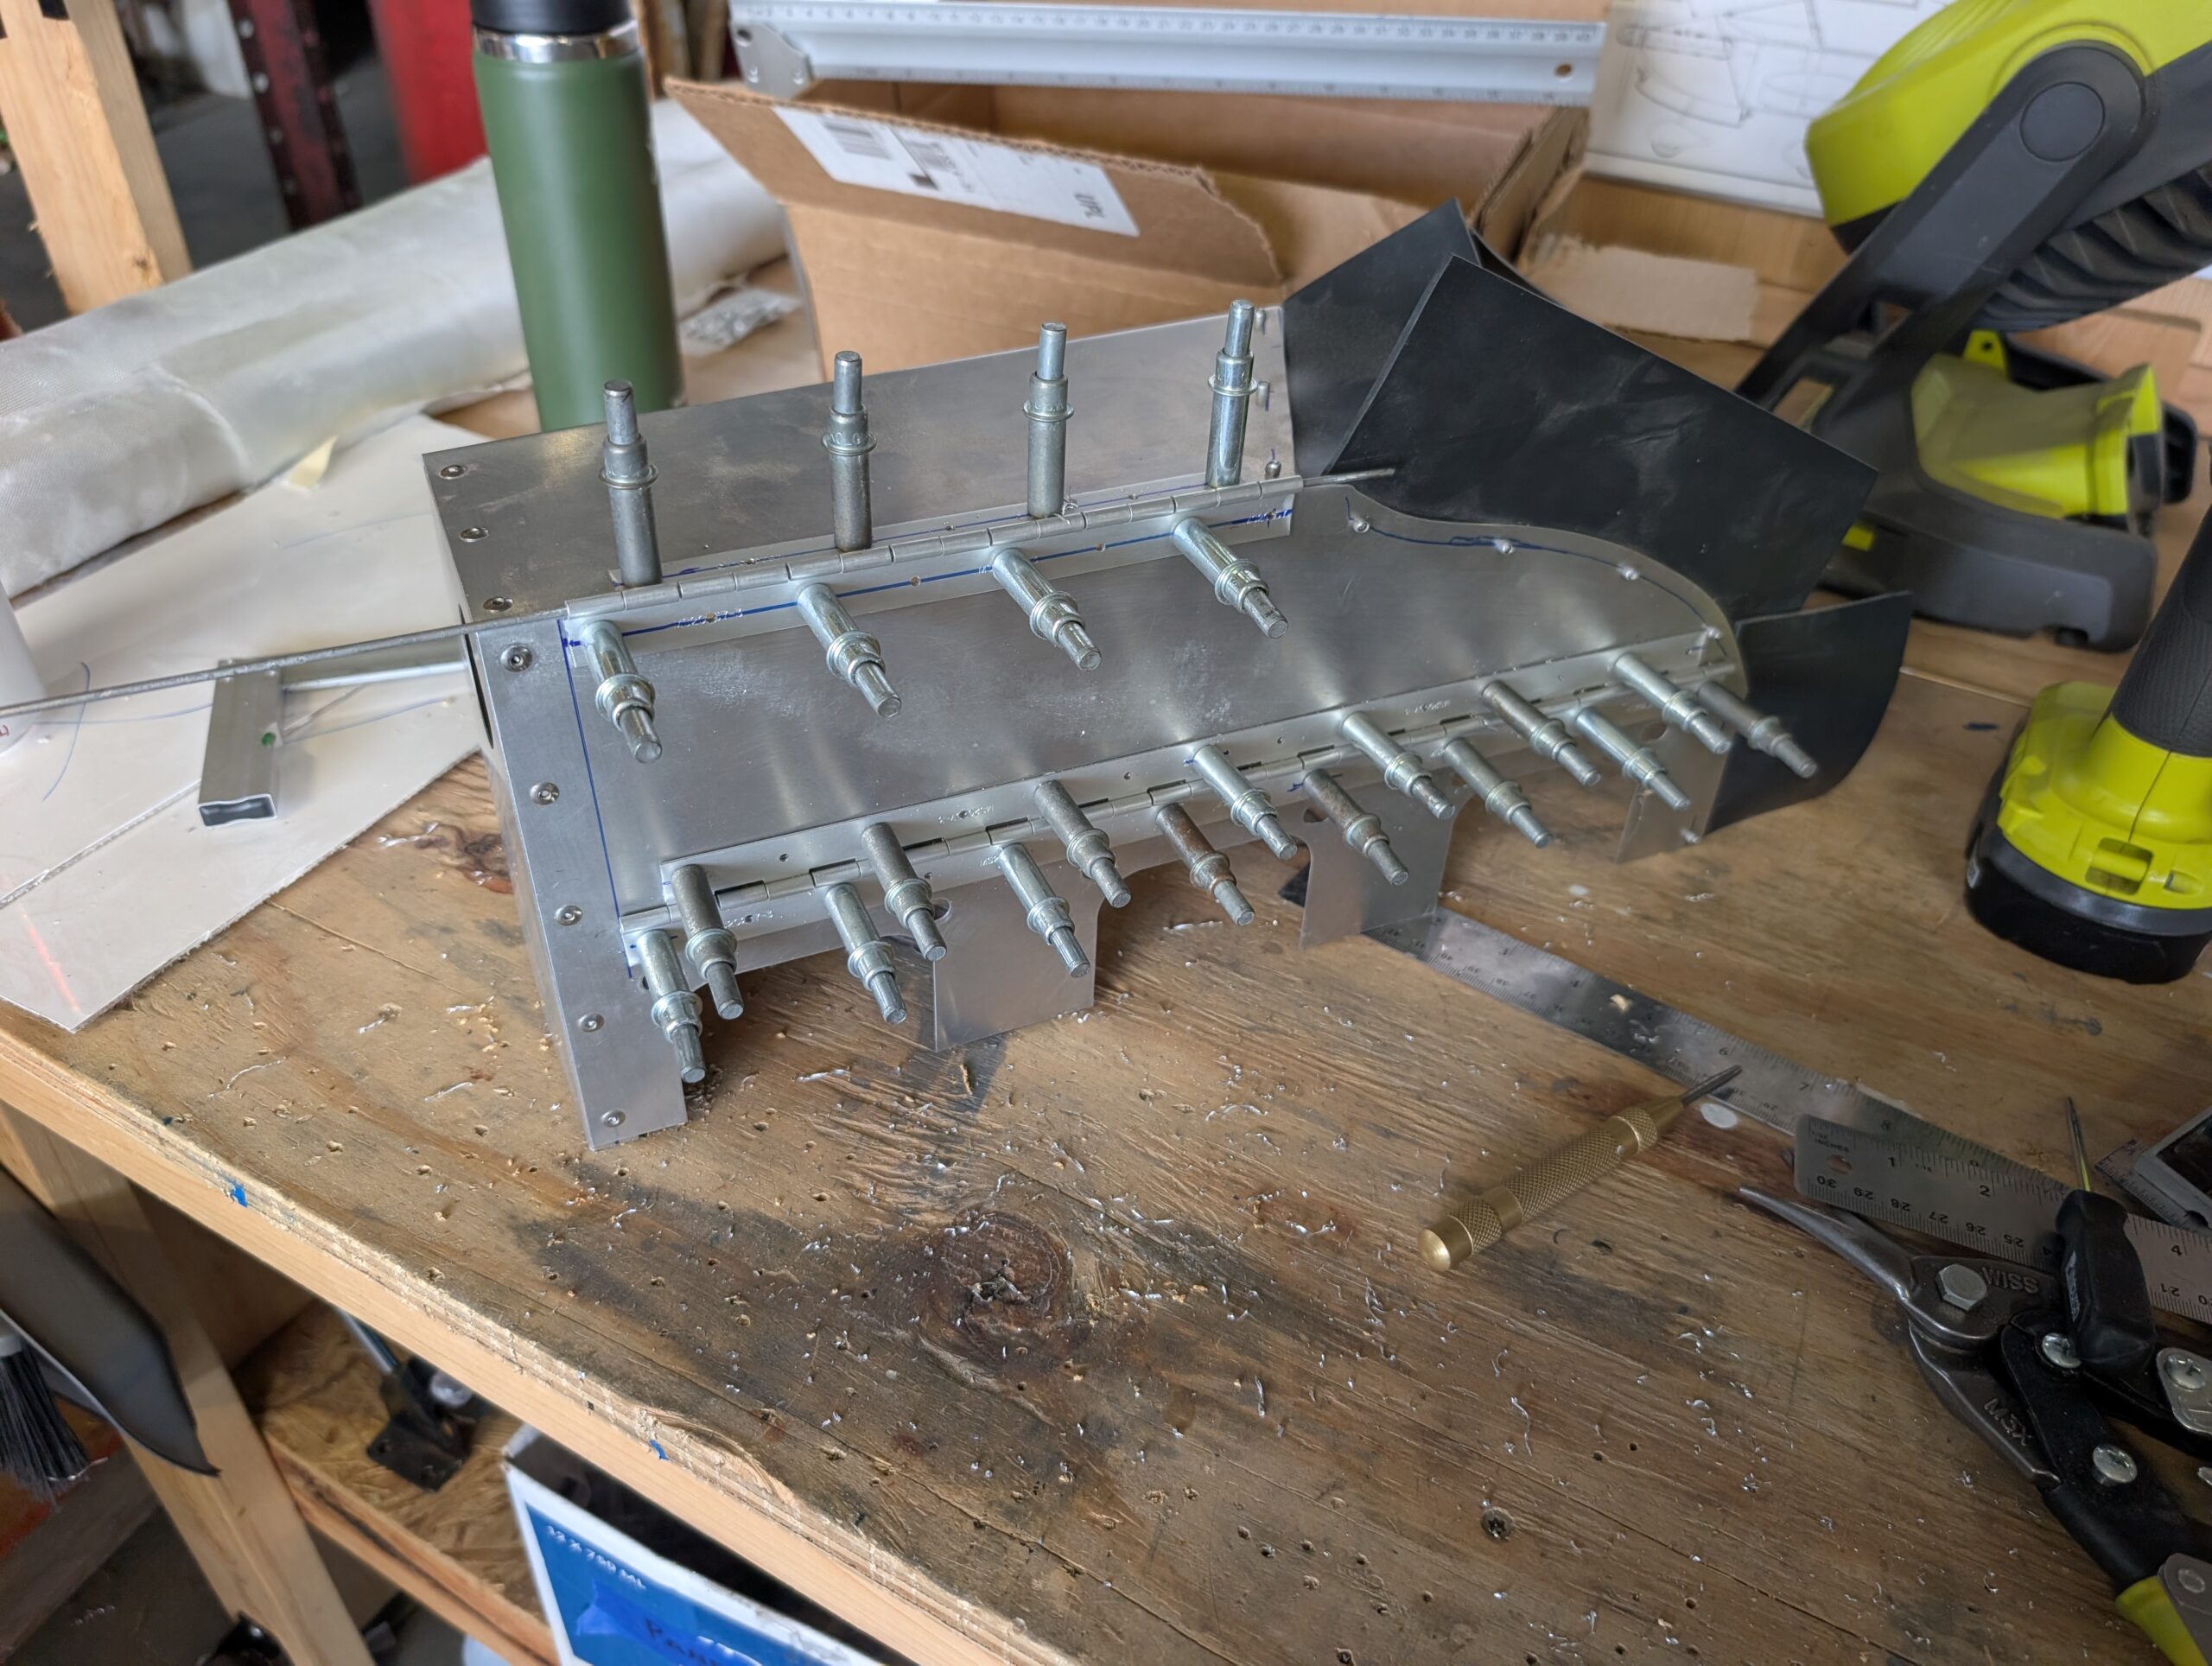
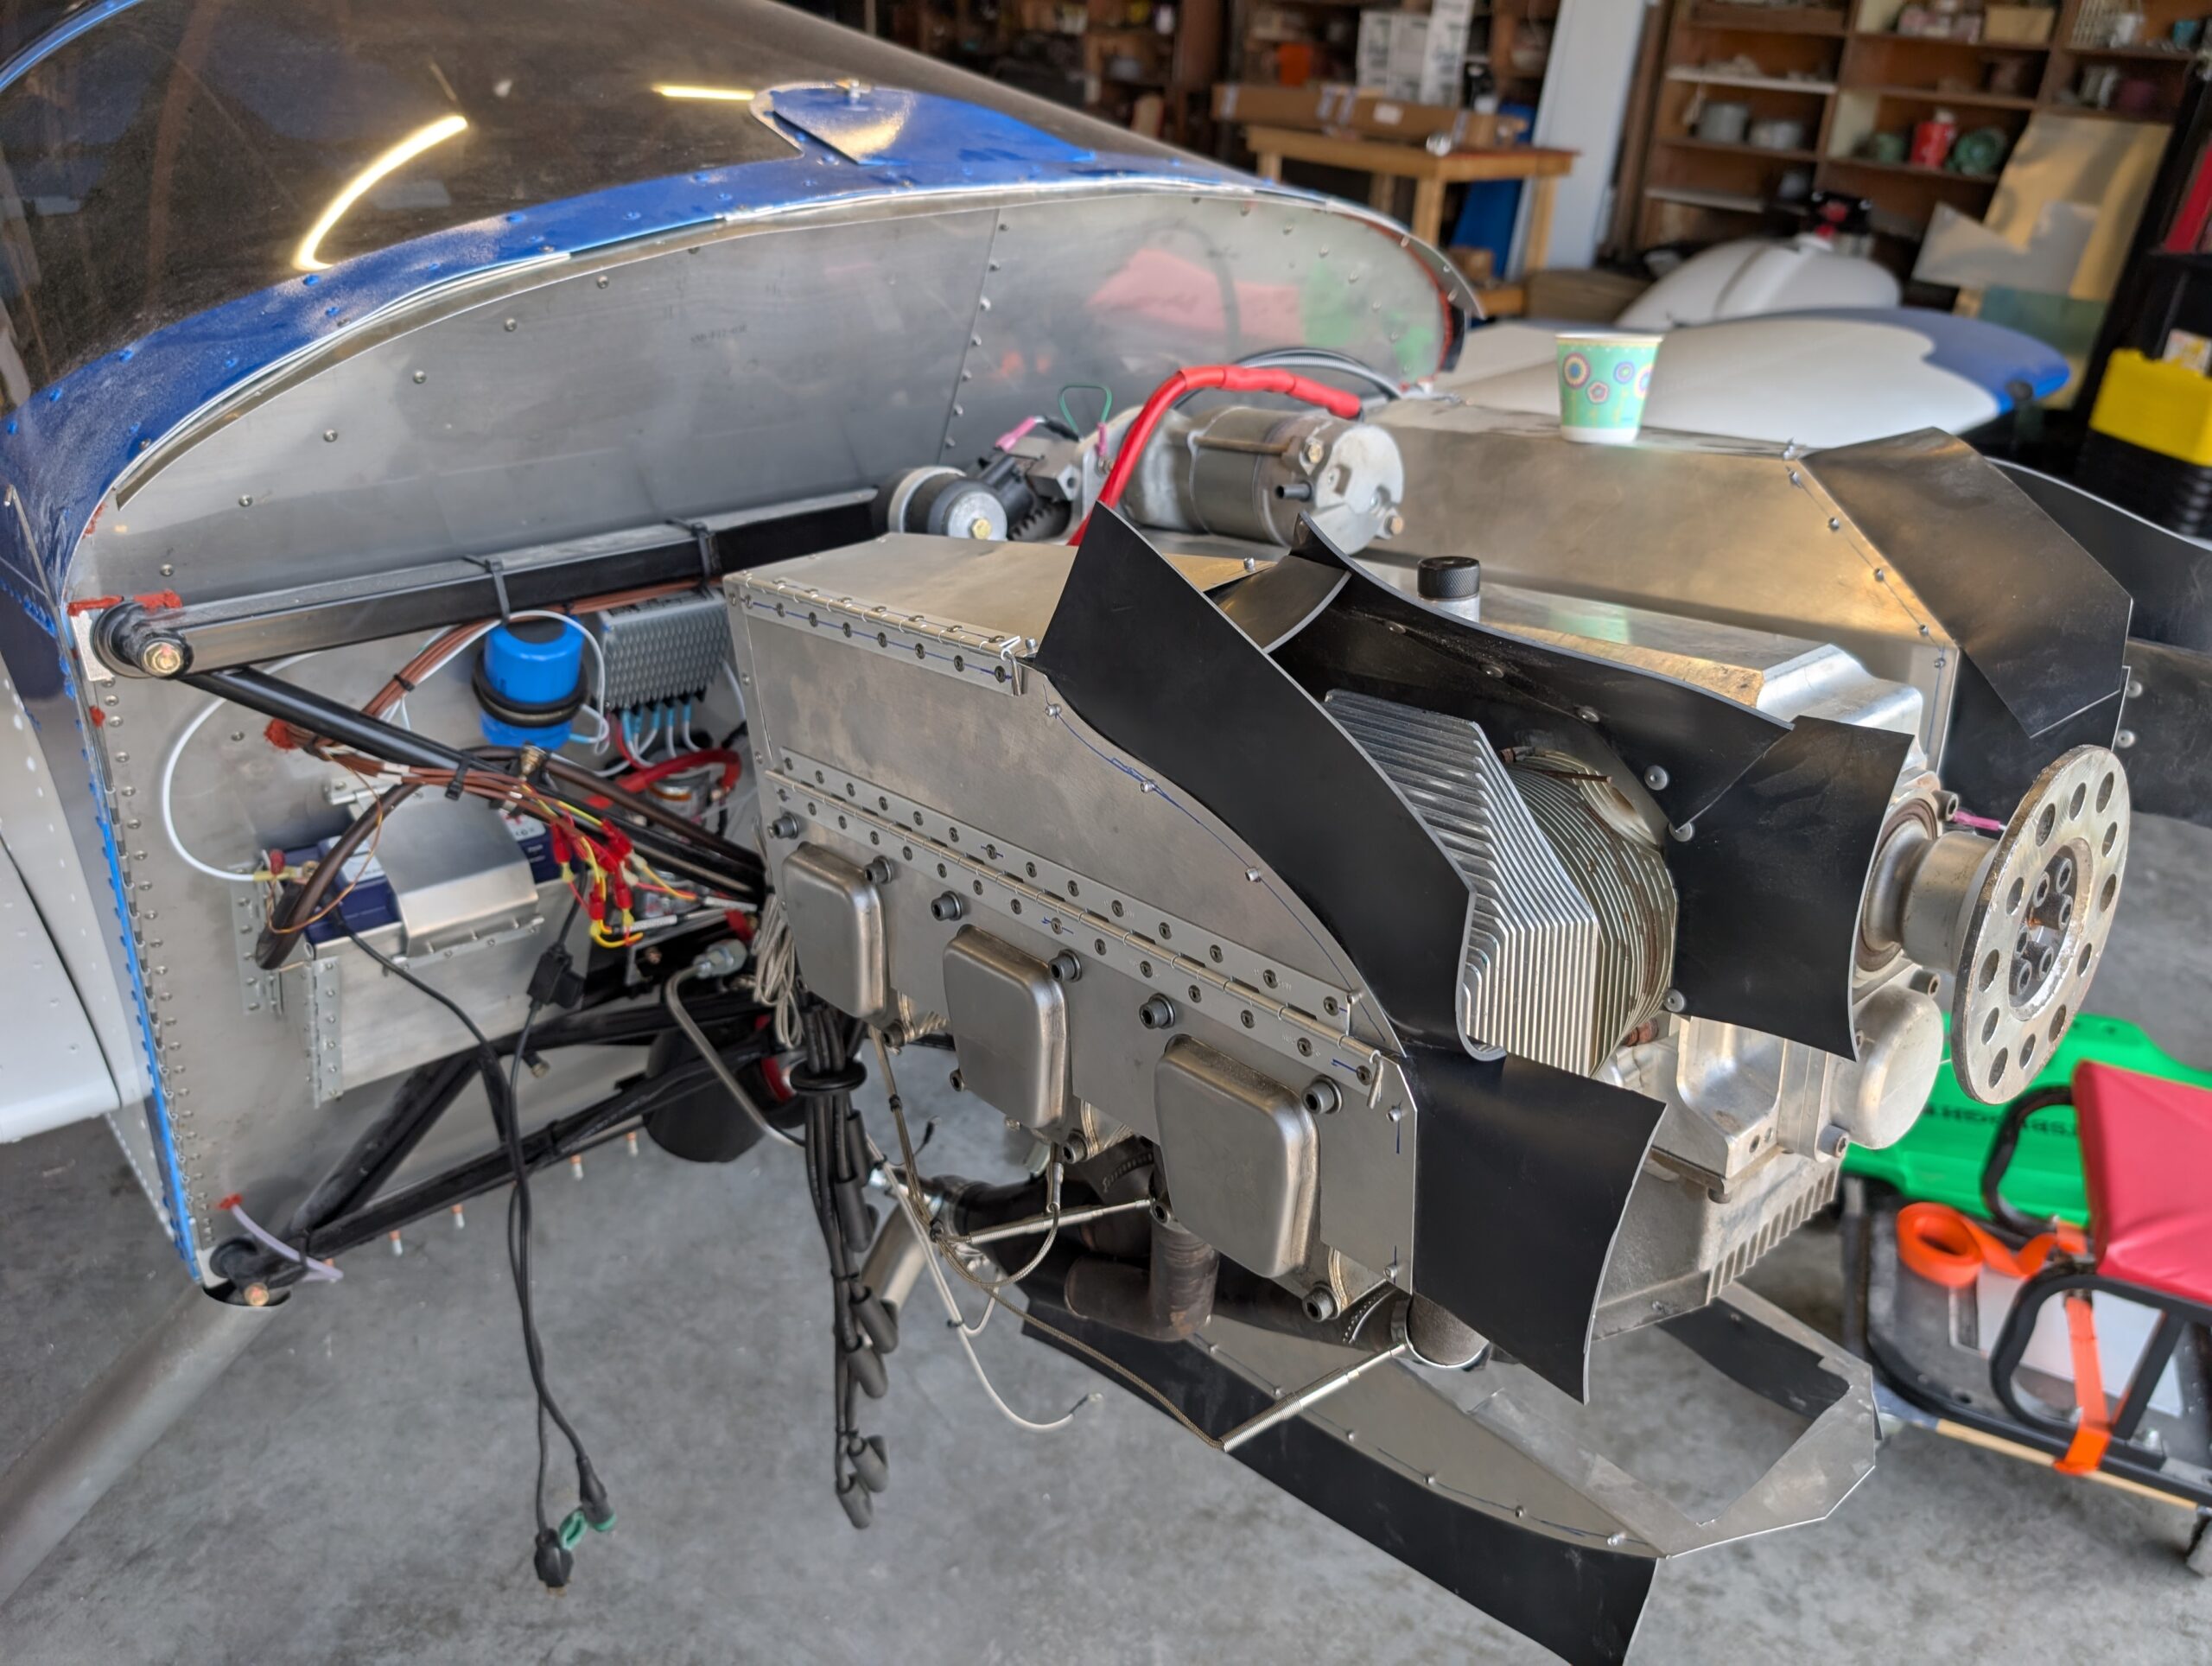
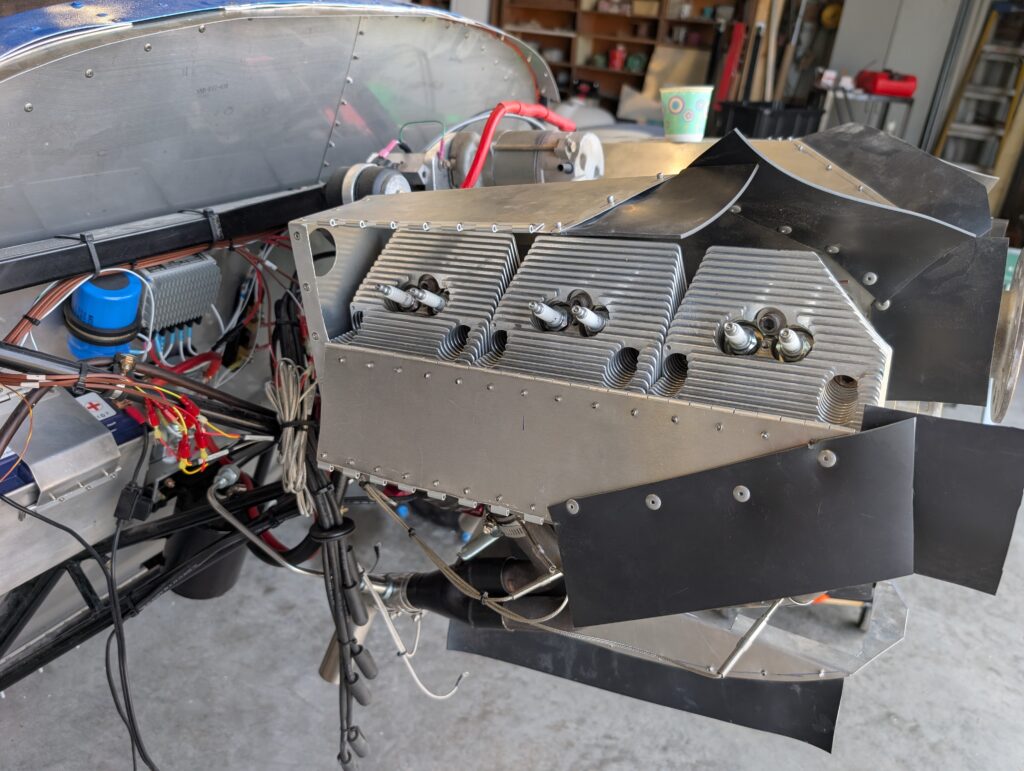
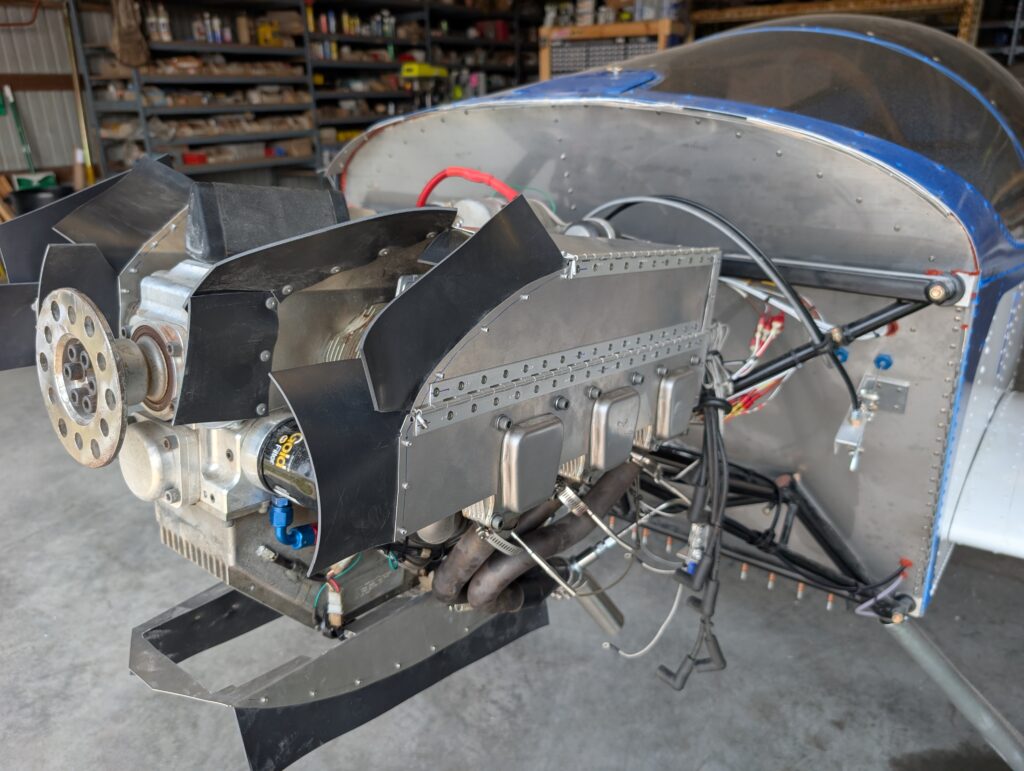
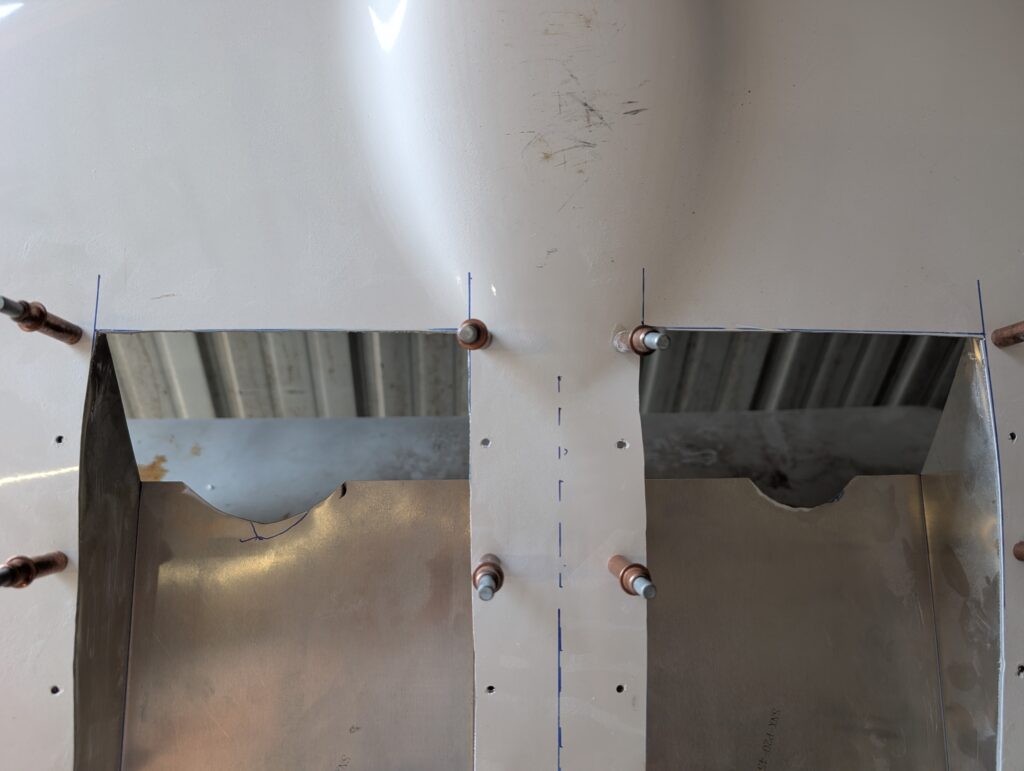
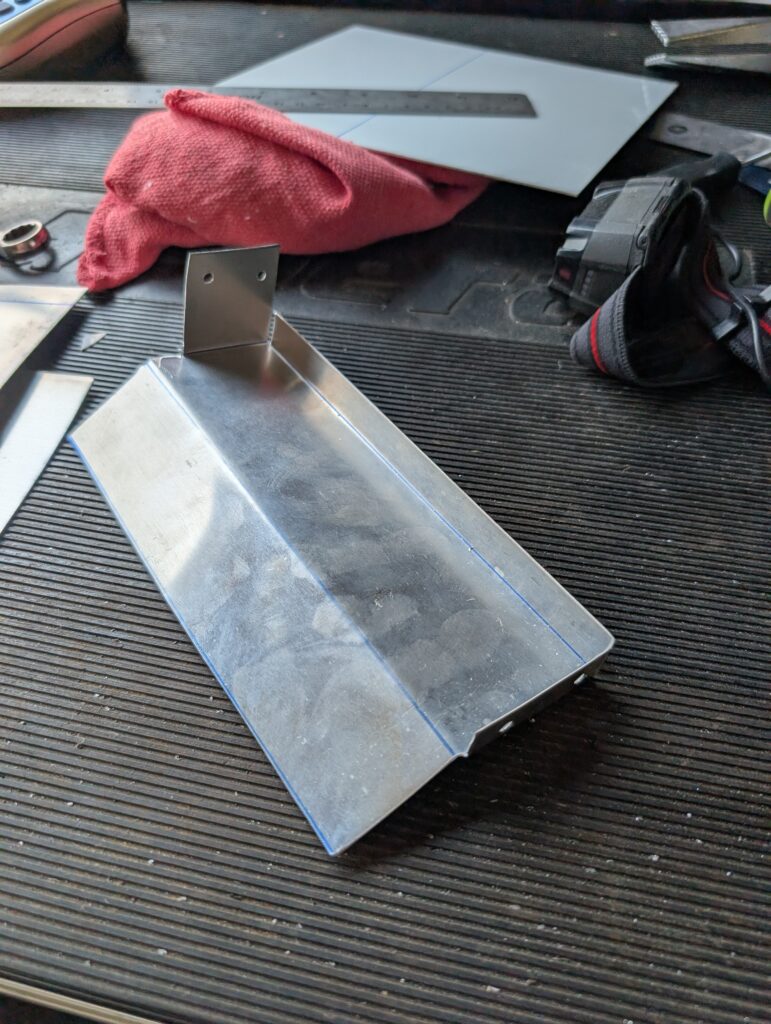
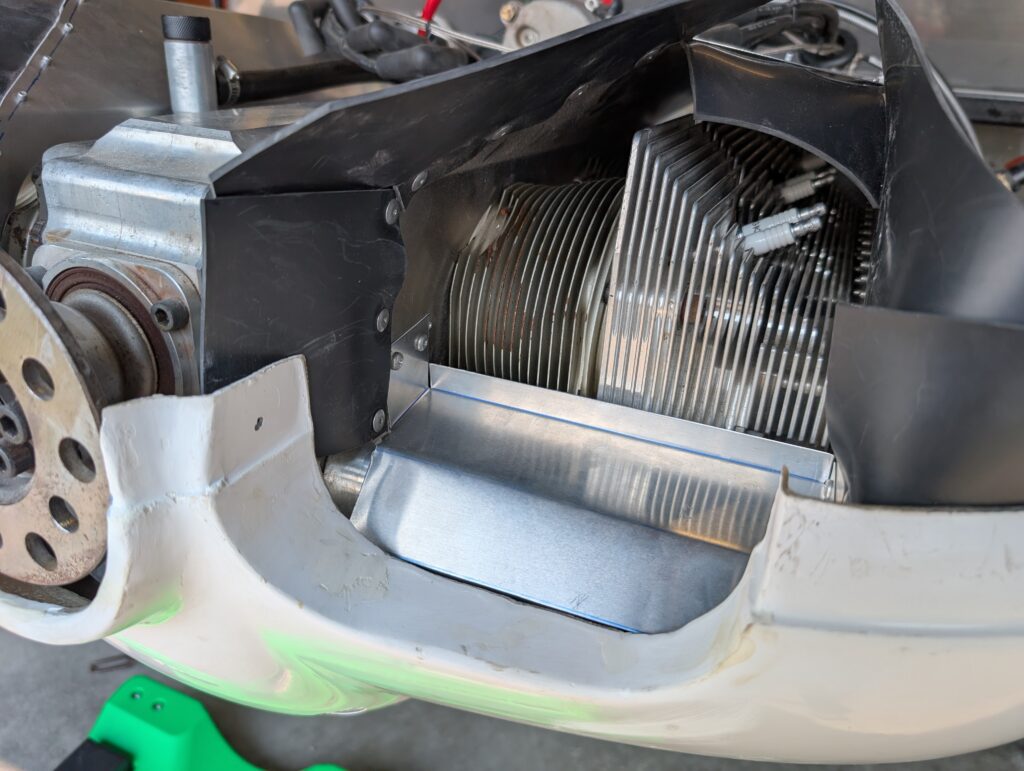
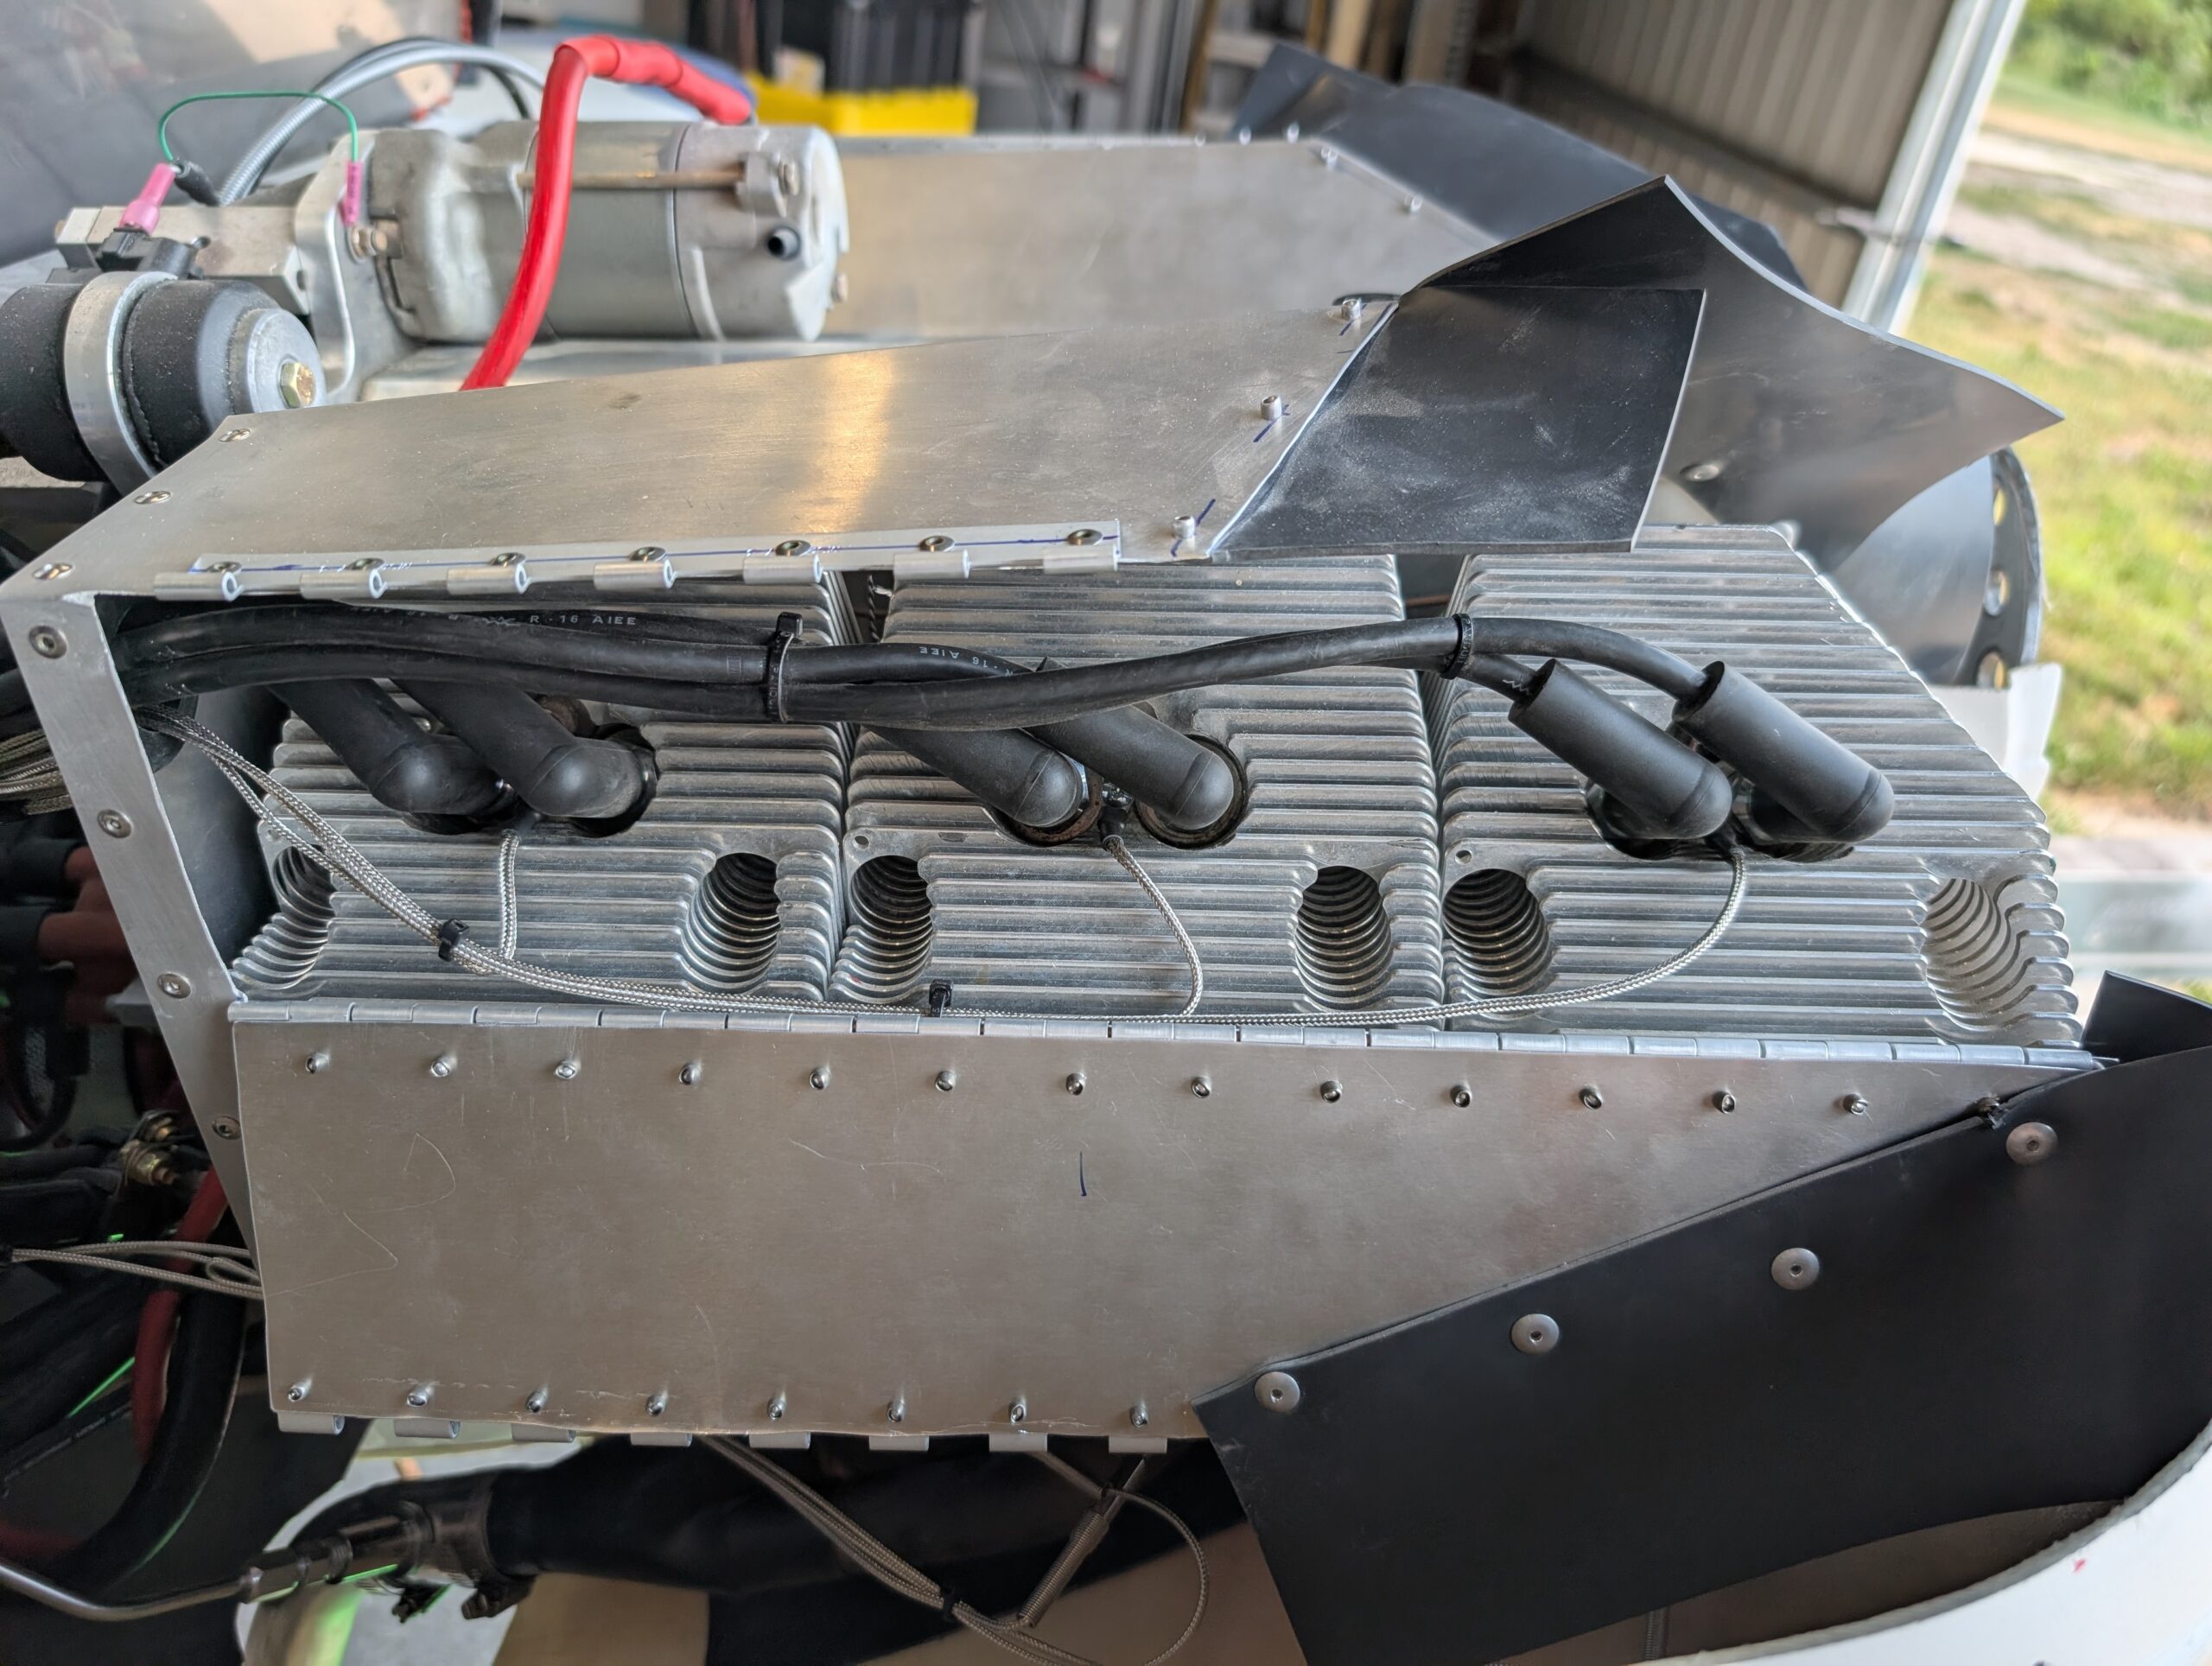
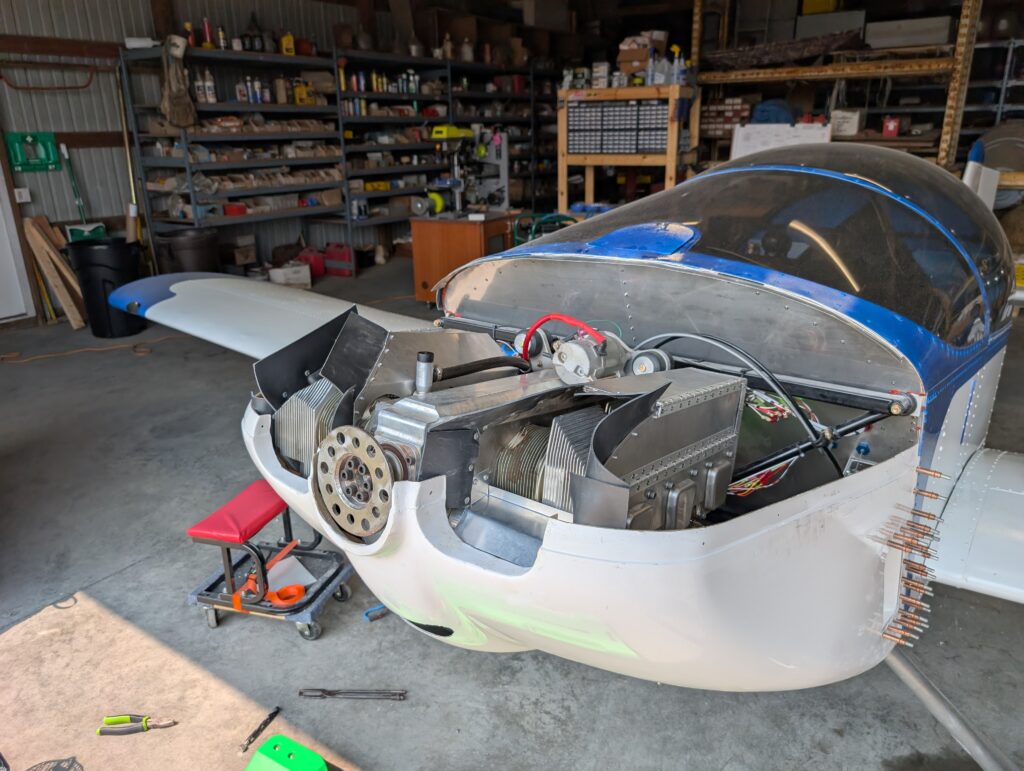
Removed AeroInjector needle carrier and replaced stock #2 needle with recommended #3 needle. Reinstalled needle carrier and set needle setting per manual by marking start of taper and aligning it with top of throttle slide. Reinstalled set screw and dust cap. Safety wired AeroInjector to engine via intake pipes. Decided to modify baffles to make maintenance easier by adding removable side. Cut piano hinges and laid out hinges on cut locations. Pilot drilled and clecoes hinges to baffle then cut side panel out. Updrilled hinges then riveted hinges to engine baffle. Temporarily installed baffle onto engine to check fitment; good check. Repeated process for RH side. Trimmed exhaust tunnels slightly to better clearance exhaust pipes before removing both tail pipes. Installed lower cowl onto aircraft then reinstalled tail pipes. Lower cowl is not able to be fitted with tail pipes installed so they will need to be installed after cowl is fit from now on. Created baffle plate for LH side out of scrap aluminum and attached to baffle via #6 screws and lock nuts. Opted to not make baffle plate for RH side for now due to very small area between front cylinder and cowl opening. Routed spark plug wires and CHT probes through baffle openings and completed connections. Installed grommets in baffles.
Hours Worked: 7.57
Leave a Reply