emkrueger830

Wing Pushrod Installation – Part 1
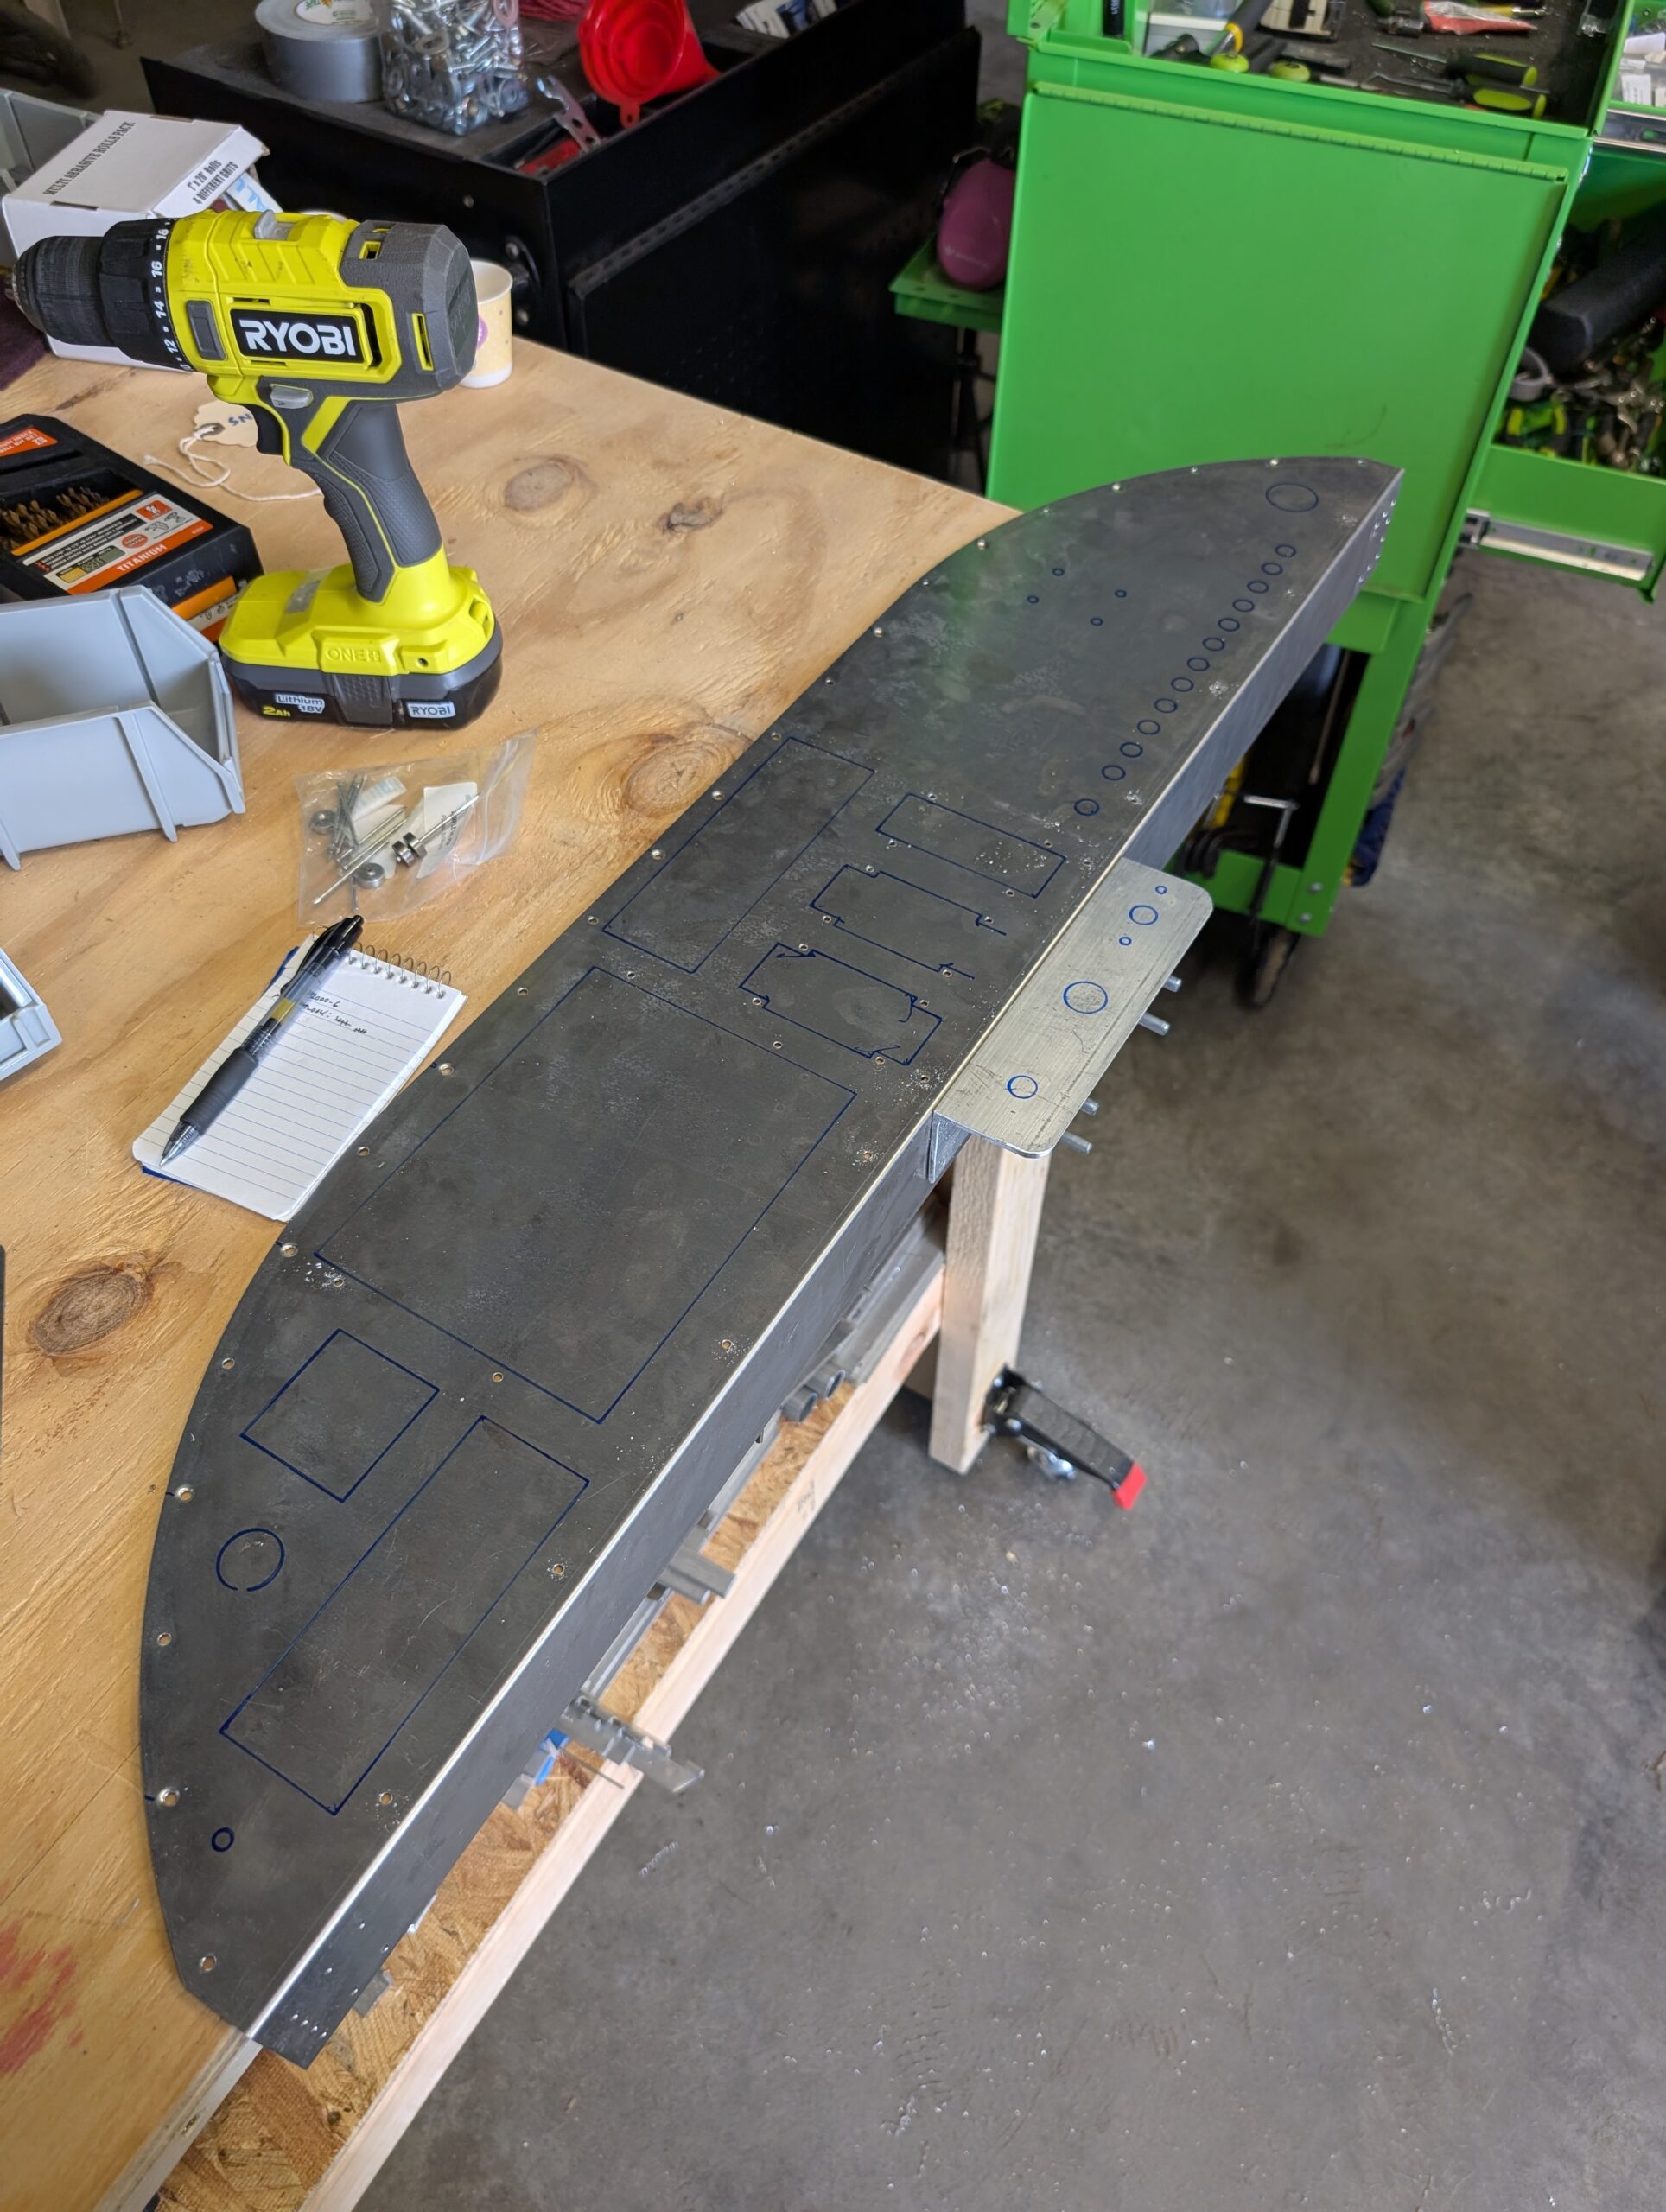
Removed aileron bellcrank access covers from wings and inserted C03-01 main aileron pushrods into wings. Attached to aileron bellcrank with AN3 hardware and castle nut. Installed C03-03 flap pushrods onto flaps with AN4 hardware. Hours Worked: 0.98

Wing Rigging – Part 1
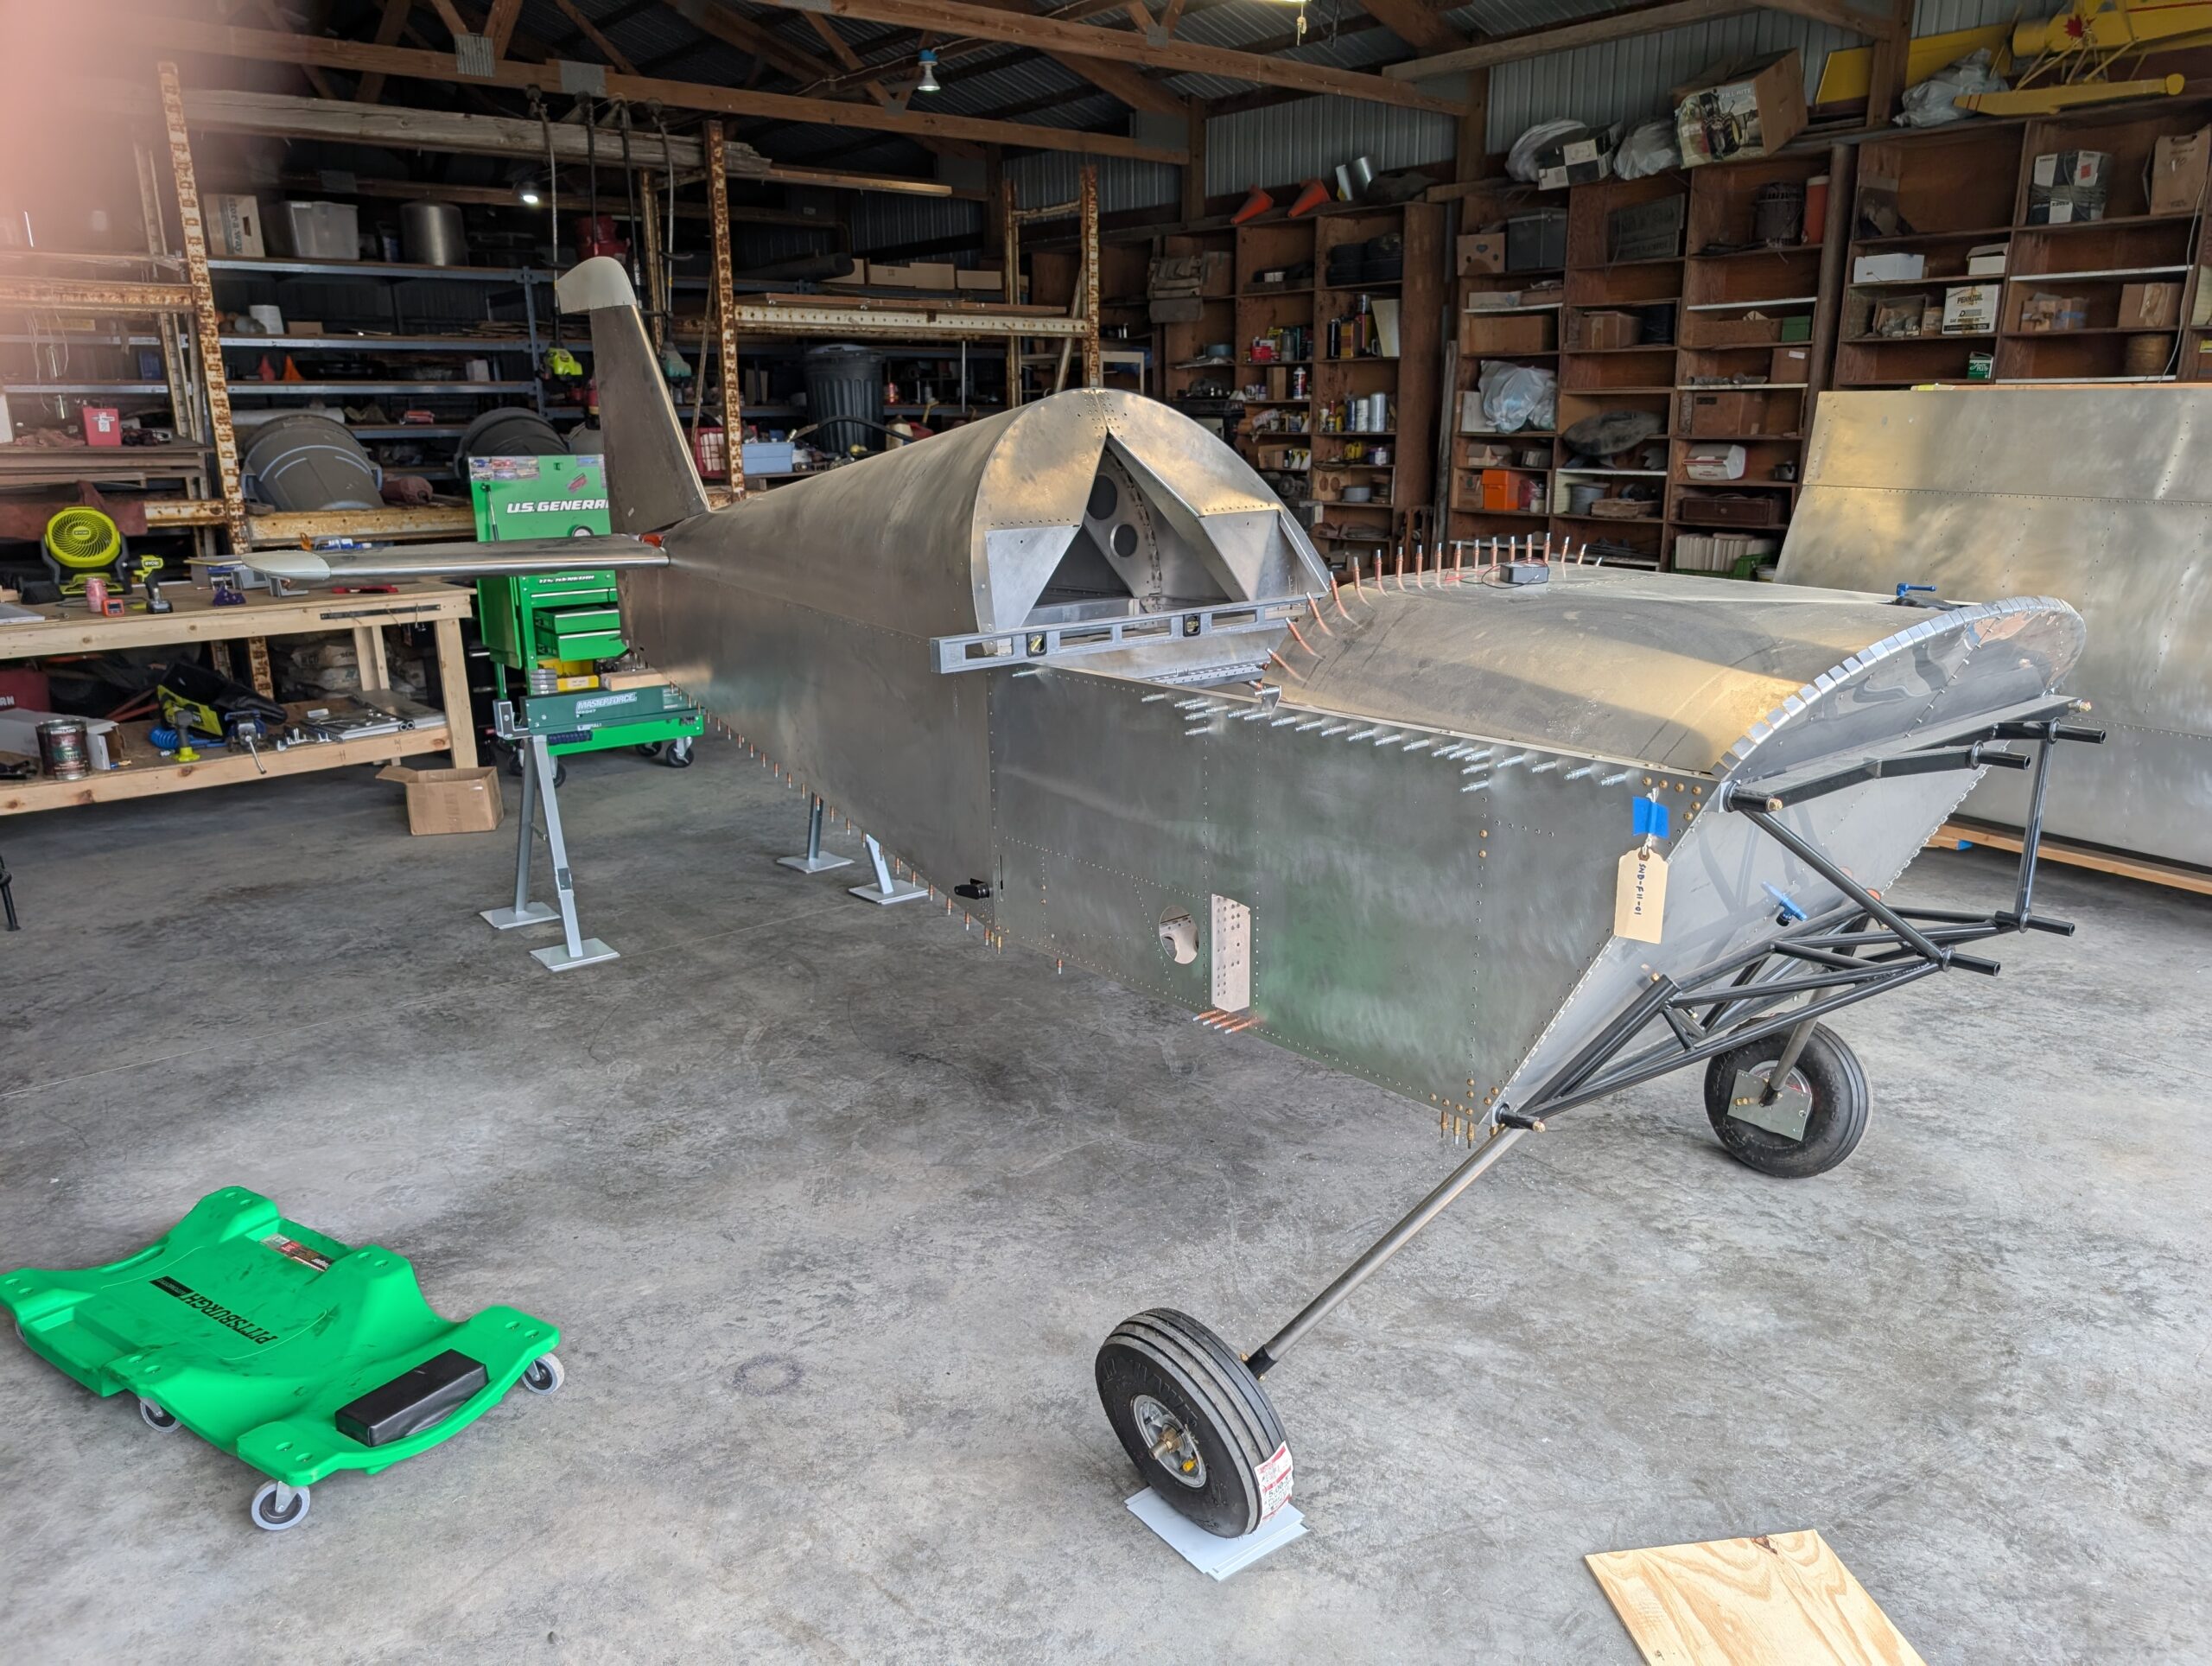
Removed forward tunnel zee and forward wing attach angles from fuselage. Updrilled alignment holes in forward and aft spar tunnels to 5/8″ to facilitate rigging bolts. Removed wing root doubelers from wings in preparation for wing rigging procedure. Began process of leveling fuselage by putting tail on a saw horse and then shimming L/R main…
Tail Installation – Part 4
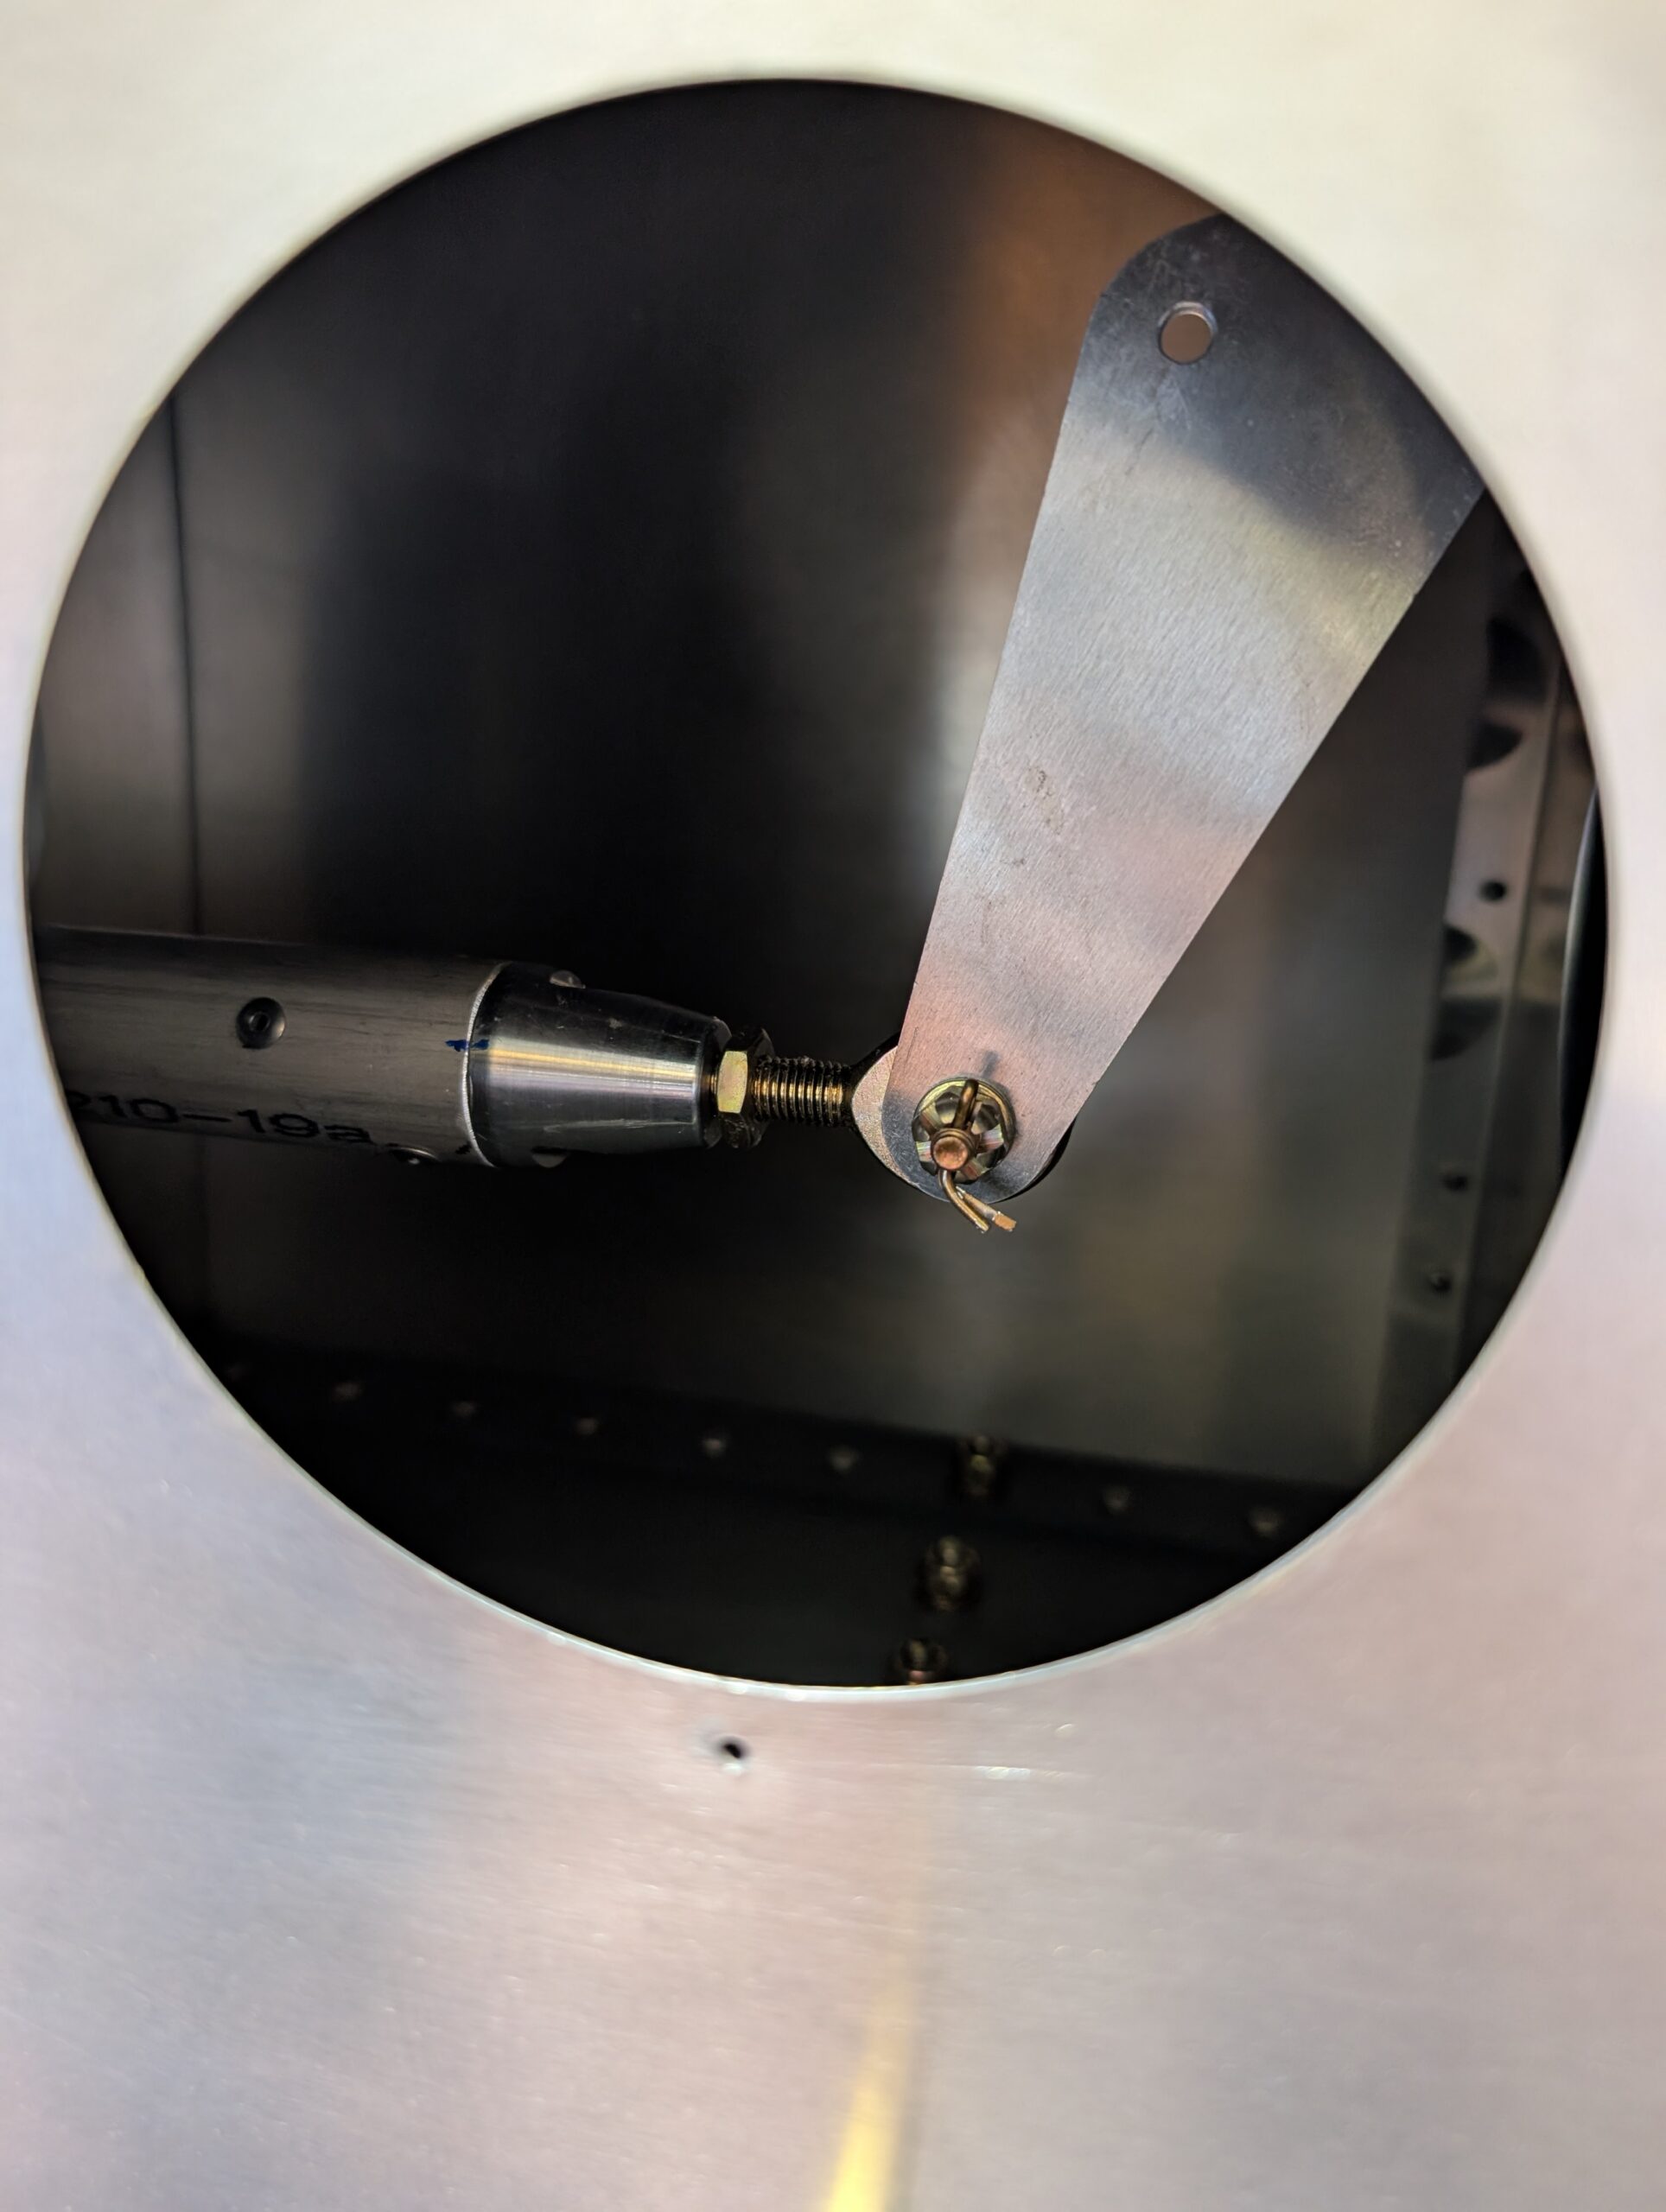
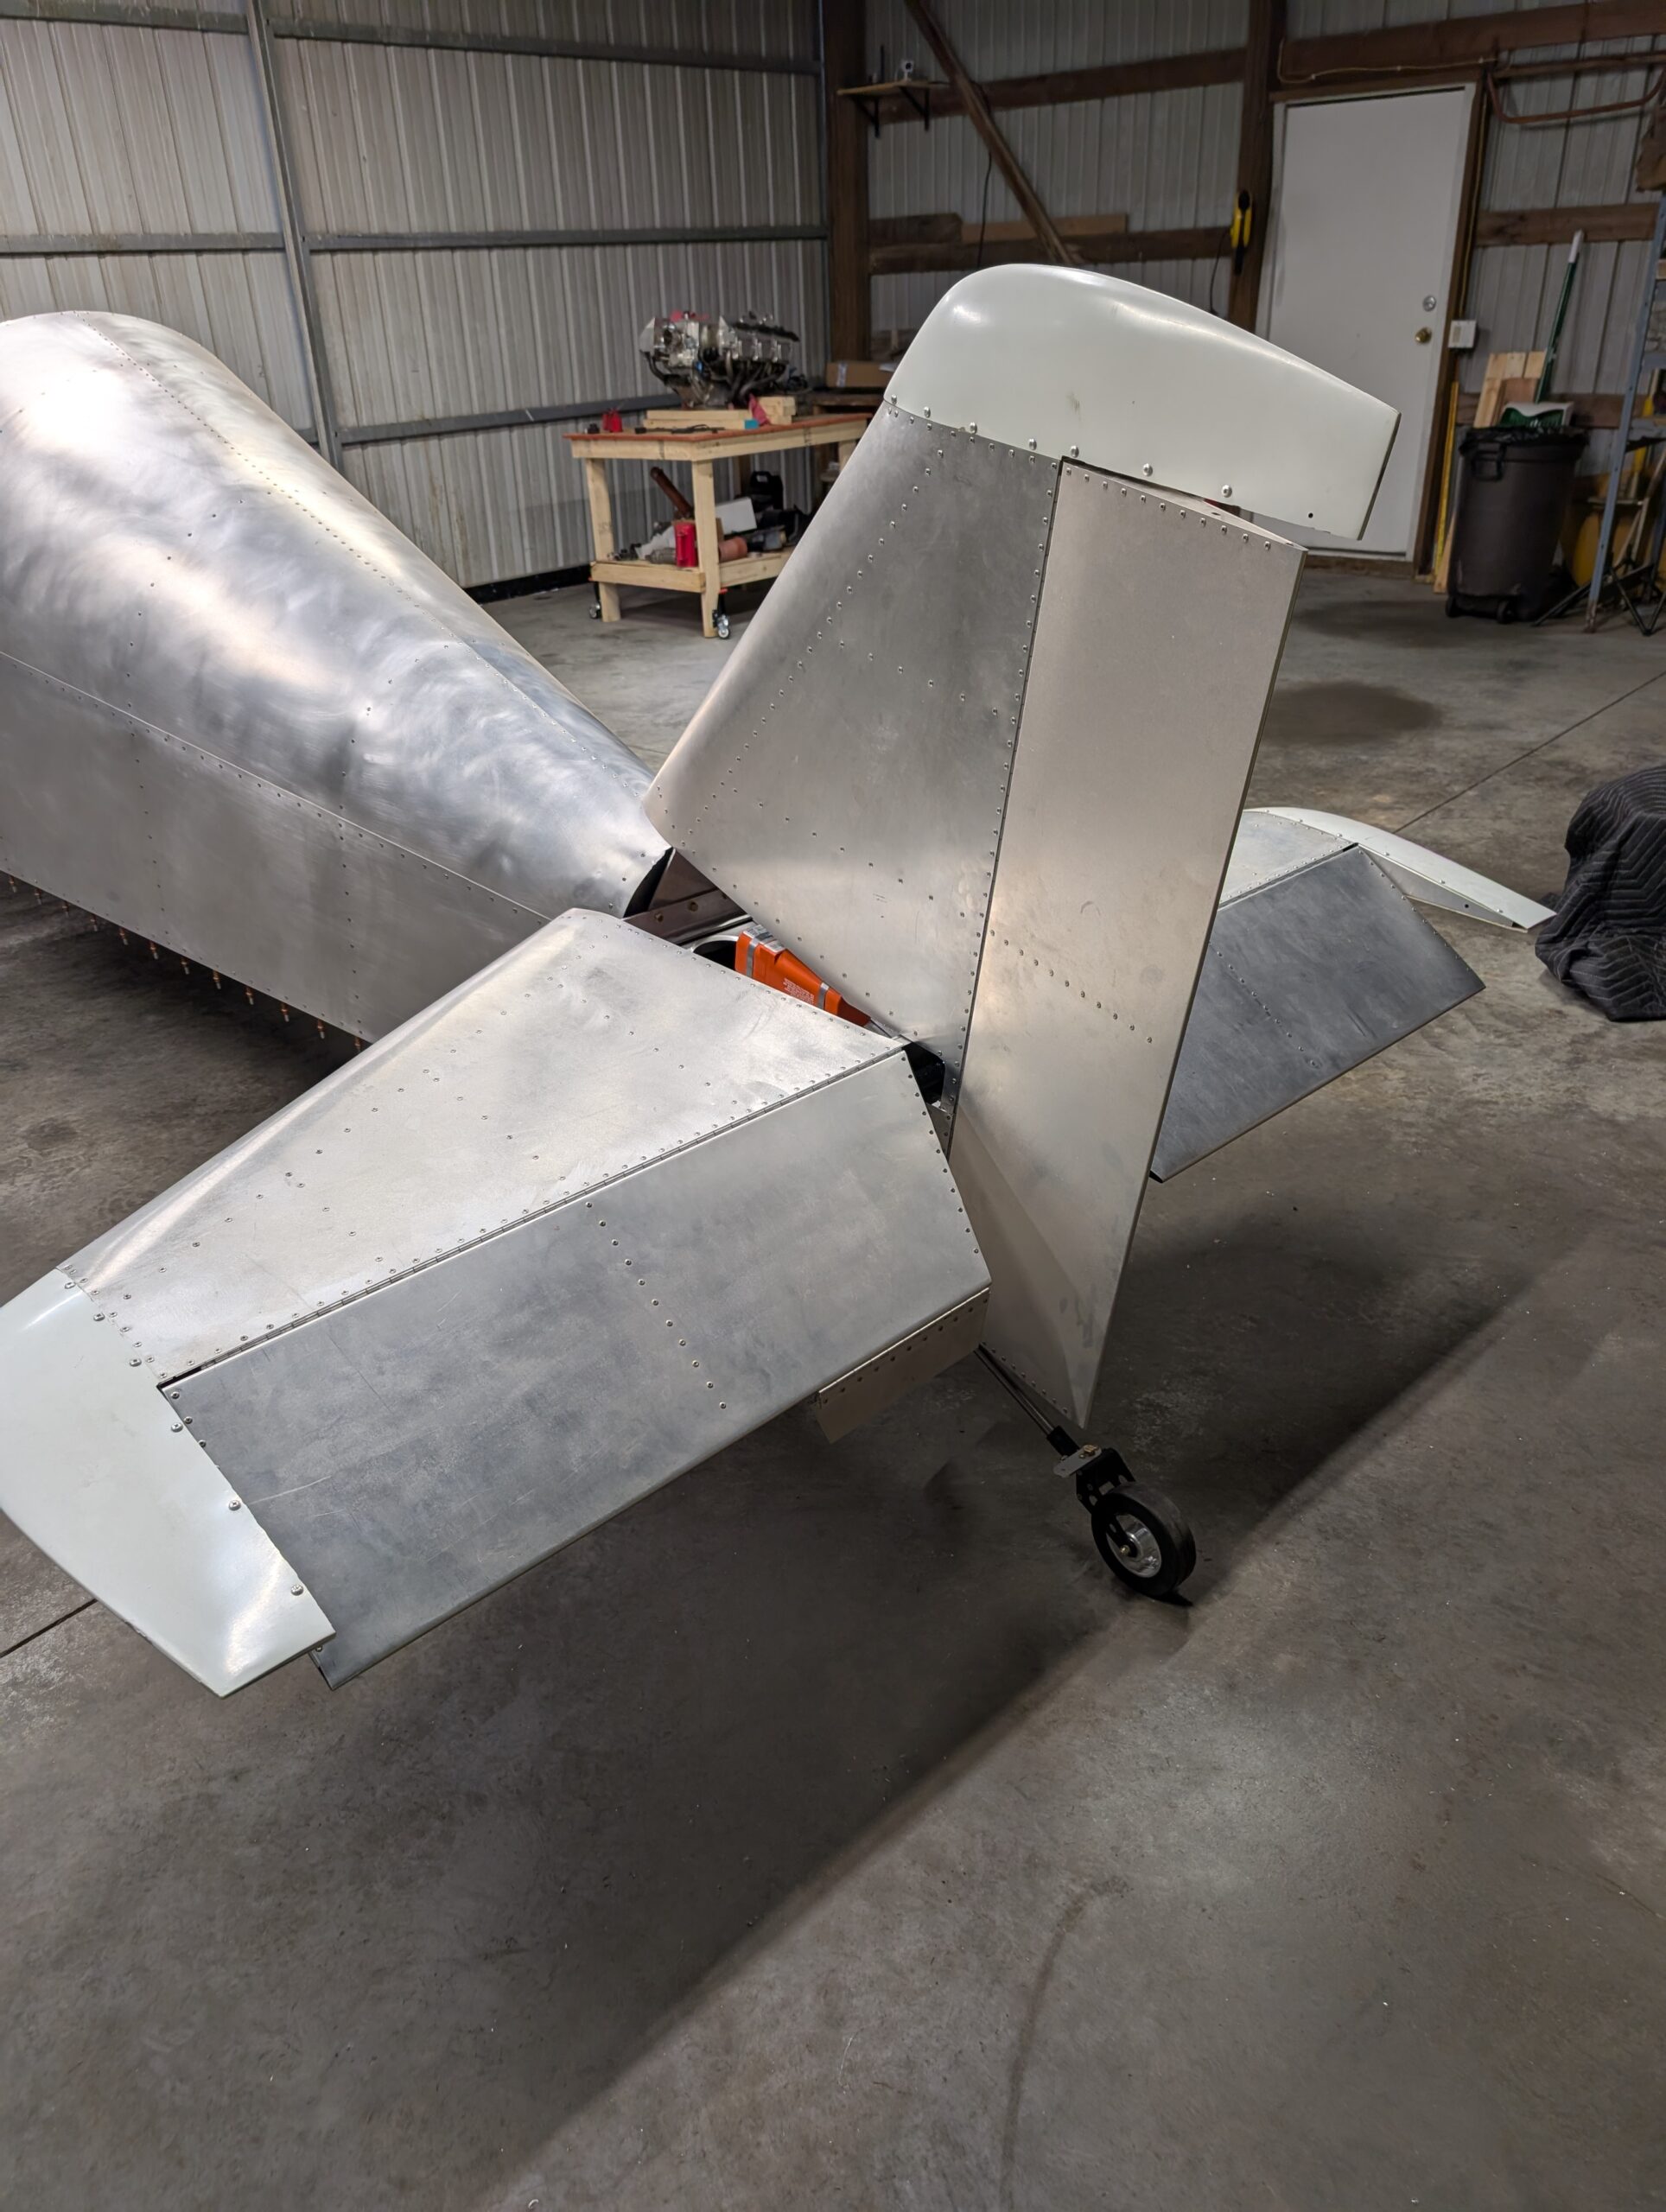
Placed newly rebuilt elevator onto horizontal stabilizer to check fitment; fit checked good with overall width not changing. Reinstalled elevator hinge pins then reinstalled vertical tail and rudder. Checked elevator travel and verified 23 degrees up travel and 24 degrees down travel limited by stops on elevator horn. Hours Worked: 2.82
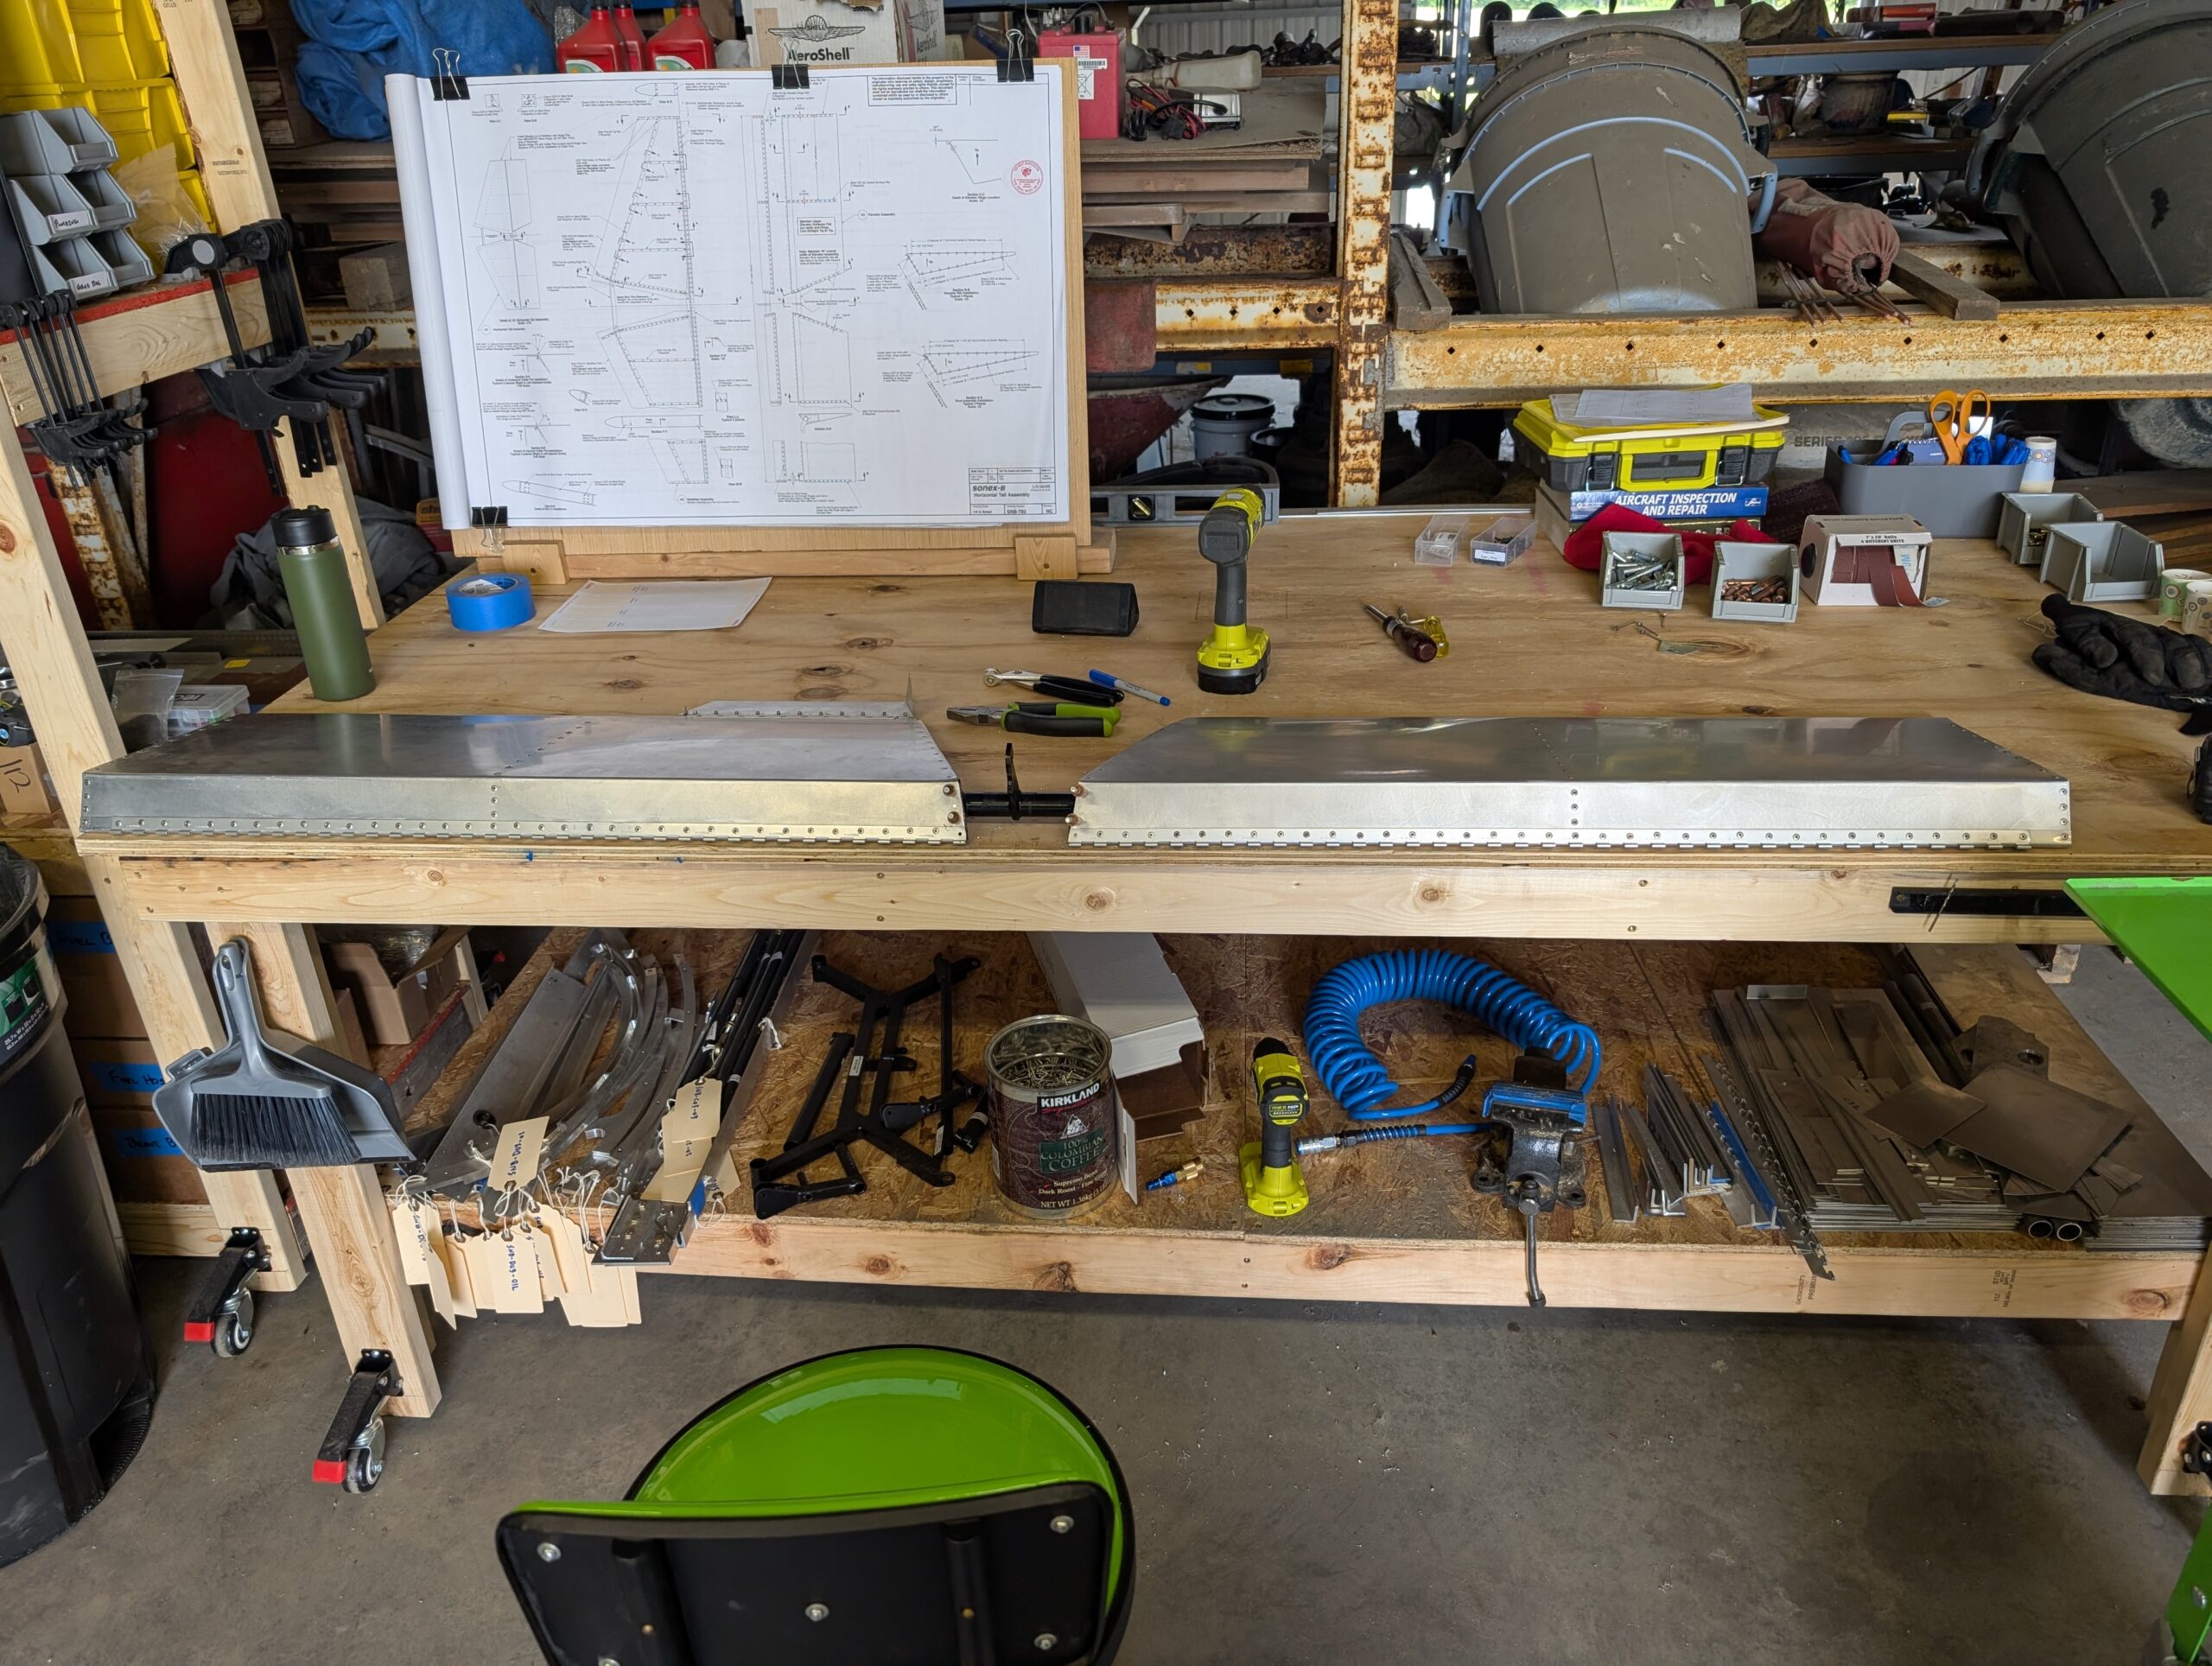
Elevator Horn Re-do – Part 3
Verified flatness and squareness of elevator assembly on workbench then final drilled inboard elevator ribs using existing holes in elevator skin. Disassembled, deburred, then riveted elevators together. Hours Worked: 1.27
Elevator Horn Re-do – Part 2
Located new inboard elevator ribs onto elevator horn per B model plans; made sure horn was all the way forward on ribs to increase uptravel limits. Drilled new holes in ribs from existing elevator horn. Disassembled and debuted holes in elevator ribs. Located and transfered holes for trim cable bracket to new rib (even though…
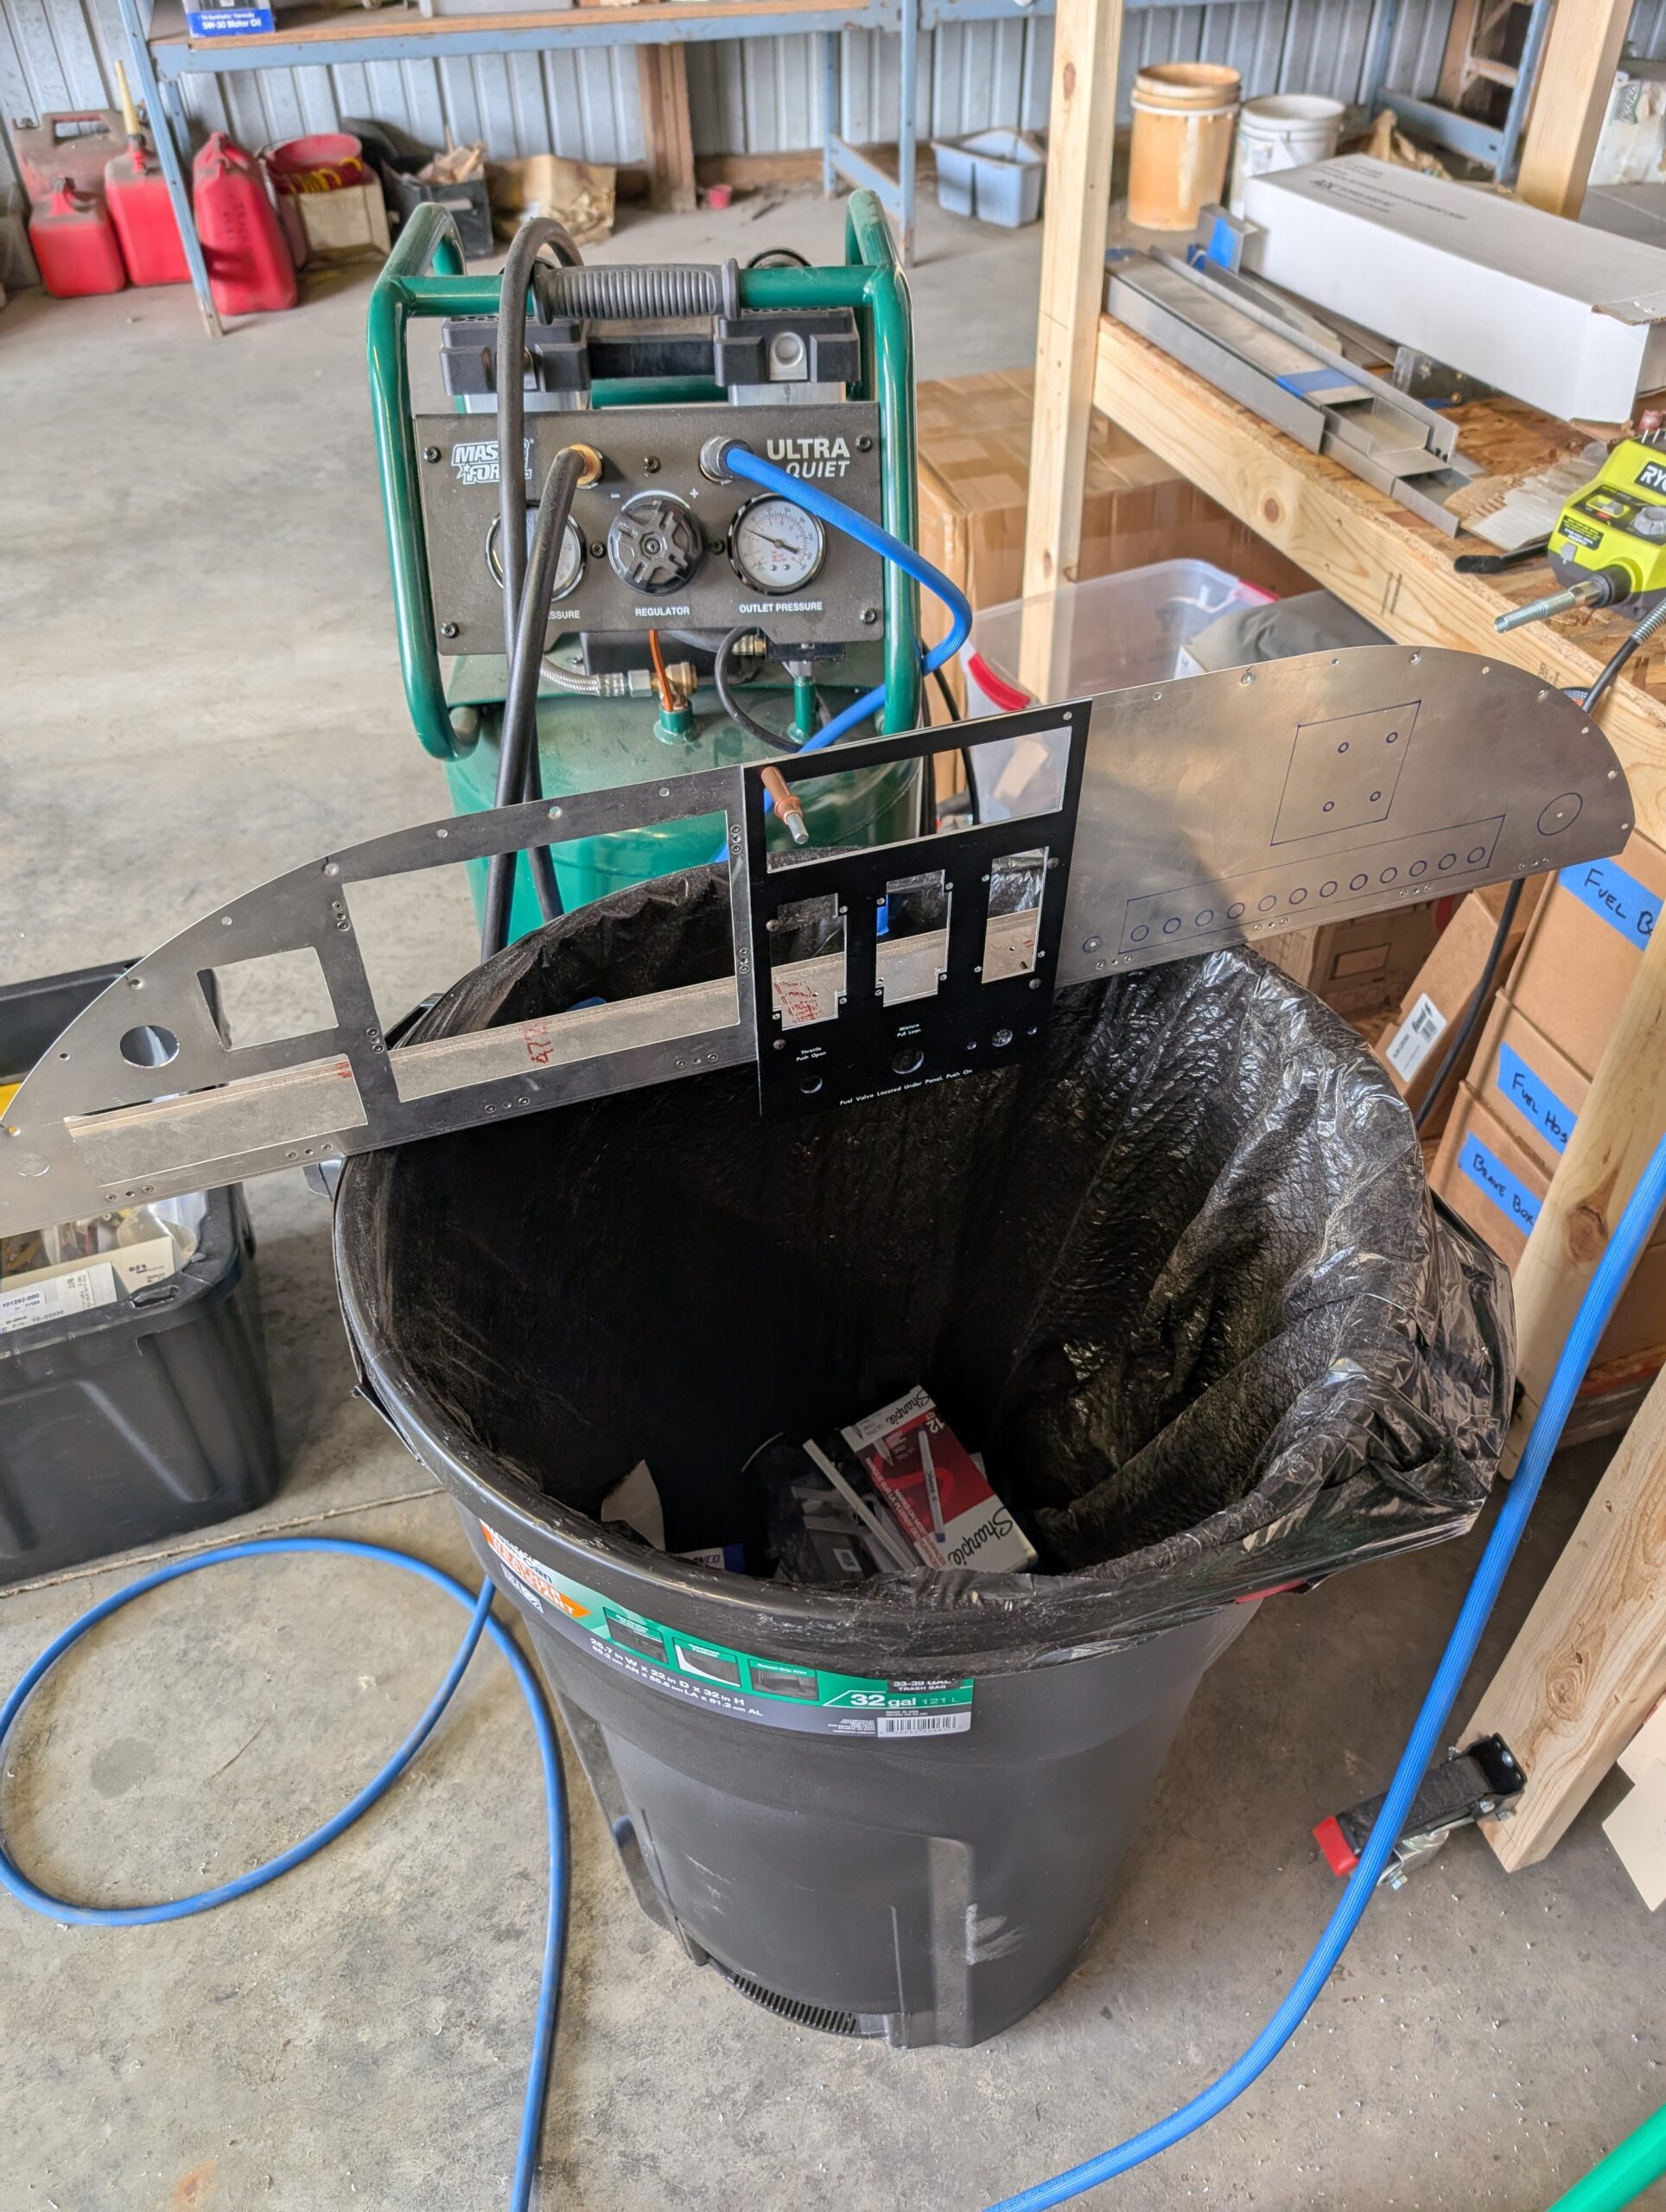
Panel Installation – Part 6
Finished cutting out access holes in right side of panel blank. Test fit right panel with circuit breakers installed for clearance; fit okay. Temporarily reinstalled panel backer into fuselage with clecos. Hours Worked: 1.18
Panel Installation – Part 5
Located GPS175 tray brackets onto tray and marked hole locations. Drilled screw holes into side brackets then installed 8-32 nutplates. Attached brackets to tray and mocked up location on panel backer. Updrilled bracket attach holes then prepped brackets and panel backer for flush rivets. Riveted GPS175 mounting tray to panel backer. Drilled out holes for…
Panel Installation – Part 4
Continued cutting out holes for instruments in panel backer. Test fit with components part-way through cutting. Began prepping GPS175 tray for installation by cutting out side brackets from .063 sheet. Bent brackets and drilled lighting holes. Cut out notch in LH bracket for SkyView display nutplate. Hours Worked: 3.72
Panel Installation – Part 3
Continued locating and installing nutplates into panel blank. Marked access hole locations on RH side of panel blank. Marked hole centers and began cutting out instrument holes into panel backer. Hours Worked: 2.57
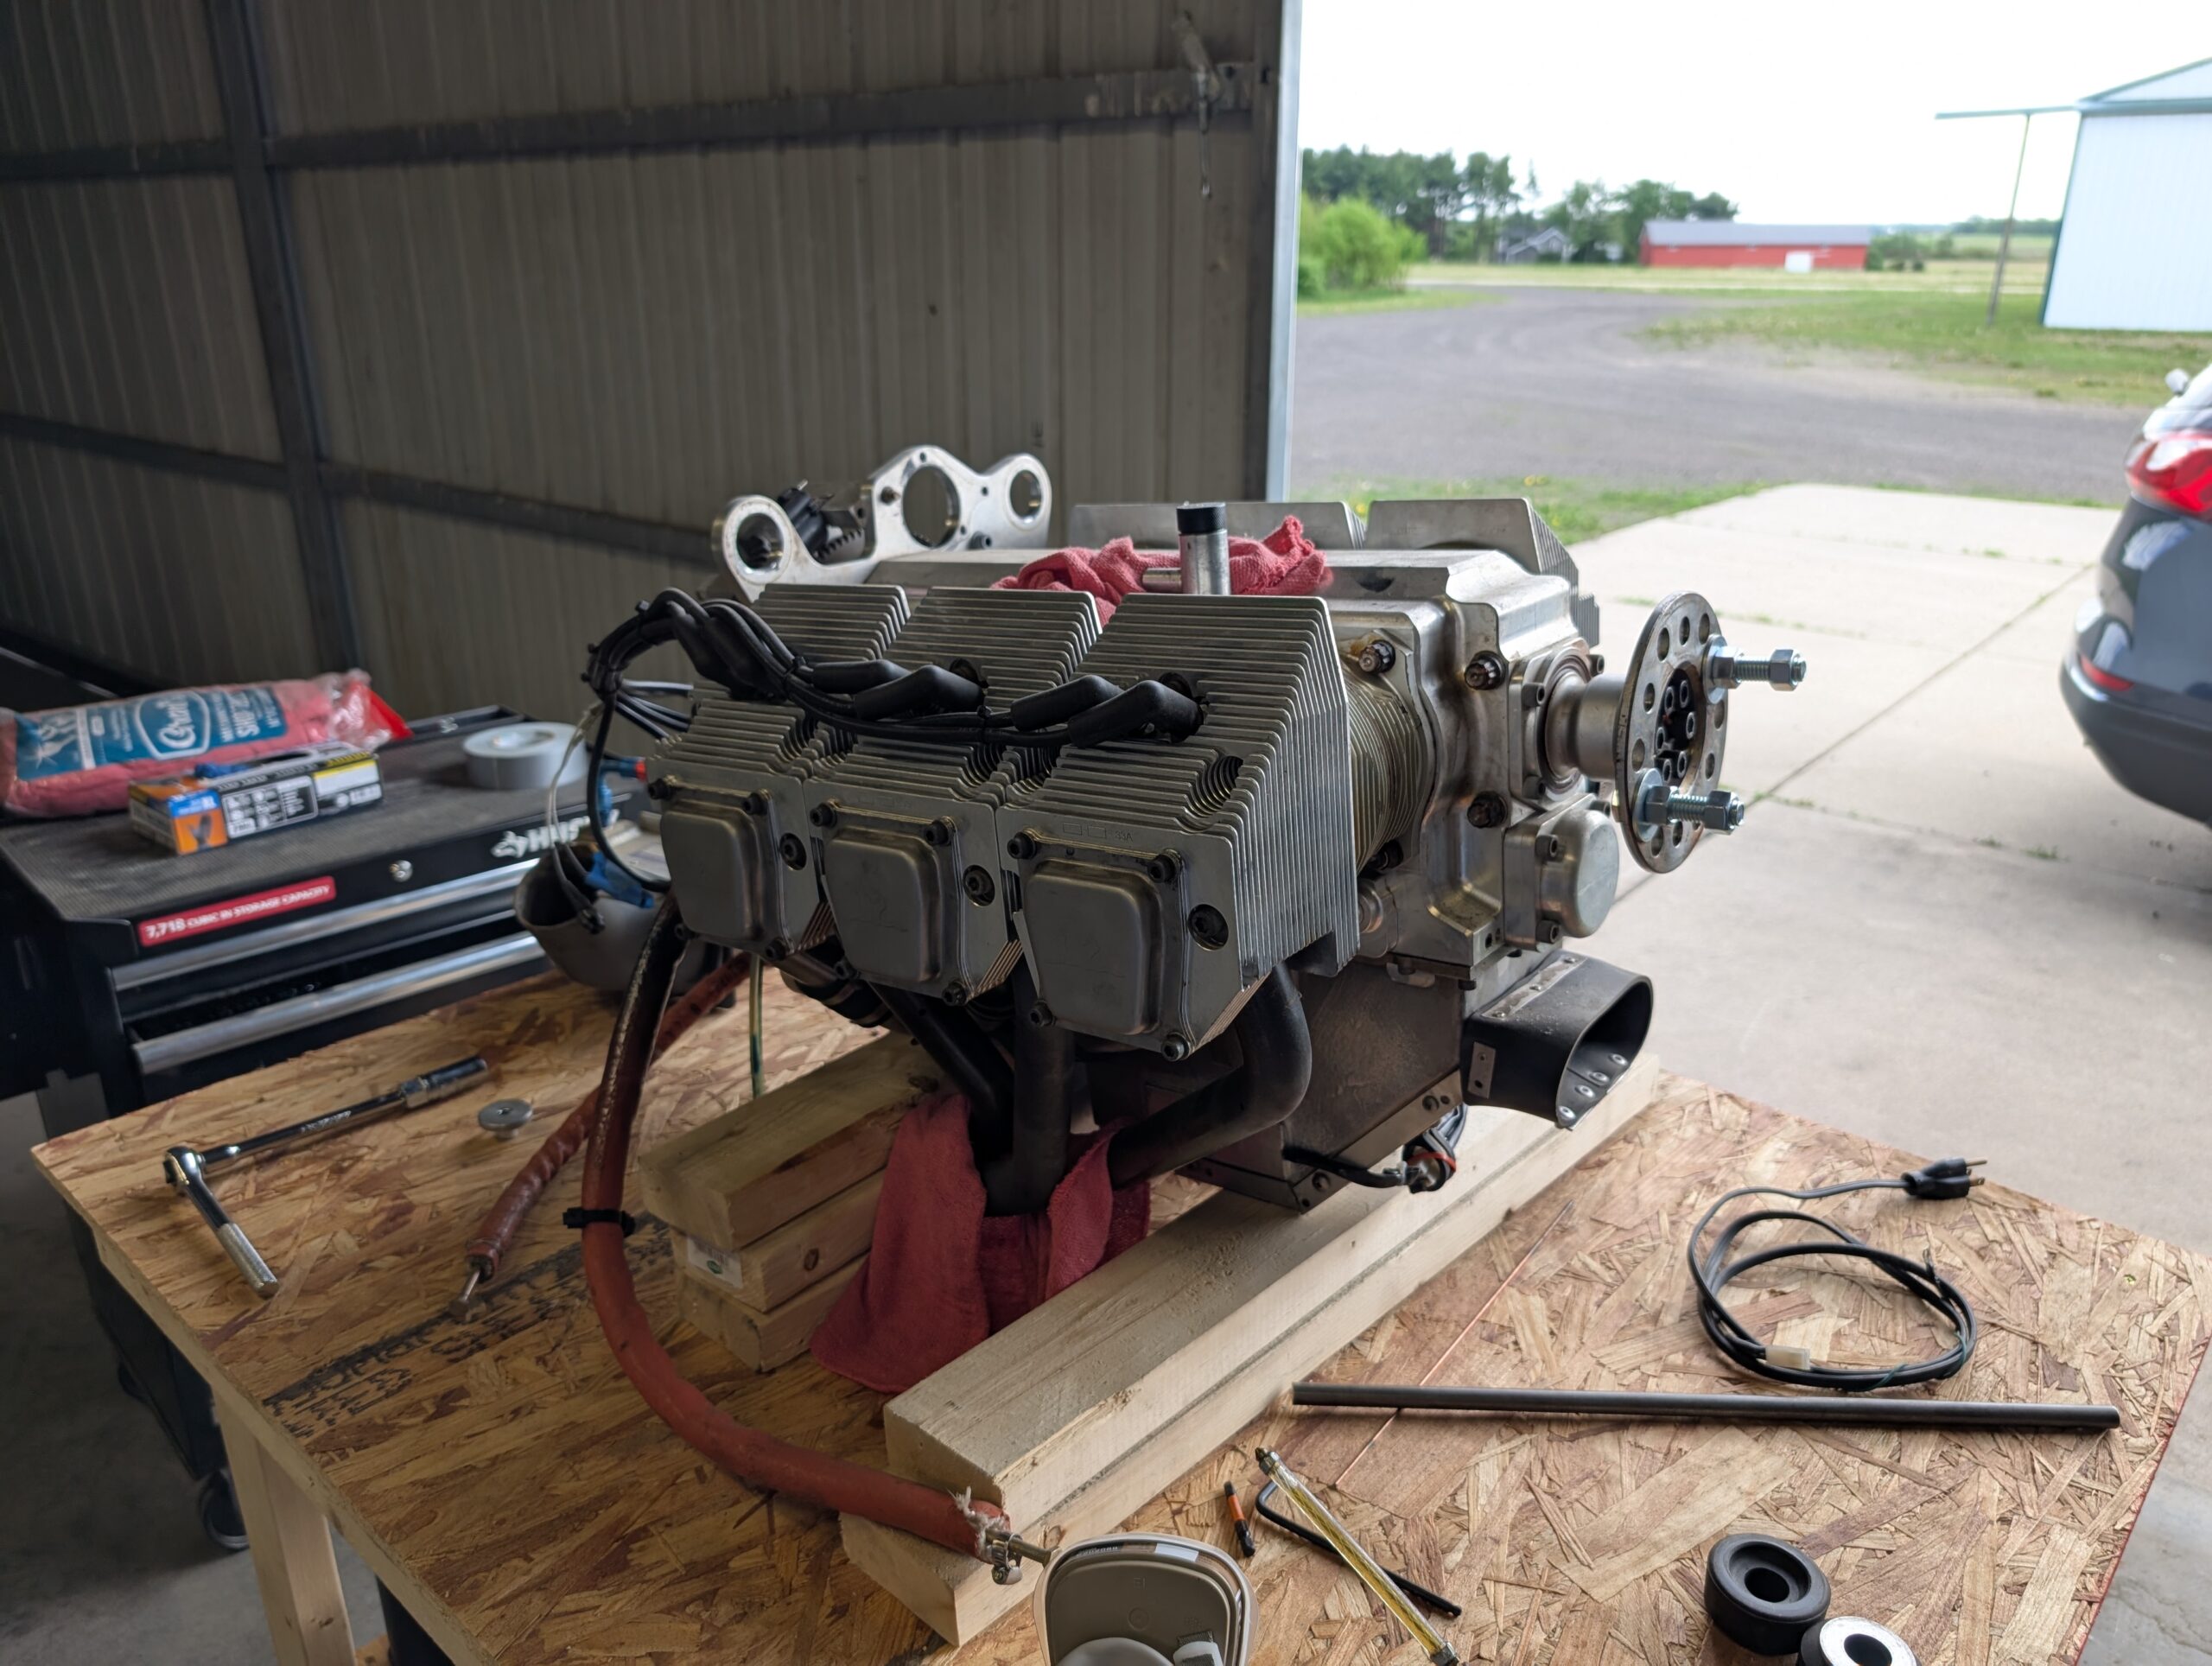
Follow-up Storage Treatment #3
Performed long-term storage procedure IAW Jabiru Maintenance Manual. Removed plugs and lubricated cylinders with Phillips 20W50 Anti-Rust Oil. Reinstalled plugs but did not torque. Removed rocker covers and lubricated rocker chambers with same oil. Reinstalled rocker covers but did not torque. Pulled prop through 15 times. Hours Worked: 0.63
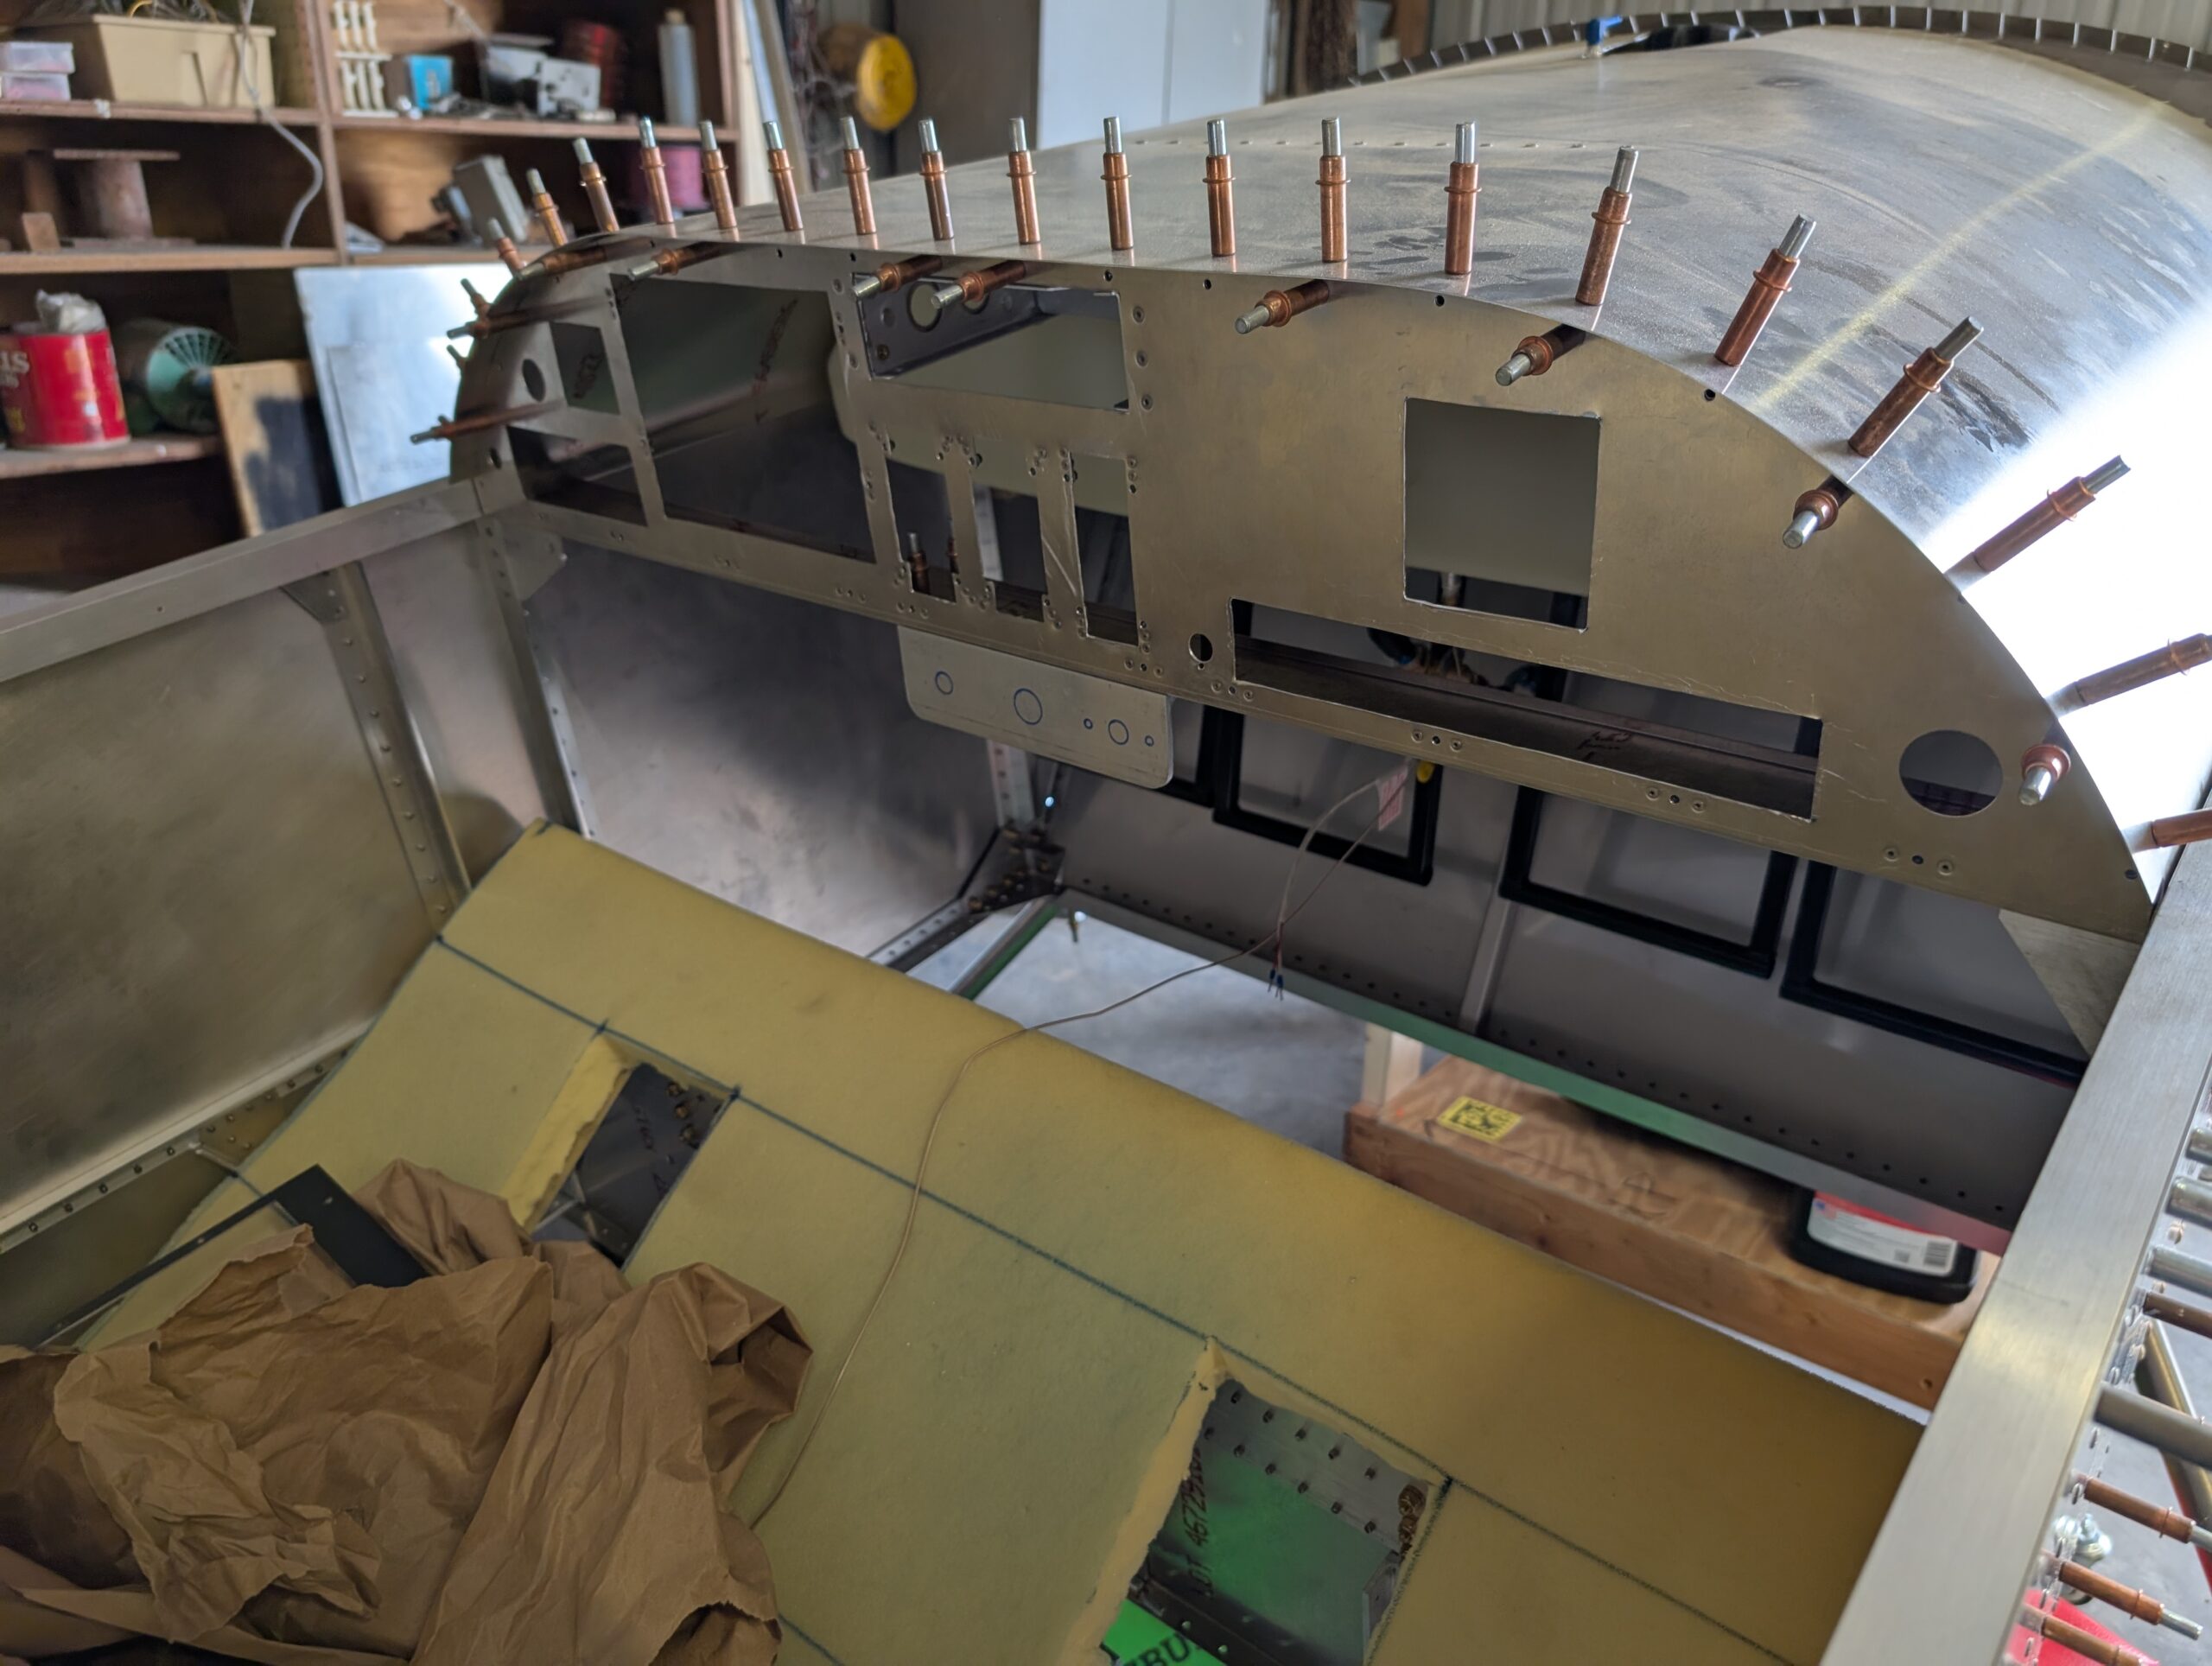
Panel Installation – Part 2
Continued prepping panel flange by dimpling right side flange and installing nut plates. Installed flanges back onto glareshield and checked fitment with panel and panel covers. Removed panel and covers and marked hole and cutout locations on panel. Cut a piece of aluminum angle scrap to fit in throttle/mixture area behind panel cover and below…
Panel Installation – Part 1
Began prepping panel for final riveting and installation by mocking up panel covers on panel backer. Fitment was just a little tight so filed away some material from inside edges of panel covers. Removed panel and flanges and dimpled every other hole for flush CCC rivets. Began installing nut plates in other holes on panel…