emkrueger830

Canopy Trimming – Part 1
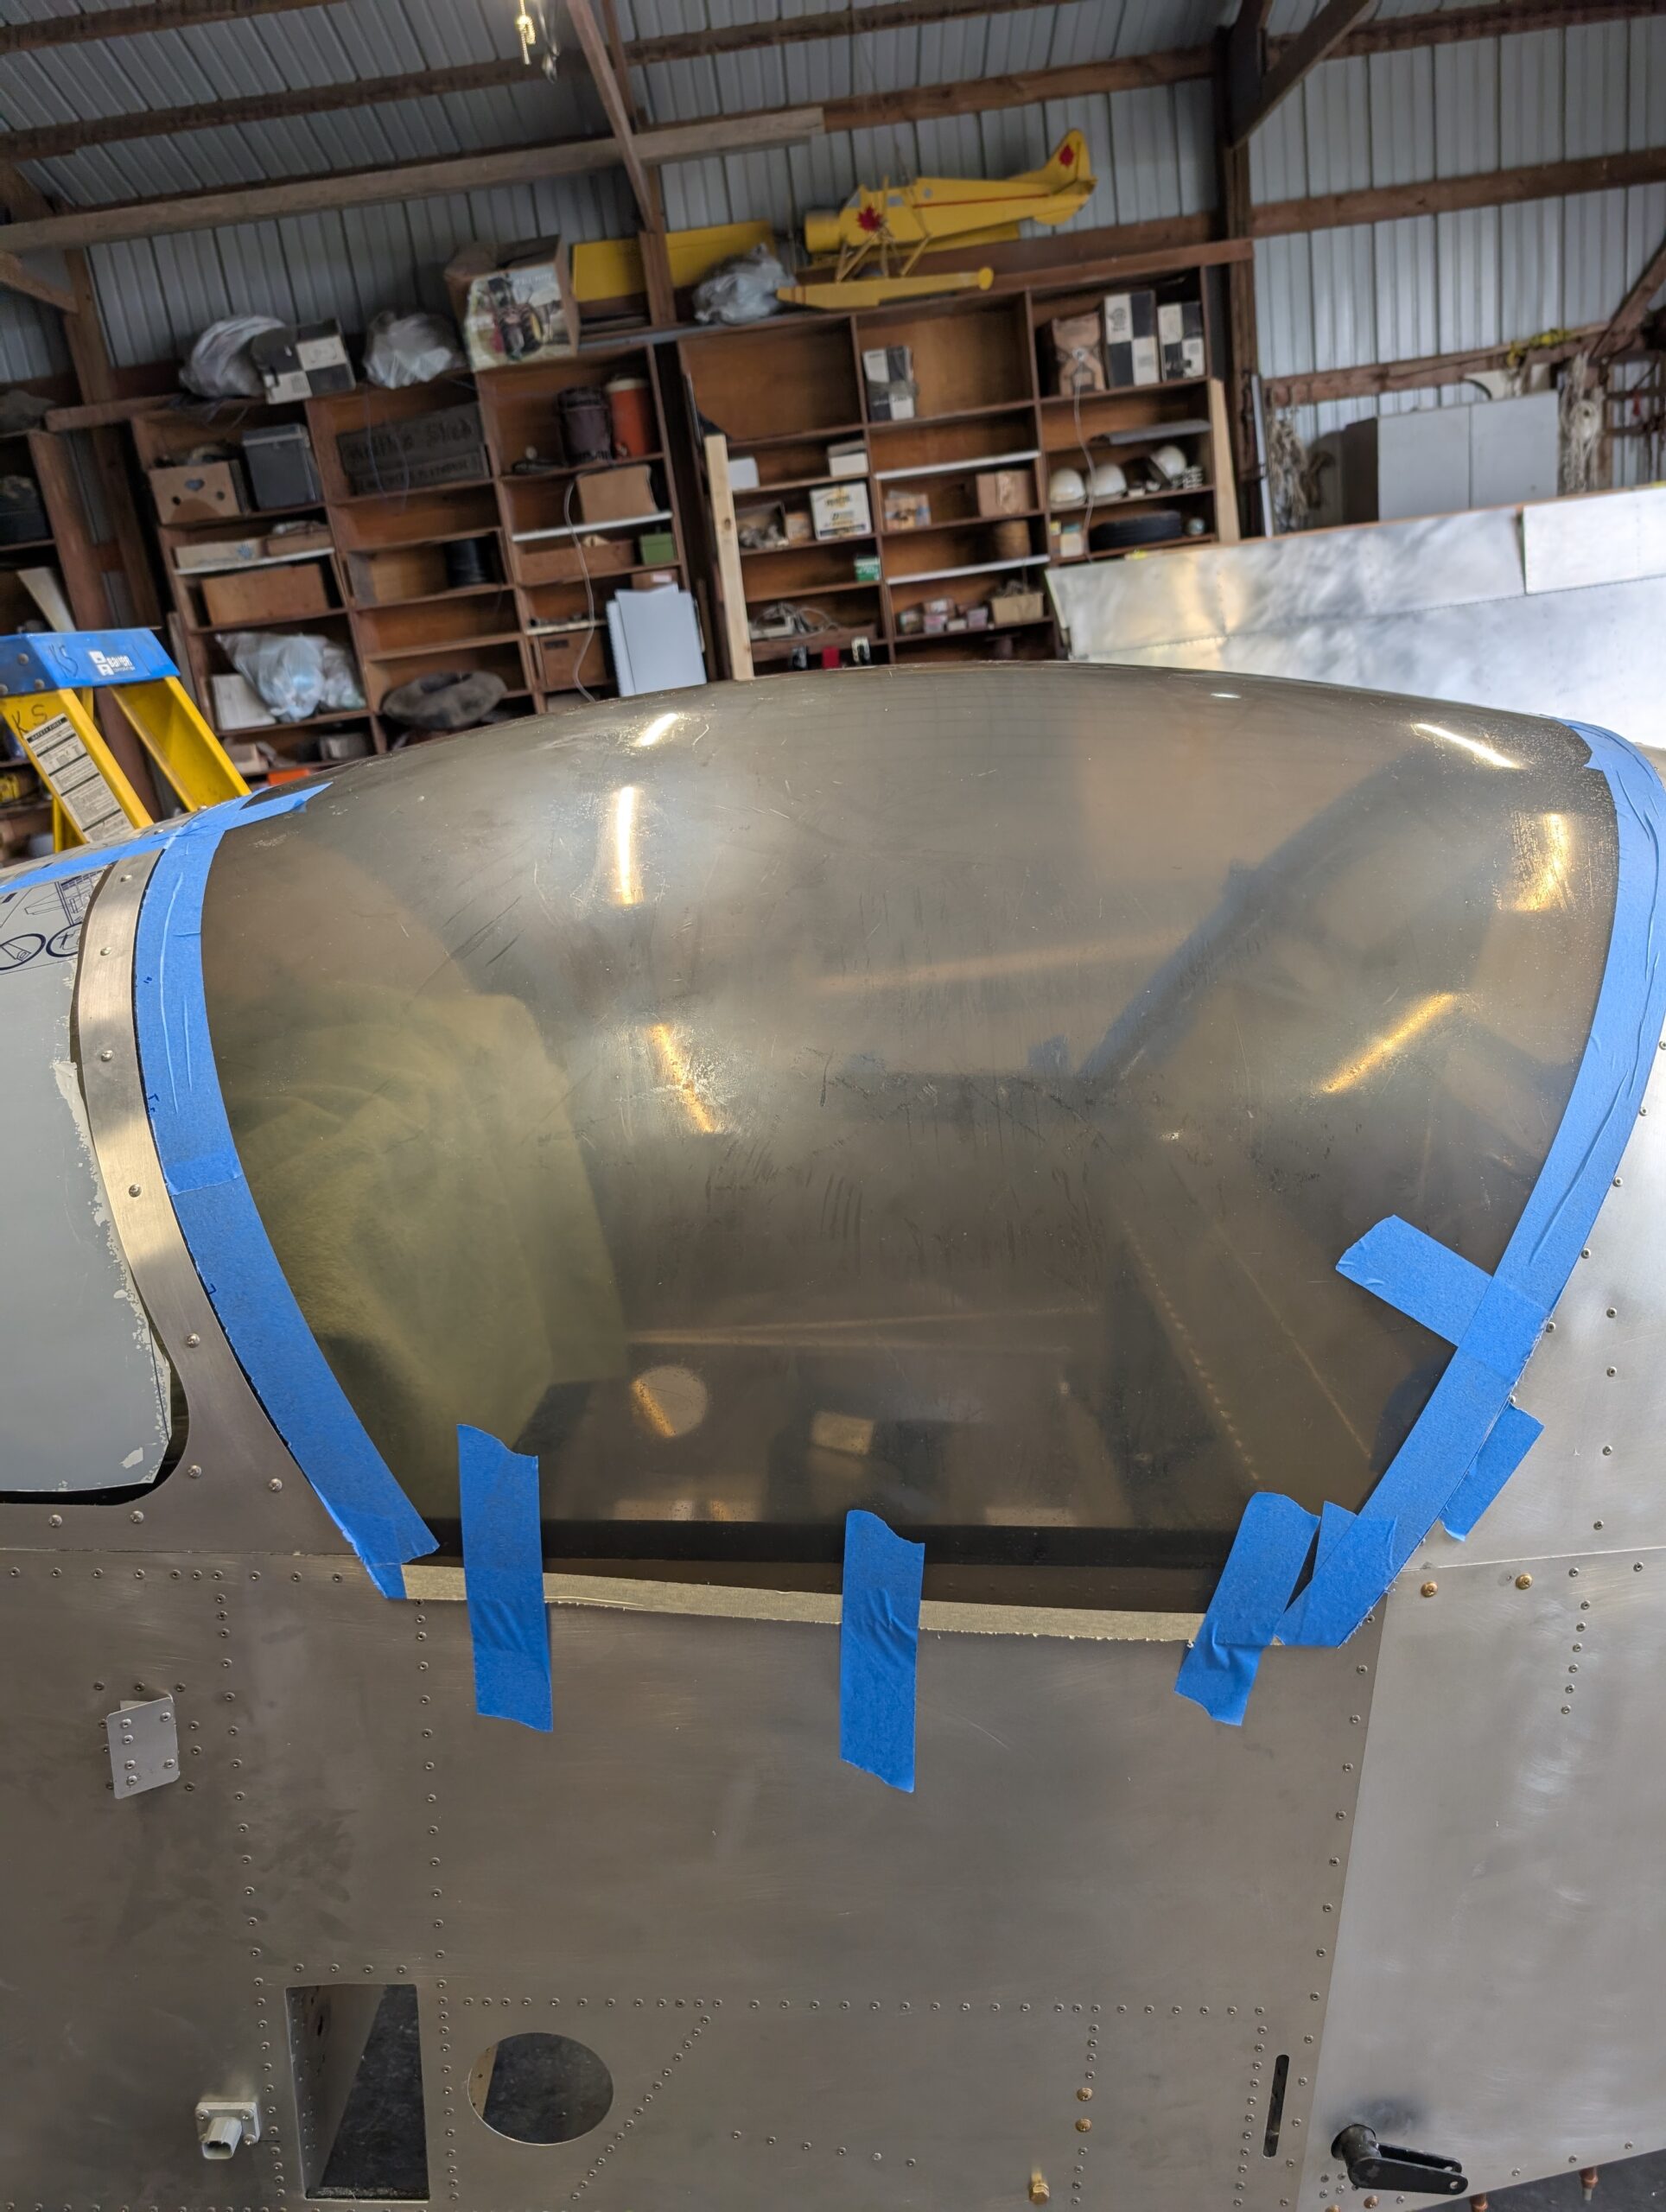
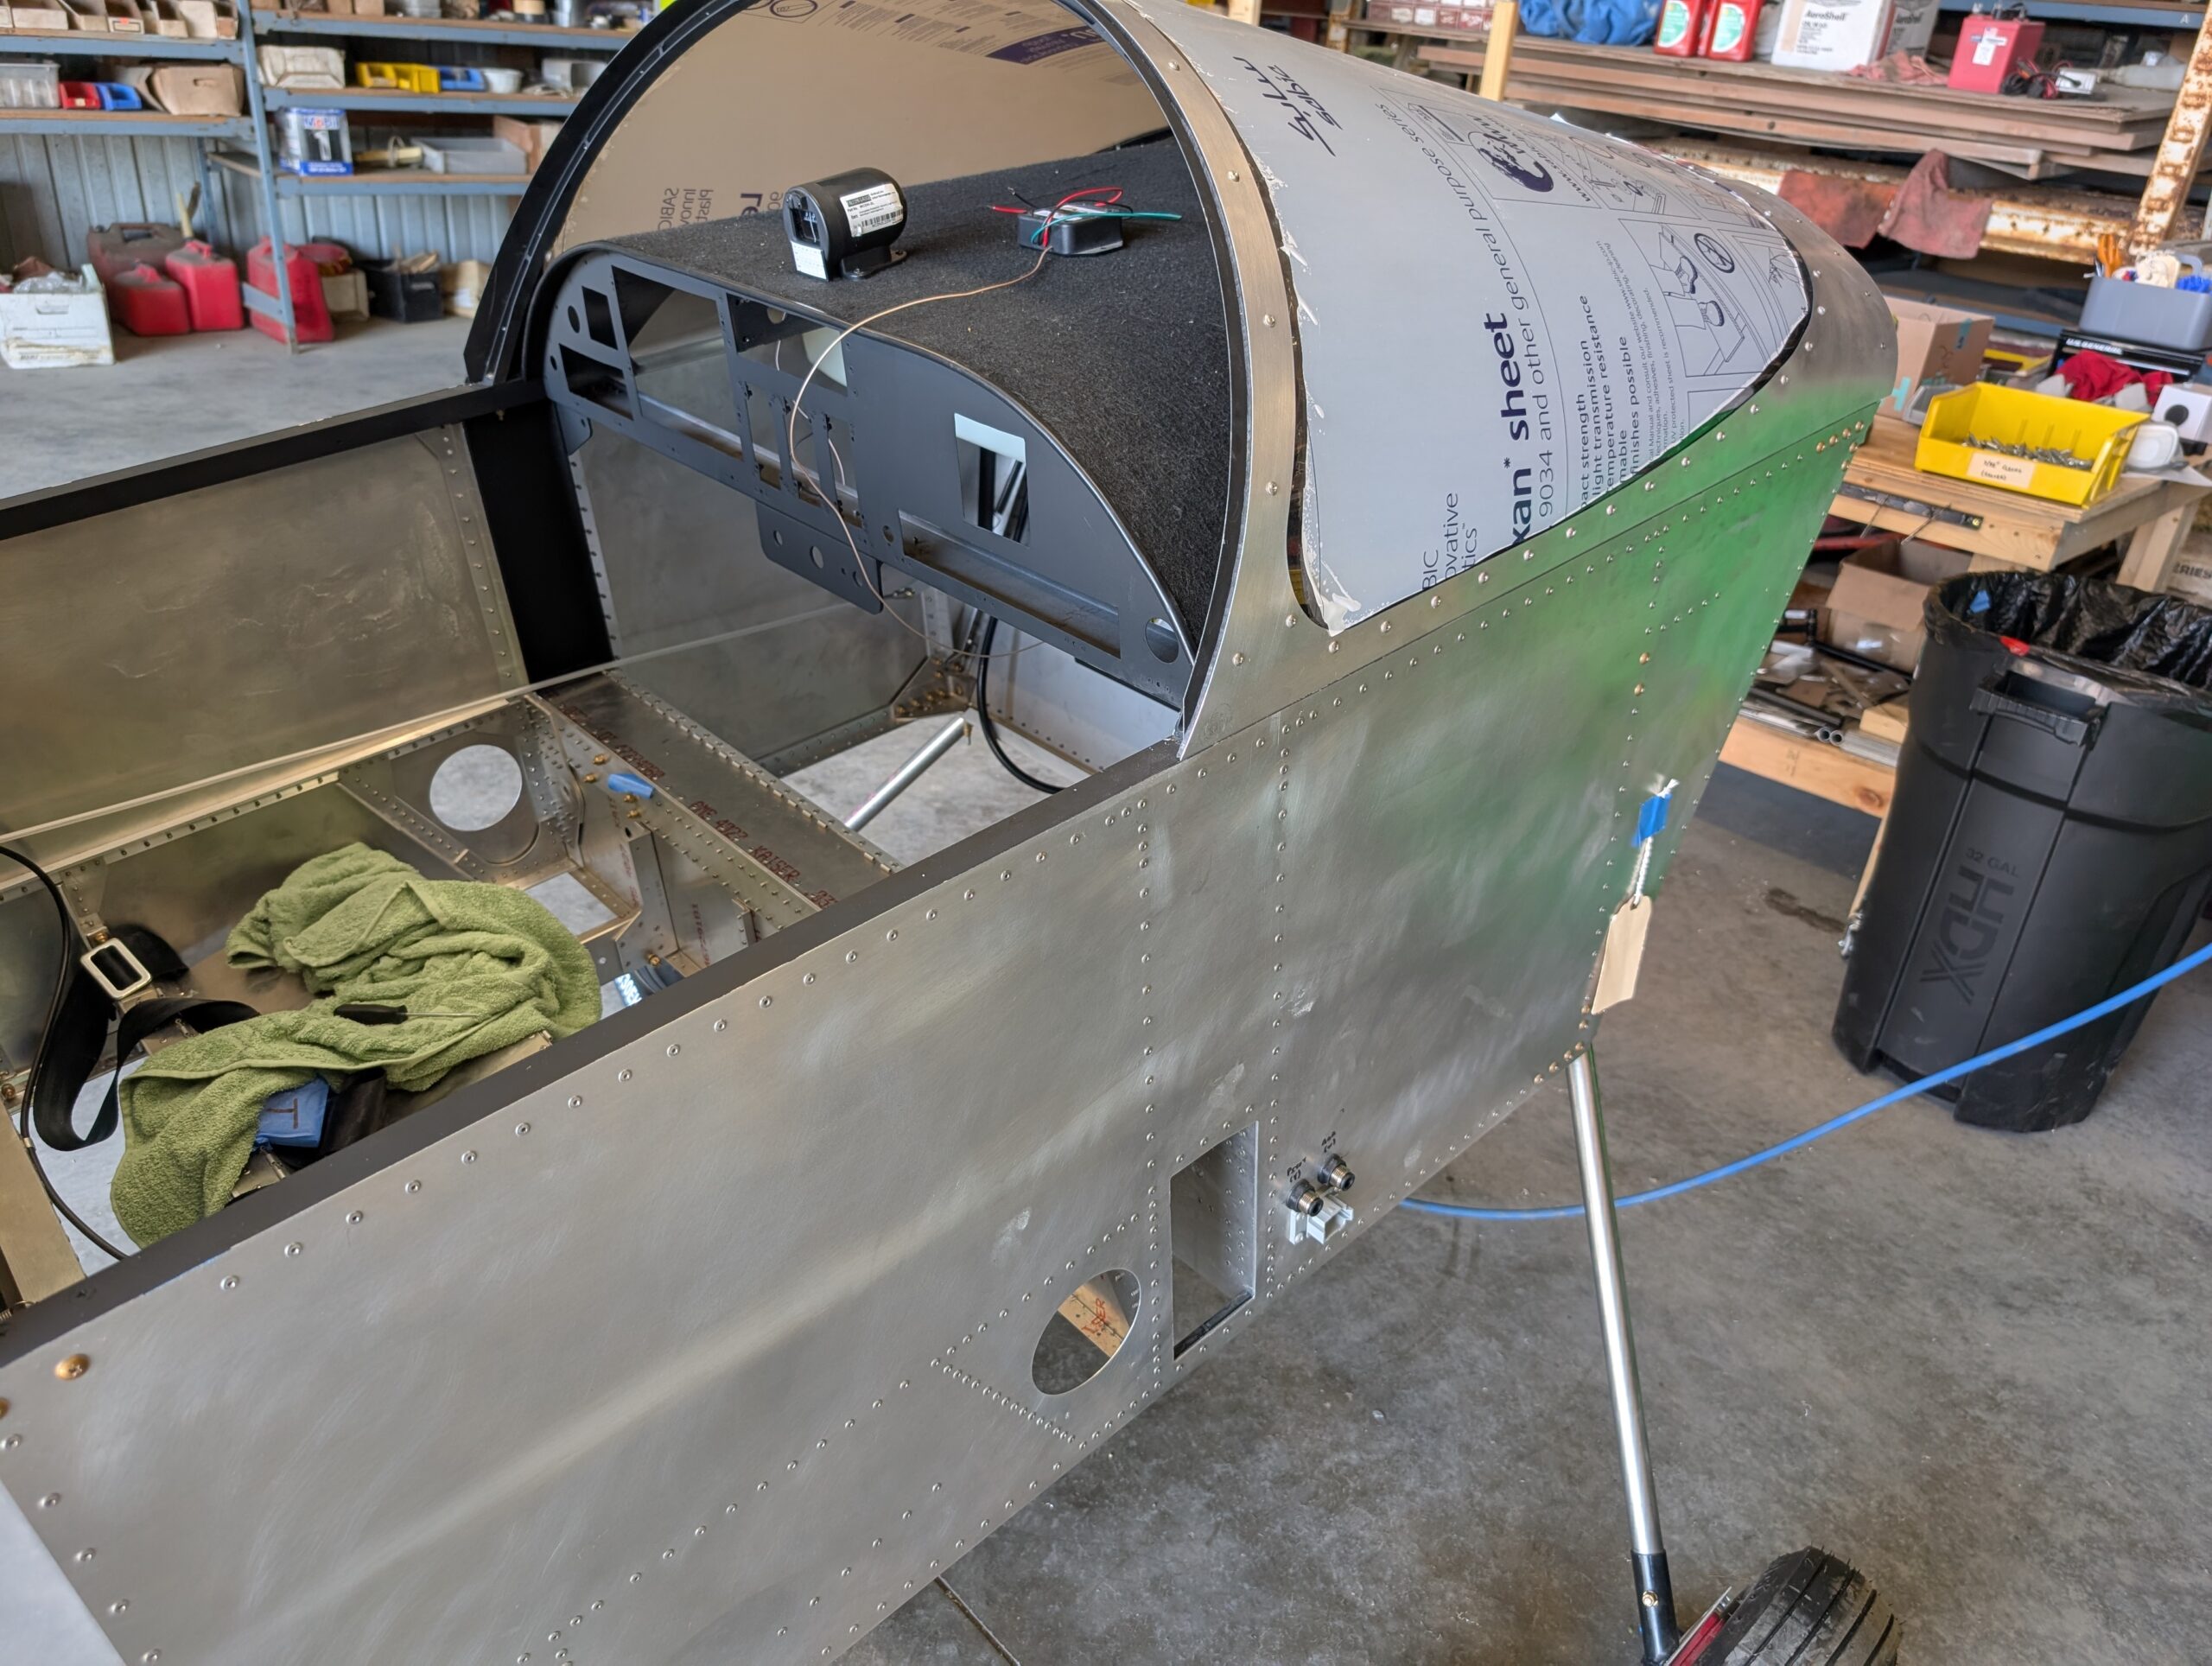
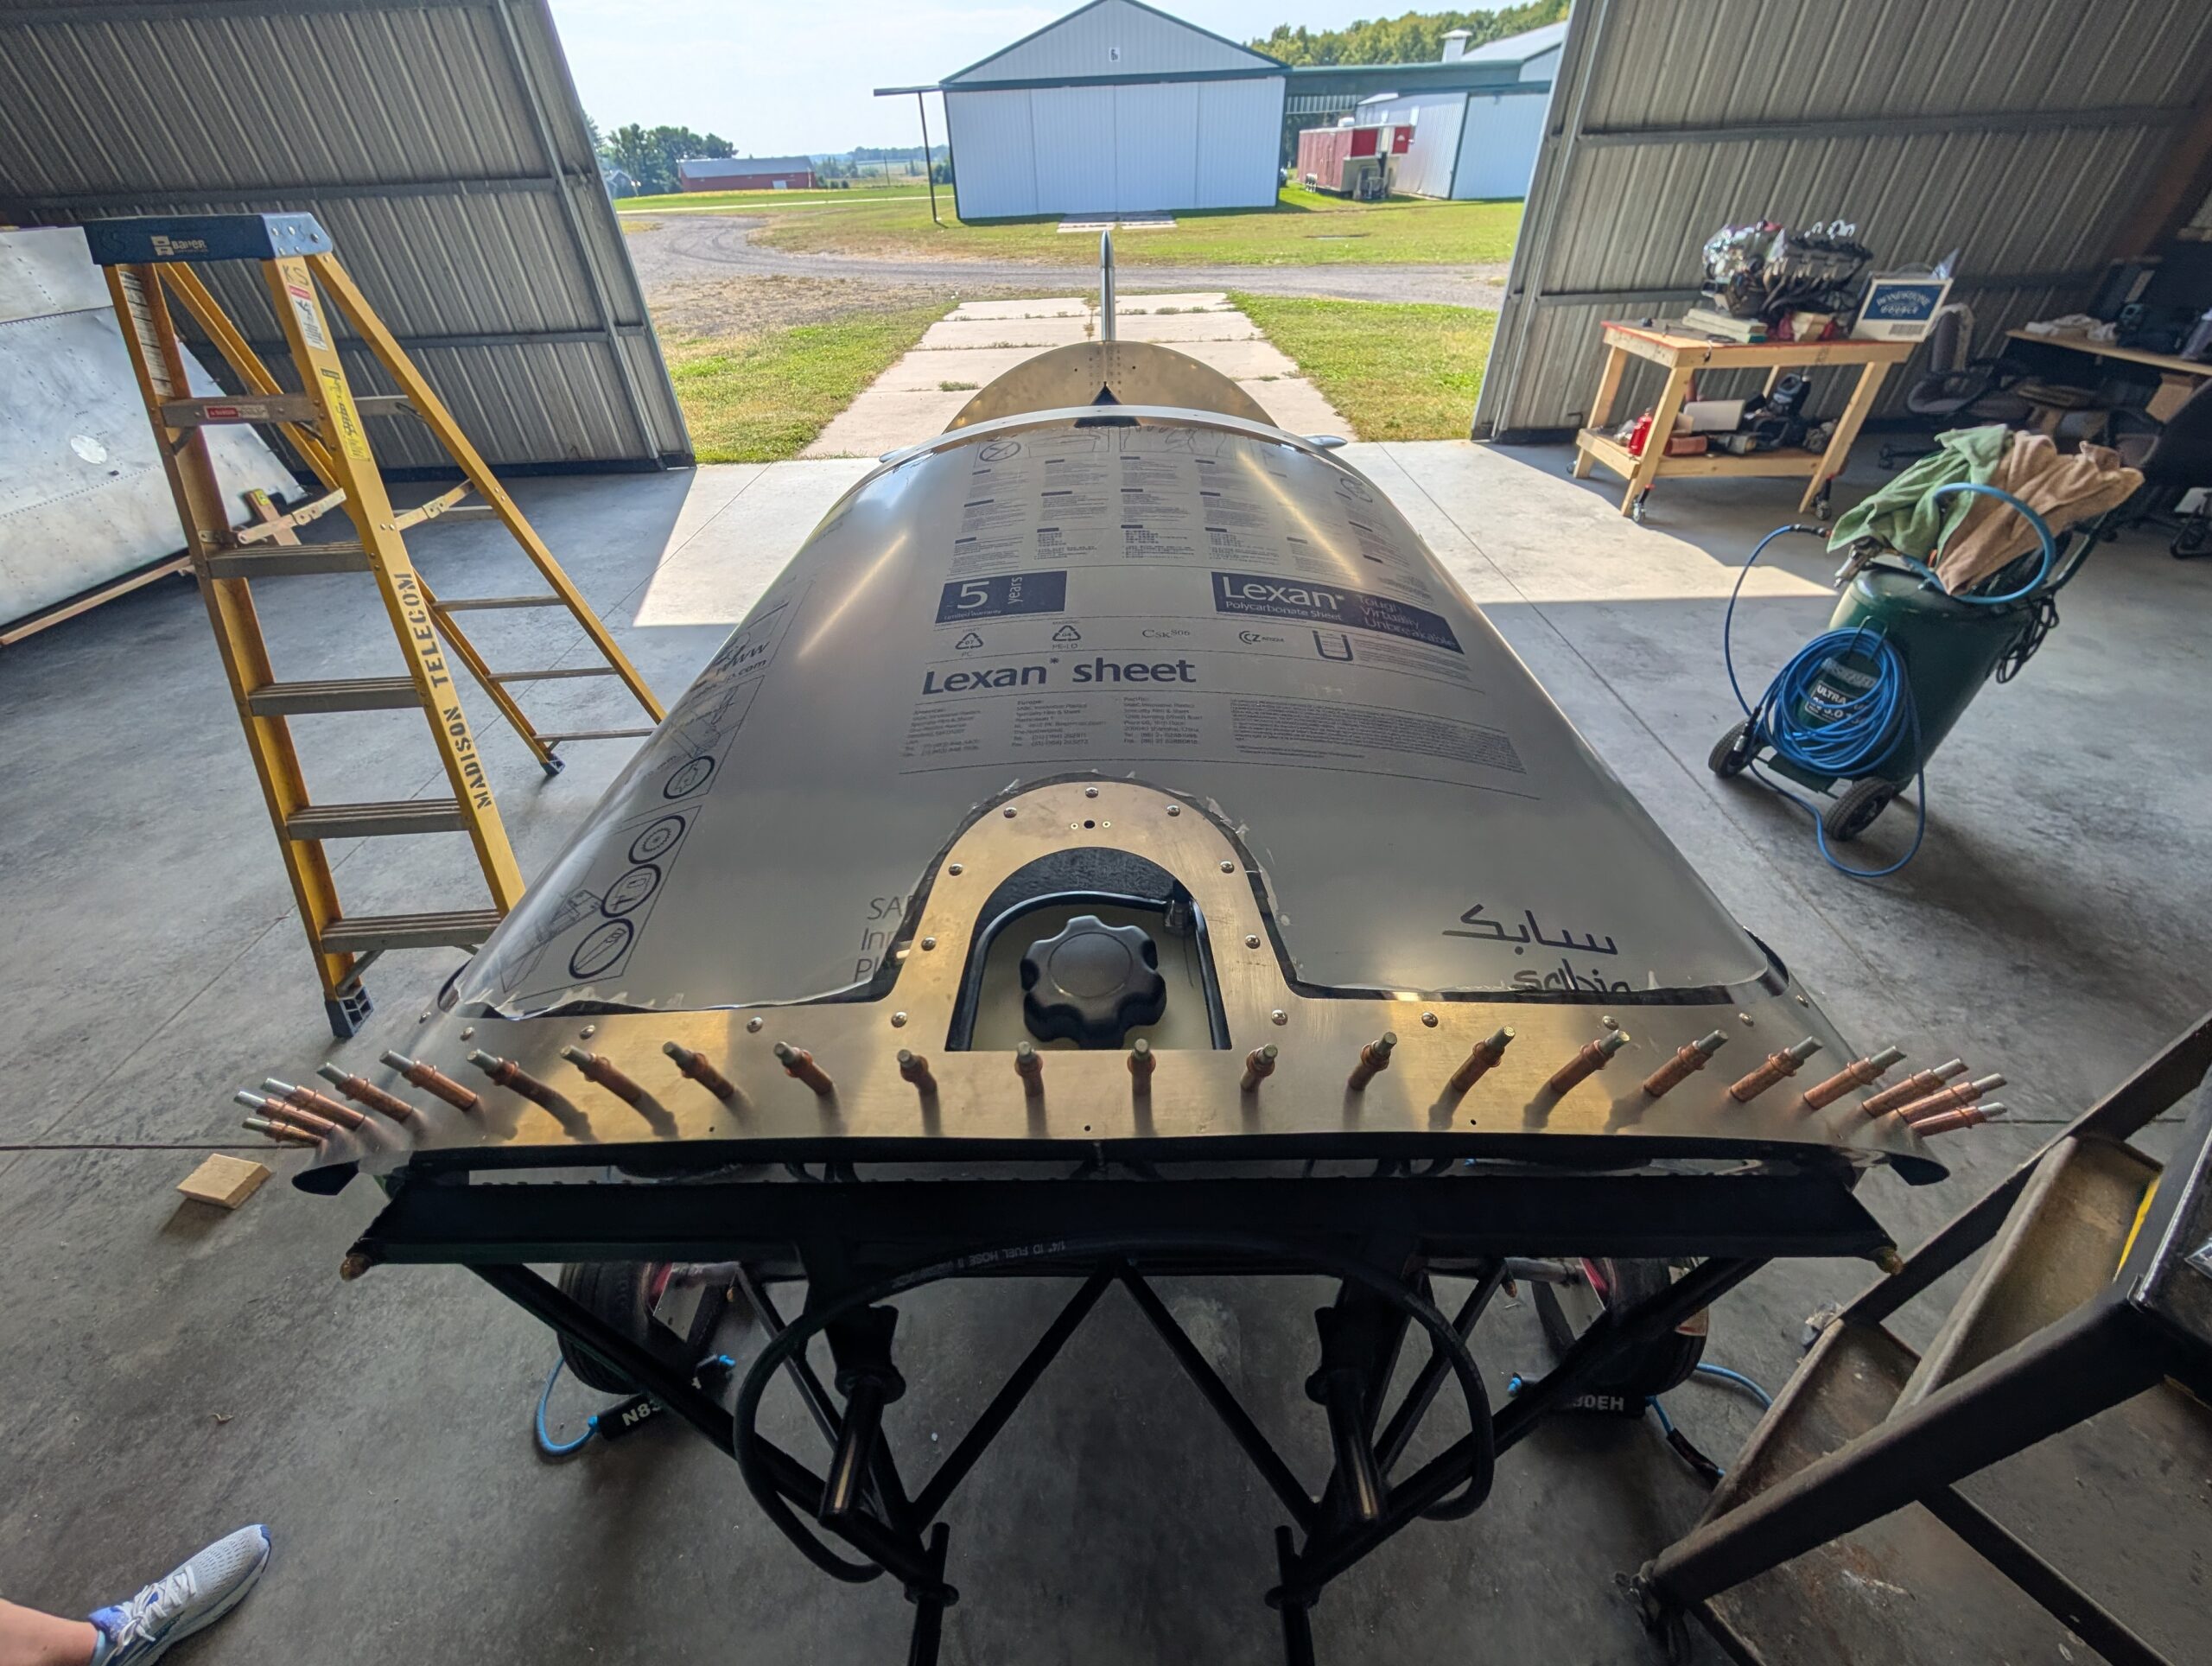
Started the tedious process of fitting and trimming the canopy. Started by marking the center of the front and rear edges of the canopy and aligning them with the fuselage center line. Scooted canopy up to the front and marked a trim line with most of the canopy hanging on the back of the turtle…
Canopy Frame Installation
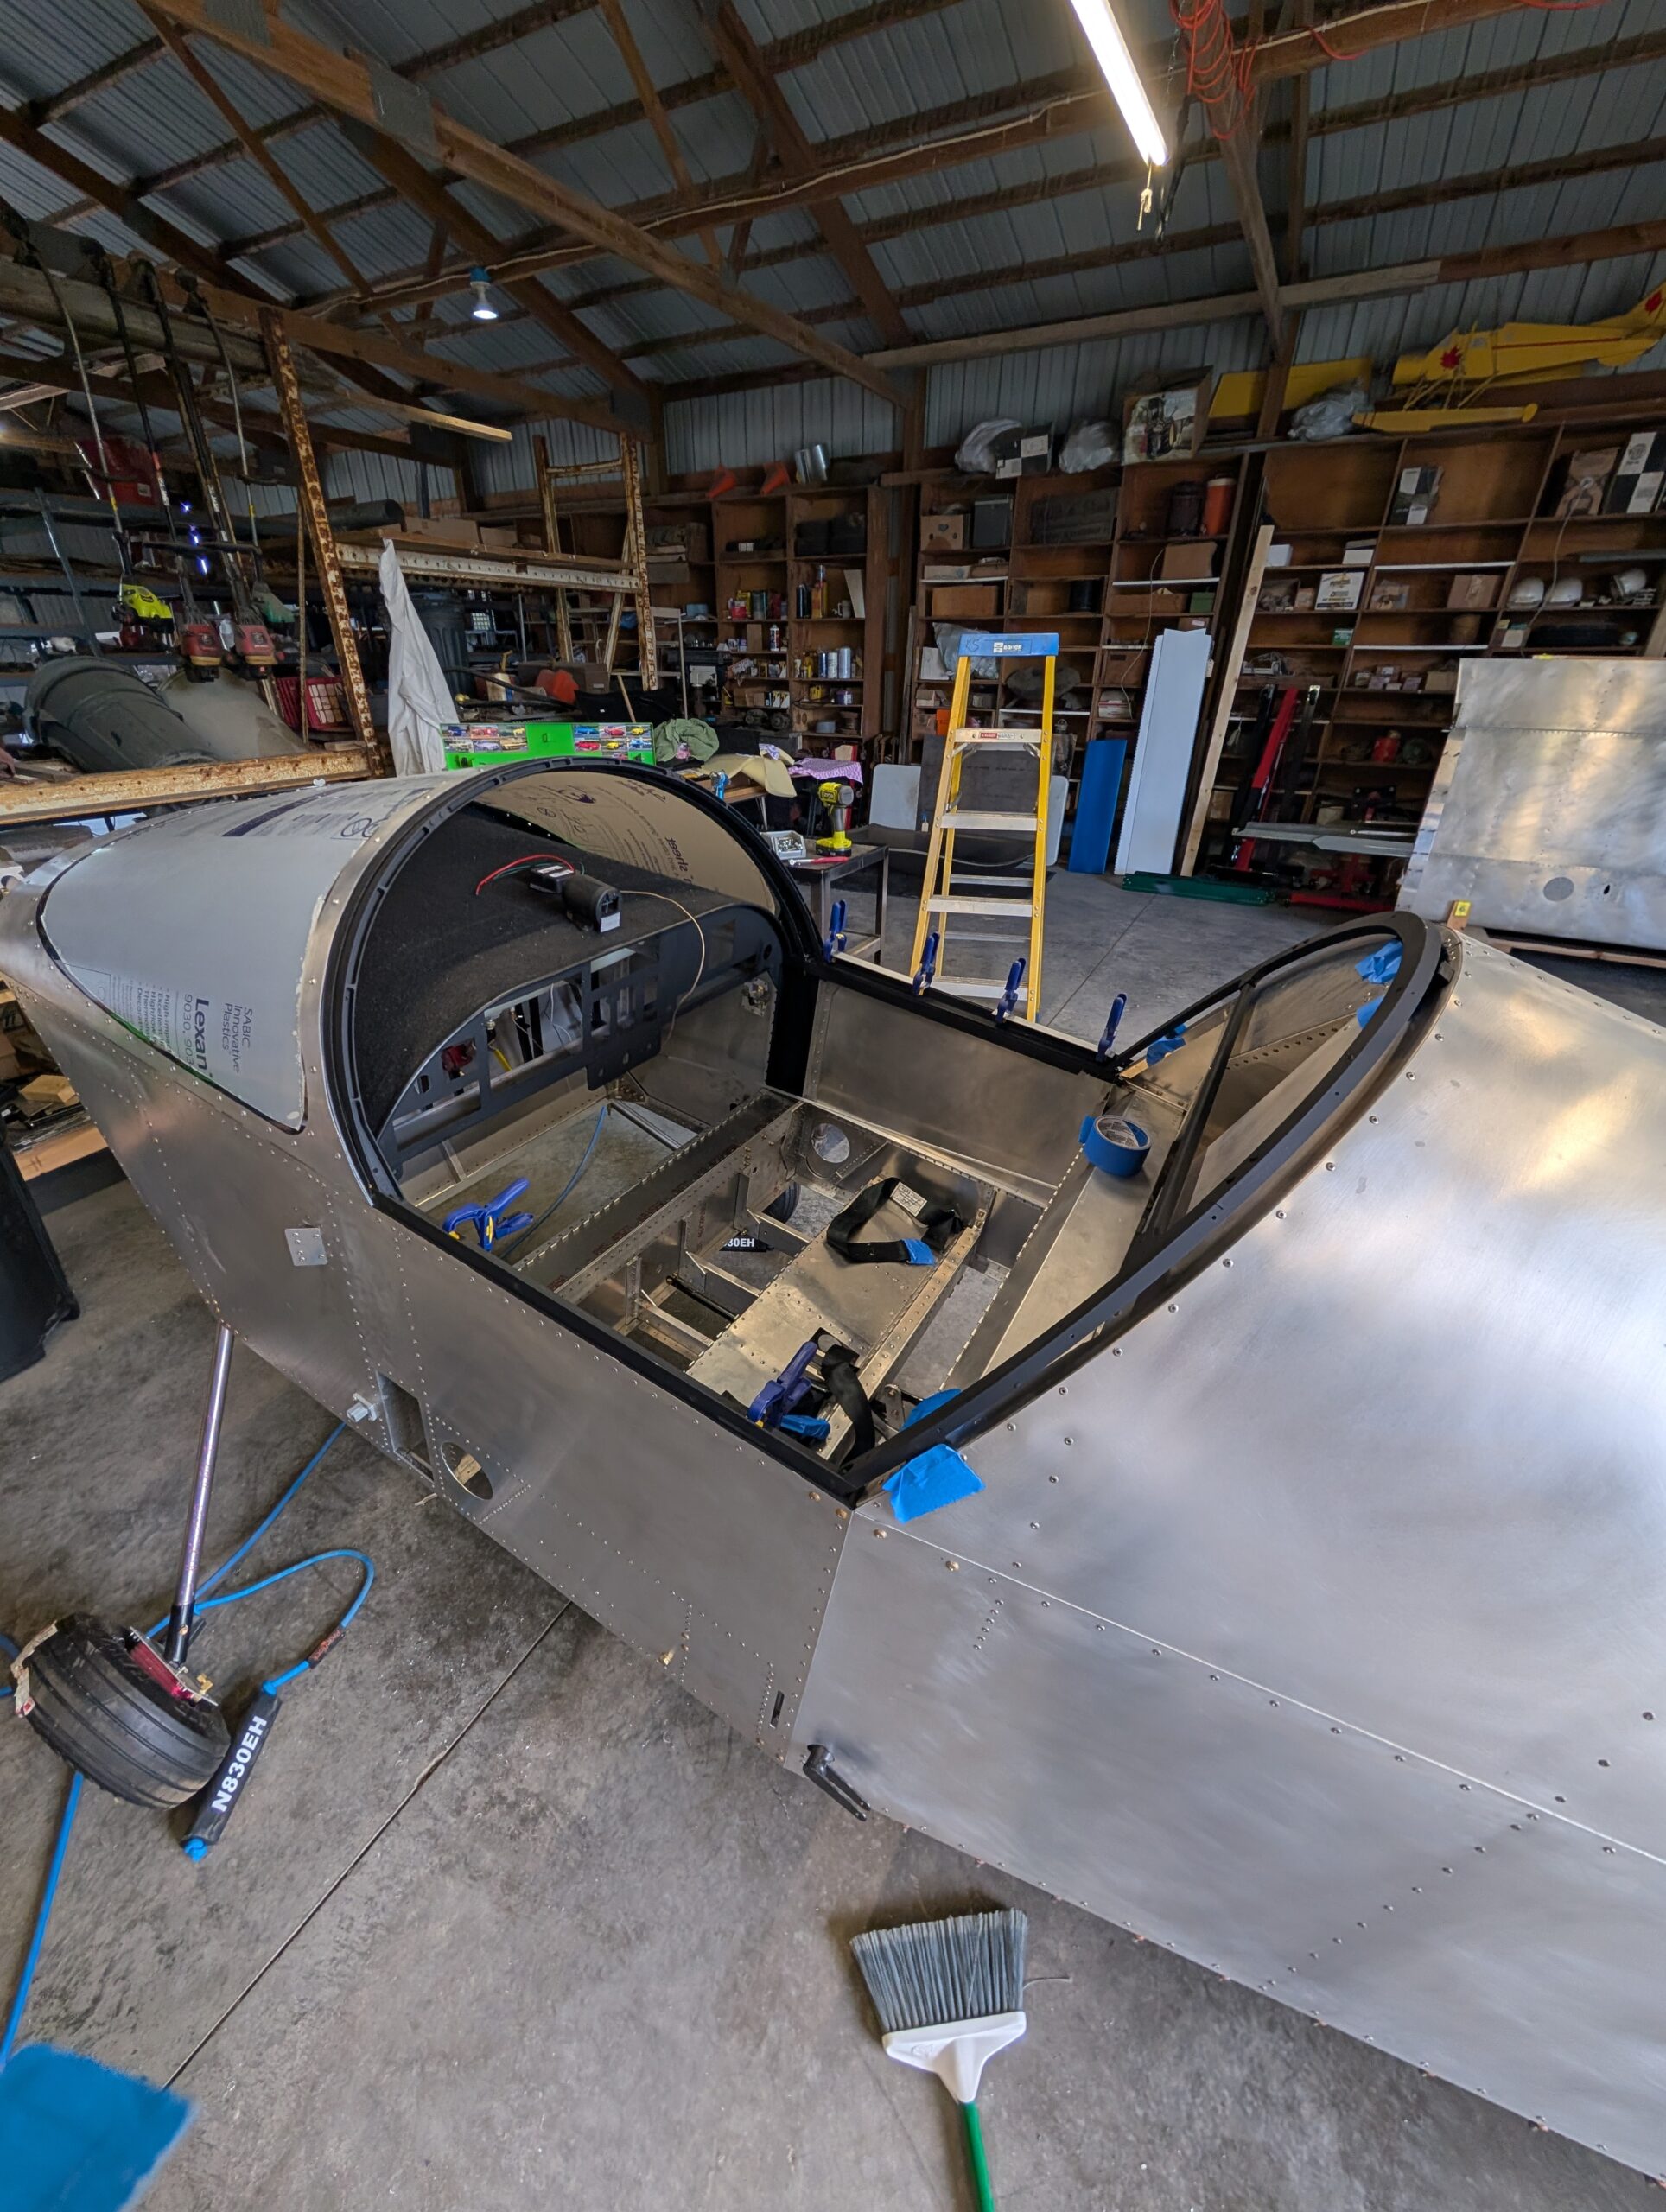
Began assembling canopy frame to fuselage by locating canopy frame hinge on RH longeron. Since clecoes would impede placing the canopy frame on the hinge, installed three rivets in the canopy frame hinge to make it easier to remove (if needed later on). Placed canopy frame onto fuselage and aligned it 1/2″ from the turtle…

Fresh Air Vents
Rather than installing round vents in the windshield as is shown in the plans, decided to use the Vans vent sidewall kit. Worked on fresh air vents by cutting apart components from Vans vent kit and cleaning edges of parts. Riveted vent door assembly together using pulled rivets then measured and laid out doubler plate…

Windshield Installation – Part 6
Finished installing windshield onto fuselage by installing screws from front to back, skipping last bottom screw on each side. Aligned windshield bow with top center screw and installed sandwiching strap in between. Needed to run tap through each screw hole to clean paint out of threads; should have done before installing bow, however. Worked from…
Windshield Installation – Part 5
Using two people, reinstalled bolts in upper longerons, windshield skirt, and upper motor mounts. Applied torque check to bolts to monitor torque. Slid windshield into place and began installing bolts starting from forward center and working backwards. Used a piece of tape on wrench to prevent nut from falling out. Hours Worked: 1.95
Rudder Control System – Part 2
Heated up C01-03 rudder spring stock with propane torch and bent springs to specs in plans. Previously tried to bend springs without heat and spring steel broke rather than bent. After installing springs into fuselage, discovered that plan dimensions were a little long and resulted in rudder pedals not returning to neutral. Shortened springs by…
Rudder Control System – Part 1
Installed rudder pedals and mount blocks into fuselage. Applied white lithium grease to rudder pedals before tightening rudder pedal mount blocks. Fed rudder cables through aft fuselage and temporarily installed AN23 clevis pins into rudder horn. Installed cable fairleads into fairlead blocks. Bolted cable adjusters onto rudder pedals and marked LH cable adjuster hole per…
Rudder System Prep – Part 2
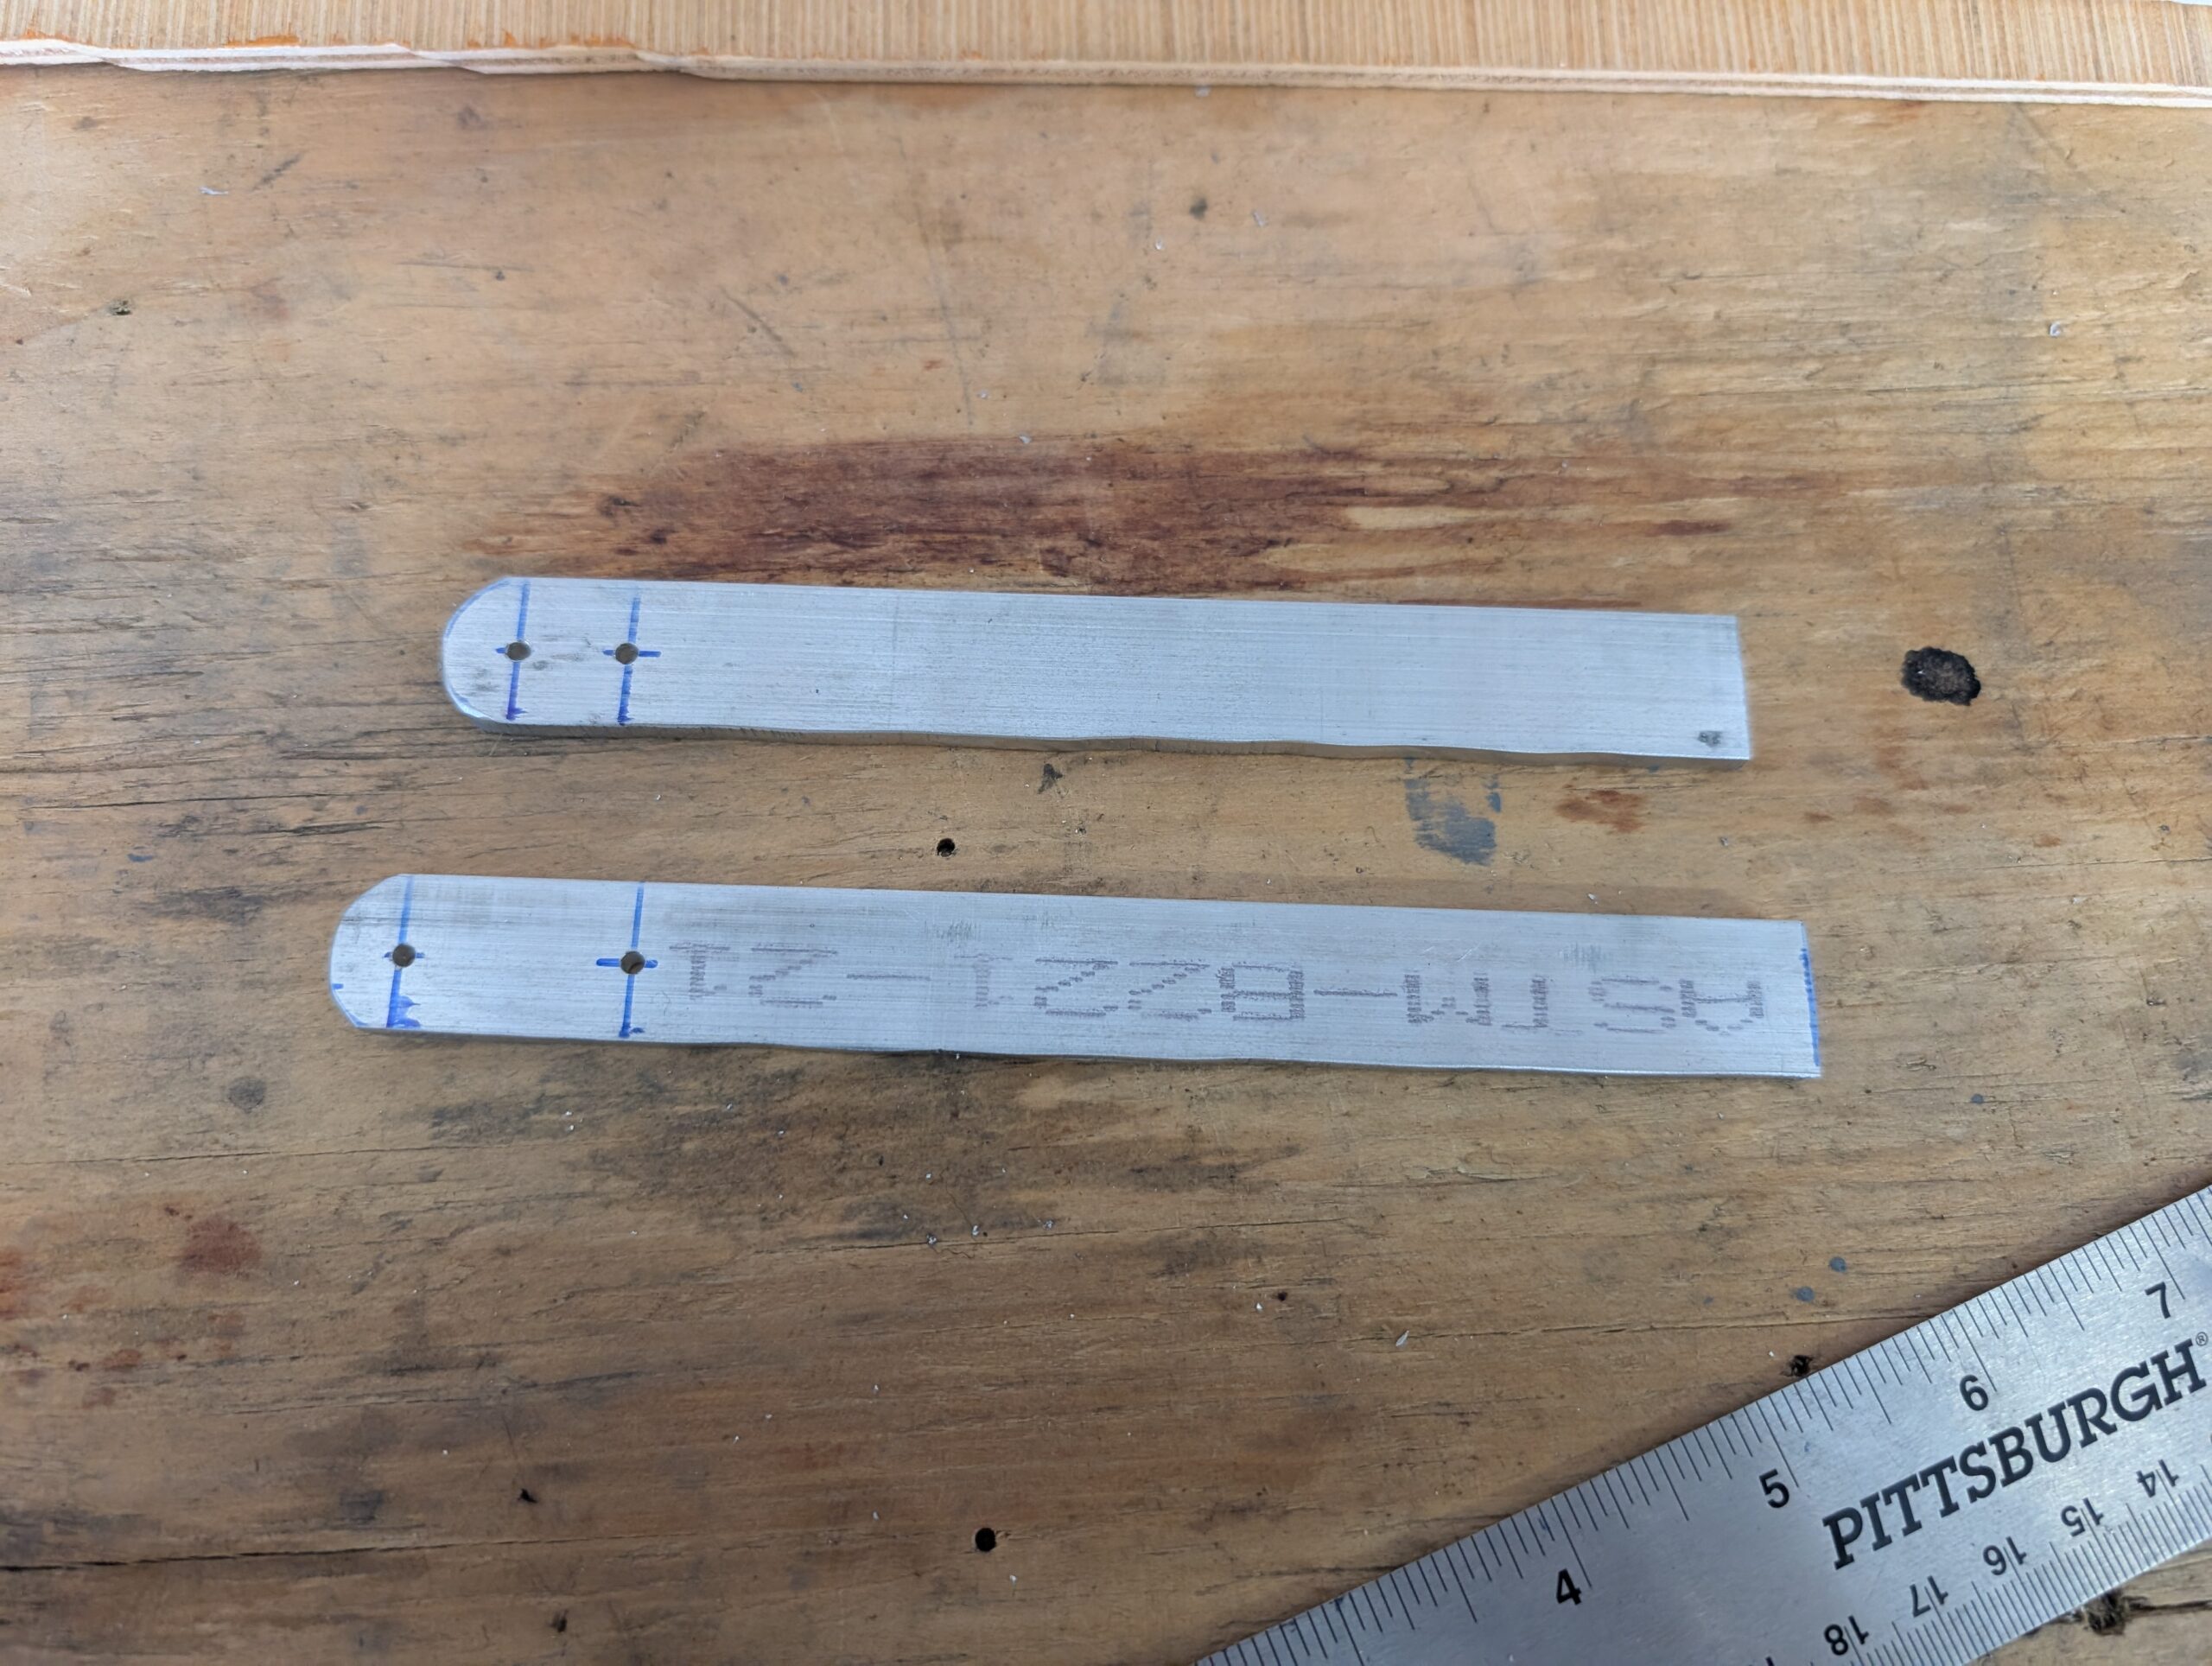
Removed forward fuselage floor for better access to rudder pedals then removed rudder pedals and mounting blocks. Used die grinder to remove powder coating from pivot points on rudder pedals. Created cable adjusters from aluminum bar stock. Hours Worked: 1.62
Windshield Installation – Part 4
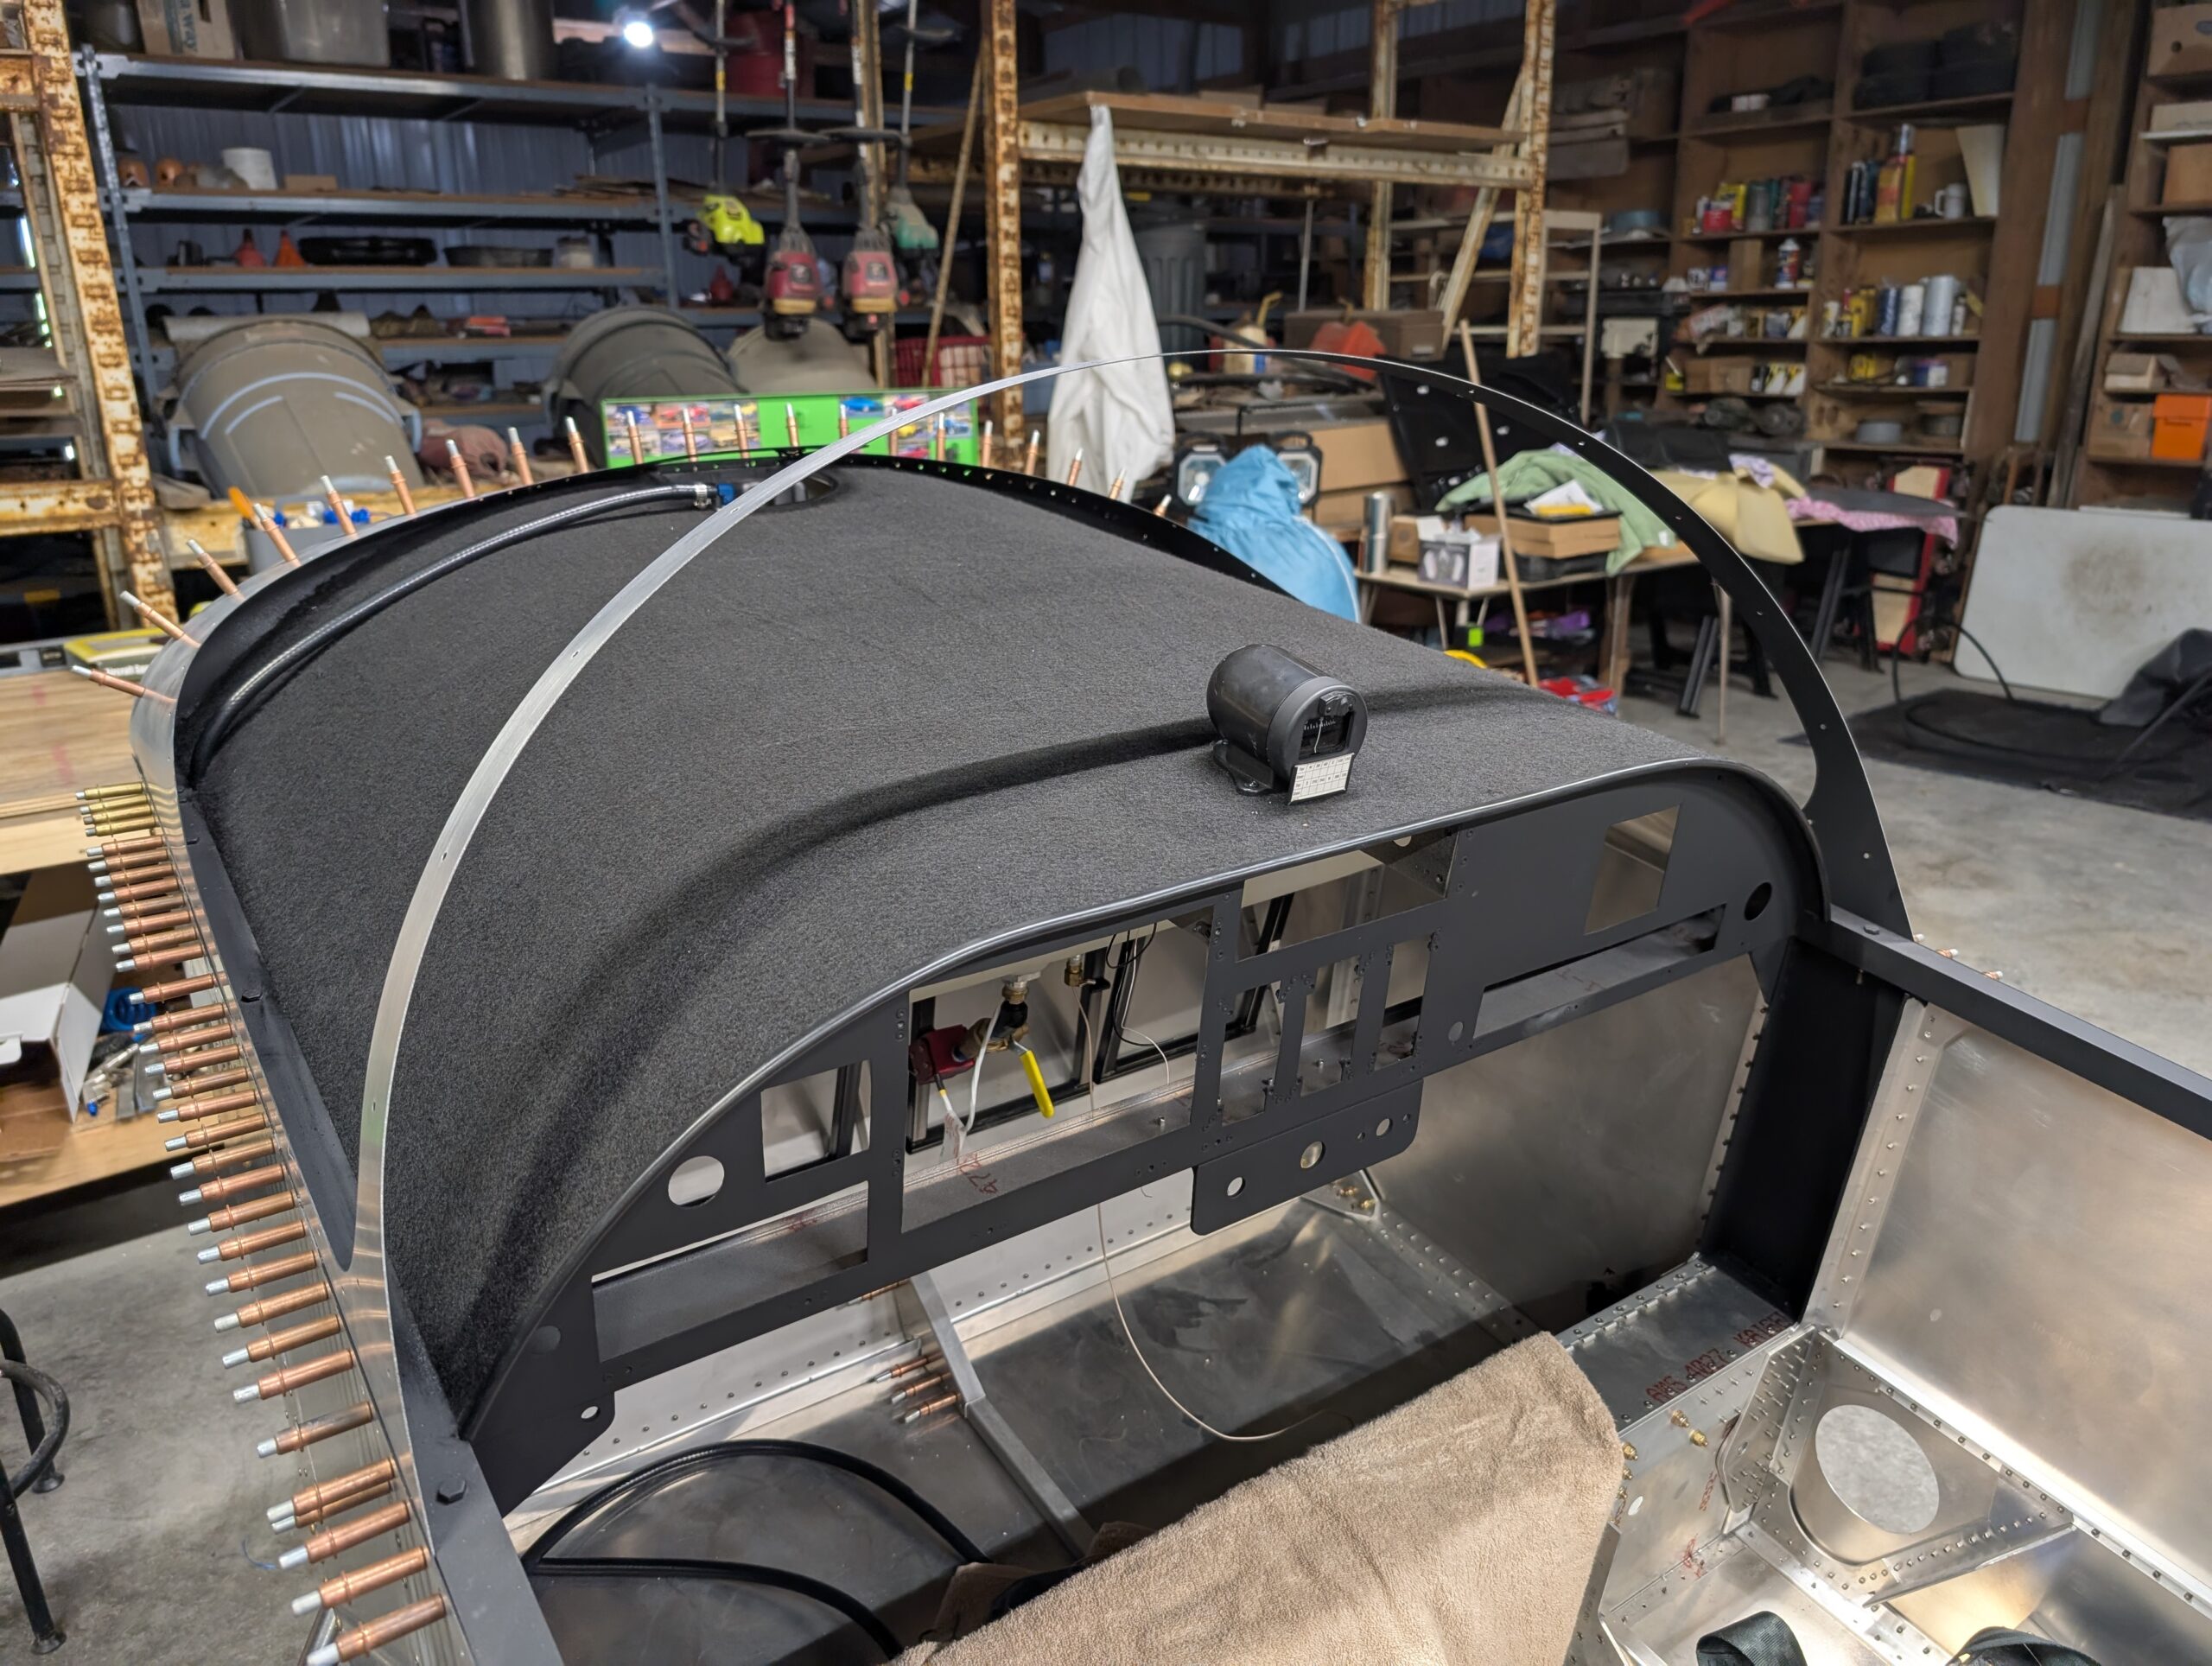
Routed fuel vent hose up through hole in glareshield and attached to fuel vent fitting with hose clamp. Clecoed newly-painted windshield skirt onto fuselage. Hours Worked: 1.30

Glareshield Covering
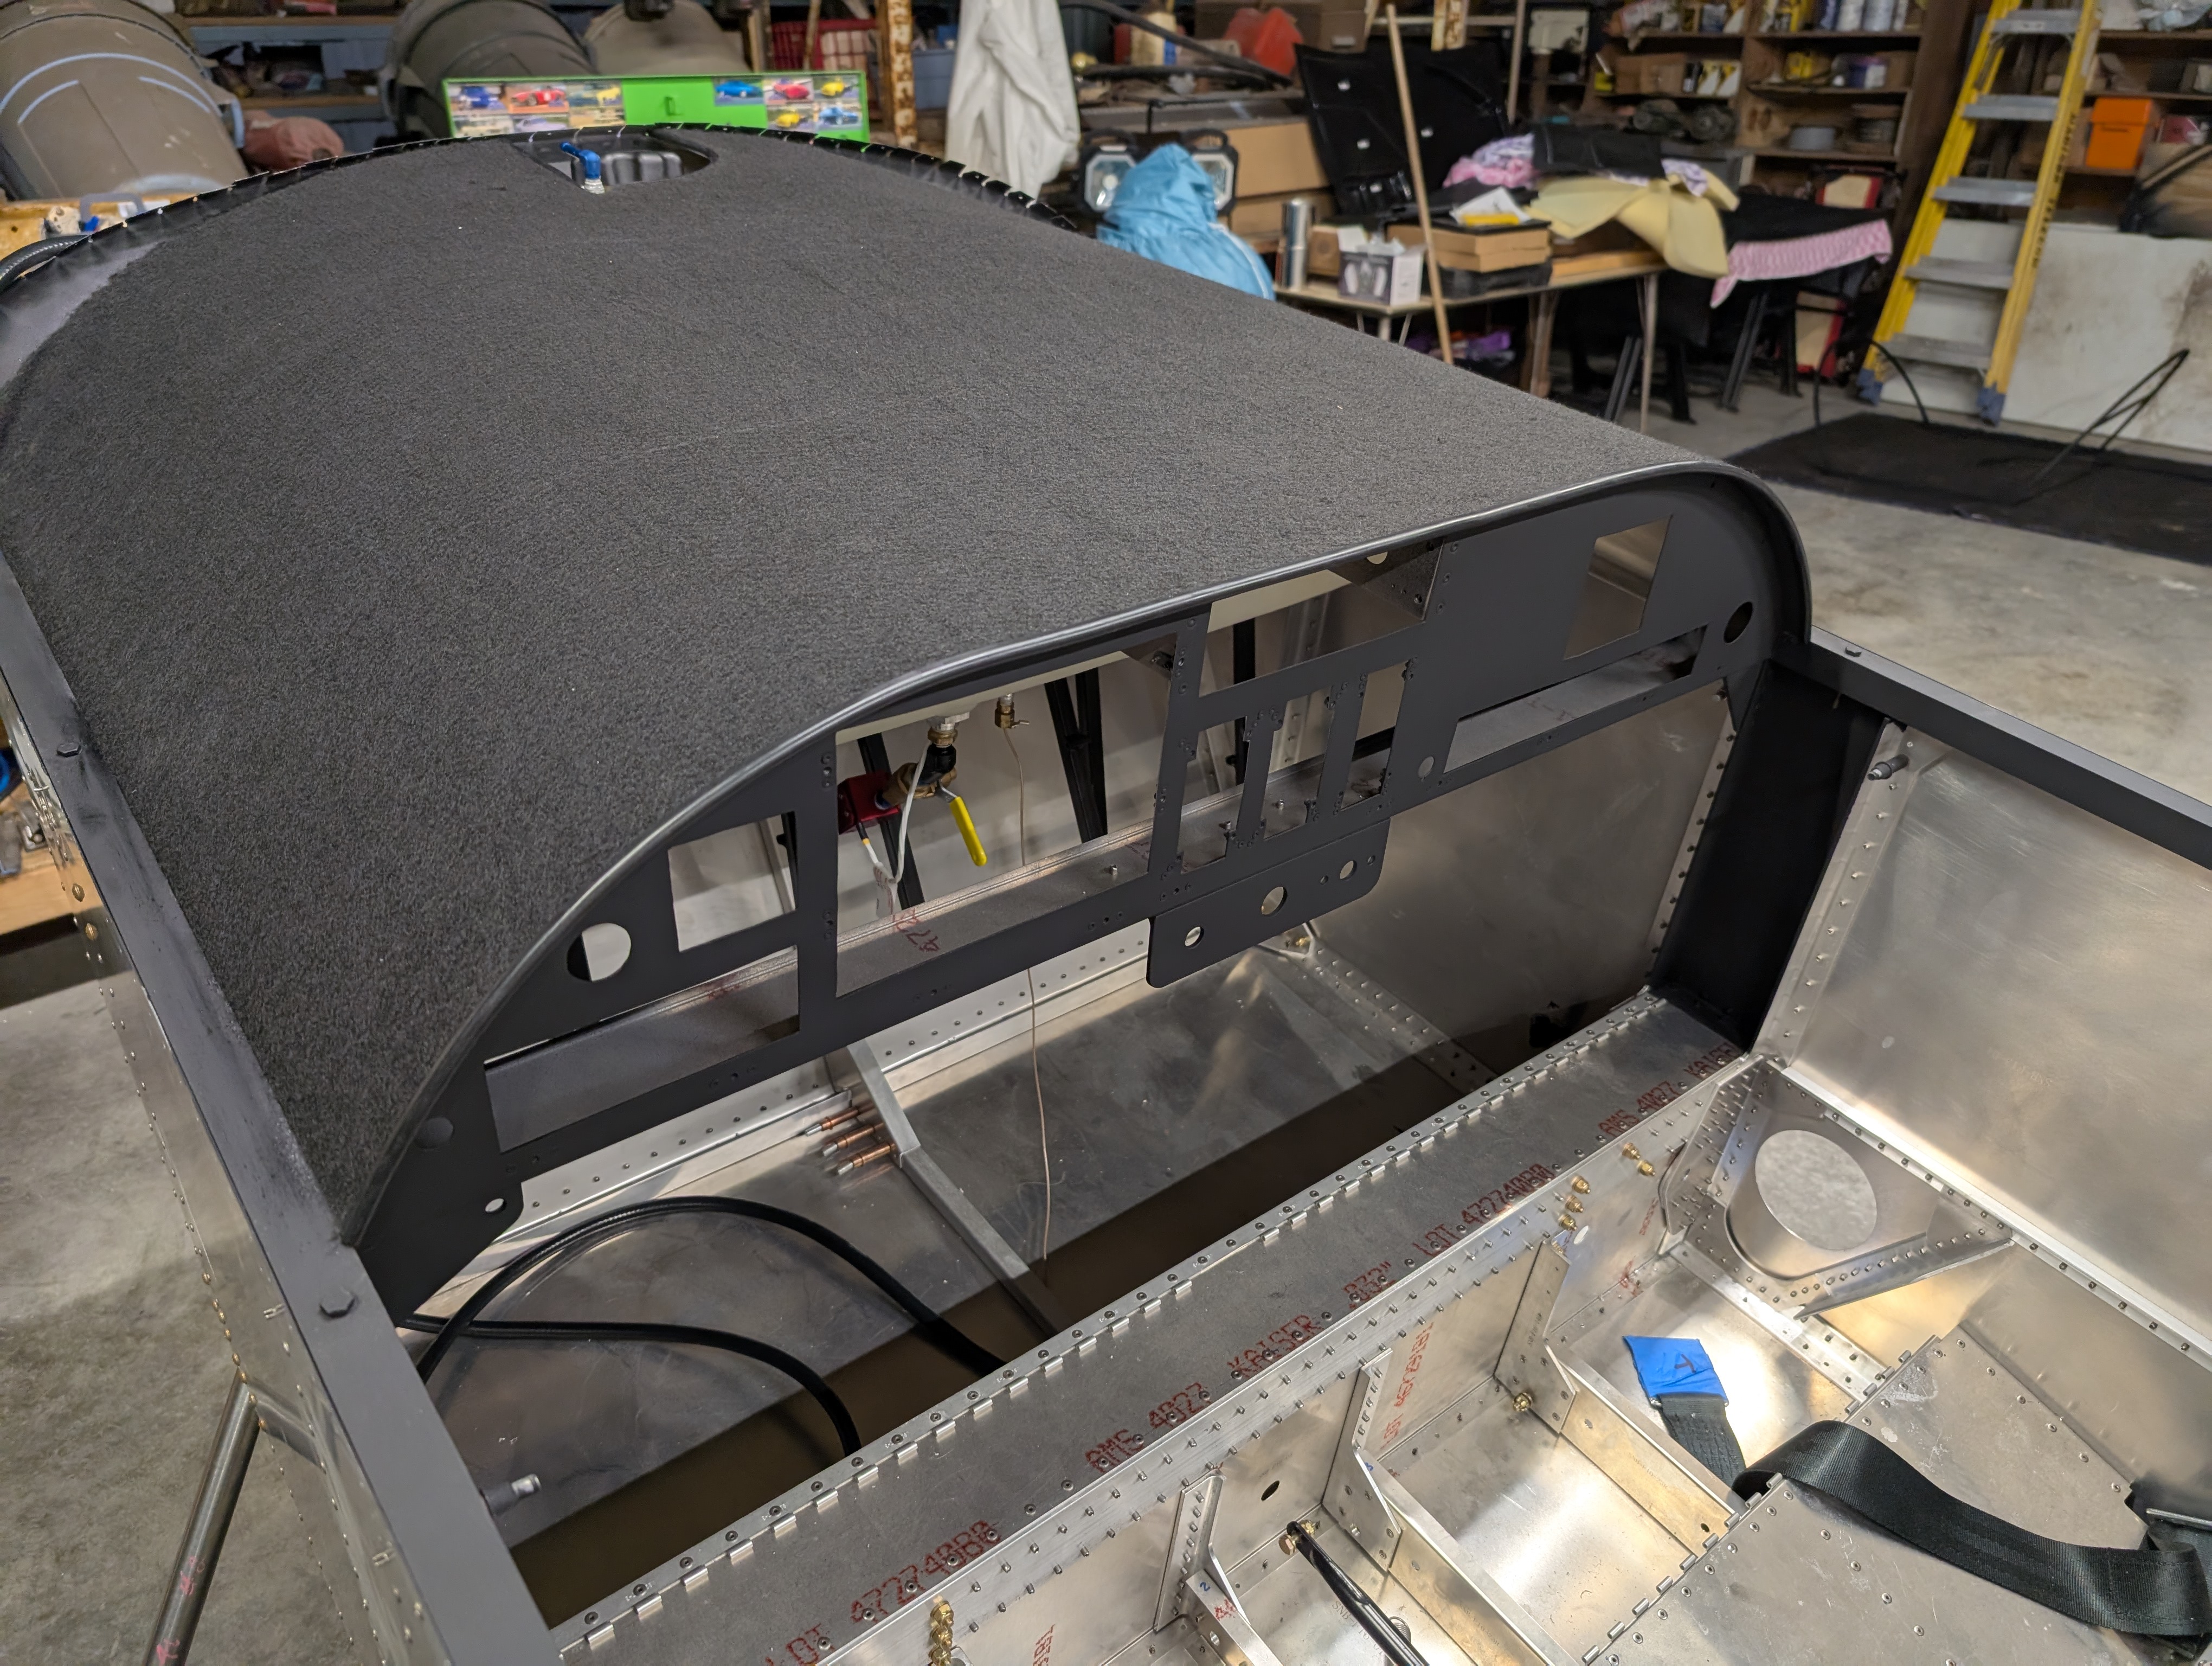
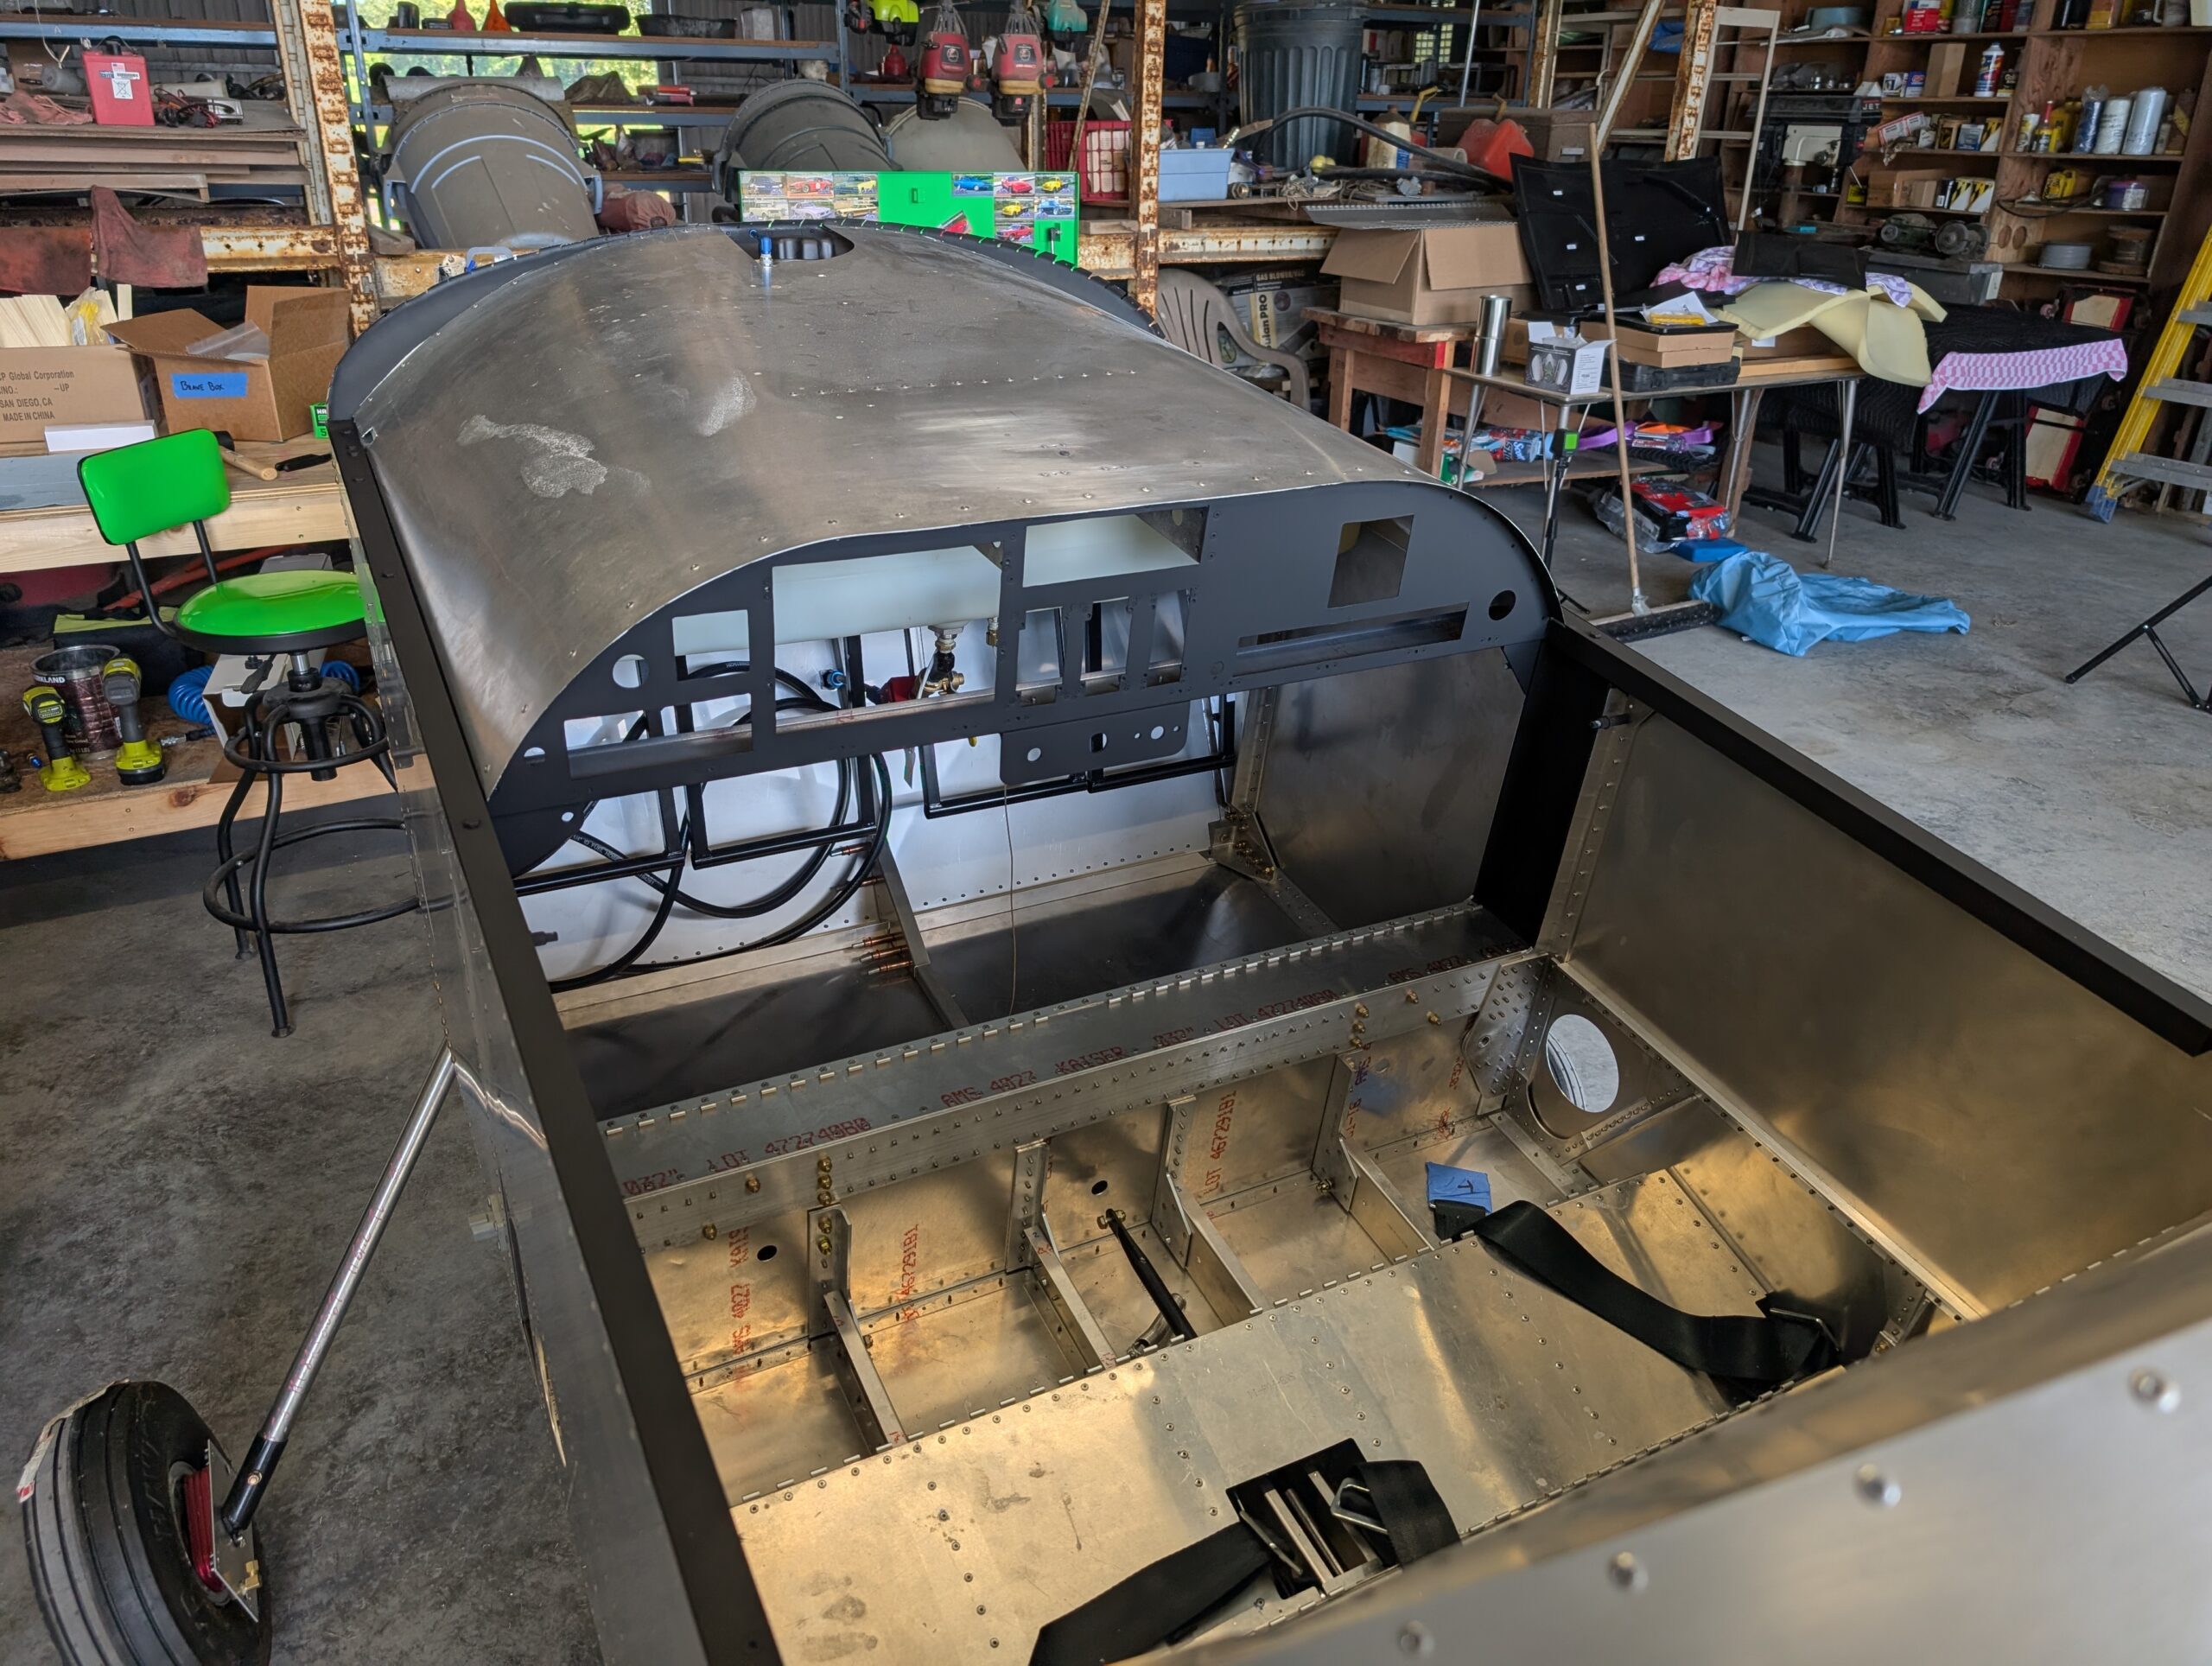
Prepped glareshield for cover installation by scotchbriting surface then cleaning with paint prep. Blew debris off glareshield then laid fabric on top of glareshield and rough cut edges. Sprayed 3M Super 77 adhesive onto half of glareshield then rolled fabric flat. Repeated the process for the right side of the glareshield then rolled entire area…
Black Interior Paint
Setup paint booth and moved fuselage/canopy parts into spray booth. Cleaned all parts with pre paint prep and discovered that not all parts would fit at the same time. Sprayed two coats of primer on black fuselage parts and windshield parts followed by three coats of rat rod matte black. Let parts dust dry for…
Black Paint Prep
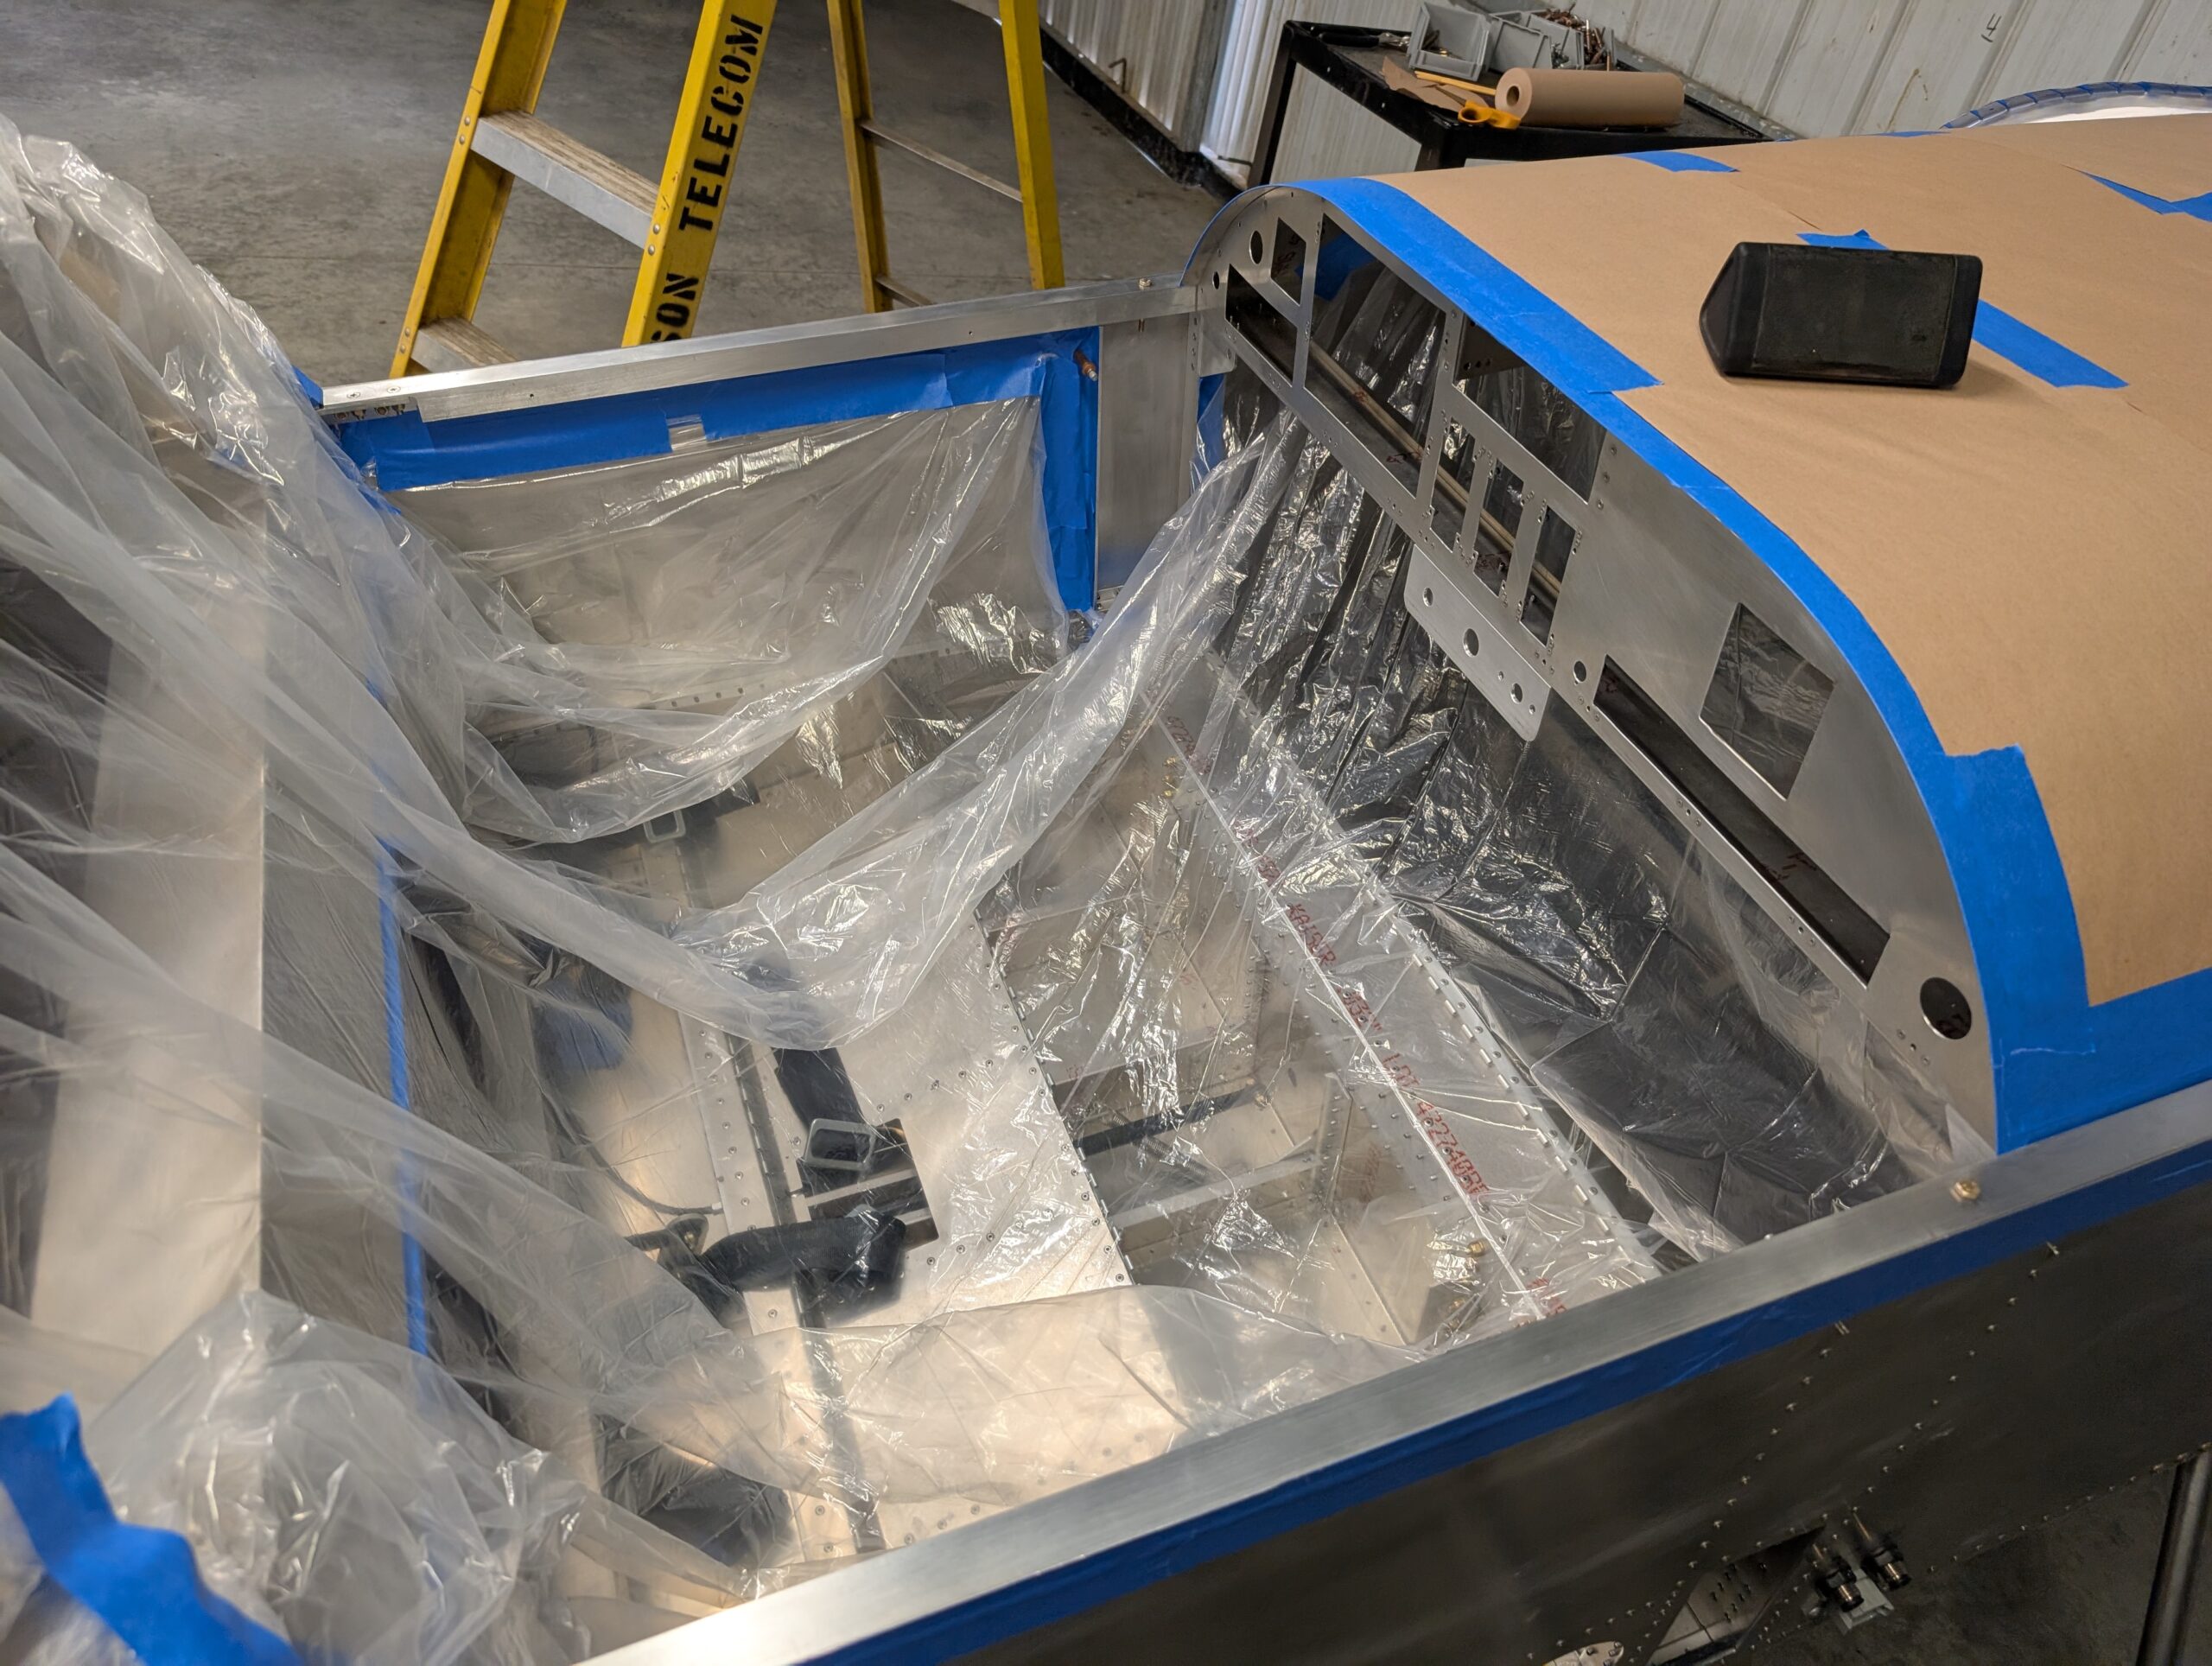
Prepped fuselage and windshield/canopy parts for black paint. Masked off glareshield and cabin area with painters tape then taped drop cloth over tape lines. Scotchbrited miscellaneous canopy and windshield parts in preparation for paint. Hours Worked: 1.94