emkrueger830

Panel Redesign – Part 3
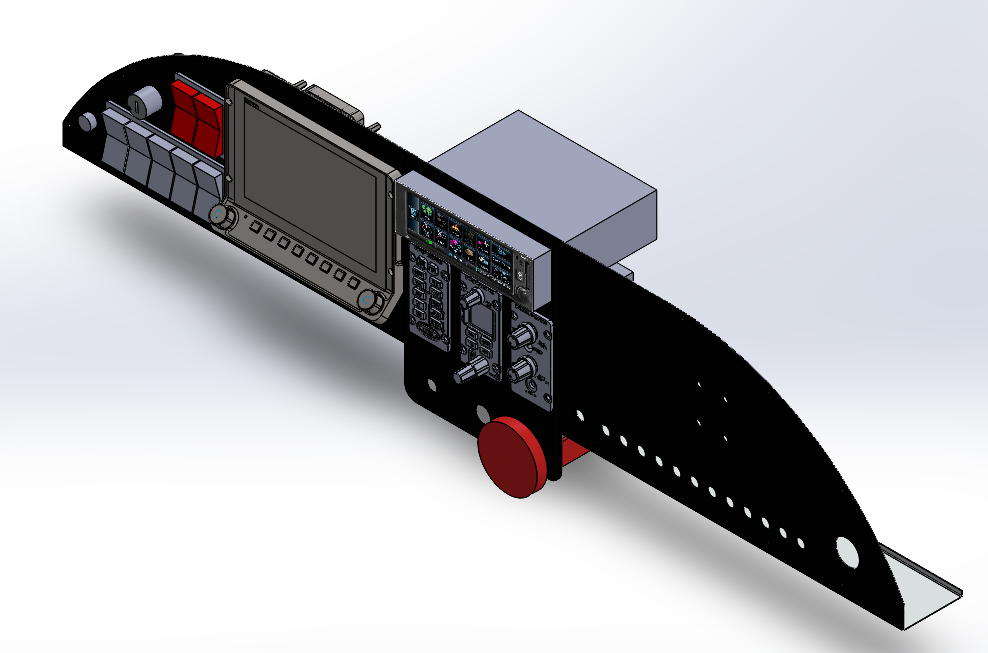
Designed cutouts in stock panel blank to make panel cover removal easier. Began recreating assembly drawing with updated panel covers. Still need to model throttle and mixture controls along with circuit breakers Hours Worked: 2.89

Panel Redesign – Part 2
Started to redesign panel layout. Used most of old drawing but transferred and confirmed dimensions into new files. Split panel into three separate files to make import into Front Panel Designer easier. Opted to remove bottom features due to clearance issues with ignition switch. Added bottom panel for throttle, mixture, and trim controls. Hours Worked:…

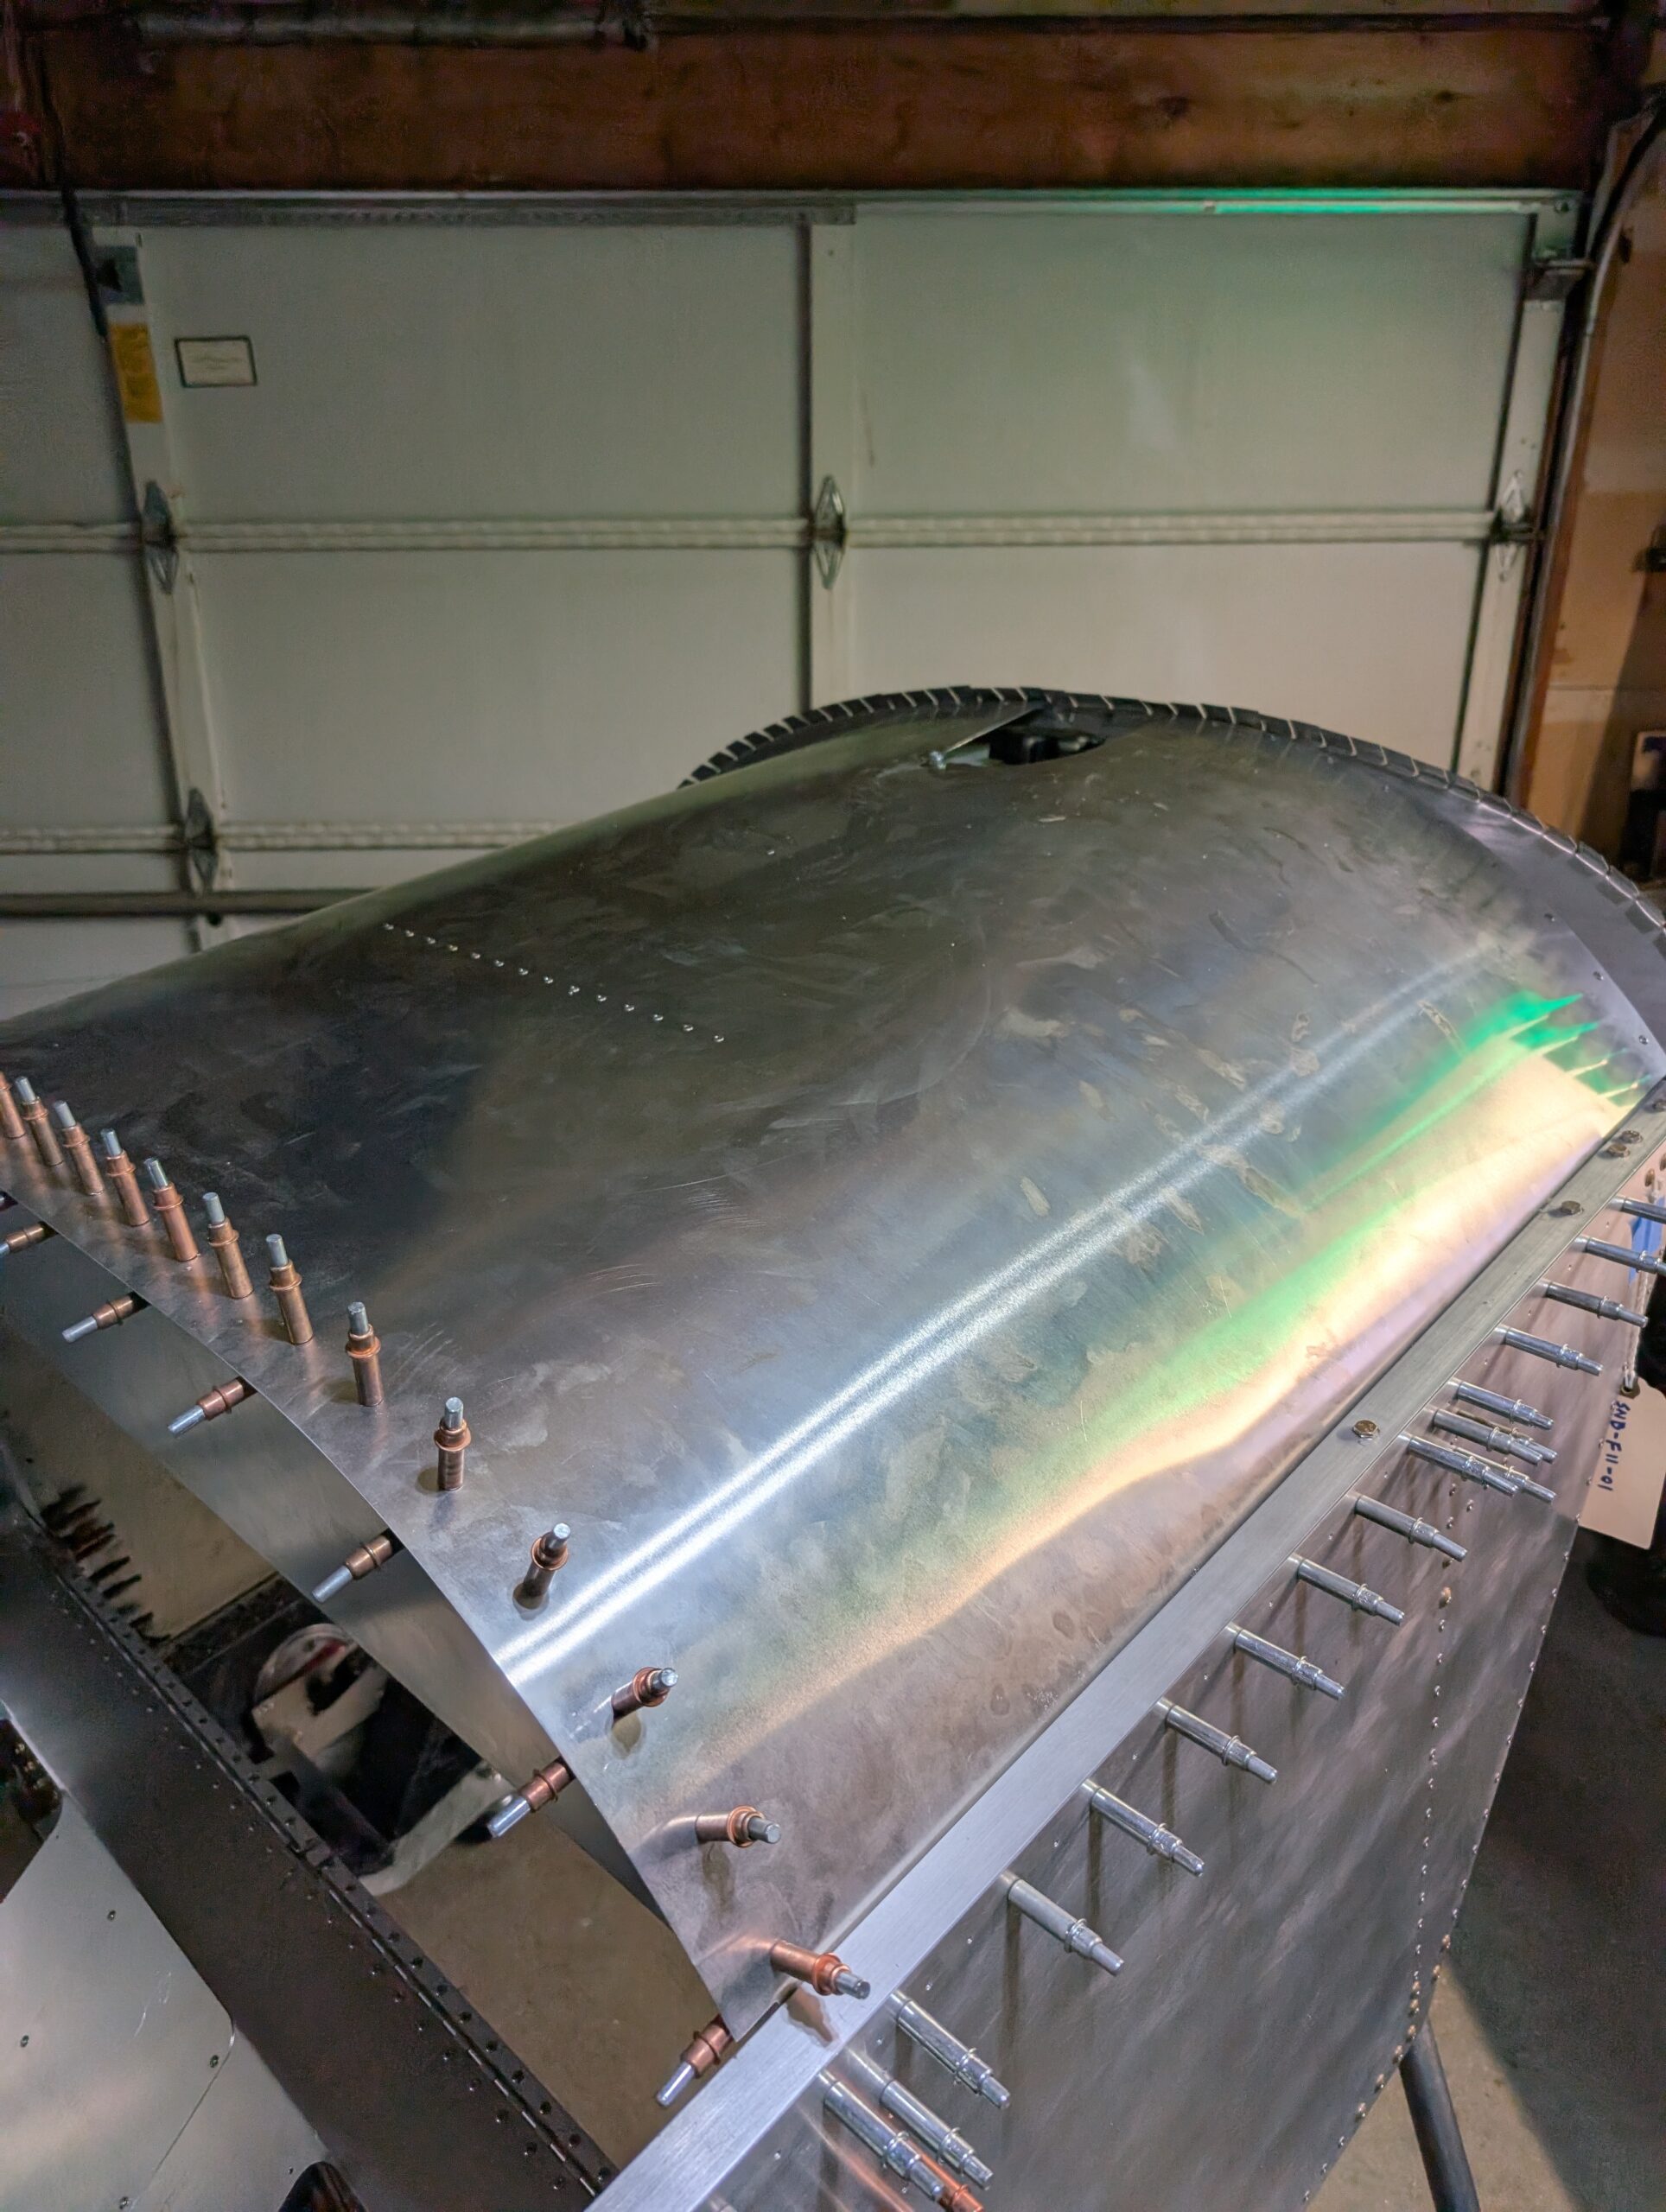
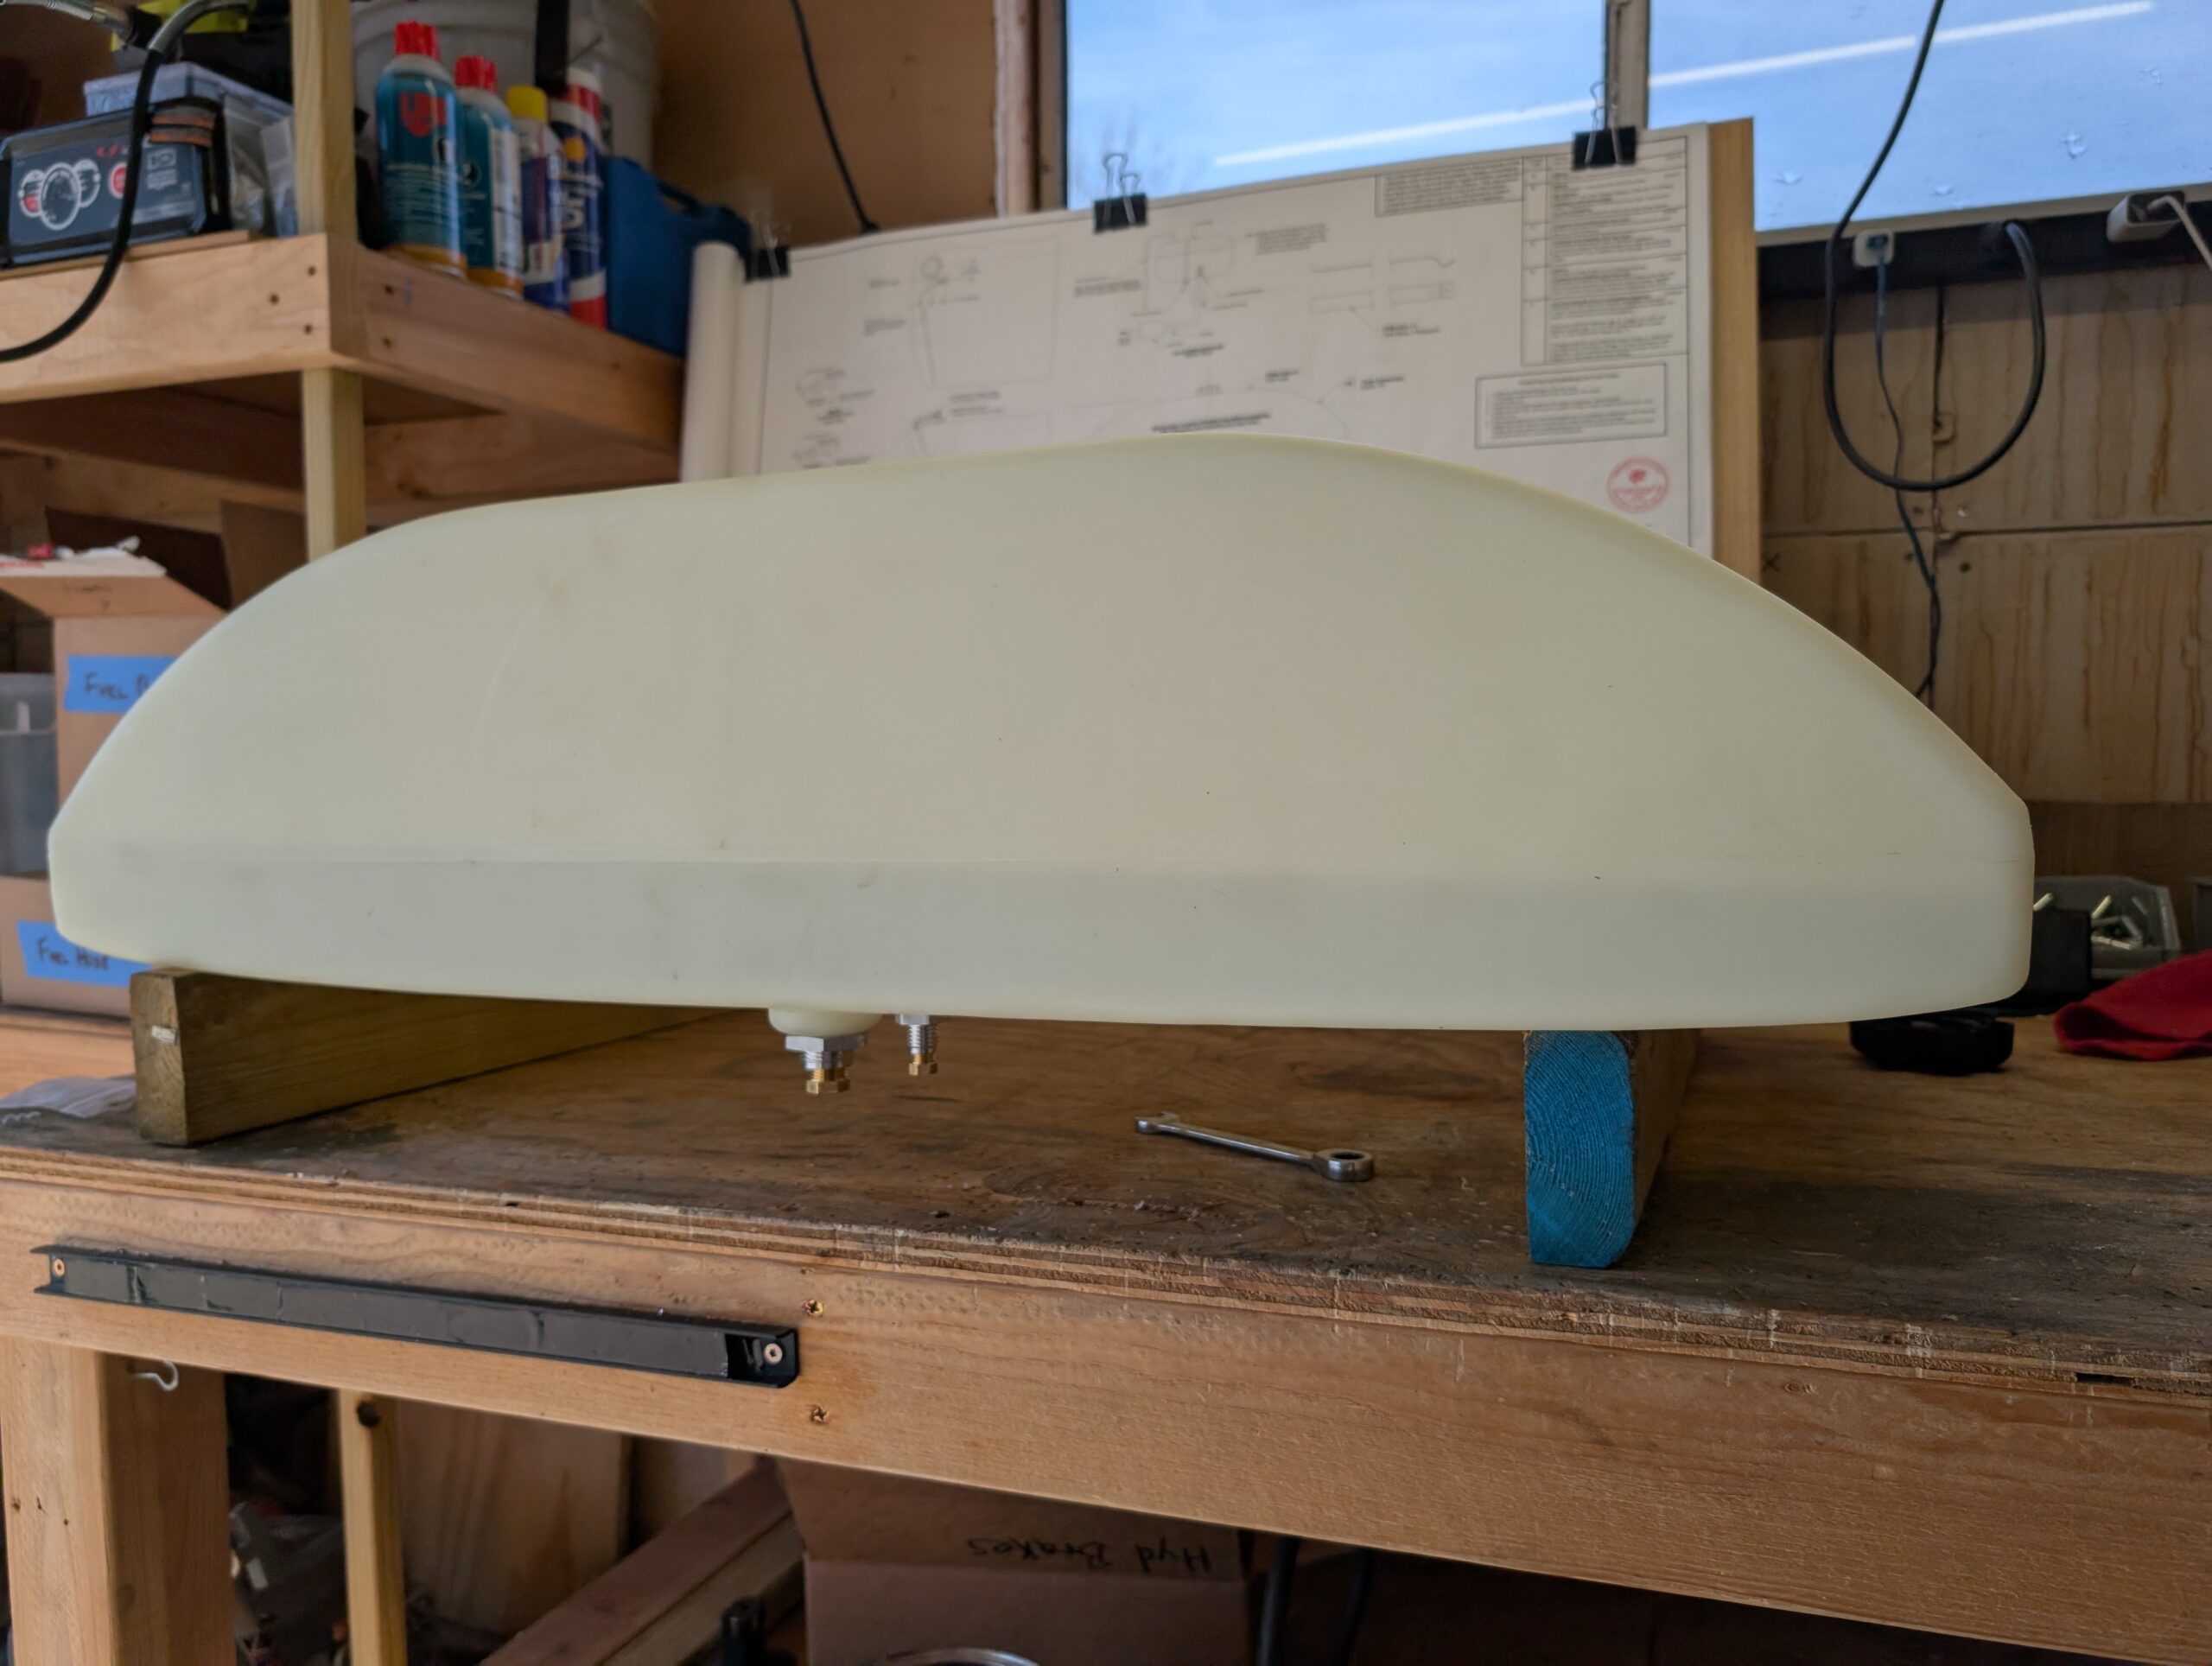
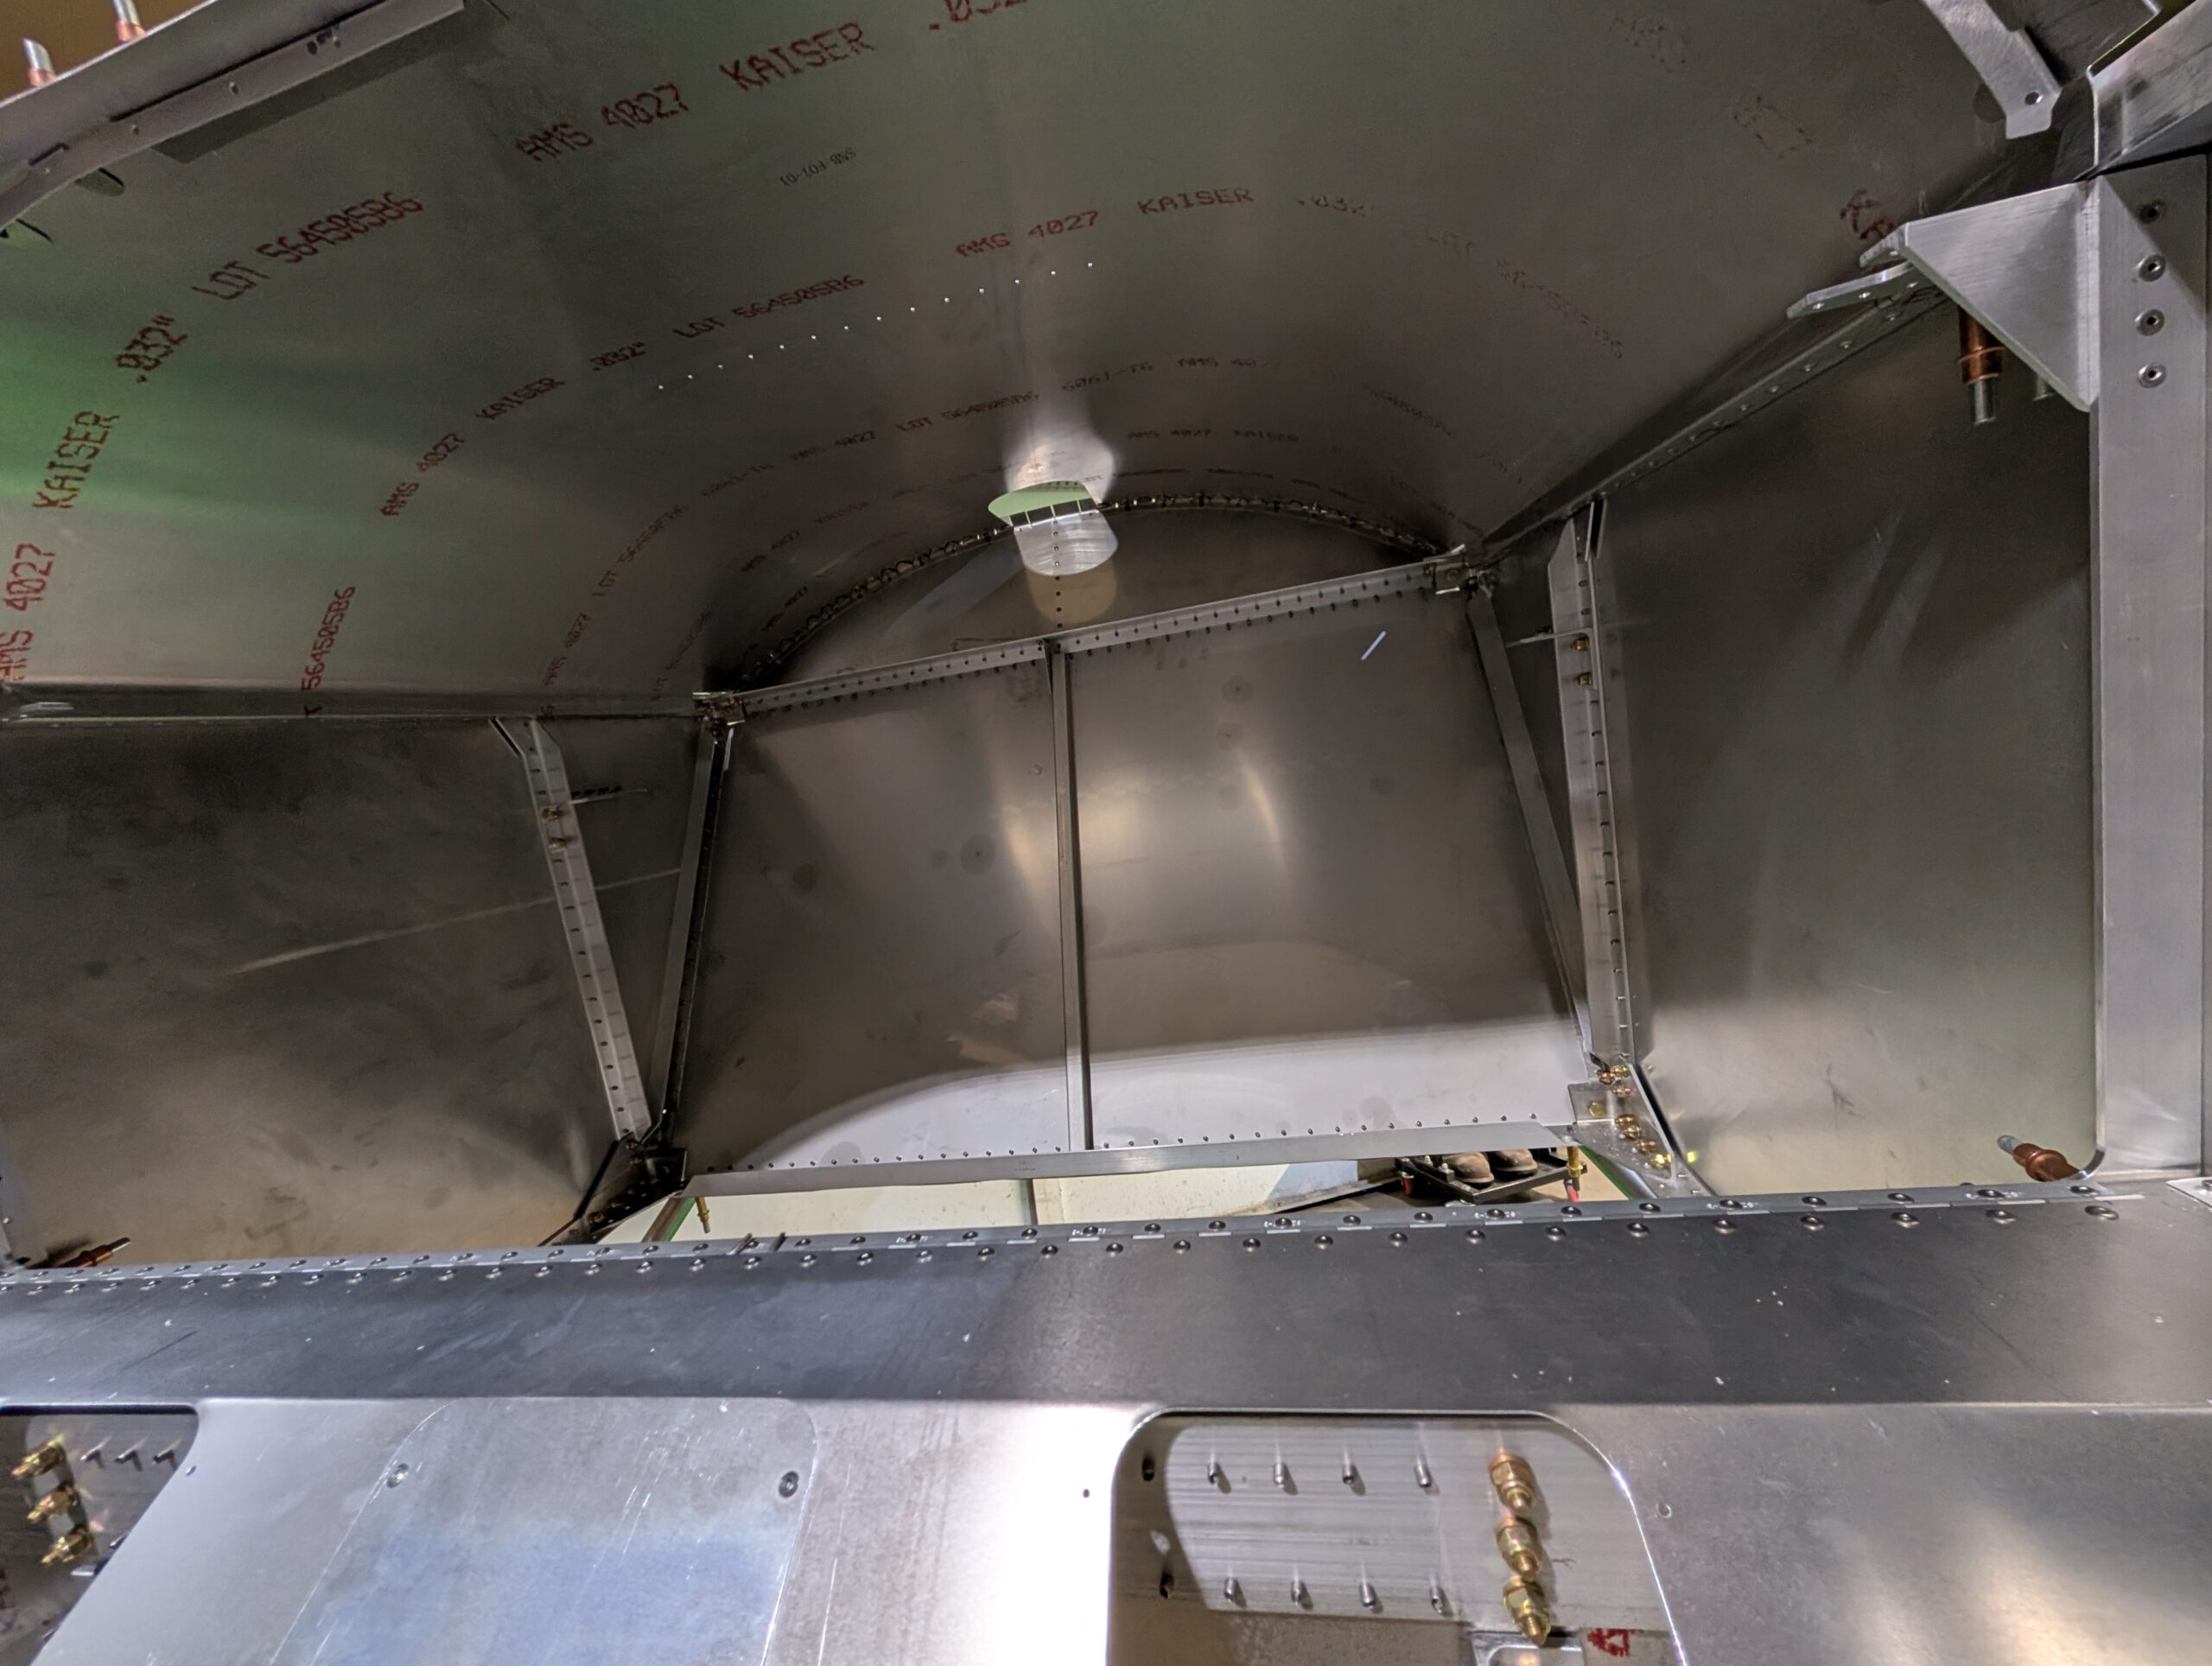
Fuel Tank Installation
Rinsed tank out with water to clear out debris from inside. Re-fit tank to fuselage and trimmed fuel bay area slightly more to accommodate vent fitting. Clecoed tank stop into place and confirmed tank was sitting full forward. Installed fuel tank straps and lightly tightened straps until they were touching the tank fully. Used AN3-7A…

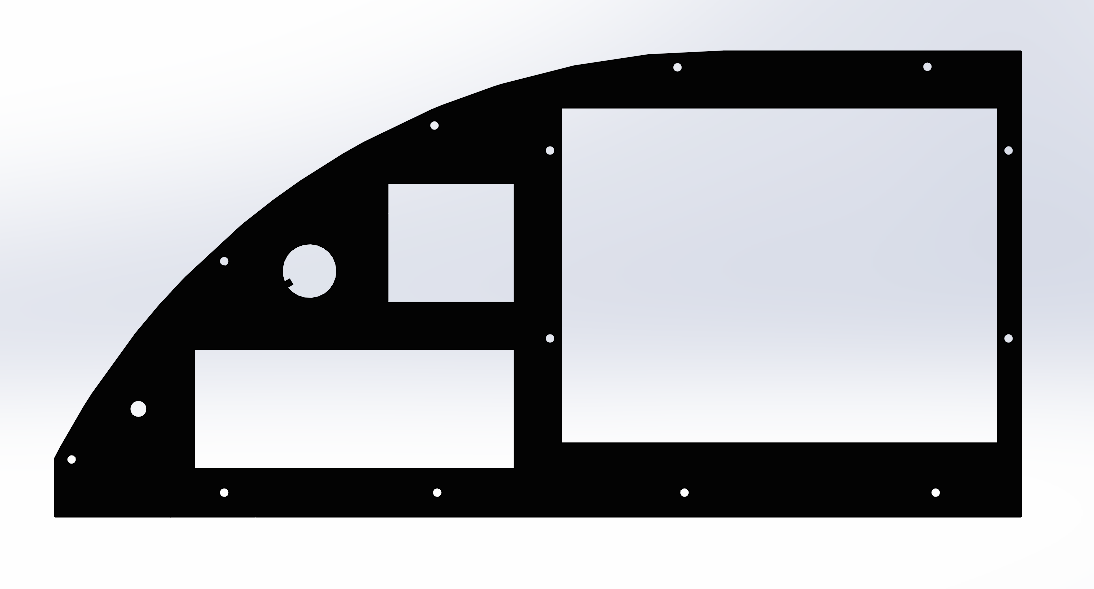
Panel Redesign – Part 1
After discovering issues with the panel cover, reached out to Sonex tech support and obtained original STL file. Printed out layout and compared to existing panel blank; much better fit. Converted STL into Solidworks file for panel redesign. Hours Worked: 2.08

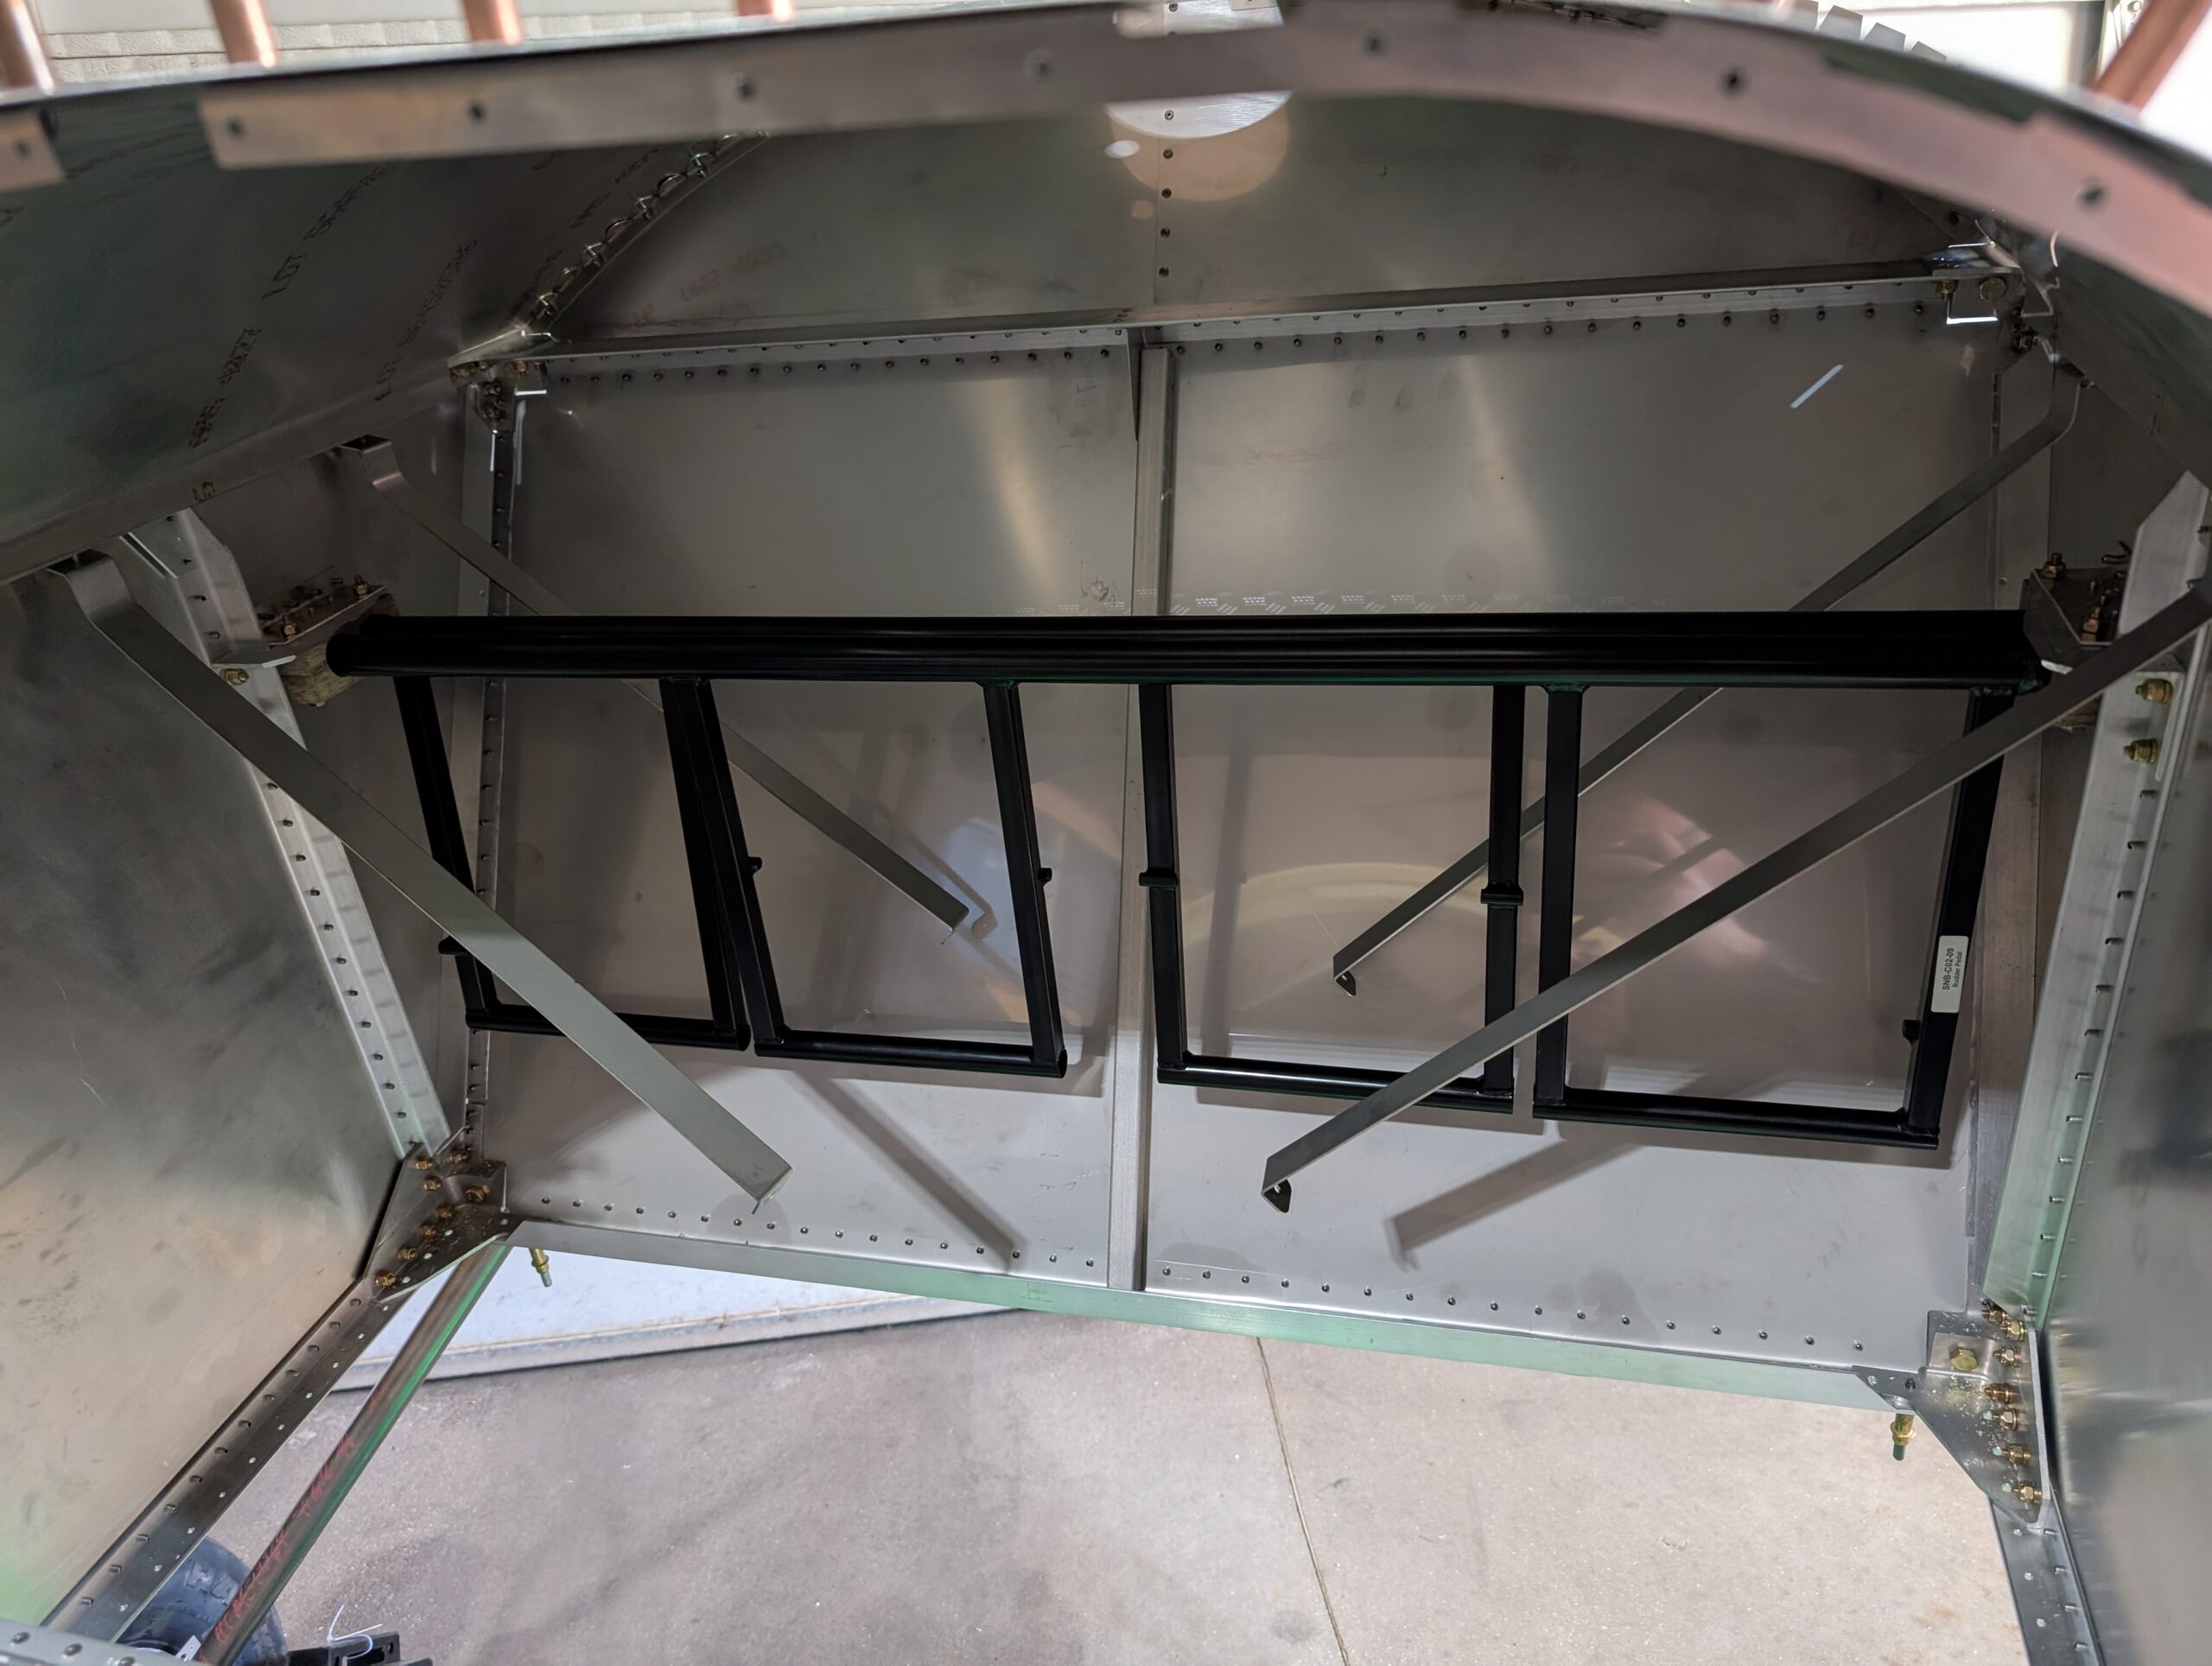
Rudder System Installation – Part 1
Located rudder pivot blocks onto fuselage and temporarily inserted rudder pedals to check fit. Fit and function seemed good so clamped blocks to fuselage and drilled forward mounting holes. Will need to remove assembly to apply grease in future. Hours Worked: 1.17
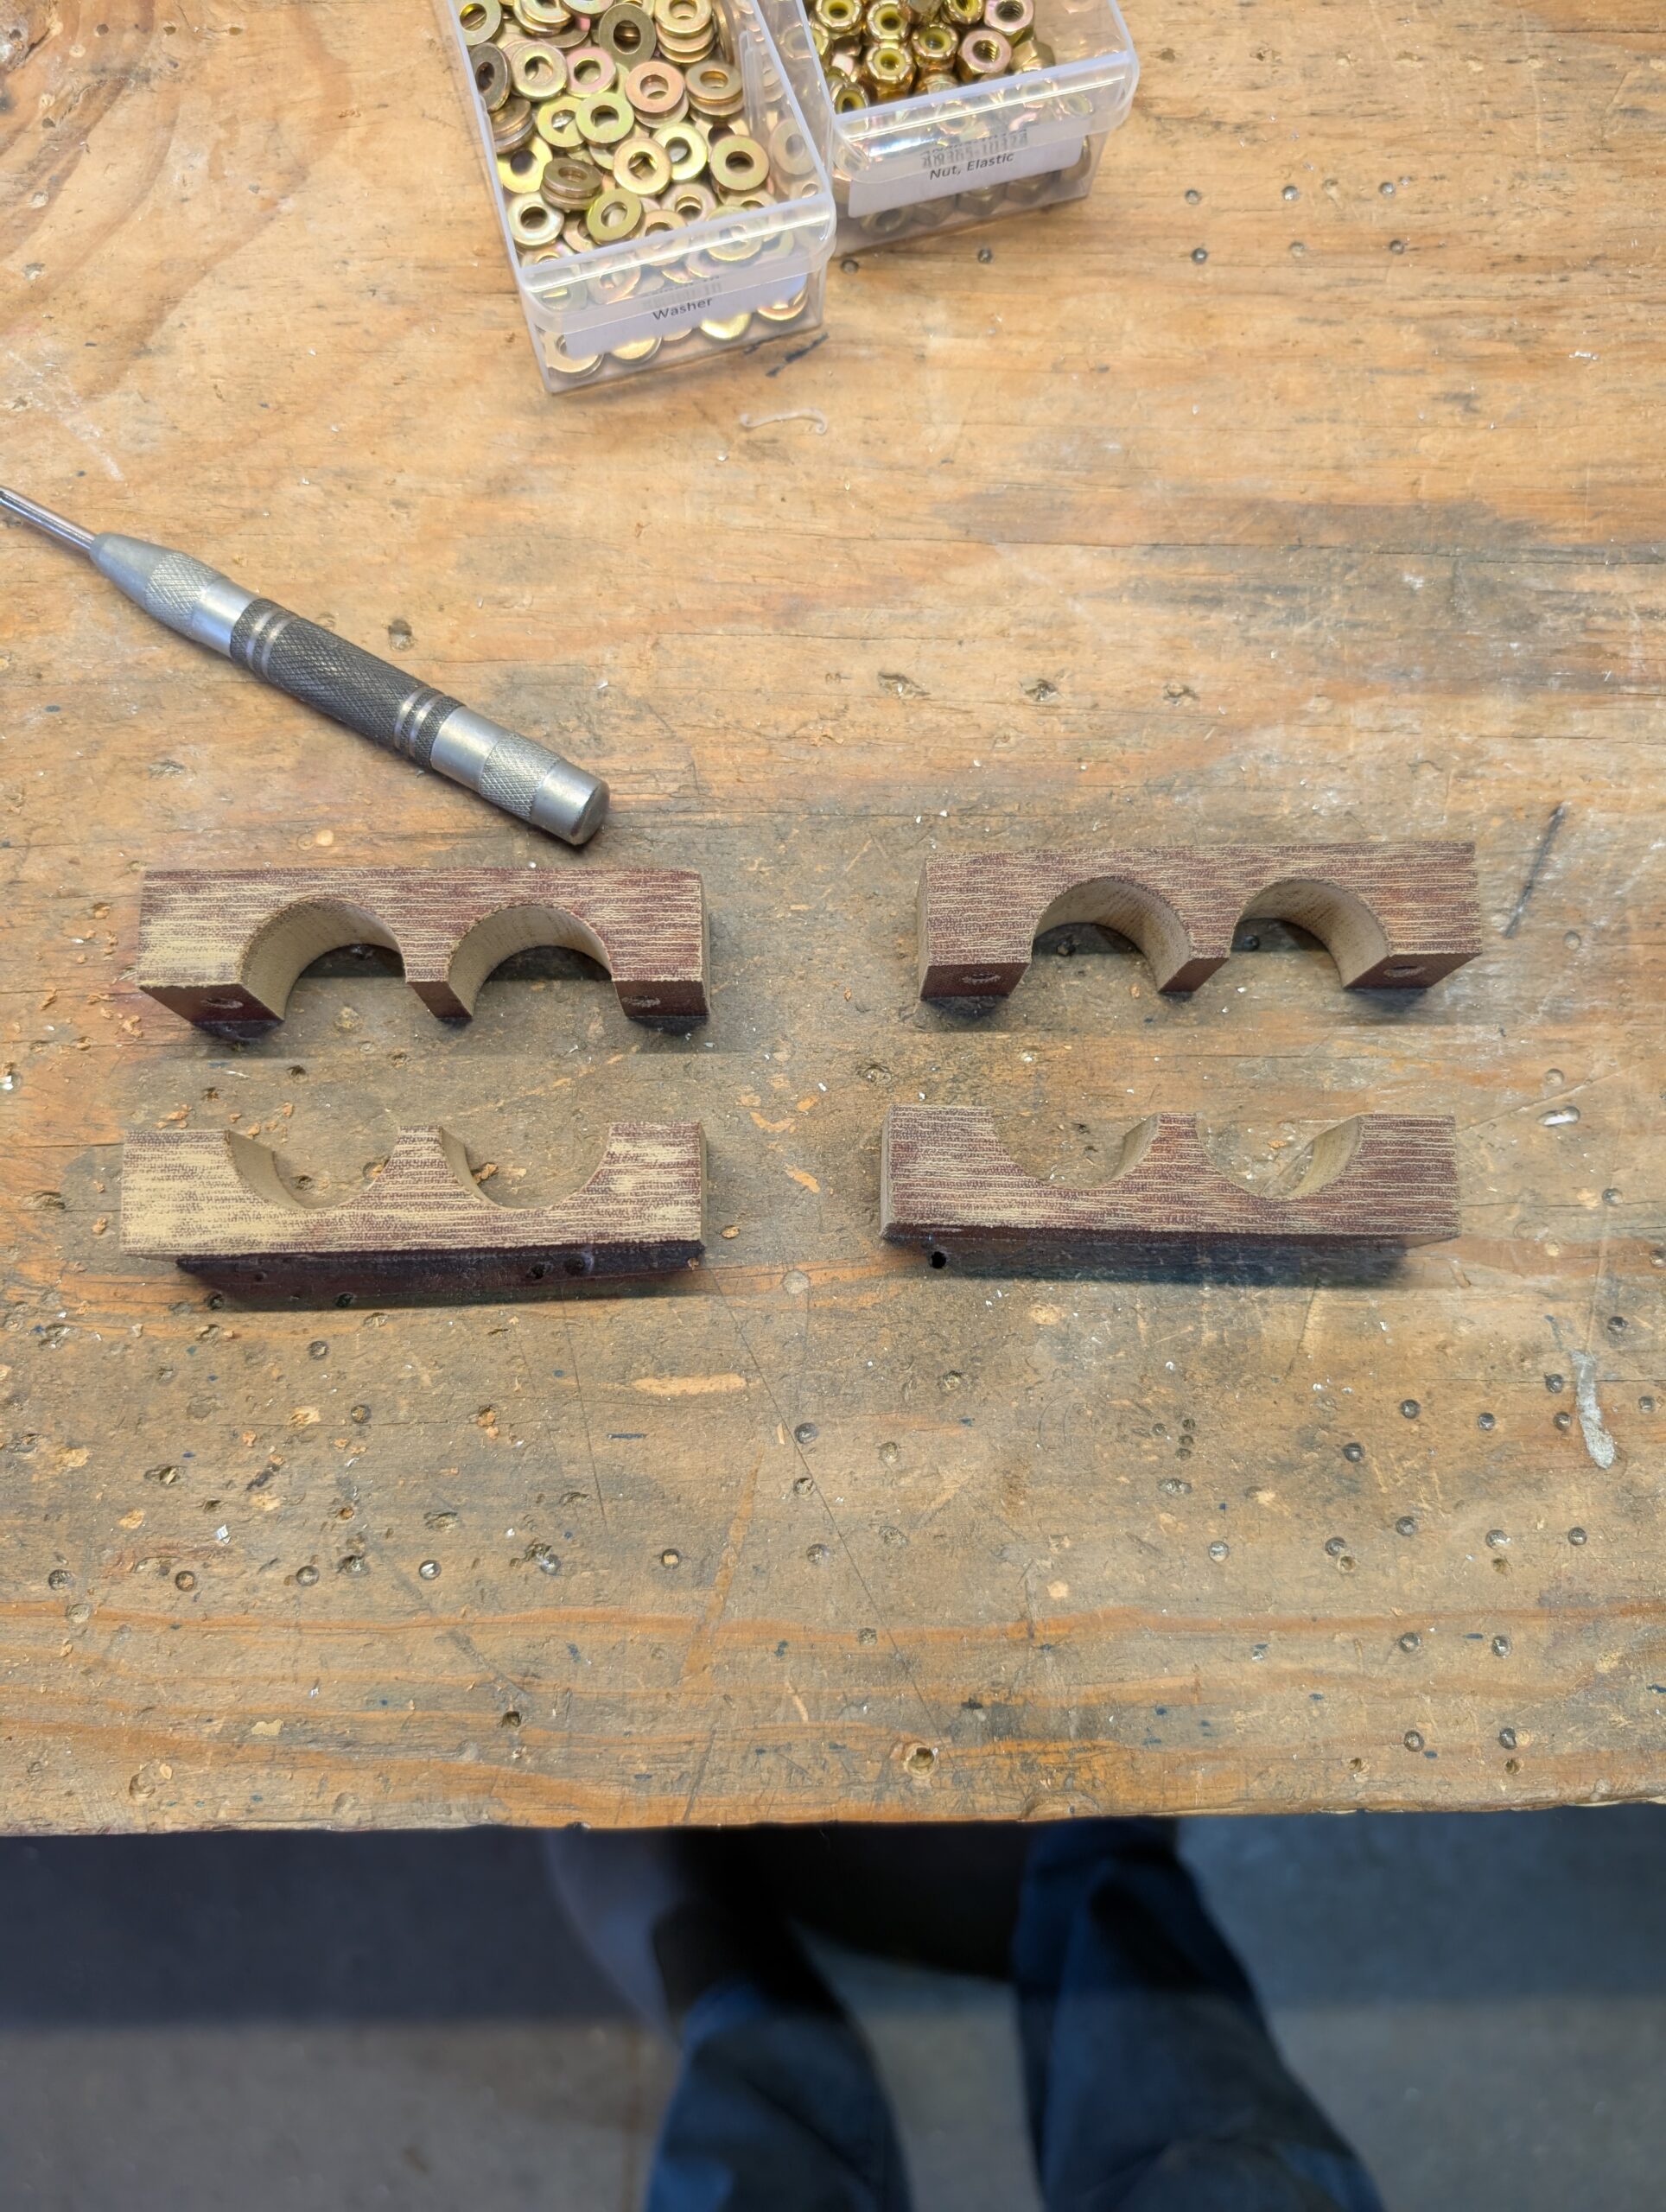
Rudder System Prep – Part 1
Cut rudder pedal pivot blocks from Phenolic sheet. Matched similar blocks together and rough sanded. Clamped blocks together then drilled mount holes with drill press. Temporarily bolted blocks together and sanded edges flat. Marked holes for rudder pedals then through drilled with Forstner bit. Deburred all holes and final sanded through holes. Hours Worked: 1.67
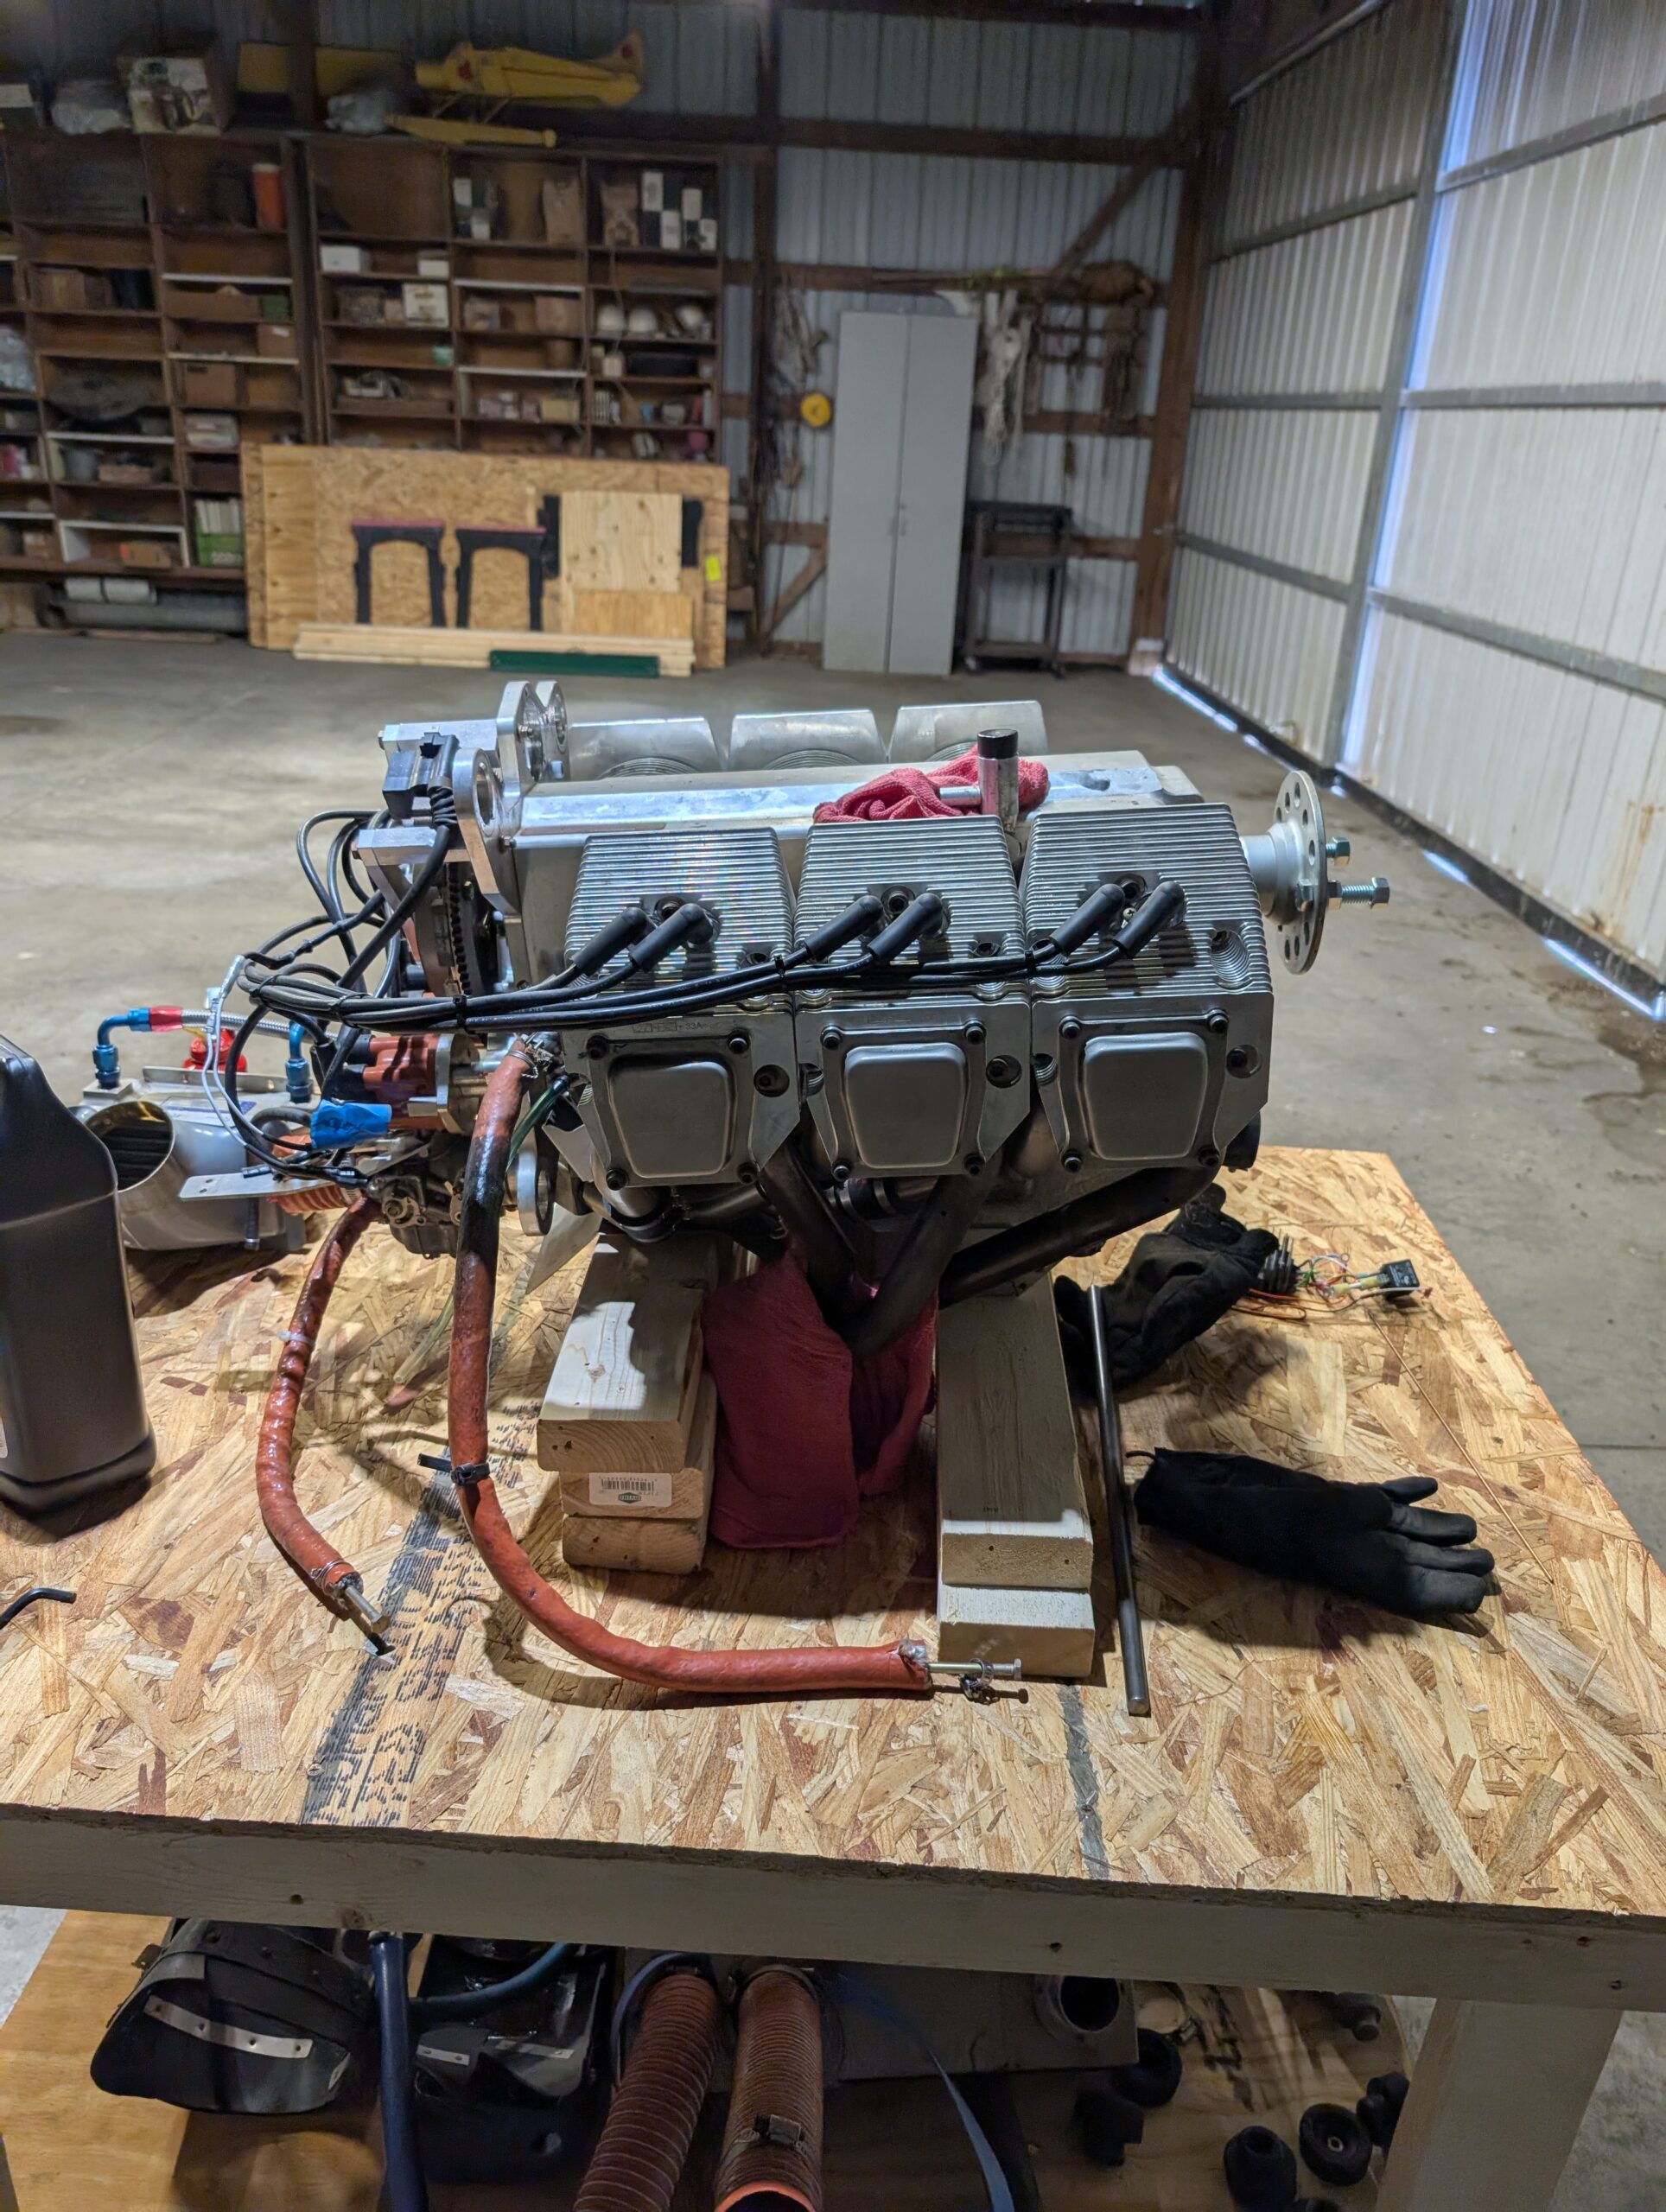
Follow-up Storage Treatment #2
Performed long-term storage procedure IAW Jabiru Maintenance Manual. Removed plugs and lubricated cylinders with Phillips 20W50 Anti-Rust Oil. Reinstalled plugs but did not torque. Removed rocker covers and lubricated rocker chambers with same oil. Reinstalled rocker covers but did not torque. Pulled prop through 15 times.
Fuel Tank Prep – Part 2
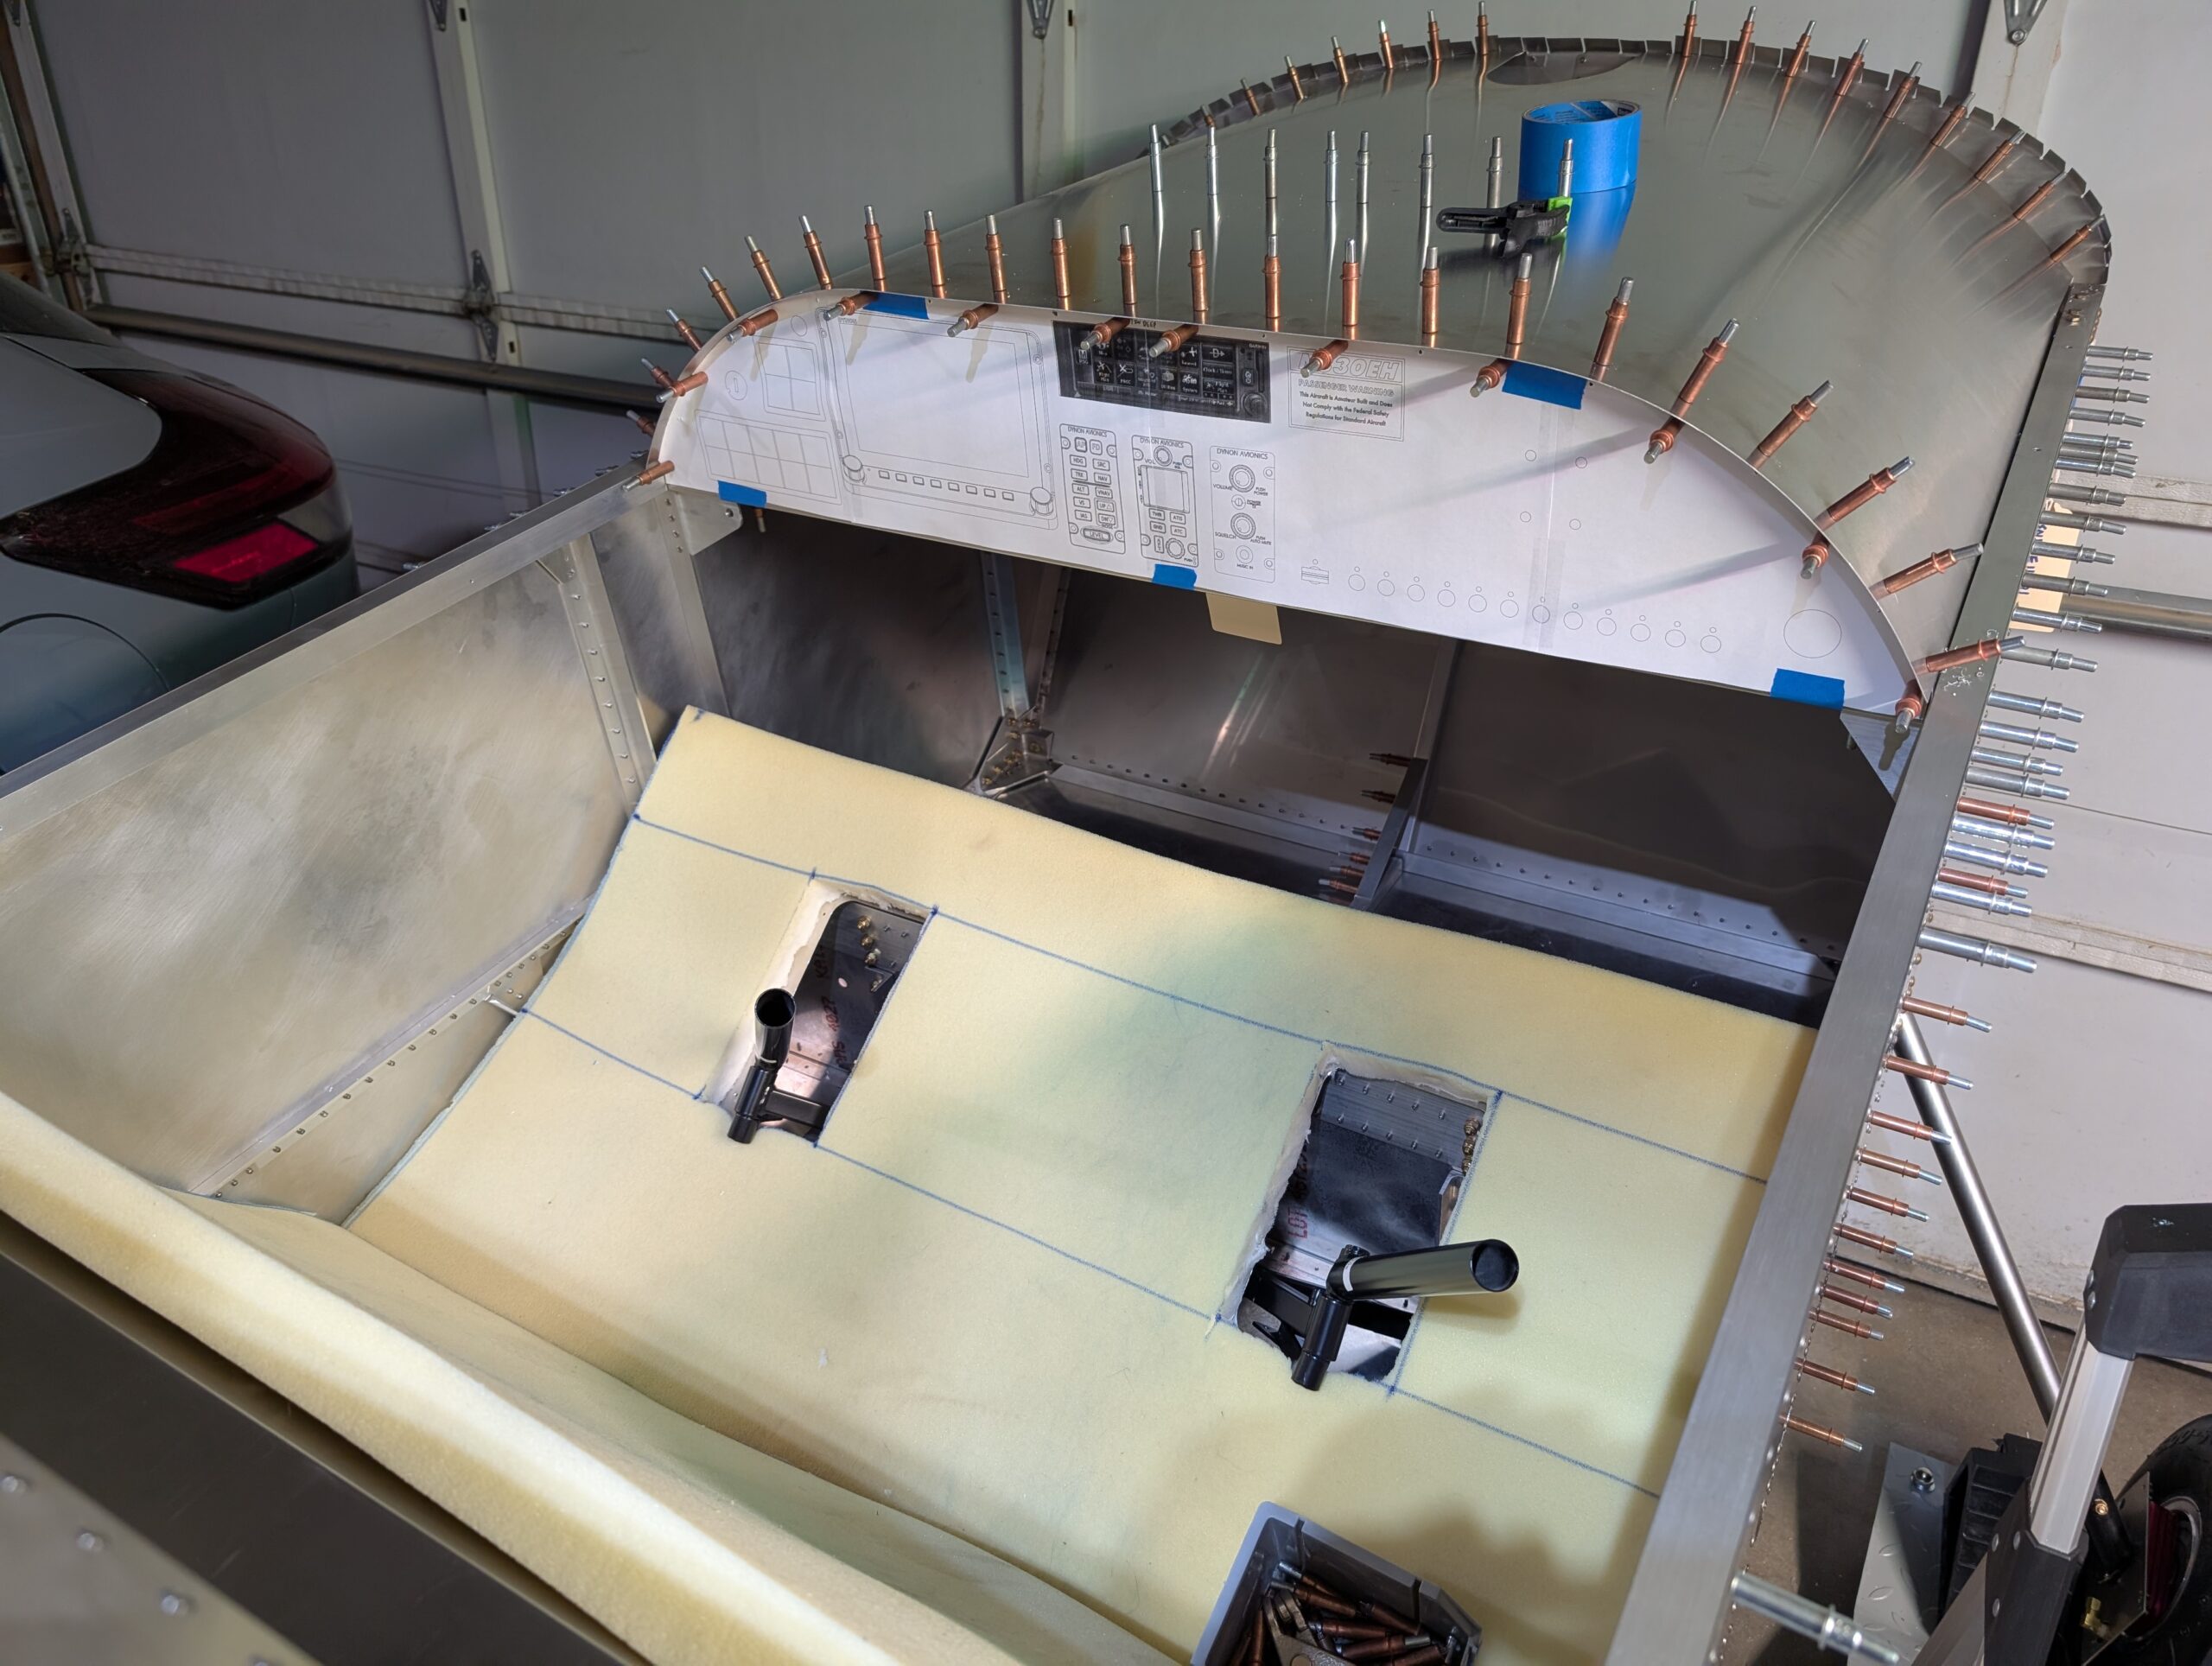
Drilled hole in fuel tank for fuel vent “oops” fitting then deburred/cleaned. Temporarily installed fuel tank straps and fuel tank then marked location of fuel tank vent on glareshield with strap duplicator. Removed fuel tank and drilled slightly oversized clearance hole in glareshield. Rinsed tank thoroughly with water then installed temporary brass plugs in bottom…
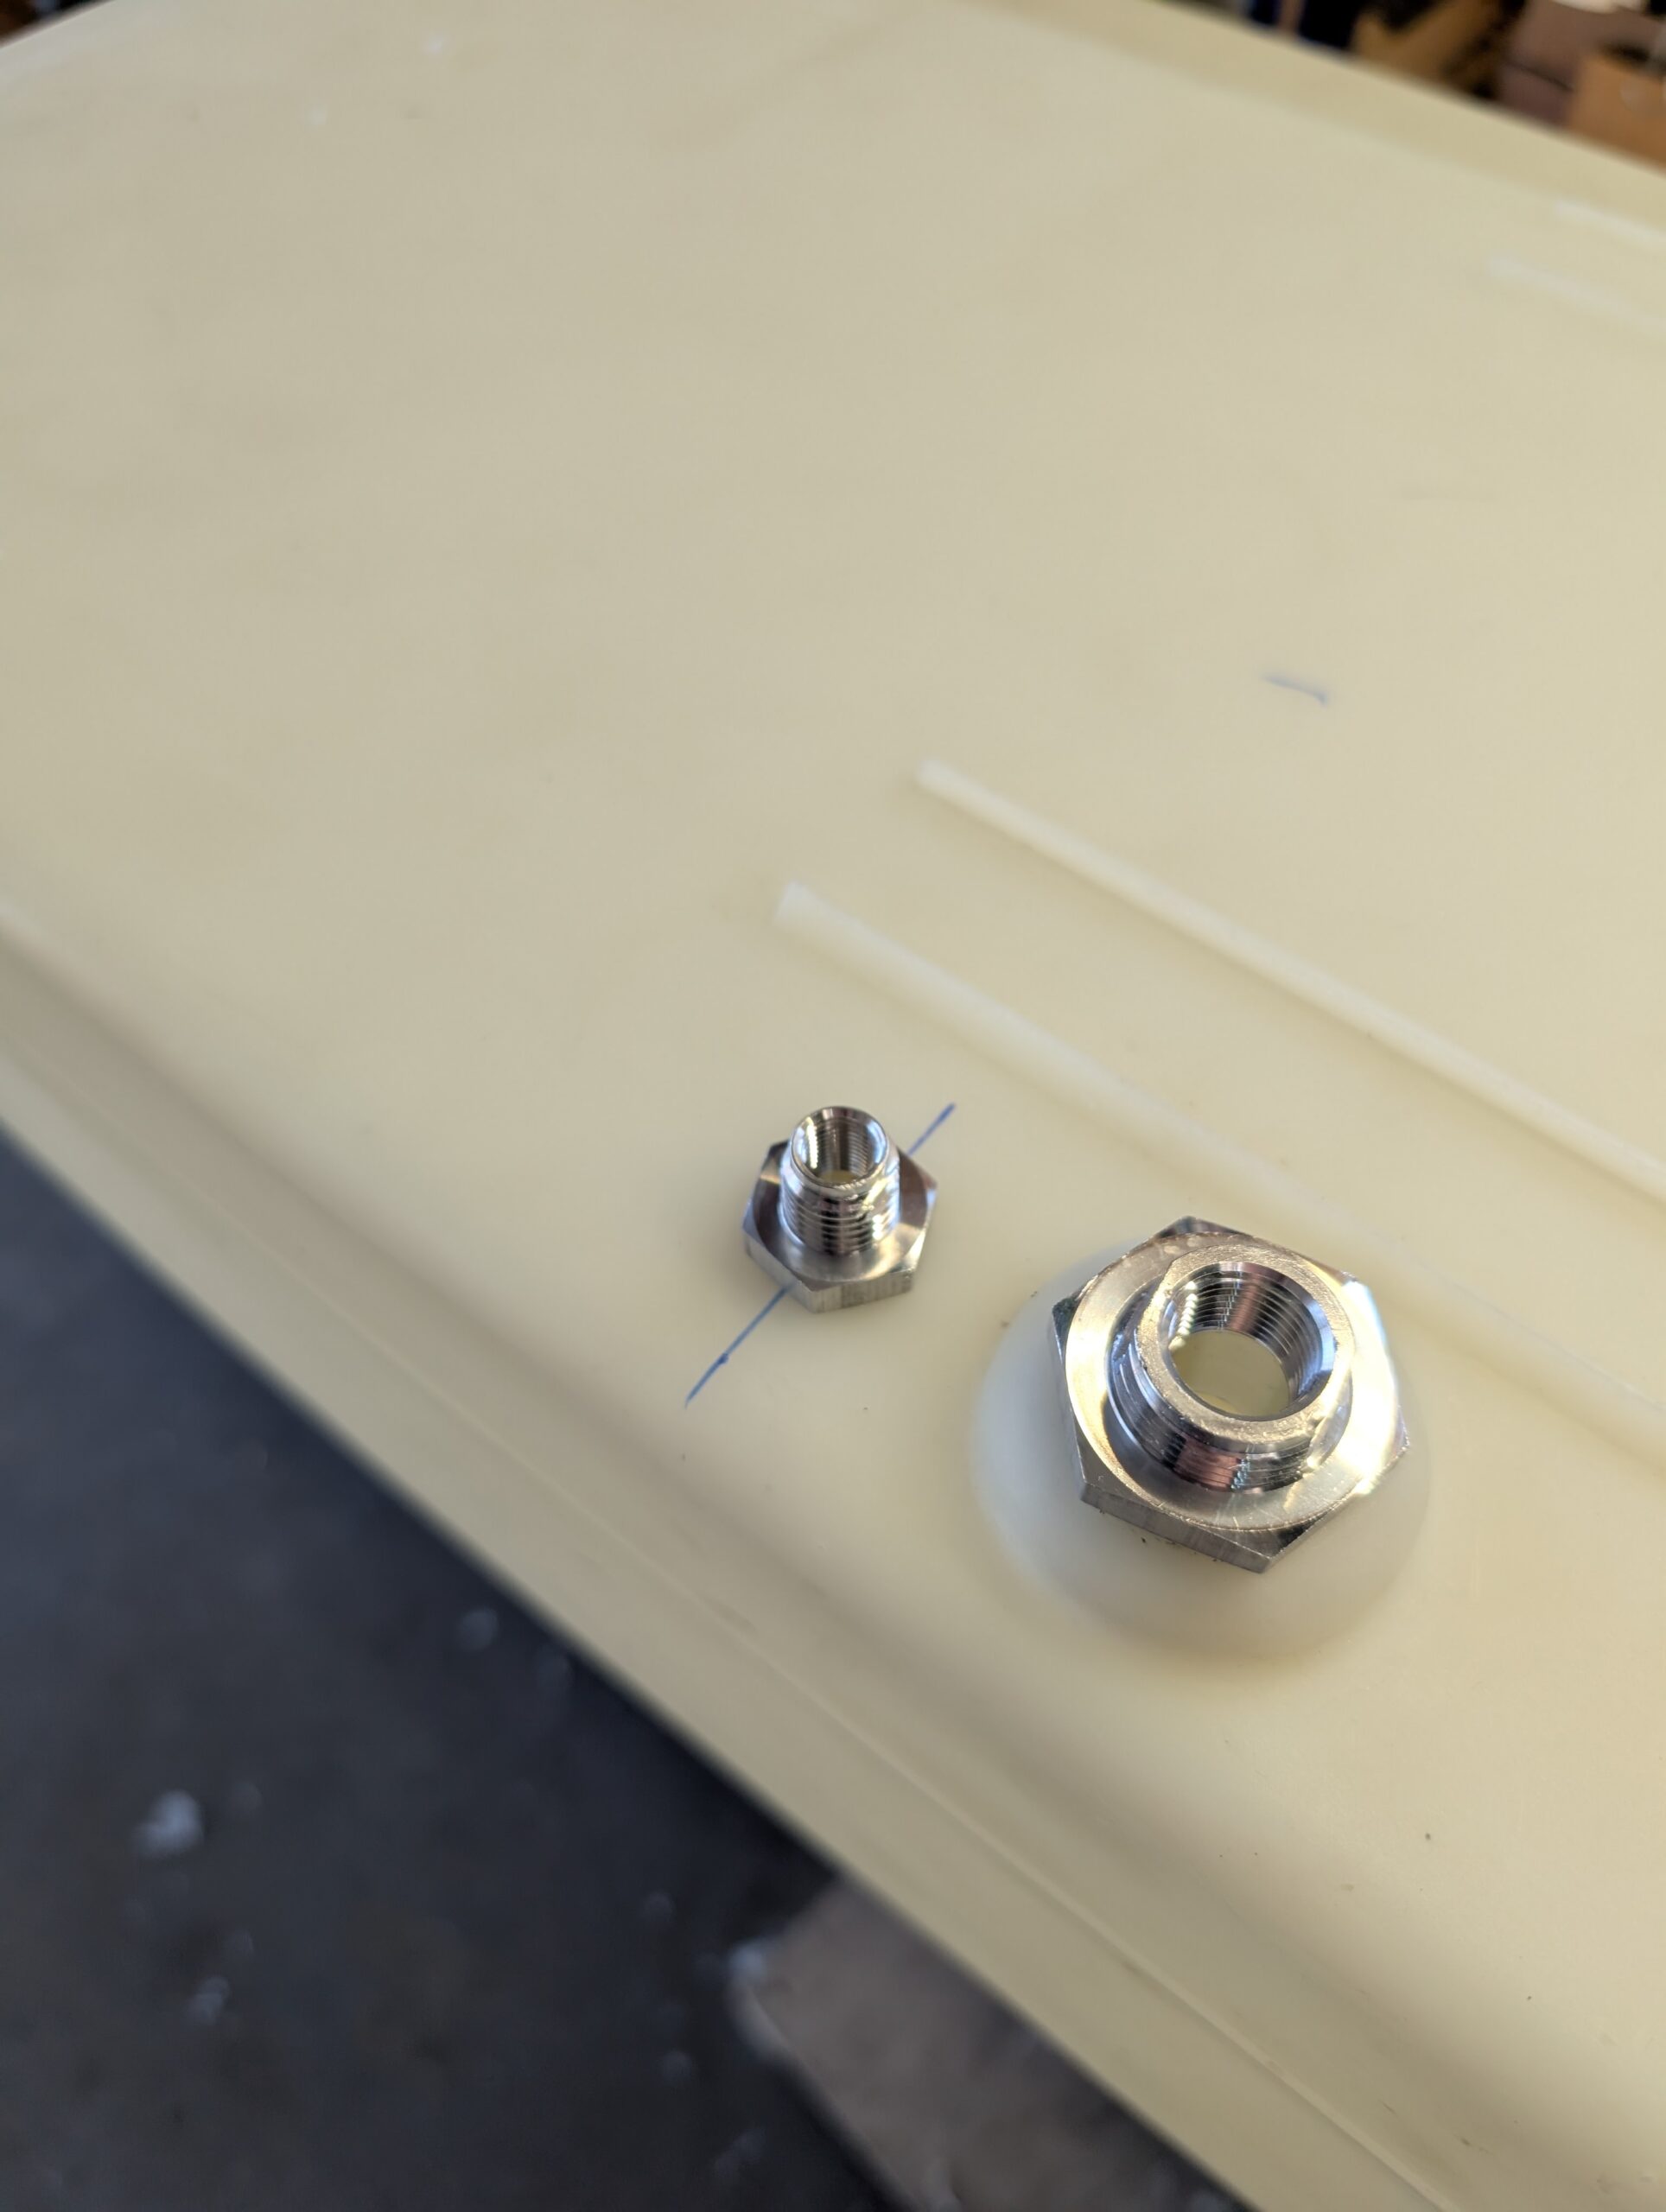
Fuel Tank Prep – Part 1
Located main drain hole in fuel tank and drilled opening with spade bit. Deburred edges with file and sandpaper then used wire trick to install “oops” fitting. Drilled fuel sender hole two inches over with step bit and deburred hole. Installed fuel sender oops fitting into tank. Hours Worked: 0.97
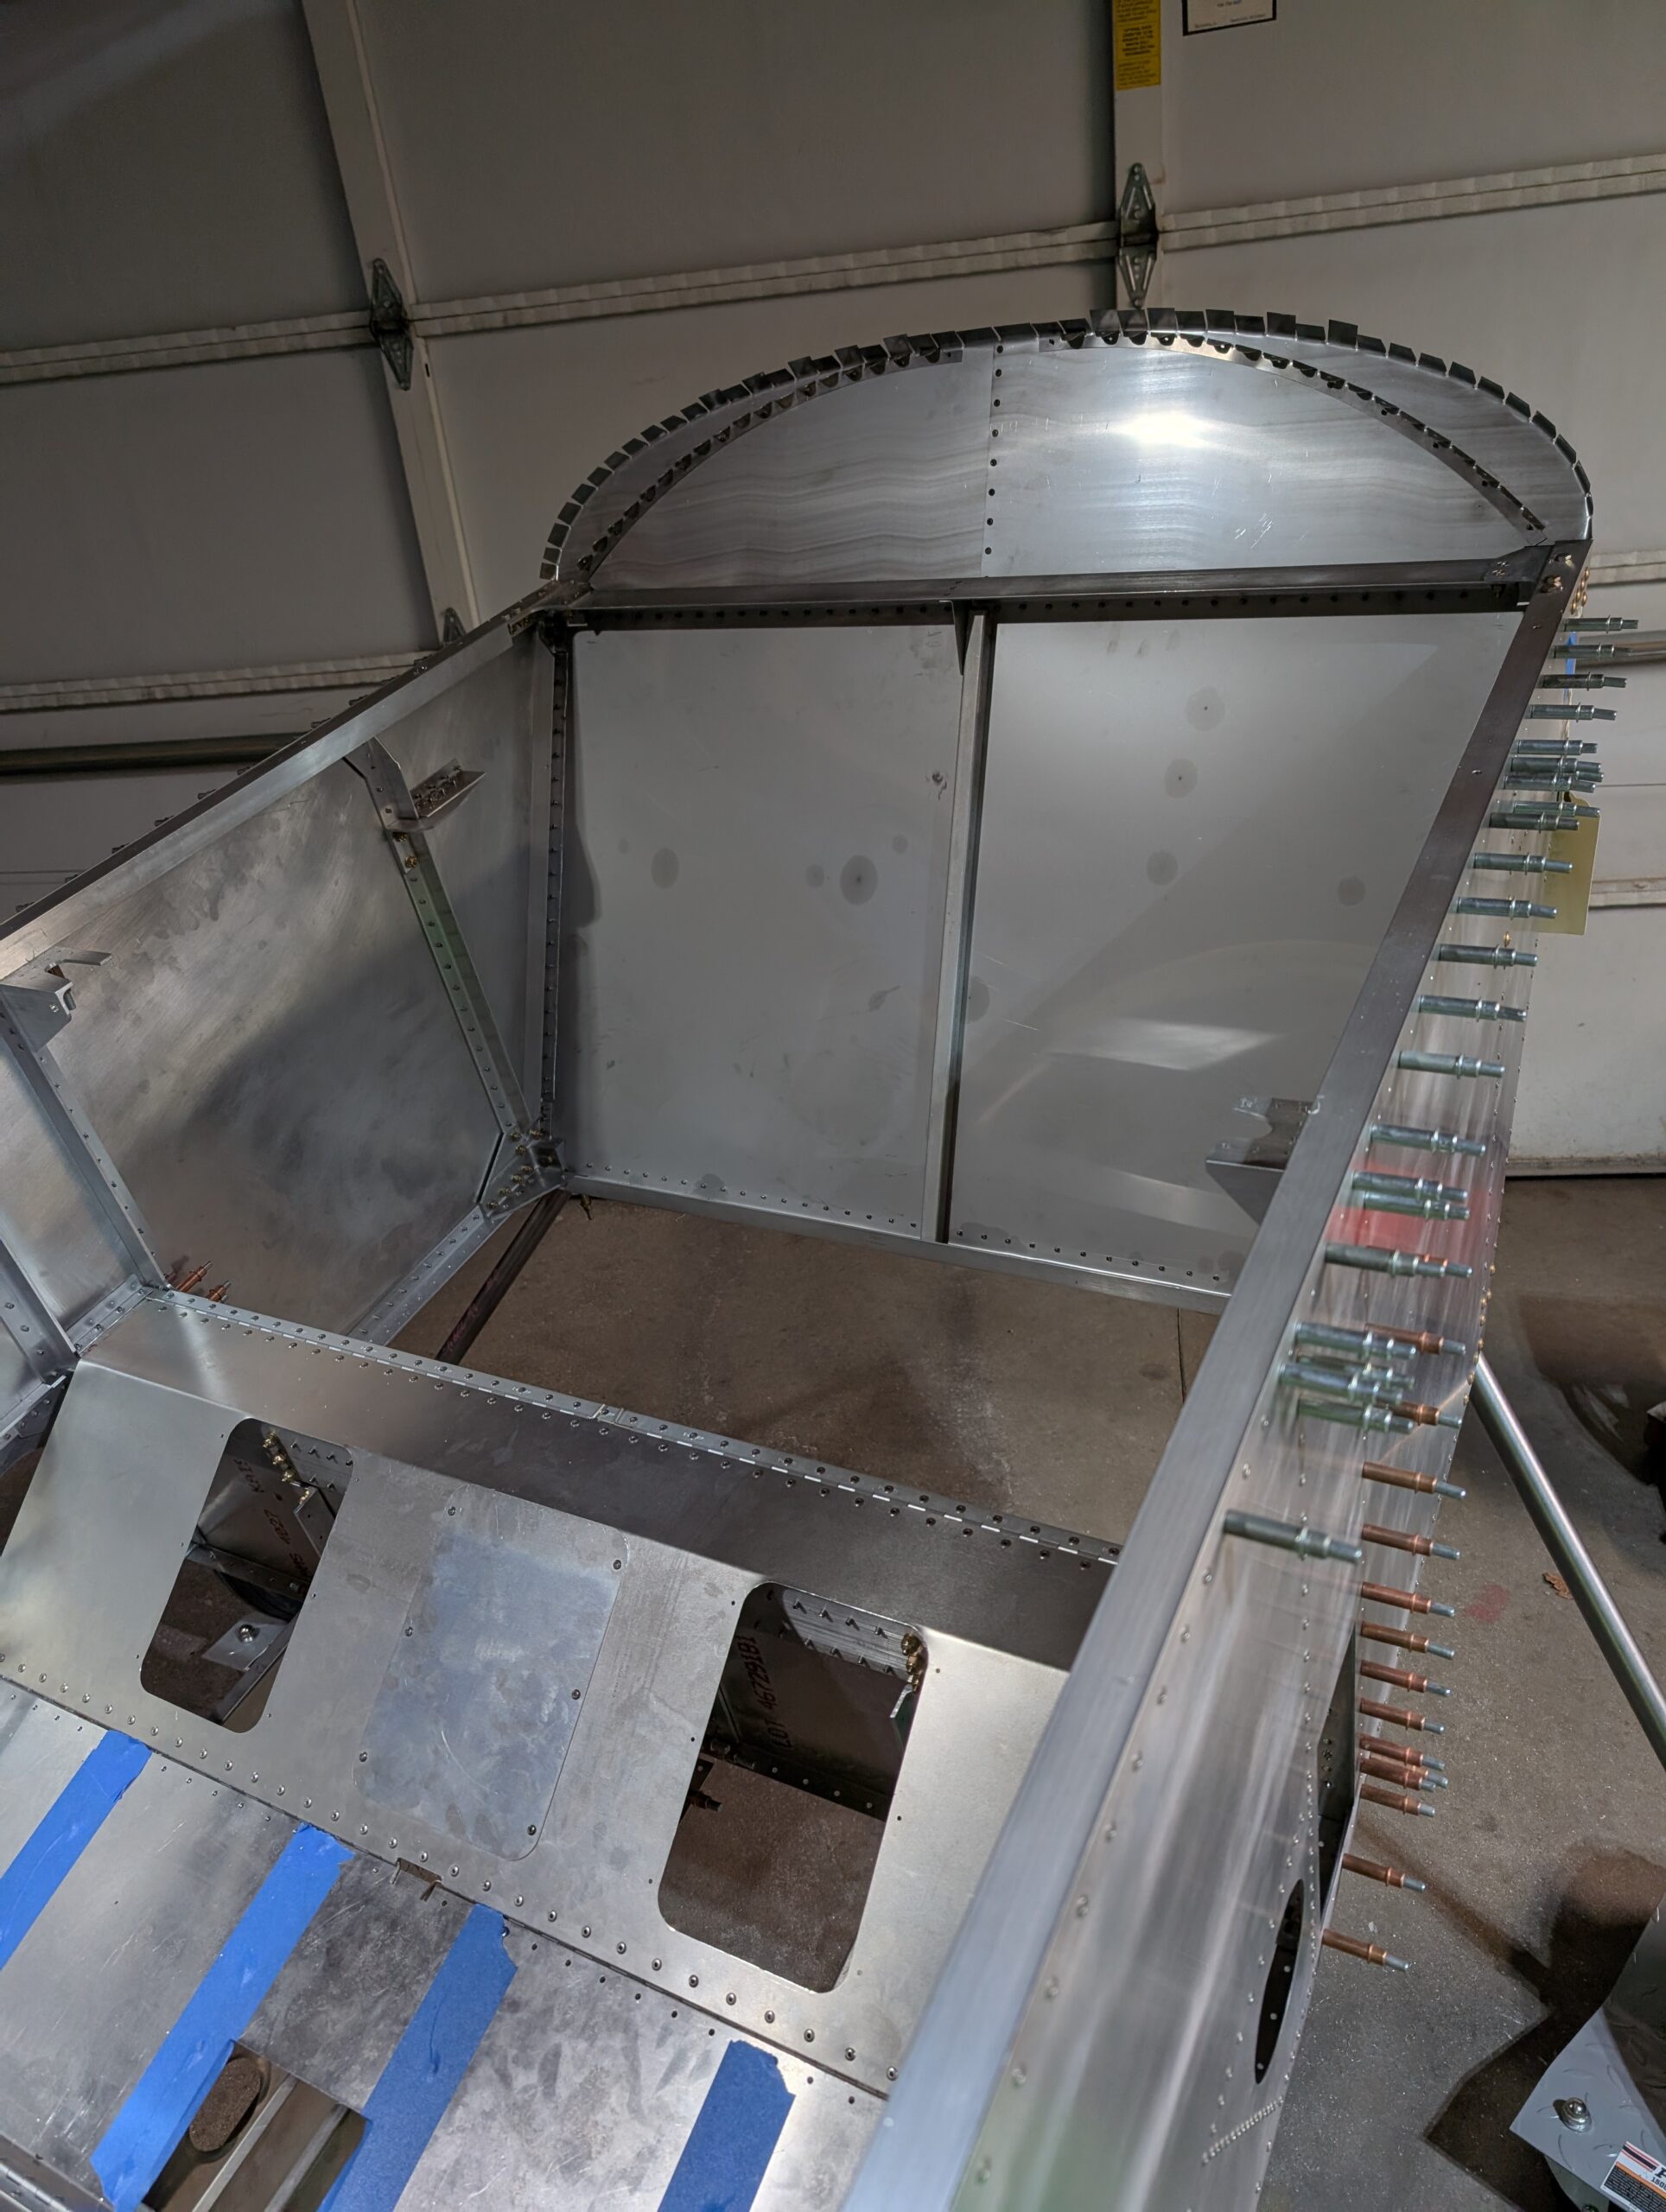
Glareshield Installation – Part 5
Deburred glareshield parts then riveted firewall angles to firewall. Clecoed glareshield into place then riveted to upper forward longerons and firewall angles. Left out stiffener until gas tank installation. Hours Worked: 2.24
Glareshield Installation – Part 4
Removed panel, control sticks, forward fuselage floor, and glareshield in preparation for part prep Hours Worked: 1.24
Glareshield Installation – Part 3
Pilot then updrilled panel to corner plates. Removed panel and taped on proposed panel layout for mockup. Temporarily bolted control sticks into place to verify fitment of everything. Hours Worked: 1.25