SNB-P13: Cowling

Final Cowling Installation
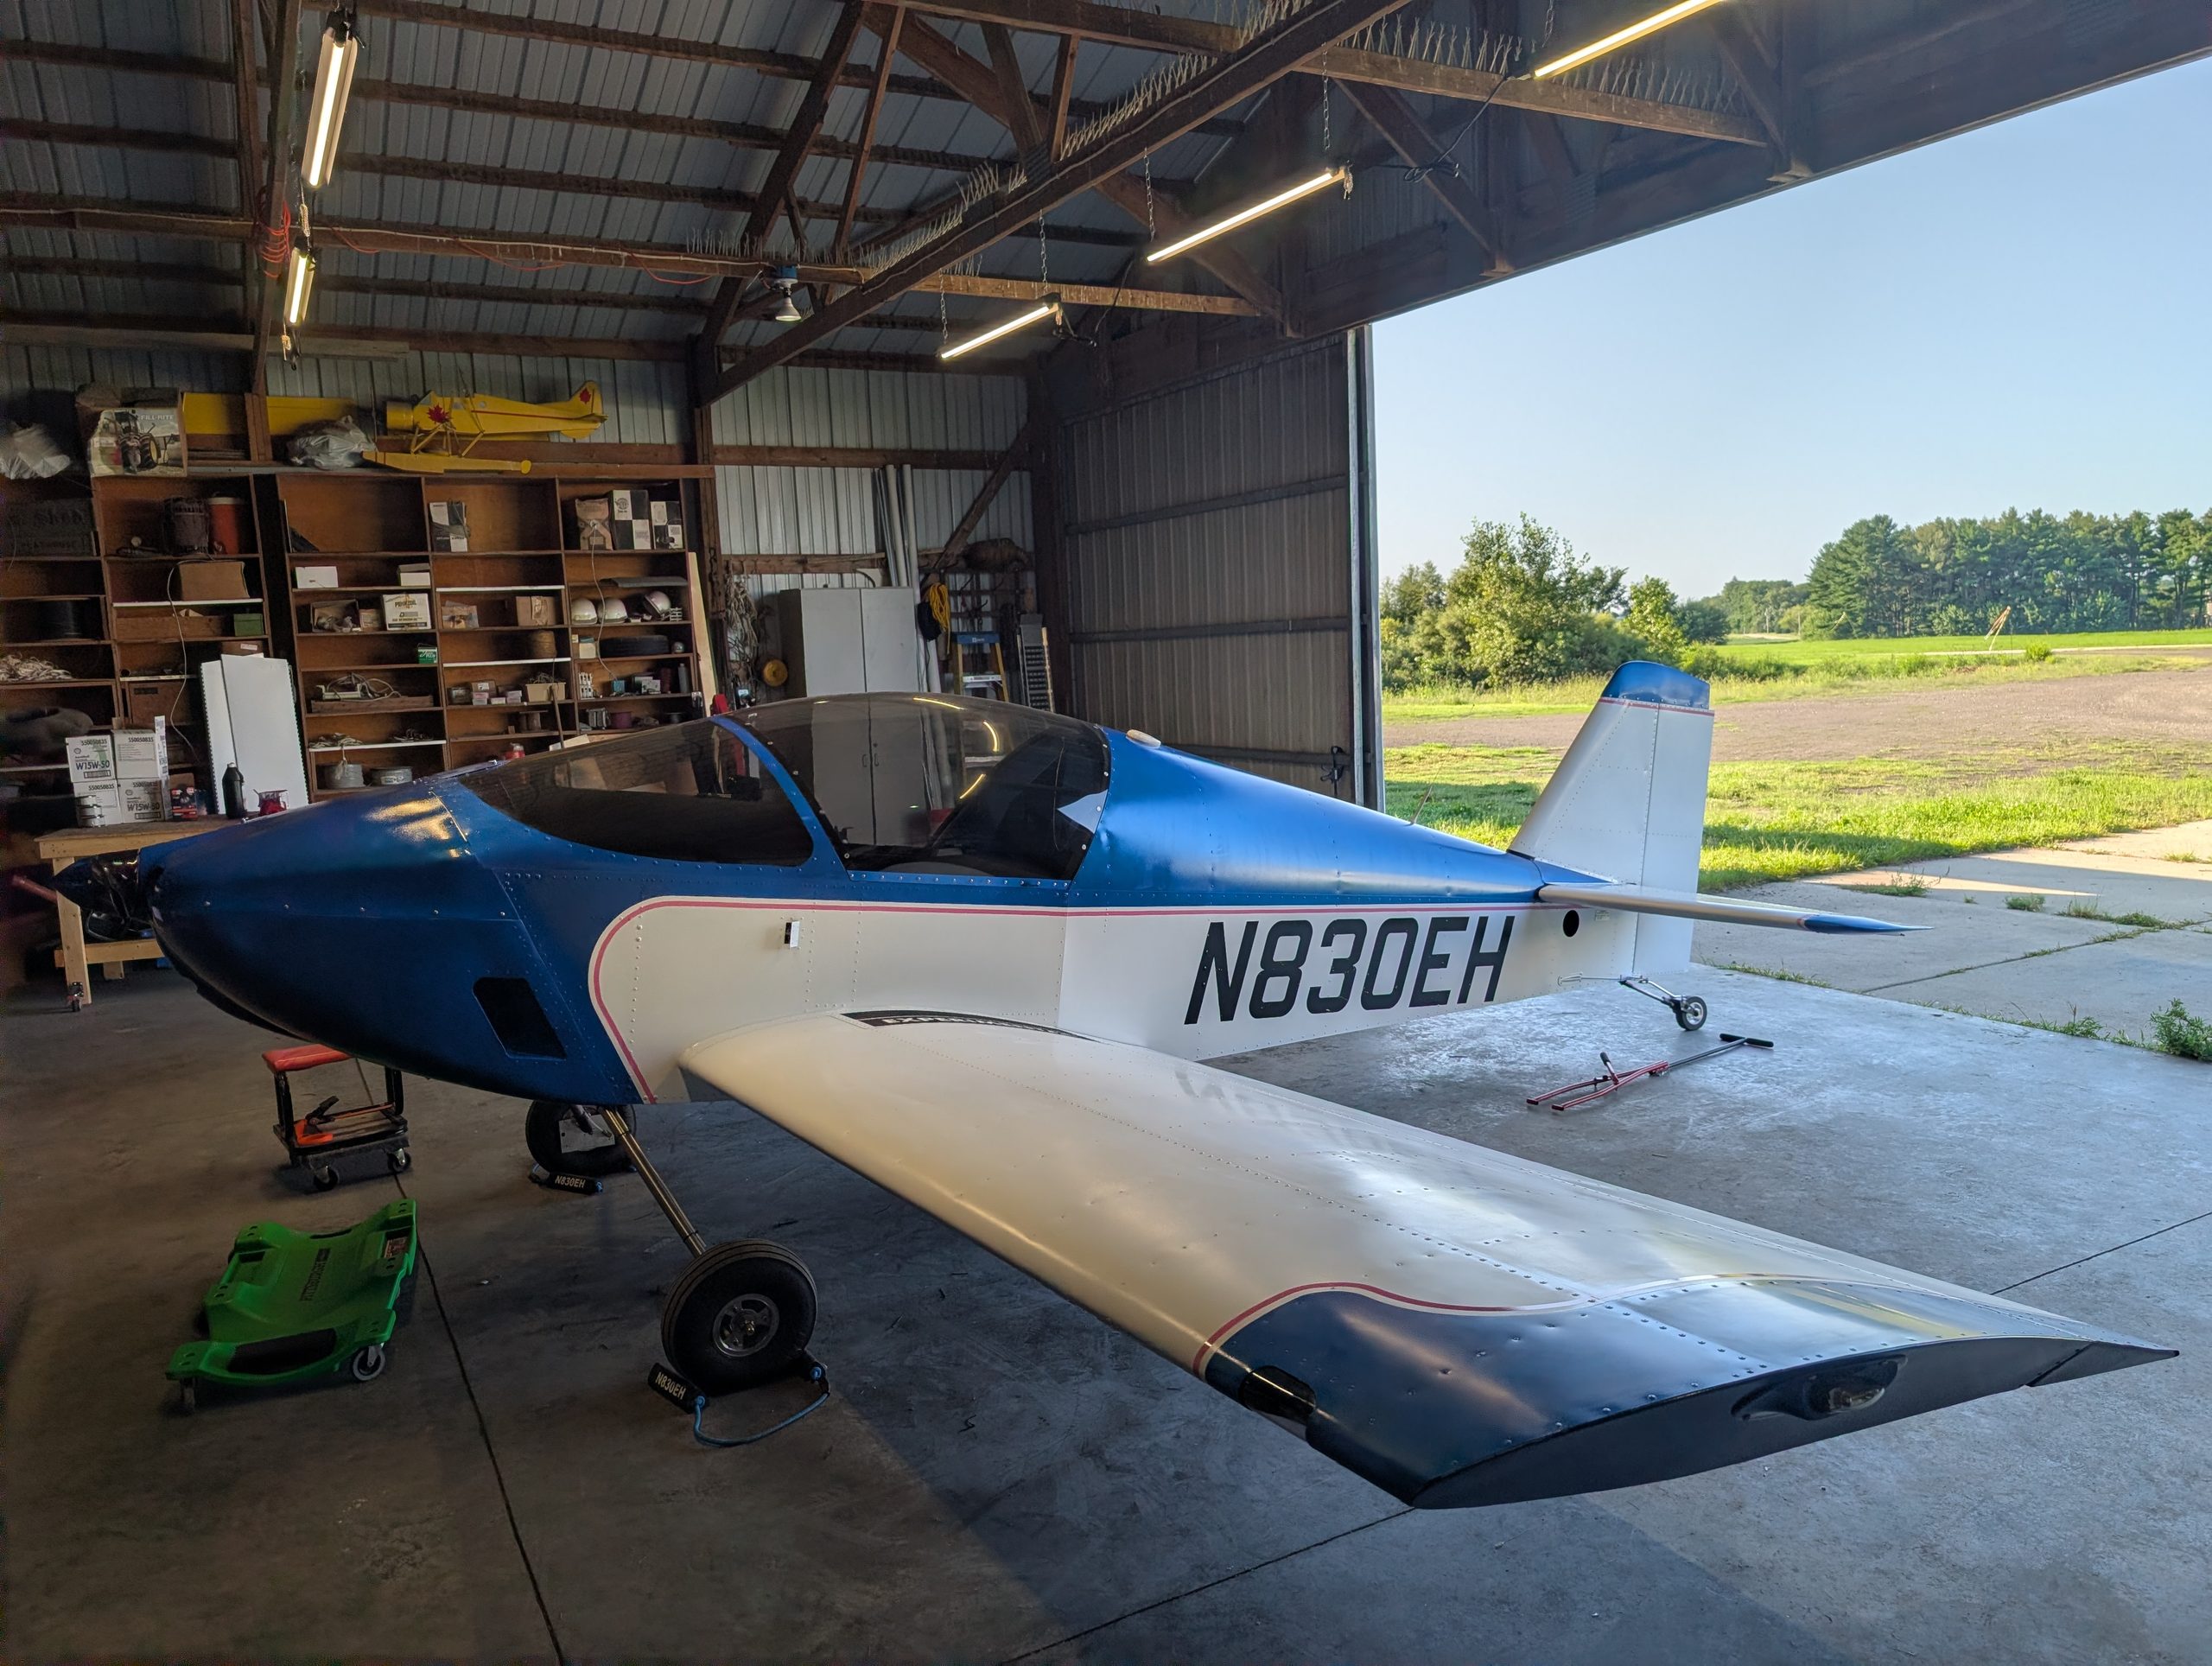
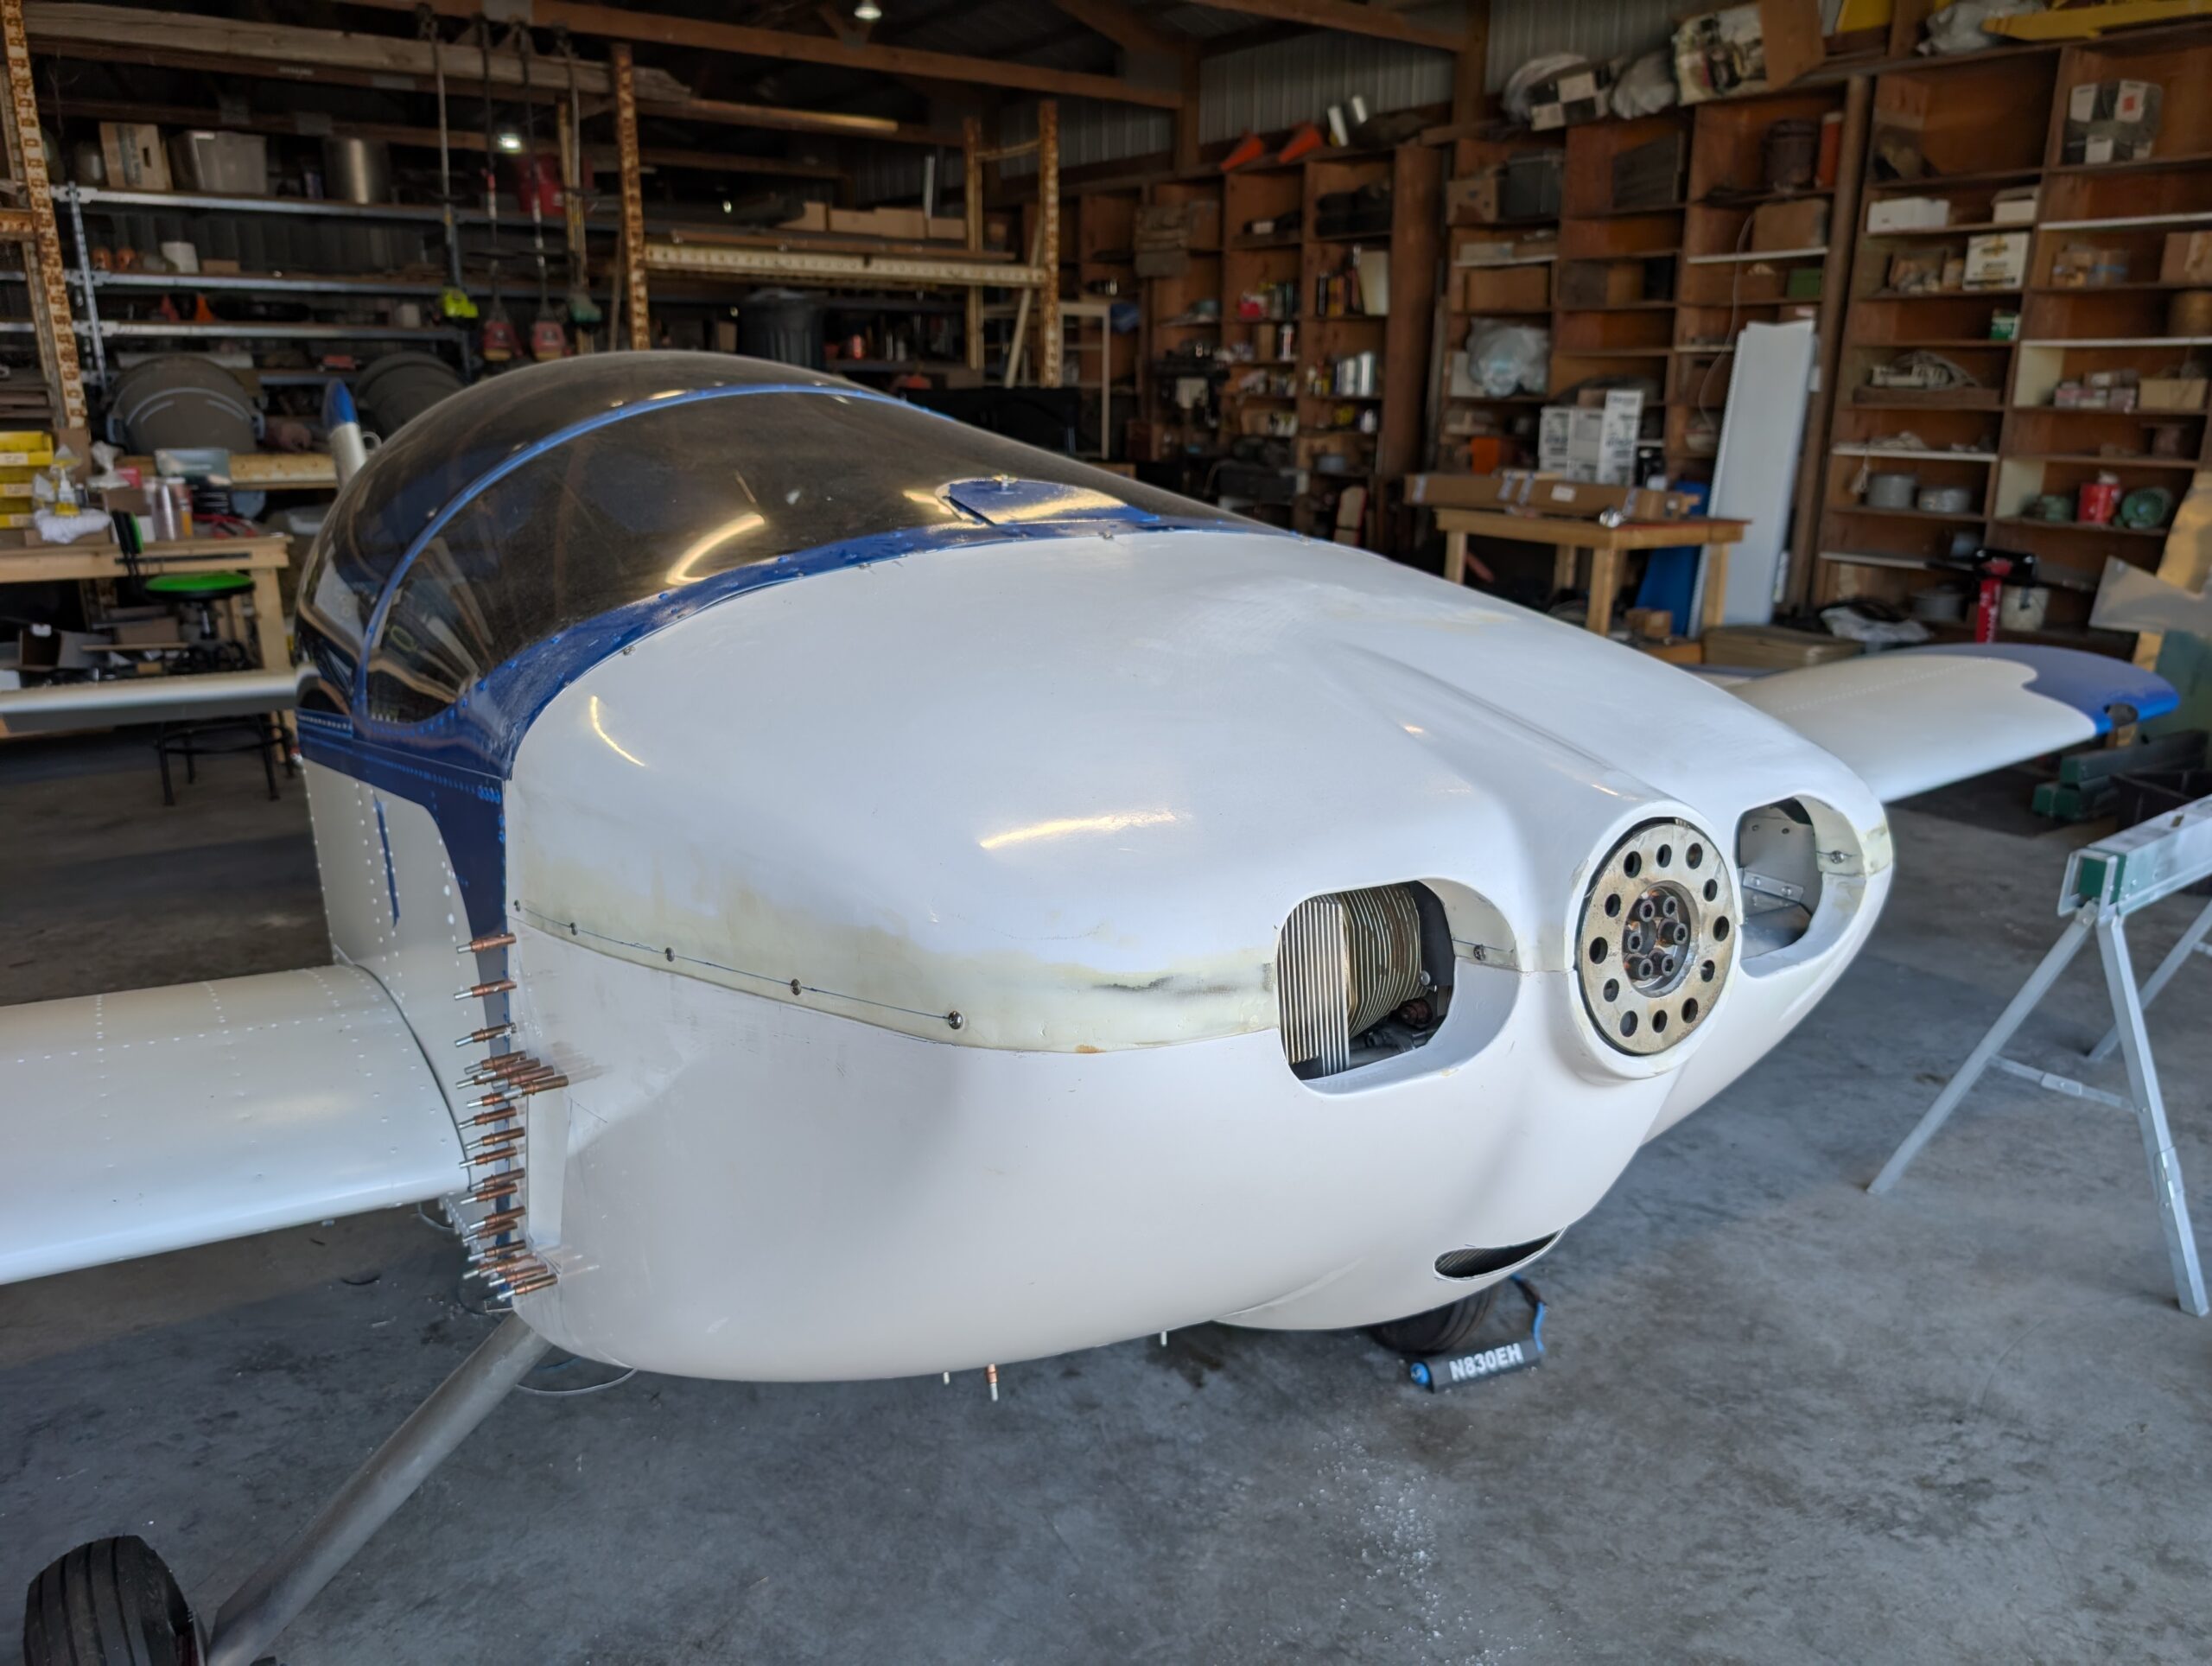
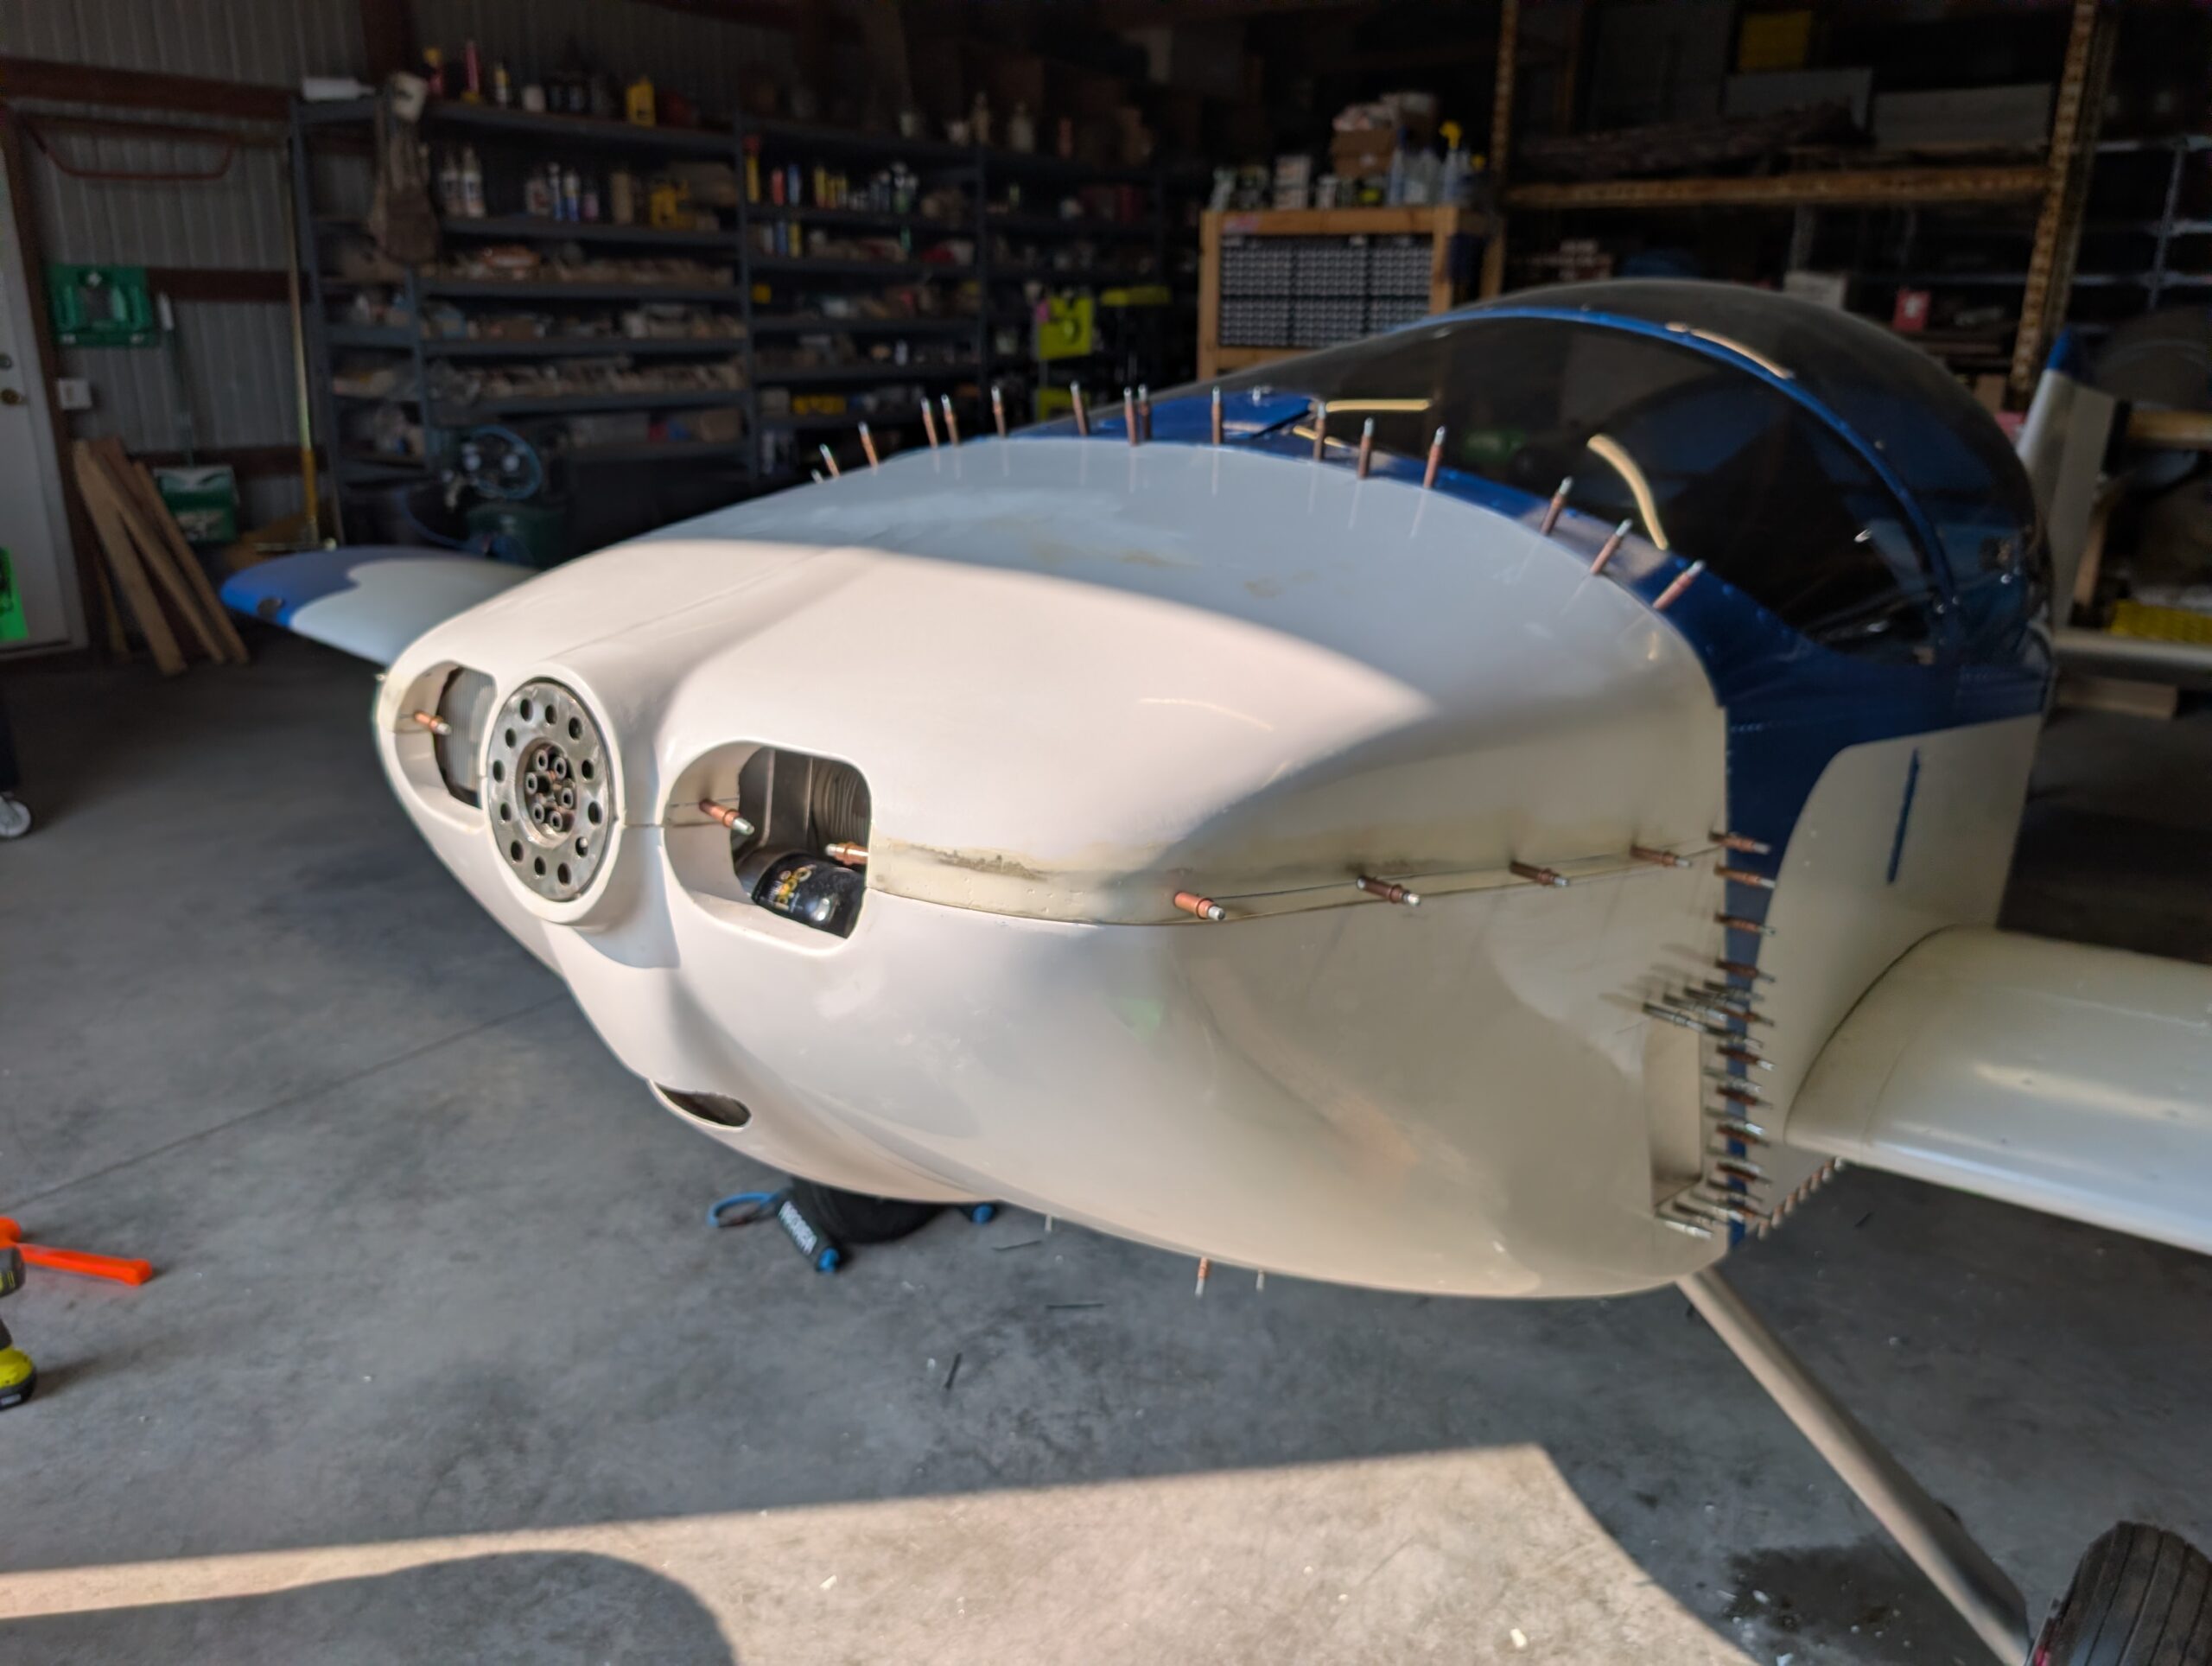
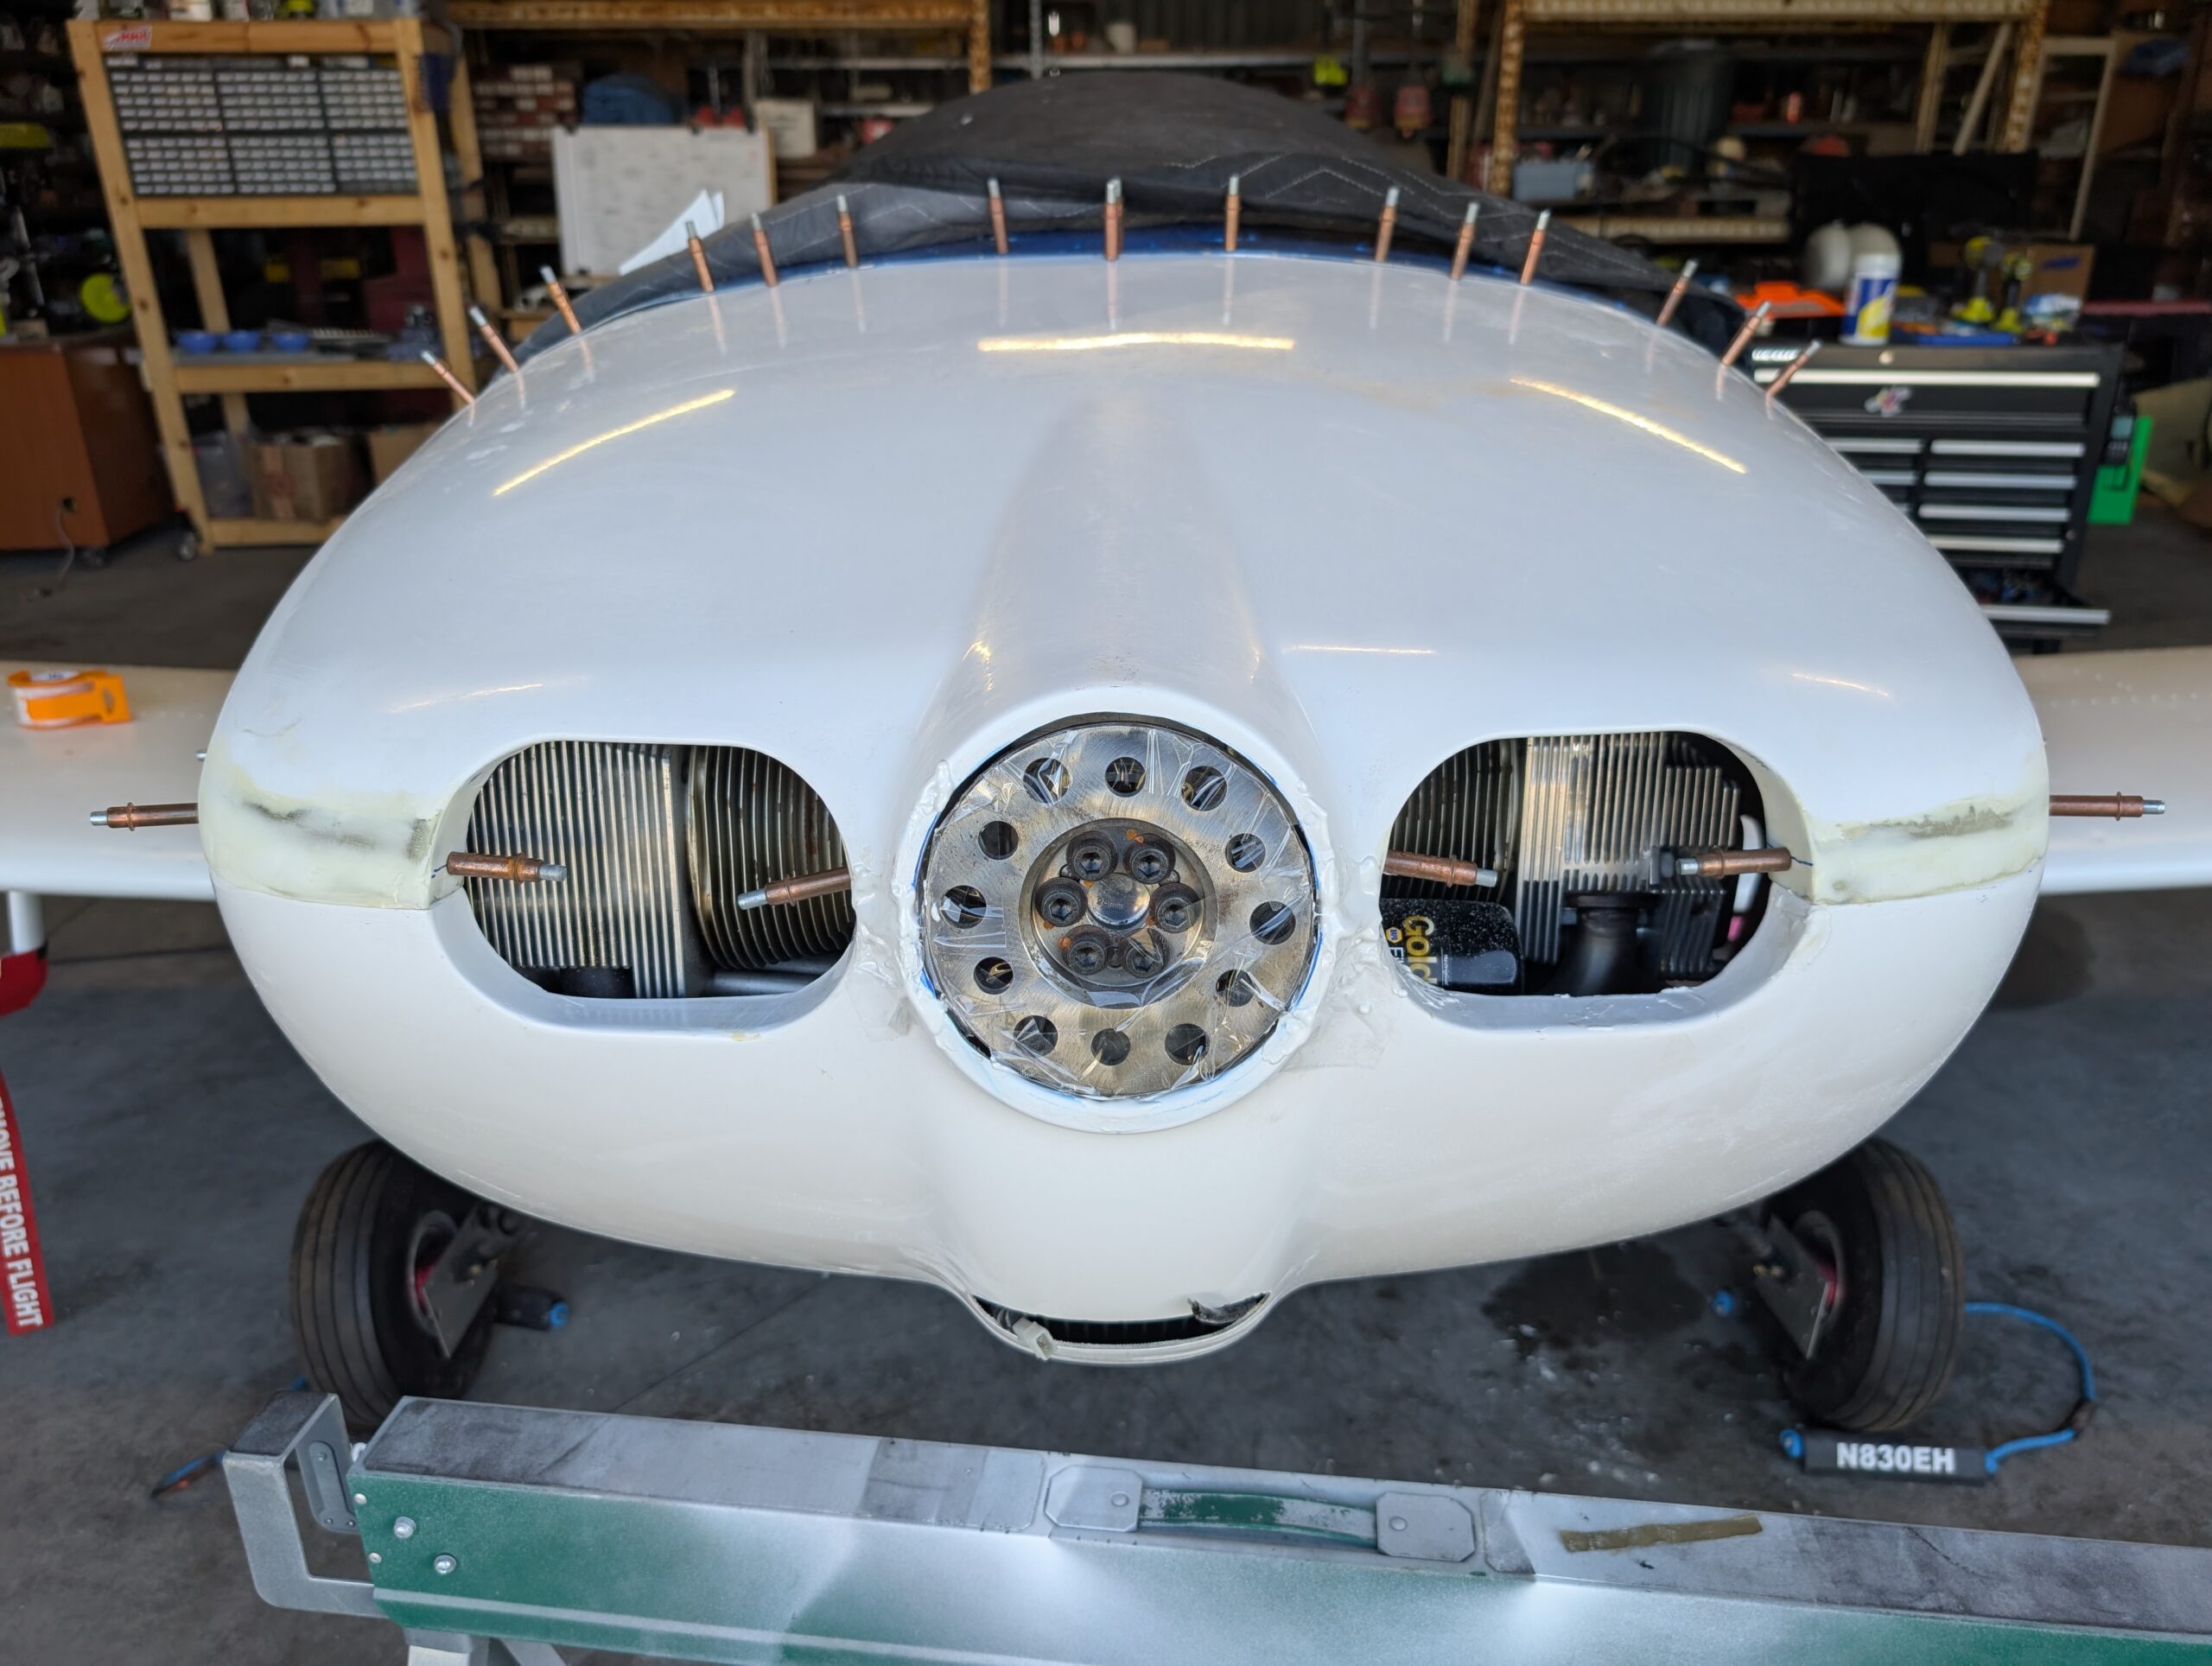
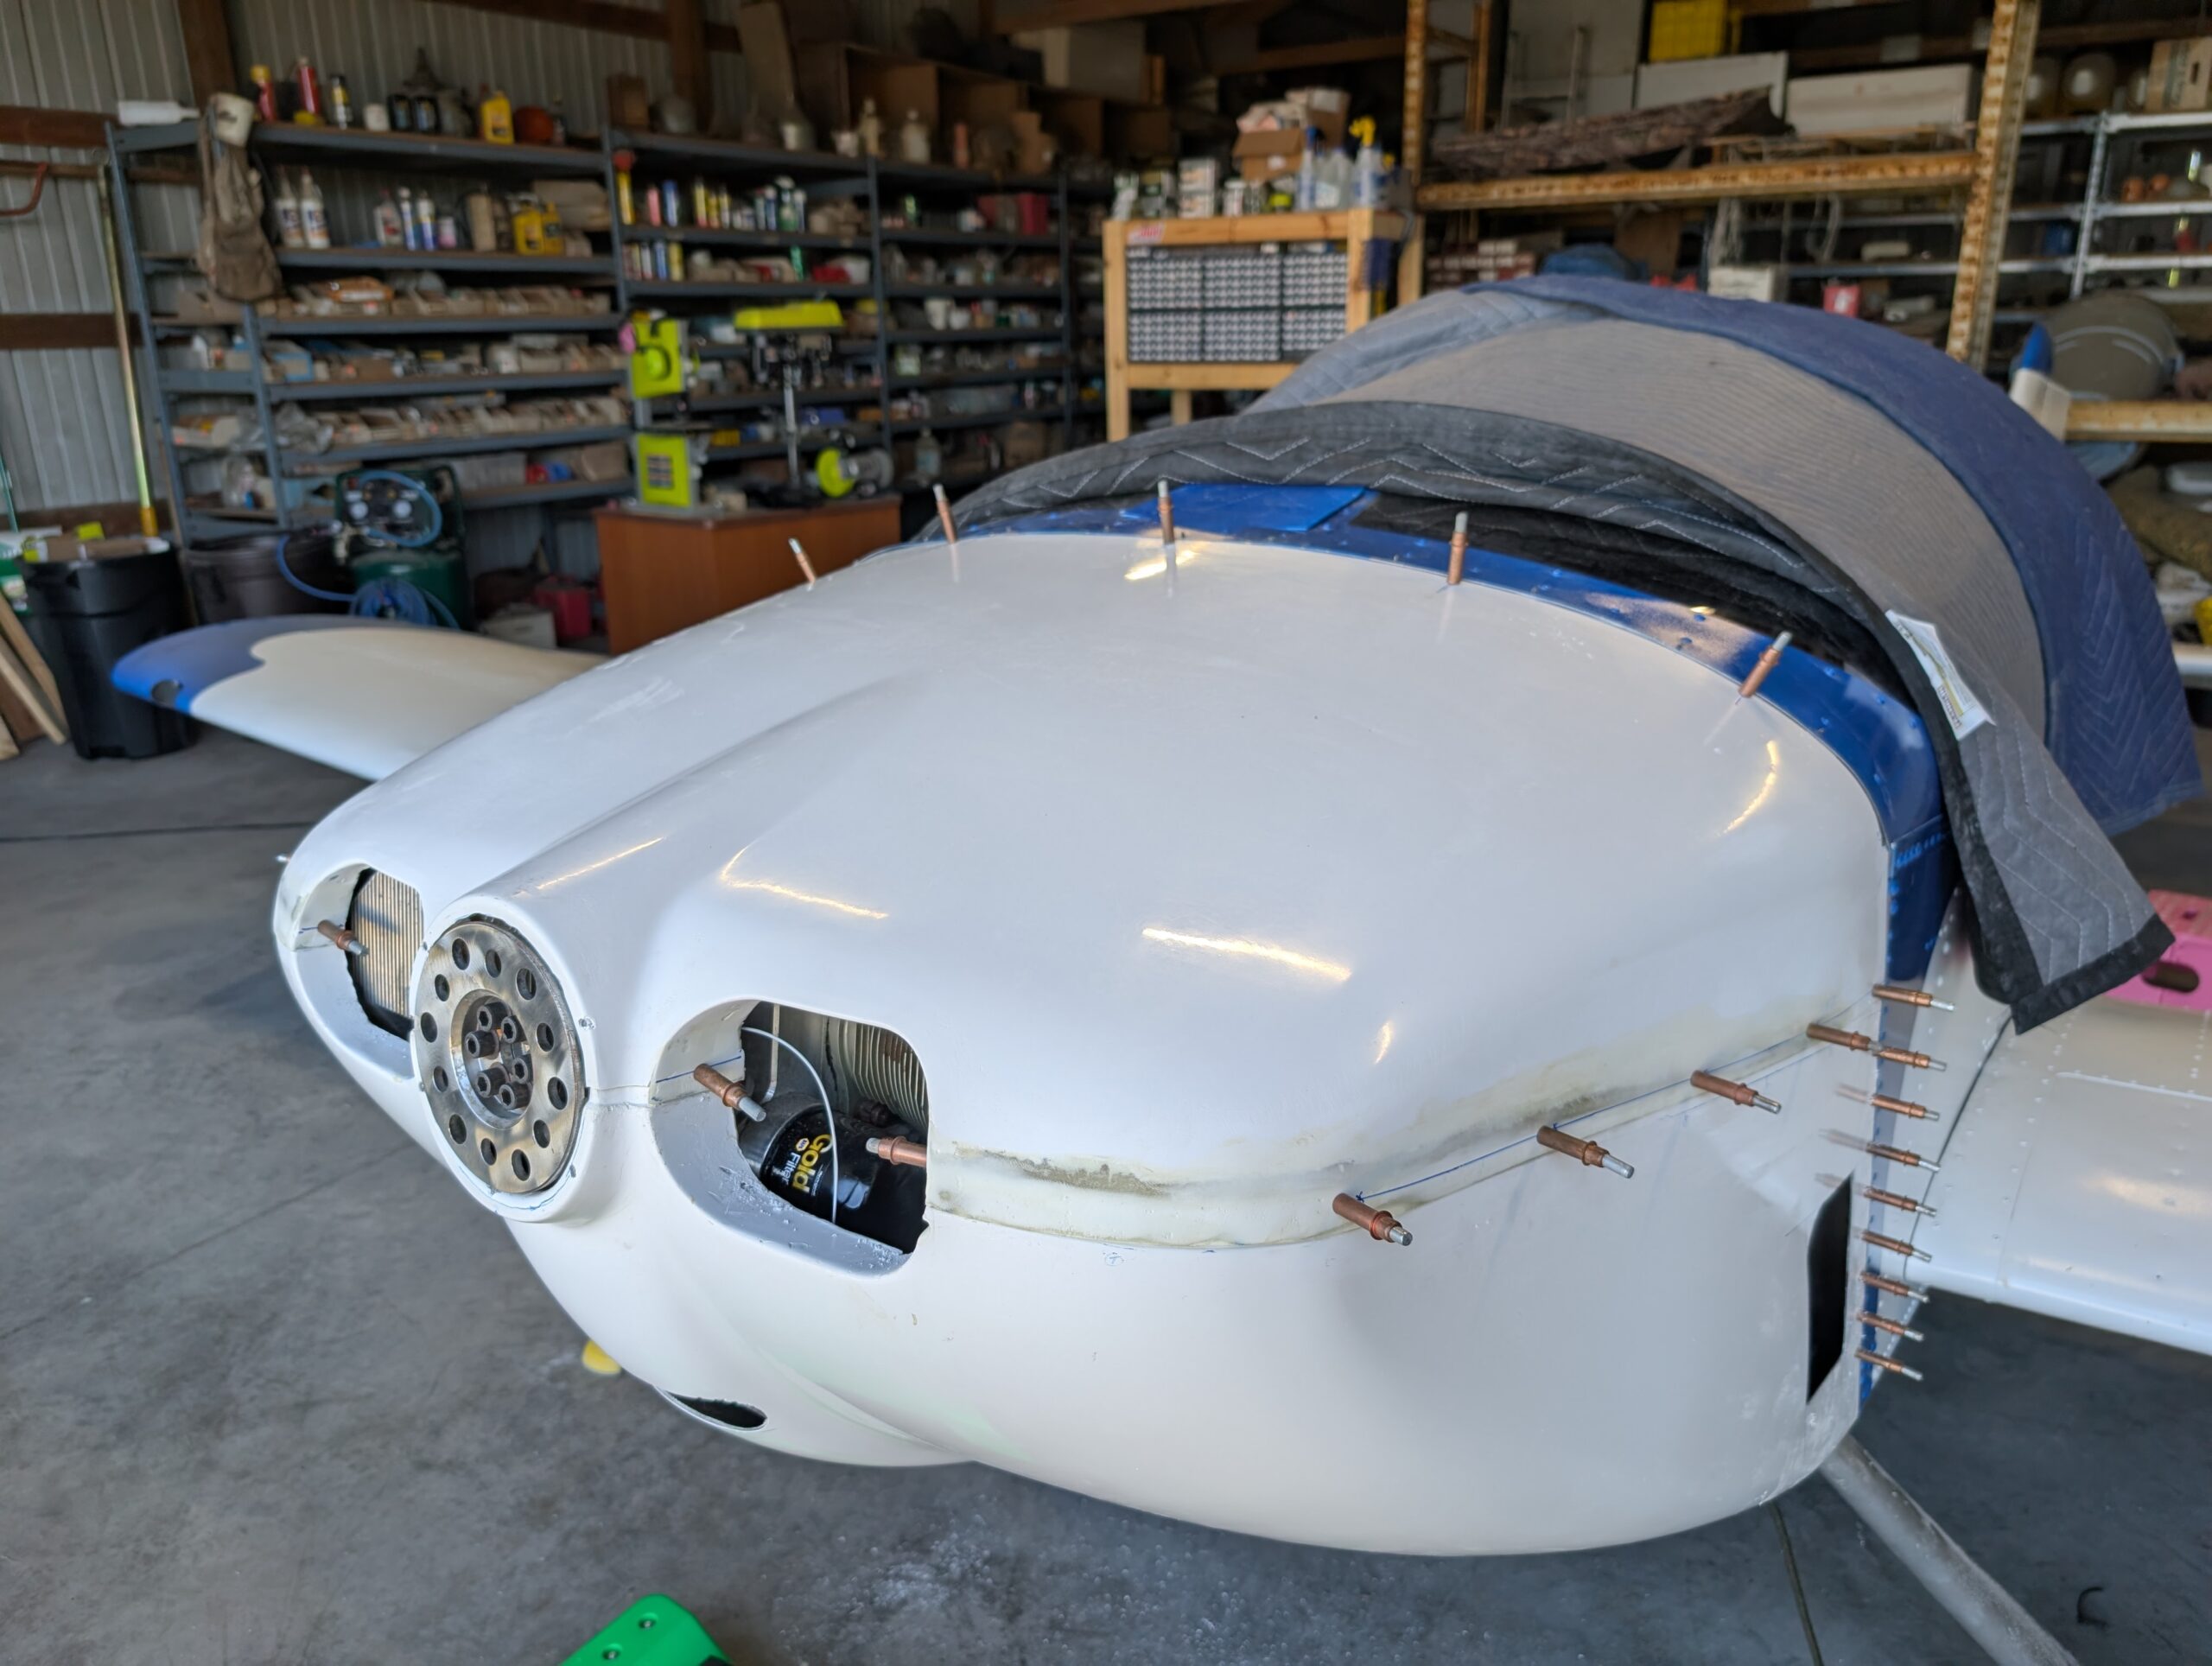
Reinstalled newly painted lower cowling then reinstalled exhaust pipes. Used exhaust spring hooks through the lower exhaust tunnels to reattach exhaust springs which worked pretty good. Remade preheat and battery charger plug mount out of scrap aluminum to better align plugs with cowl vent opening. Reinstalled newly painted top cowl and inserted all cowl screws.…

Oil Door Installation
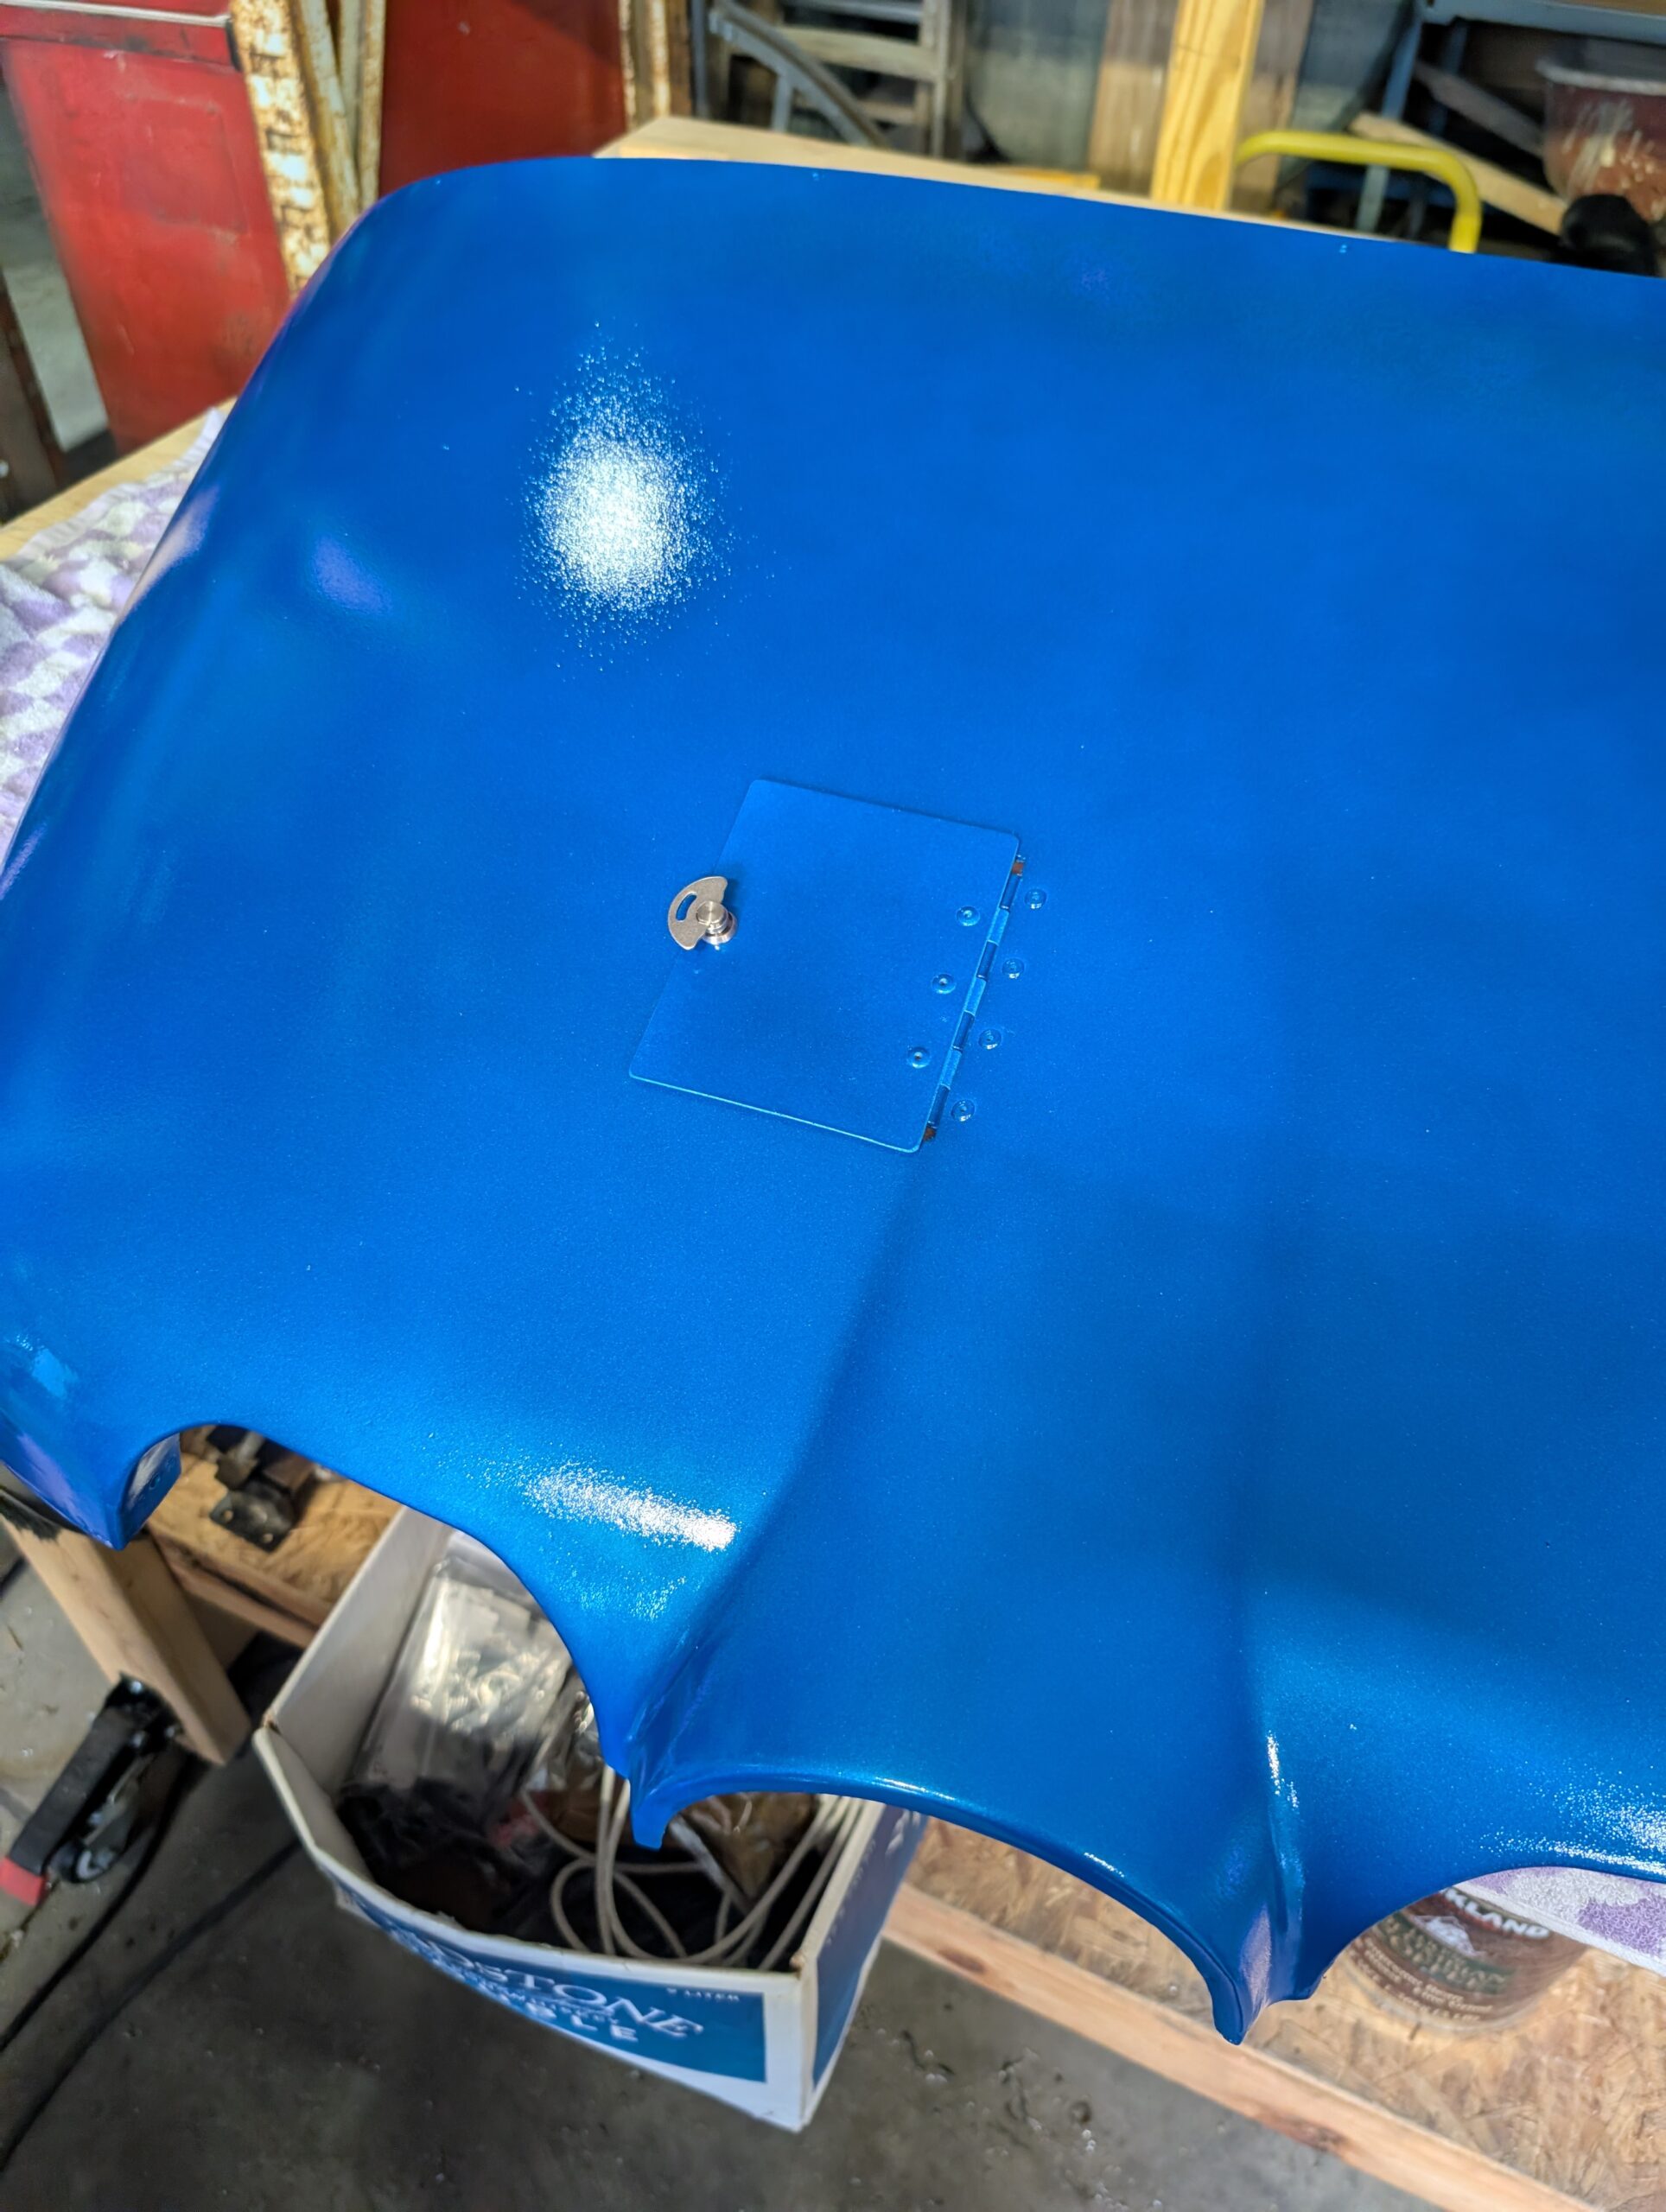
Remade lower cowl hinge pin from piano hinge pin stock. Drilled mounting holes and installed Camlock receptacle in upper cowl. Installed Camlock stud into oil door and tested oil door latching; ops check good. Hours Worked: 0.67
Lower Cowl Rivets
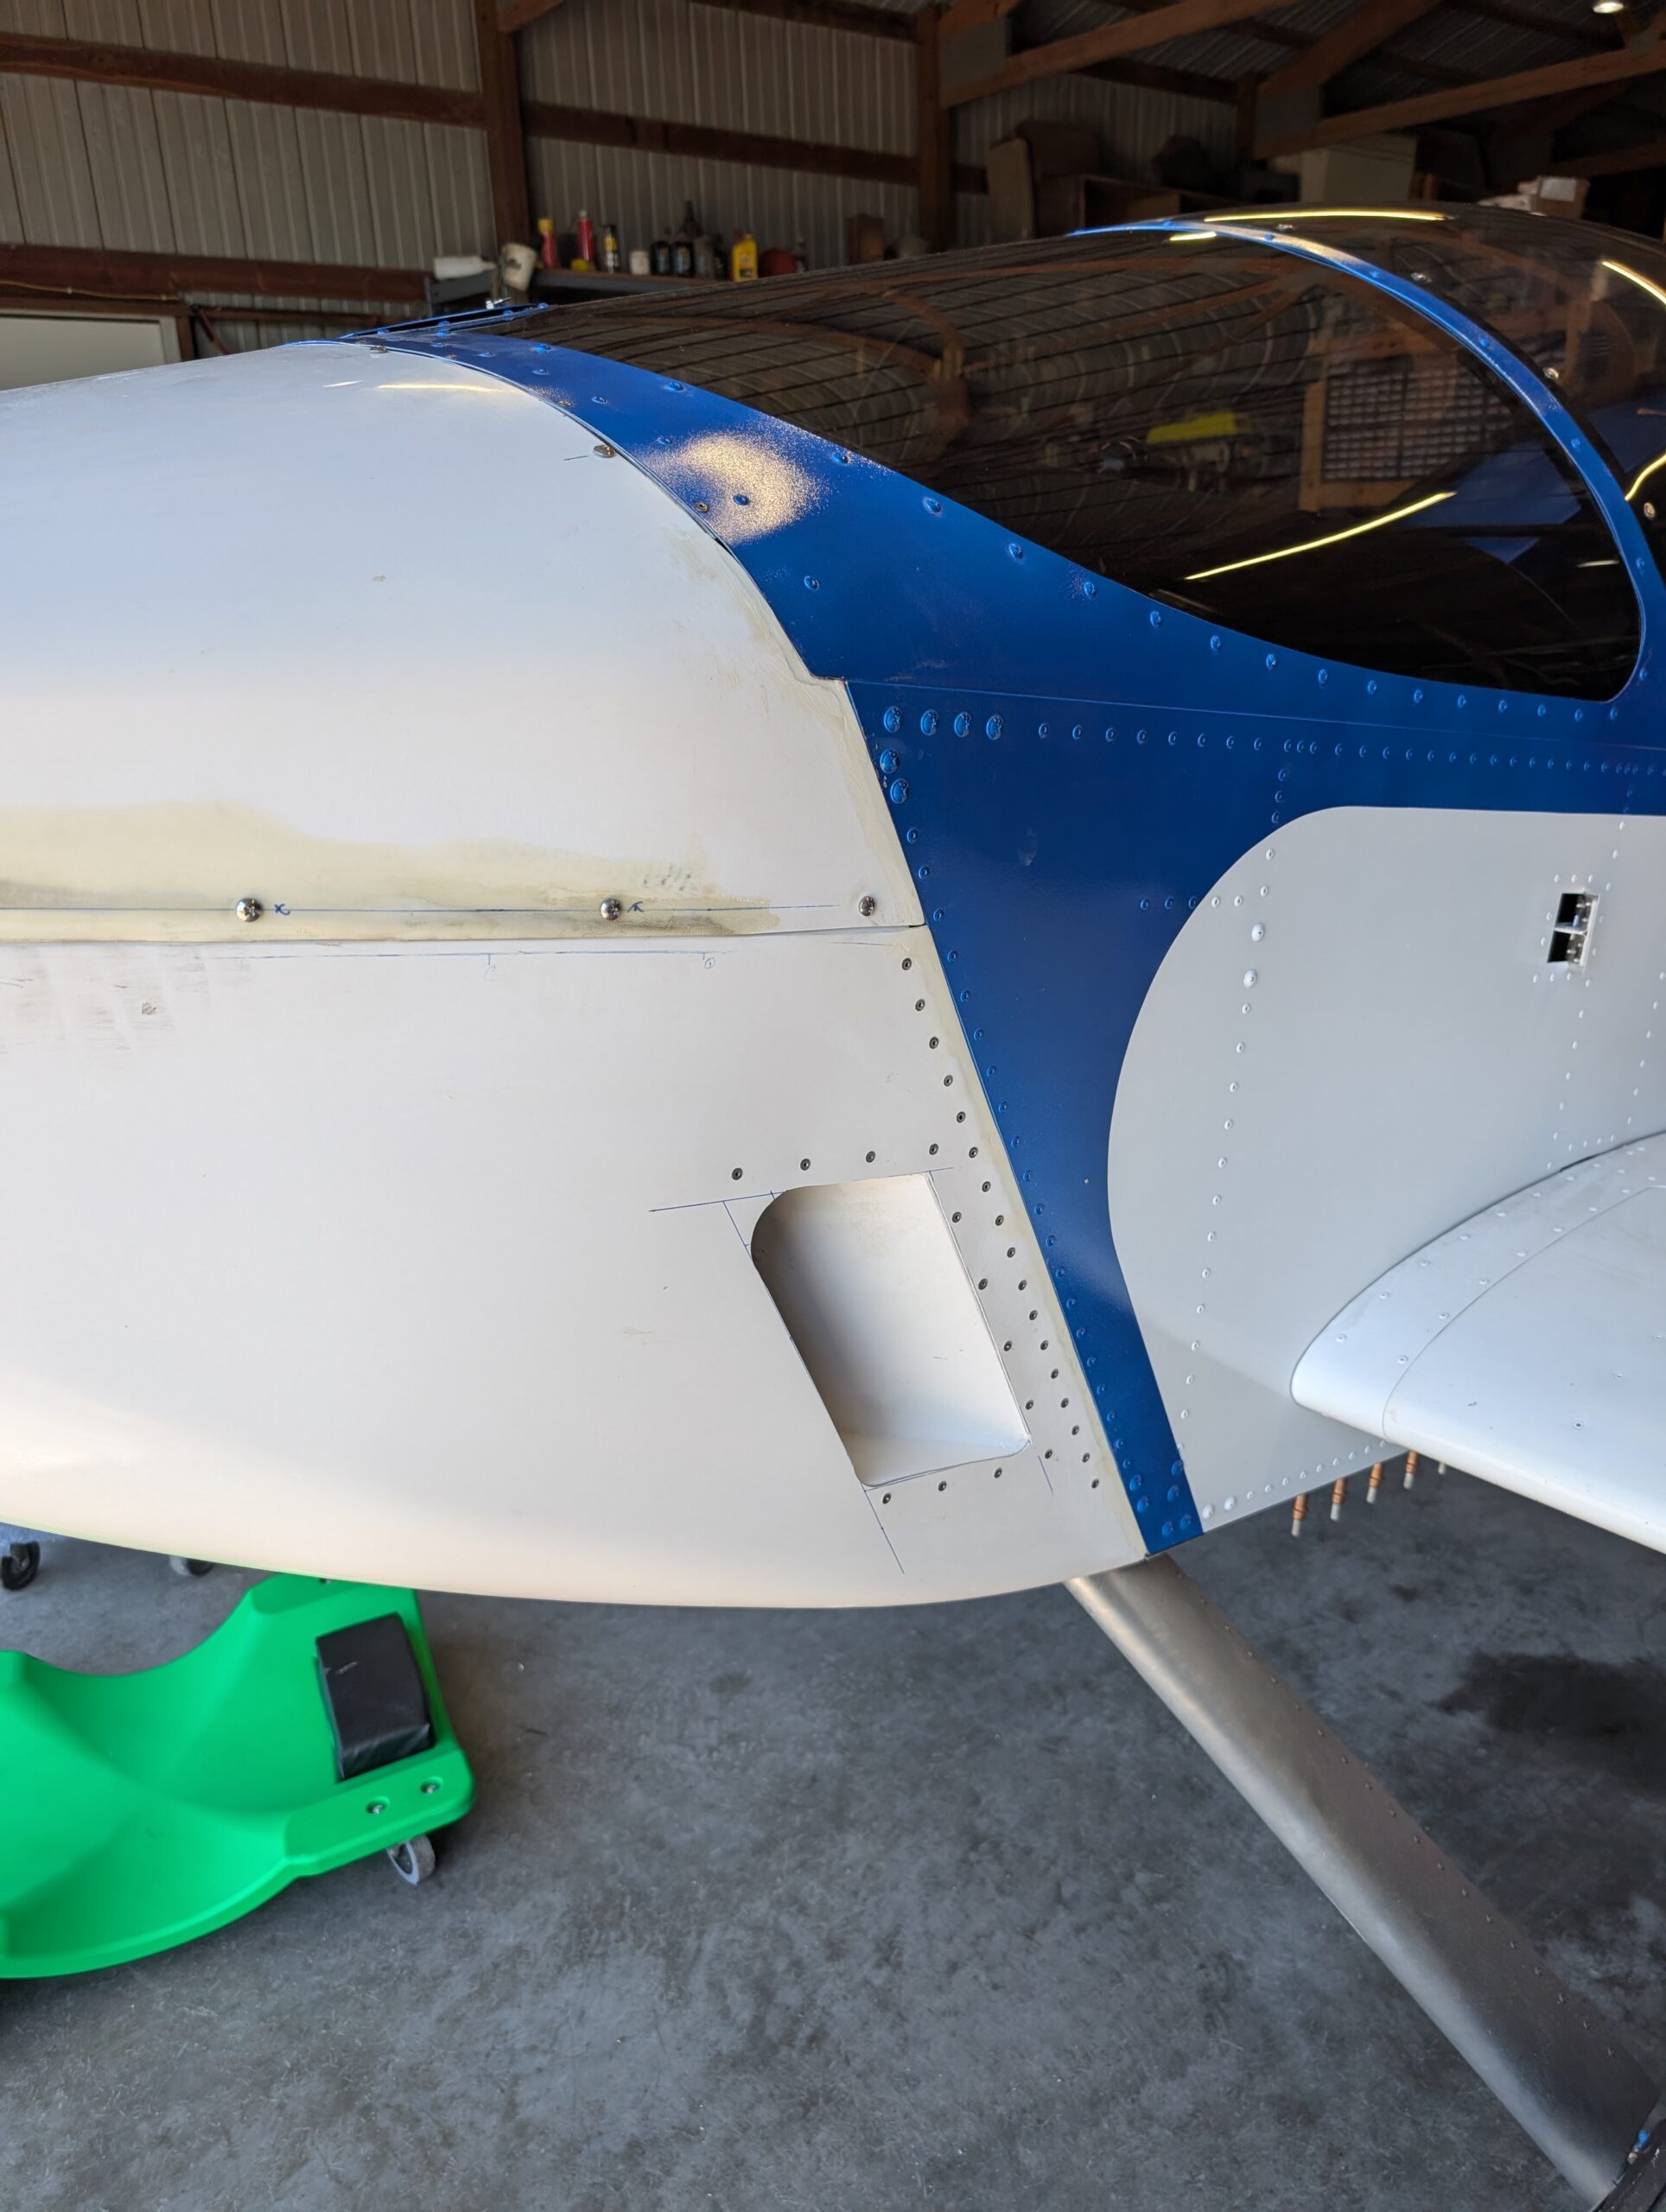
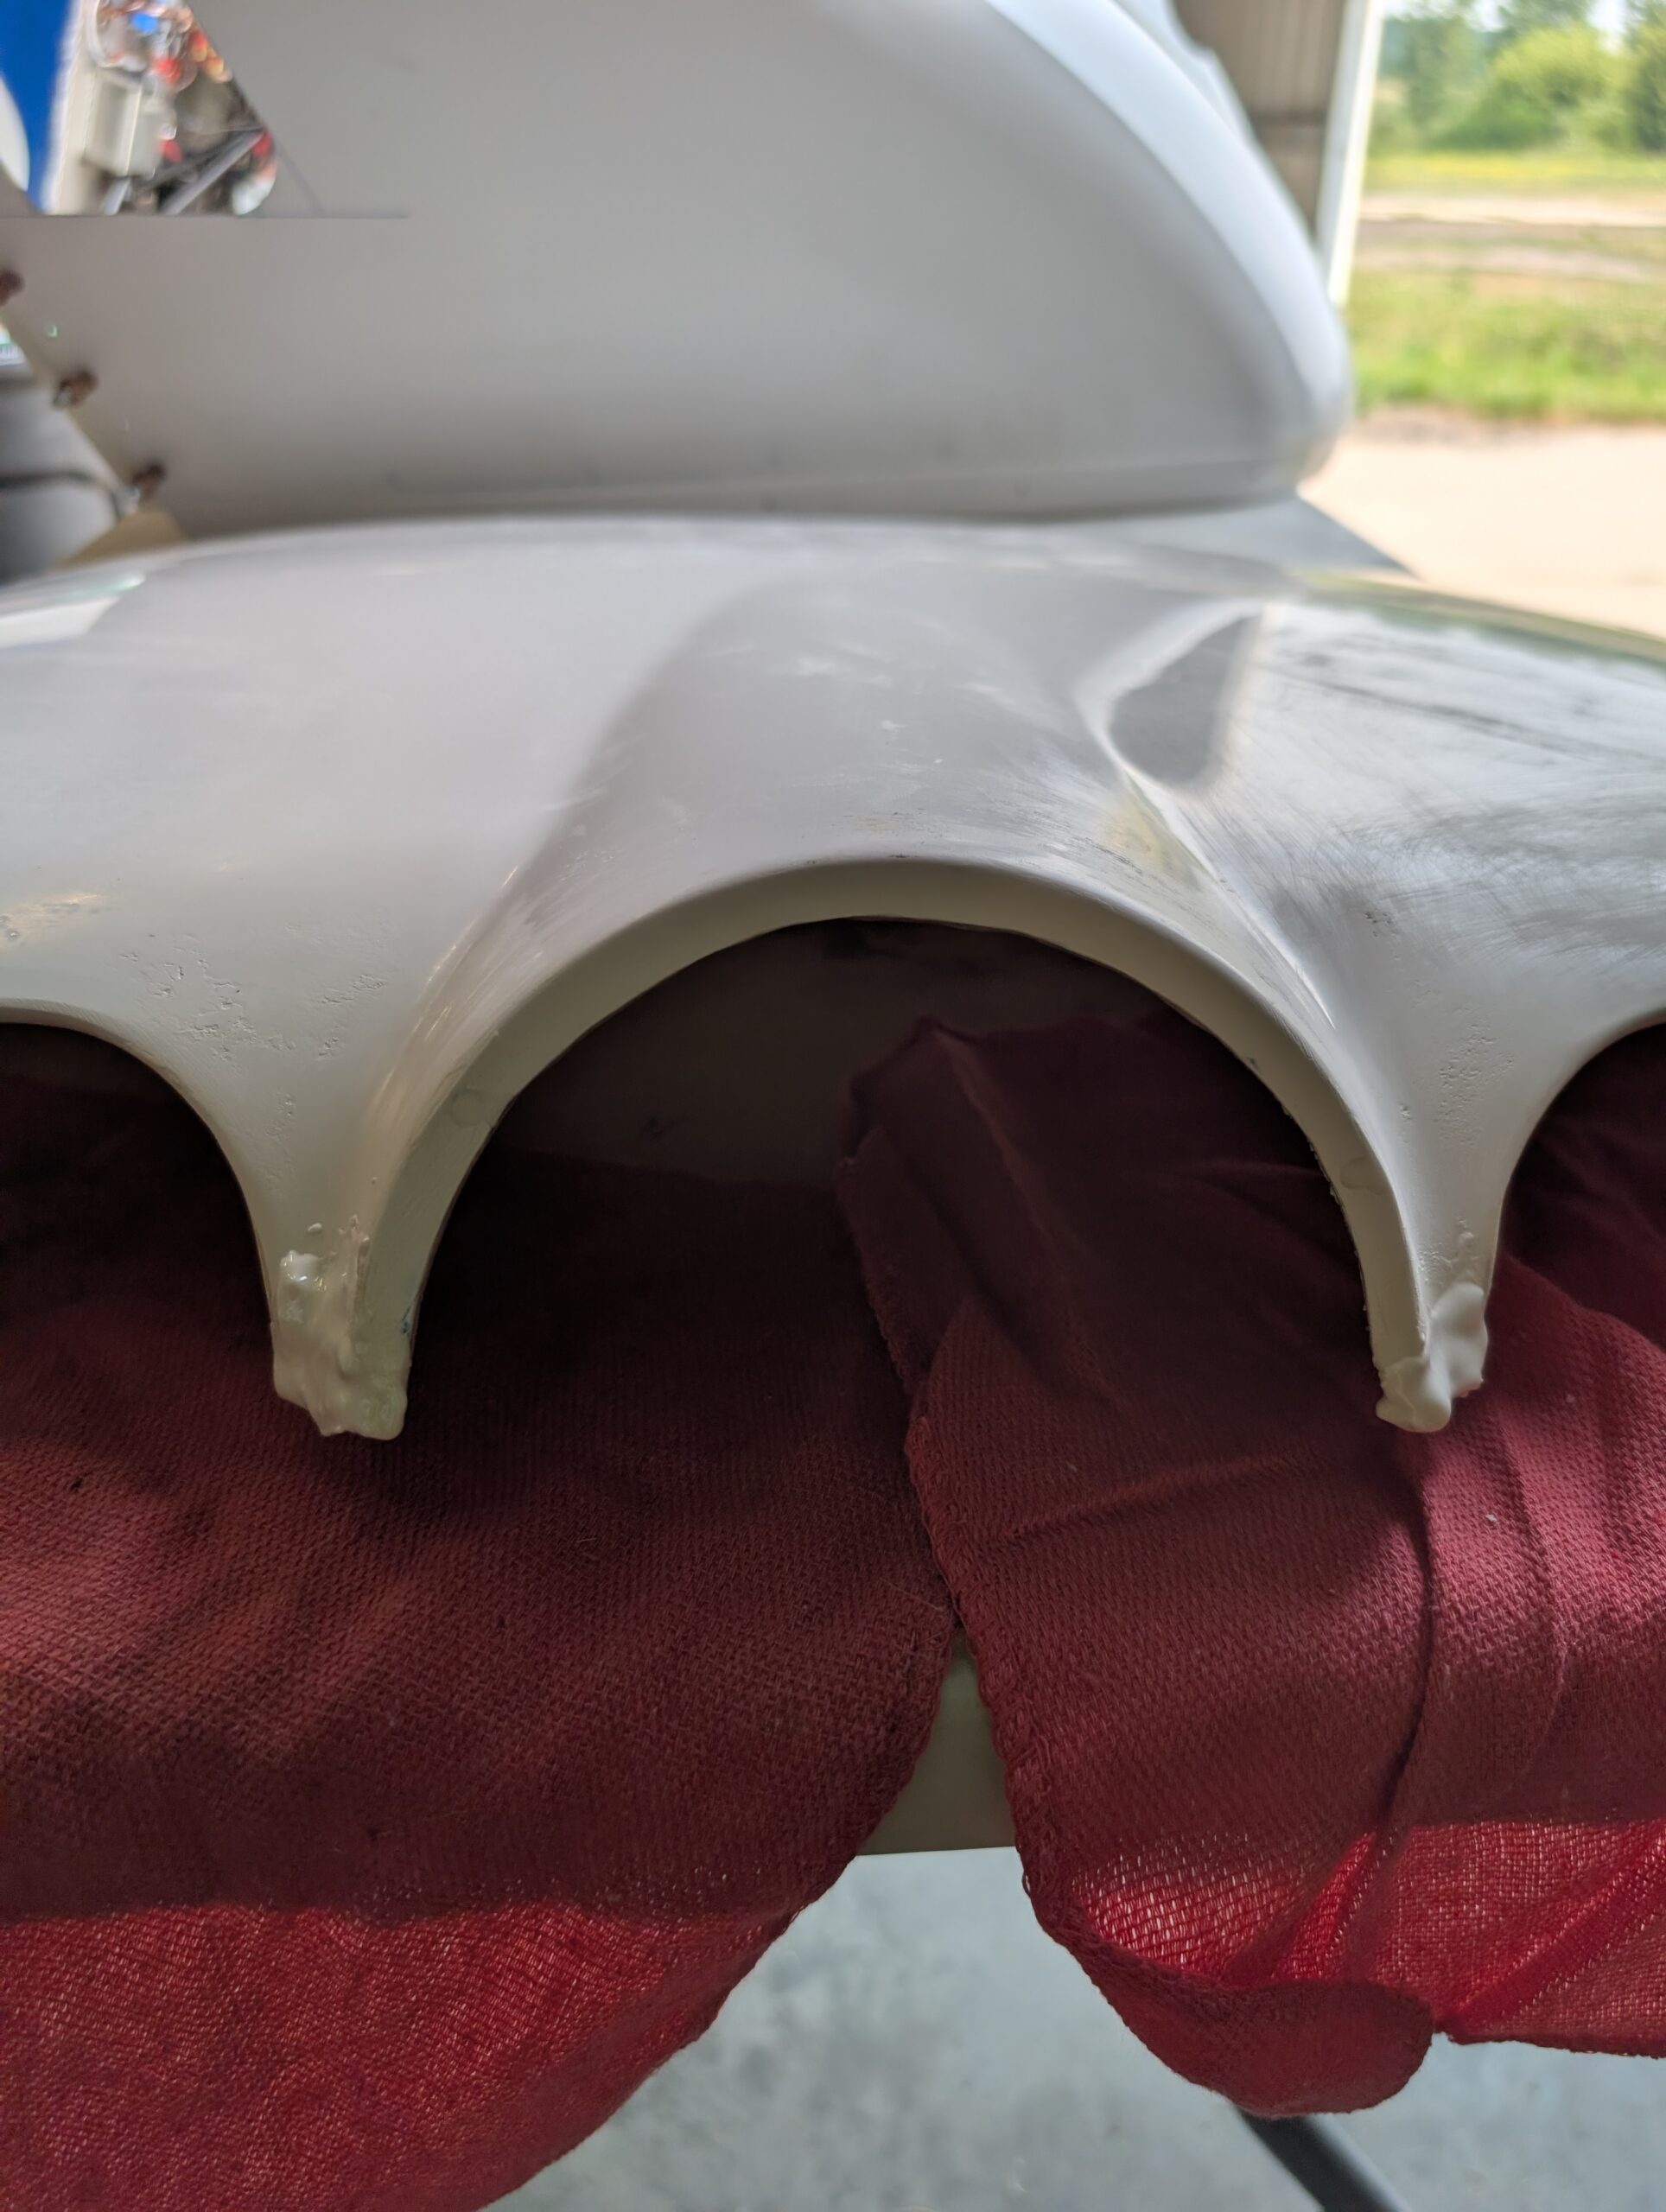
Riveted cowl side vents, exhaust tunnels, and lower cowl hinge halves to lower cowl. Hours Worked: 1.10
Cowl Nutplates and Oil Door Fabrication
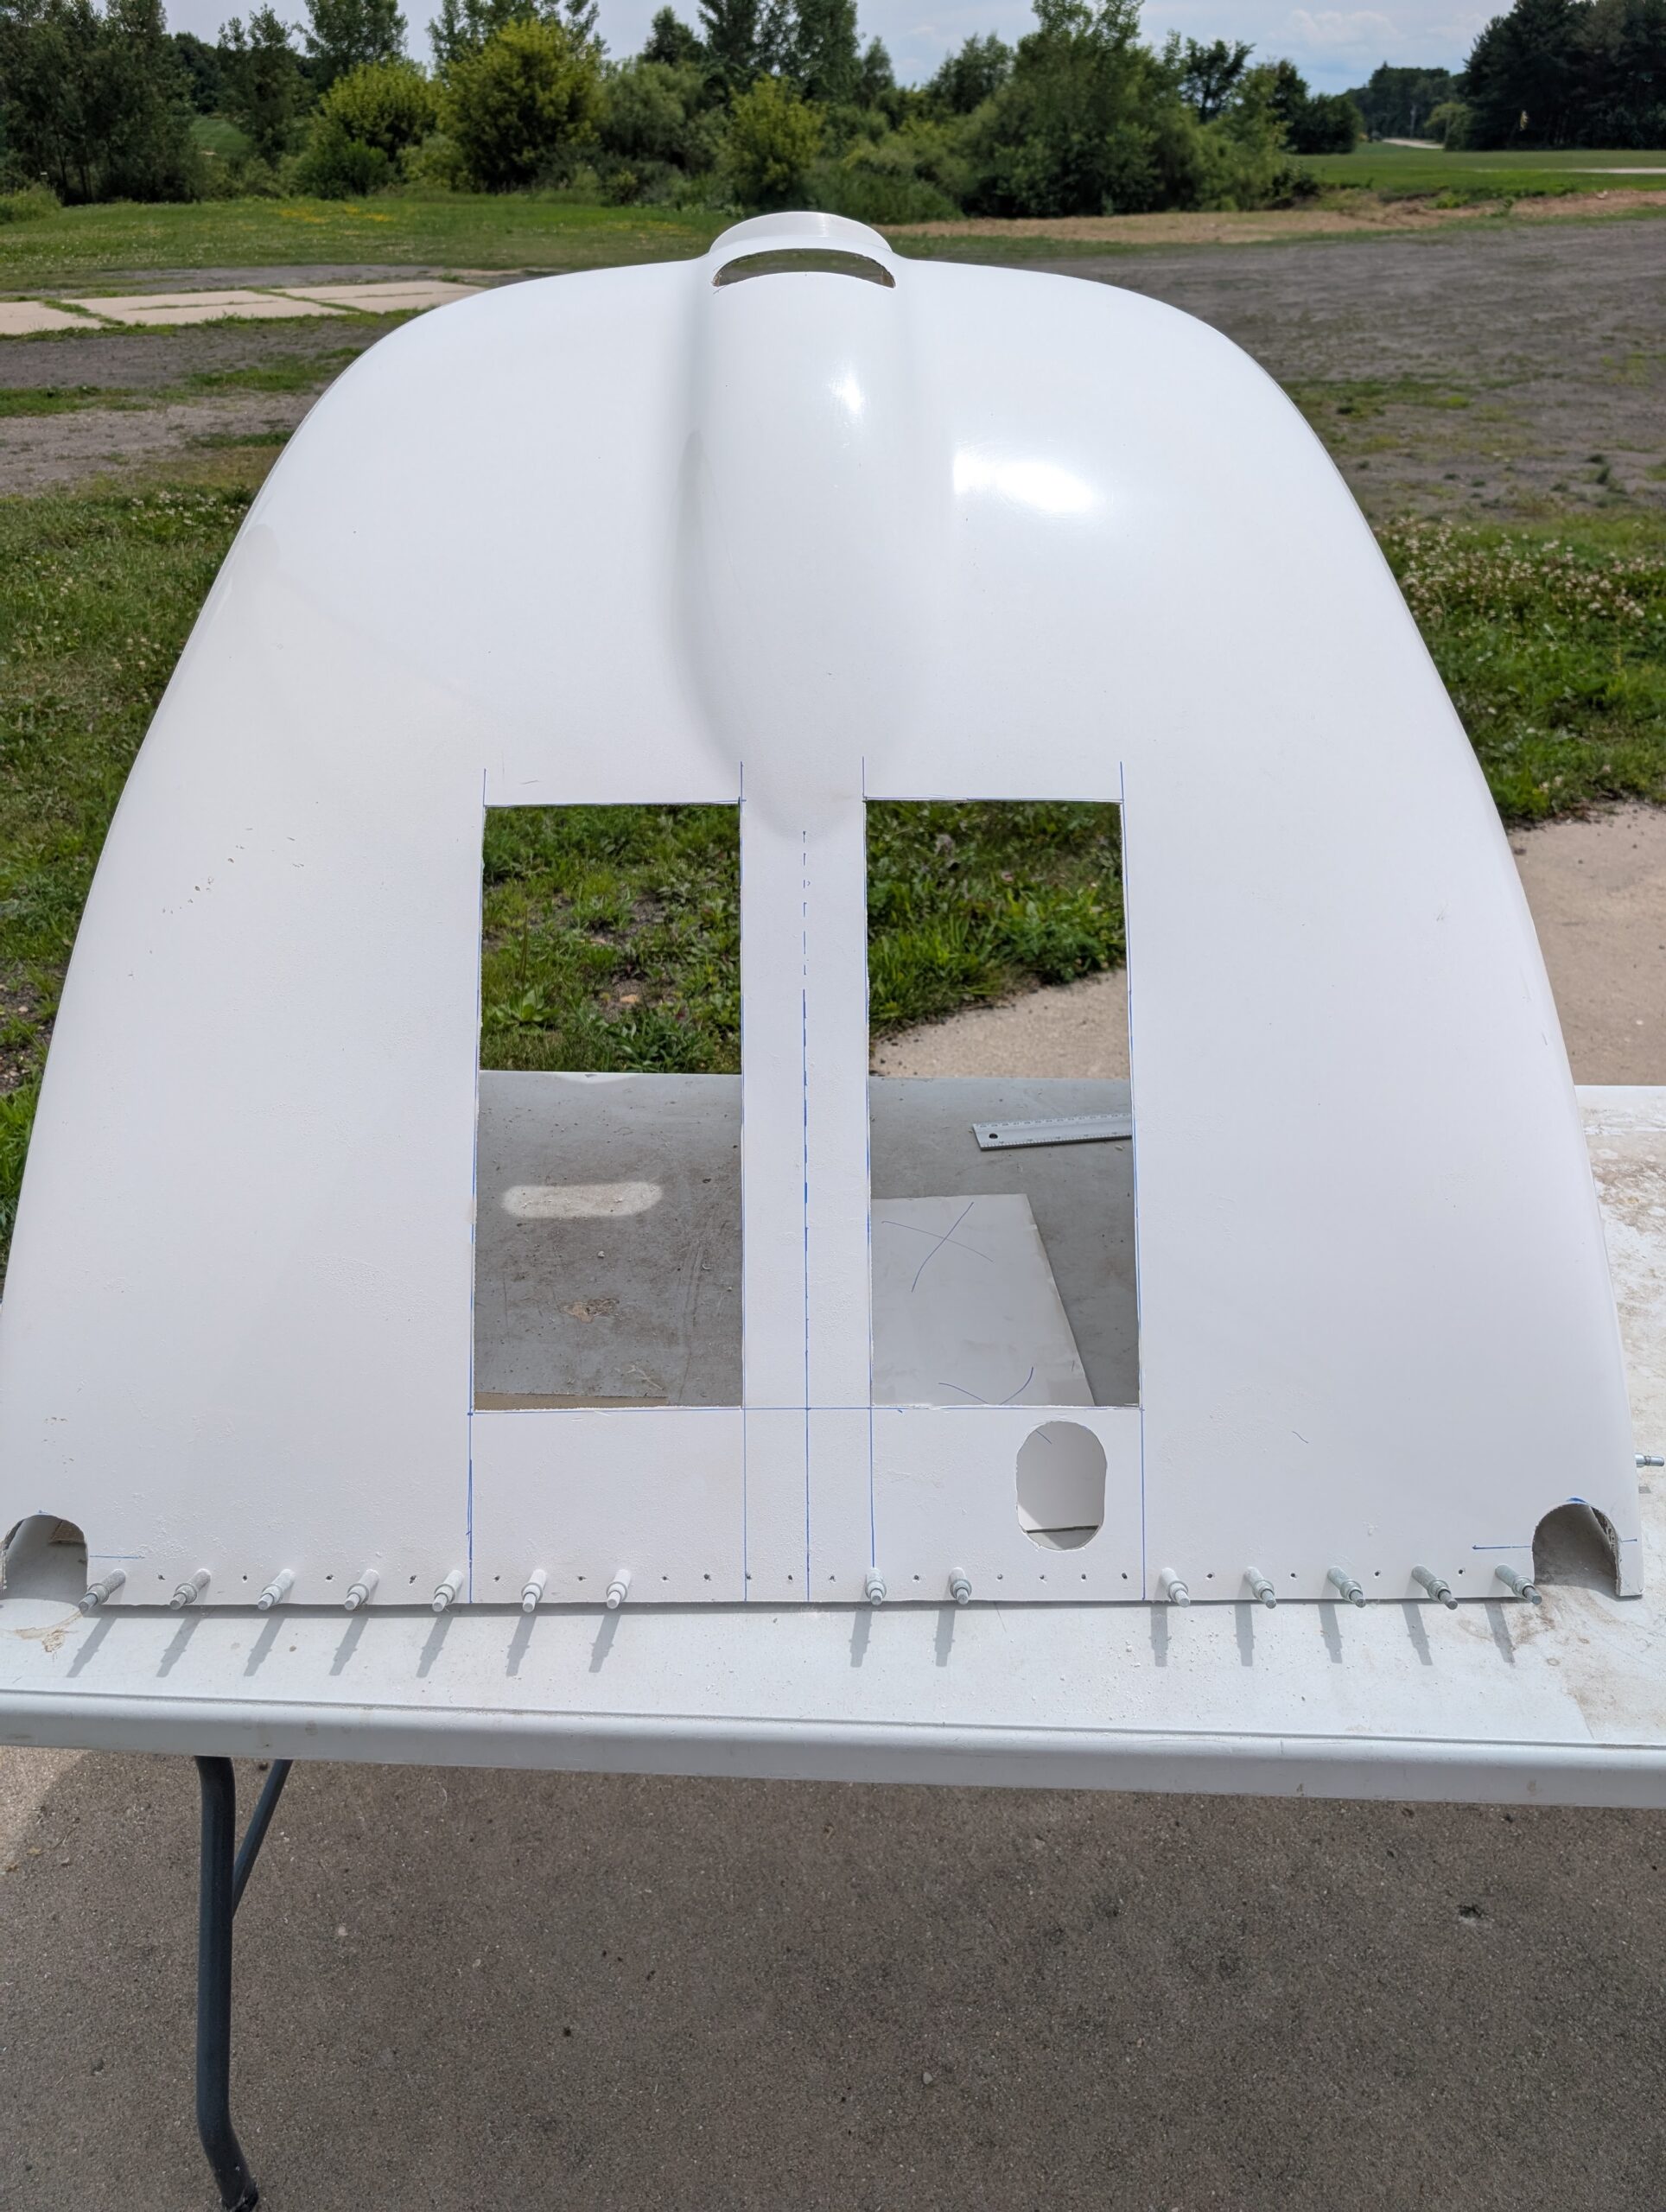
Updrilled cowl shelf, lower cowl, and upper cowl, and drilled and riveted nut plates onto cowl shelf and lower cowl. Temporarily installed upper cowl onto aircraft with screws to verify alignment and fitment; checks good. Located oil dipstick with flashlight and marked location of oil door on upper cowl. Removed upper cowl and cut rough…
Cowl Fiberglass Work – Part 9
Rough sanded micro on upper cowl then final sanded; upper cowl should be finished with most micro work. Added micro to two low spots on lower cowl and let micro set. Fine sanded the two spots on the lower cowl with 120 grit; finally micro work should be finished. Laid out side exhaust vents onto…
Cowl Fiberglass Work – Part 8
Removed upper and lower cowls from fuselage and removed packing tape from fuselage. Rough sanded new micro; most spots very close to being done with fiberglass but a couple of spots needed more filler. Leaving cowls off of aircraft, mixed another batch of stiff micro and filled the couple of low spots in both the…
Cowl Fiberglass Work – Part 7
Rough sanded aft edge of upper cowl then pinned into place on fuselage. Further sanded cowl on fuselage to get spacing correct. Removed upper cowl and sanded transition line with 120 grit. Removed lower cowl to trim prop hub area and prep a few small spots for epoxy. Reinstalled cowls and secured into place. Prepped…
Cowl Fiberglass Work – Part 6
Removed lower cowl from fuselage and removed hinges and clecoes. Rough sanded new work with 60 then 120 grit; transition mostly okay with just a few low spots to fill in. Reinstalled lower and upper cowl onto aircraft. Marked prop hub trim line with 3D printed guide to maintain 0.125″ clearance between hub and cowl.…
Cowl Fiberglass Work – Part 5
Fine sanded upper cowl with 240 grit to see if latest application of micro filled in low spots; overall looks good. Will try to use some high build primer to help with pin holes but overall upper cowl looks good. Reinstalled both upper and lower cowls onto aircraft then pilot drilled mounting holes through upper…
Cowl Fiberglass Work – Part 4
Removed upper cowl from lower cowl again and began sanding upper cowl. Started with 60 grit and moved up to 240 grit sandpaper to better blend transition area. Finished sanding with upper cowl mocked up onto lower cowl to better blend transition. After sanding most of the new work with 240 grit, discovered a few…
Cowl Fiberglass Work – Part 3
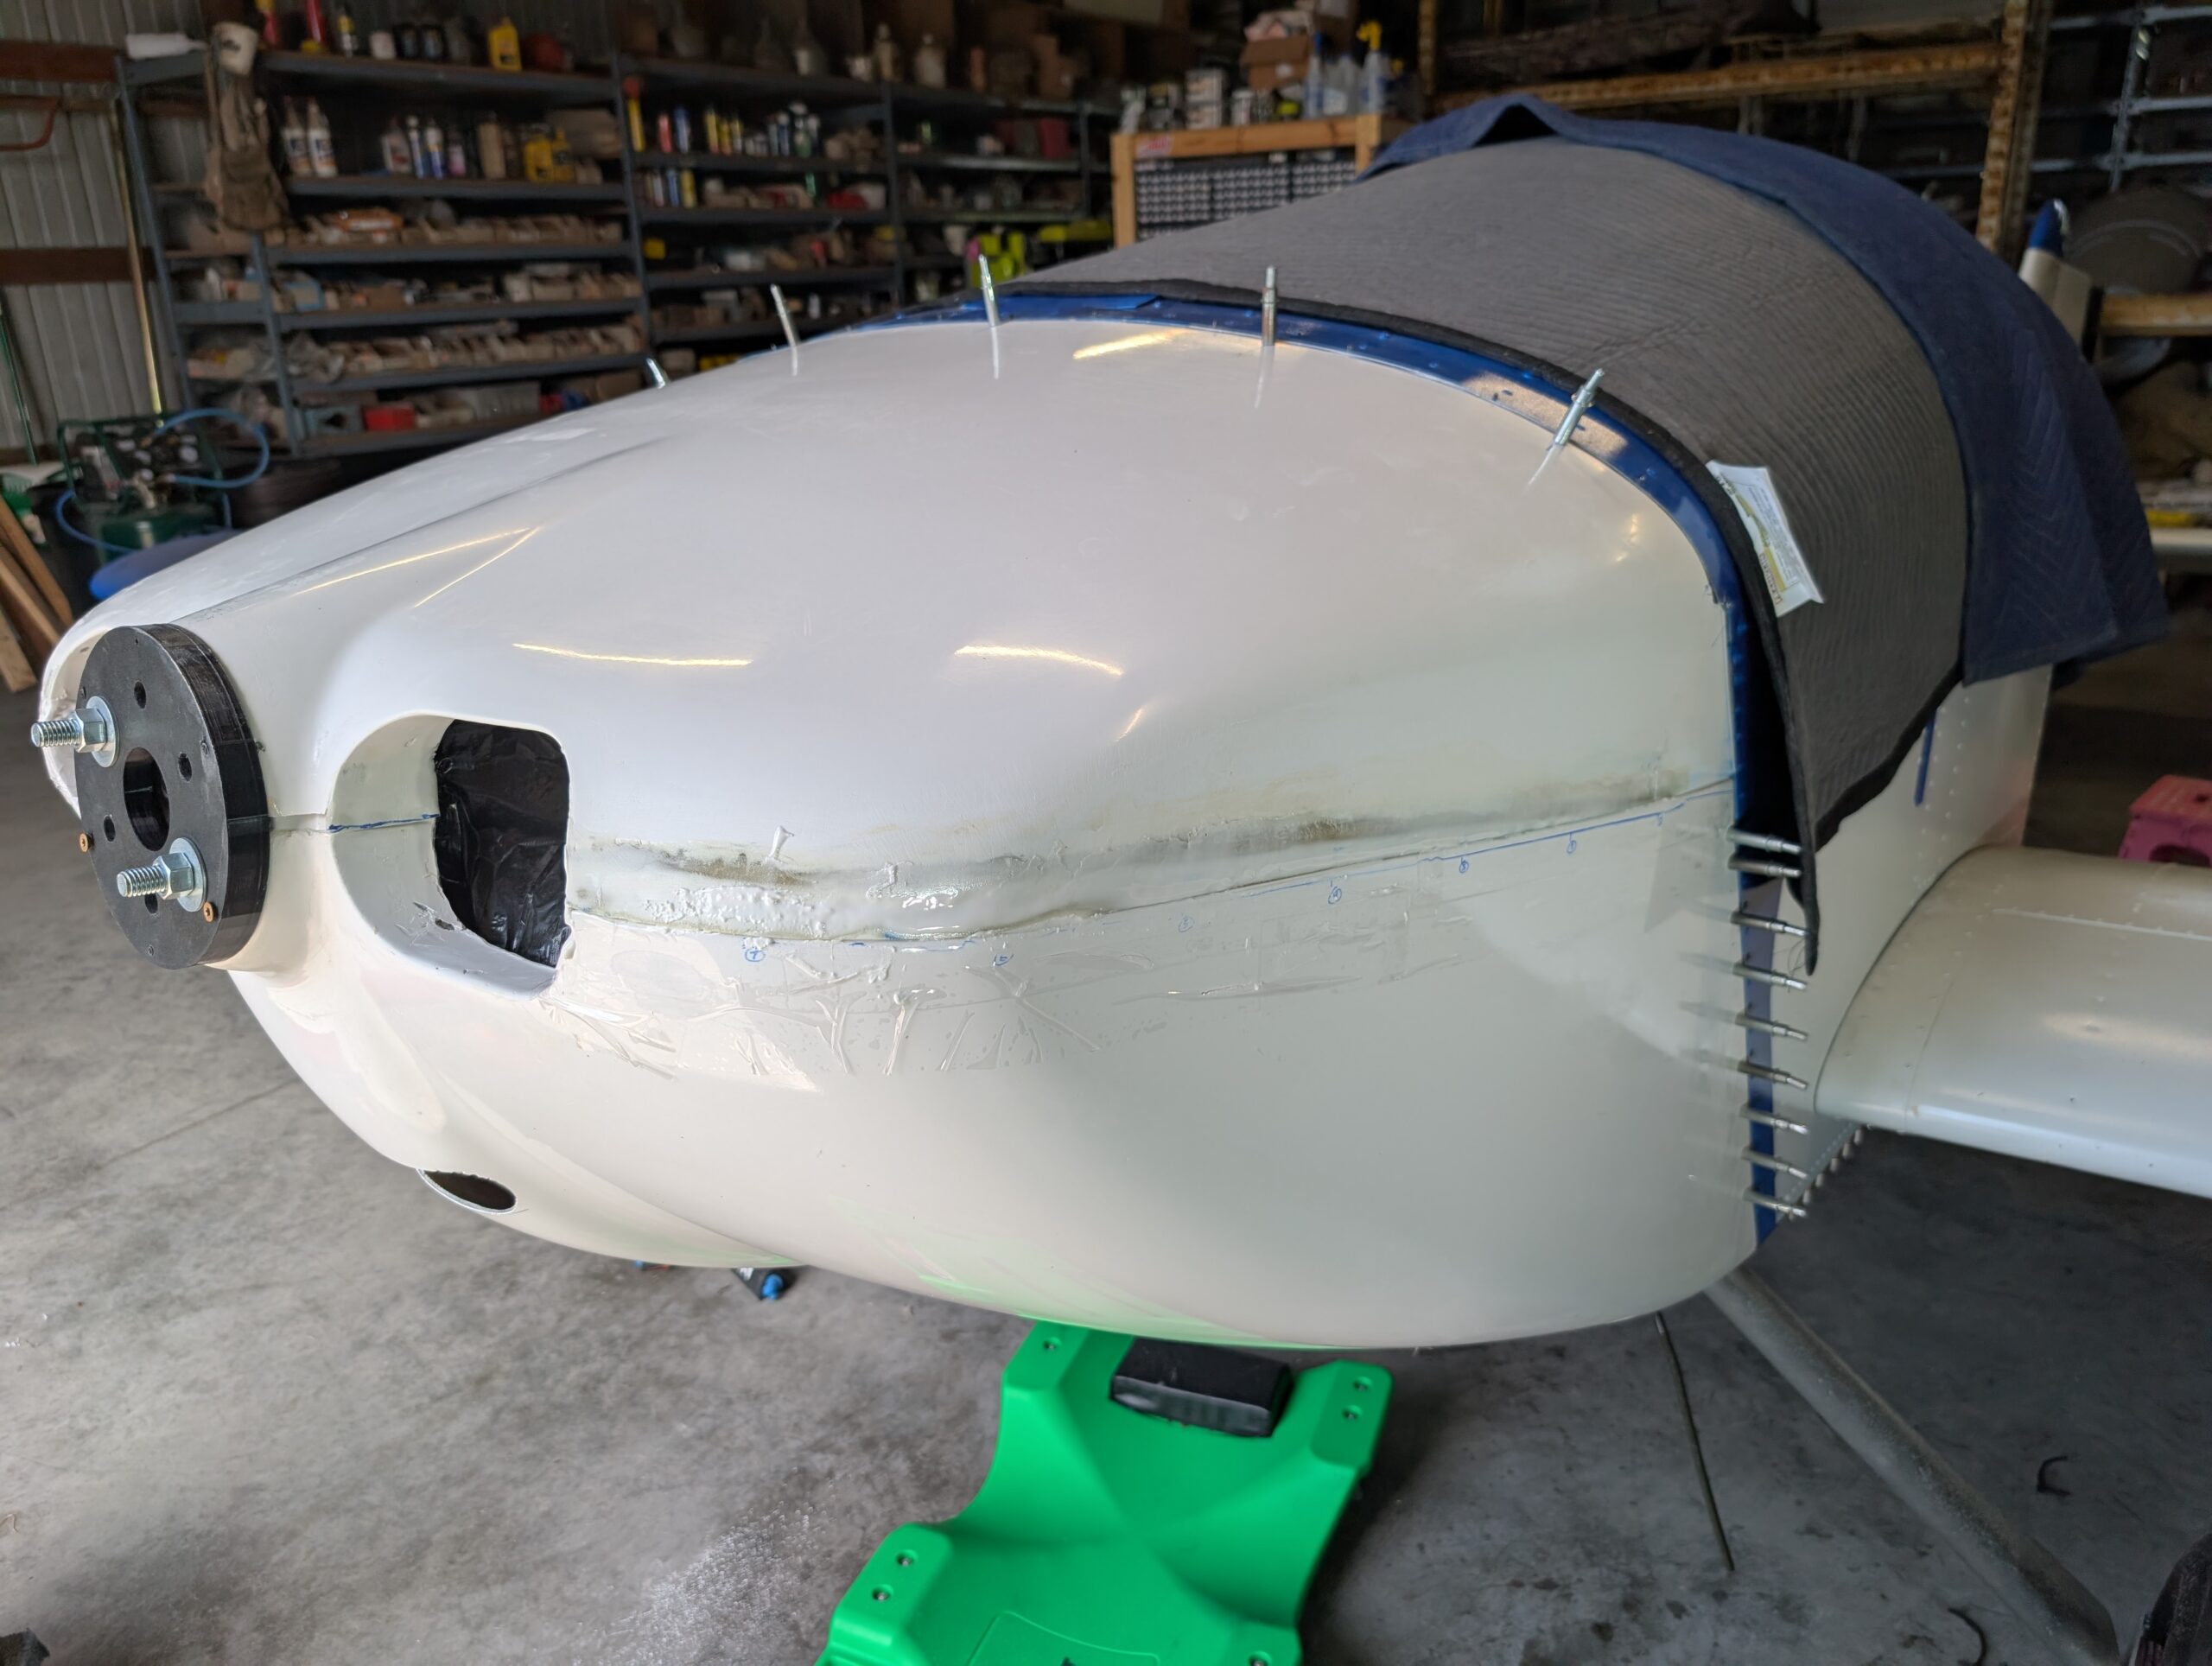
After allowing epoxy to cure, used 60 grit sandpaper and hand sanding block to rough shape cowl curvature and knock down spatter and high spots. Tried to focus on transition areas between existing cowl and new work to make transition smoother. Initial sanding identified multiple valleys and pin holes that will need another coat of…
Cowl Fiberglass Work – Part 2
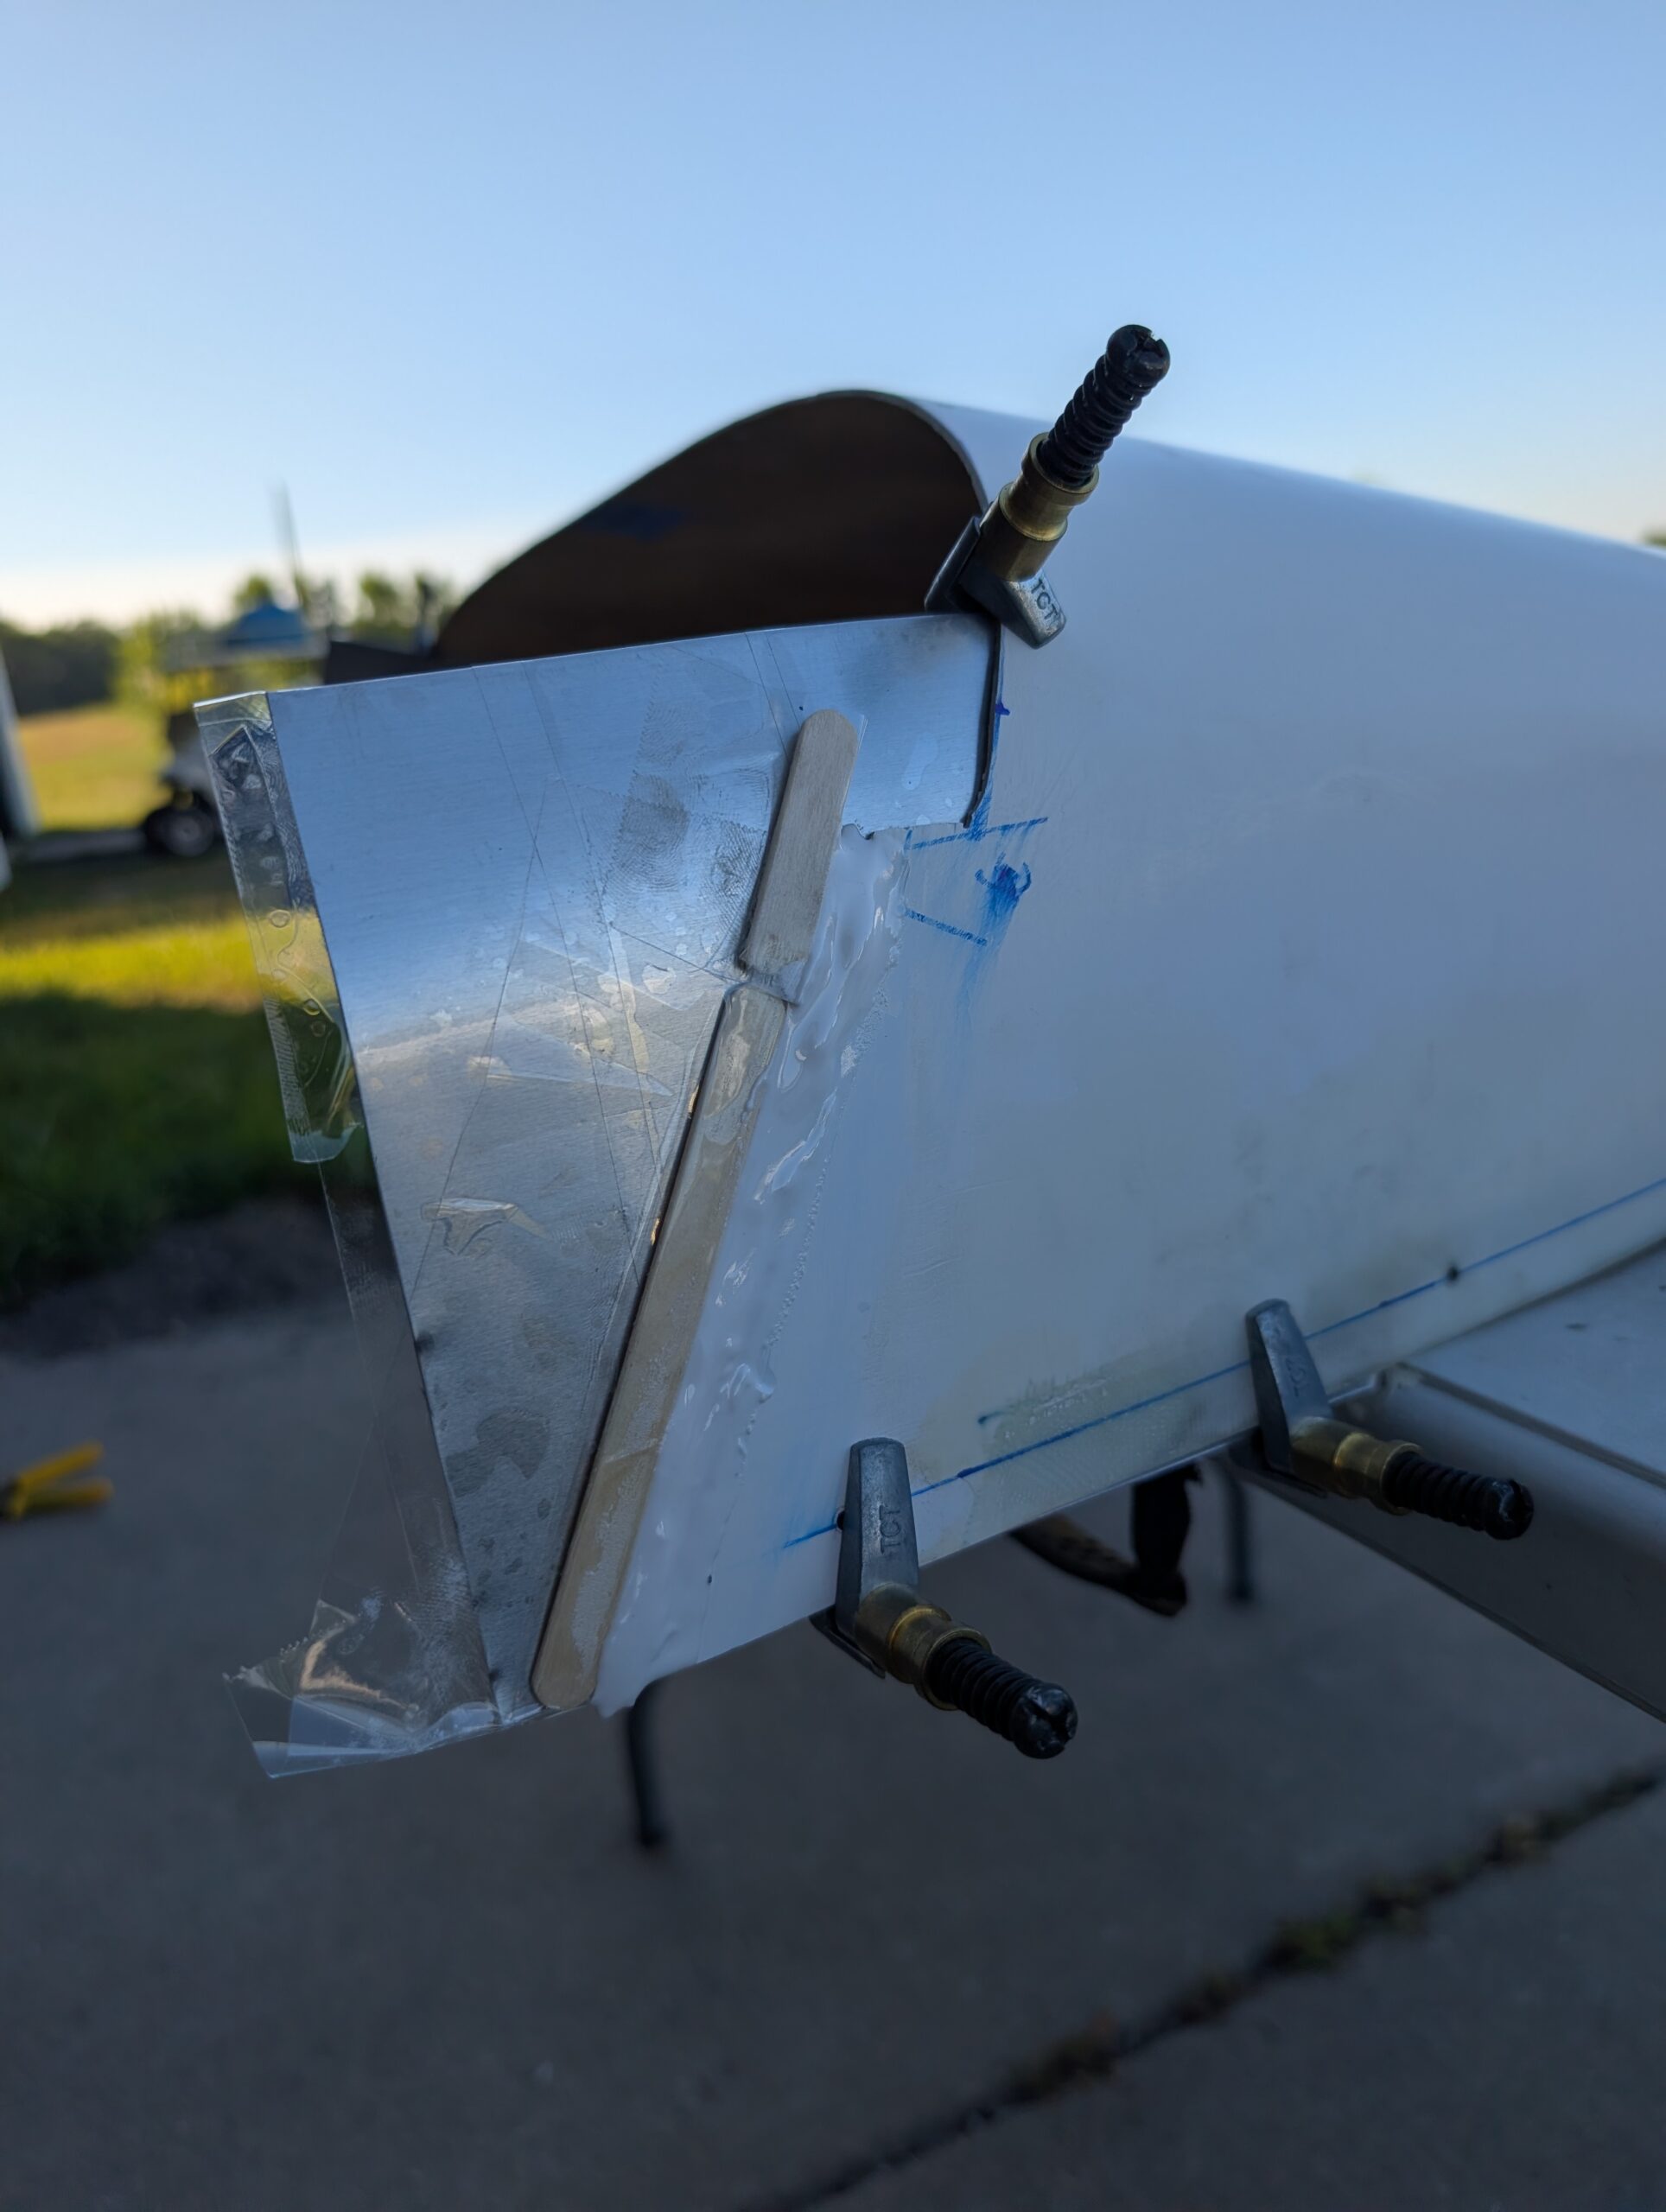
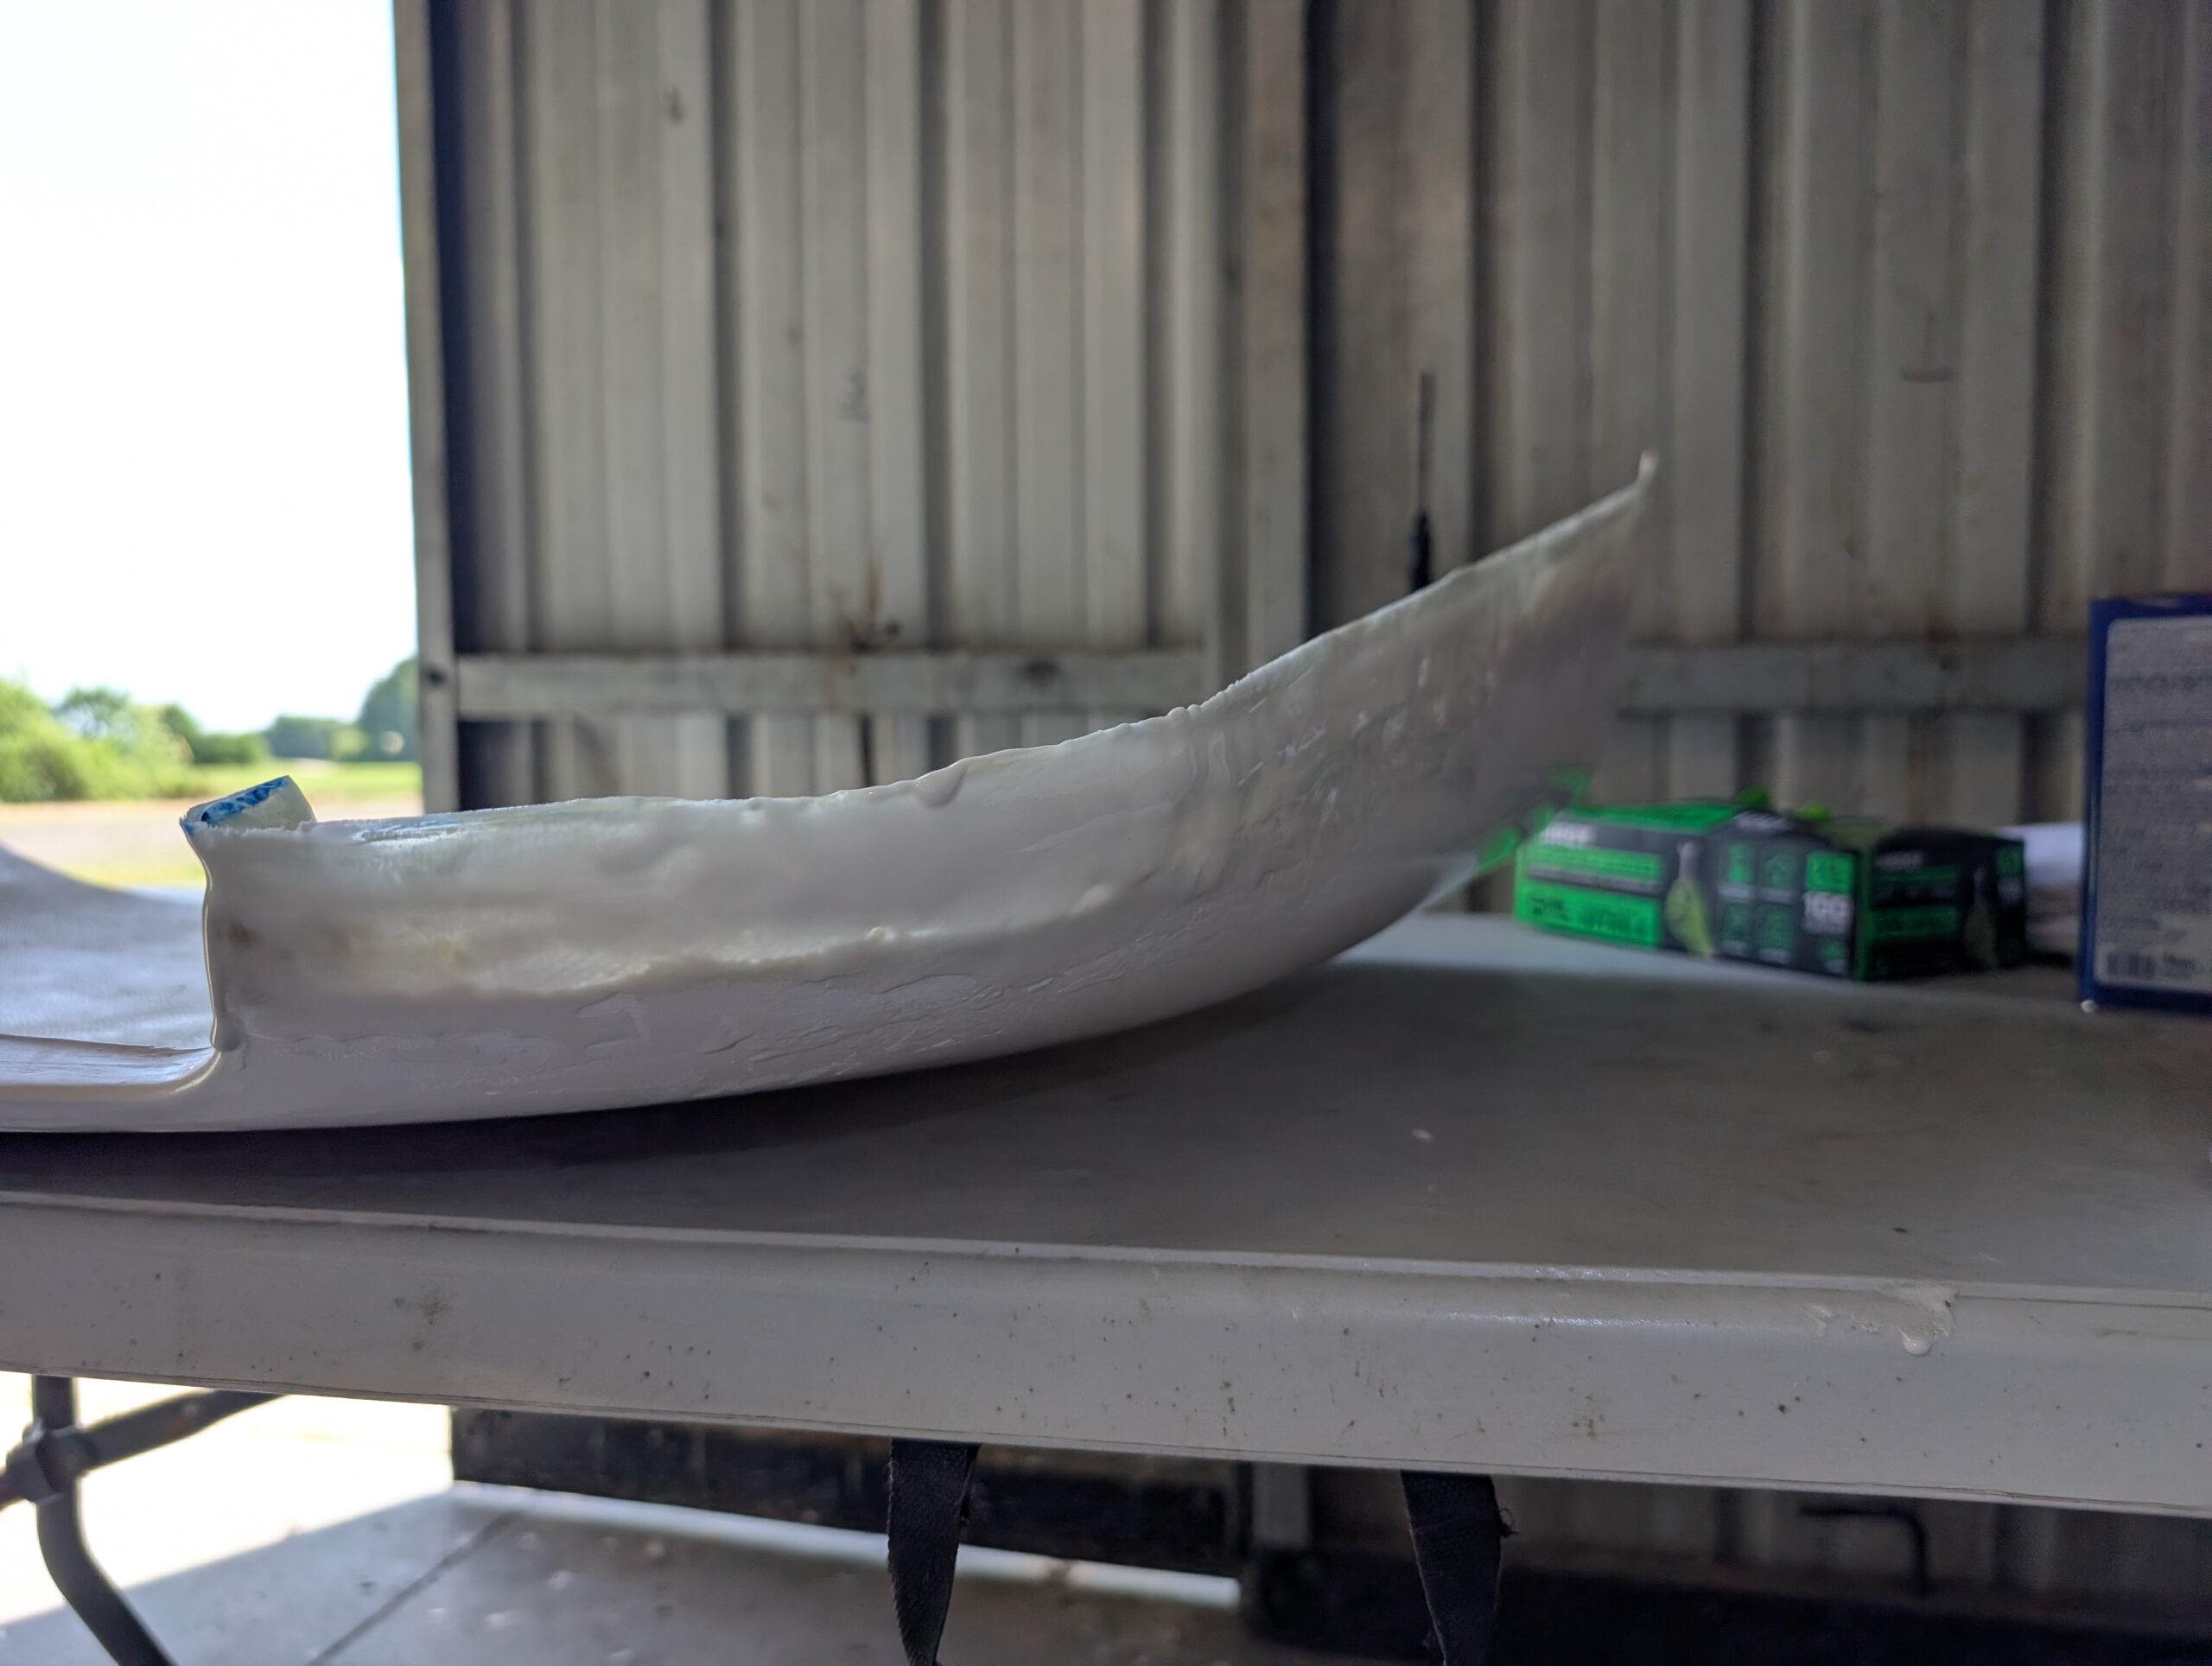
After leaving the fiberglass to cure for a couple days, marked rough cut line and gently pried the top cowling off of the bottom cowling without incident. Rough sanded upper cowl using 60 grit sand paper to level bottom edge and start to feather transition area. Temporarily installed top cowl back onto airplane to check…