AN365-1032A
-
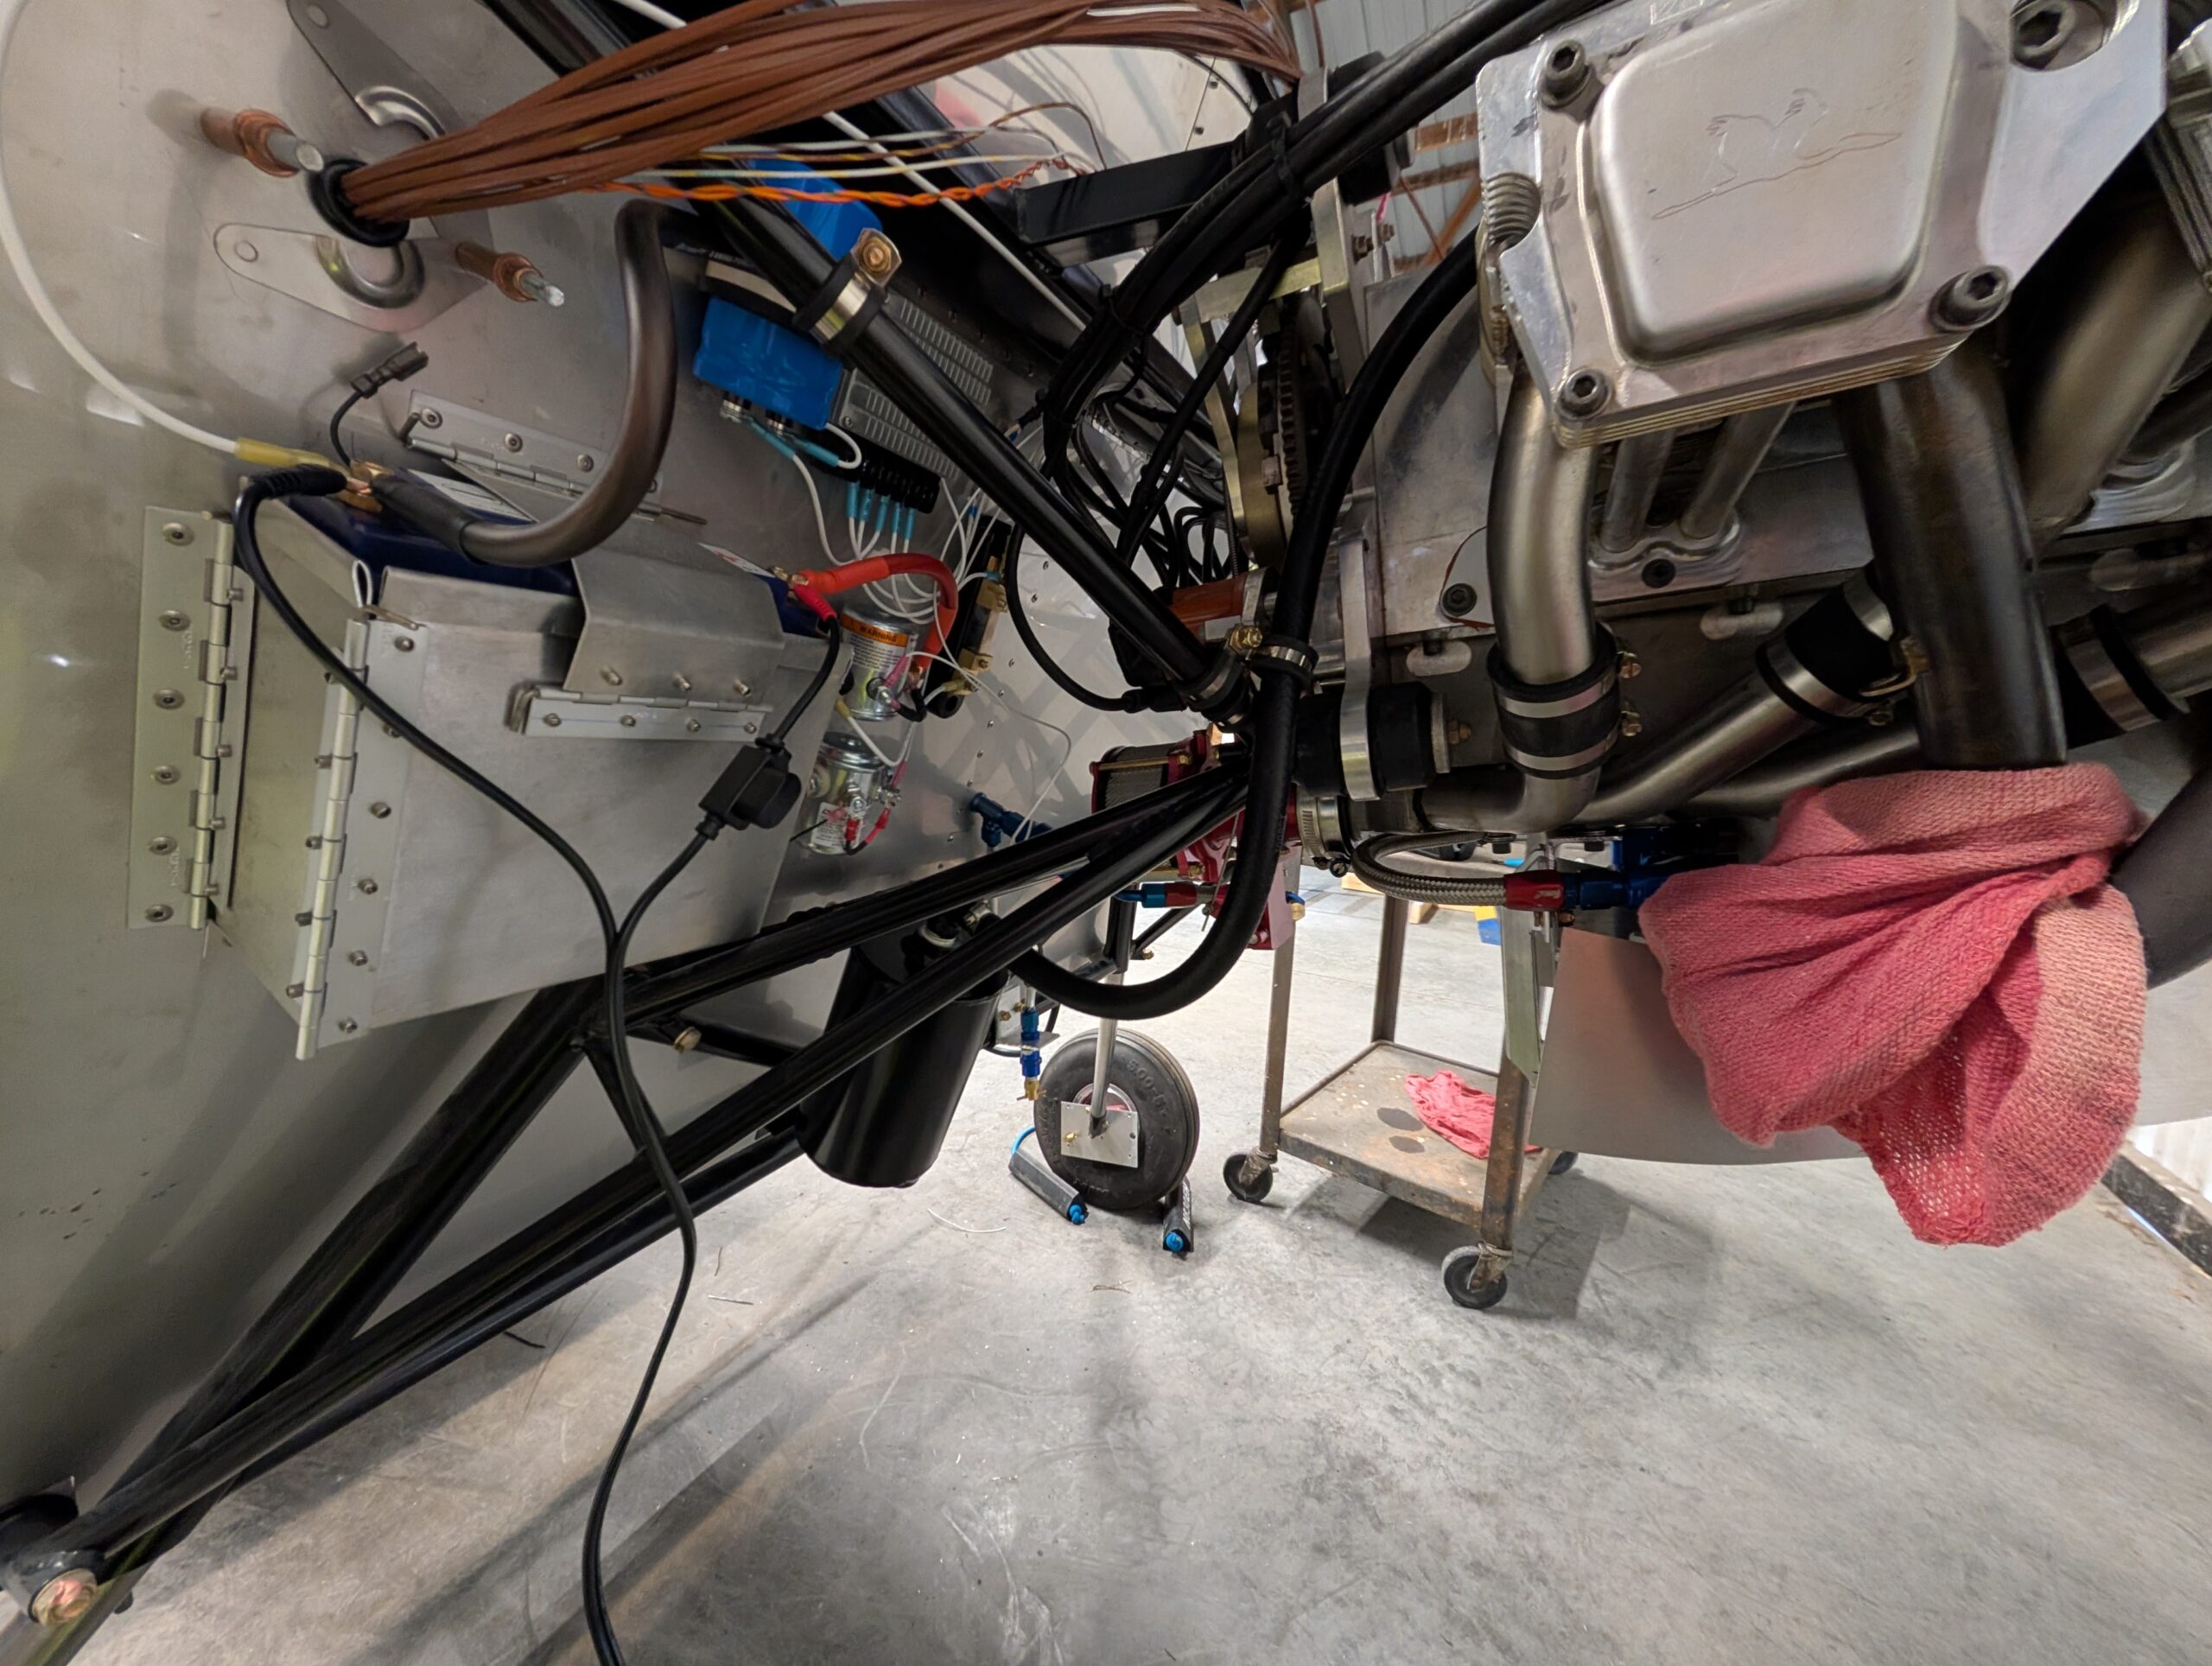
Oil Cooler and Separator Installation
Mounted oil cooler bracket onto bottom side of intake and secured bolts with Loctite 242. Temporarily mounted oil cooler to engine then marked areas of baffling to remove for block heater and oil drain. Installed AN fittings into top of oil cooler. Made oil cooler hoses and routed them from oil filter housing to oil…
-
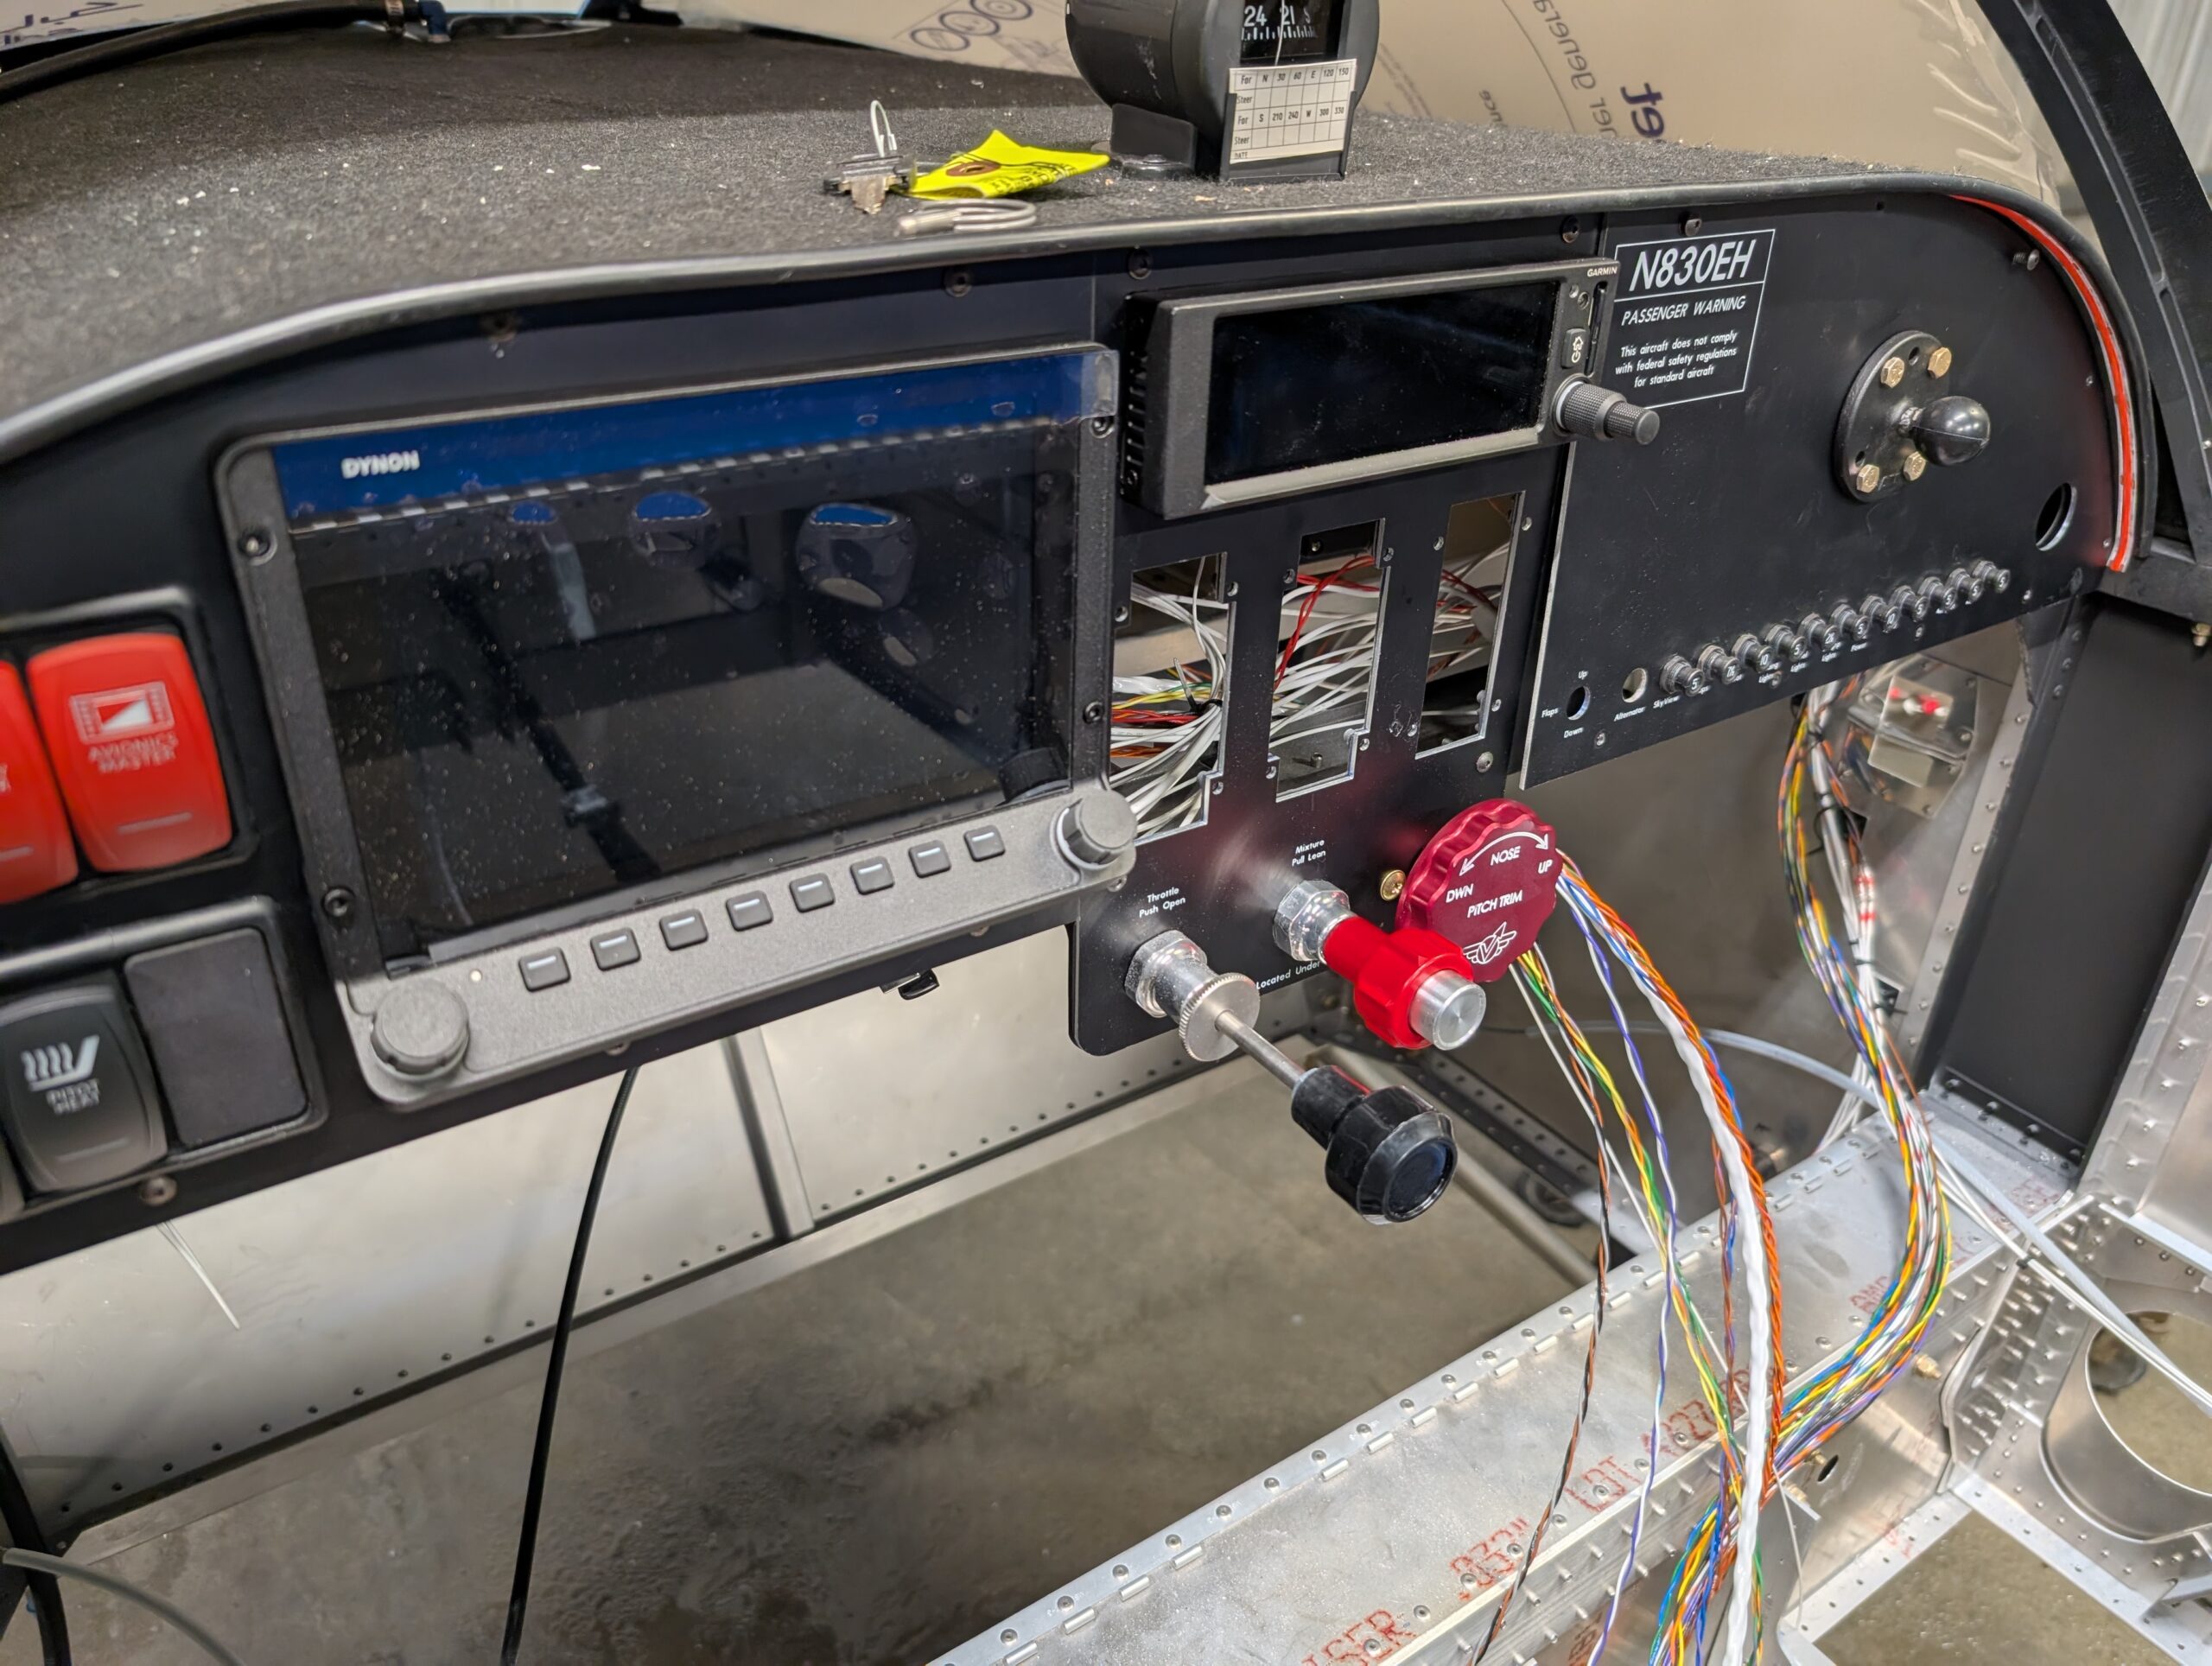
Mixture Cable Install
Installed mixture cable into center panel section and routed cable through previously installed cable safe. Measured out approximate length and removed inner cable from jacket (making sure to carefully catch ball in cable mechanism). Trimmed outer jacket then upsized cable hole in AeroInjector to 1/4″. Installed AeroInjector back onto back side of motor and ran…
-
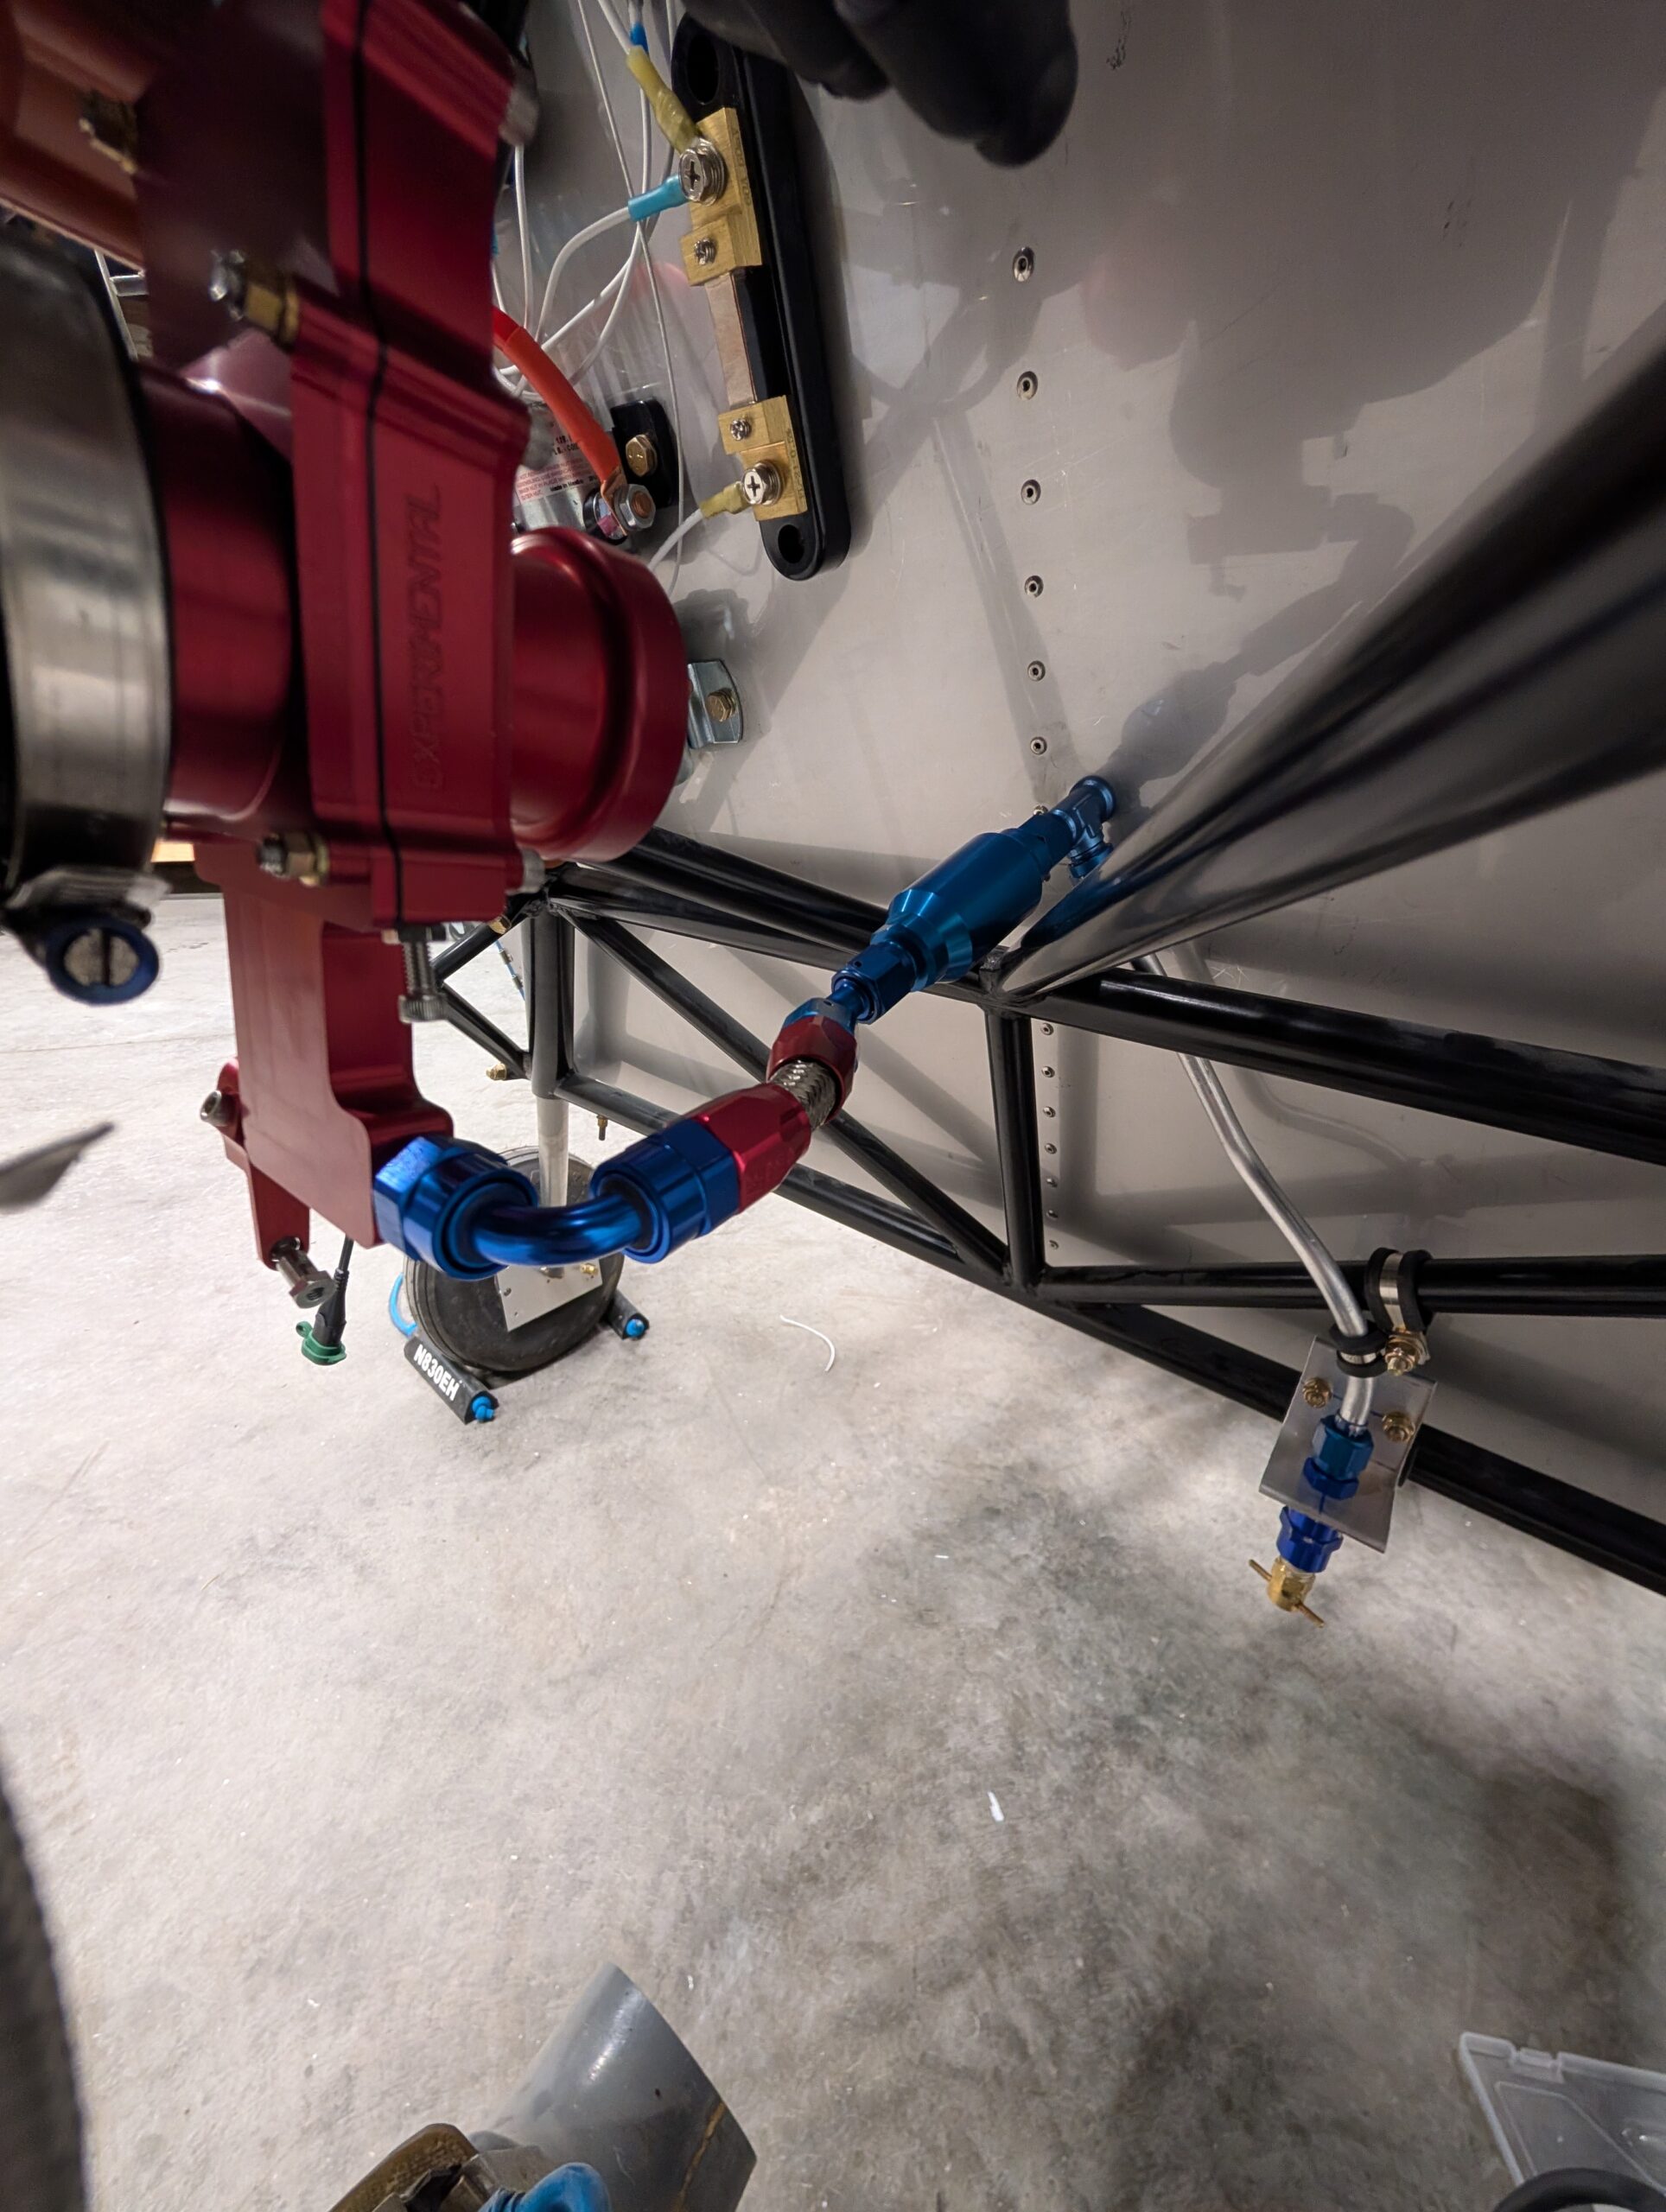
Firewall Forward Fuel System
Began working on firewall-forward fuel system by bending solid fuel line for drain branch. Ran -6 fuel line behind upper part of engine mount then bent line to come forward of bottom part. Created a drain cock mount out of scrap aluminum angle and secured drain cock and mount to engine mount with Adel clamps.…
-
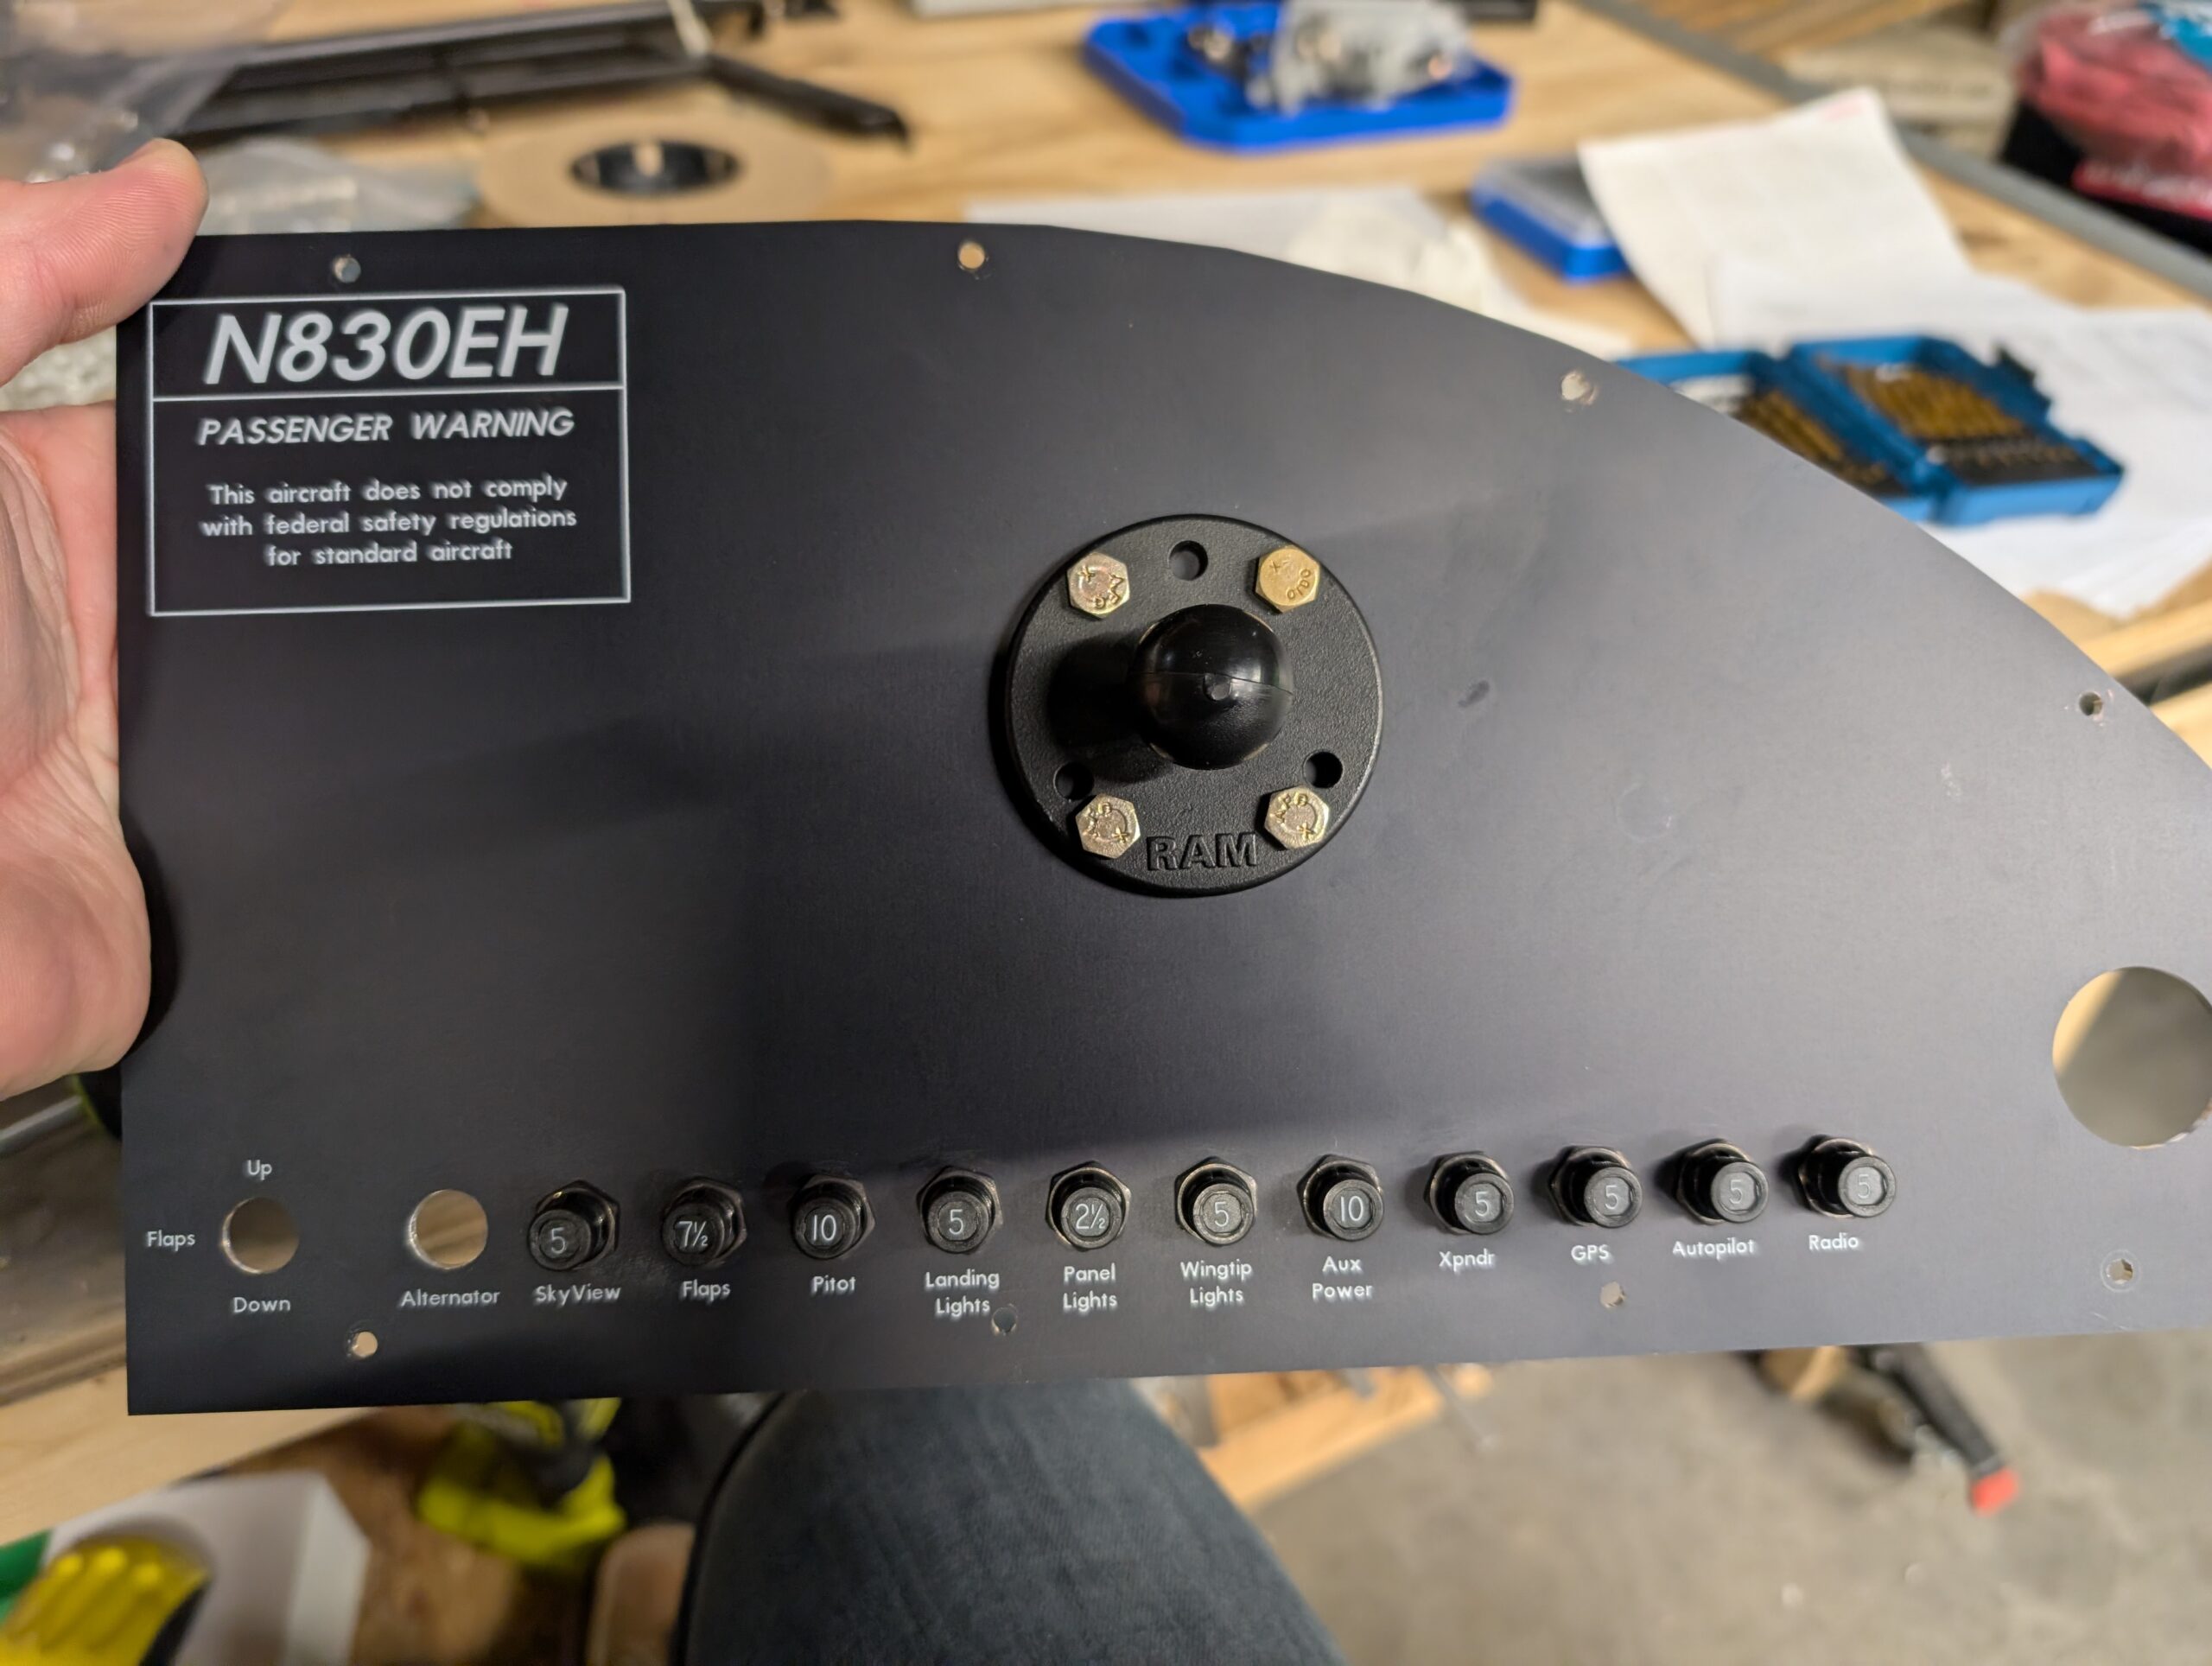
Circuit Breaker Mounting
Bolted Ram mount base to RH panel cover using AN3 hardware. Cut copper bus bars to size and drilled circuit breaker holes at 0.8 inch spacing. Installed circuit breakers into RH panel cover then secured bus bar onto bottom terminals of circuit breakers with 6R4 screws. Used two separate bus bars for circuit breakers; one…
-
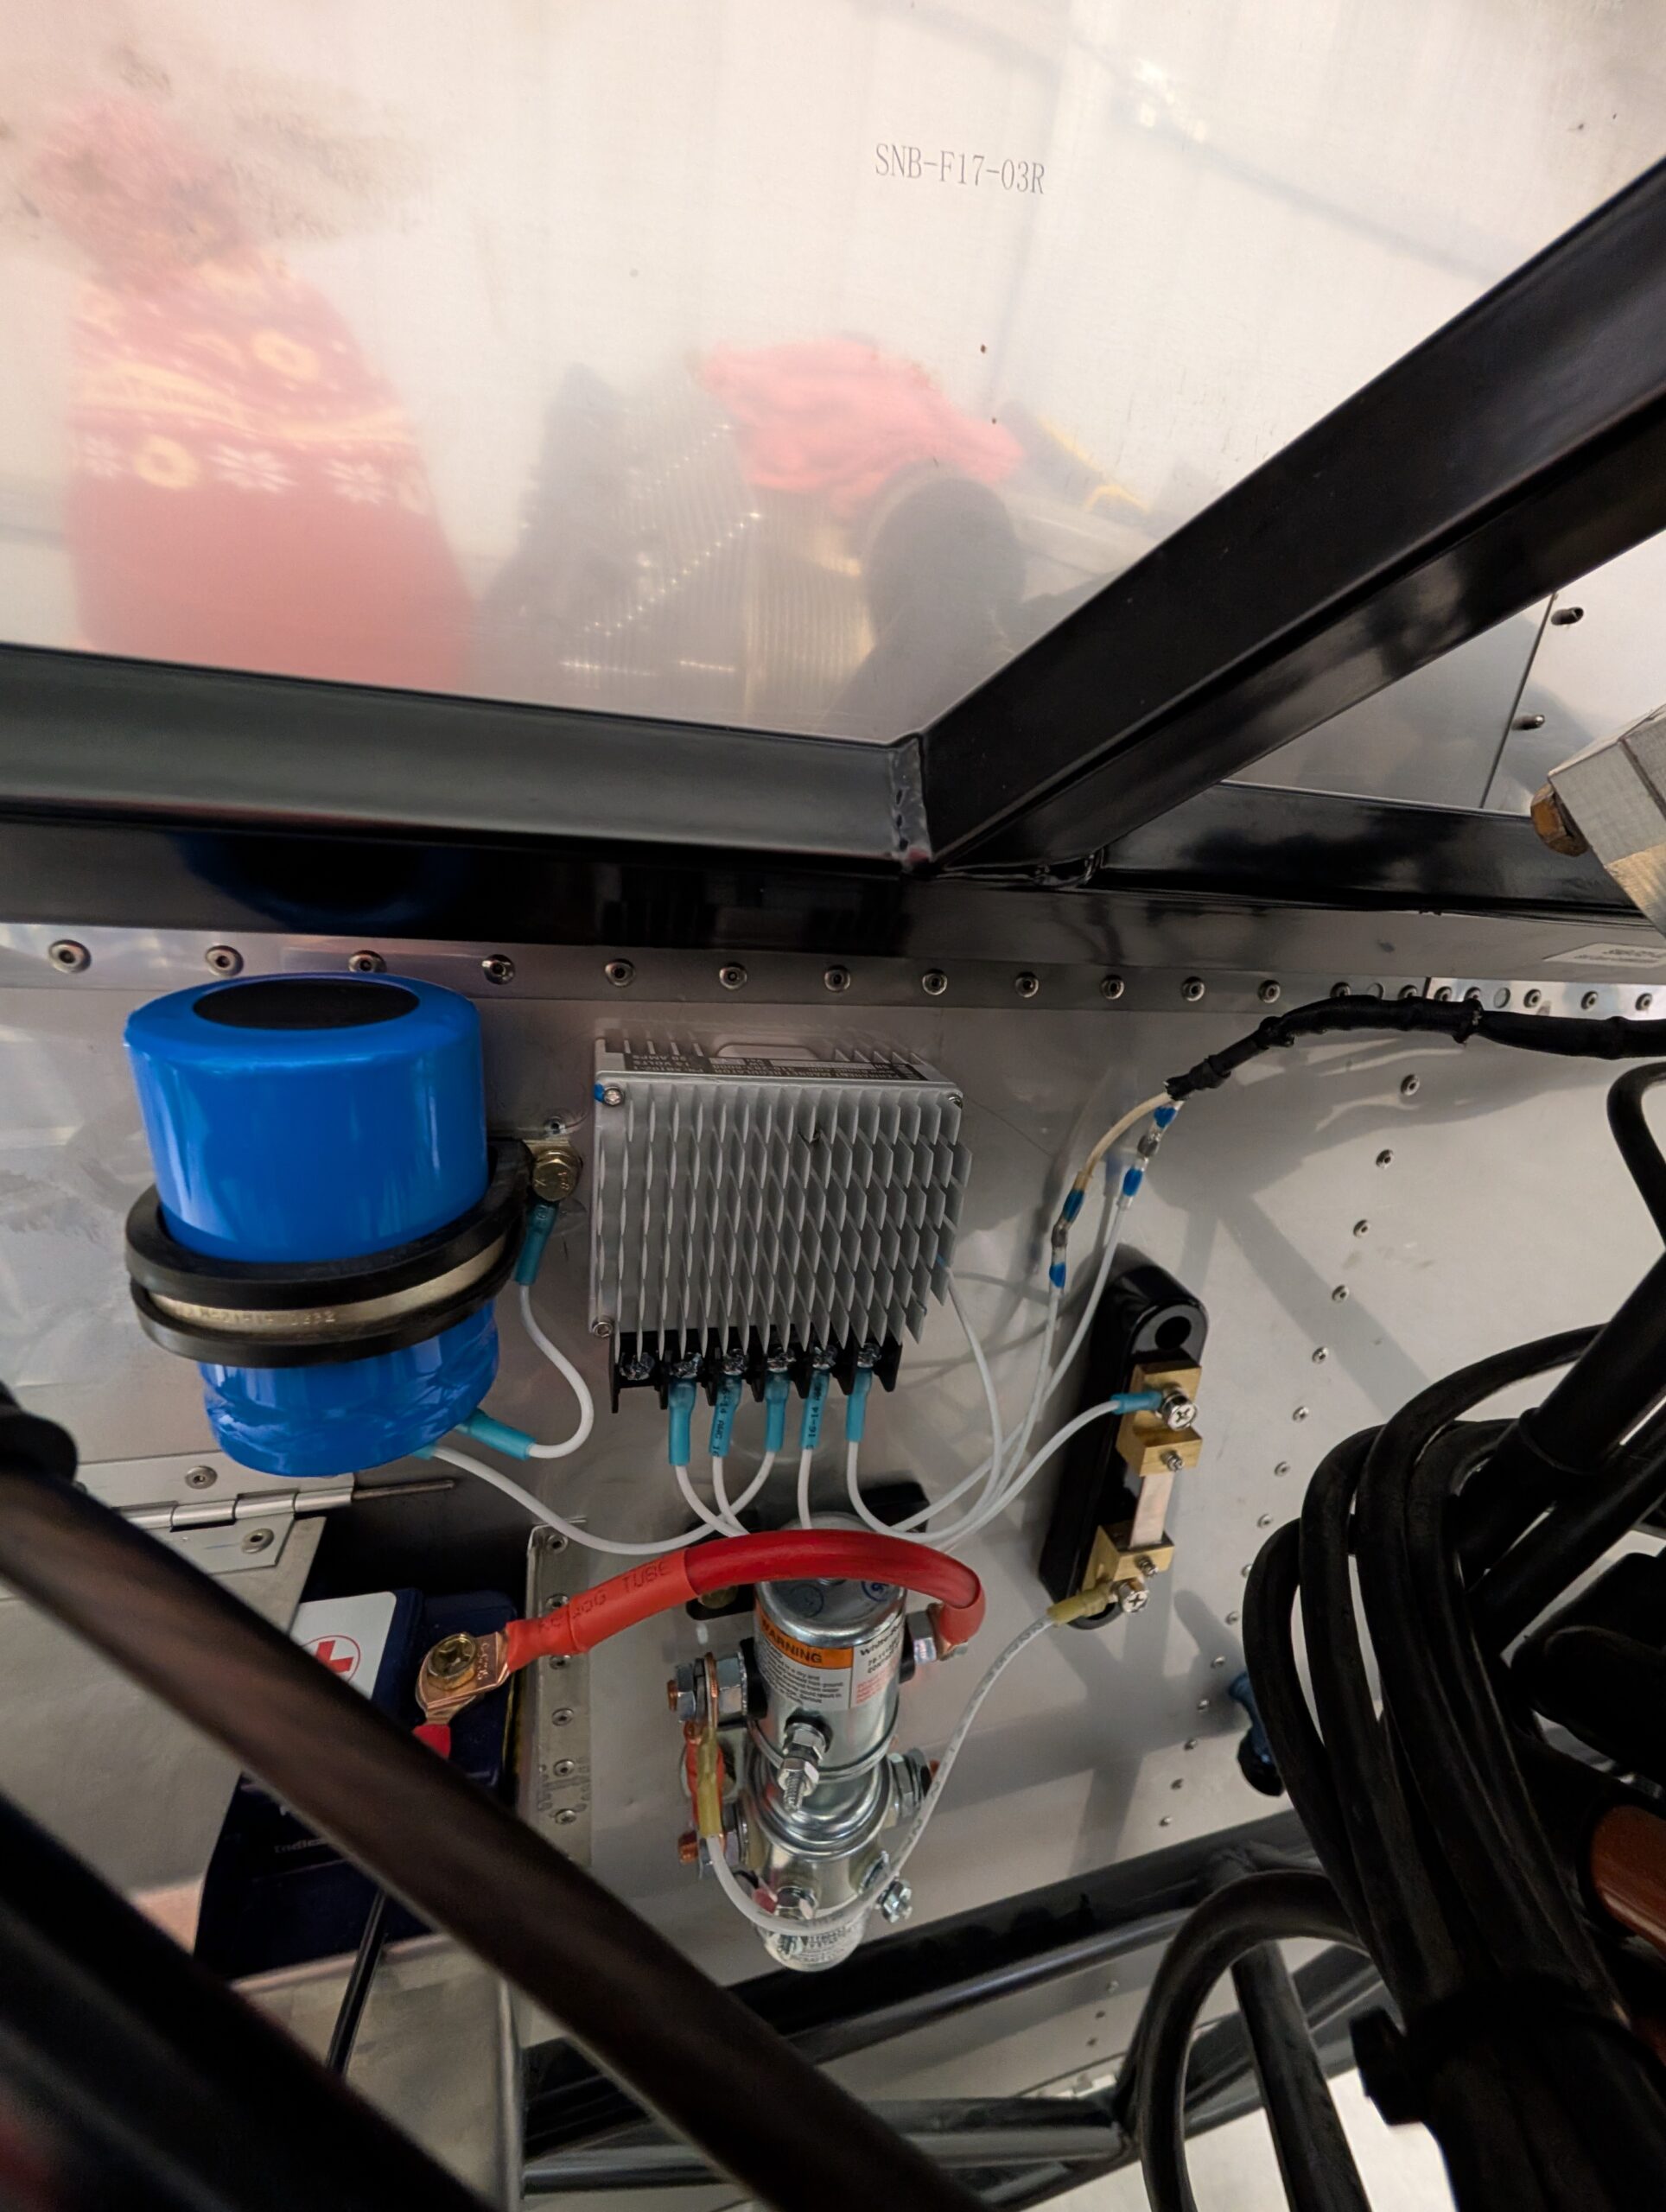
FWF Wiring – Part 2
Replaced temporary bolts in starter solenoid with proper length bolts. Added extra bit of wire to alternator wires with solder splices and finished wiring and mounting voltage regulator and capacitor (minus the reset button). Drilled LH and RH grommet holes through firewall and clecoed gromet covers into place; will rivet when wiring is completed. Made…
-
Canopy Installation – Part 3
Reattached canopy to fuselage with hinge pin and verified fitment along front and rear edges along with latch operation. Installed canopy retaining strap and tested operation. Located hole for canopy latch pin and drilled into upper longeron. Will remove plastic from inside and outside of canopy once aircraft is complete. Canopy task now complete! Hours…
-
Canopy Trimming – Part 3
Continued to trim and fit canopy. Matched drilled final holes in LH side of forward and aft canopy bows and realized that canopy was pulling up the frame in the front by about 1/4″. Unbolted front left corner of canopy frame and added 1/8″ spacer to lengthen the front bow area. Also added rubber washers…
-
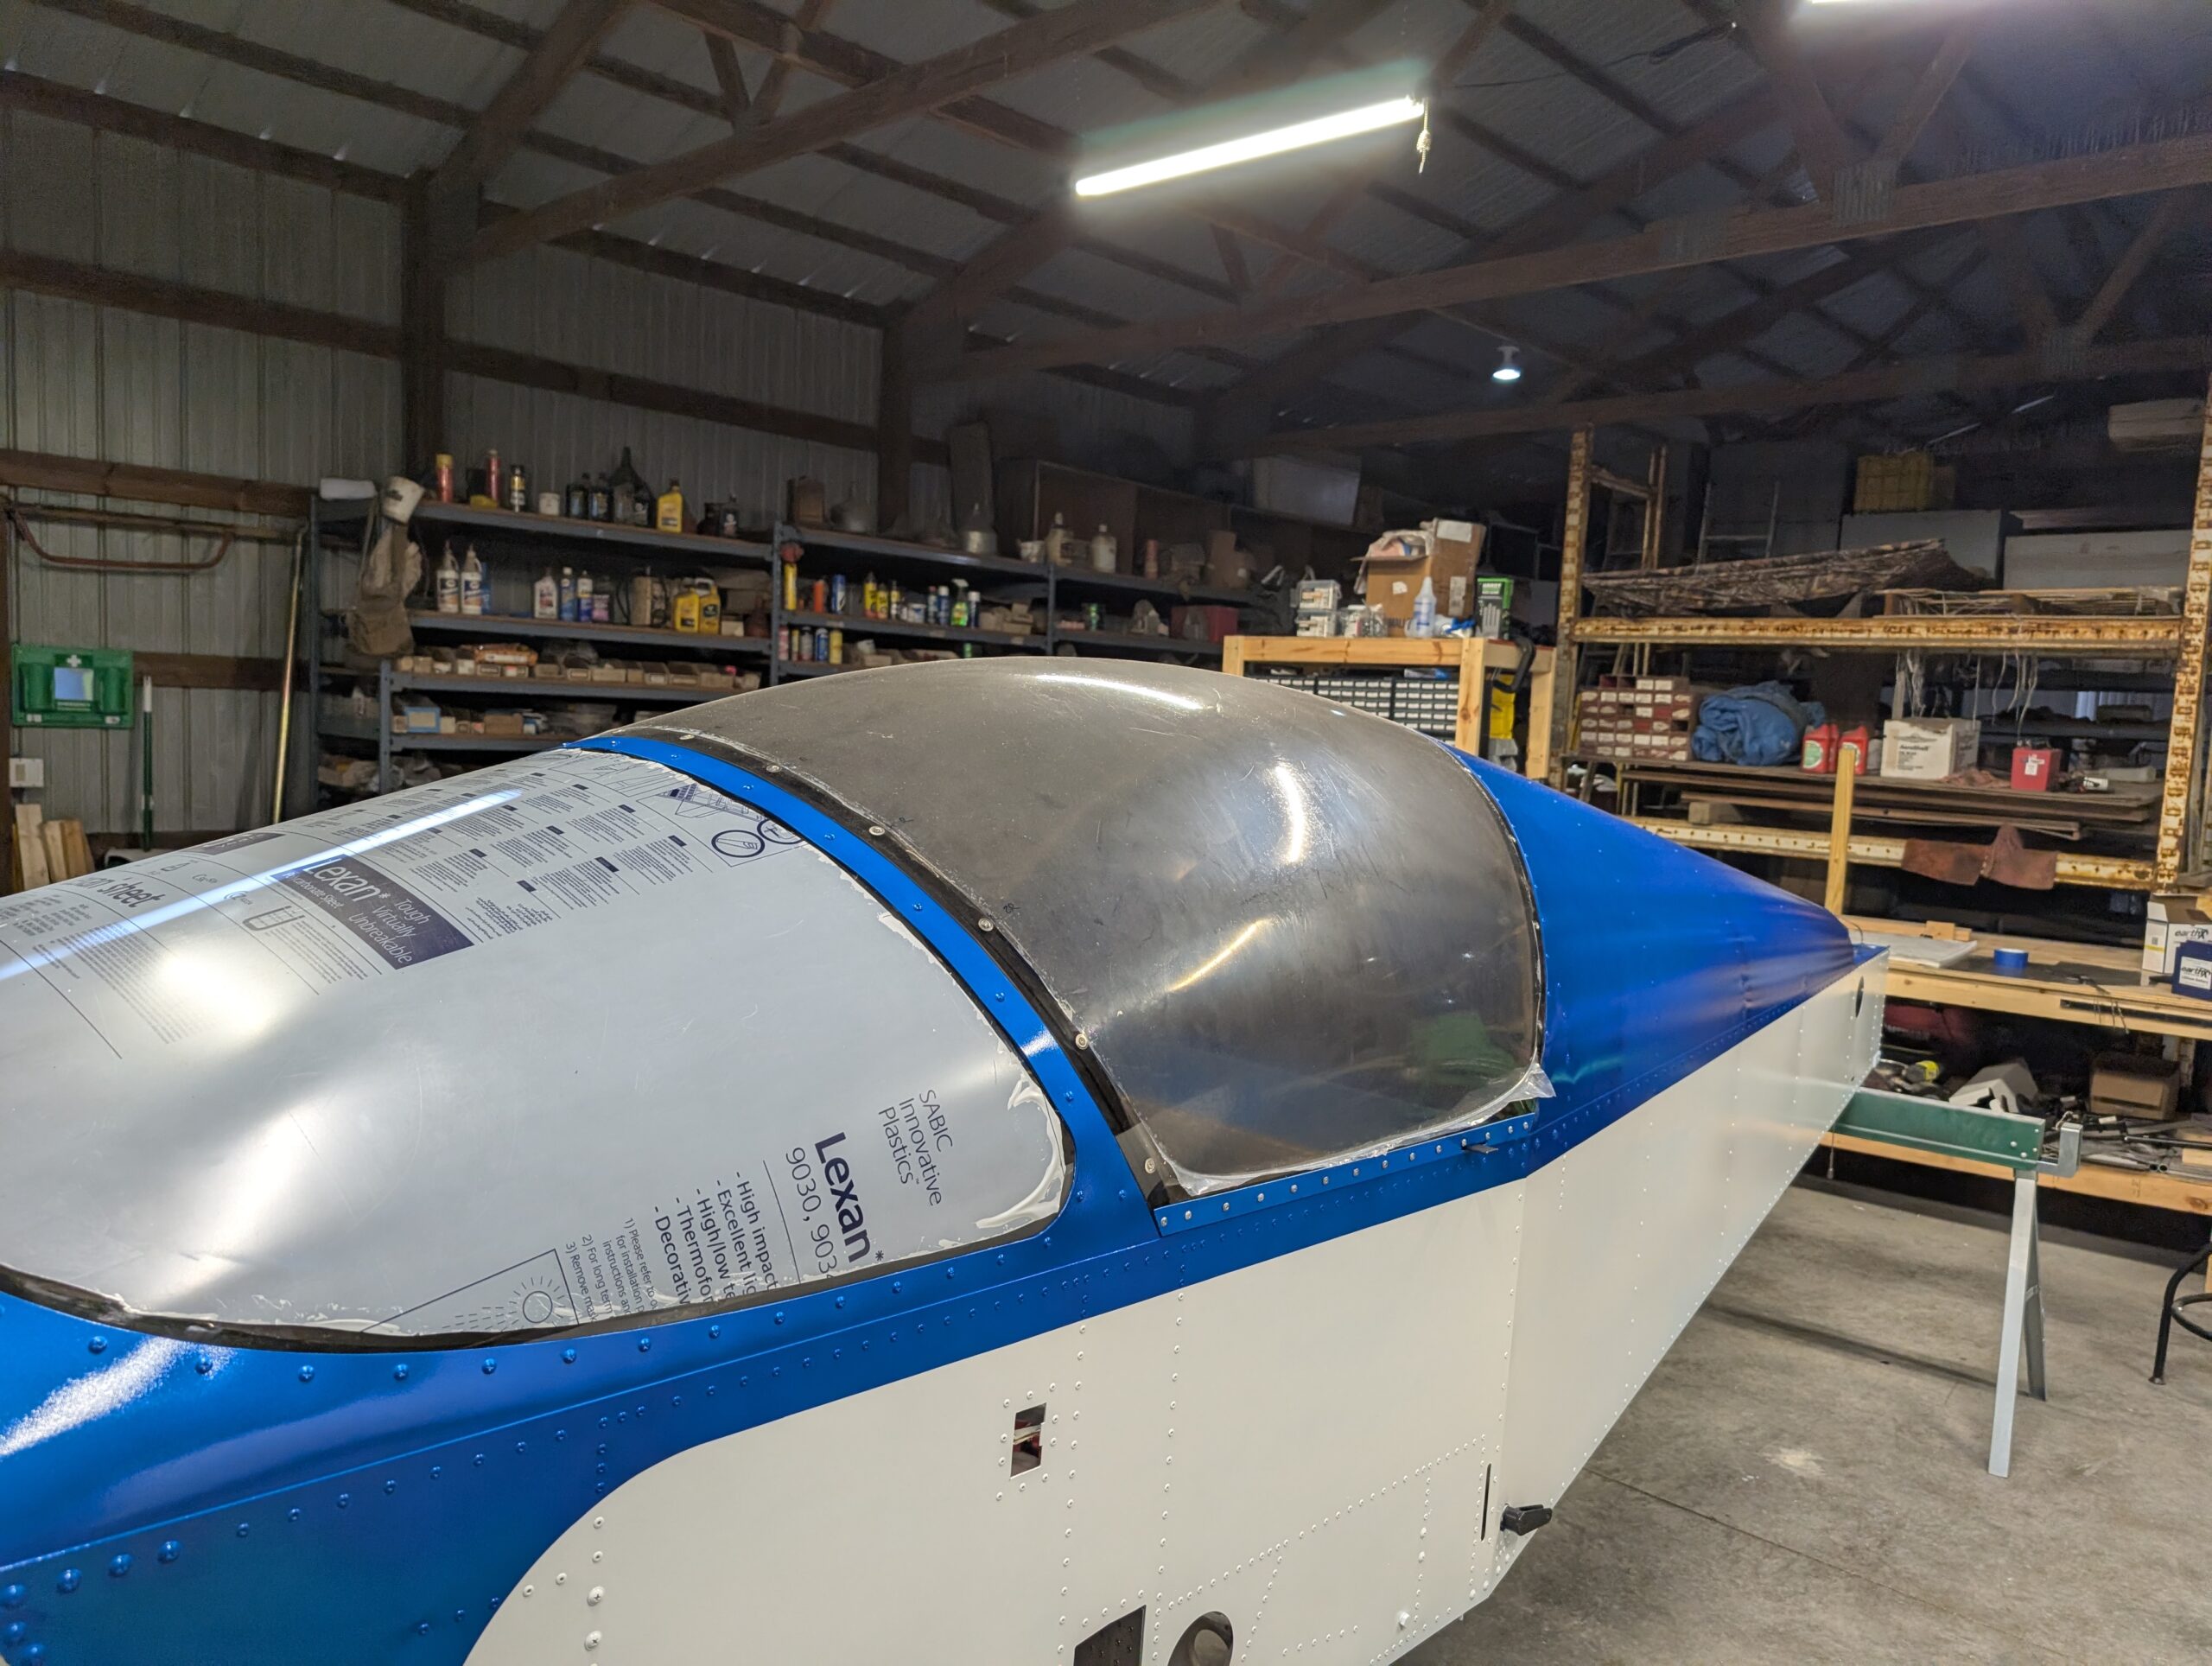
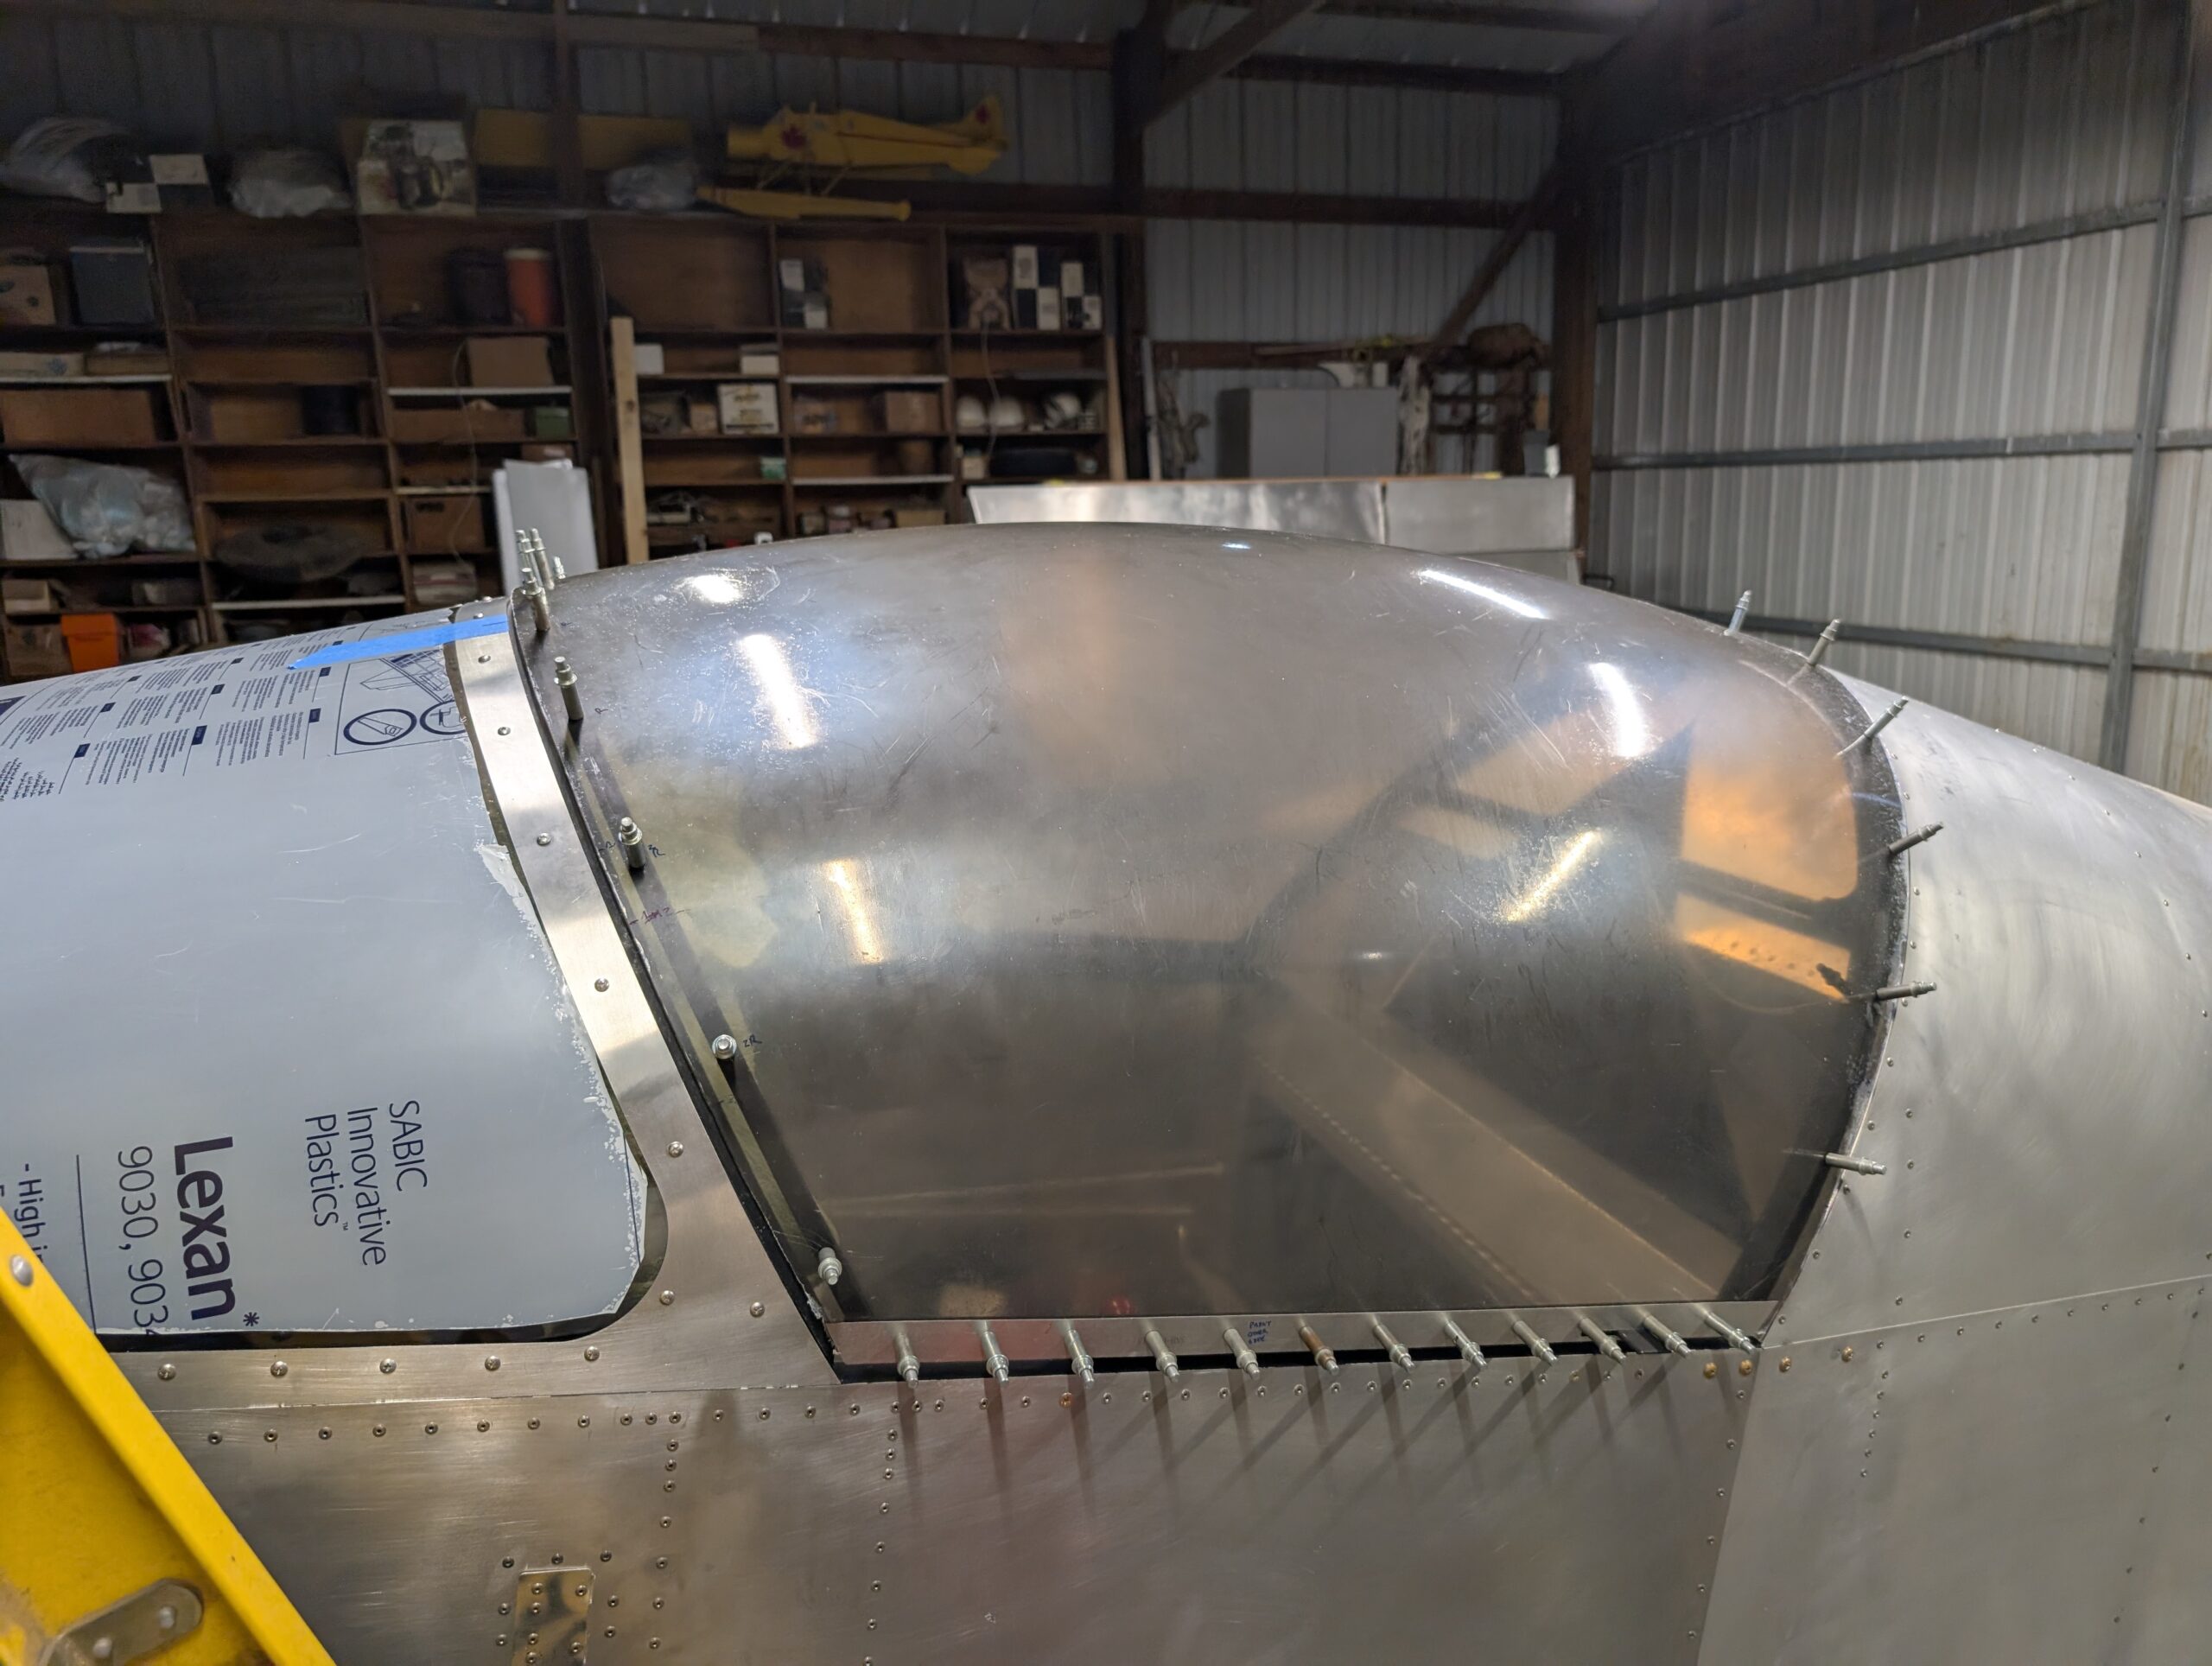
Windshield Installation – Part 6
Finished installing windshield onto fuselage by installing screws from front to back, skipping last bottom screw on each side. Aligned windshield bow with top center screw and installed sandwiching strap in between. Needed to run tap through each screw hole to clean paint out of threads; should have done before installing bow, however. Worked from…
-

Windshield Installation – Part 5
Using two people, reinstalled bolts in upper longerons, windshield skirt, and upper motor mounts. Applied torque check to bolts to monitor torque. Slid windshield into place and began installing bolts starting from forward center and working backwards. Used a piece of tape on wrench to prevent nut from falling out. Hours Worked: 1.95
-
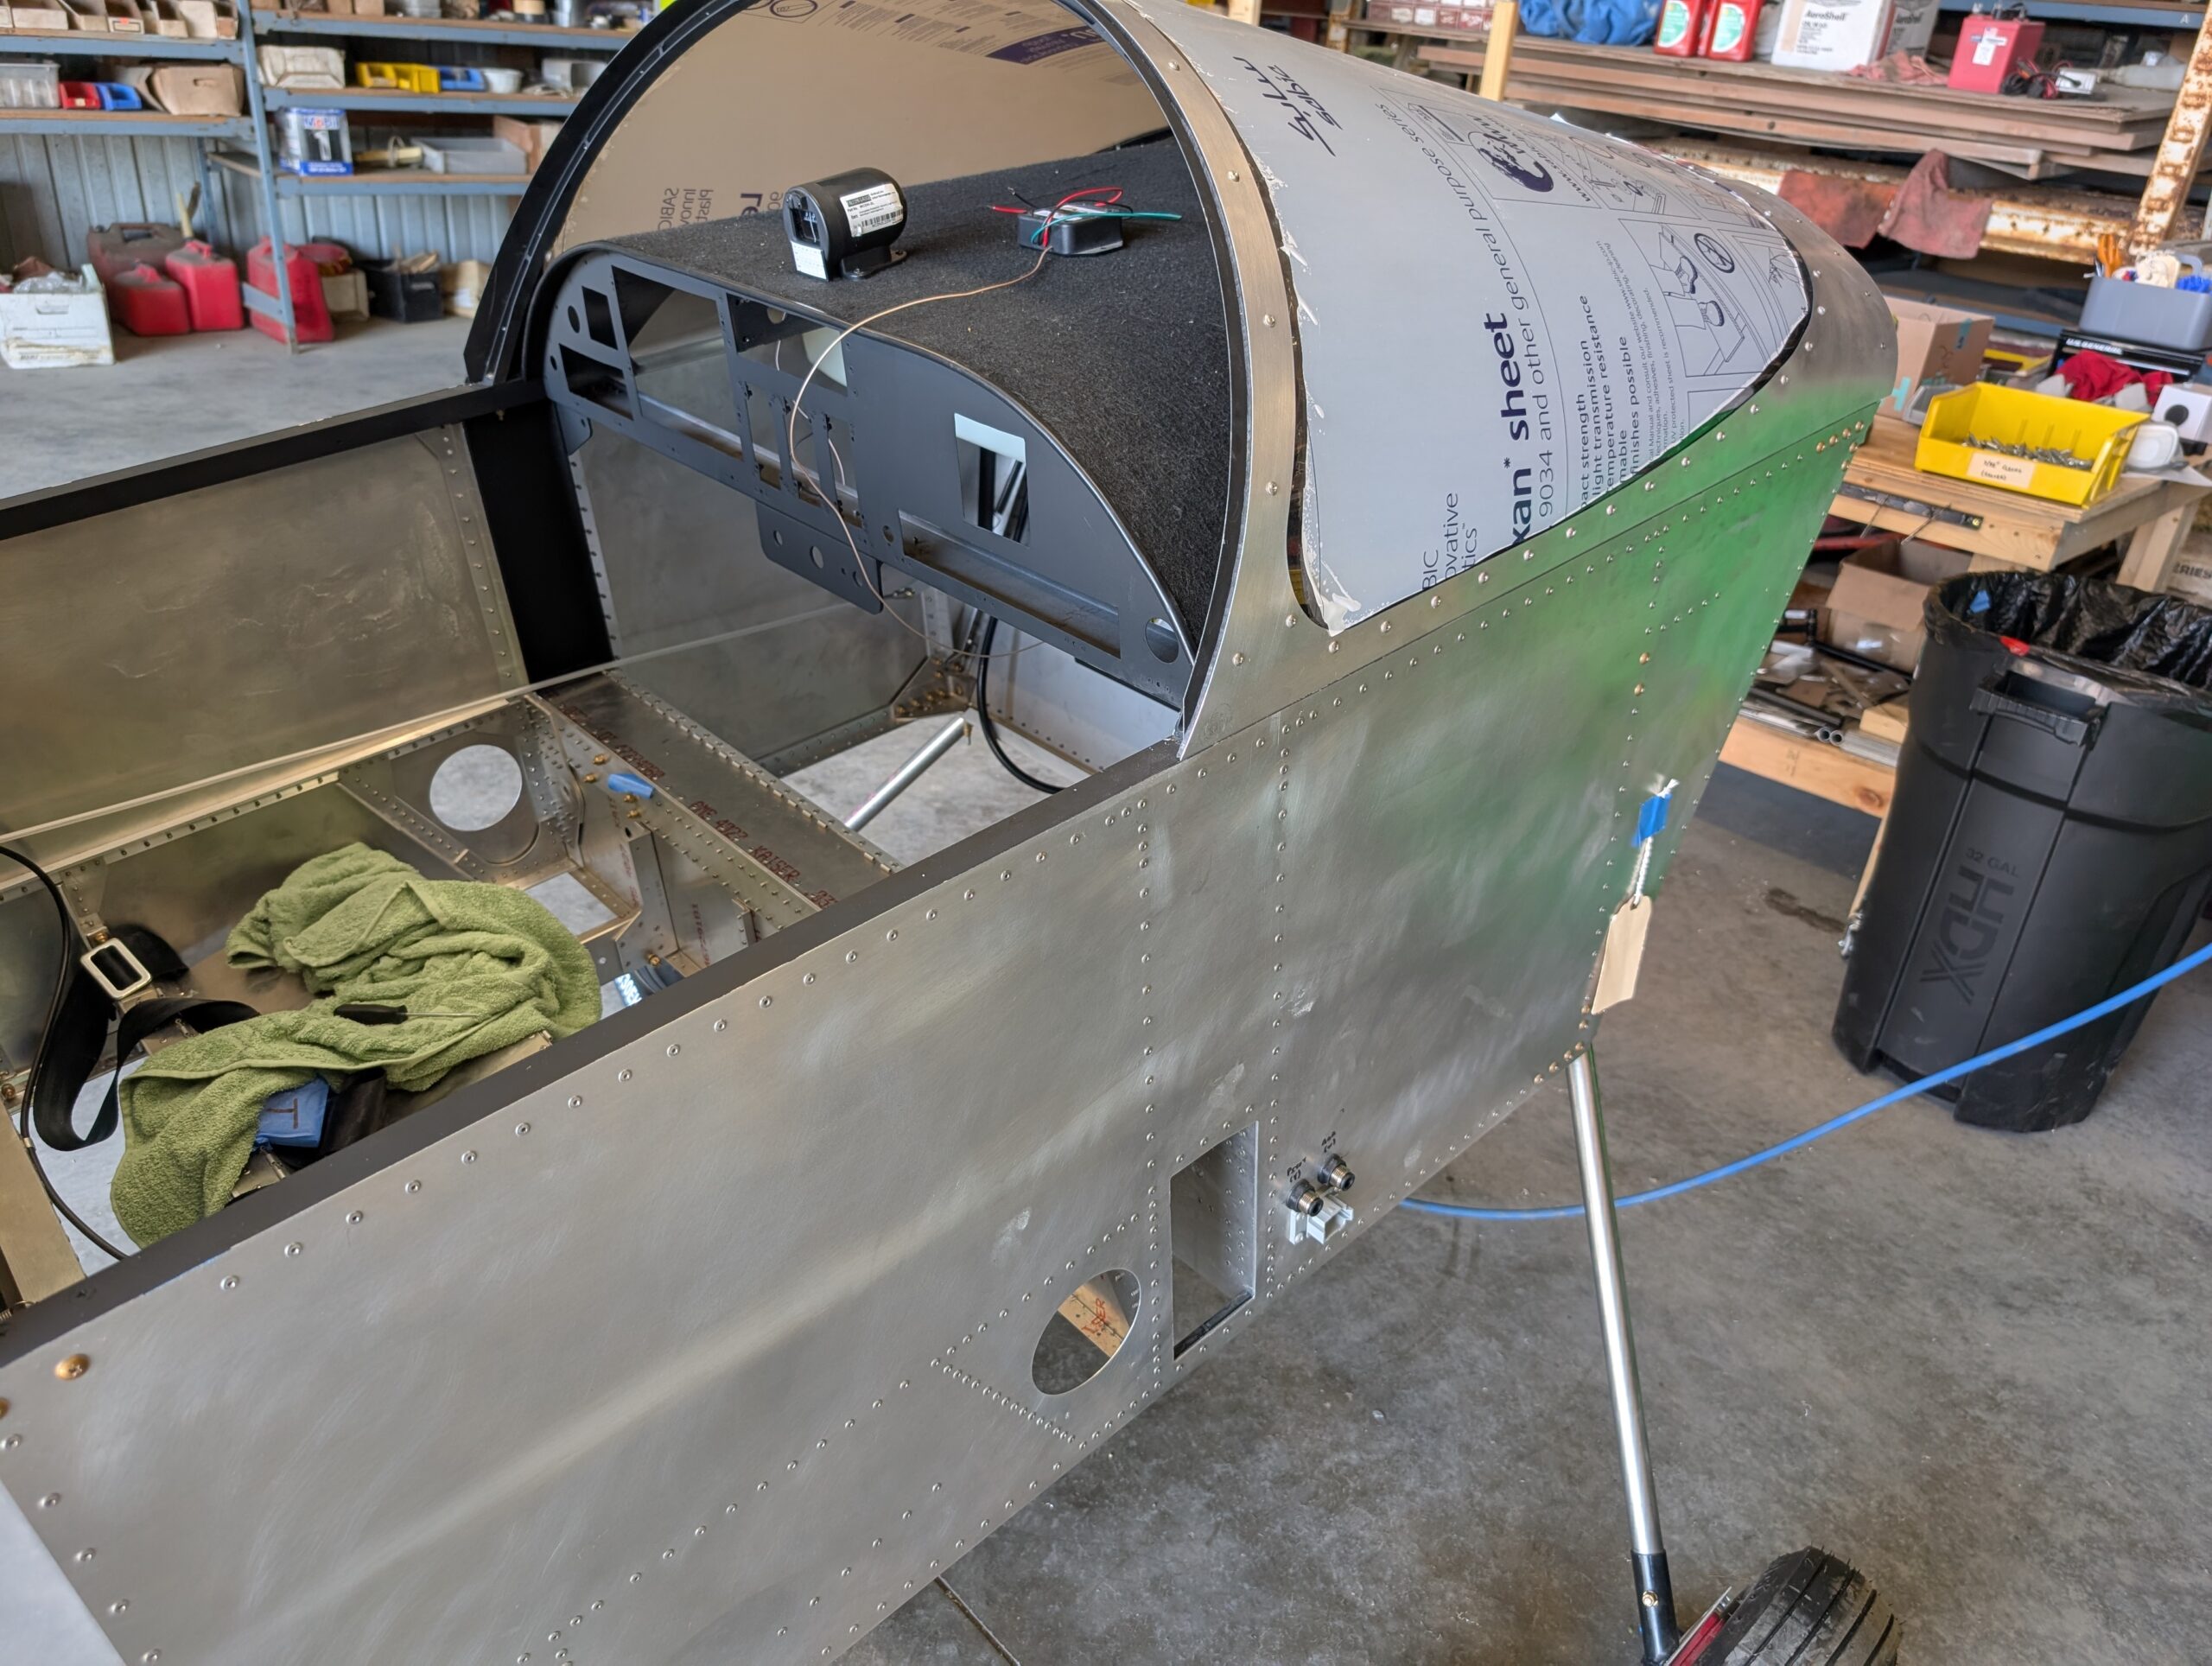
Canopy Components – Part 3
Clamped canopy frame components together and checked fitment on fuselage. Forward windshield flange might need a bit of trimming but overall fit good. Pilot drilled then updrilled forward and aft canopy bows to side rails. Cut canopy hinge pieces from P5 piano hinge stock then pilot drilled per plans. Modified hinge pin per plans and…
-
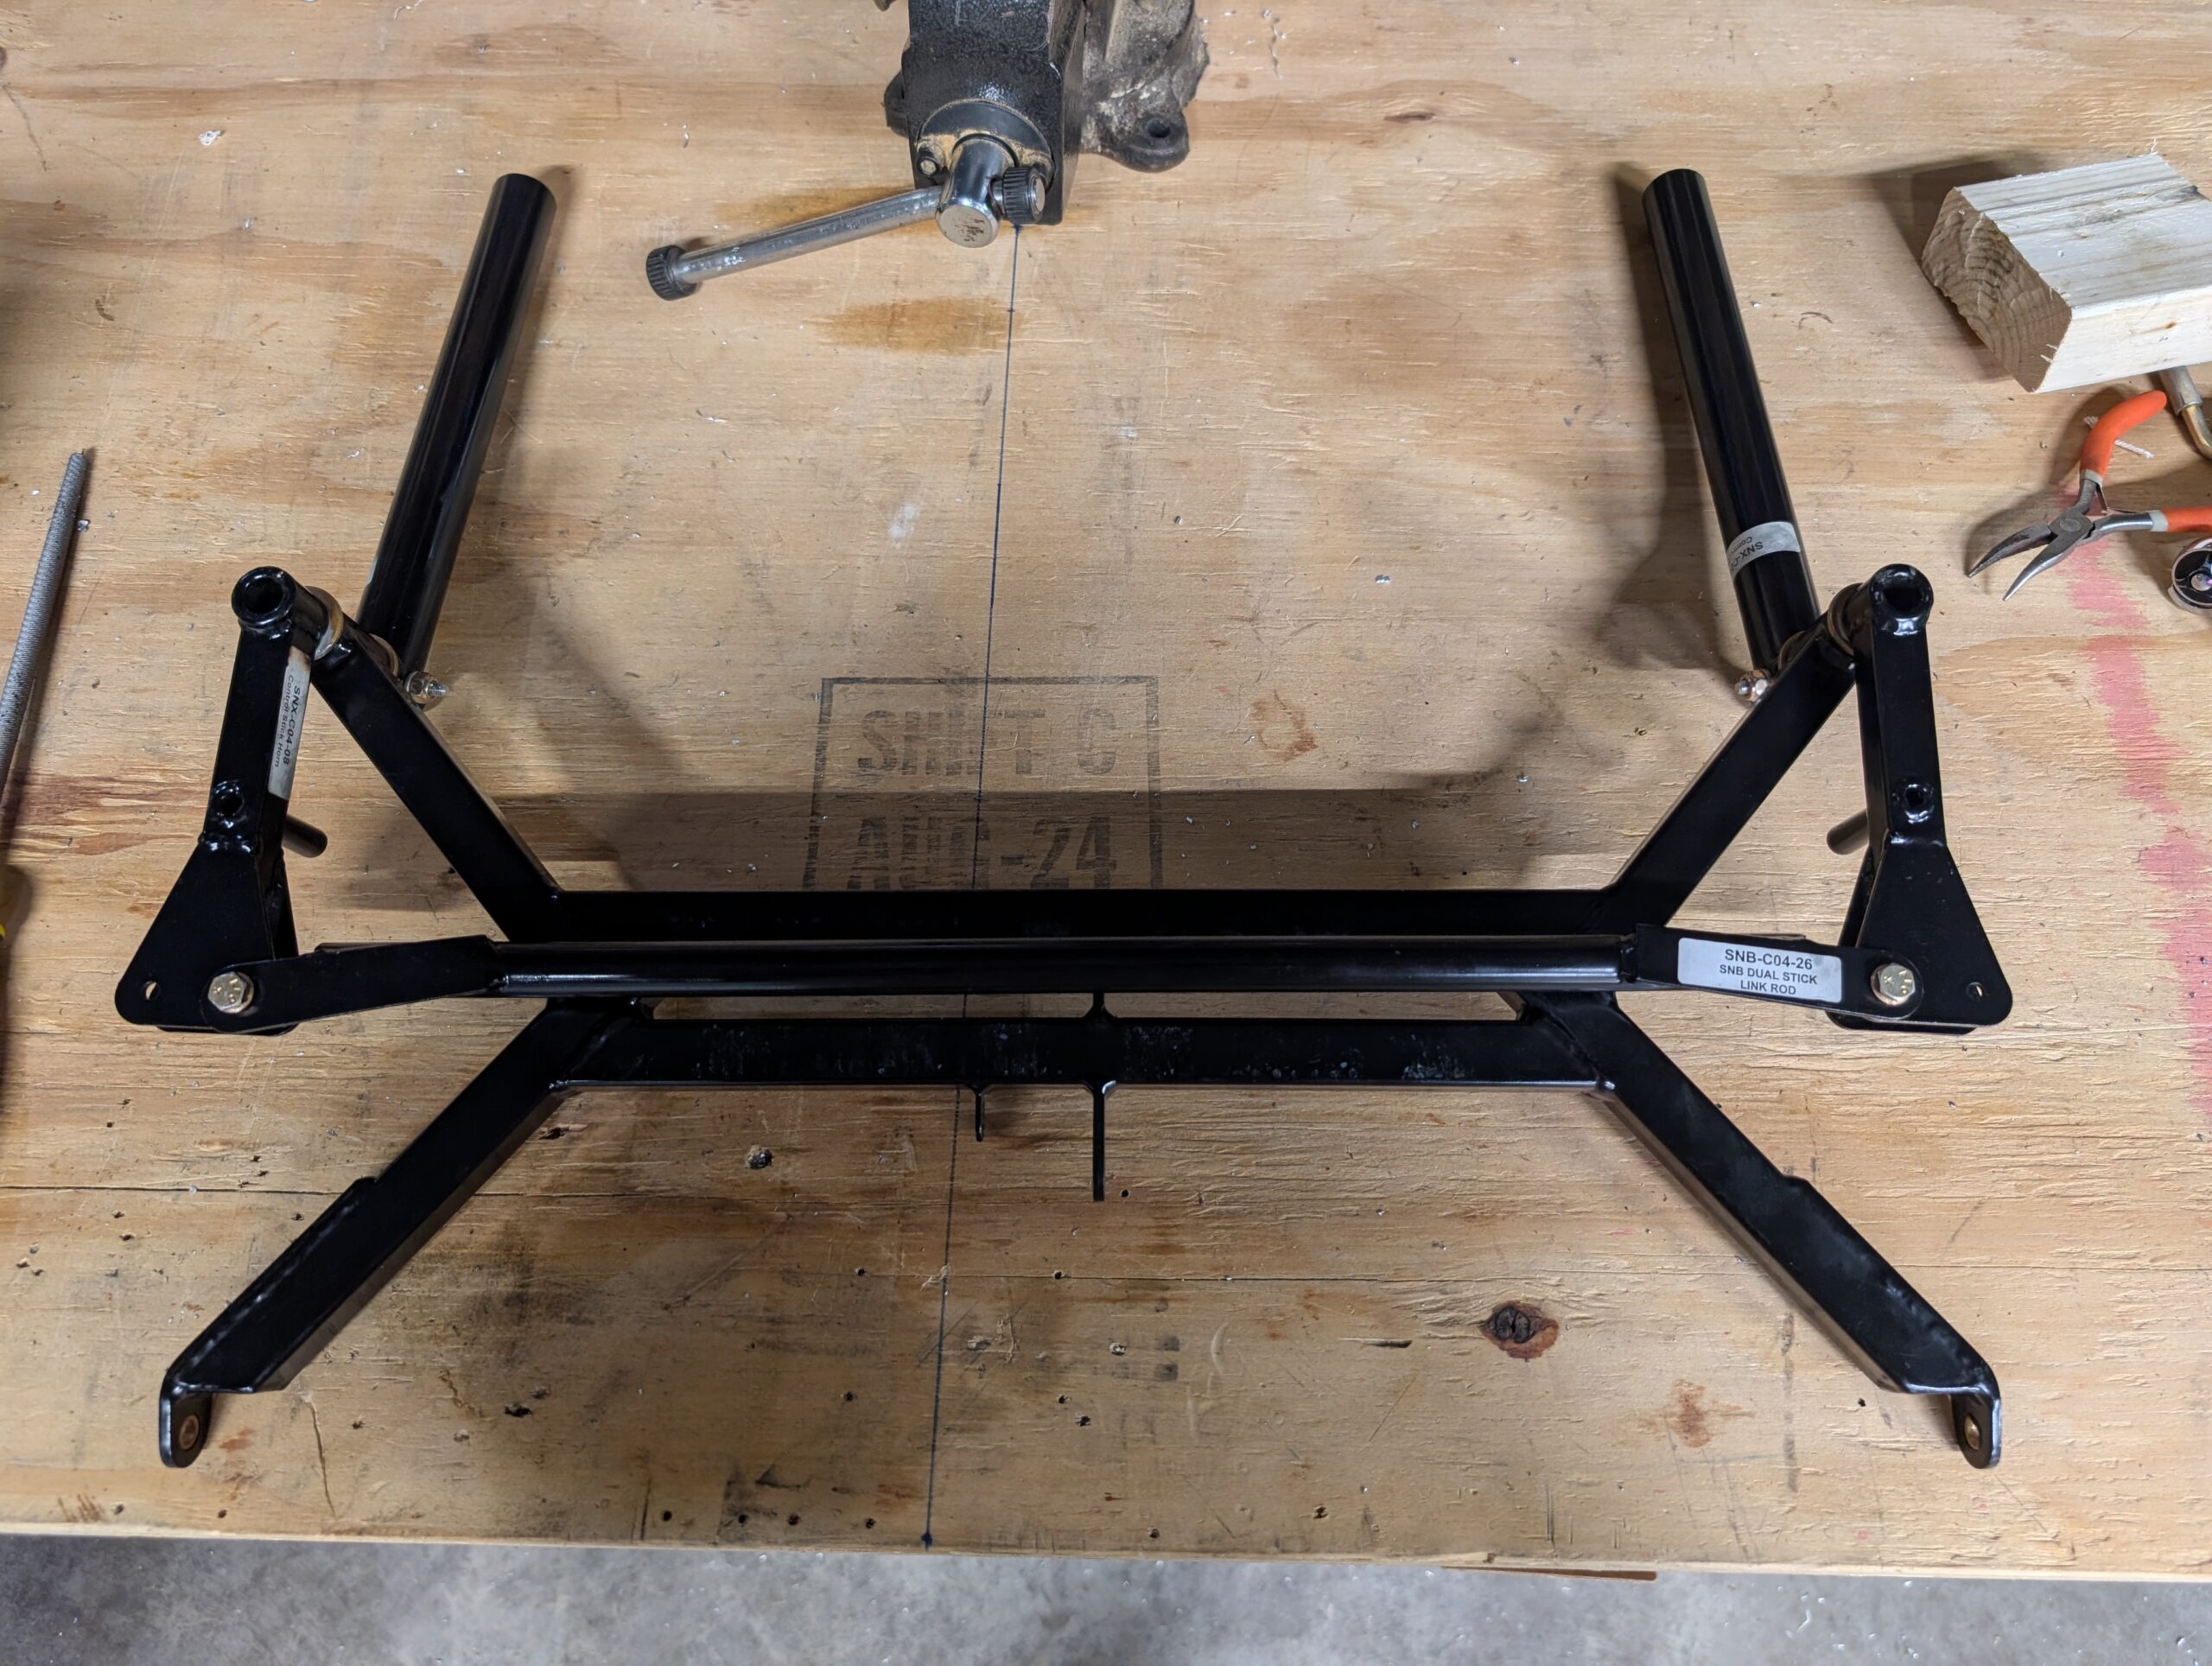
Control Stick Assembly – Part 3
Disassembled dual stick assembly and deburred stick holes. Lubricated control stick horns with lithium grease and deburred taper pin holes. Reassembled left and right control sticks and attached link rod with hardware. C04 complete! Hours Worked: 0.70
-

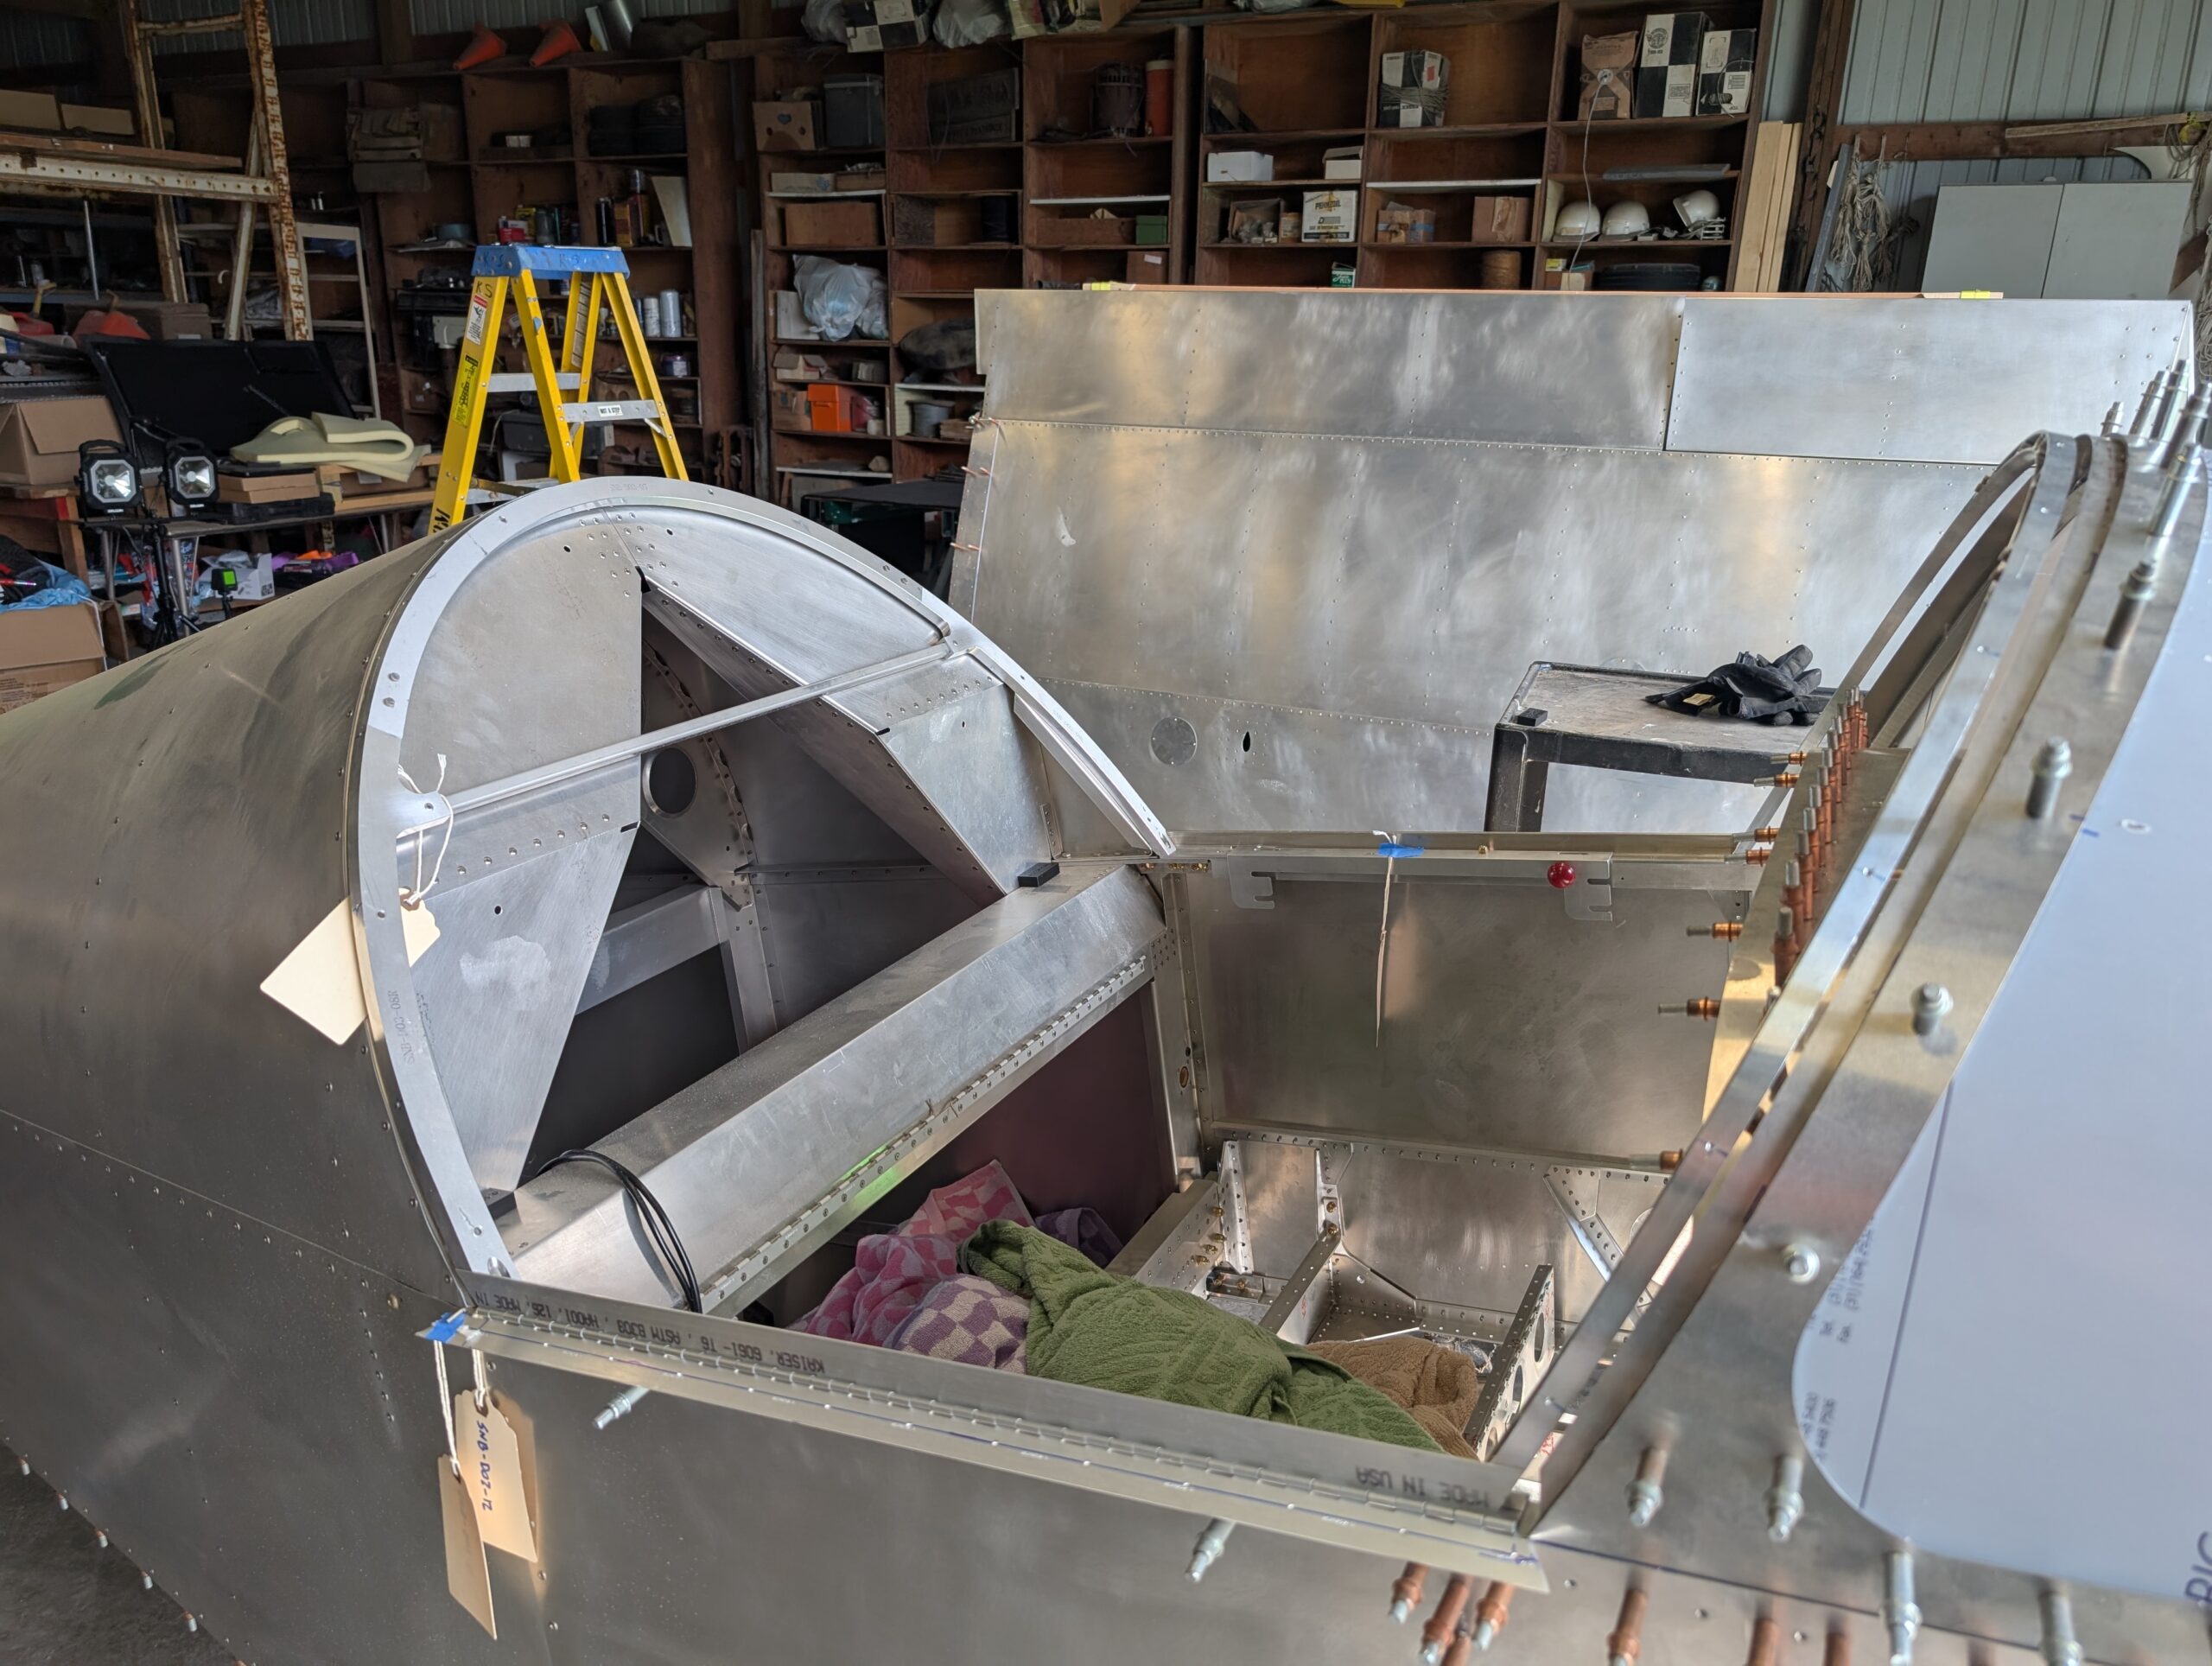
Tail Installation – Part 3
Mocked up ELT location on rear shear web and marked vertical stabilizer on where skin needs to be trimmed. Removed vertical stabilizer and marked out mounting hole location on shear web. Trimmed vertical stabilizer skin and riveted ELT mount and clamps to fuselage. Painted elevator horn with spray paint. Reattached vertical stabilizer with AN3 and…