emkrueger830

Engine Hardware Replacement
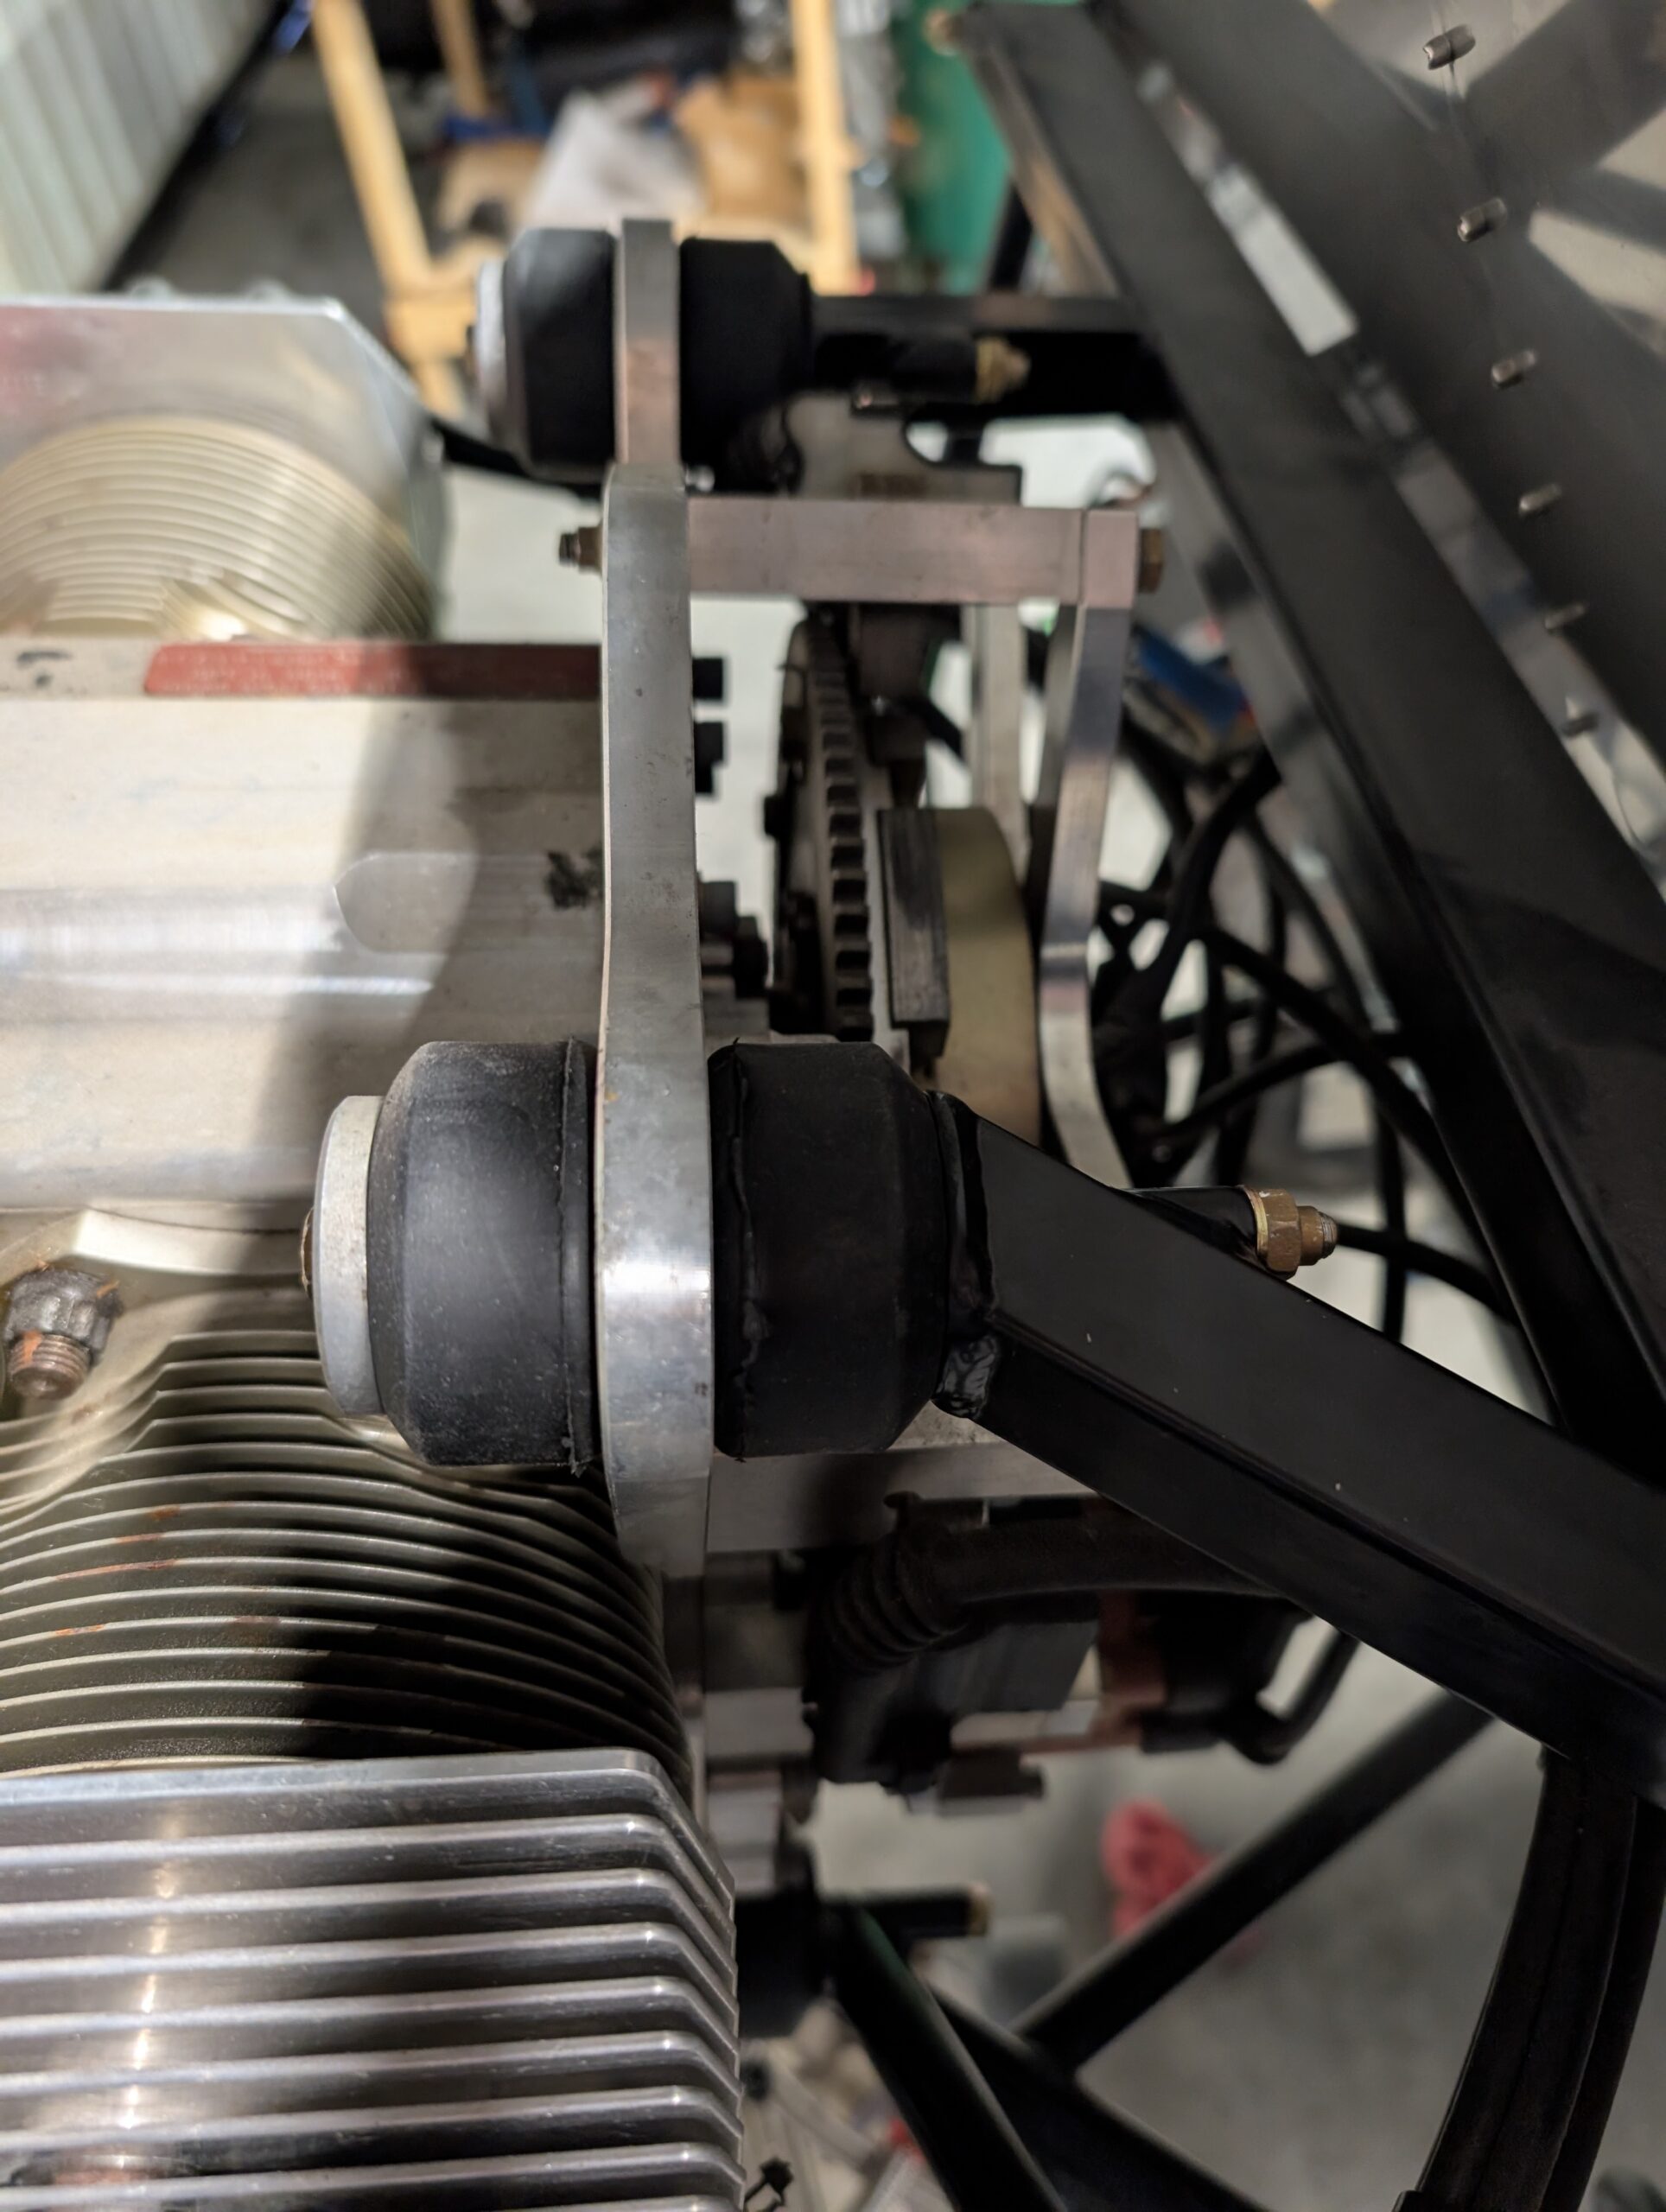
Replaced temporary engine mount hardware (too long) with properly sized AN4-46A bolts and AN363 nuts.
Mounting of FWF Electrics
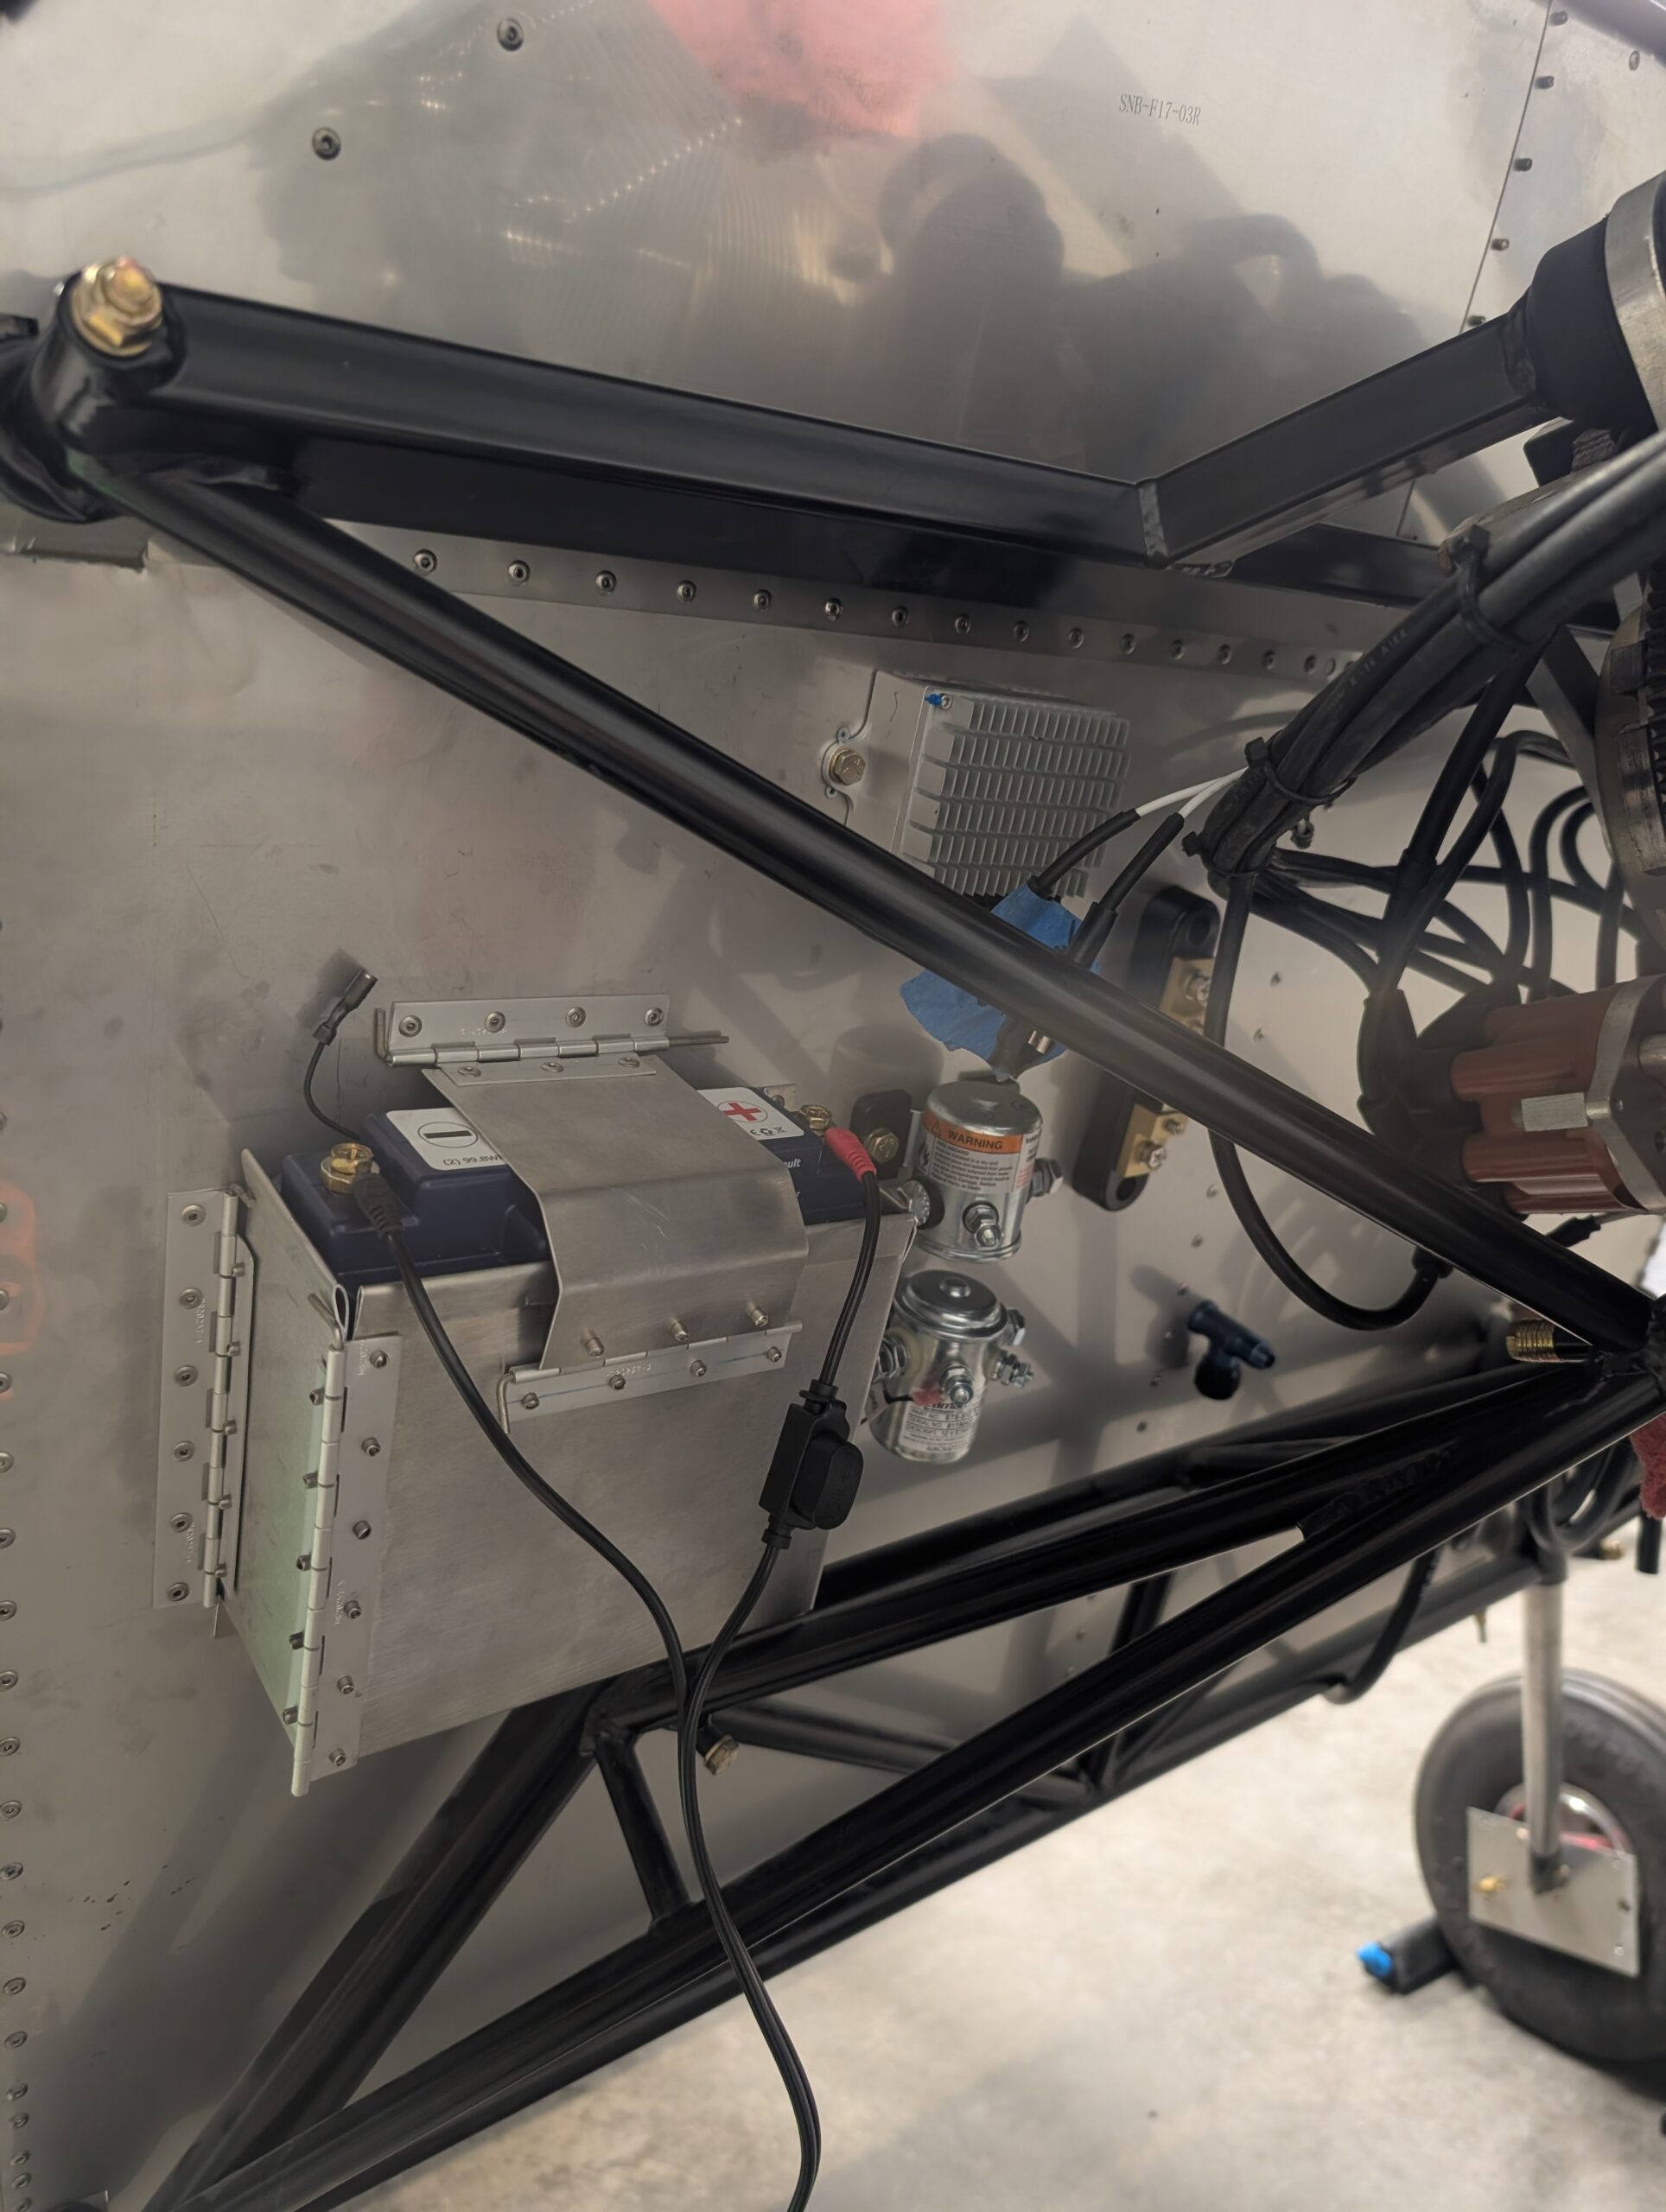
Began mounting FWF components on firewall by laying everything out in a logical order then marking and drilling mount holes. Installed nutplates for all fixtures to enable easy replacement in the future. Temporarily mounted starter solenoid and voltage regulator for now pending proper bolts and ring terminals for ground wires. Hours Worked: 2.87

Initial Engine Mounting
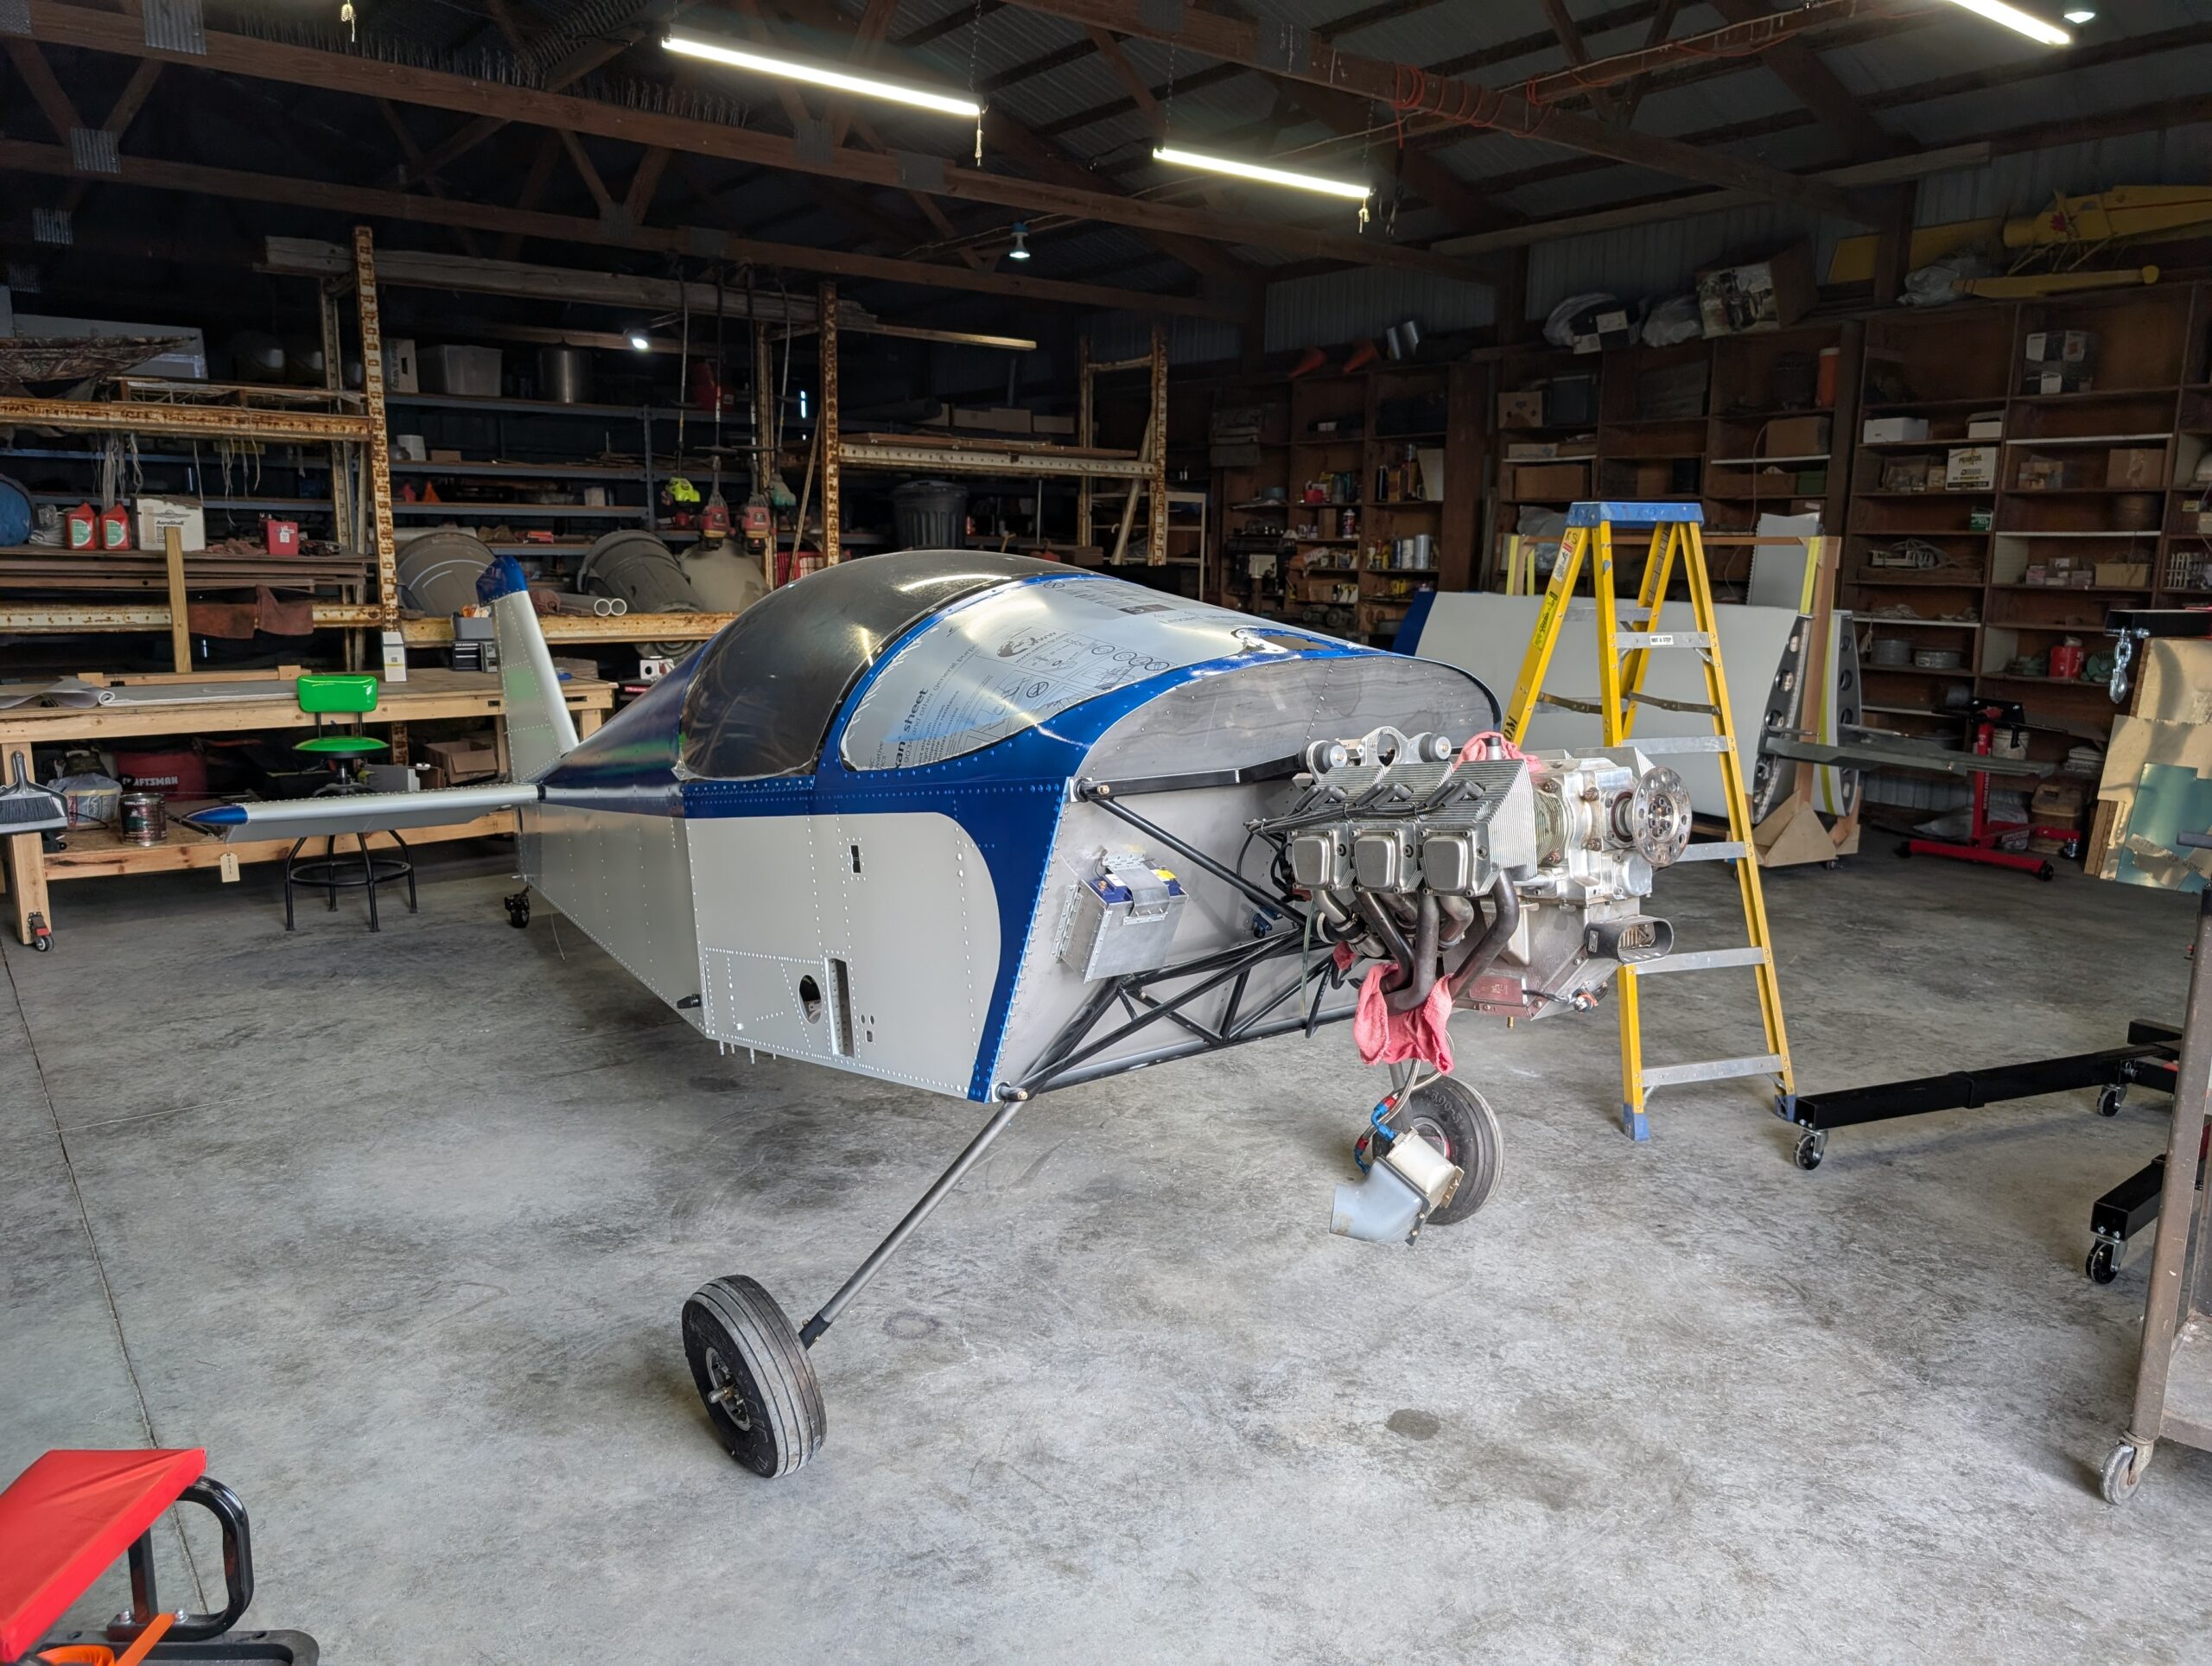
Began process of mounting engine to determine firewall location of other items by using engine hoist to lift engine off of table and onto airframe. Placed ACV-J01-10 engine shock mounts onto engine mount then maneuvered engine onto airframe. Used bolt guides that came with engine to secure engine to airframe. Measurements for the AN4-51 bolts…
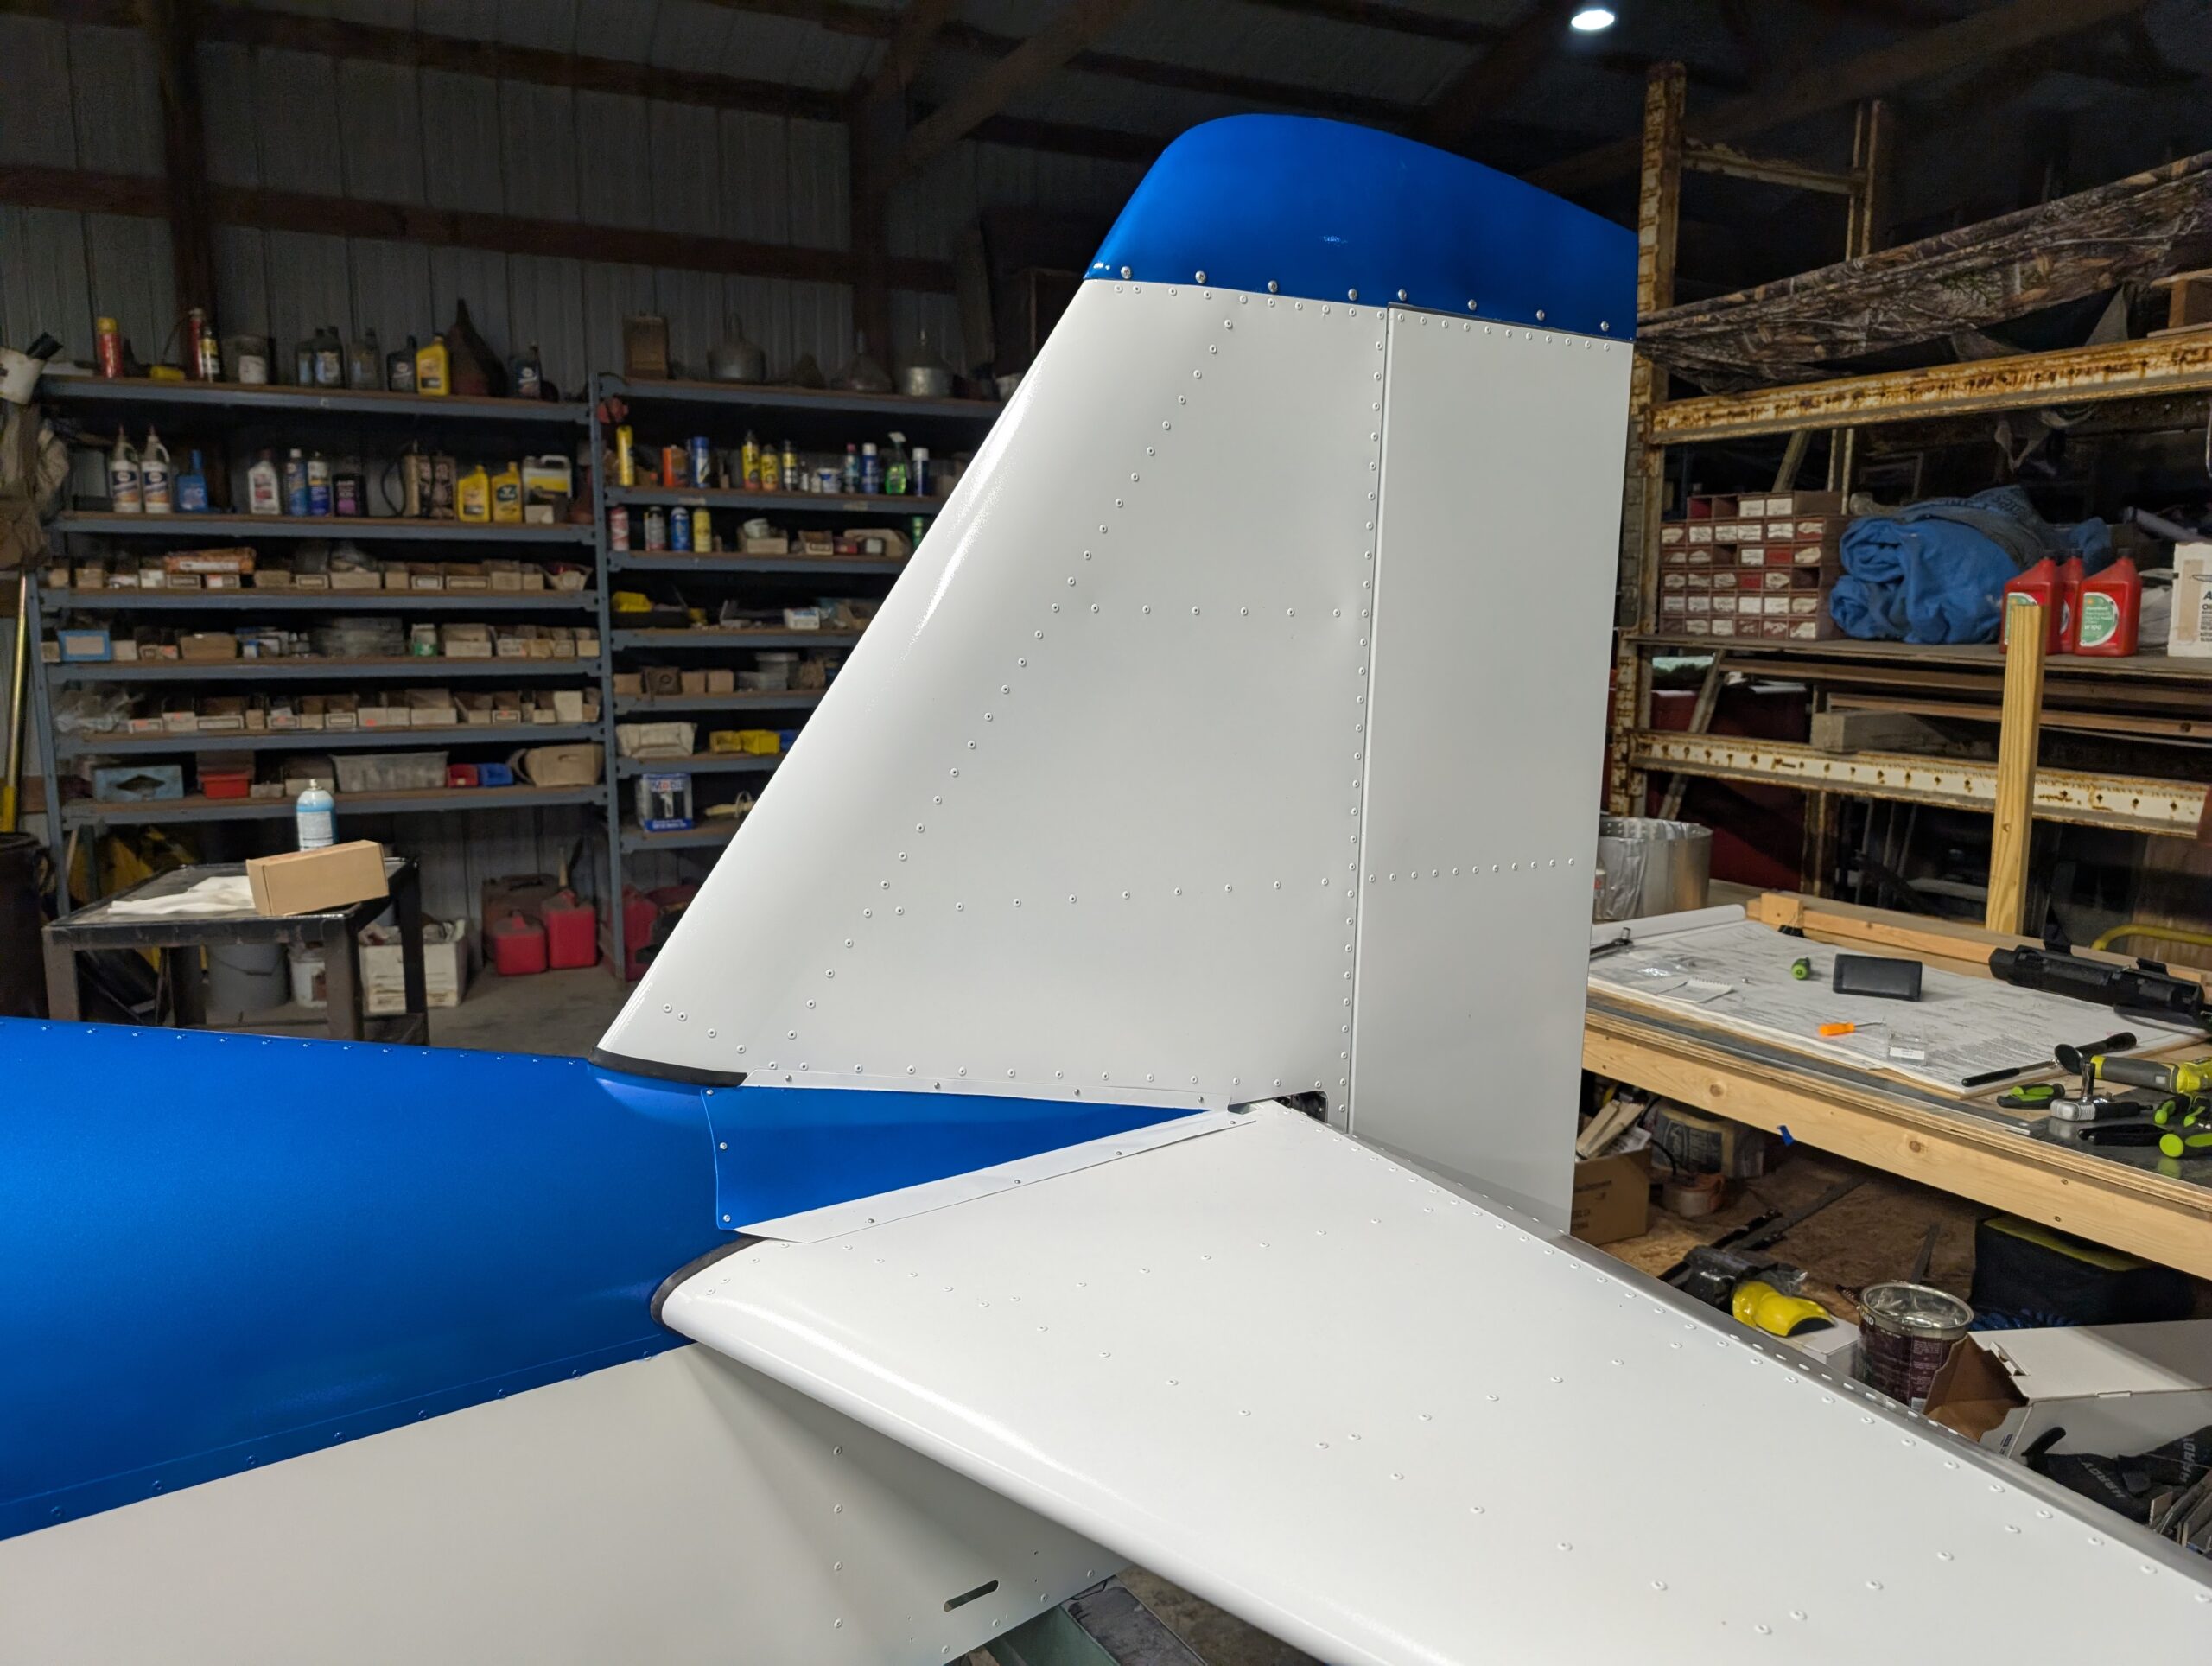
Final Tail Installation – Part 4
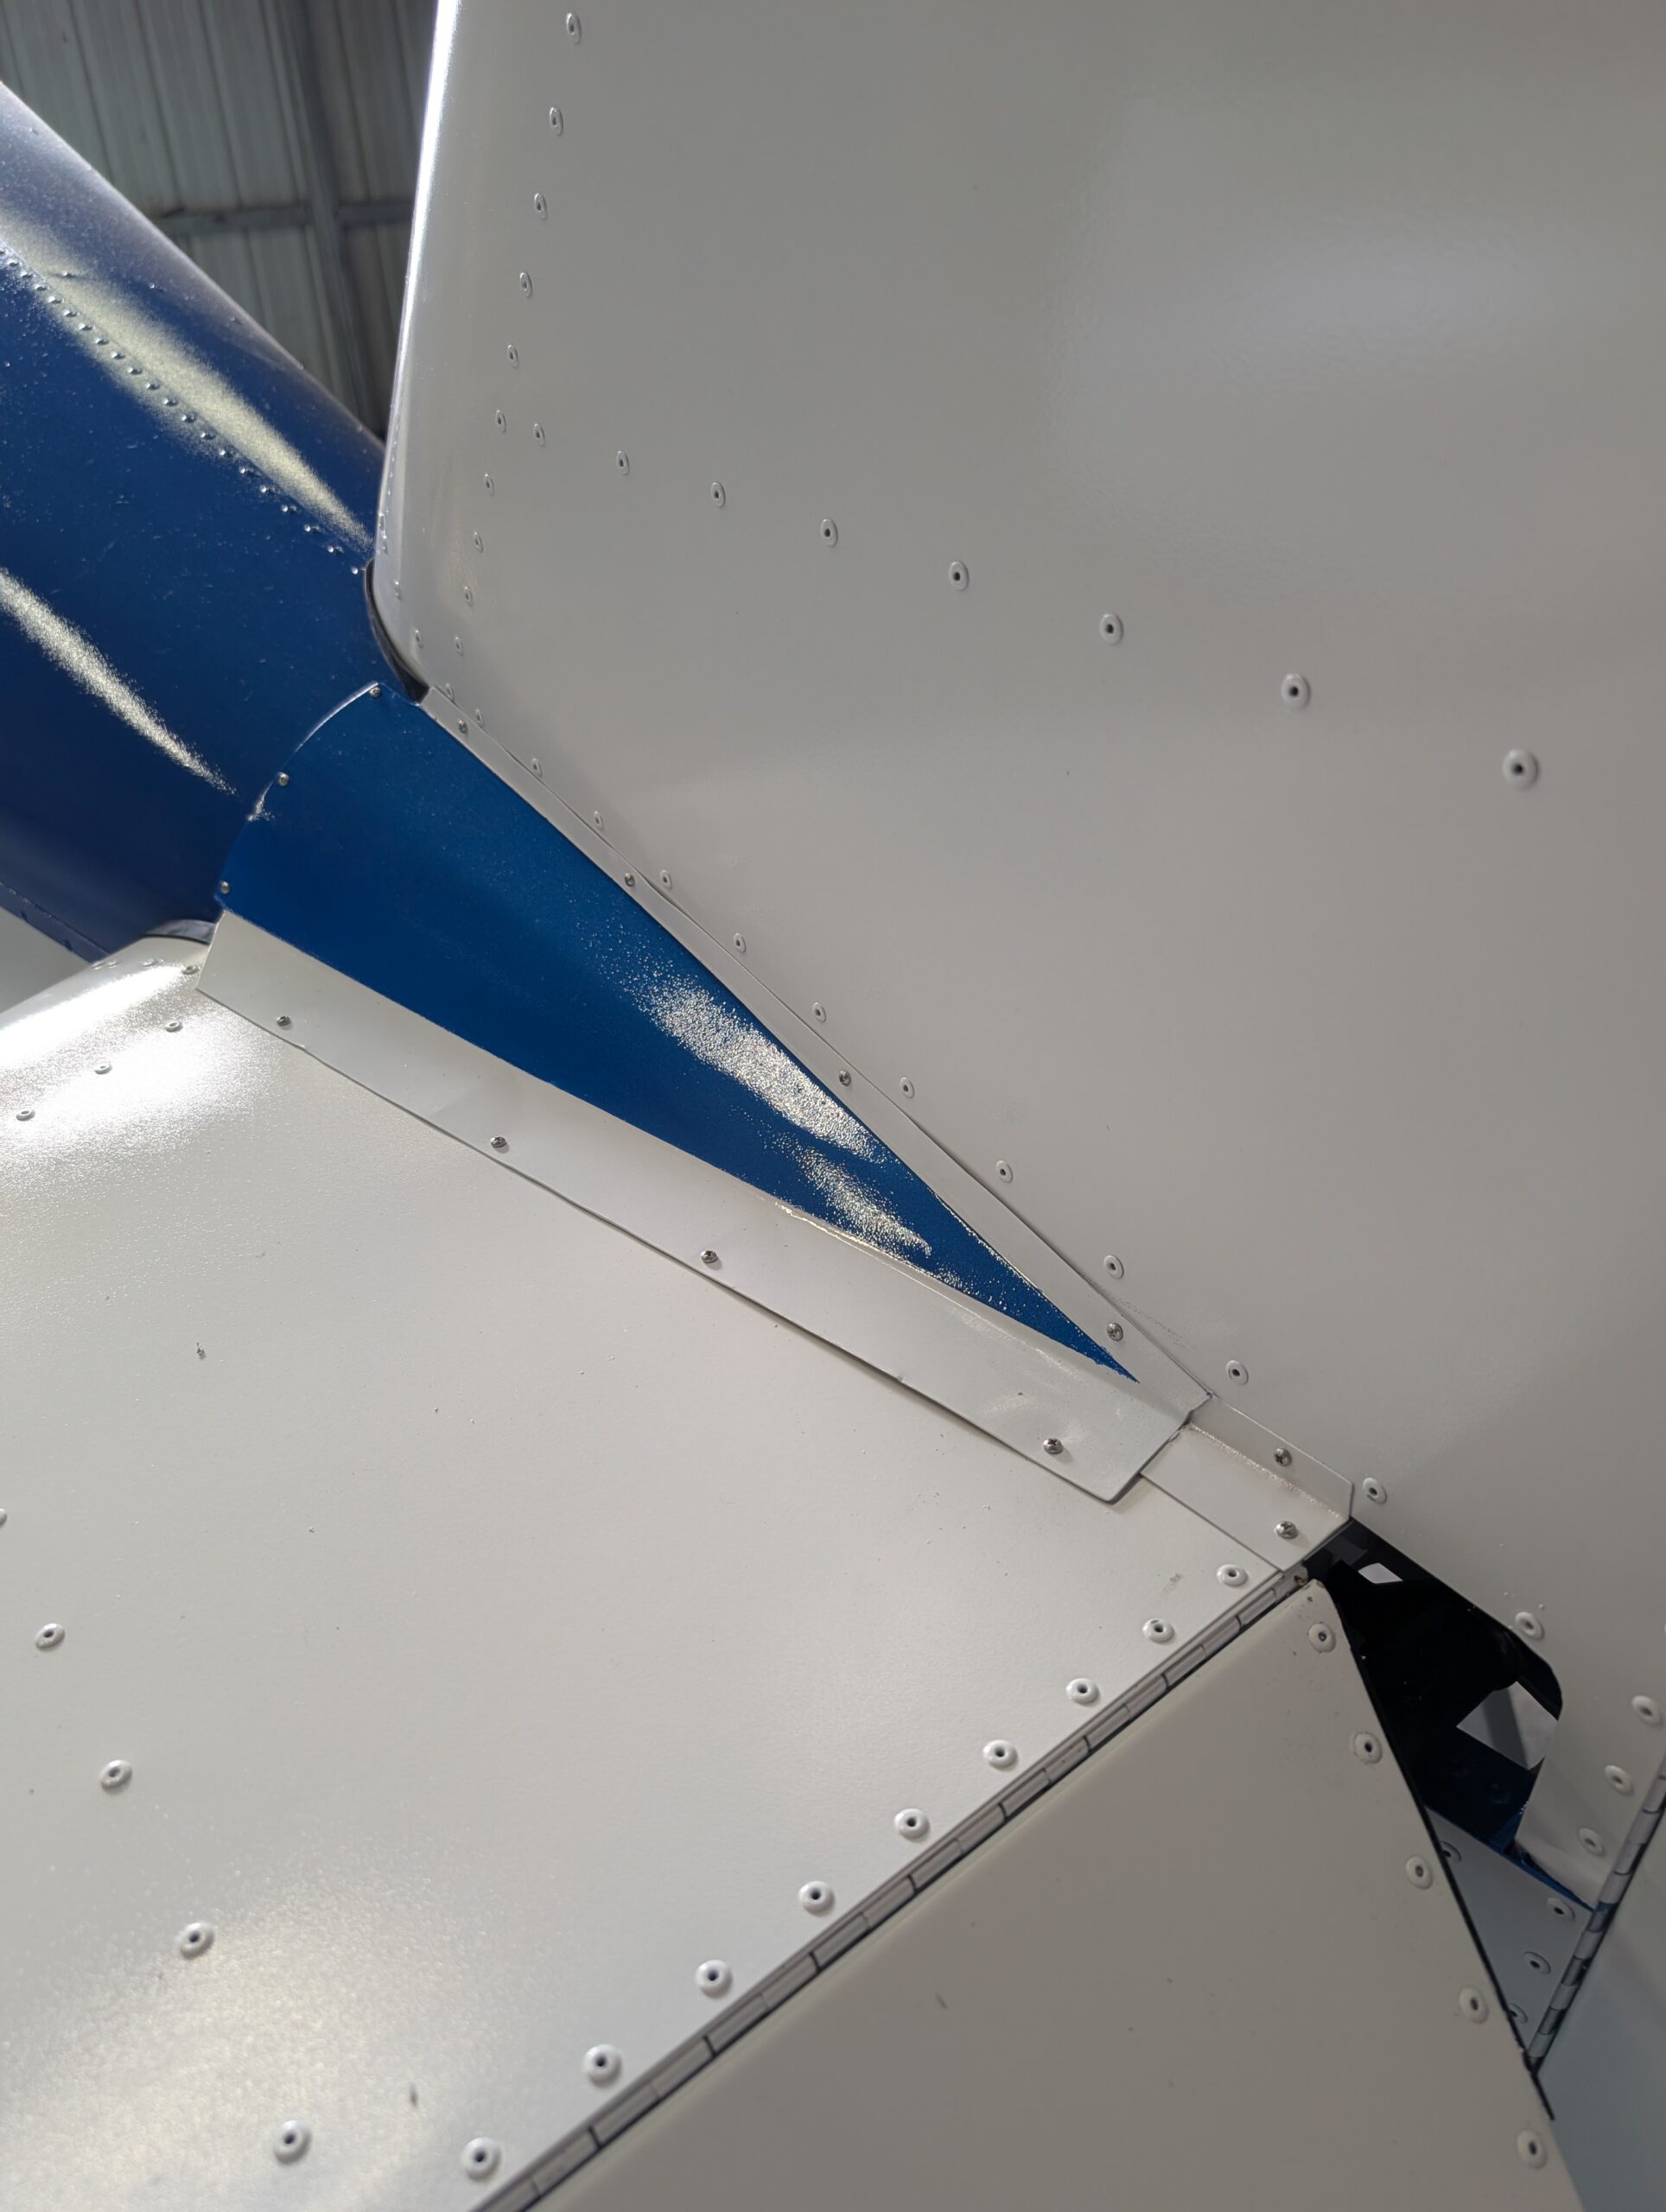
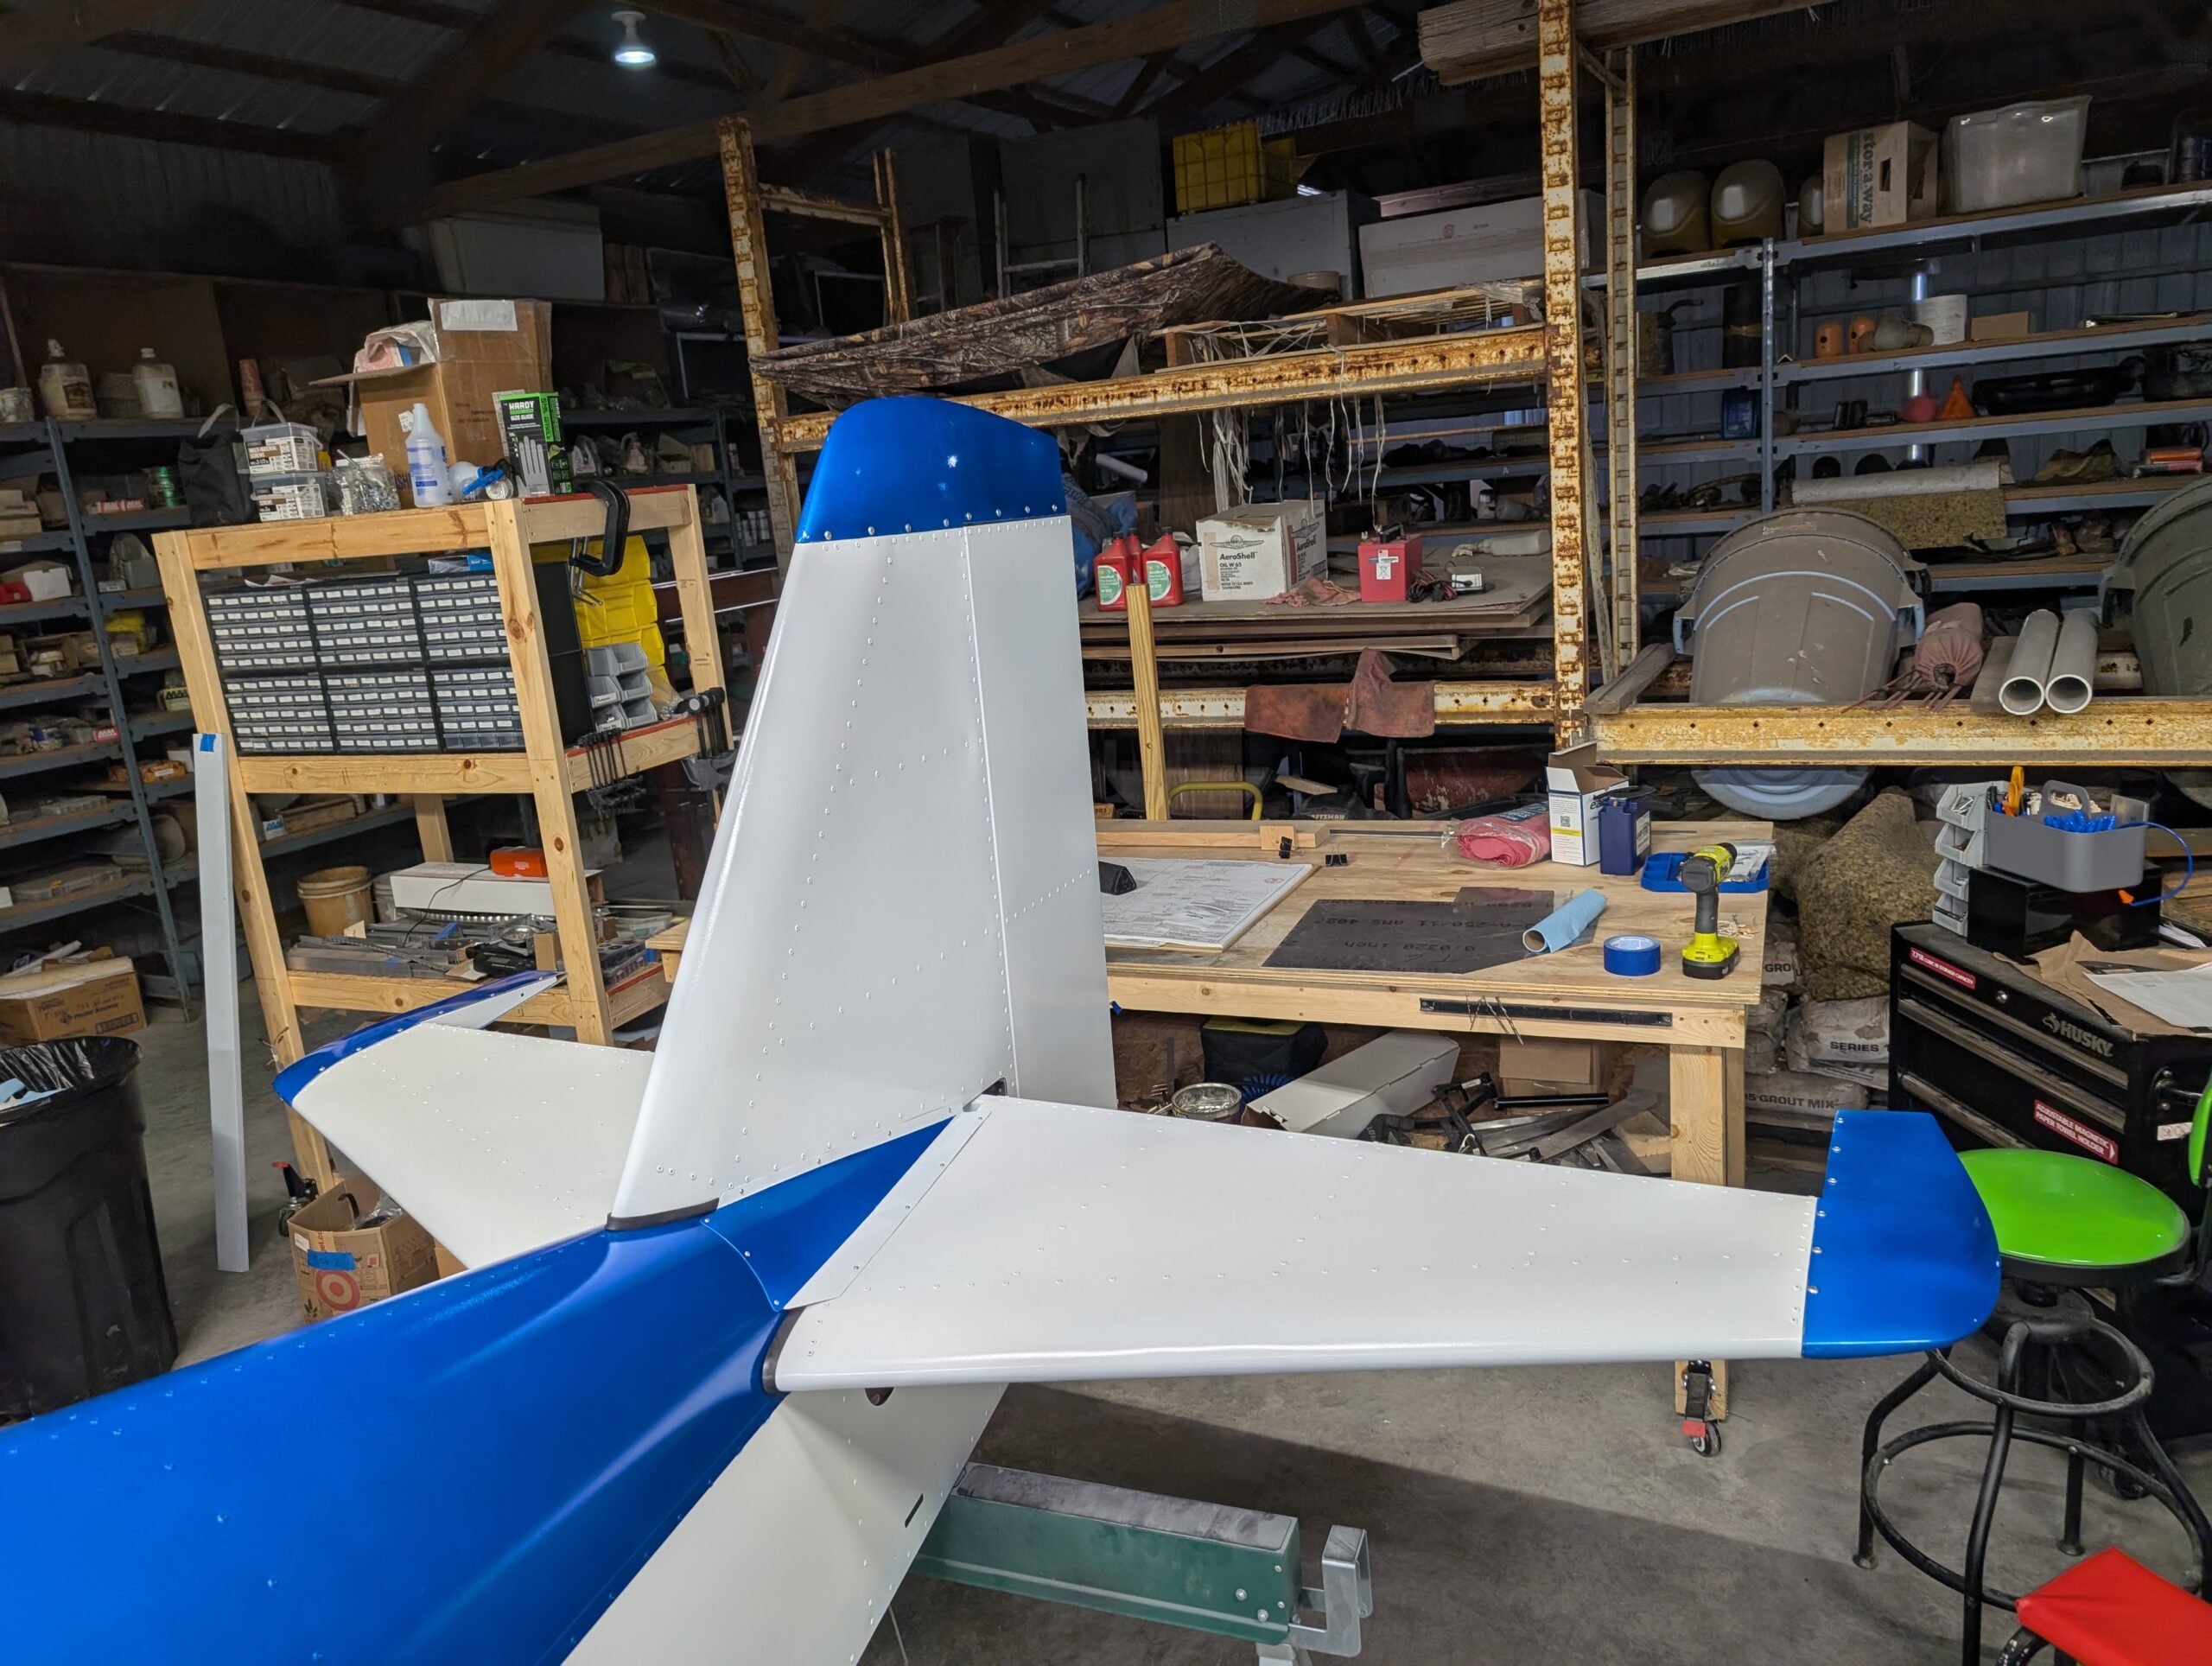
Painted tail fairing angles with white spray paint then installed onto tail. T01 complete! Hours Worked: 0.72
Battery Box – Take 2
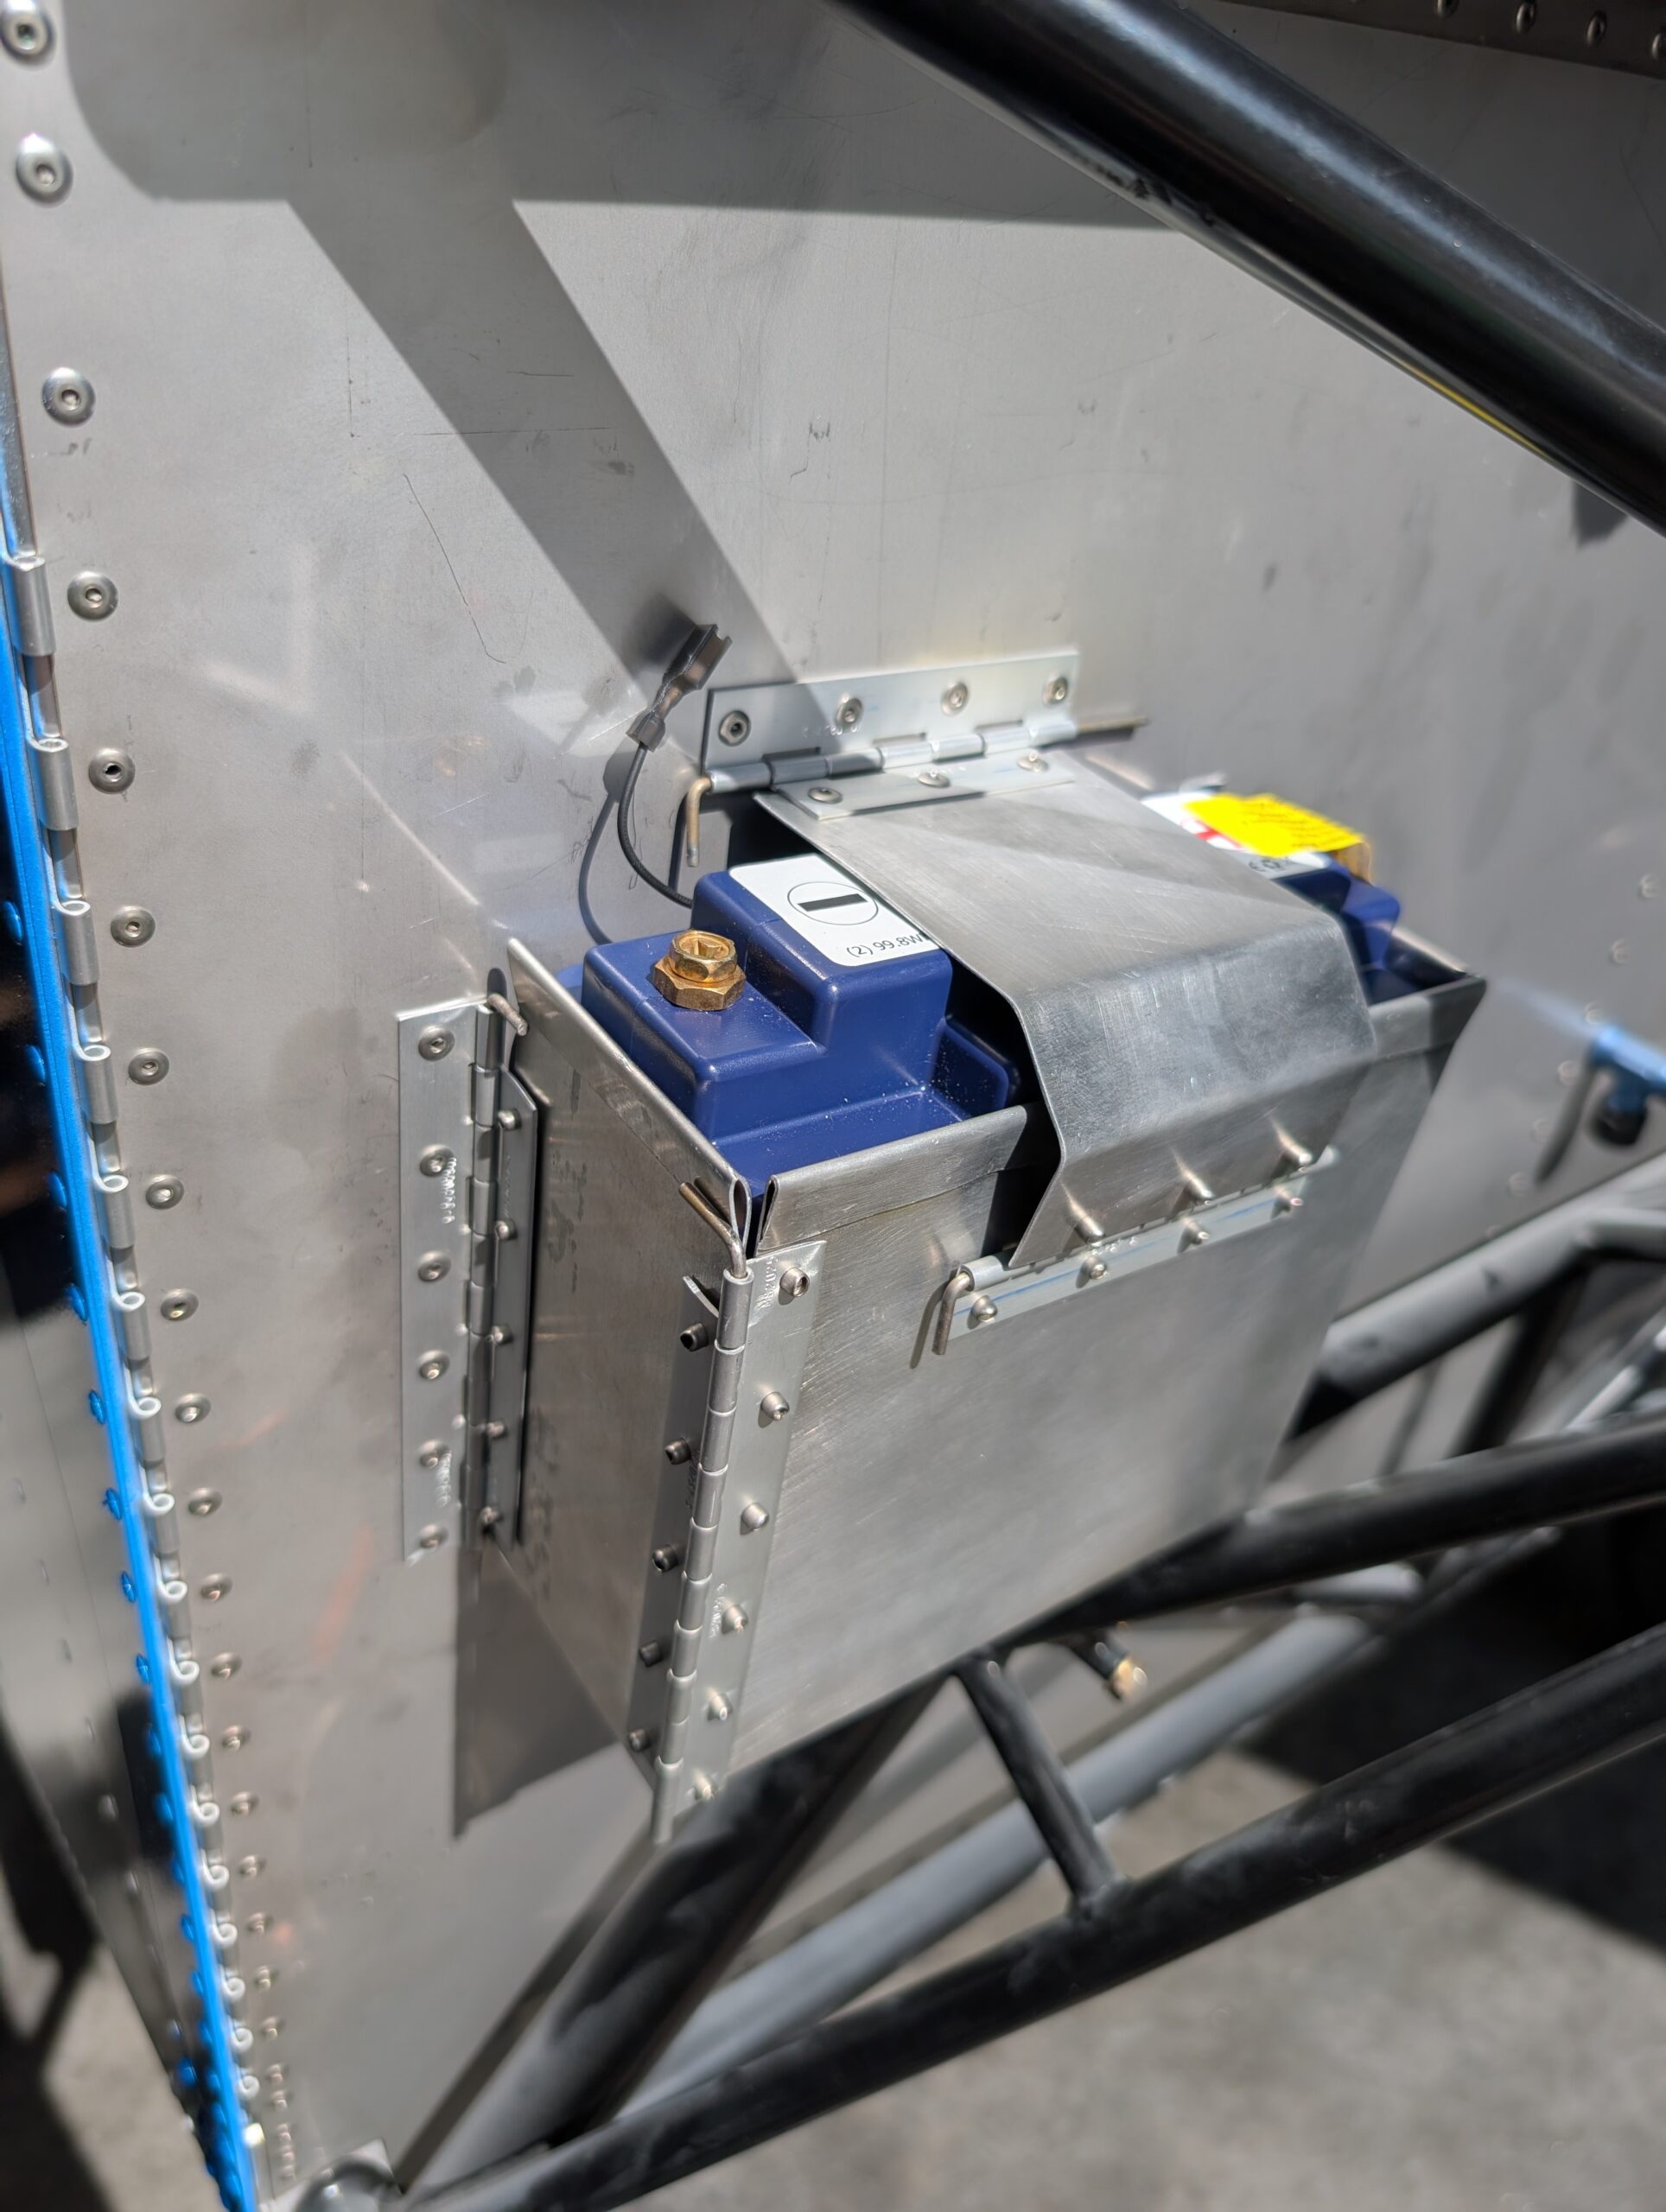
Second attempt at making battery box by recutting out template from 0.032 sheet stock and bending with bench bender. Deviated from plans design by omitting LH side panel to be replaced with hinged panel for side removal of battery. Cut various lengths of -3 piano hinge and riveted hinge halves to battery box using flush…
Battery Box – Take 1
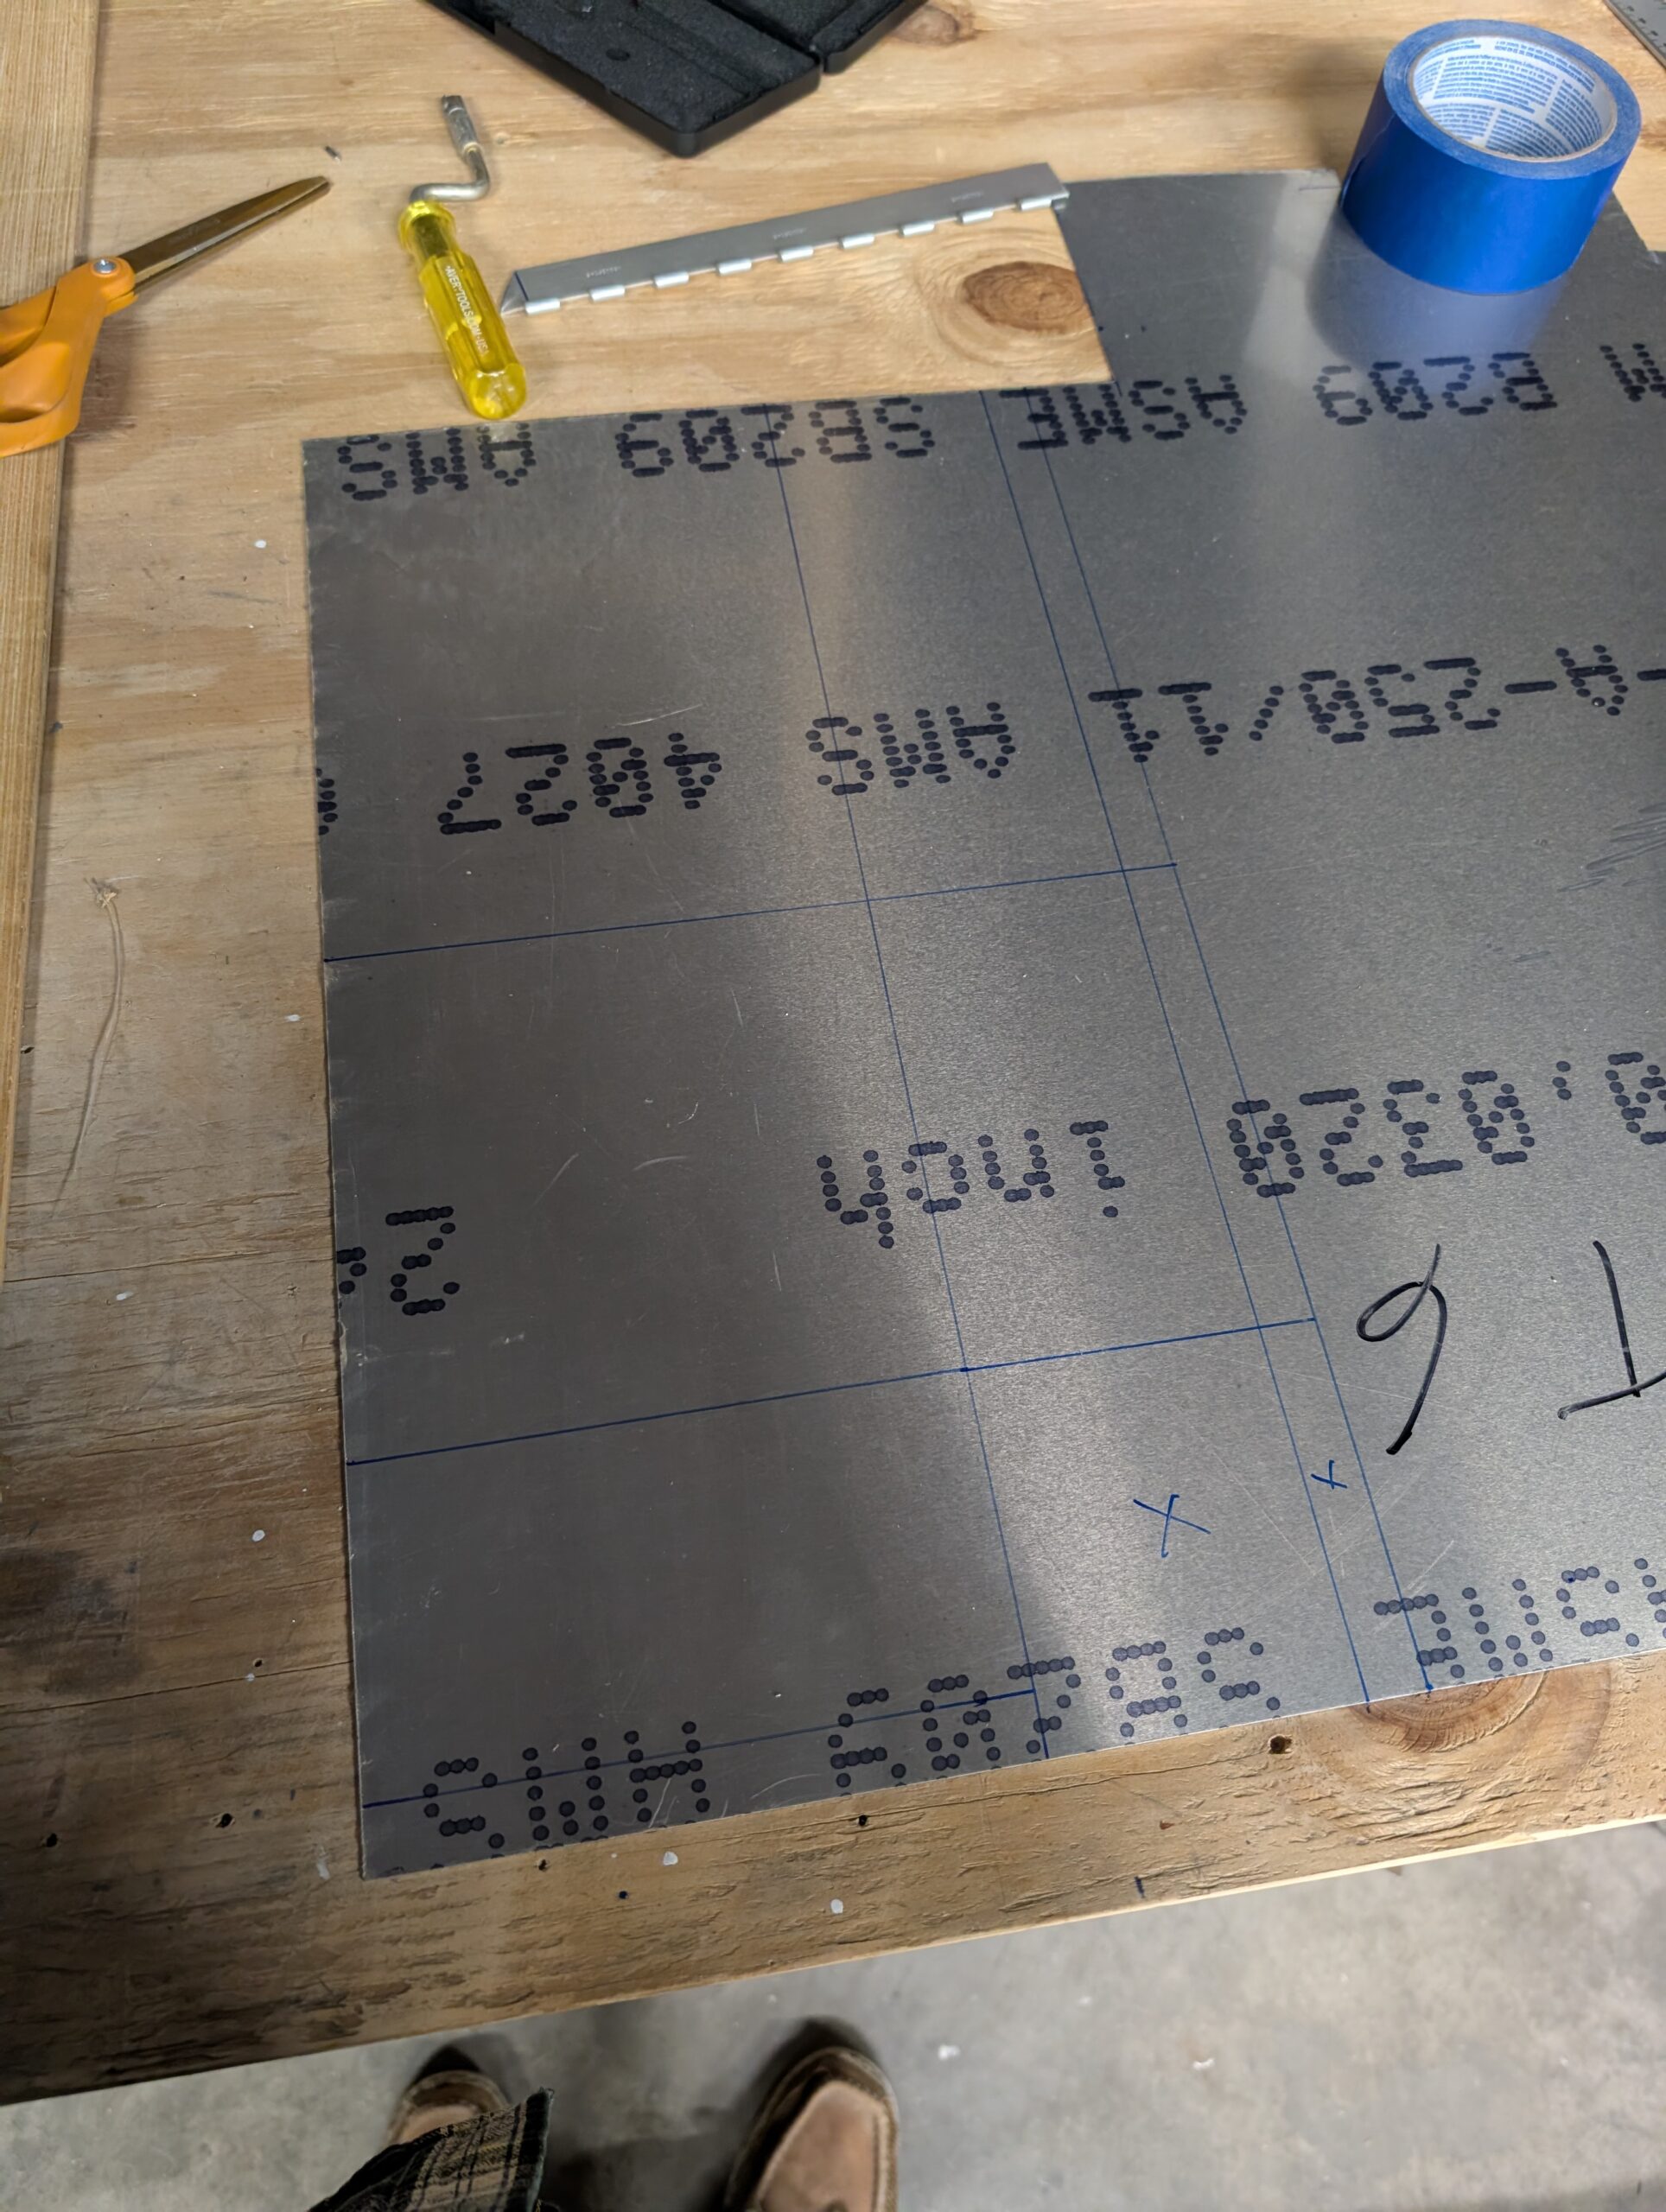
Measured out ETX900 battery to make flat sheet template for cutting battery box. Added 1/4″ to depth to account for edge of piano hinge on LH side. Drilled corner relief holes and mounting rivet holes then cut flat template with Andy snips. Bent flat sheet with bench brake then realized bends were going wrong direction…
Tail Fairing Panels – Part 3
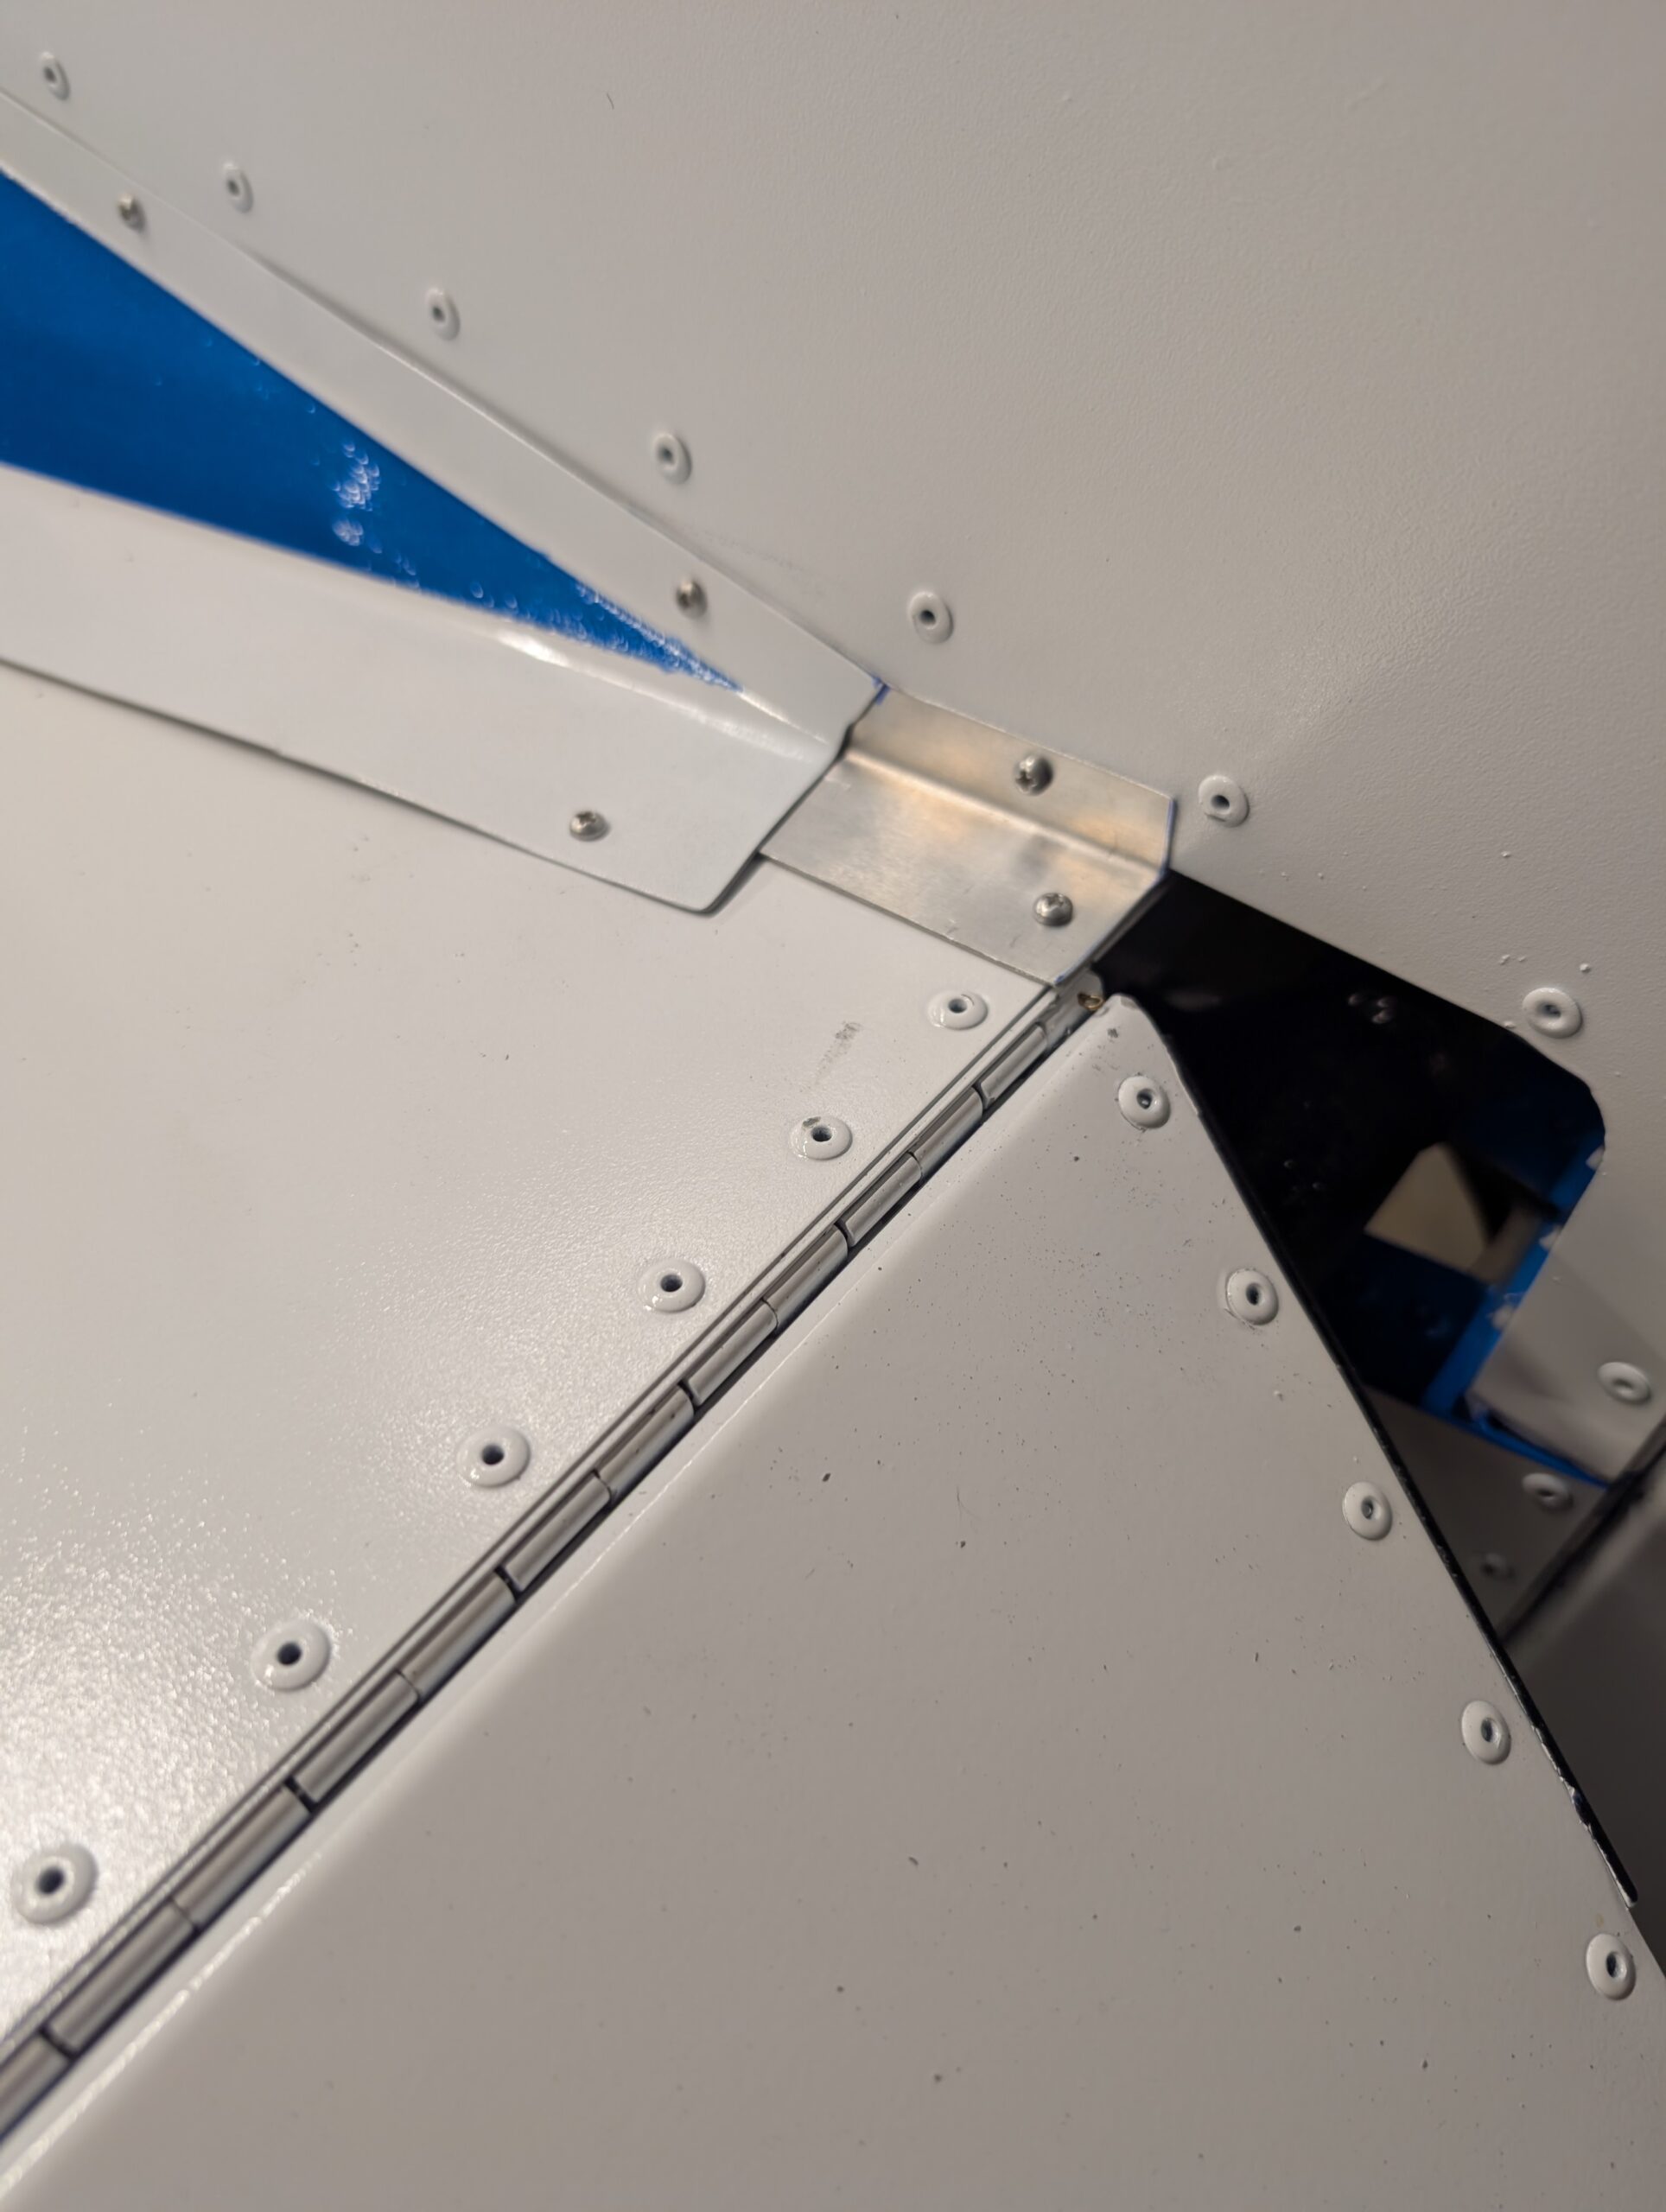
In lieu of using plan -06 angles to cover small gap behind tail fairing, opted to create a custom piece to seal up compartment where ELT sits. Cut Z01-03 stock to size and slipped underneath tail panel fairings. Overlapped furthest aft screw hole from fairing panels and marked two new PK screw holes. Cut angles…
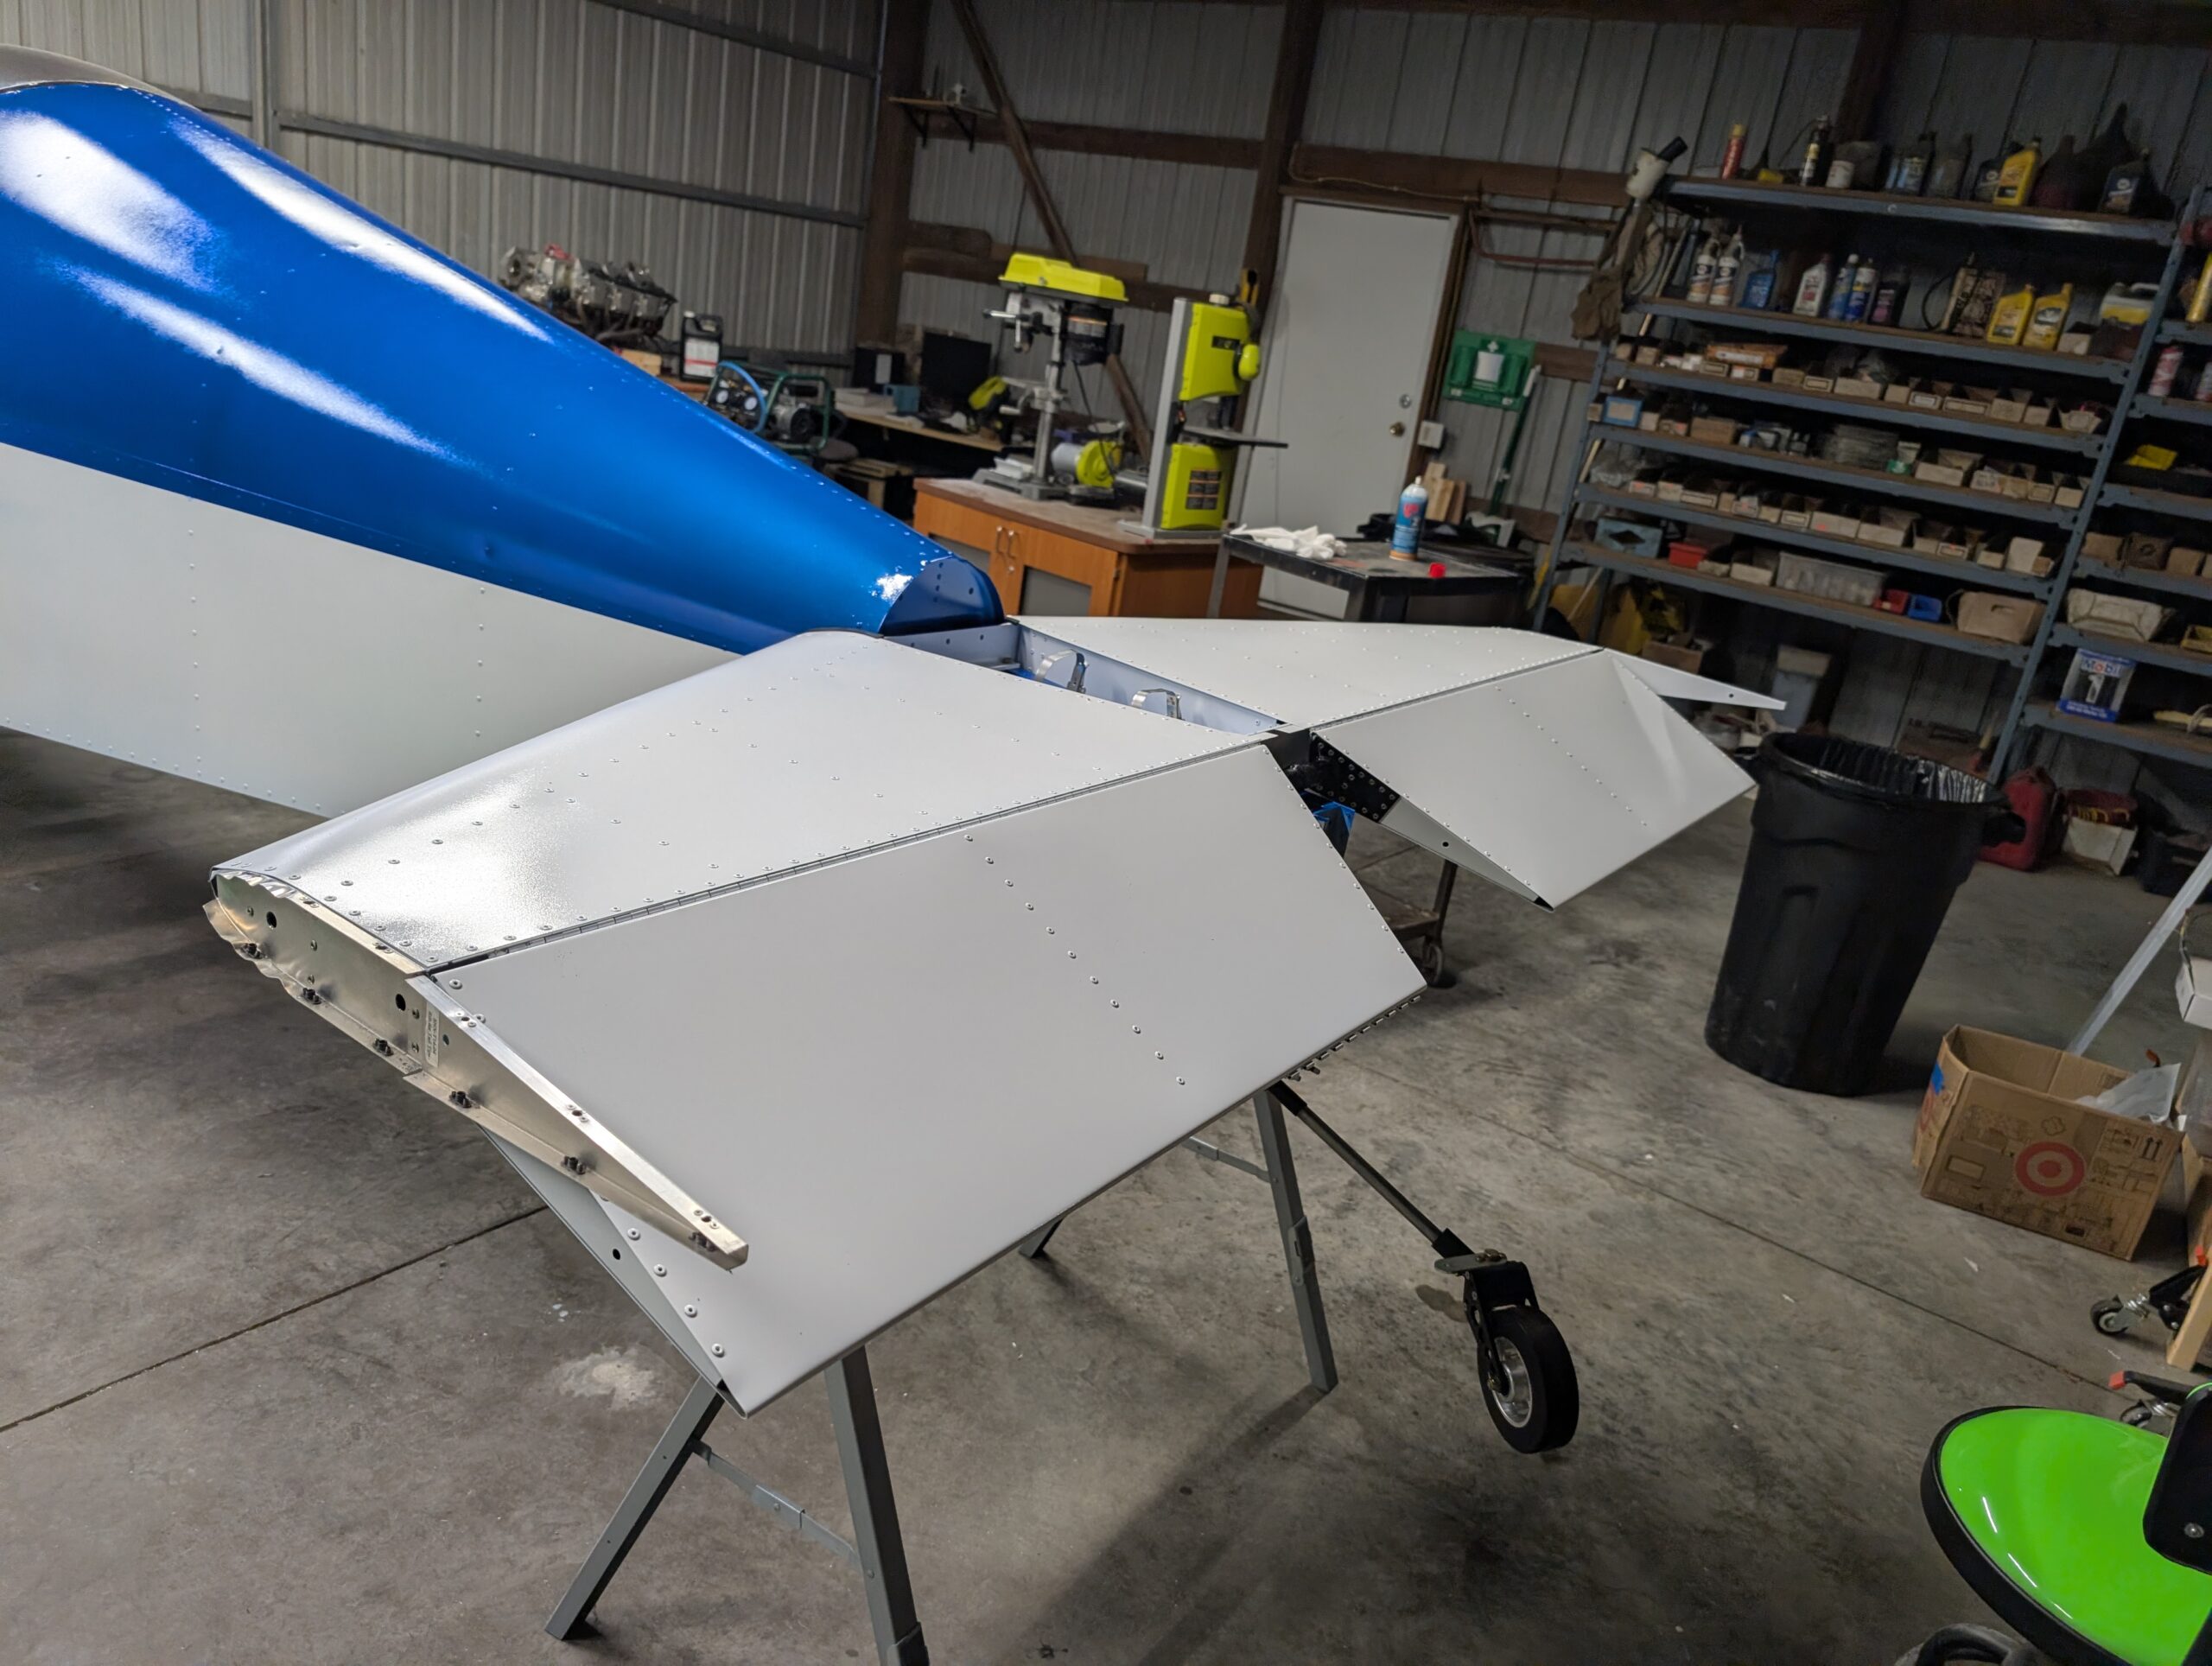
Tail Tips Installation
Installed remaining tail tips onto tail feathers with AN526-832 screws. T14 complete! Hours Worked: 0.44
Final Tail Installation – Part 3
Installed vertical stabilizer onto fuselage. Replaced AN3-6A bolts in tail with AN3-5A bolts for better fit and to ensure nut wasn’t bottoming out on bolts. Installed weather stripping on bottom edge of vertical stabilizer. Removed hinge pin from rudder installed during painting and reamed out hinge loops. Cut rudder hinge pin to size then installed…
Final Tail Installation – Part 2
Removed piano hinges installed in elevator during paint process and reamed out hinge loops. Installed elevator onto fuselage and horizontal stabilizer with piano hinges. Drilled cotter pin holes in hinge loops per plans and installed cotter pins. T02 complete! Hours Worked: 1.72
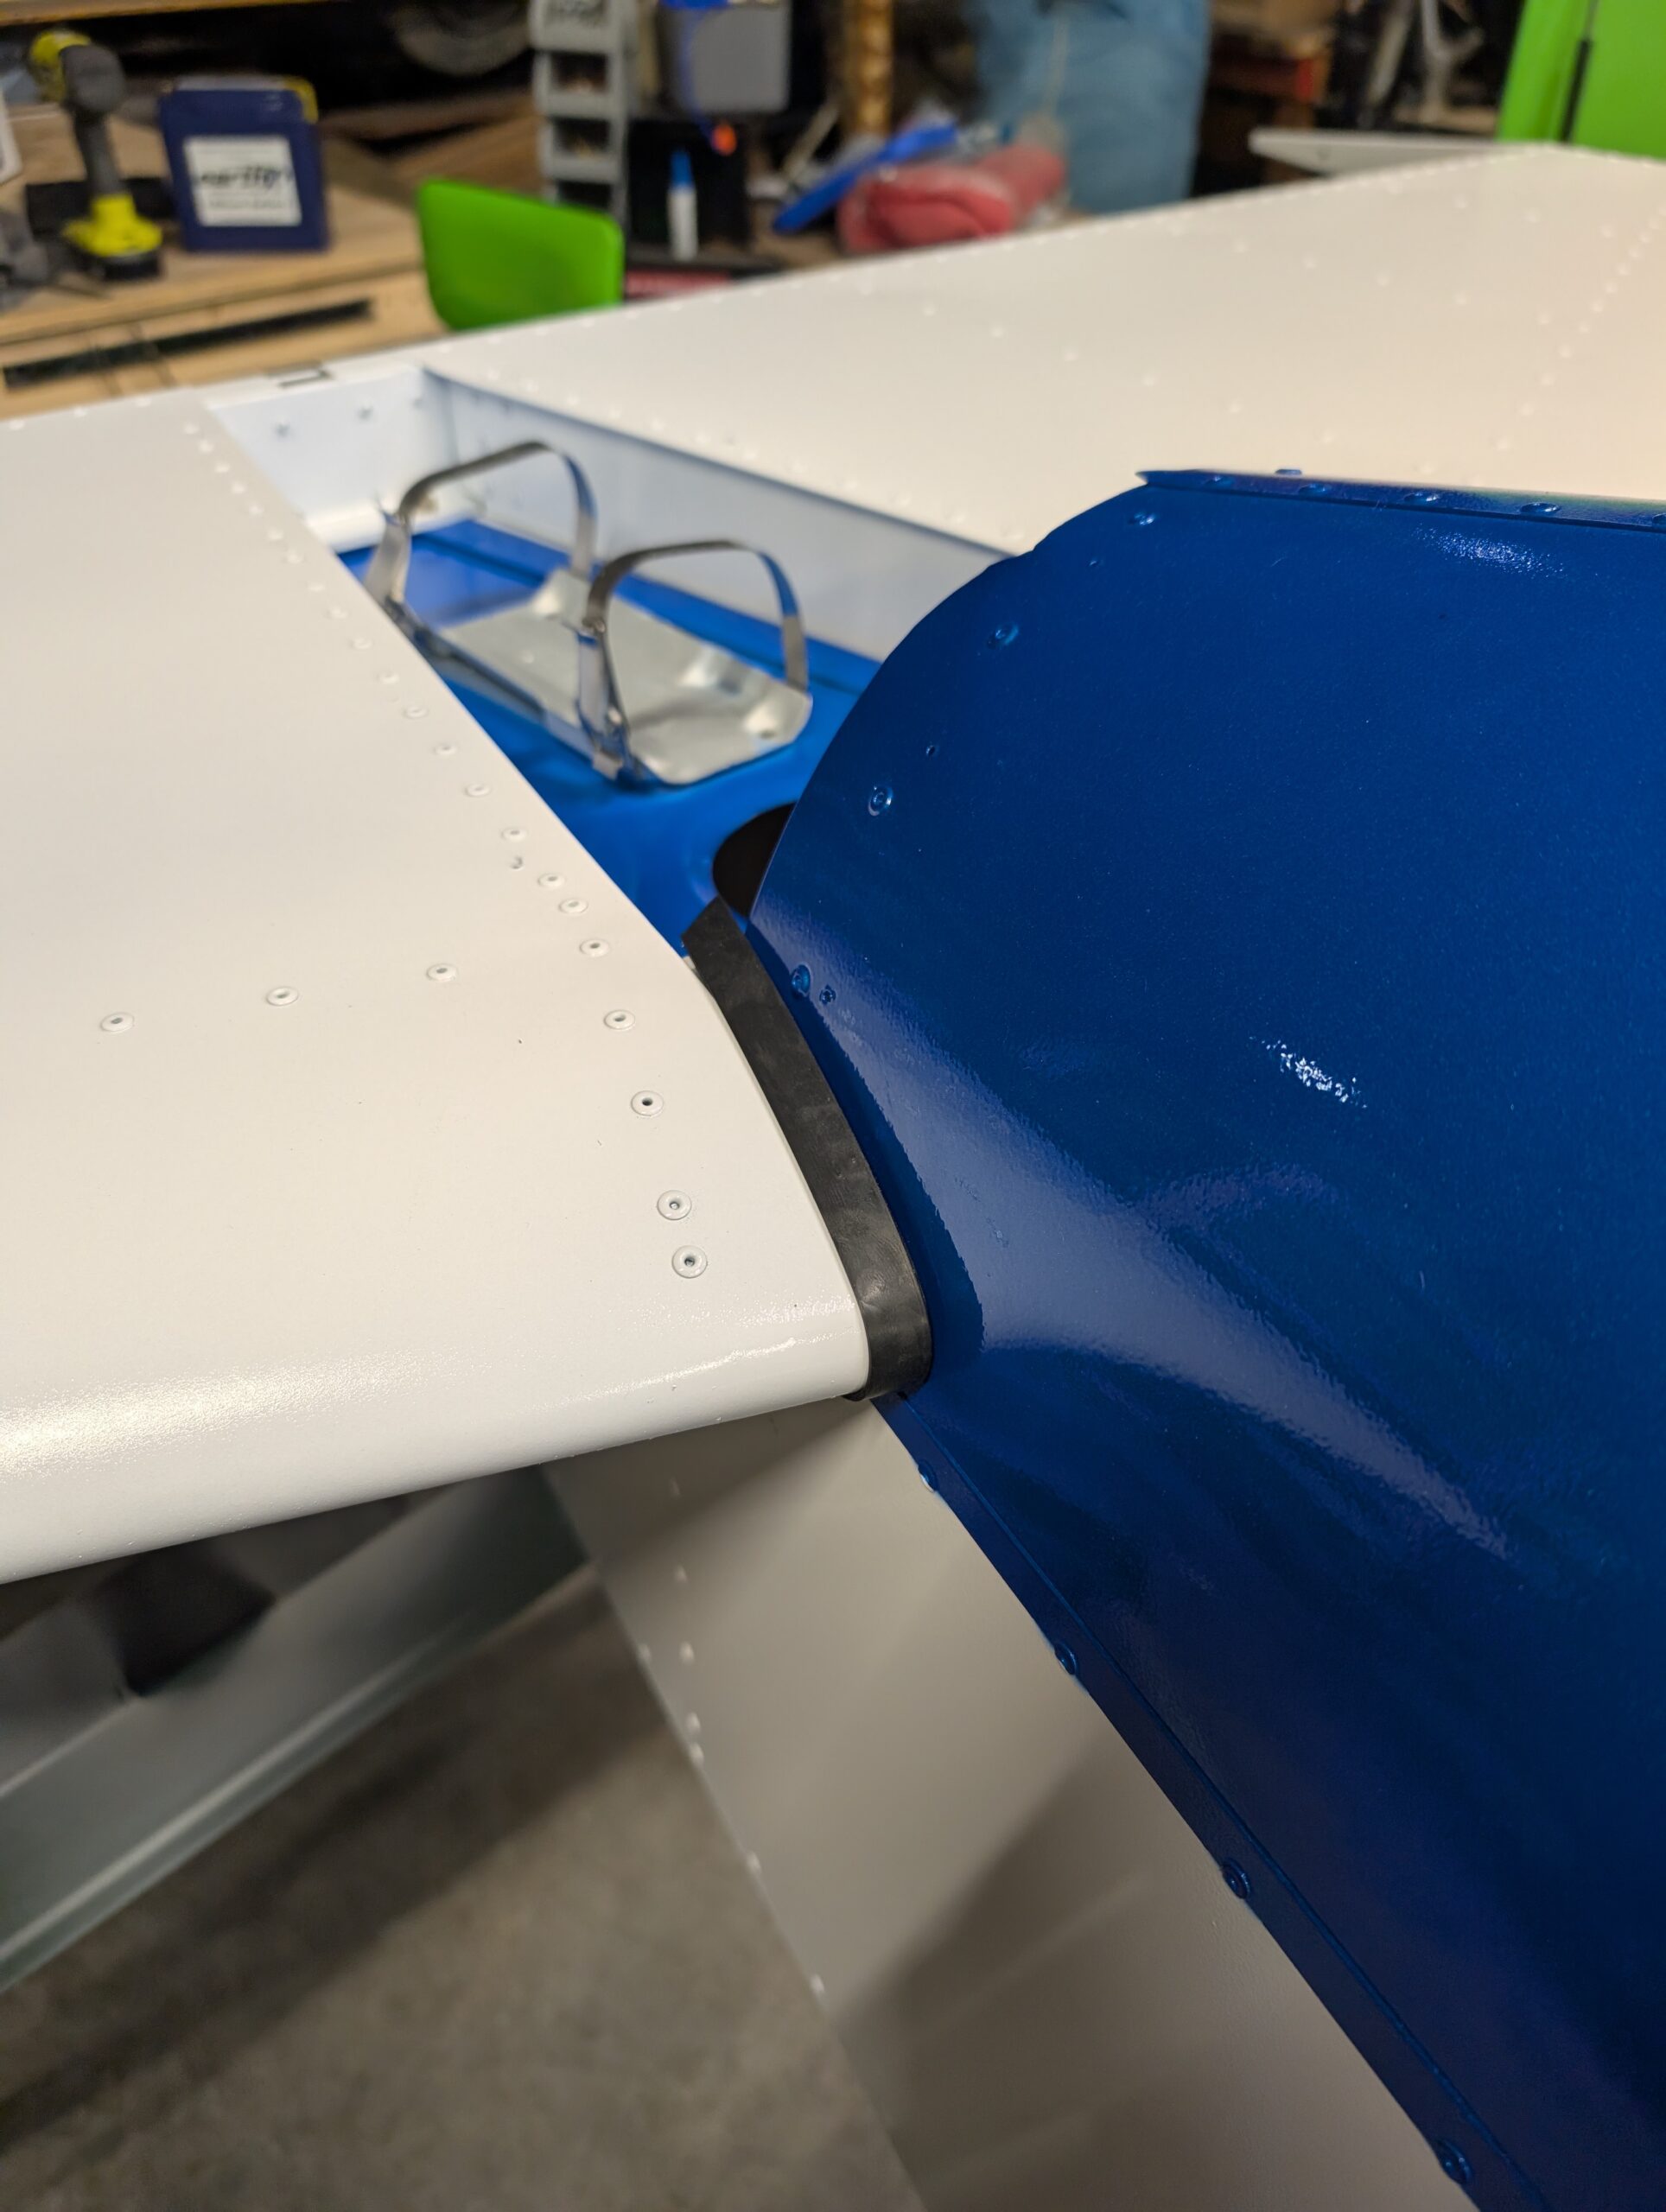
Final Tail Installation – Part 1
Began final assembly of tail by mounting horizontal stabilizer to fuselage with AN4 hardware. Installed weatherstripping along inboard leading edge to help take up gap between stabilizer and turtledeck. Applied torque seal to mounting bolts. Hours Worked: 0.89
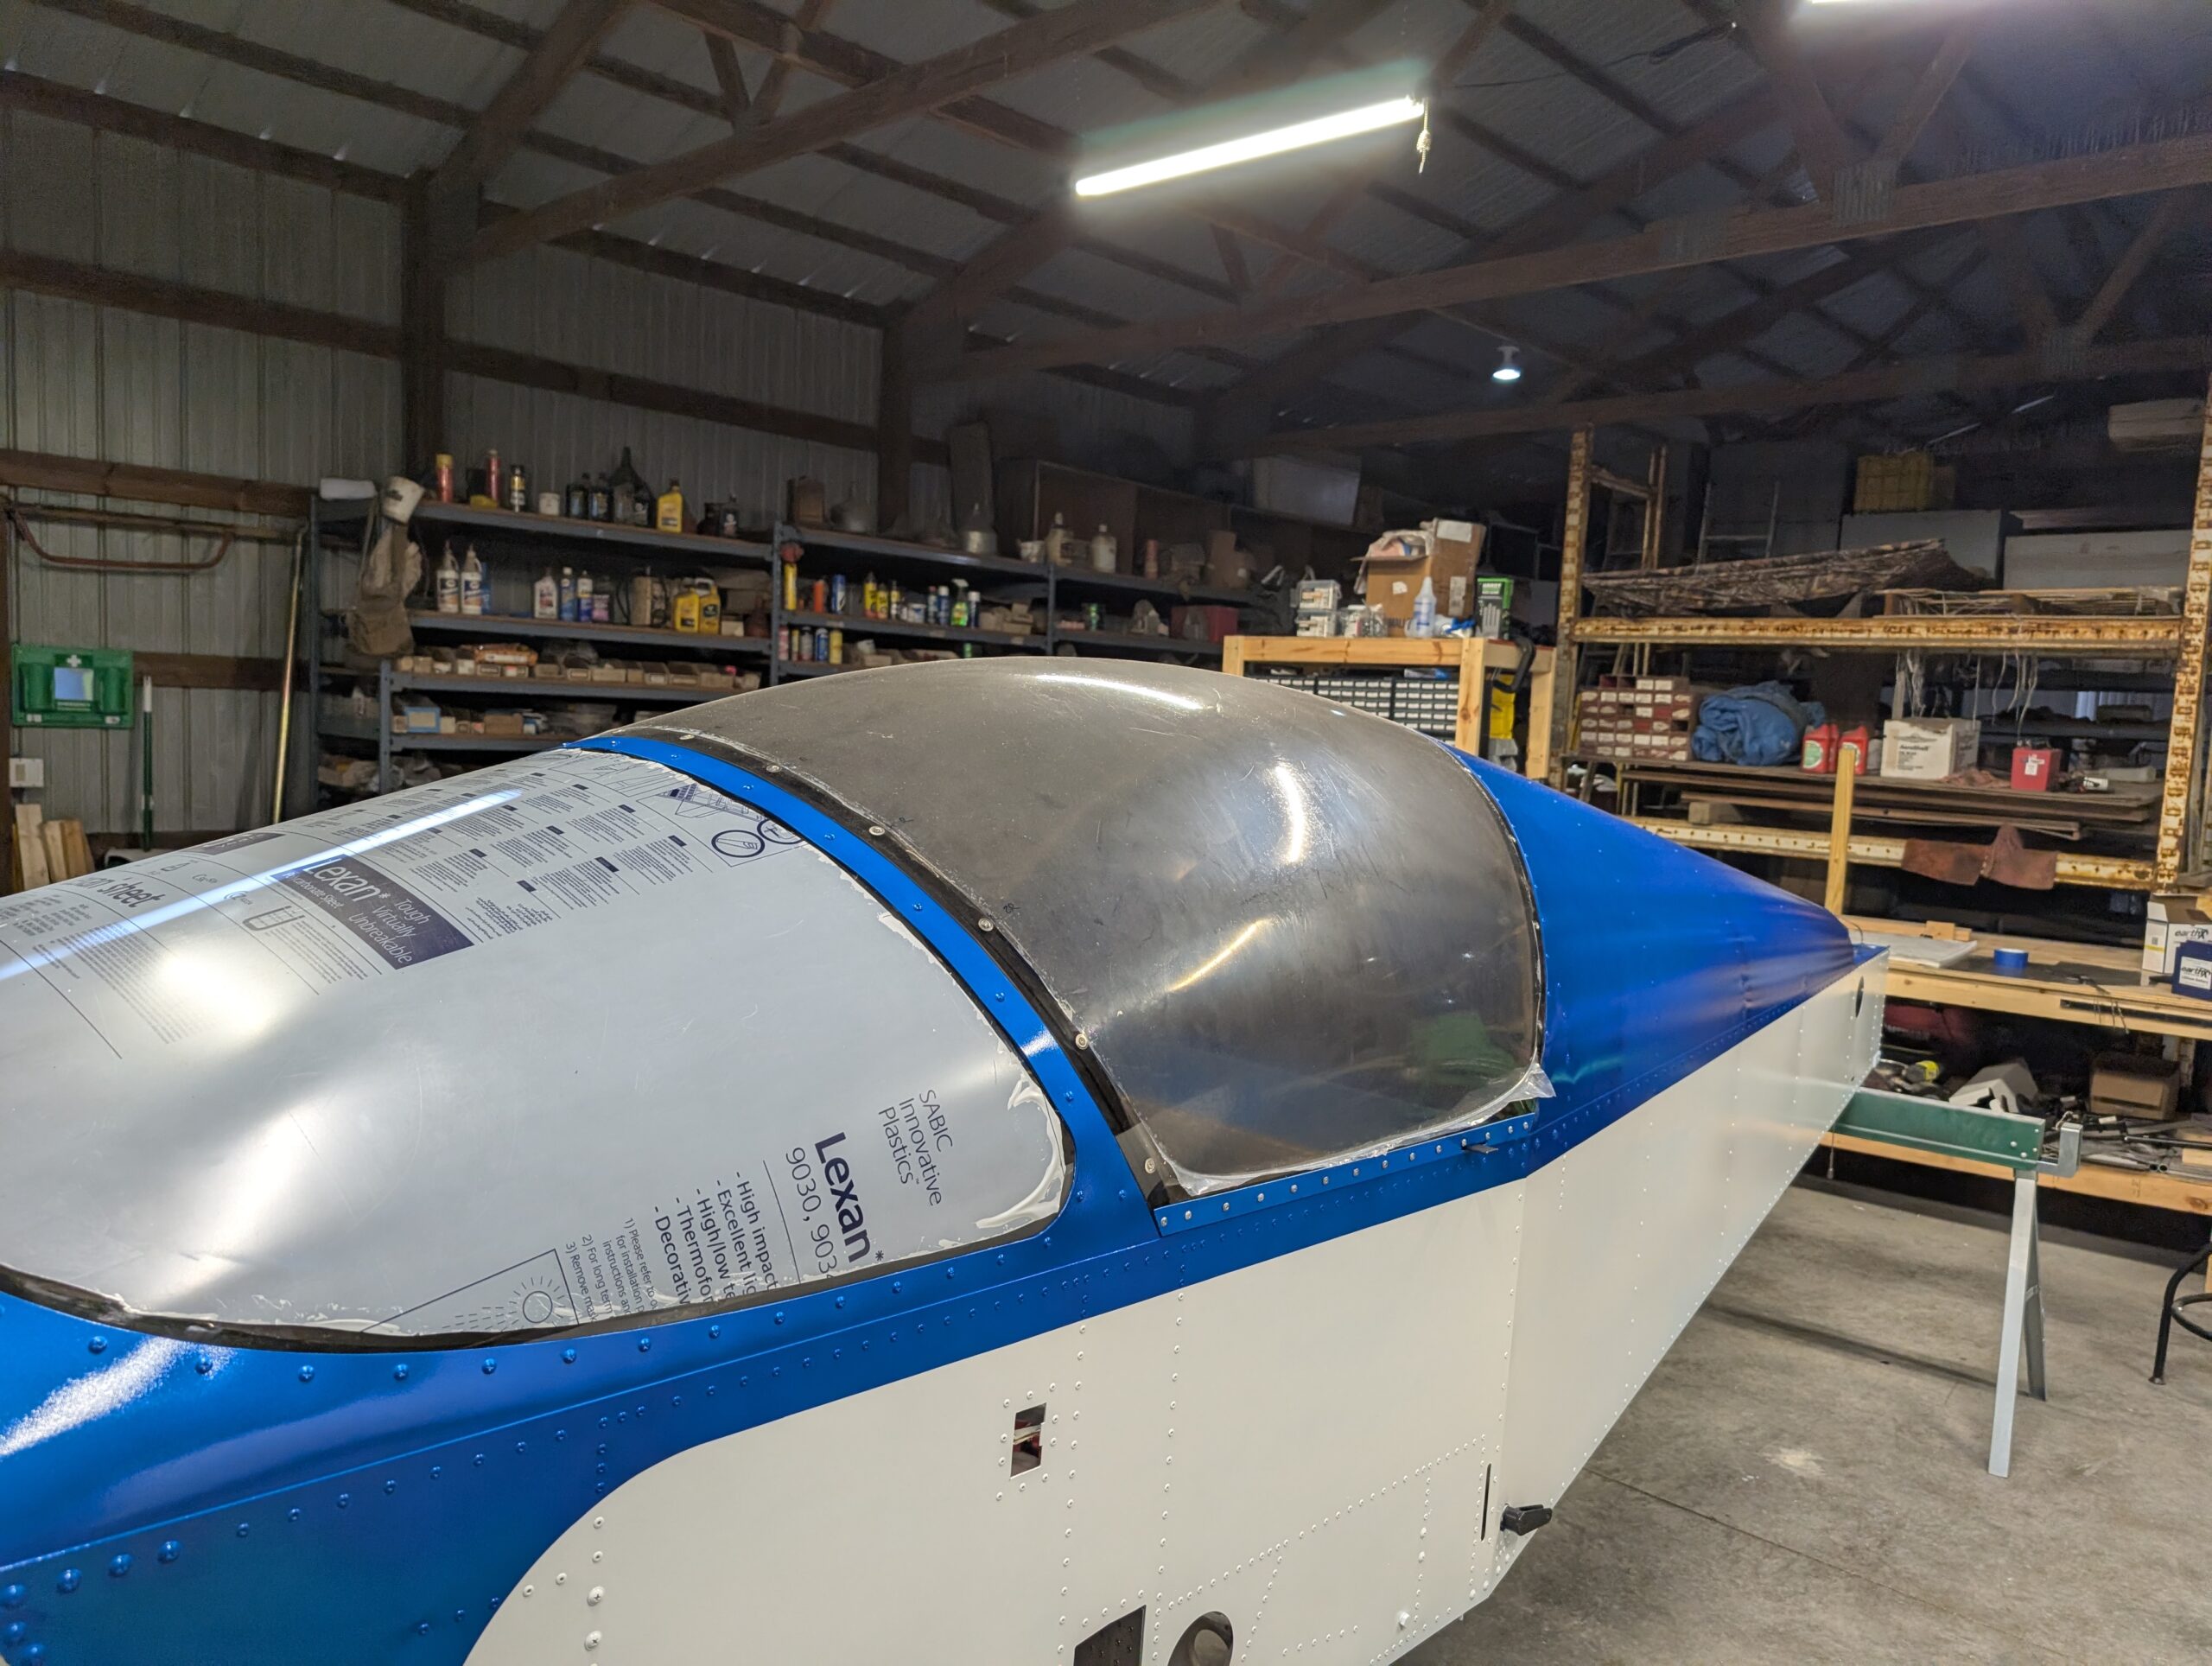
Canopy Installation – Part 3
Reattached canopy to fuselage with hinge pin and verified fitment along front and rear edges along with latch operation. Installed canopy retaining strap and tested operation. Located hole for canopy latch pin and drilled into upper longeron. Will remove plastic from inside and outside of canopy once aircraft is complete. Canopy task now complete! Hours…