Powerplant

Cowl Fiberglass Work – Part 5
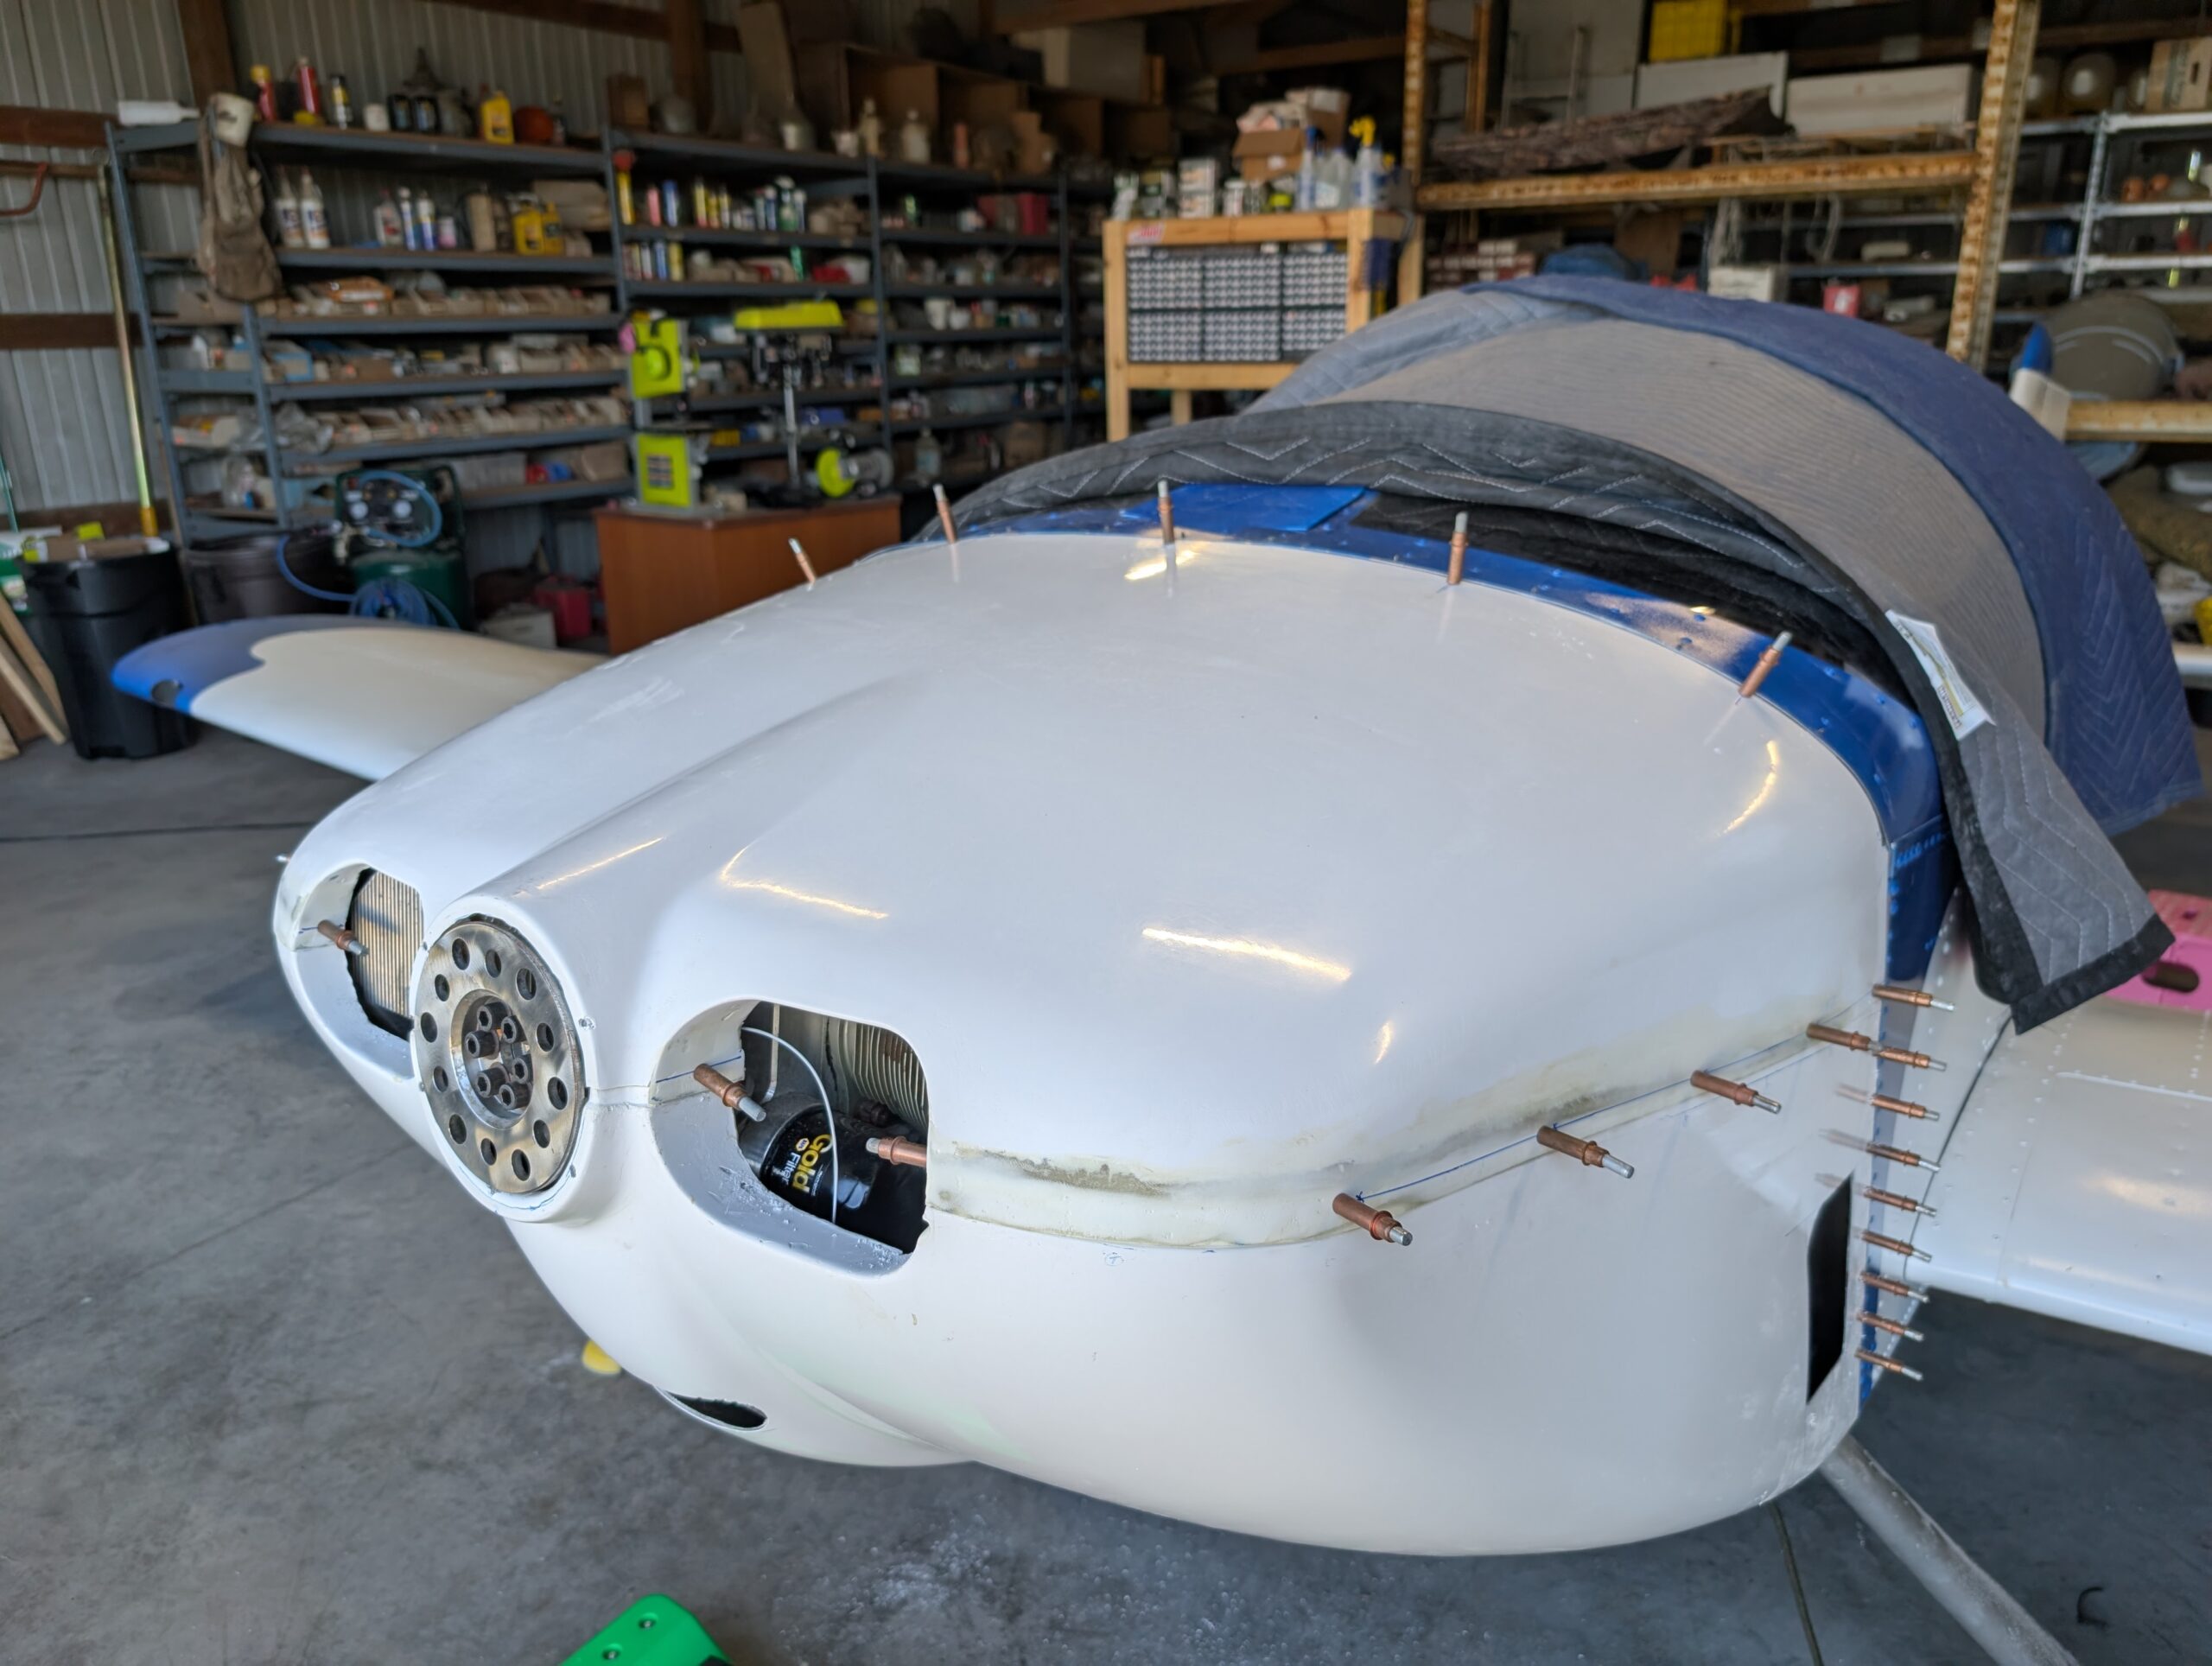
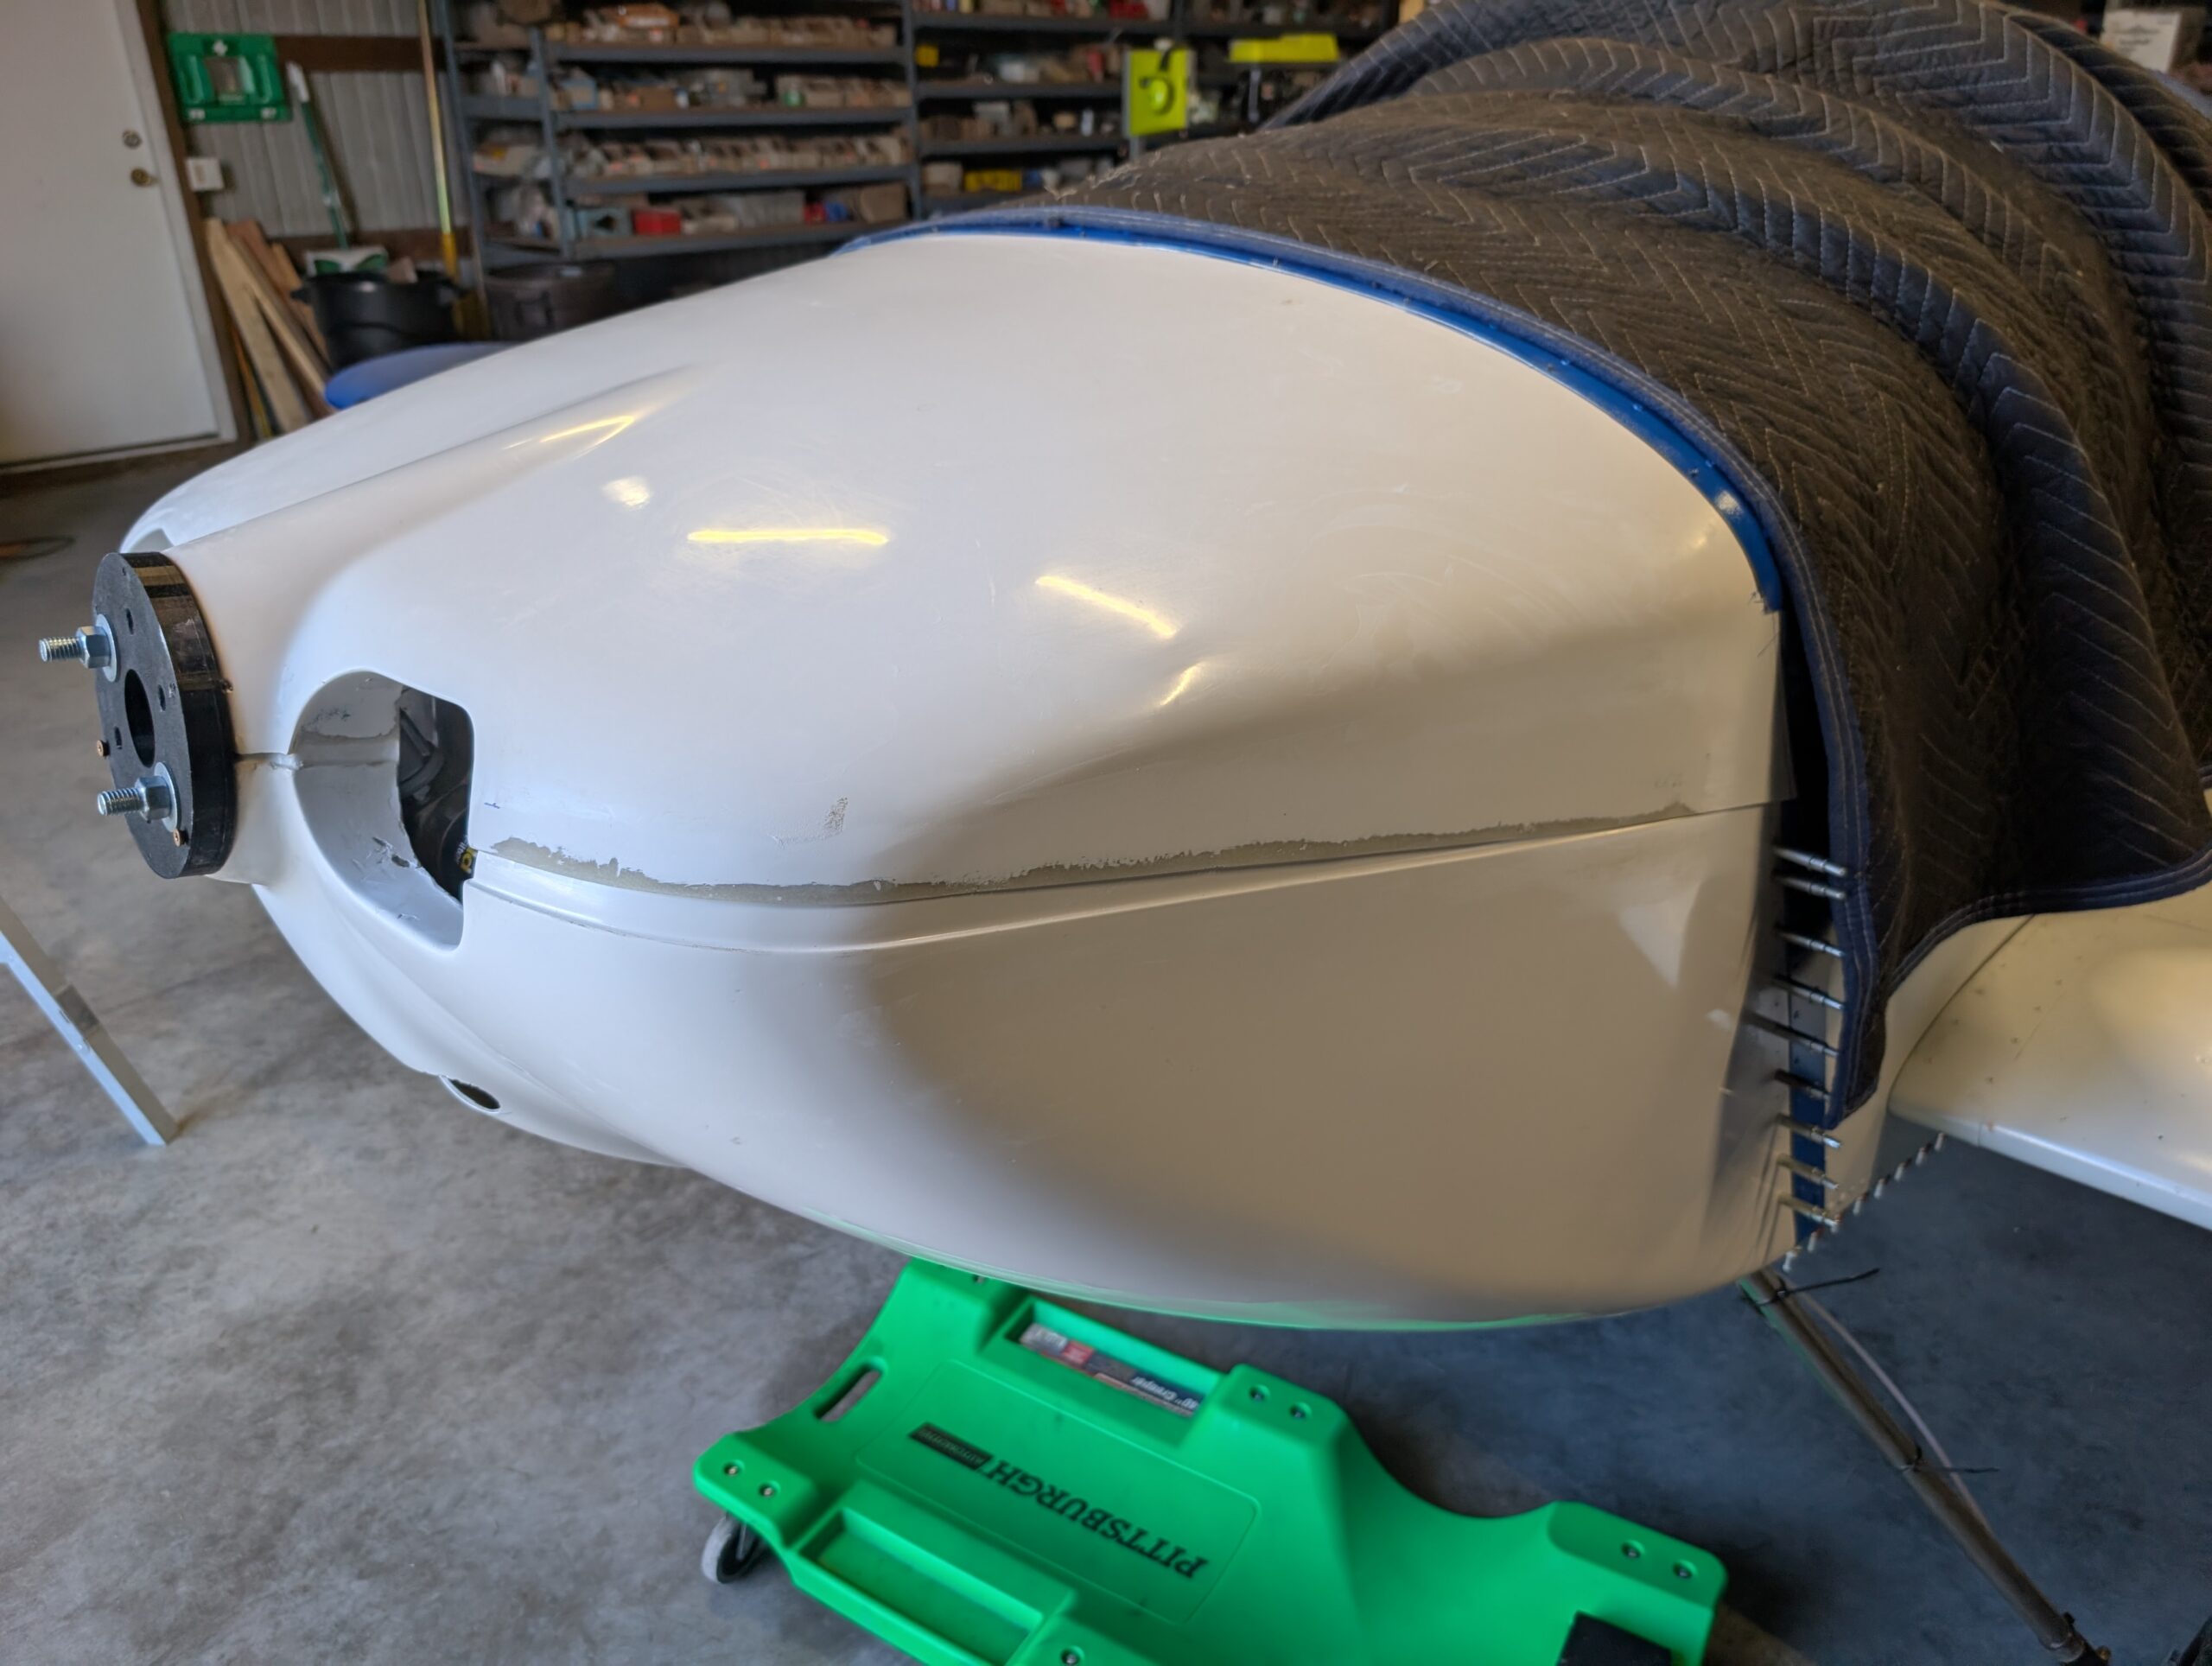
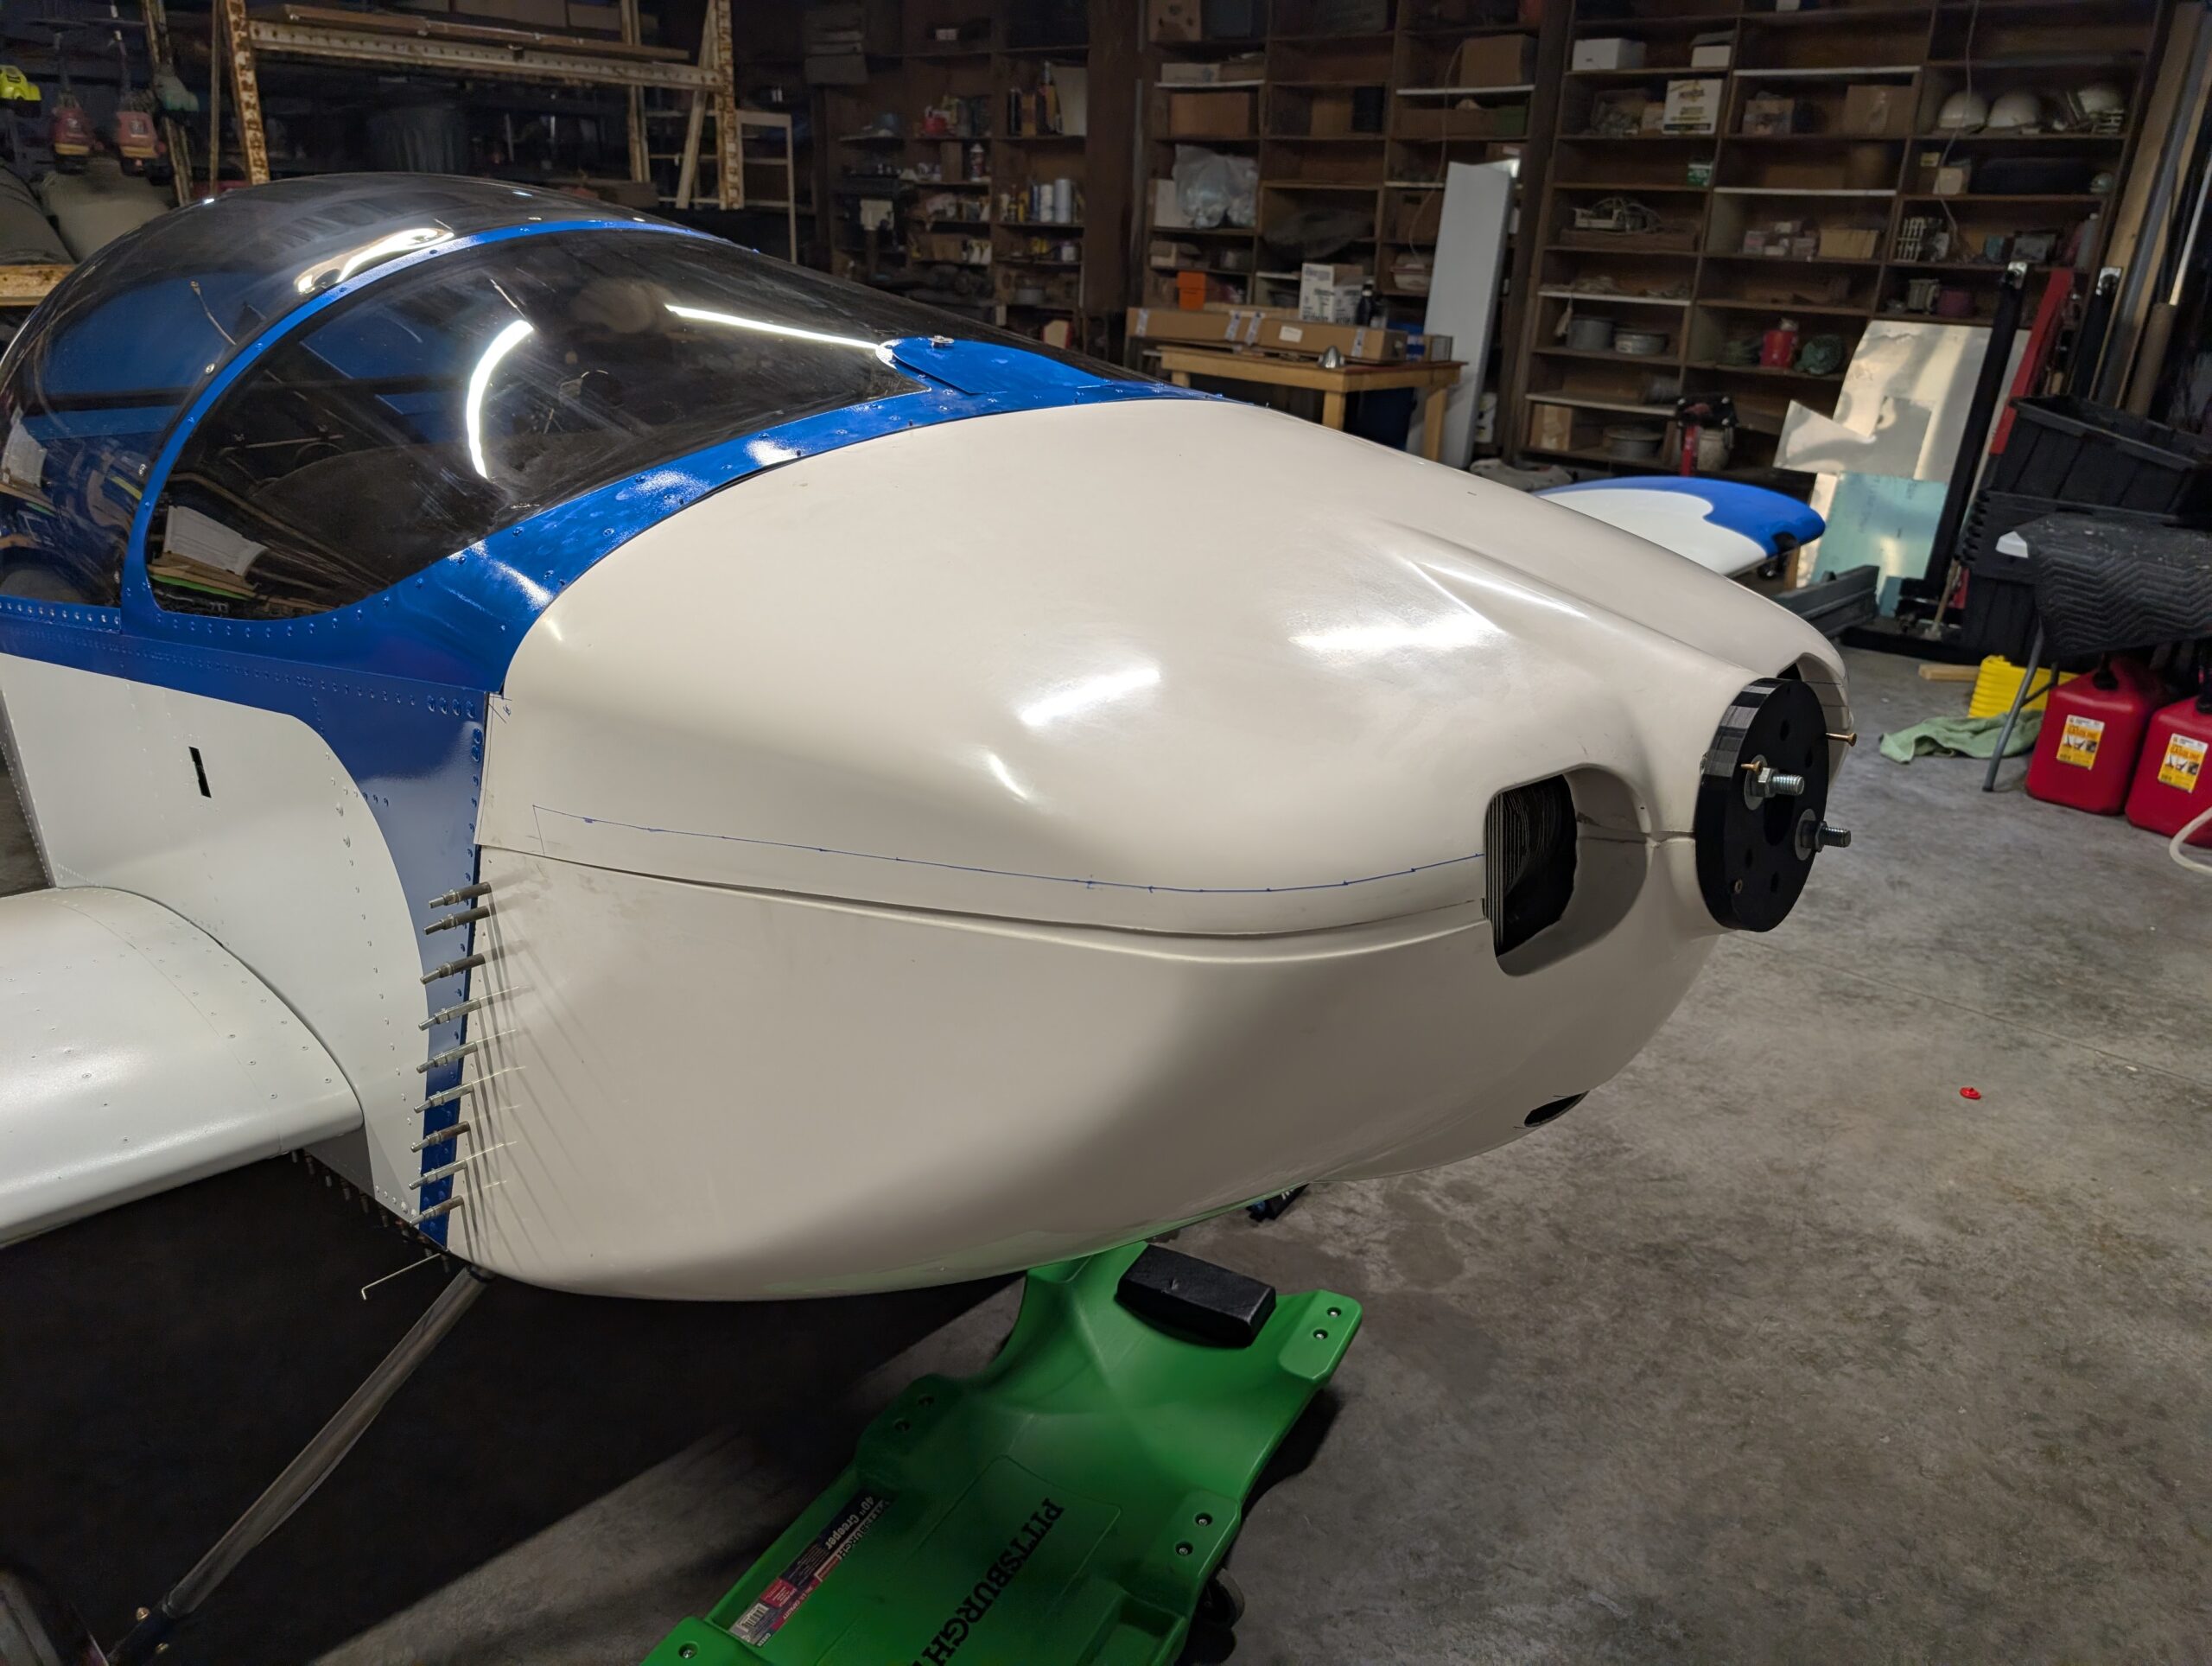
Fine sanded upper cowl with 240 grit to see if latest application of micro filled in low spots; overall looks good. Will try to use some high build primer to help with pin holes but overall upper cowl looks good. Reinstalled both upper and lower cowls onto aircraft then pilot drilled mounting holes through upper…

Oil Separator Relocation
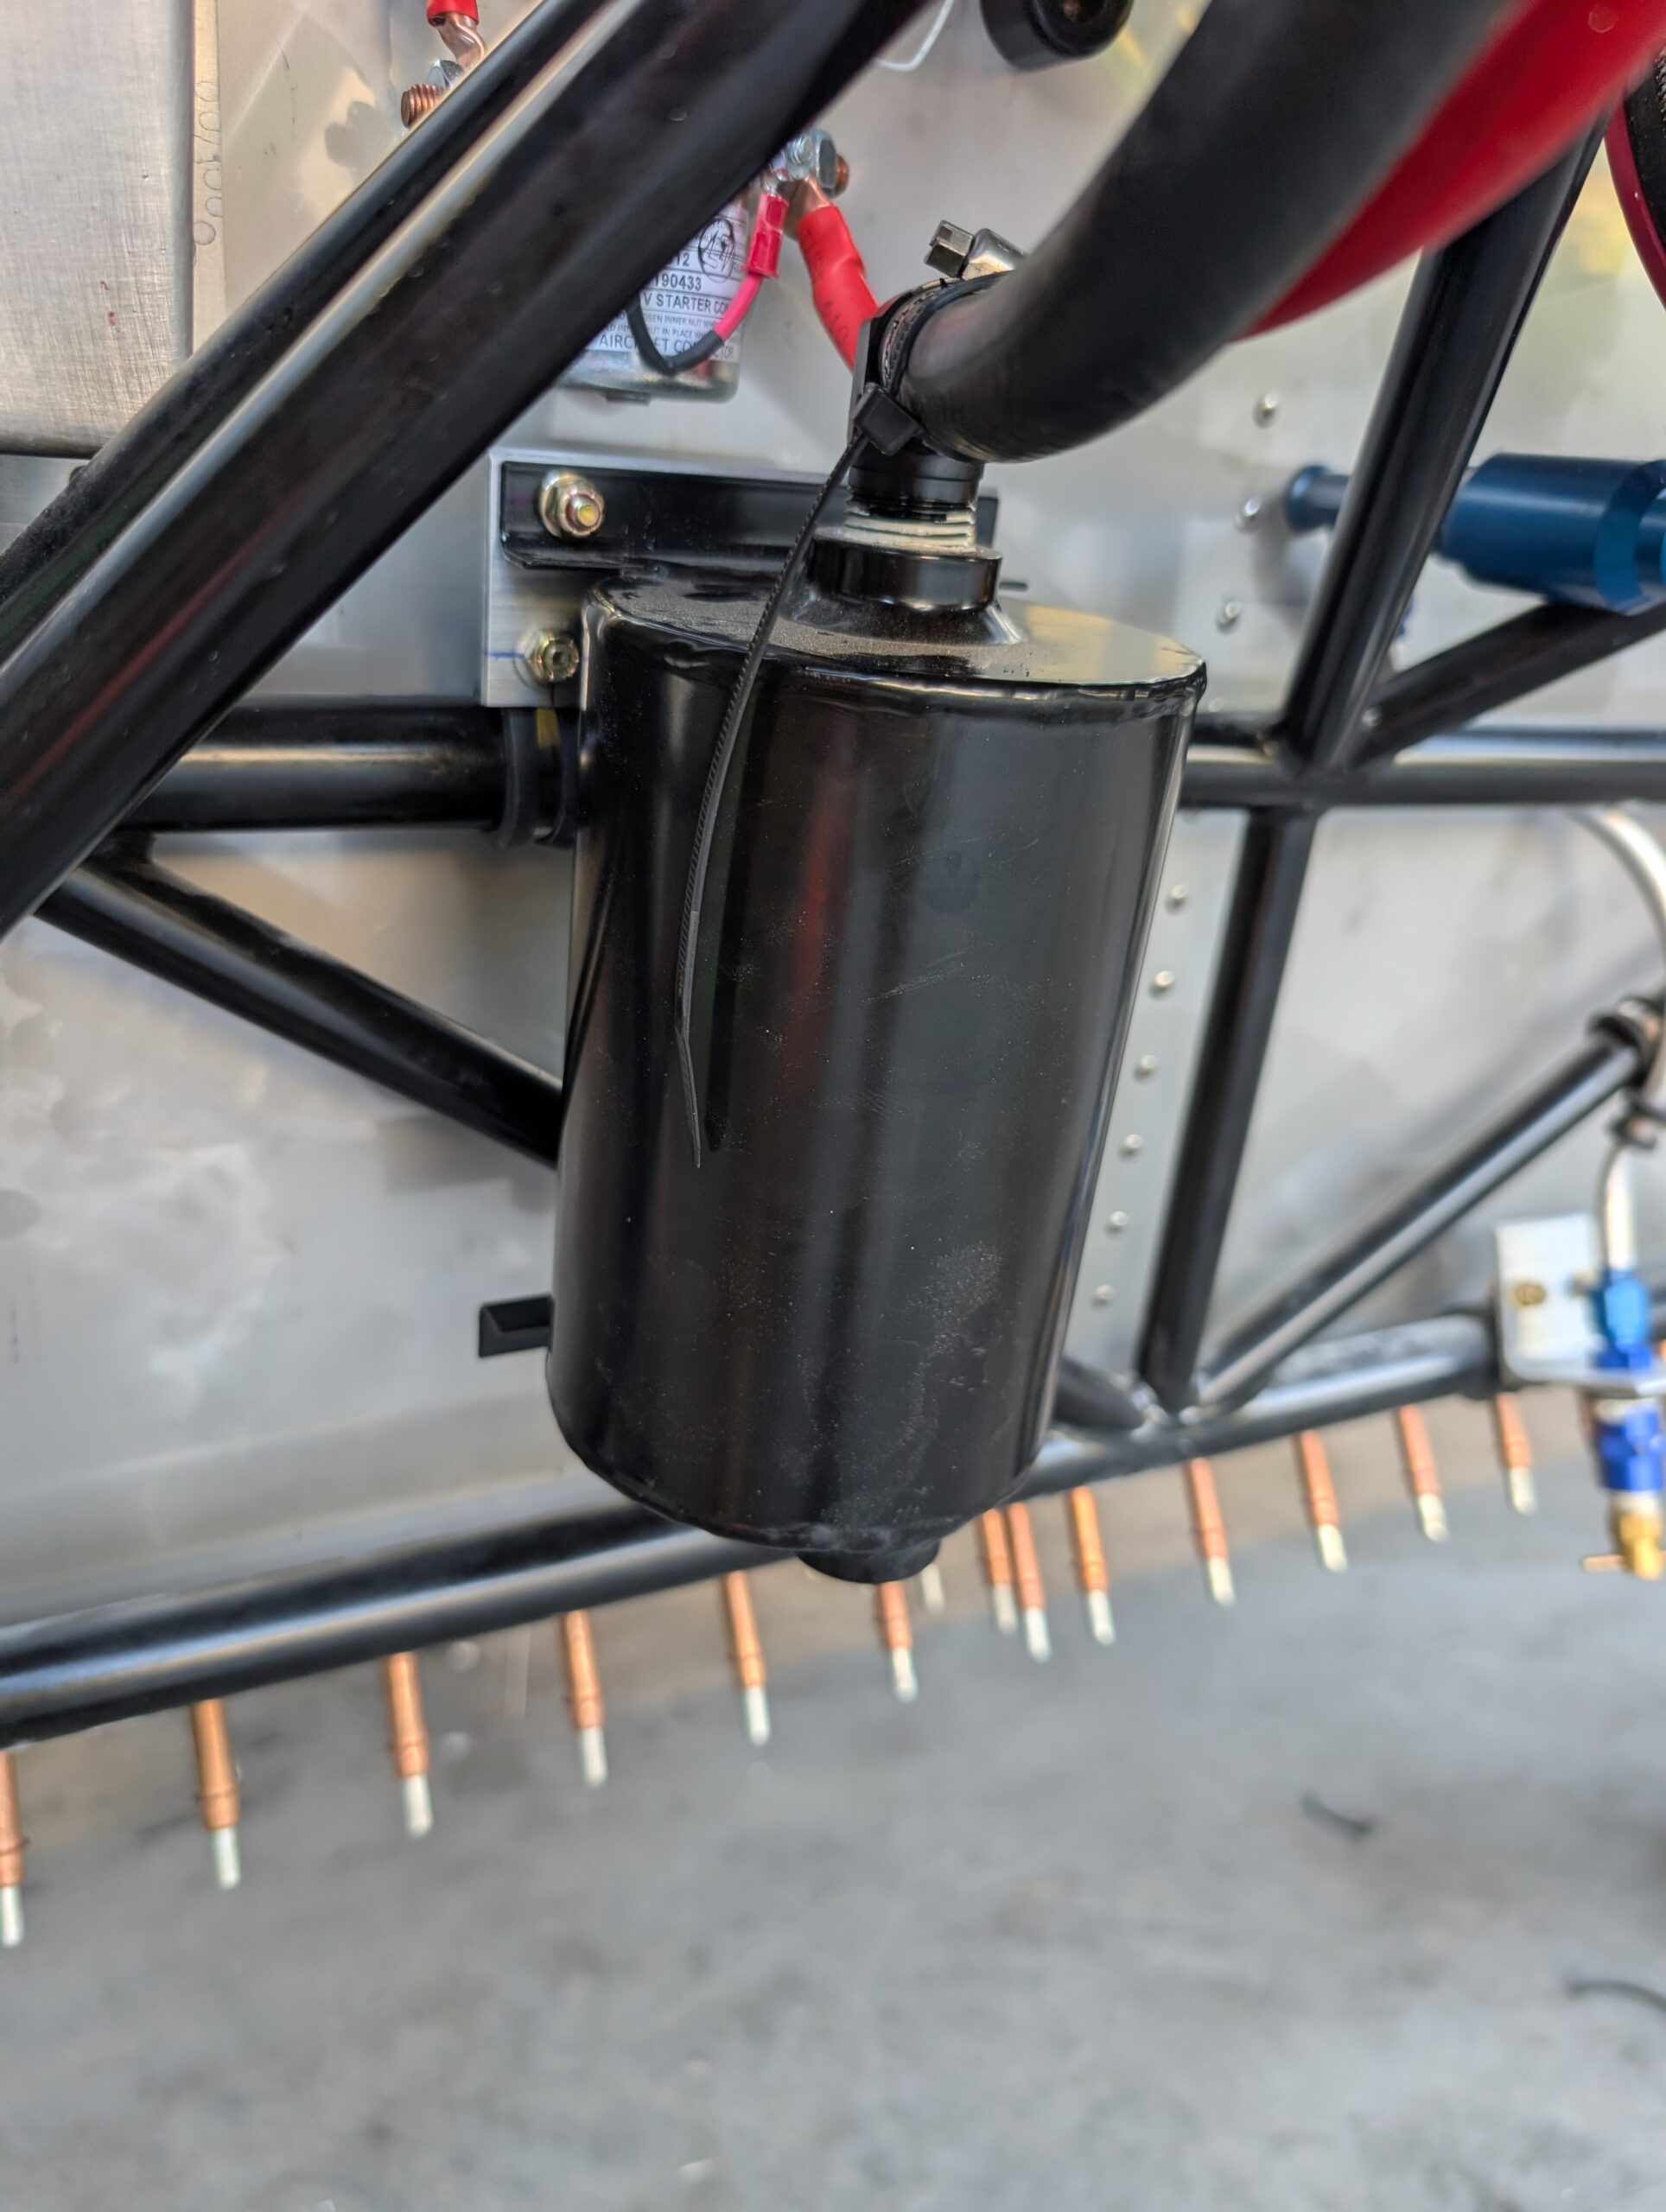
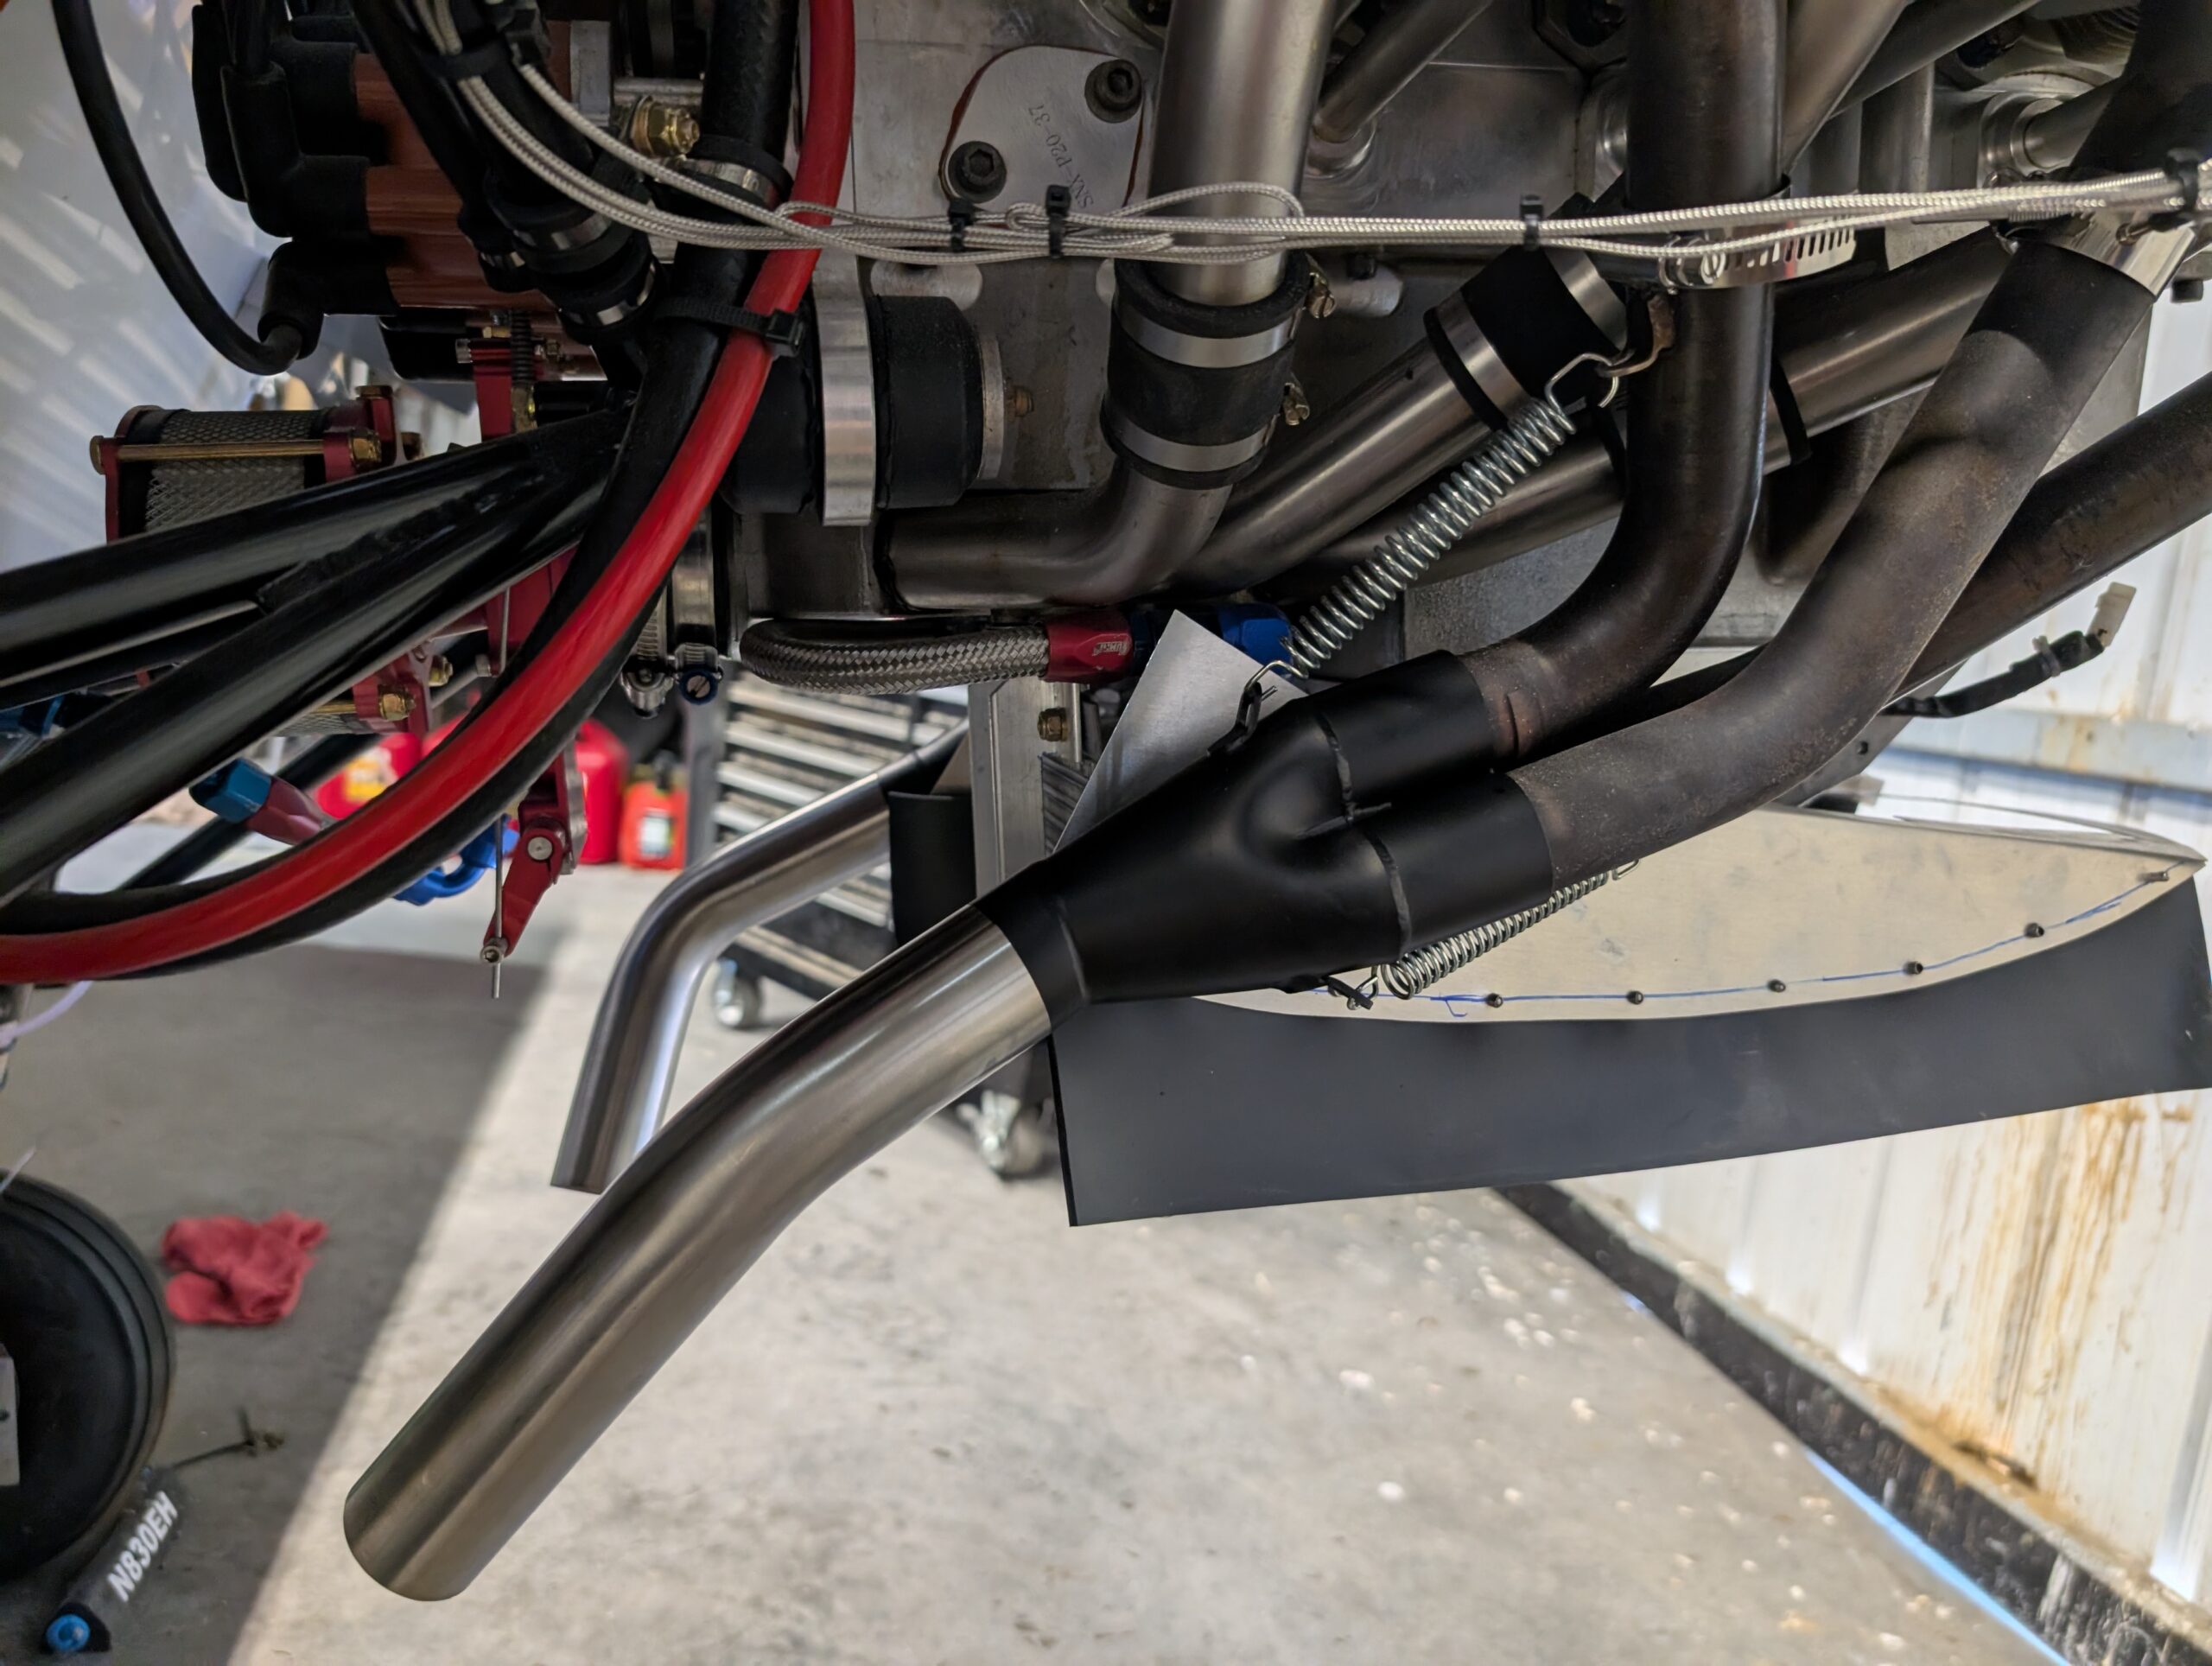
Due to exhaust tunnel interference, removed oil separator from firewall and fabricated bracket out of scrap aluminum angle to move cannister up about 1.25″. Reinstalled oil separator and reconnected vent line. Hours Worked: 1.15
Exhaust Tunnels – Part 1
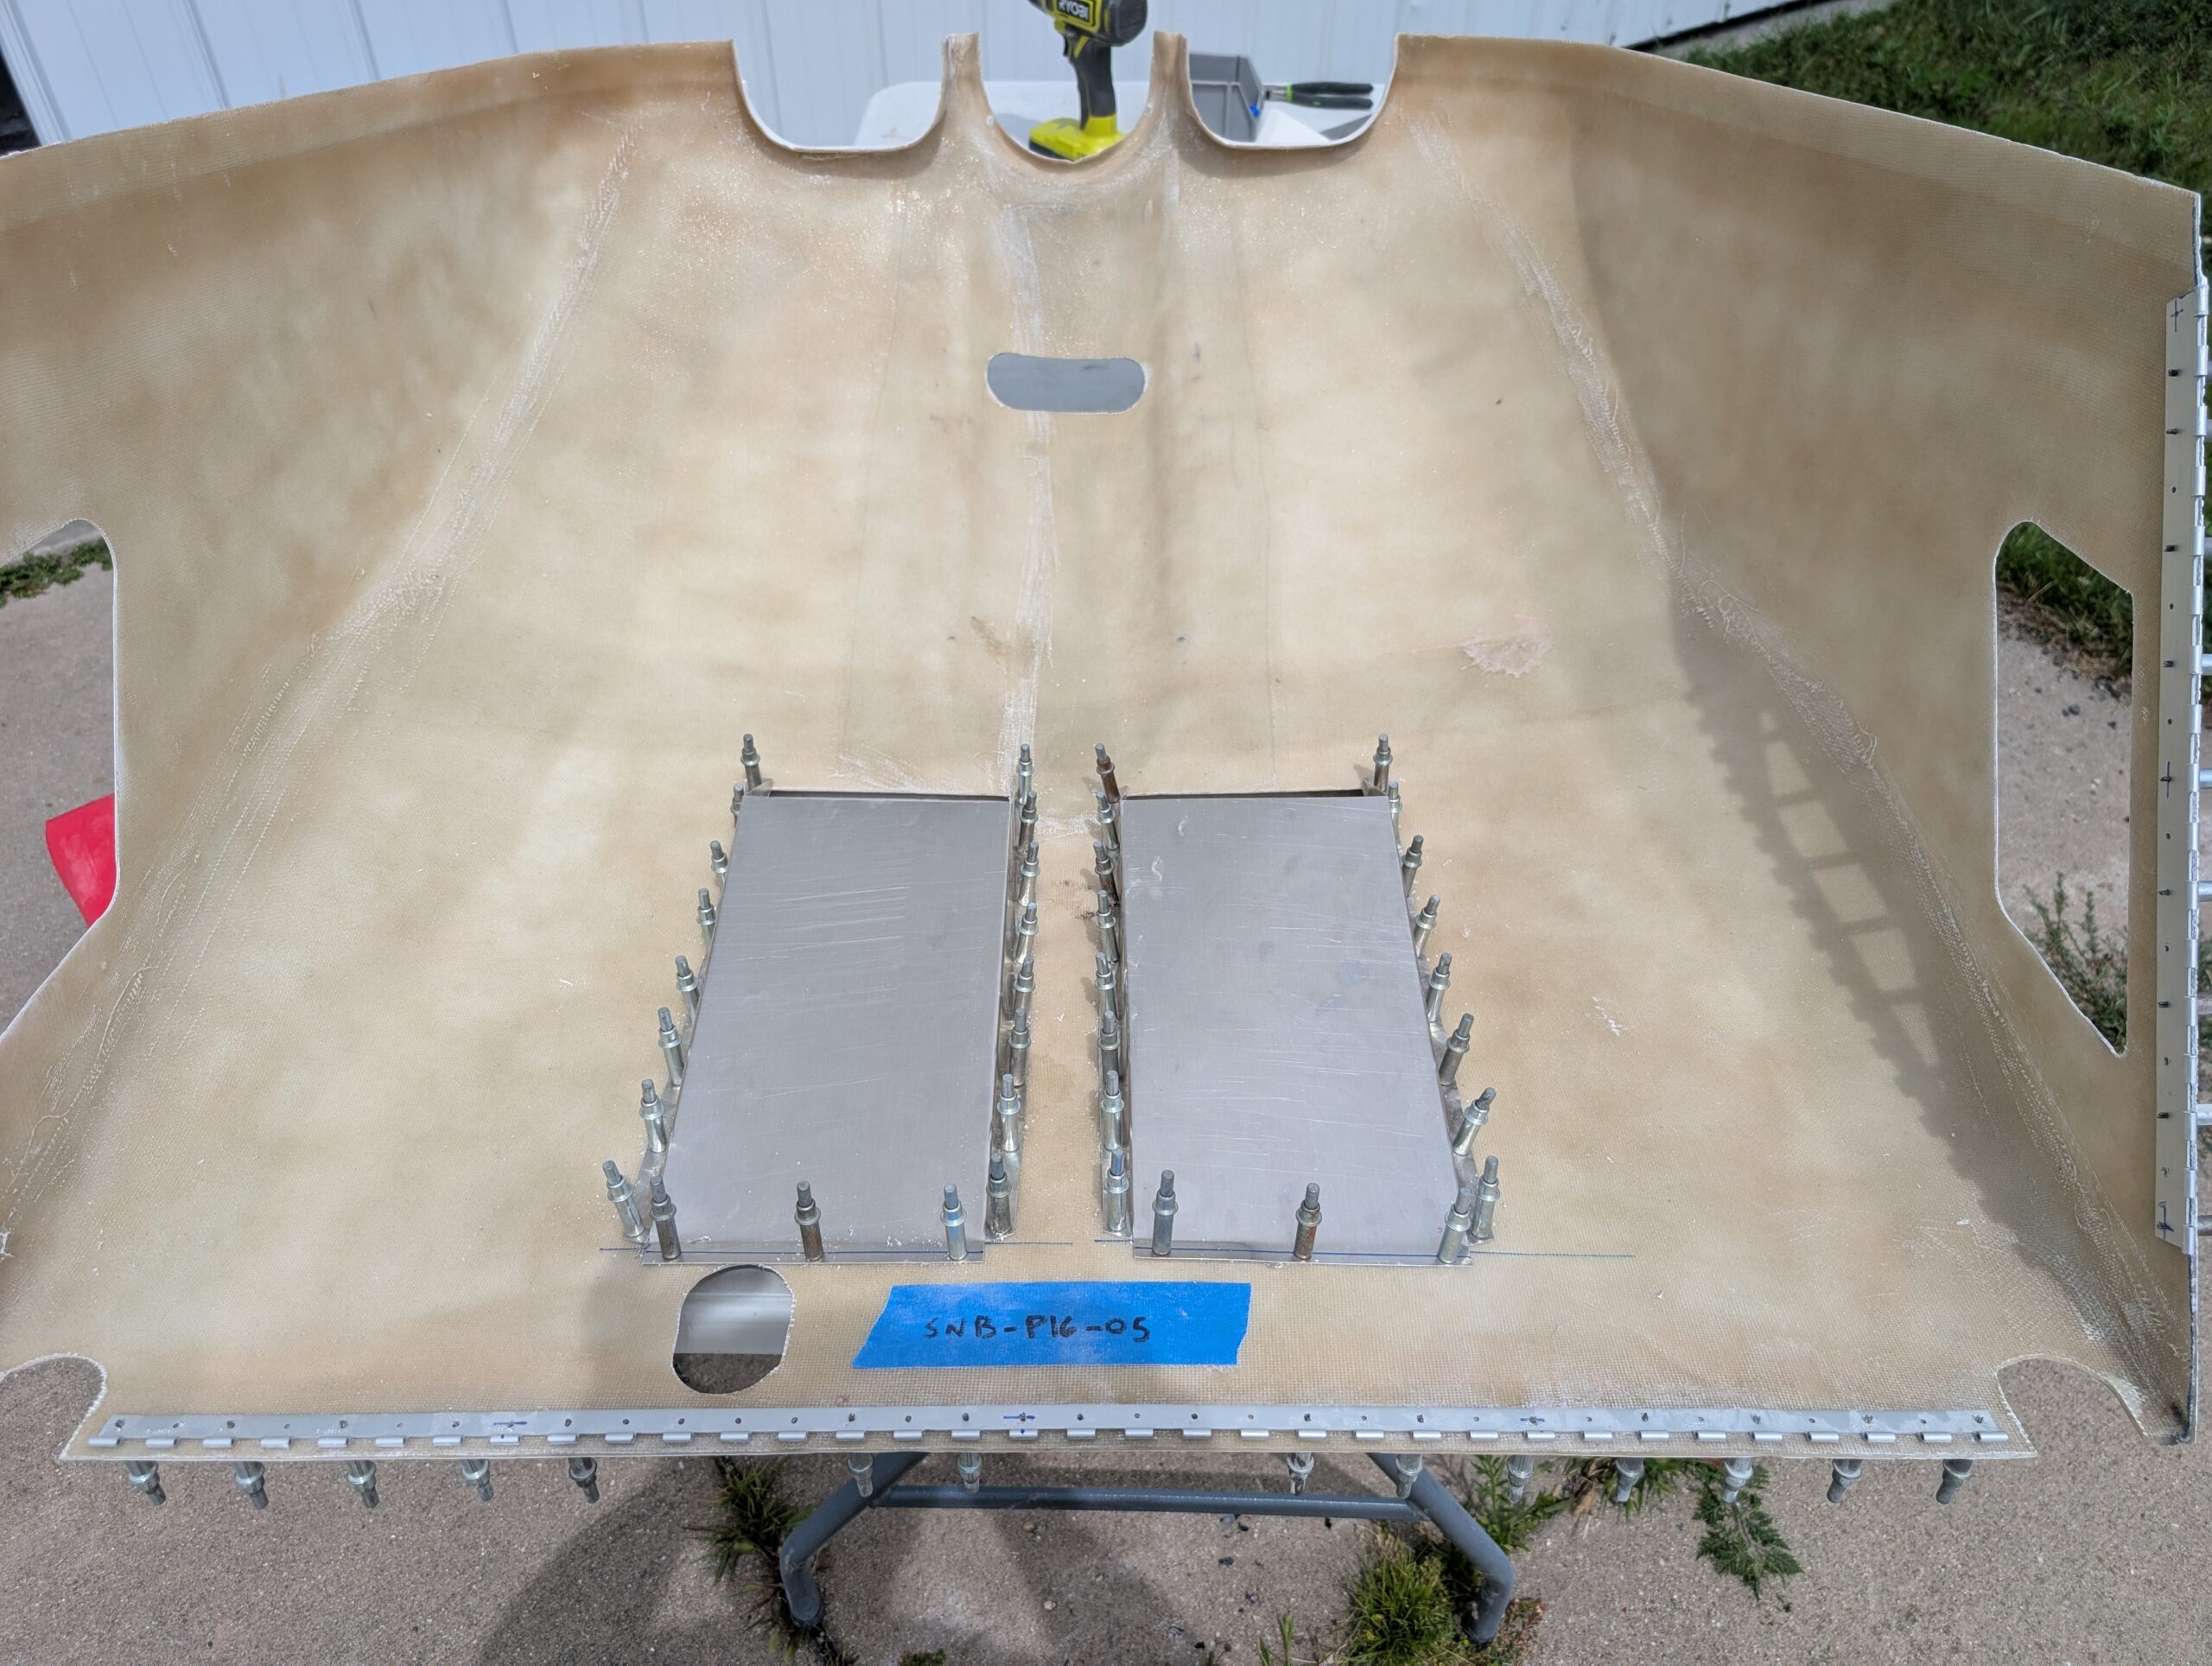
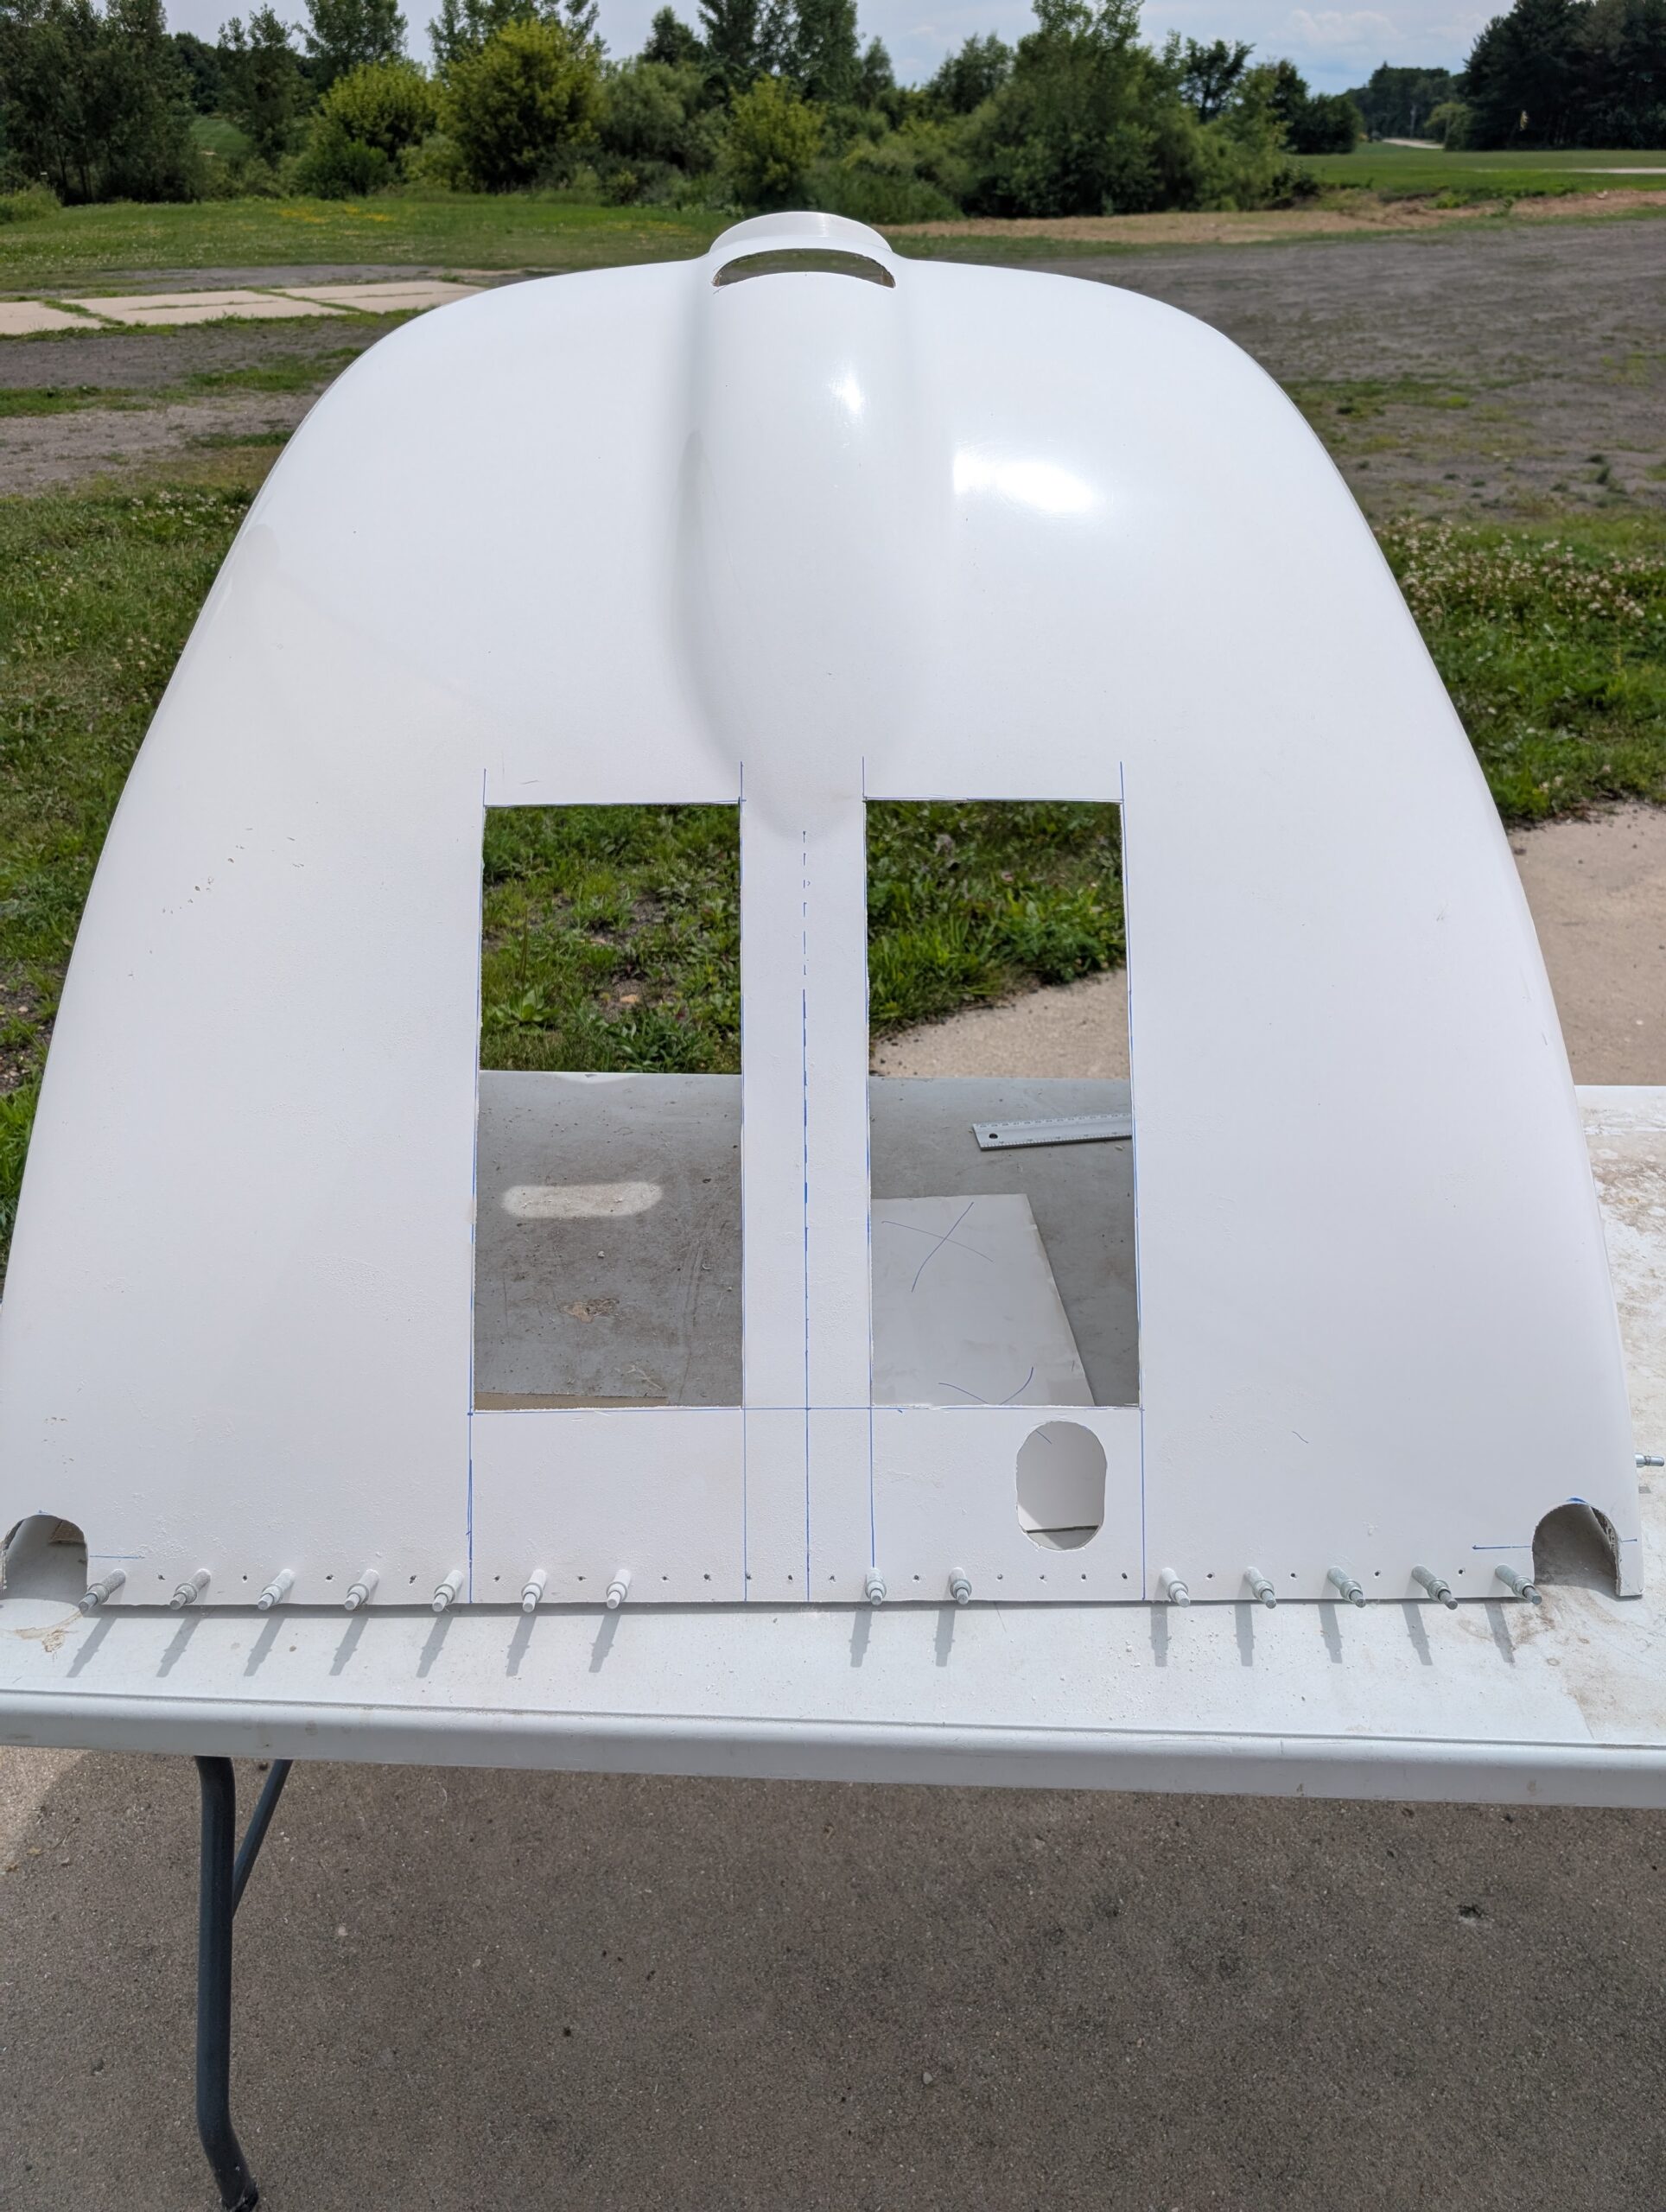
Bent exhaust tunnels and outlet lips from firewall forward kit blanks. Made flange tool out of scrap phenolic. Bent tunnel sides using bending brake then bent mounting flanges using homemade flange tool. Aligned exhaust tunnels onto newly cut cowl openings and pilot drilled and clecoed exhaust tunnels to lower cowl. Tried to install lower cowl…
Cowl Fiberglass Work – Part 4
Removed upper cowl from lower cowl again and began sanding upper cowl. Started with 60 grit and moved up to 240 grit sandpaper to better blend transition area. Finished sanding with upper cowl mocked up onto lower cowl to better blend transition. After sanding most of the new work with 240 grit, discovered a few…
Cowl Fiberglass Work – Part 3
After allowing epoxy to cure, used 60 grit sandpaper and hand sanding block to rough shape cowl curvature and knock down spatter and high spots. Tried to focus on transition areas between existing cowl and new work to make transition smoother. Initial sanding identified multiple valleys and pin holes that will need another coat of…
Cowl Fiberglass Work – Part 2
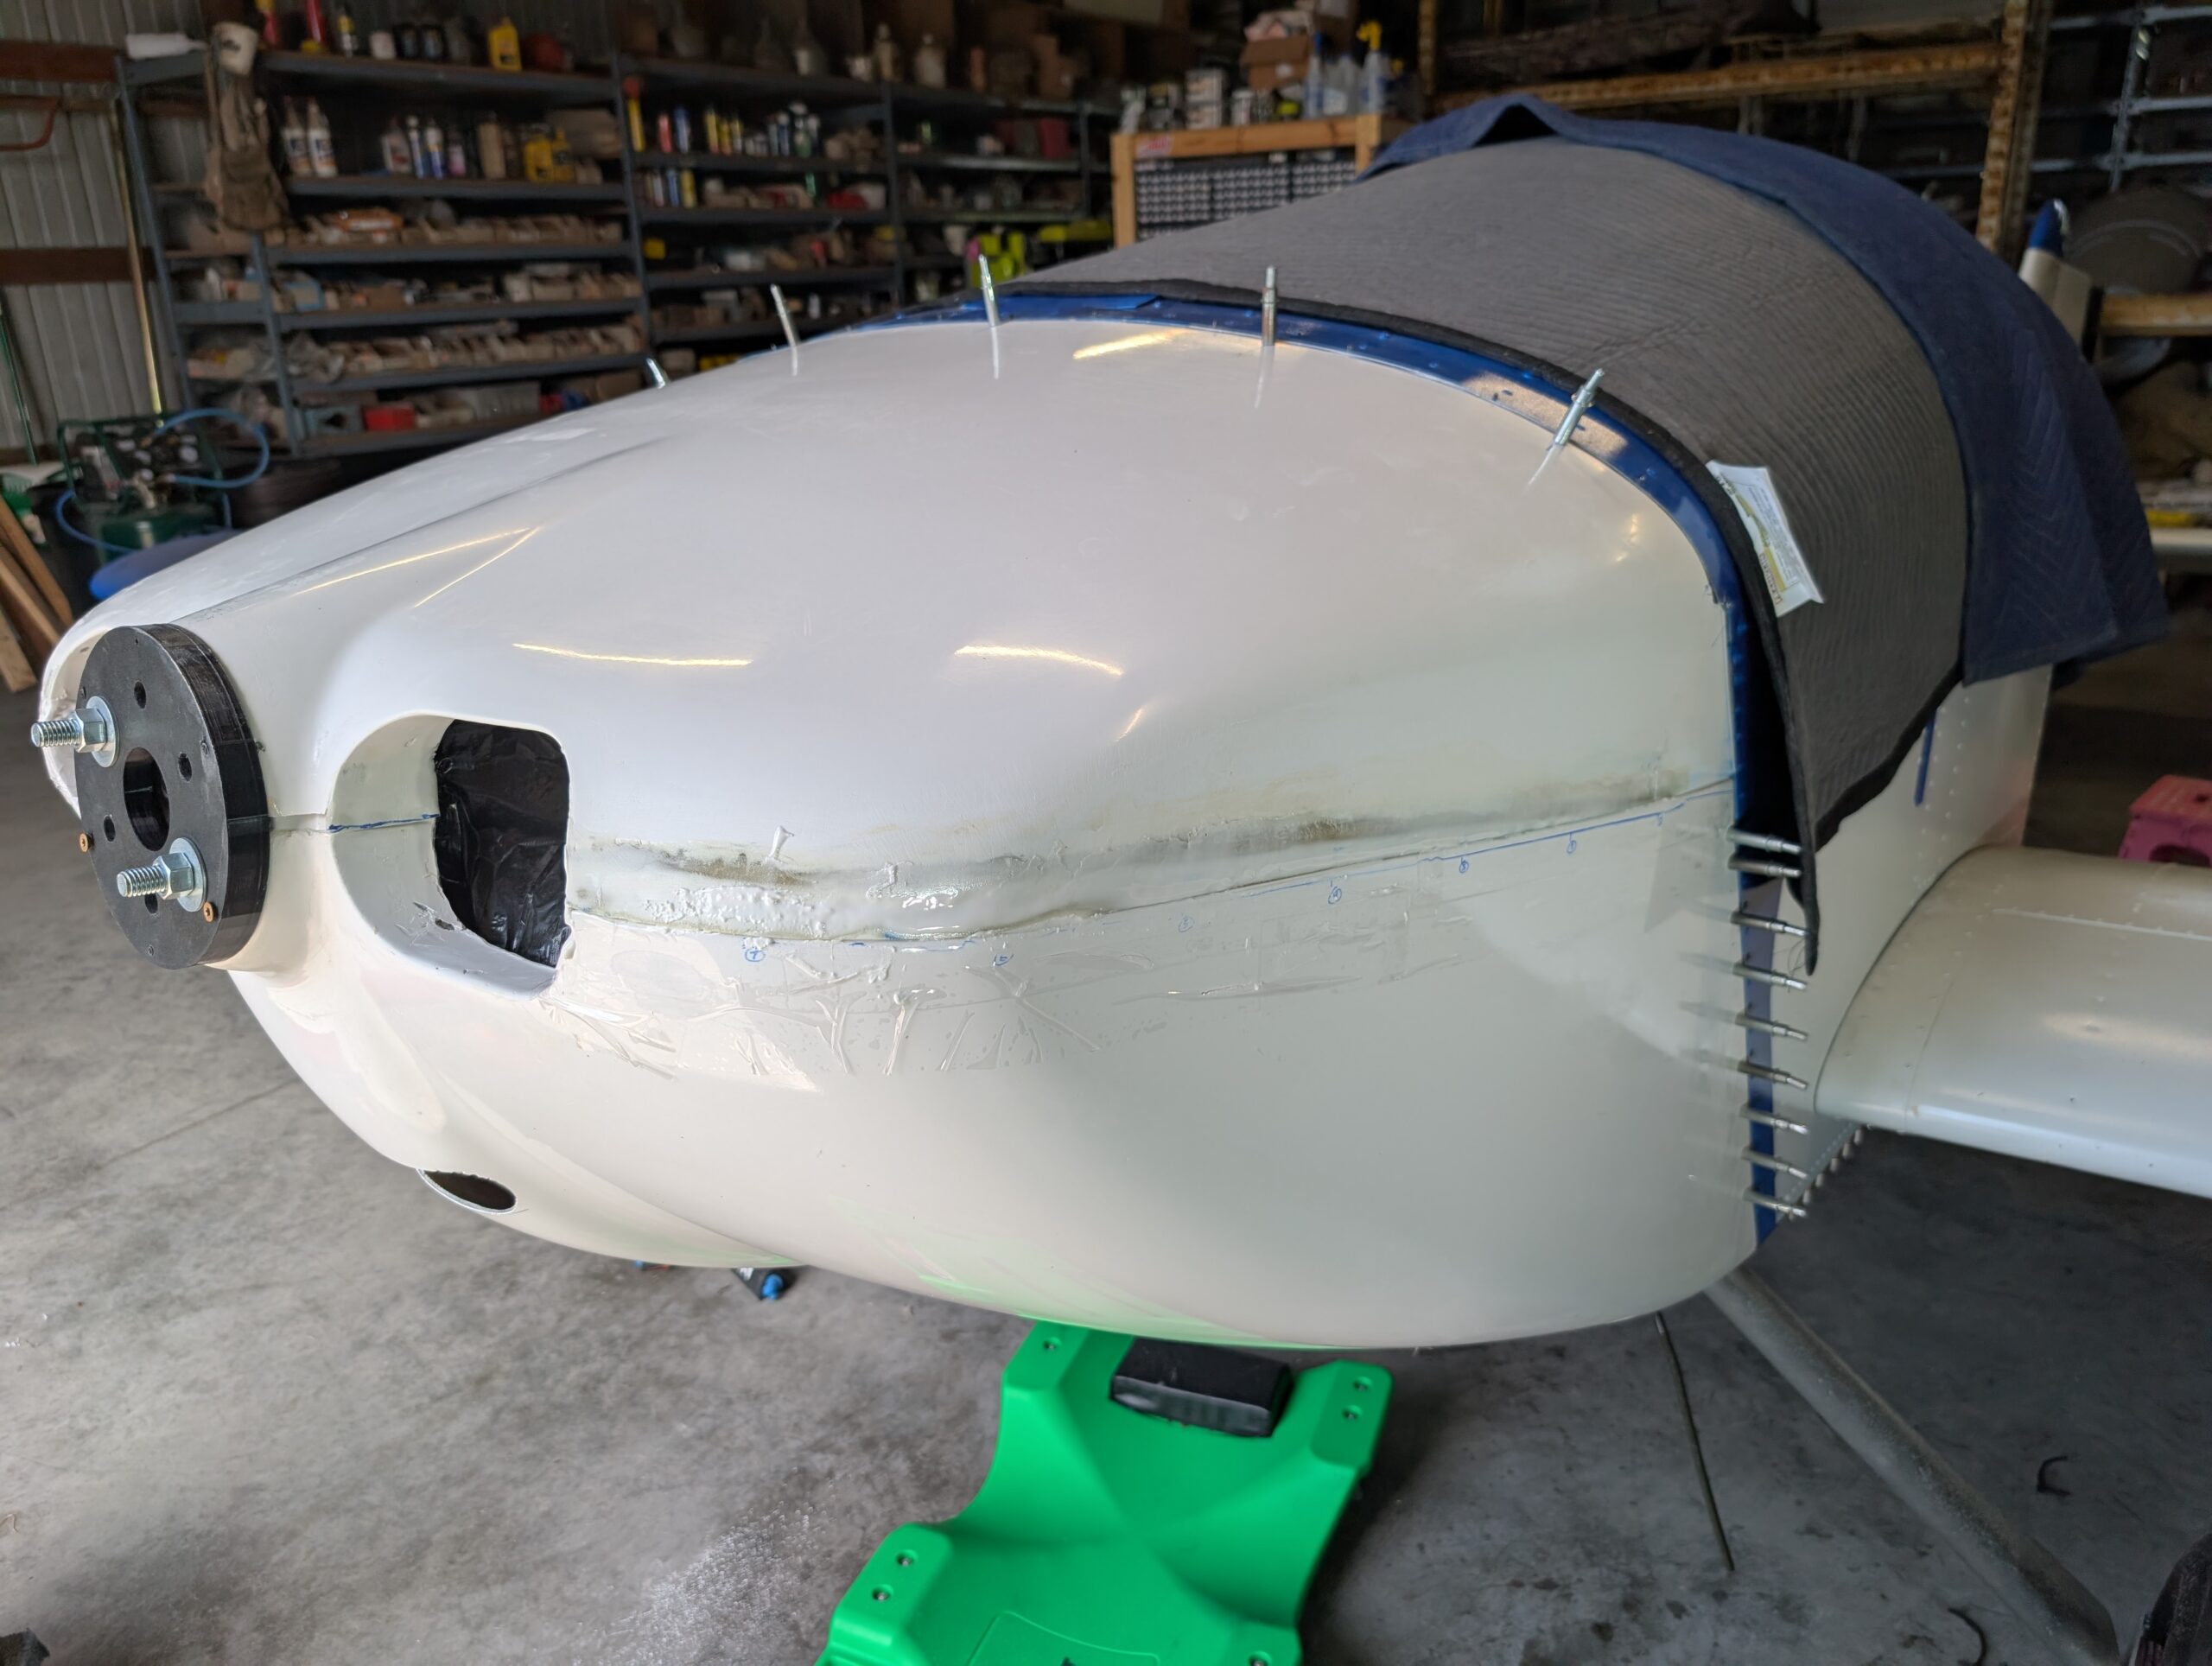
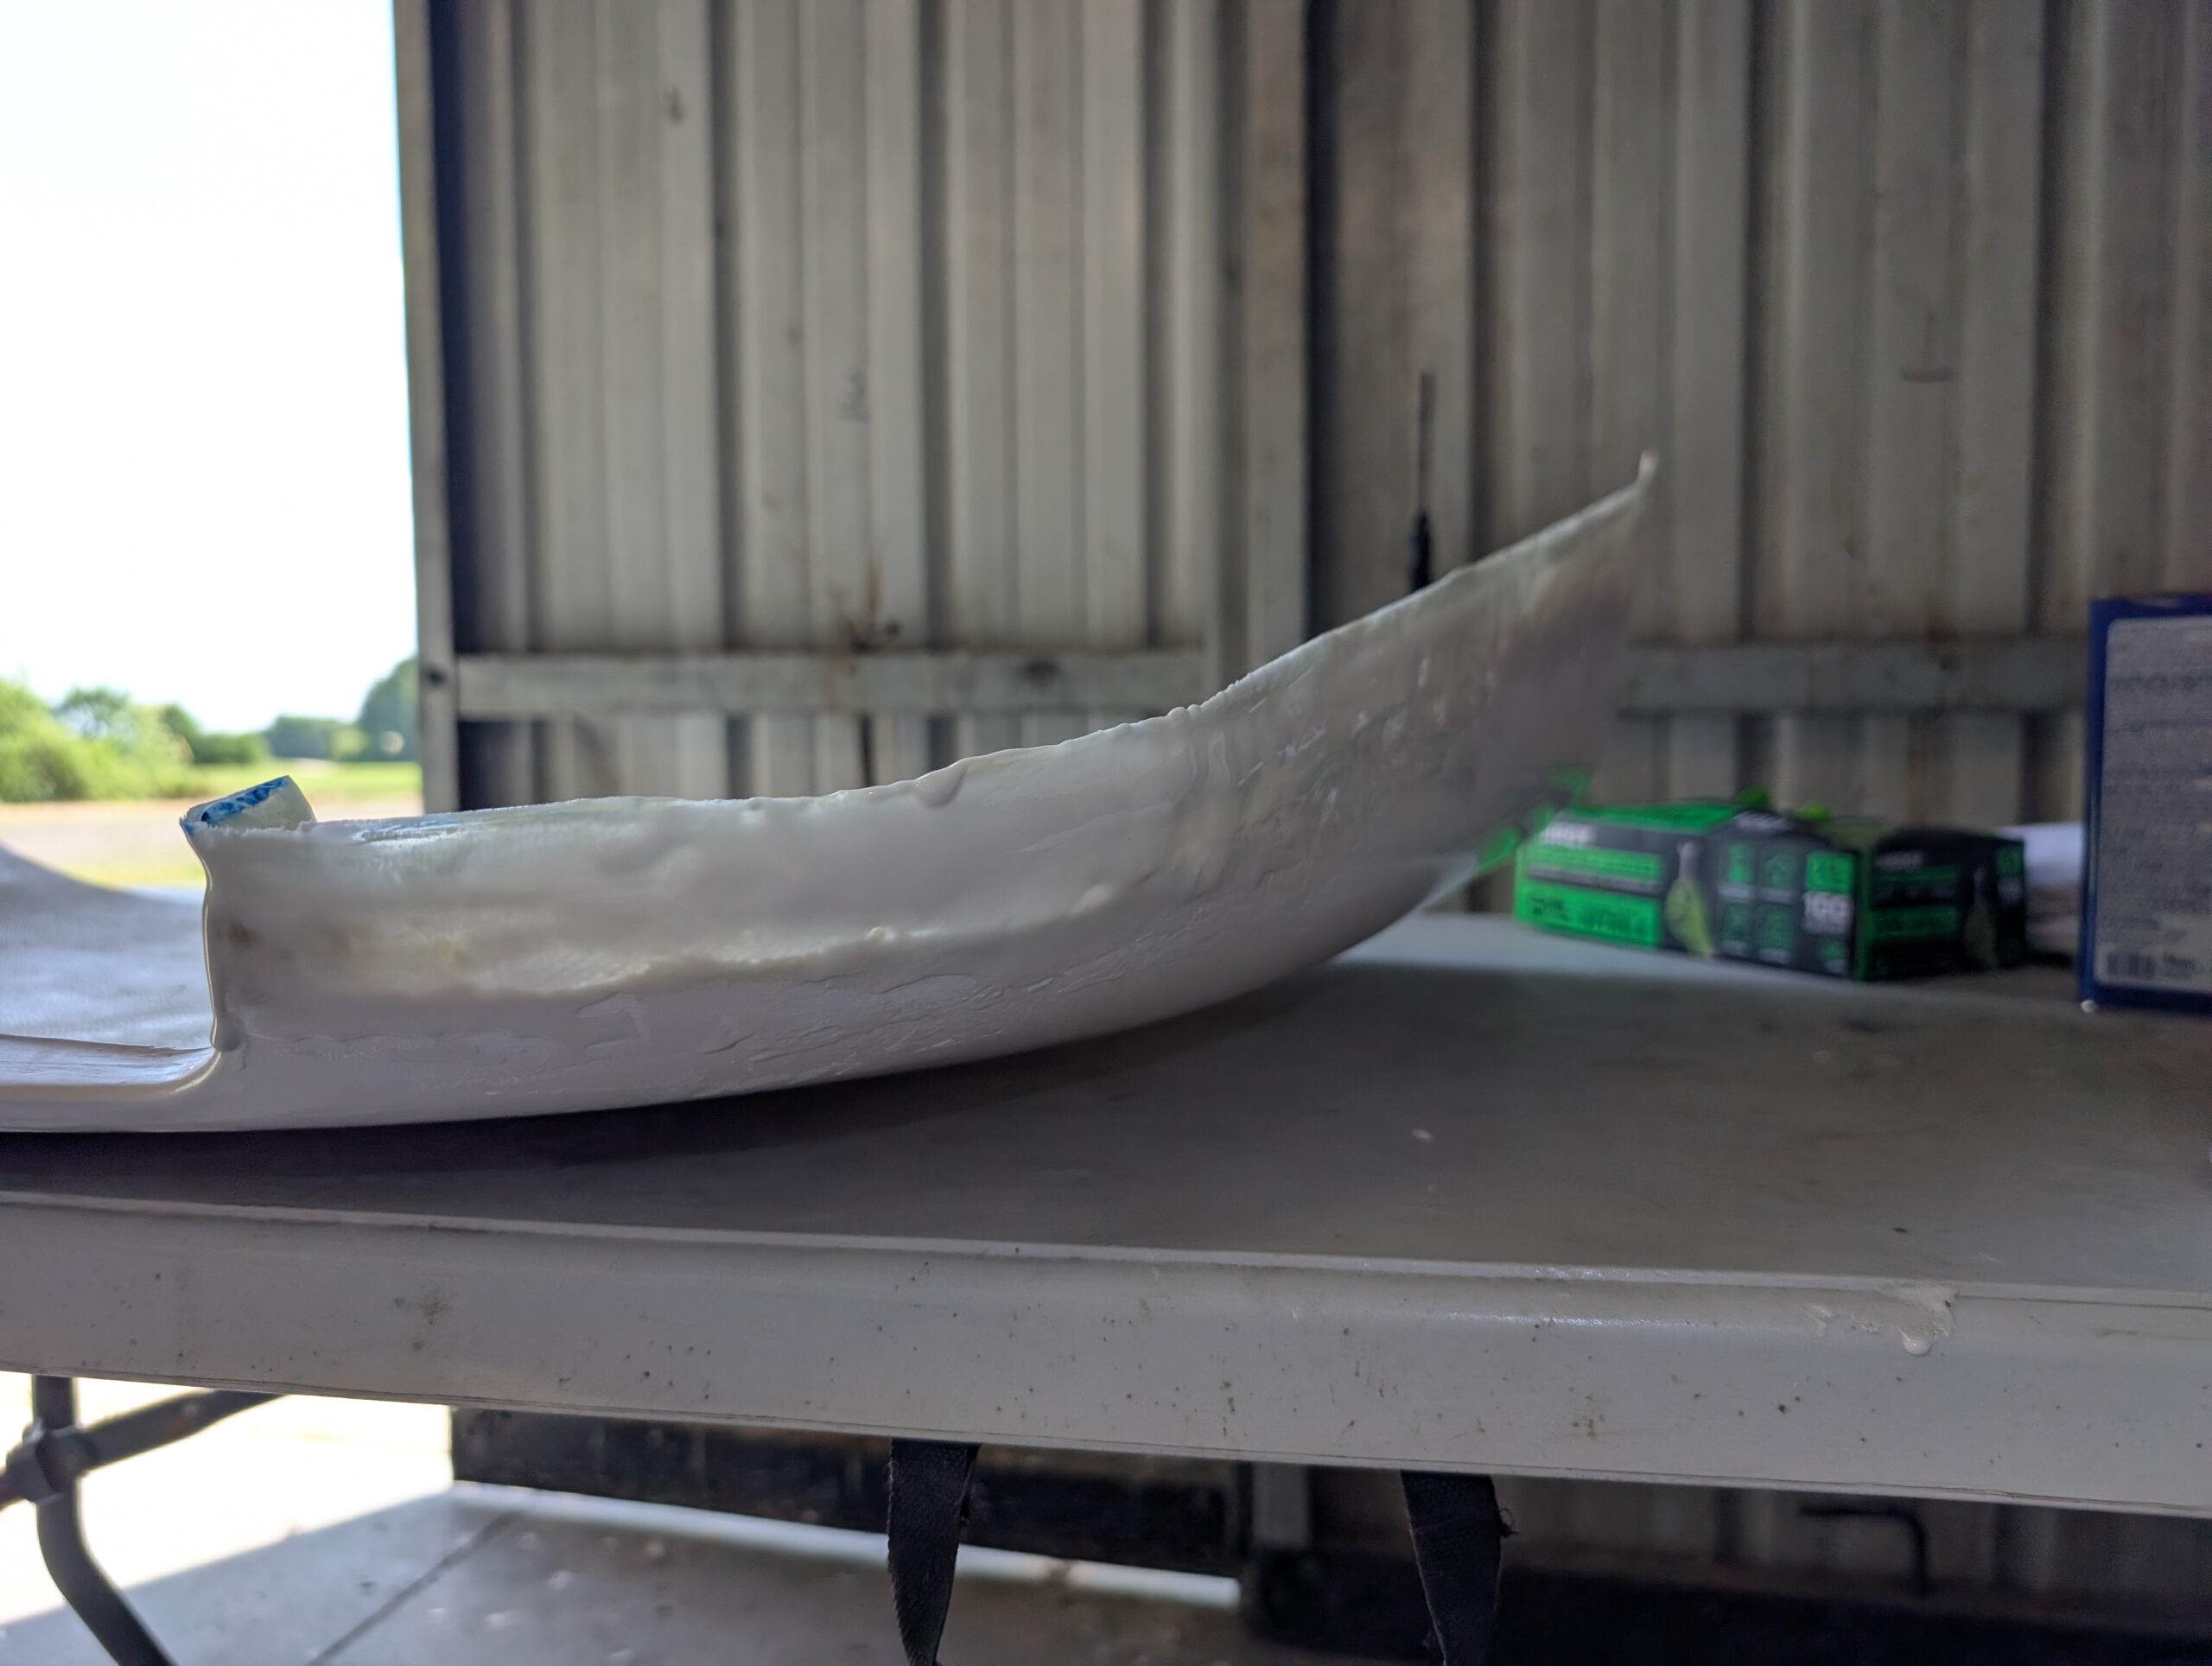
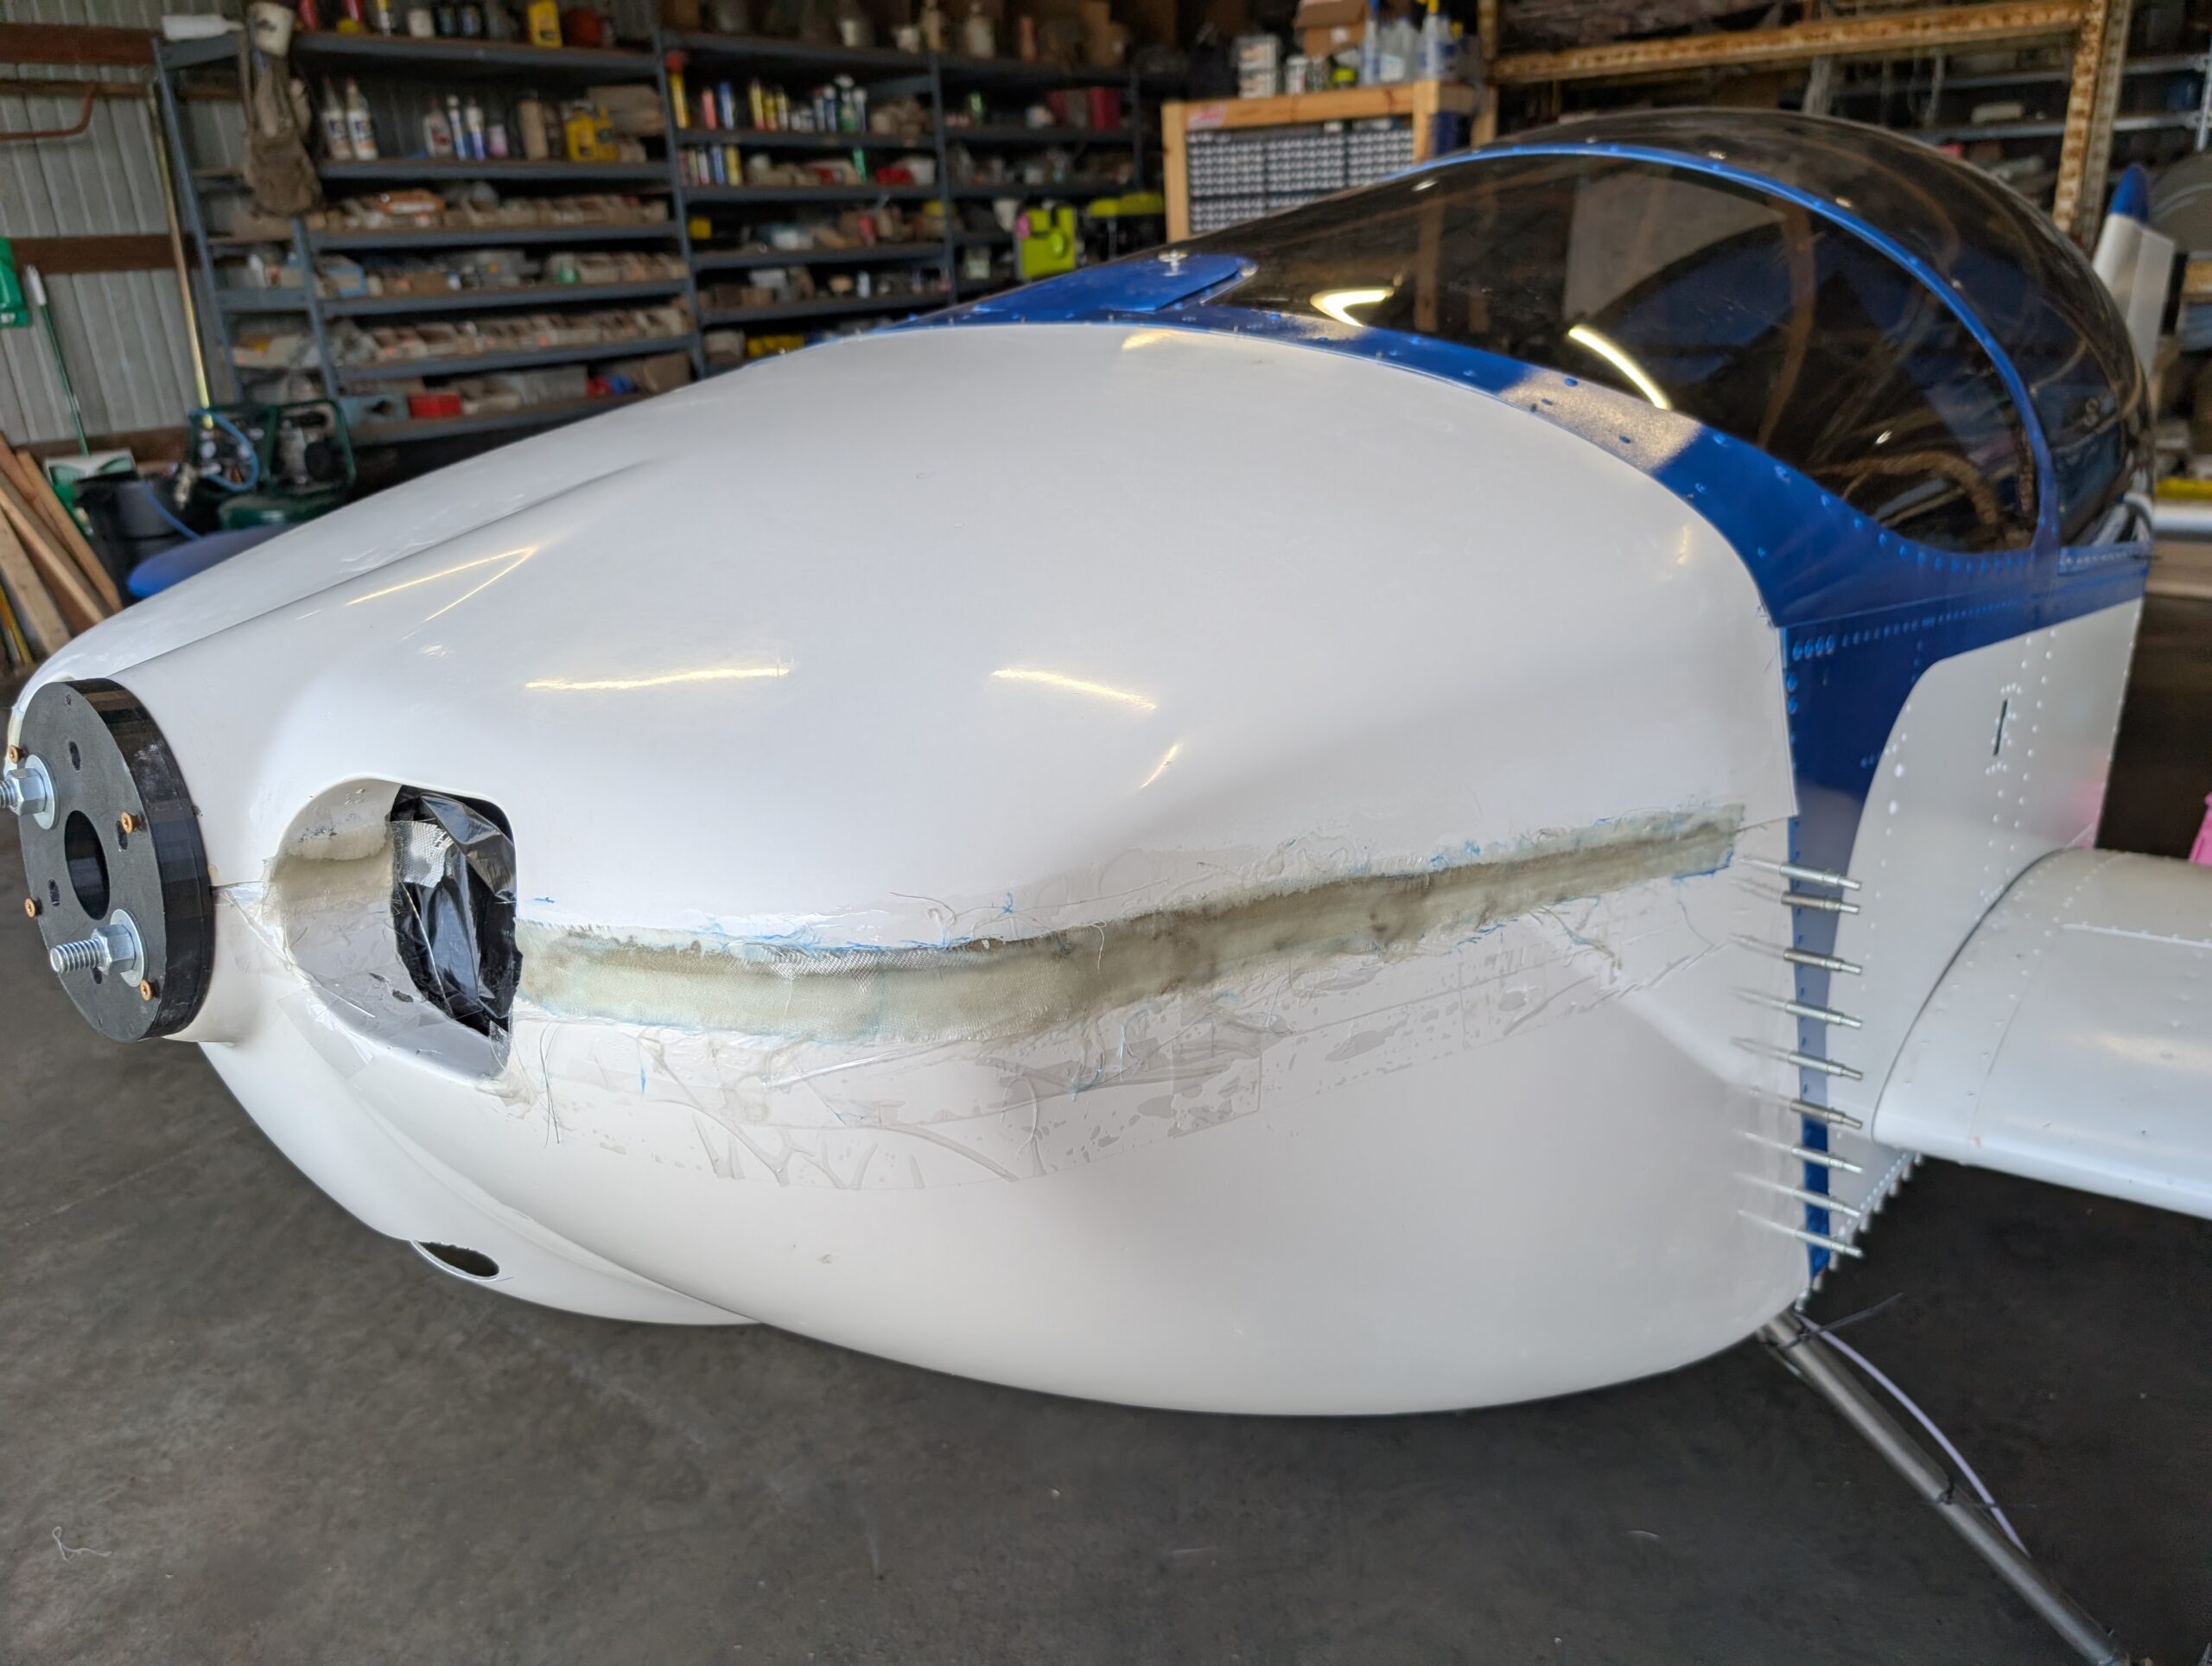
After leaving the fiberglass to cure for a couple days, marked rough cut line and gently pried the top cowling off of the bottom cowling without incident. Rough sanded upper cowl using 60 grit sand paper to level bottom edge and start to feather transition area. Temporarily installed top cowl back onto airplane to check…
Cowl Fiberglass Work – Part 1
Prepped upper cowl for fiberglass work by cleaning areas with acetone and adding more packing tape to lower cowl. Cut (3) 32″ strips of fiberglass for each side of the cowl at 1.25, 1.50, and 1.75 inches wide. Mixed small batches of West system epoxy (105 resin and 205 hardener) and saturated bottom strip before…
Cowl Fitment – Part 7
Continued to sand lower edge of upper cowling in preparation of lengthening the lower edge using hand and orbital sander with 60 grit. Finished rough sanding with 120 grit discs; should now be ready for fiberglass work. Cleaned upper edge of lower cowl with paint prep solution and applied packing tape to overlap area. Covered…
Cowl Fitment – Part 6
Began prepping upper cowl for fiberglass work by removing prop and spinner from engine then reinstalling lower cowl and cowl alignment spacer. Placed upper cowl into approximate position and secured to spacer. Traced 1.5″ line along upper cowl to mark limits of new fiberglass. Removed upper cowl and began to feather lower edge in preparation…
First Engine Run Prep
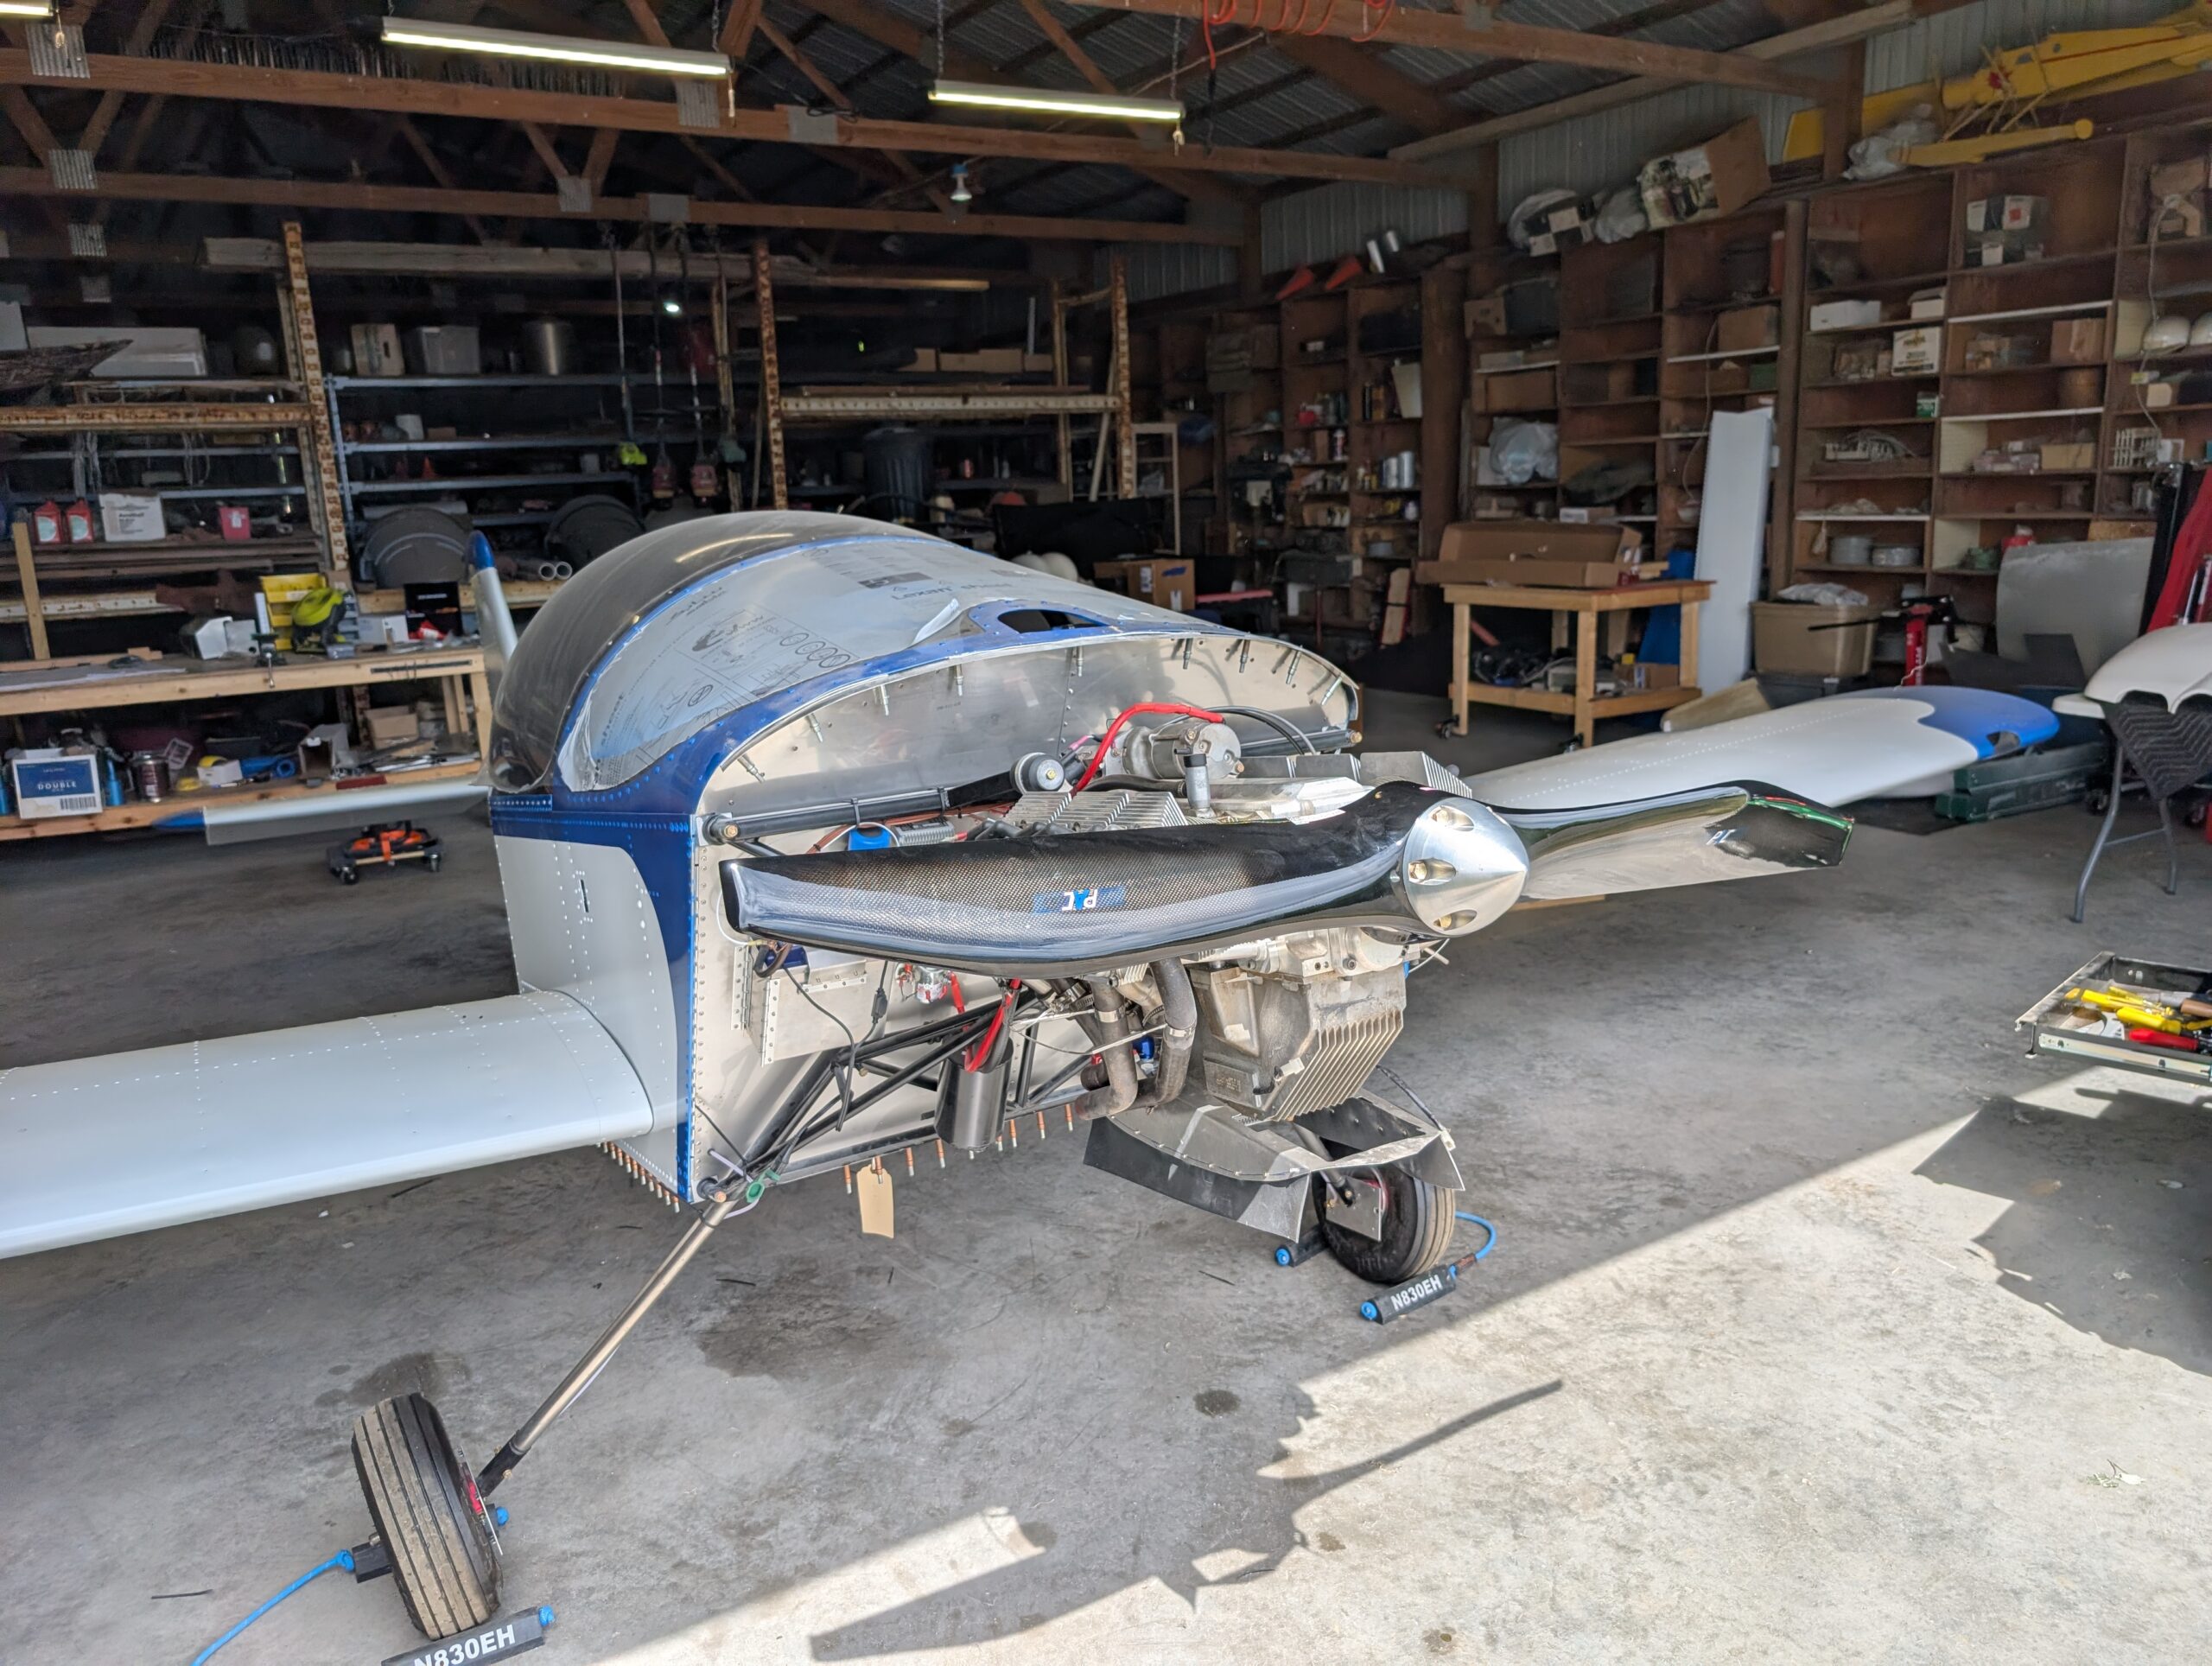
Began preparing engine for first run by draining preservation oil from engine and replacing 3.7 quarts of Shell 15W-50 oil. Replaced oil filter with NAPA 1394 Gold oil filter. Removed and replaced all 12 NGK D9EA spark plugs and set gap at 0.023″. Torqued rocker cover bolts to spec. Installed Sonex exhaust pipes onto engine…
Fuel Leak Testing and Vent Installation
Added fuel to tank in order to test firewall forward side of fuel system. Upon opening fuel shutoff valve, discovered that hardline to system drain was leaking from both AN fittings. Upon removing the line, discovered that the flare fittings were not made properly. Remade hard line and installed new fittings. Leak checked firewall forward…
Initial Prop Installation
Began initial prop installation by enlarging holes in Jabiru prop bushings from 1/4″ to 3/8″ using drill press. Verified holes in prop did not need any reaming but needed to ream holes in spinner slightly to allow for smooth bolt installation. Bolted prop and spinner to prop flange using AN6 hardware and AN363 lock nuts.…