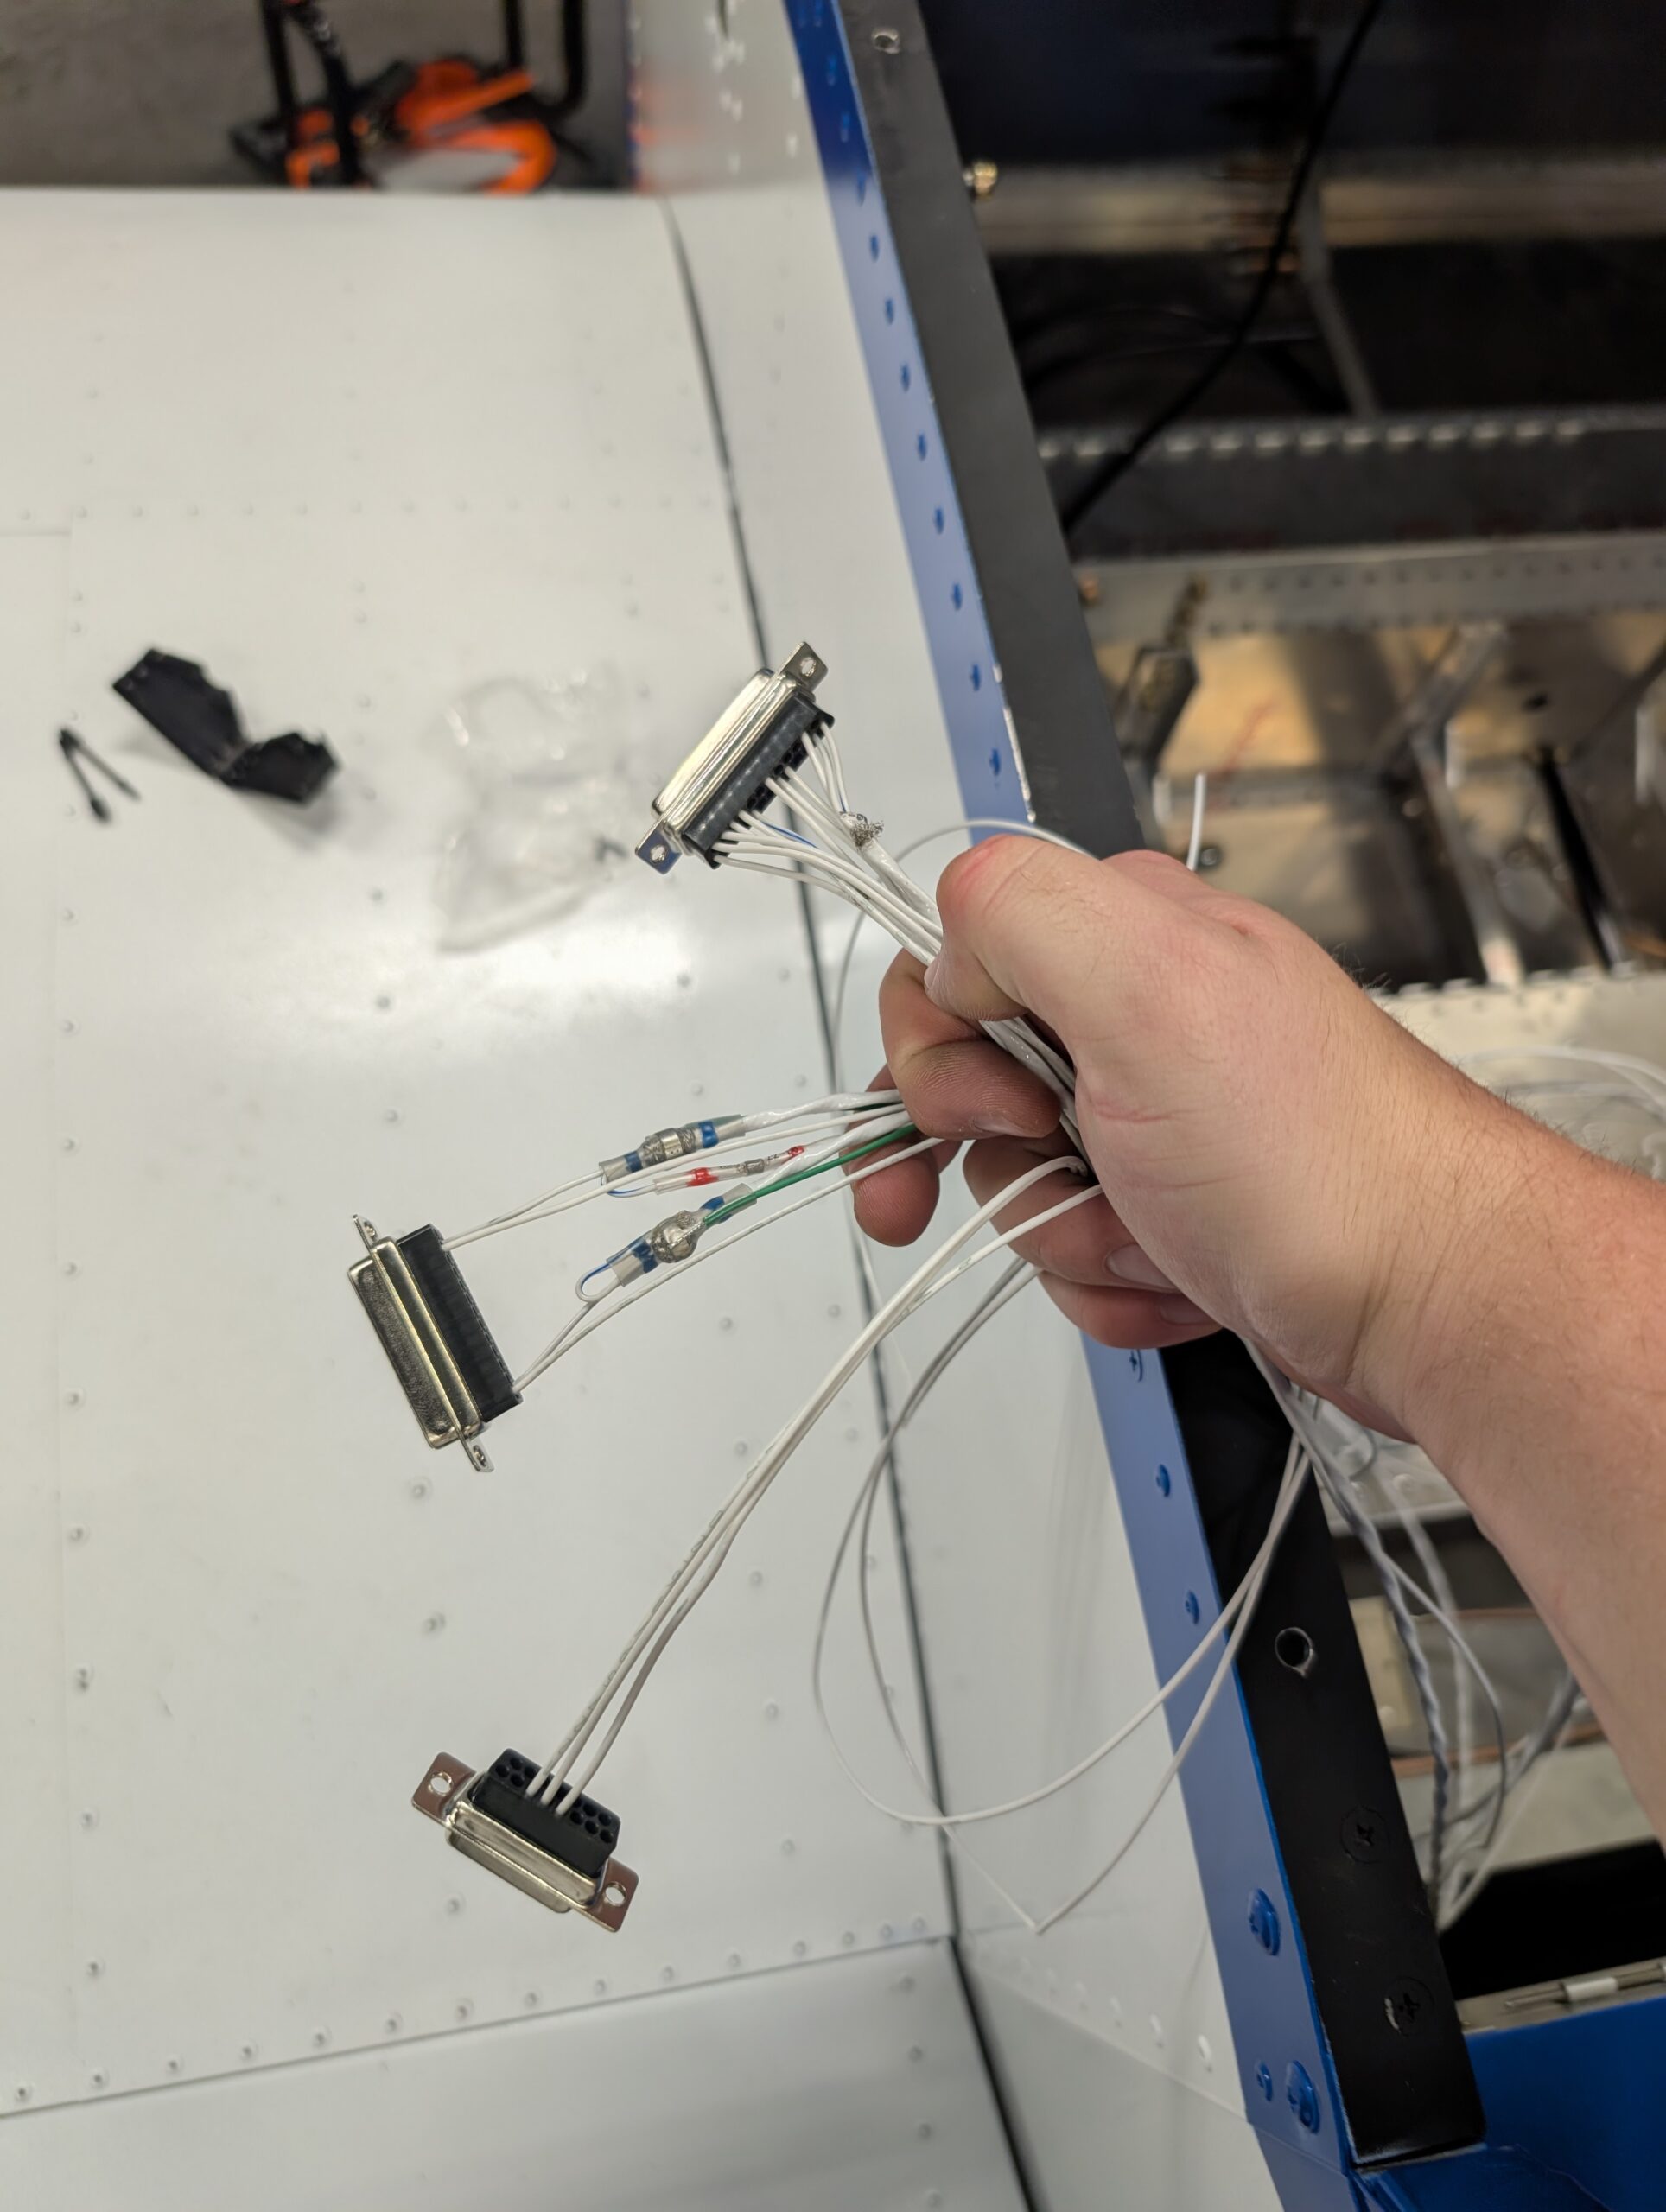
Radio Harness Wiring
Completed wiring harness for the SV-COM-T25 starting at the com radio side. Began harnesses for SV-COM panel and the SV-INTERCOM as well. Will finish populating other harness later. Hours Worked: 2.80

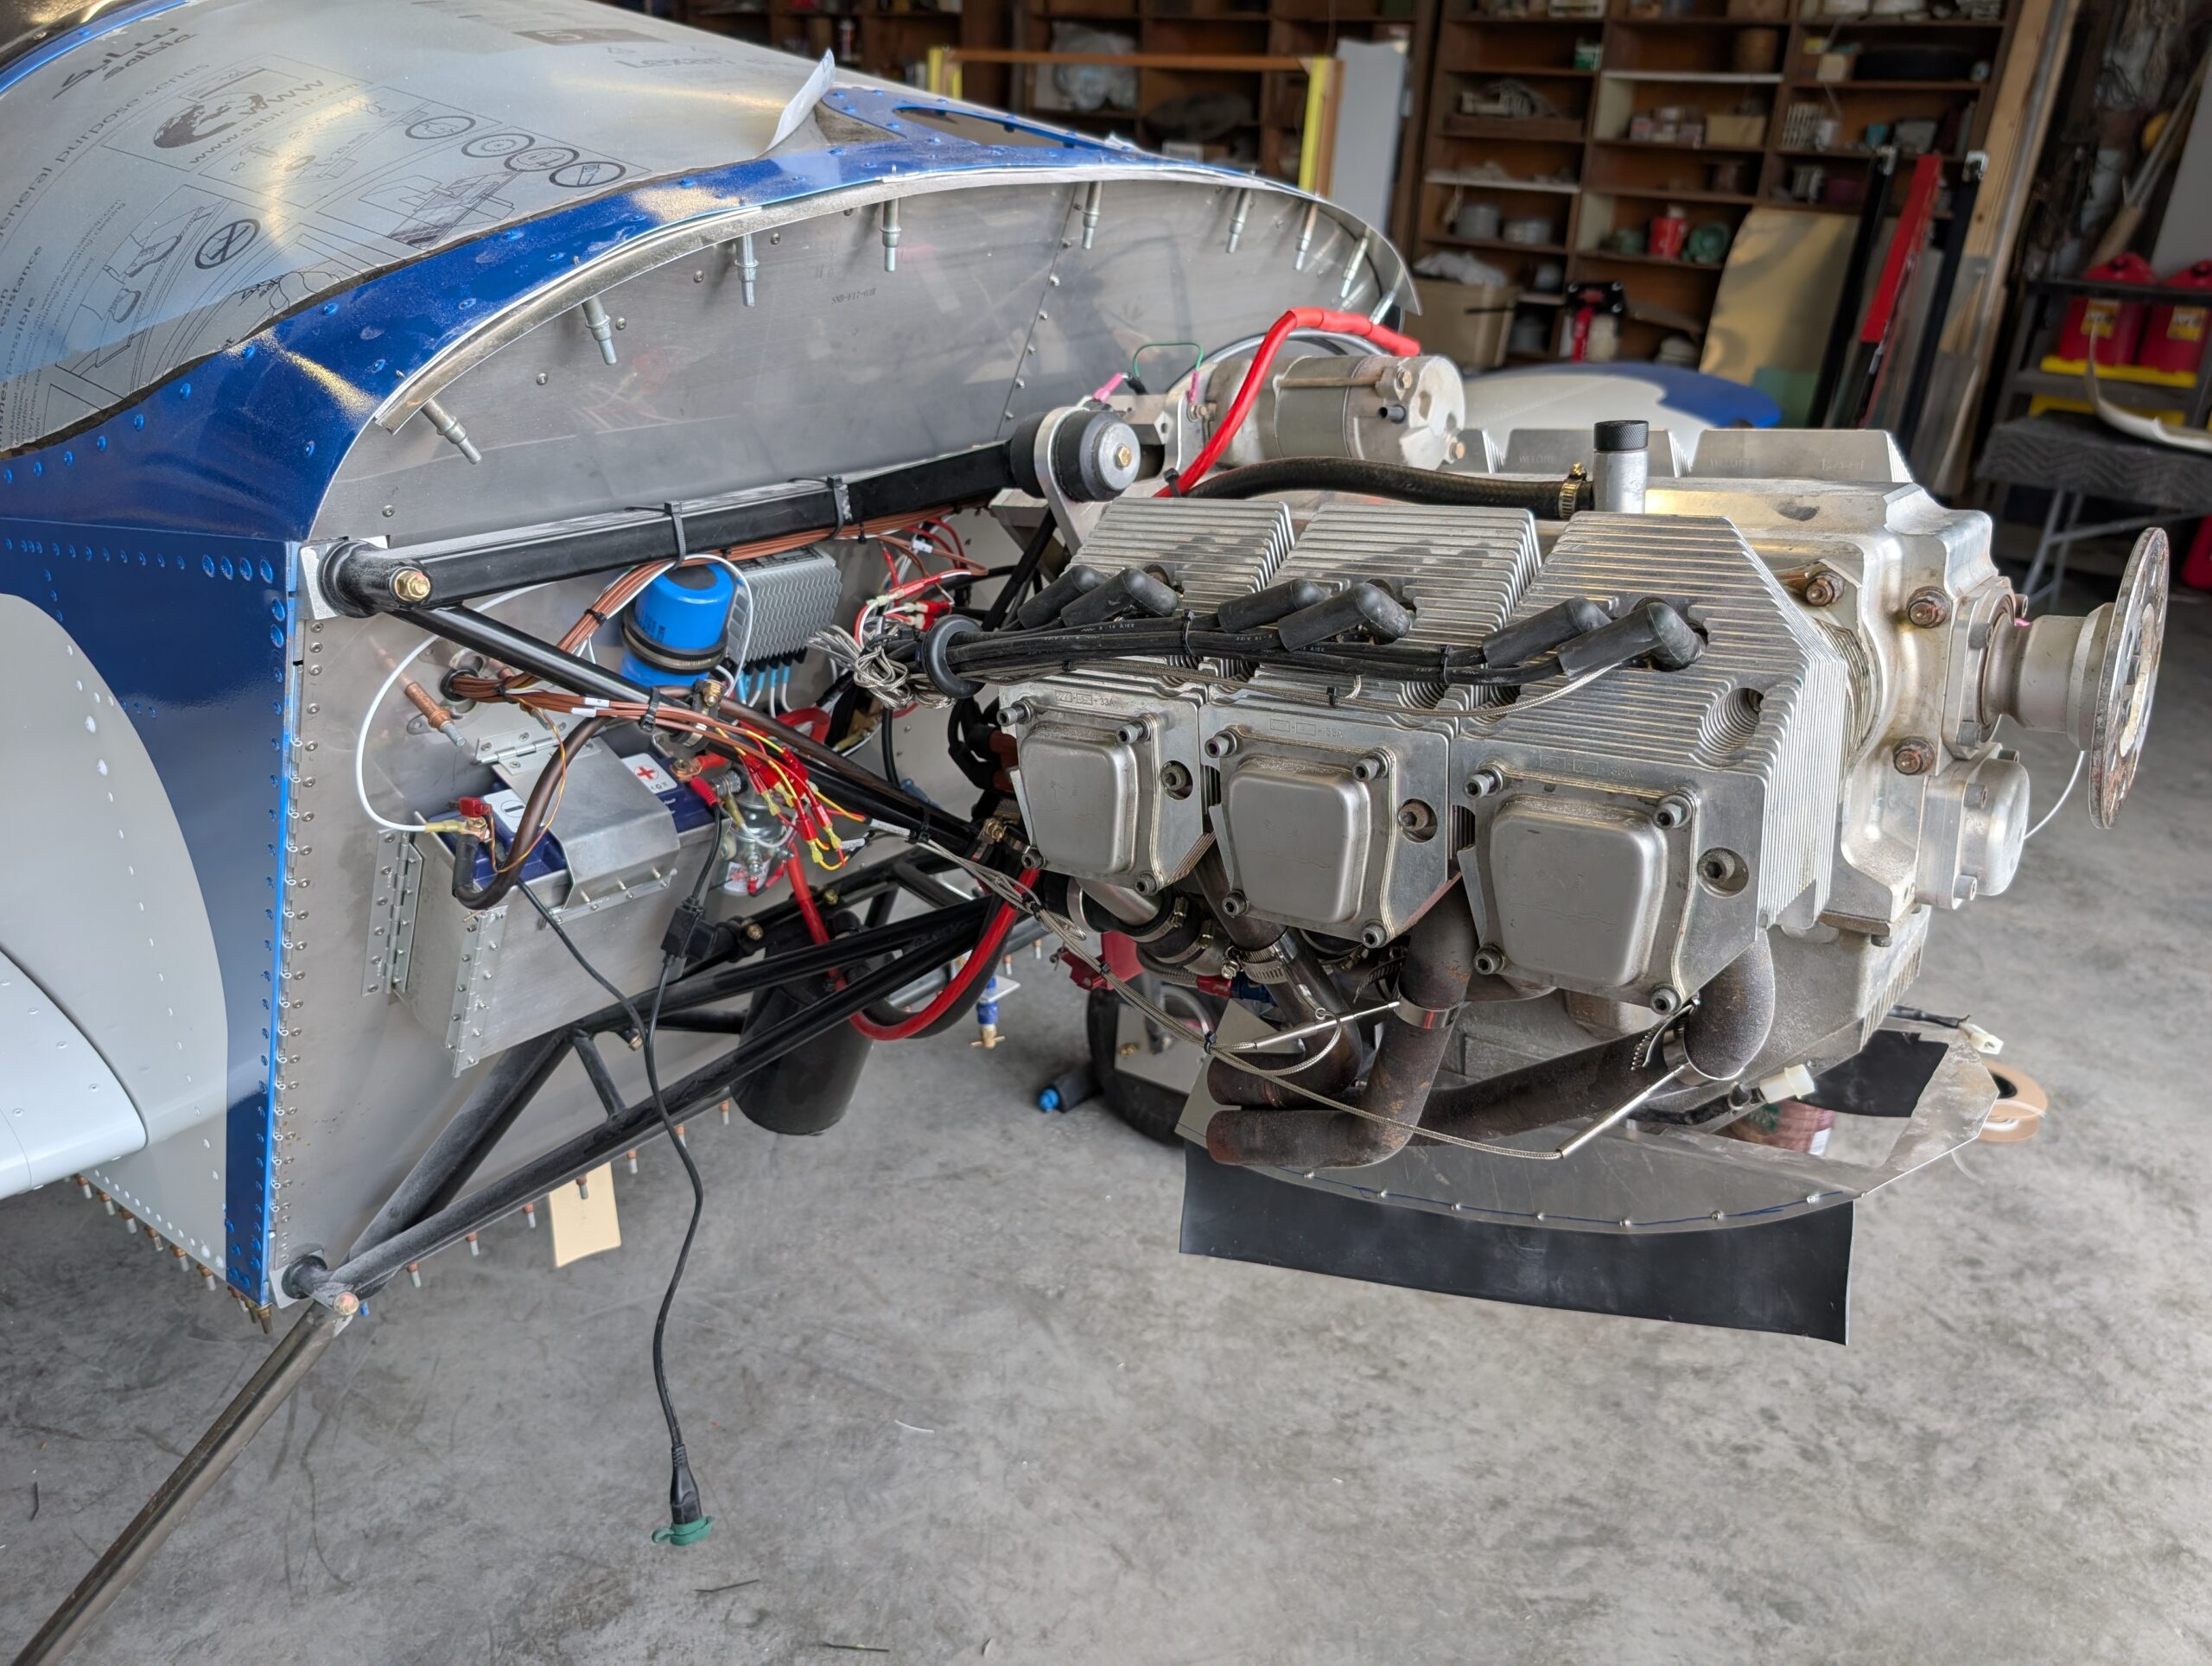
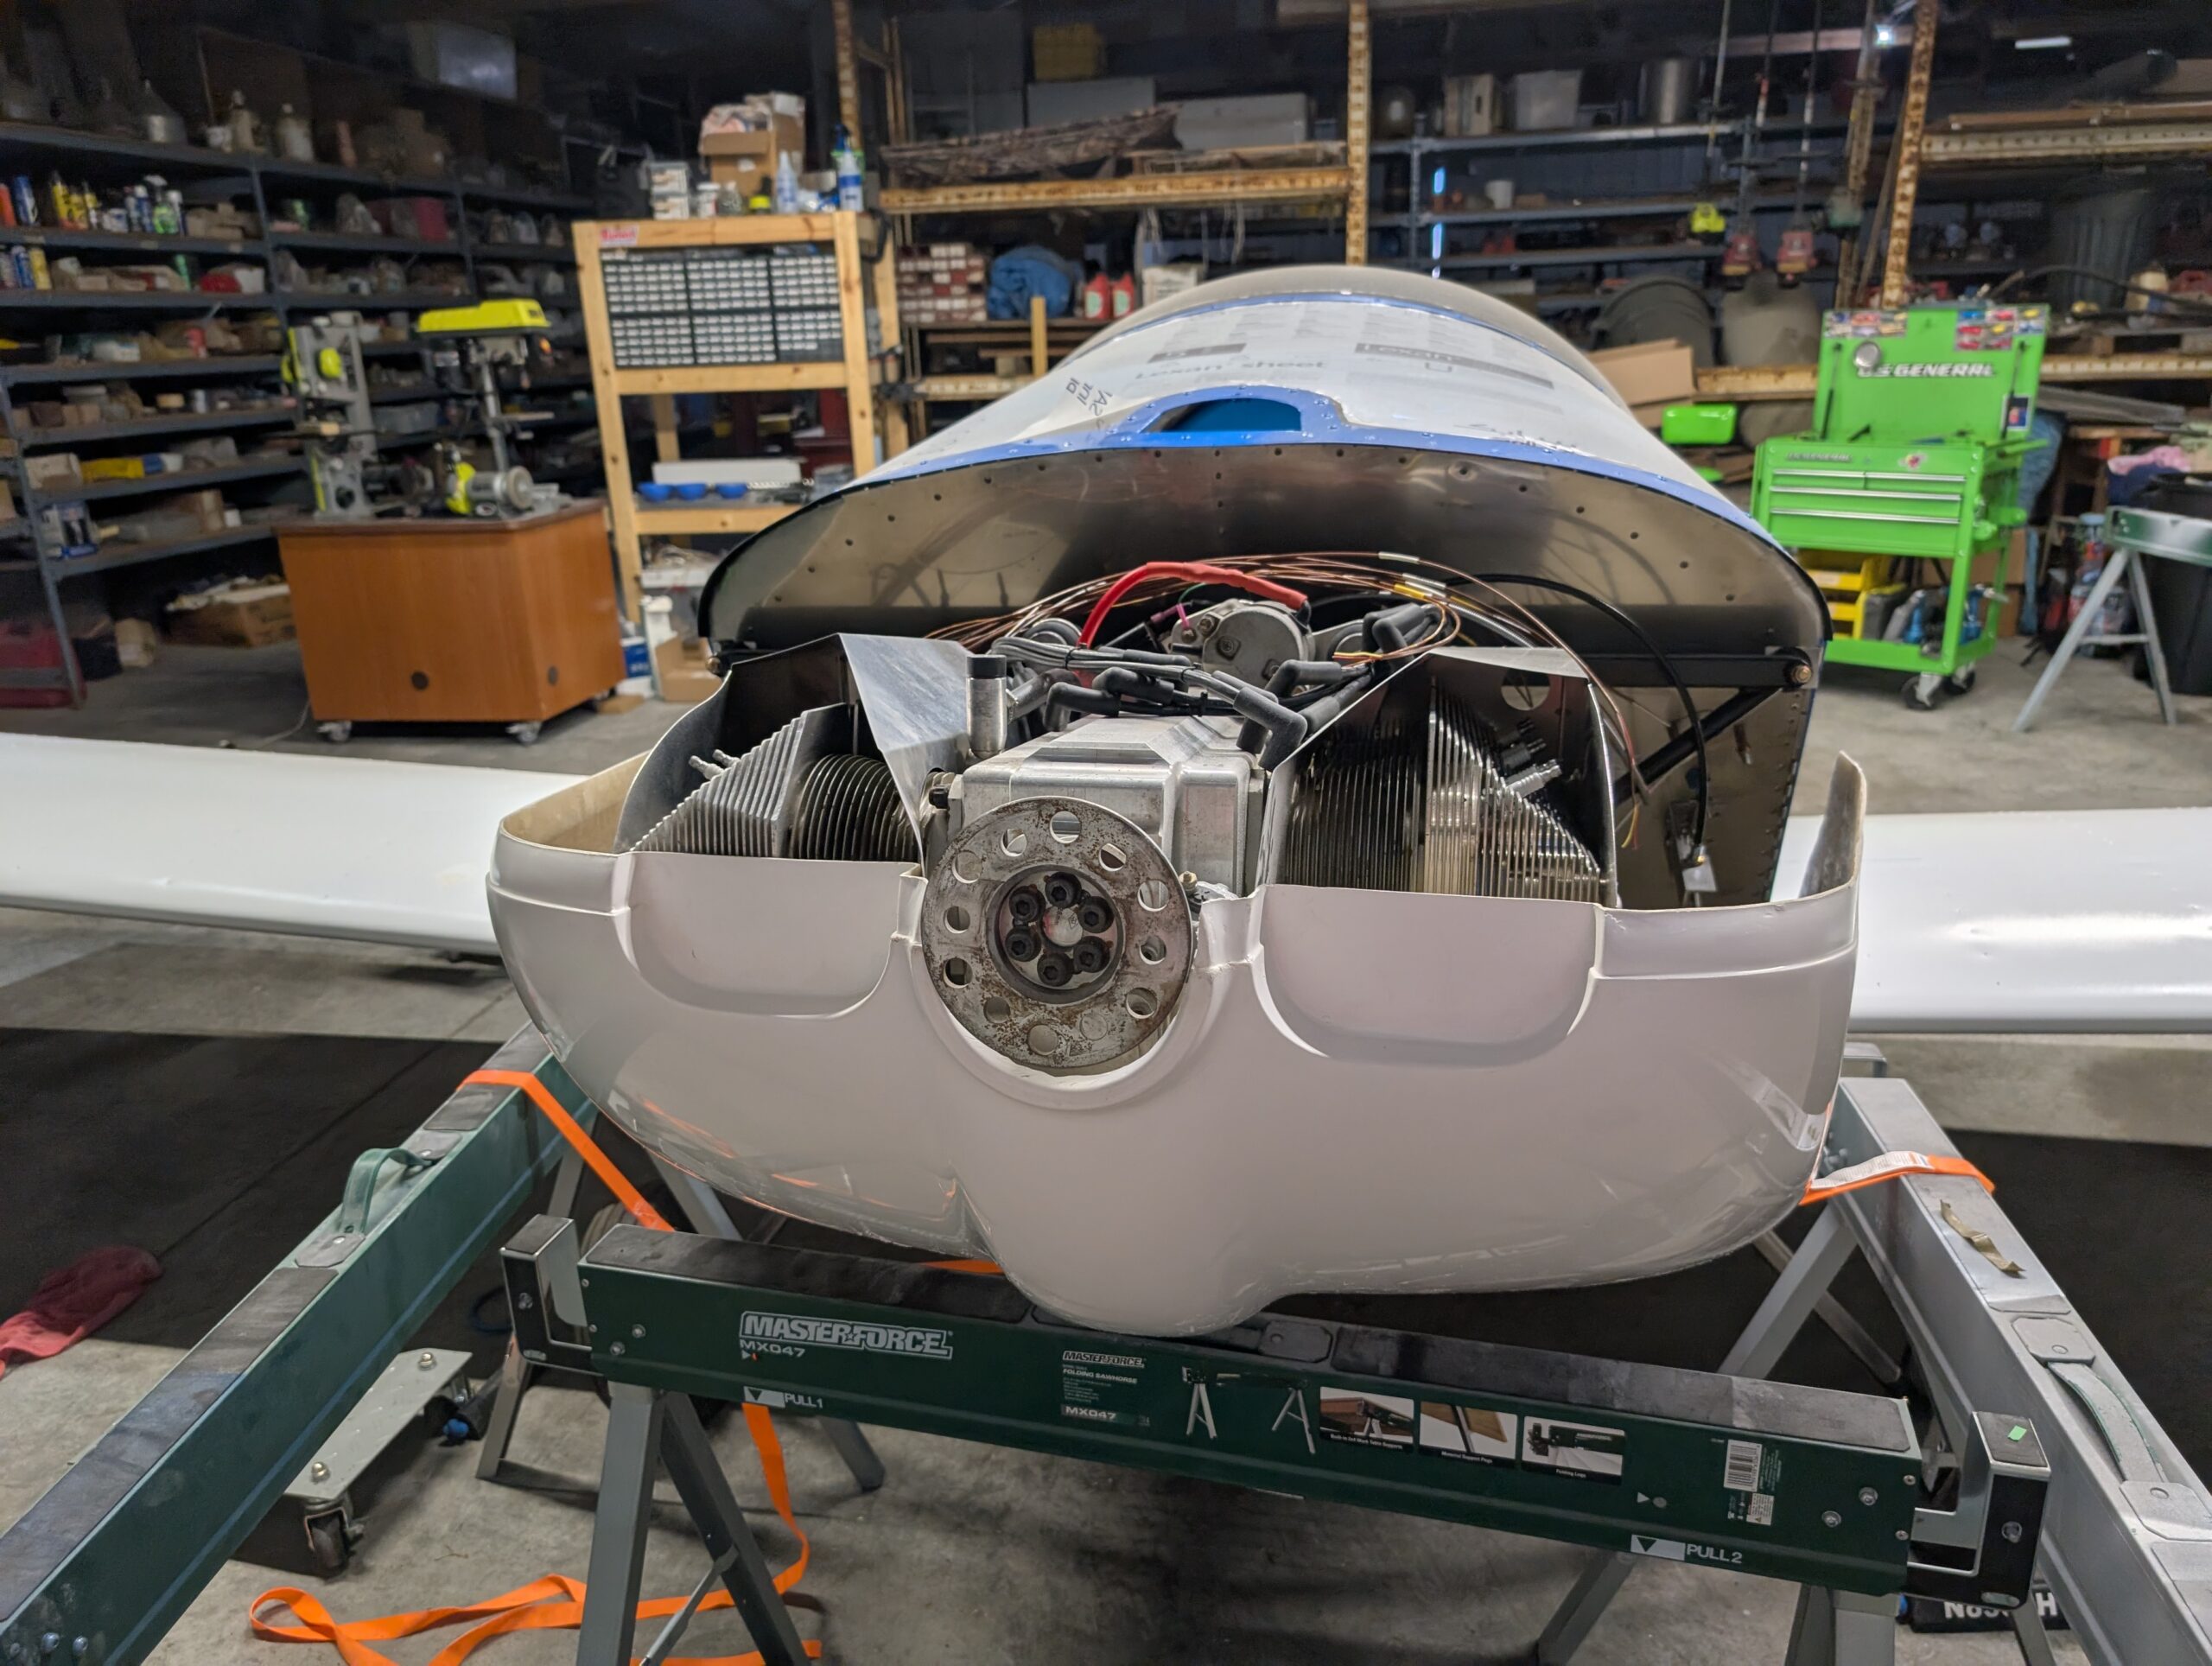
Engine Sensor Installation
Installed rubber baffle material onto oil cooler duct. Installed EGT and CHT sensors onto engine and completed FWF wiring harness routing (other than oil pan heater). Verified temp probe operation with SkyView system then secured wires and routing in engine…
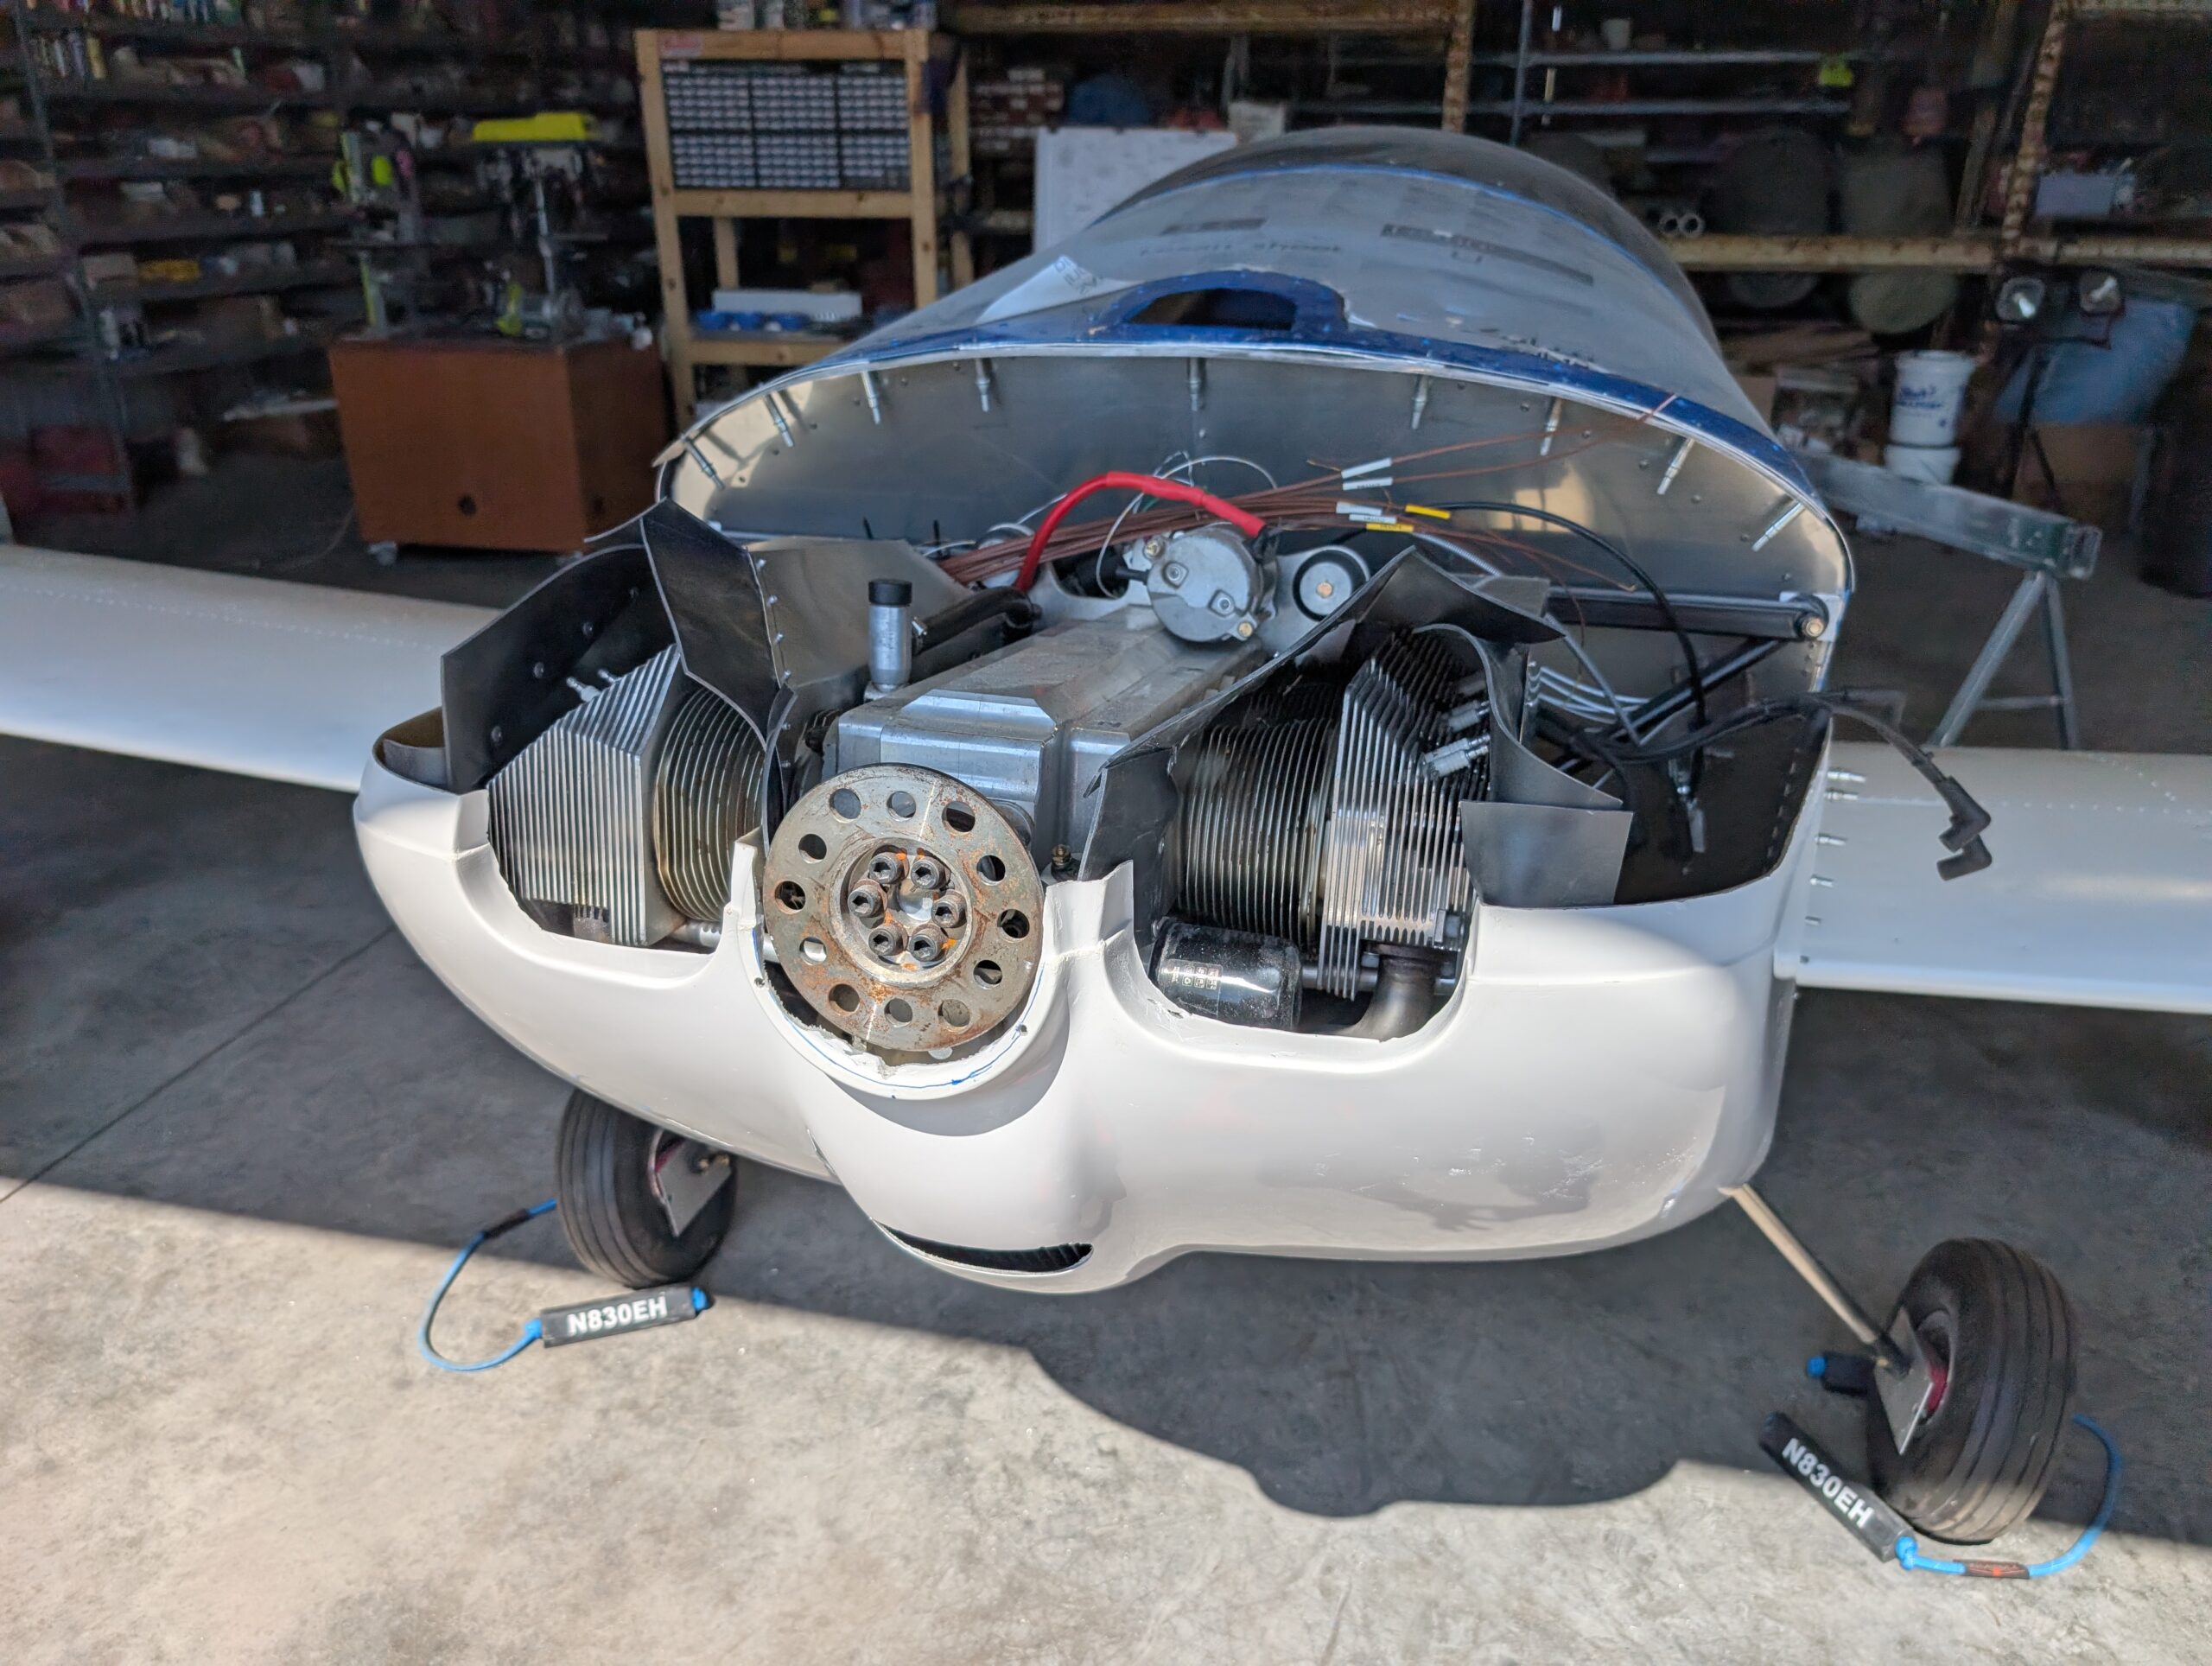
Engine Baffles – Part 2
Installed rubber baffle sections onto engine cylinder baffles with AAP rivets. Test fit baffles back onto engine and checked clearances. Installed spark plug wire grommets onto spark plug harnesses. Hours Worked: 2.27
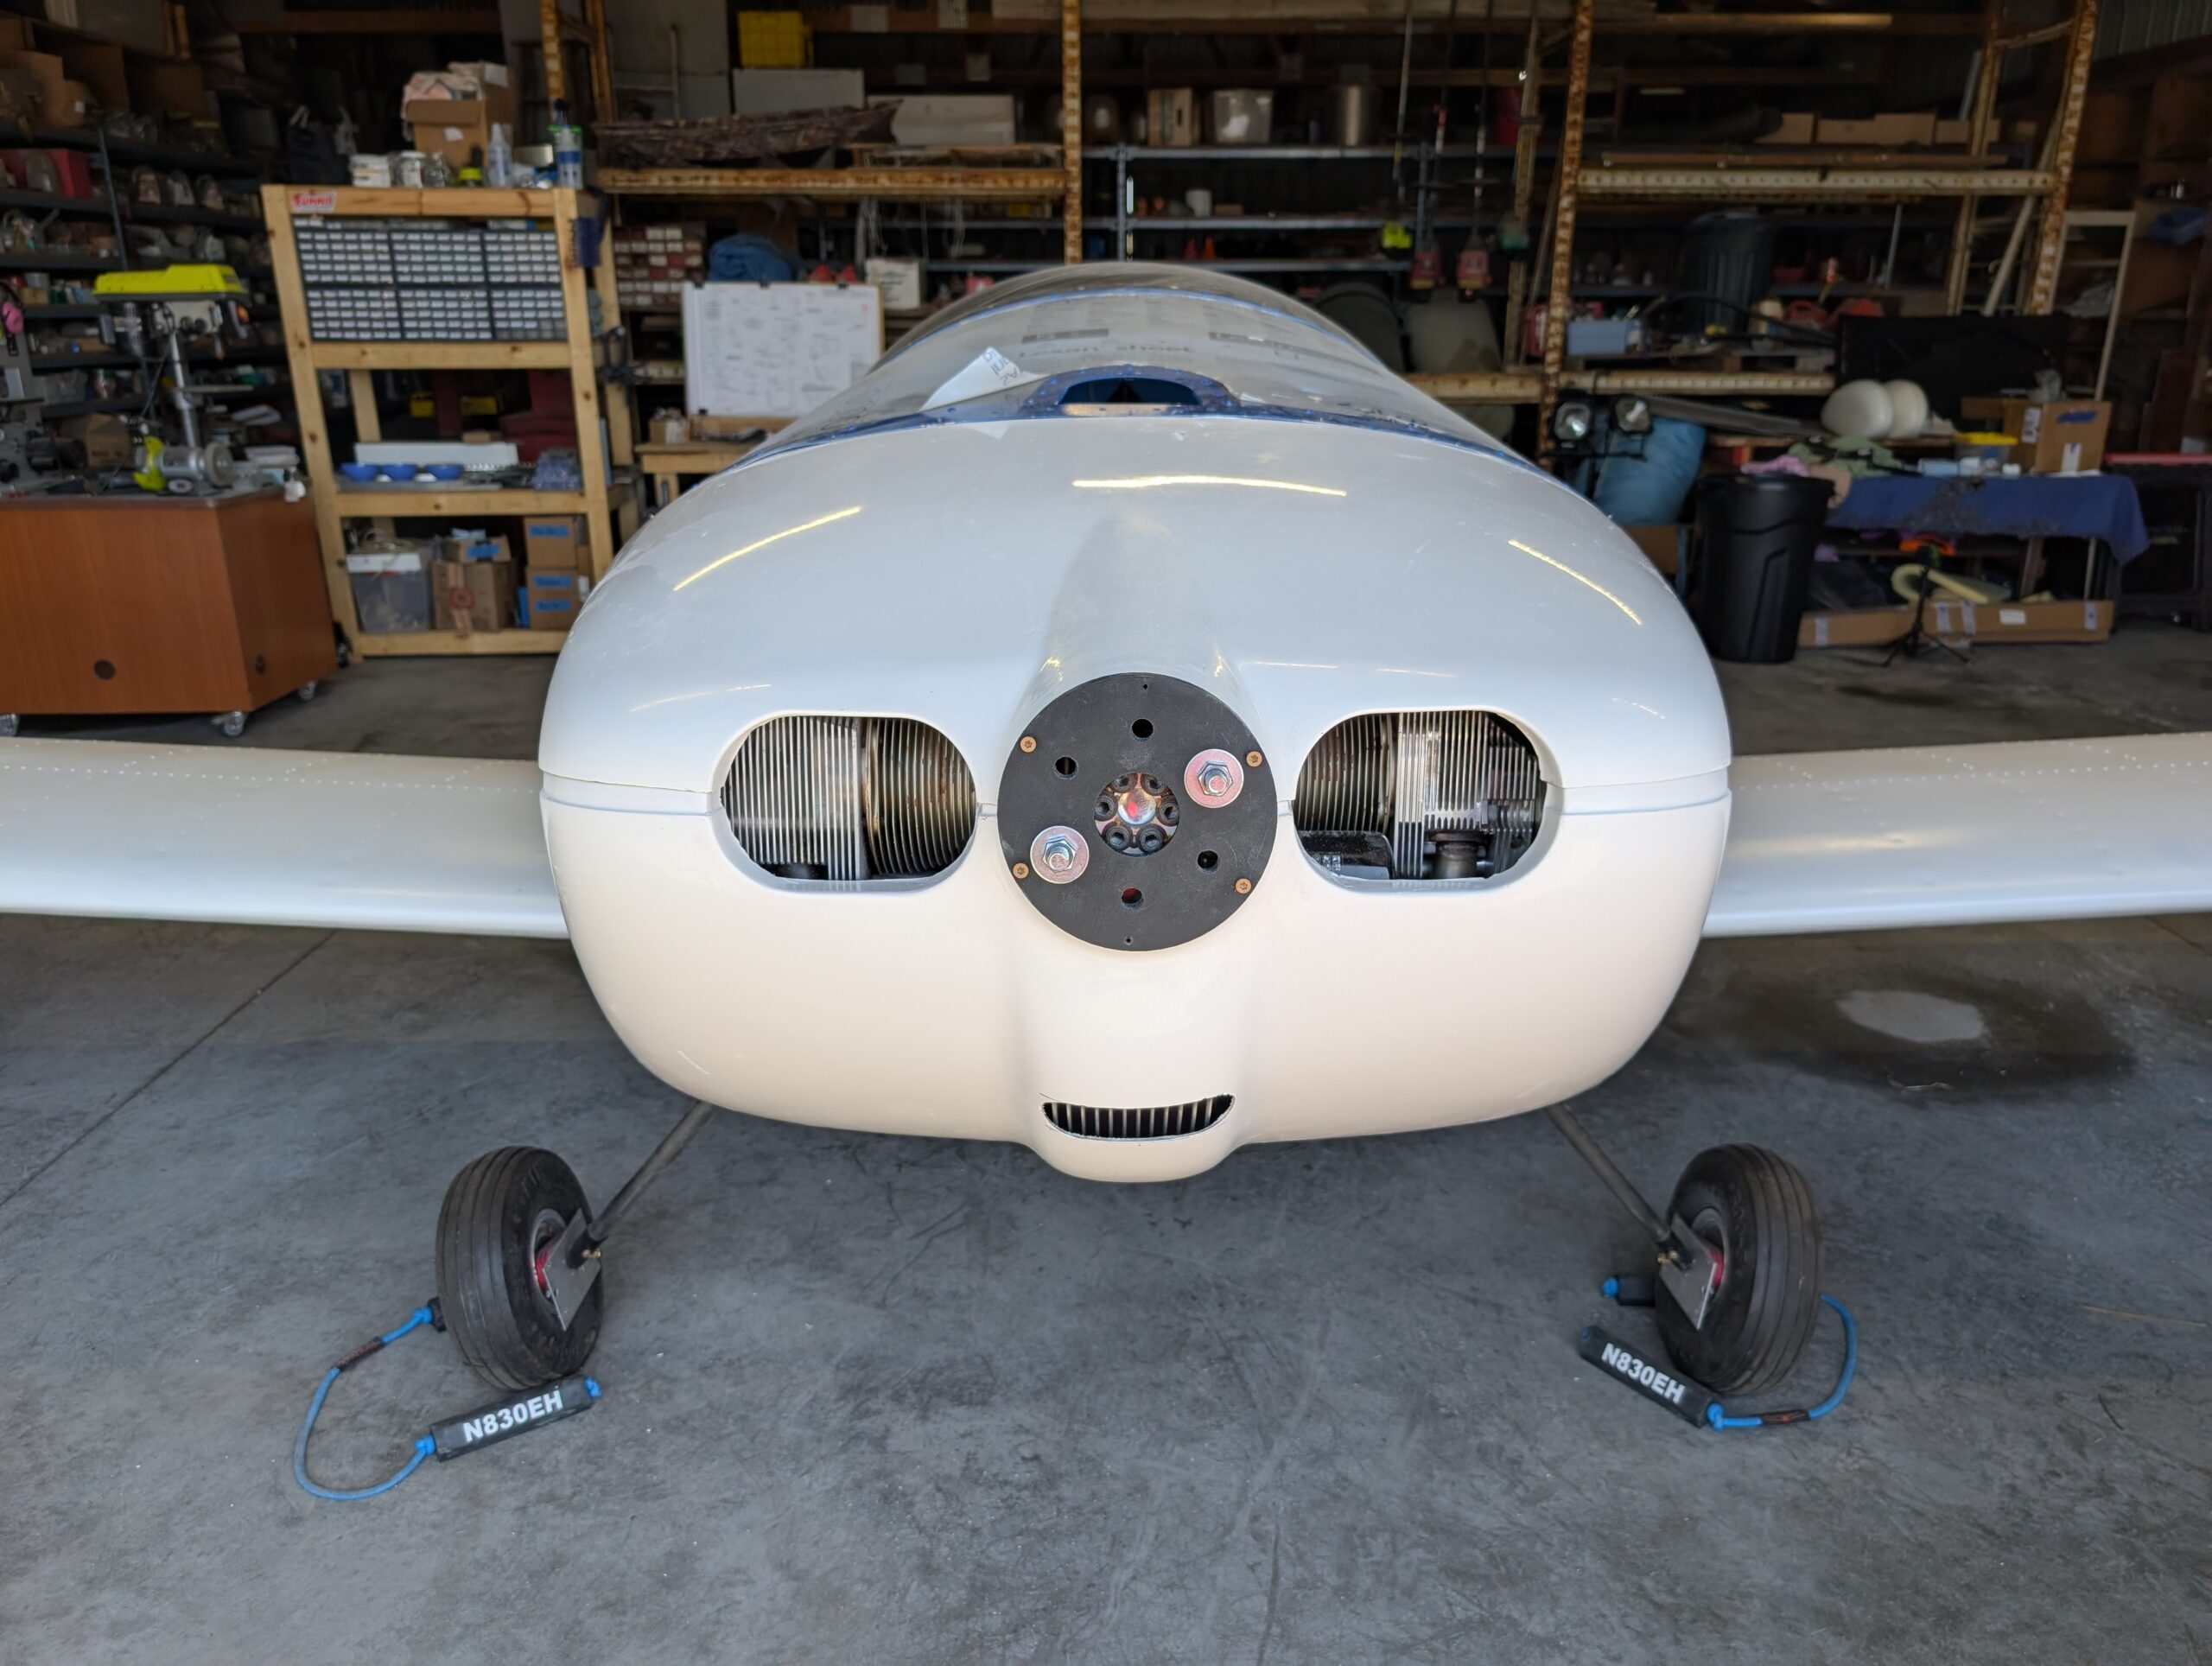
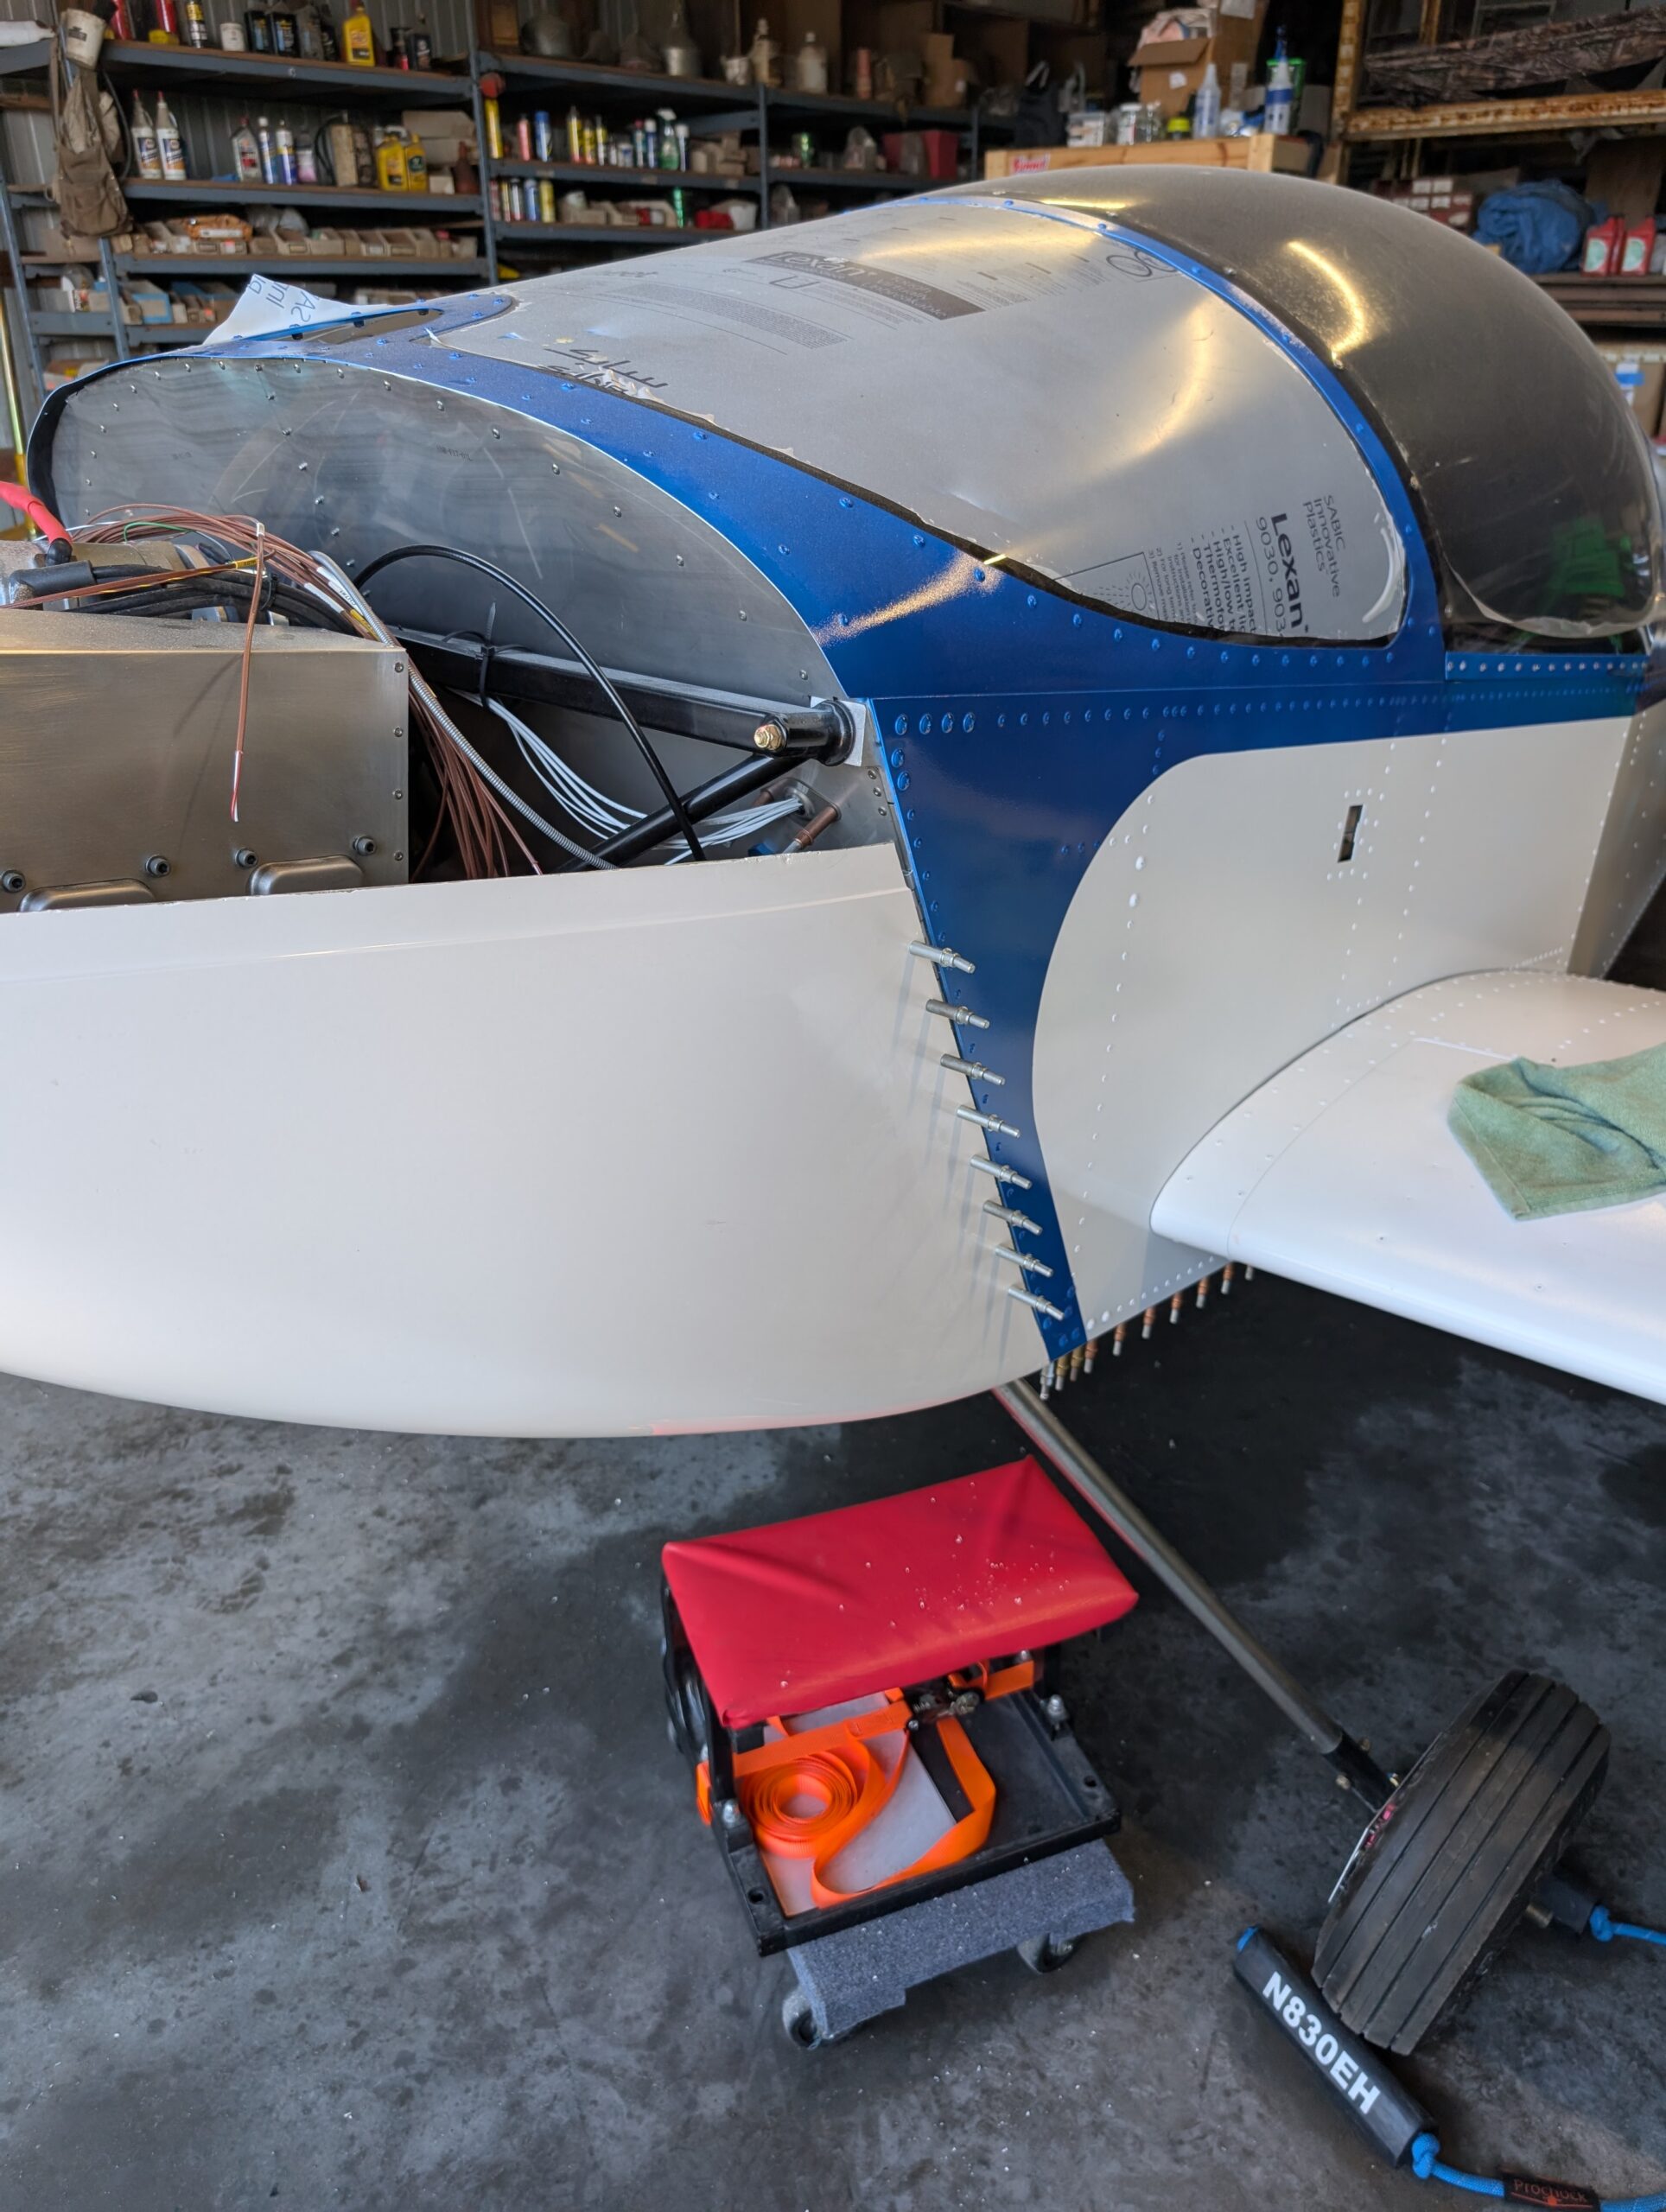
Cowl Fitment – Part 5
Continued to trim upper cowl to reach alignment with lower cowl. Removed lower cowl to clearance prop opening a little more. Used the bandfile belt sander for the last few passes which resulted in a slightly cleaner edge on the…
Cowl Fitment – Part 4
Began fitting upper cowl by placing onto lower cowl and notating baffling interference. Trimmed front of baffles by about half an inch and rechecked clearances. Made the determination that tucking upper cowl under the windshield skirt will likely make removing…
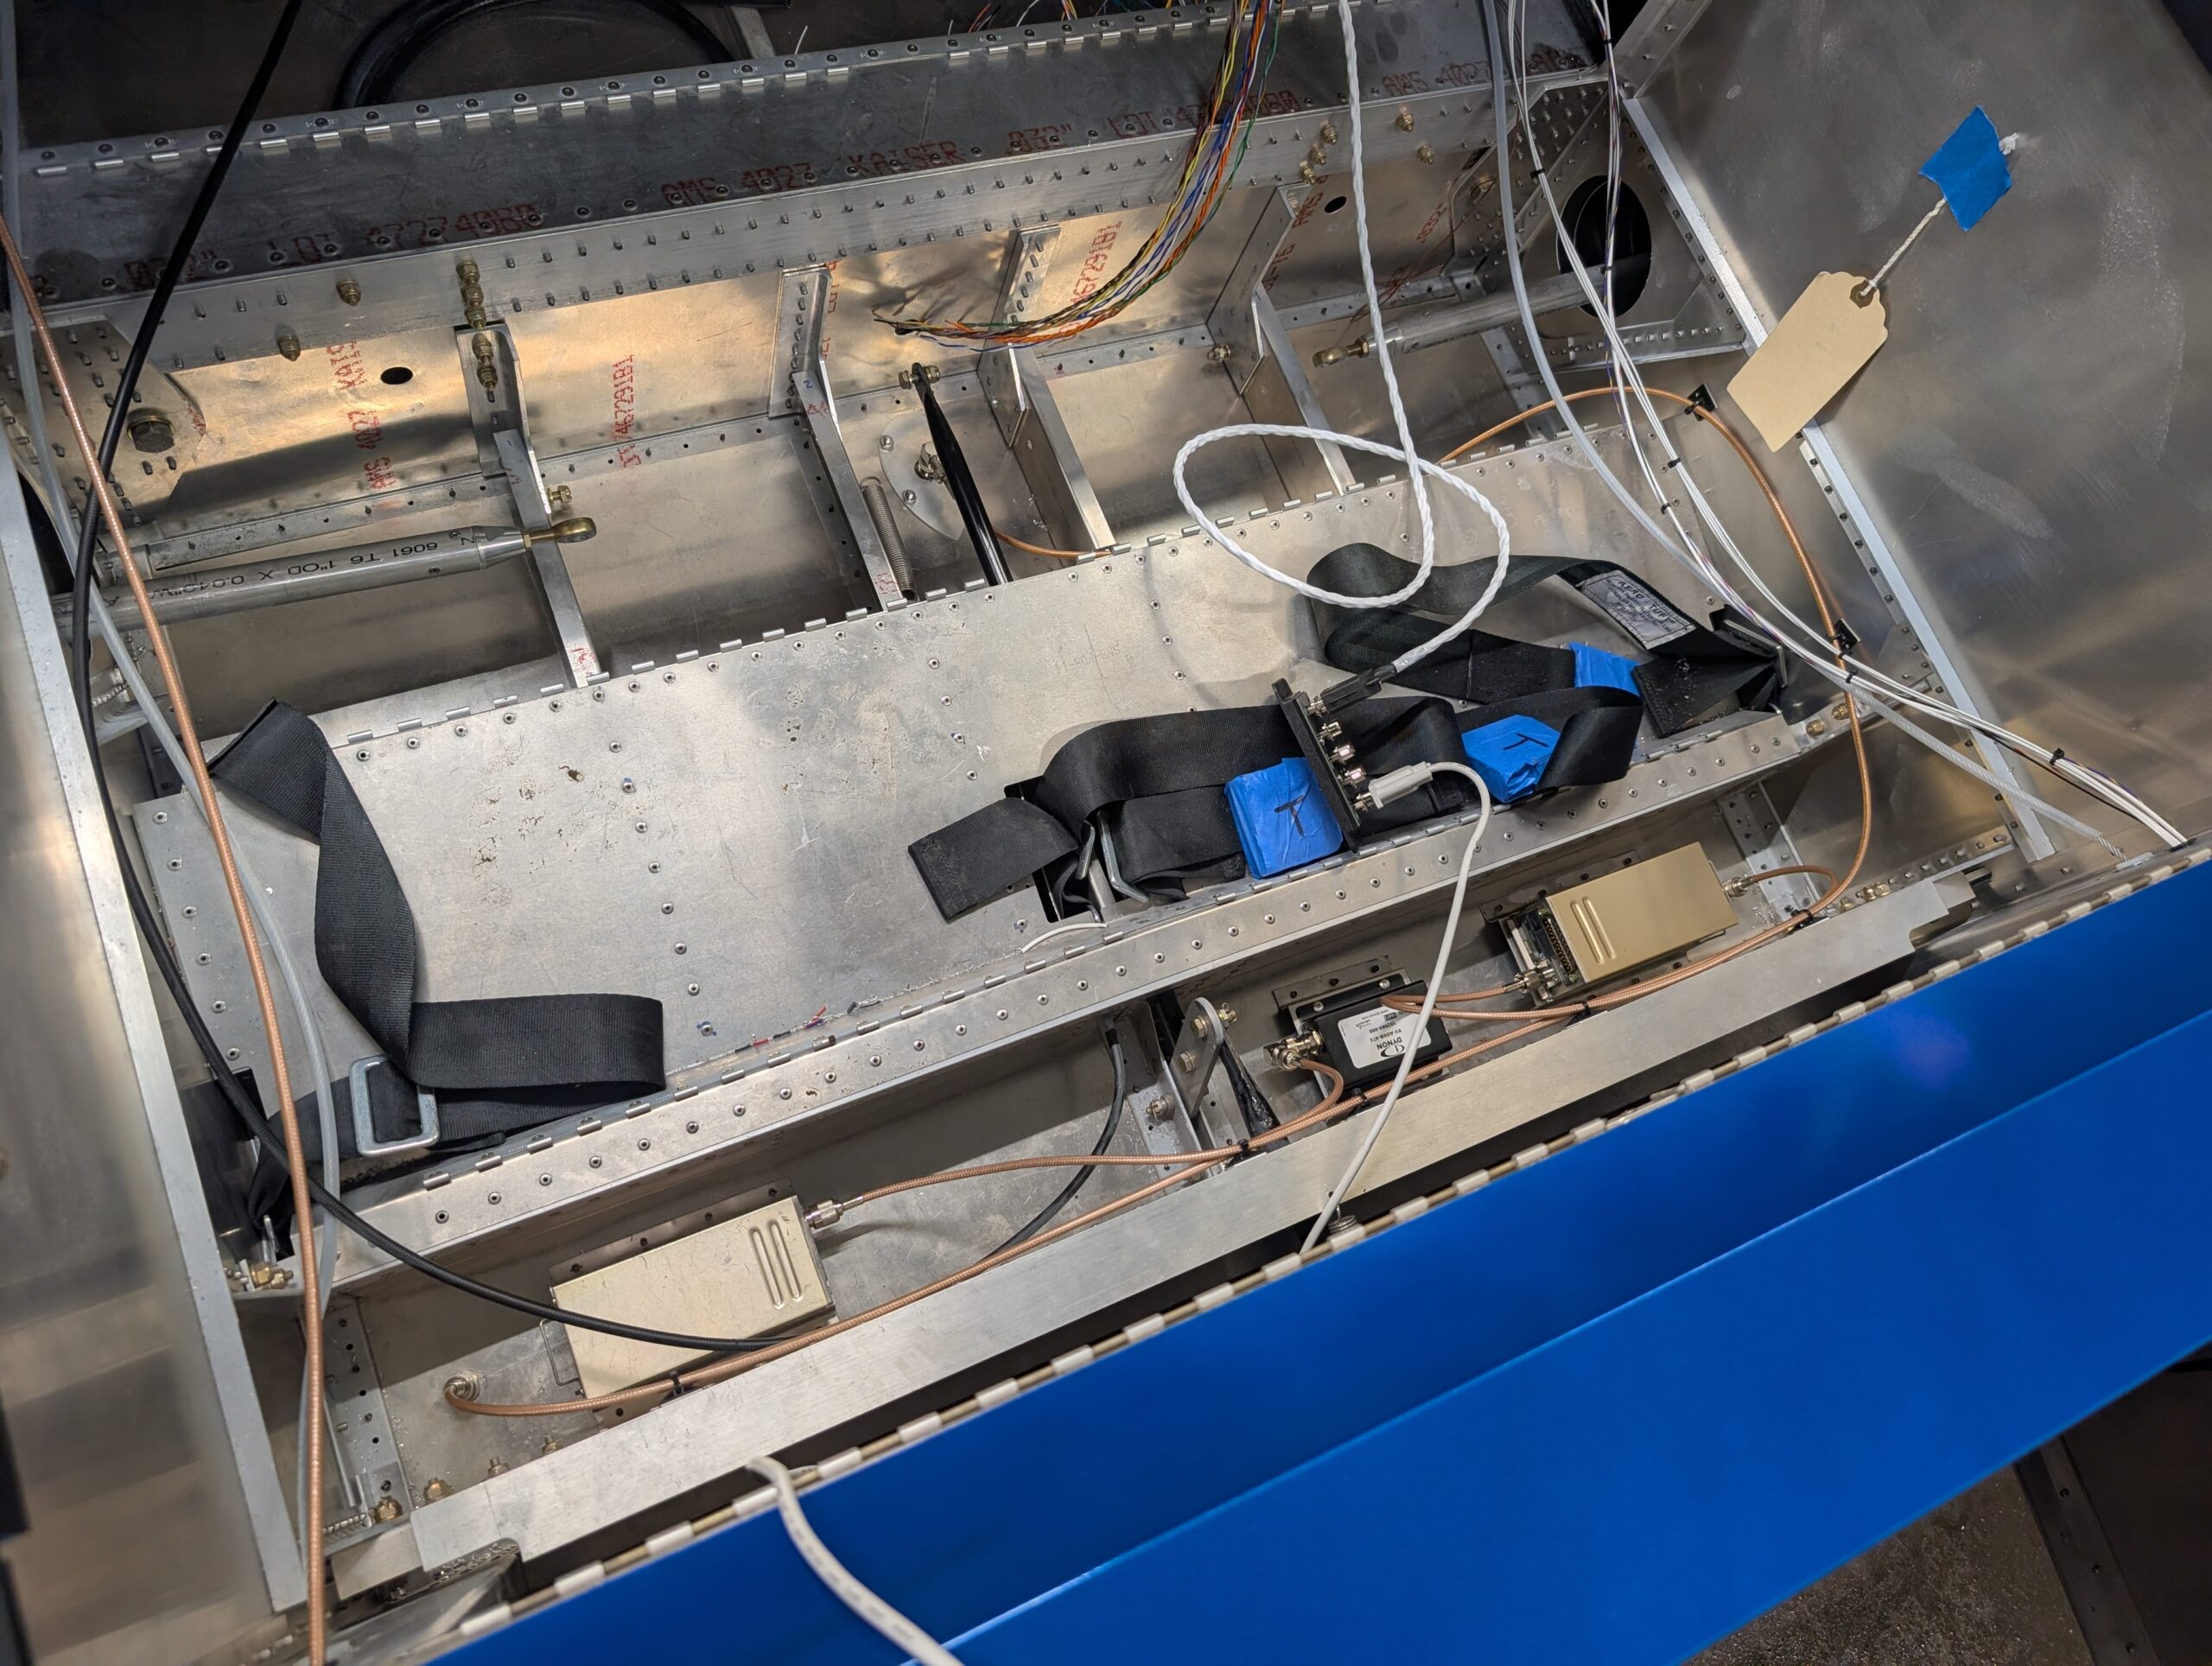
Fuselage Floor Avionics – Part 2
Fabricated transponder and com antenna cables from parts then installed into airframe. Secured cables to rear spar carry through with adhesive pads. Hours Worked: 1.85
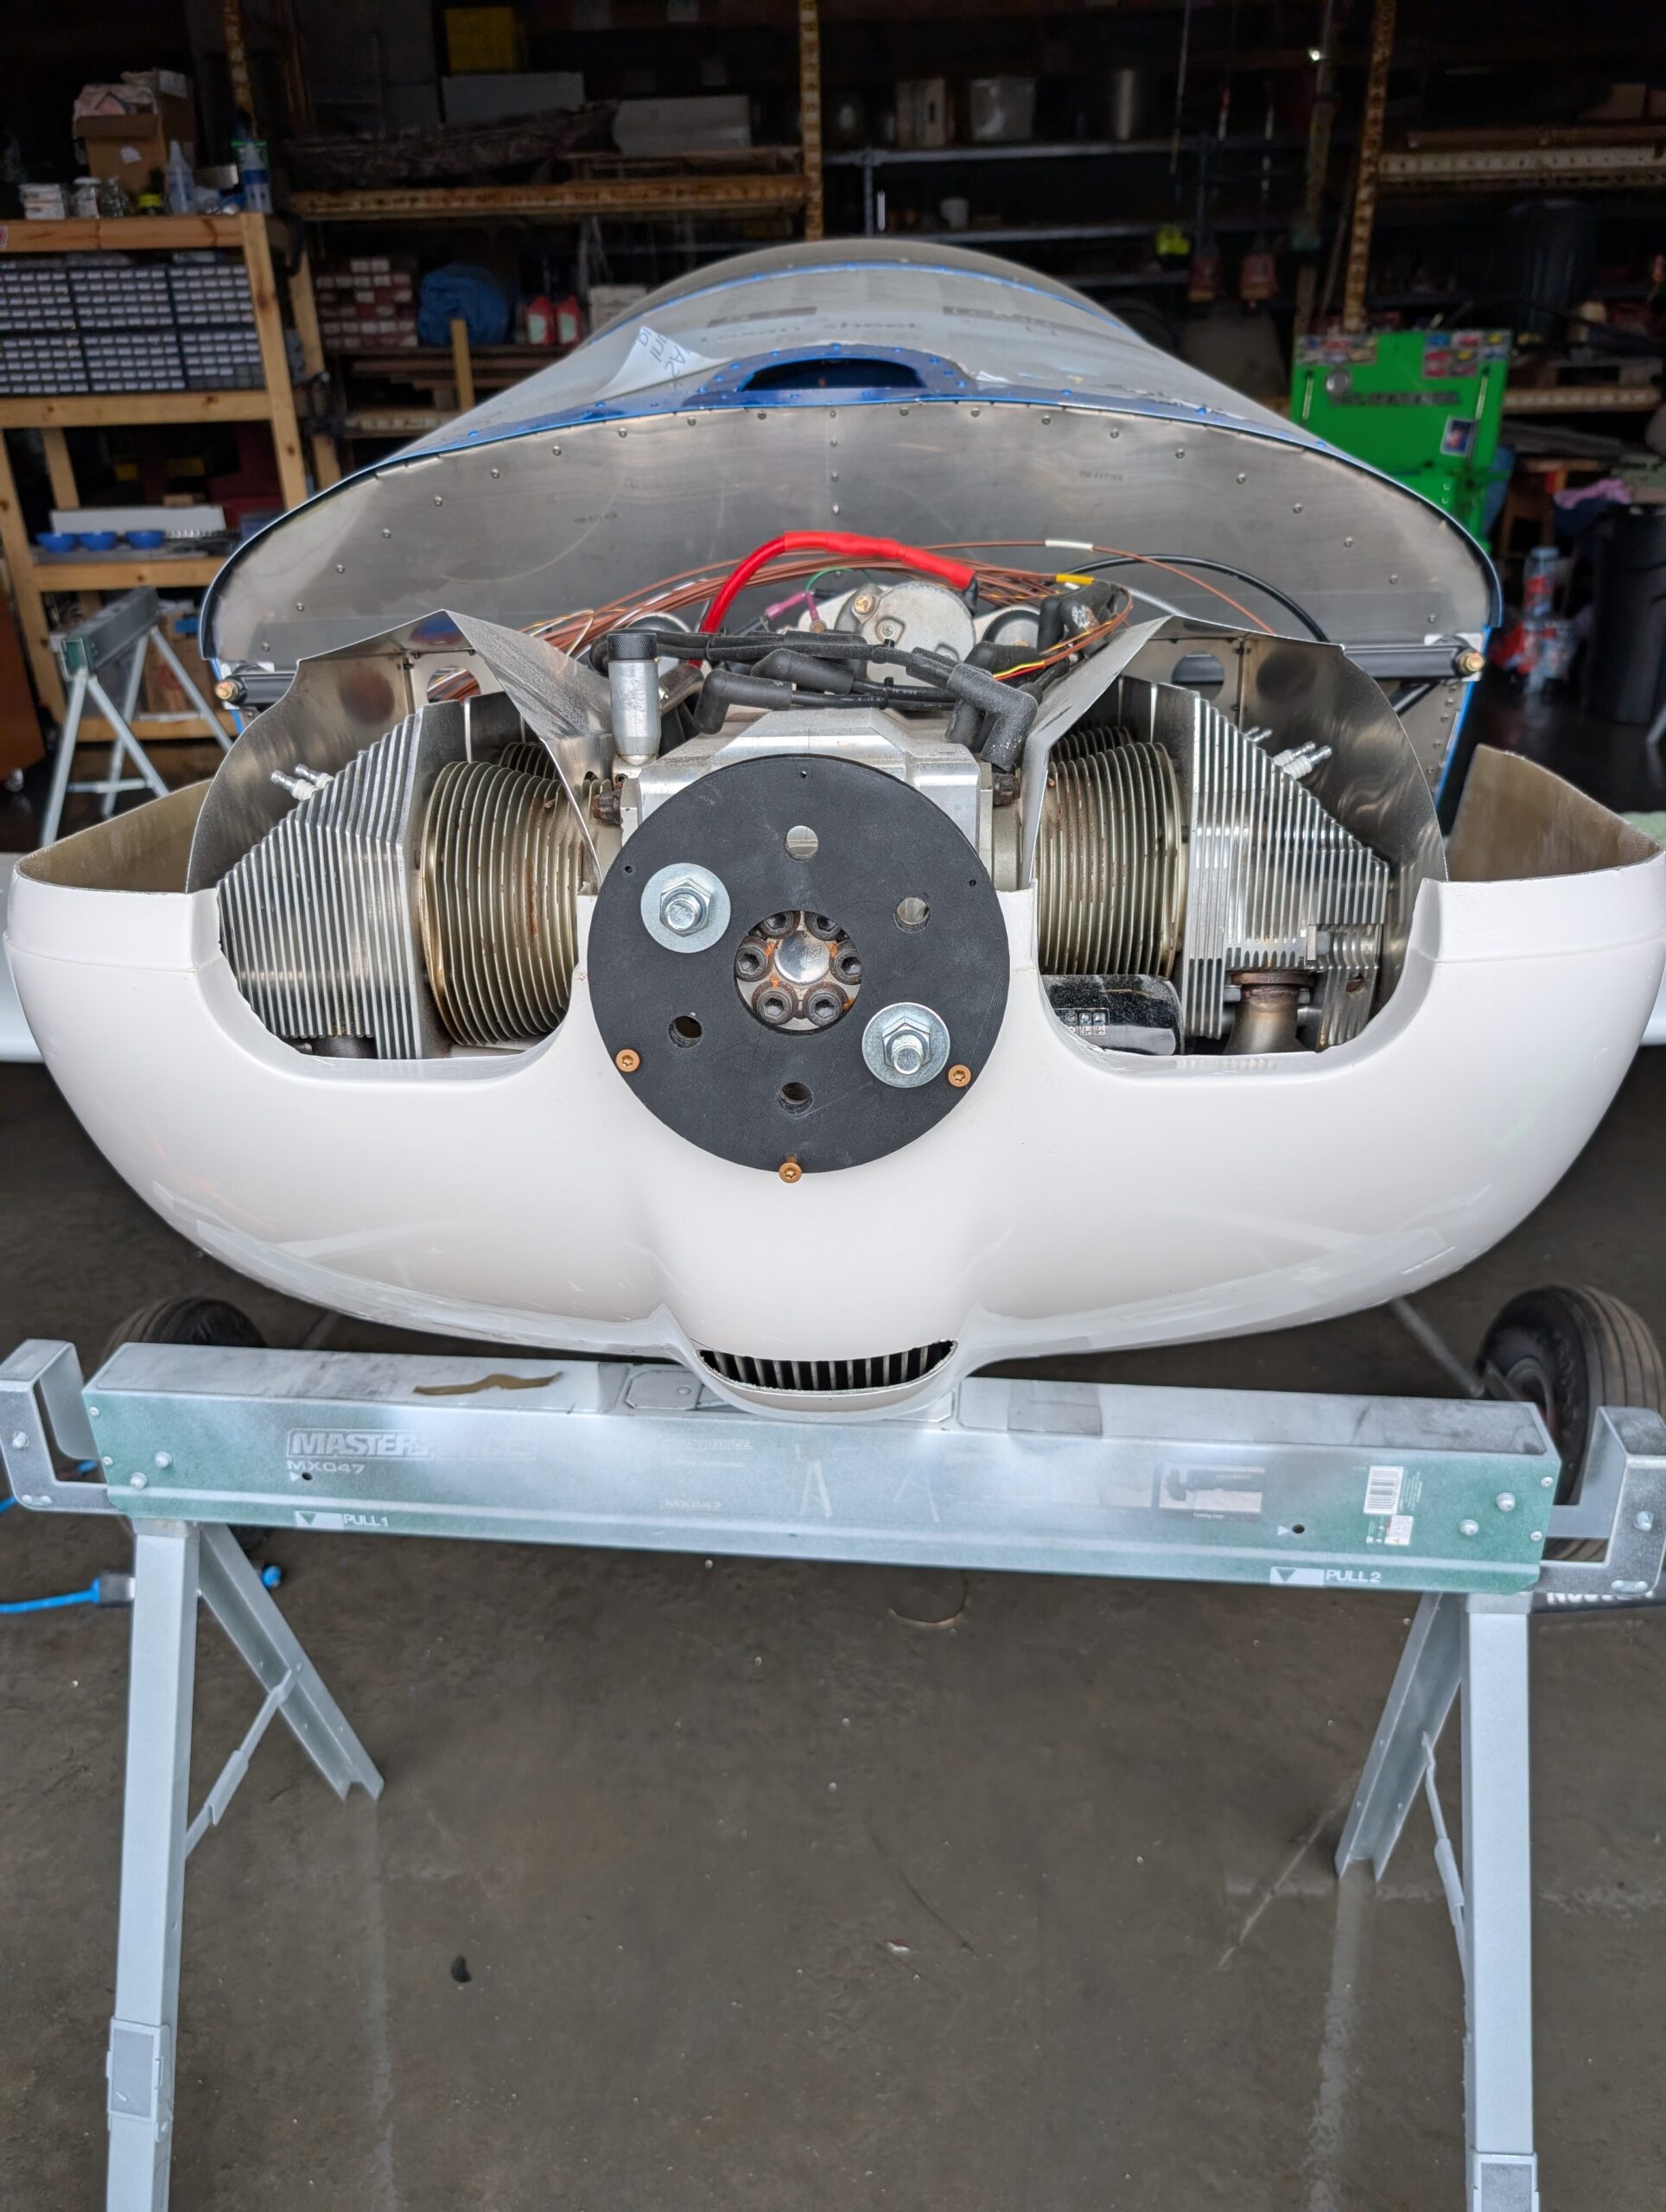
Cowl Fitment – Part 3
Aligned the cowl into its final place then pilot drilled side hinges to cowl. Initially only pilot drilled a few holes due to space constraints. Pilot drilled a few holes in the bottom cowl hinge half by using flashlight method…
Cowl Fitment – Part 2
Decided to solve oil cooler clearance issue by moving oil cooler up by about 5/8″. Removed oil cooler bracket from bottom of engine and remade bracket from 1.5″ x 1.5″ aluminum angle stock with shorter leg. Installed new bracket on…
Cowl Fitment – Part 1
Began fitment of lower cowl by marking out locations for gear legs and fuel drain. Slid lower cowl into place and measured front face of cowl offset by approximately 1″. Trimmed back edges of cowl 1/2″ at a time while…
Fuselage Floor Avionics – Part 1
Clecoed forward fuselage floor back onto fuselage to start under seat component layout. Made riser mounts for ADSB, transponder, and com boxes so that nutplates could be used out of scrap aluminum. Riveted mounts to fuselage floor behind seat pan…
Flap Rigging
Began rigging flaps for final installation by trimming flap pushrod length from 3″ to 2″ to allow more adjustment of rod ends. Removed flap motor from drive tube for easier access and started by testing position of LH flap. Adjusted…
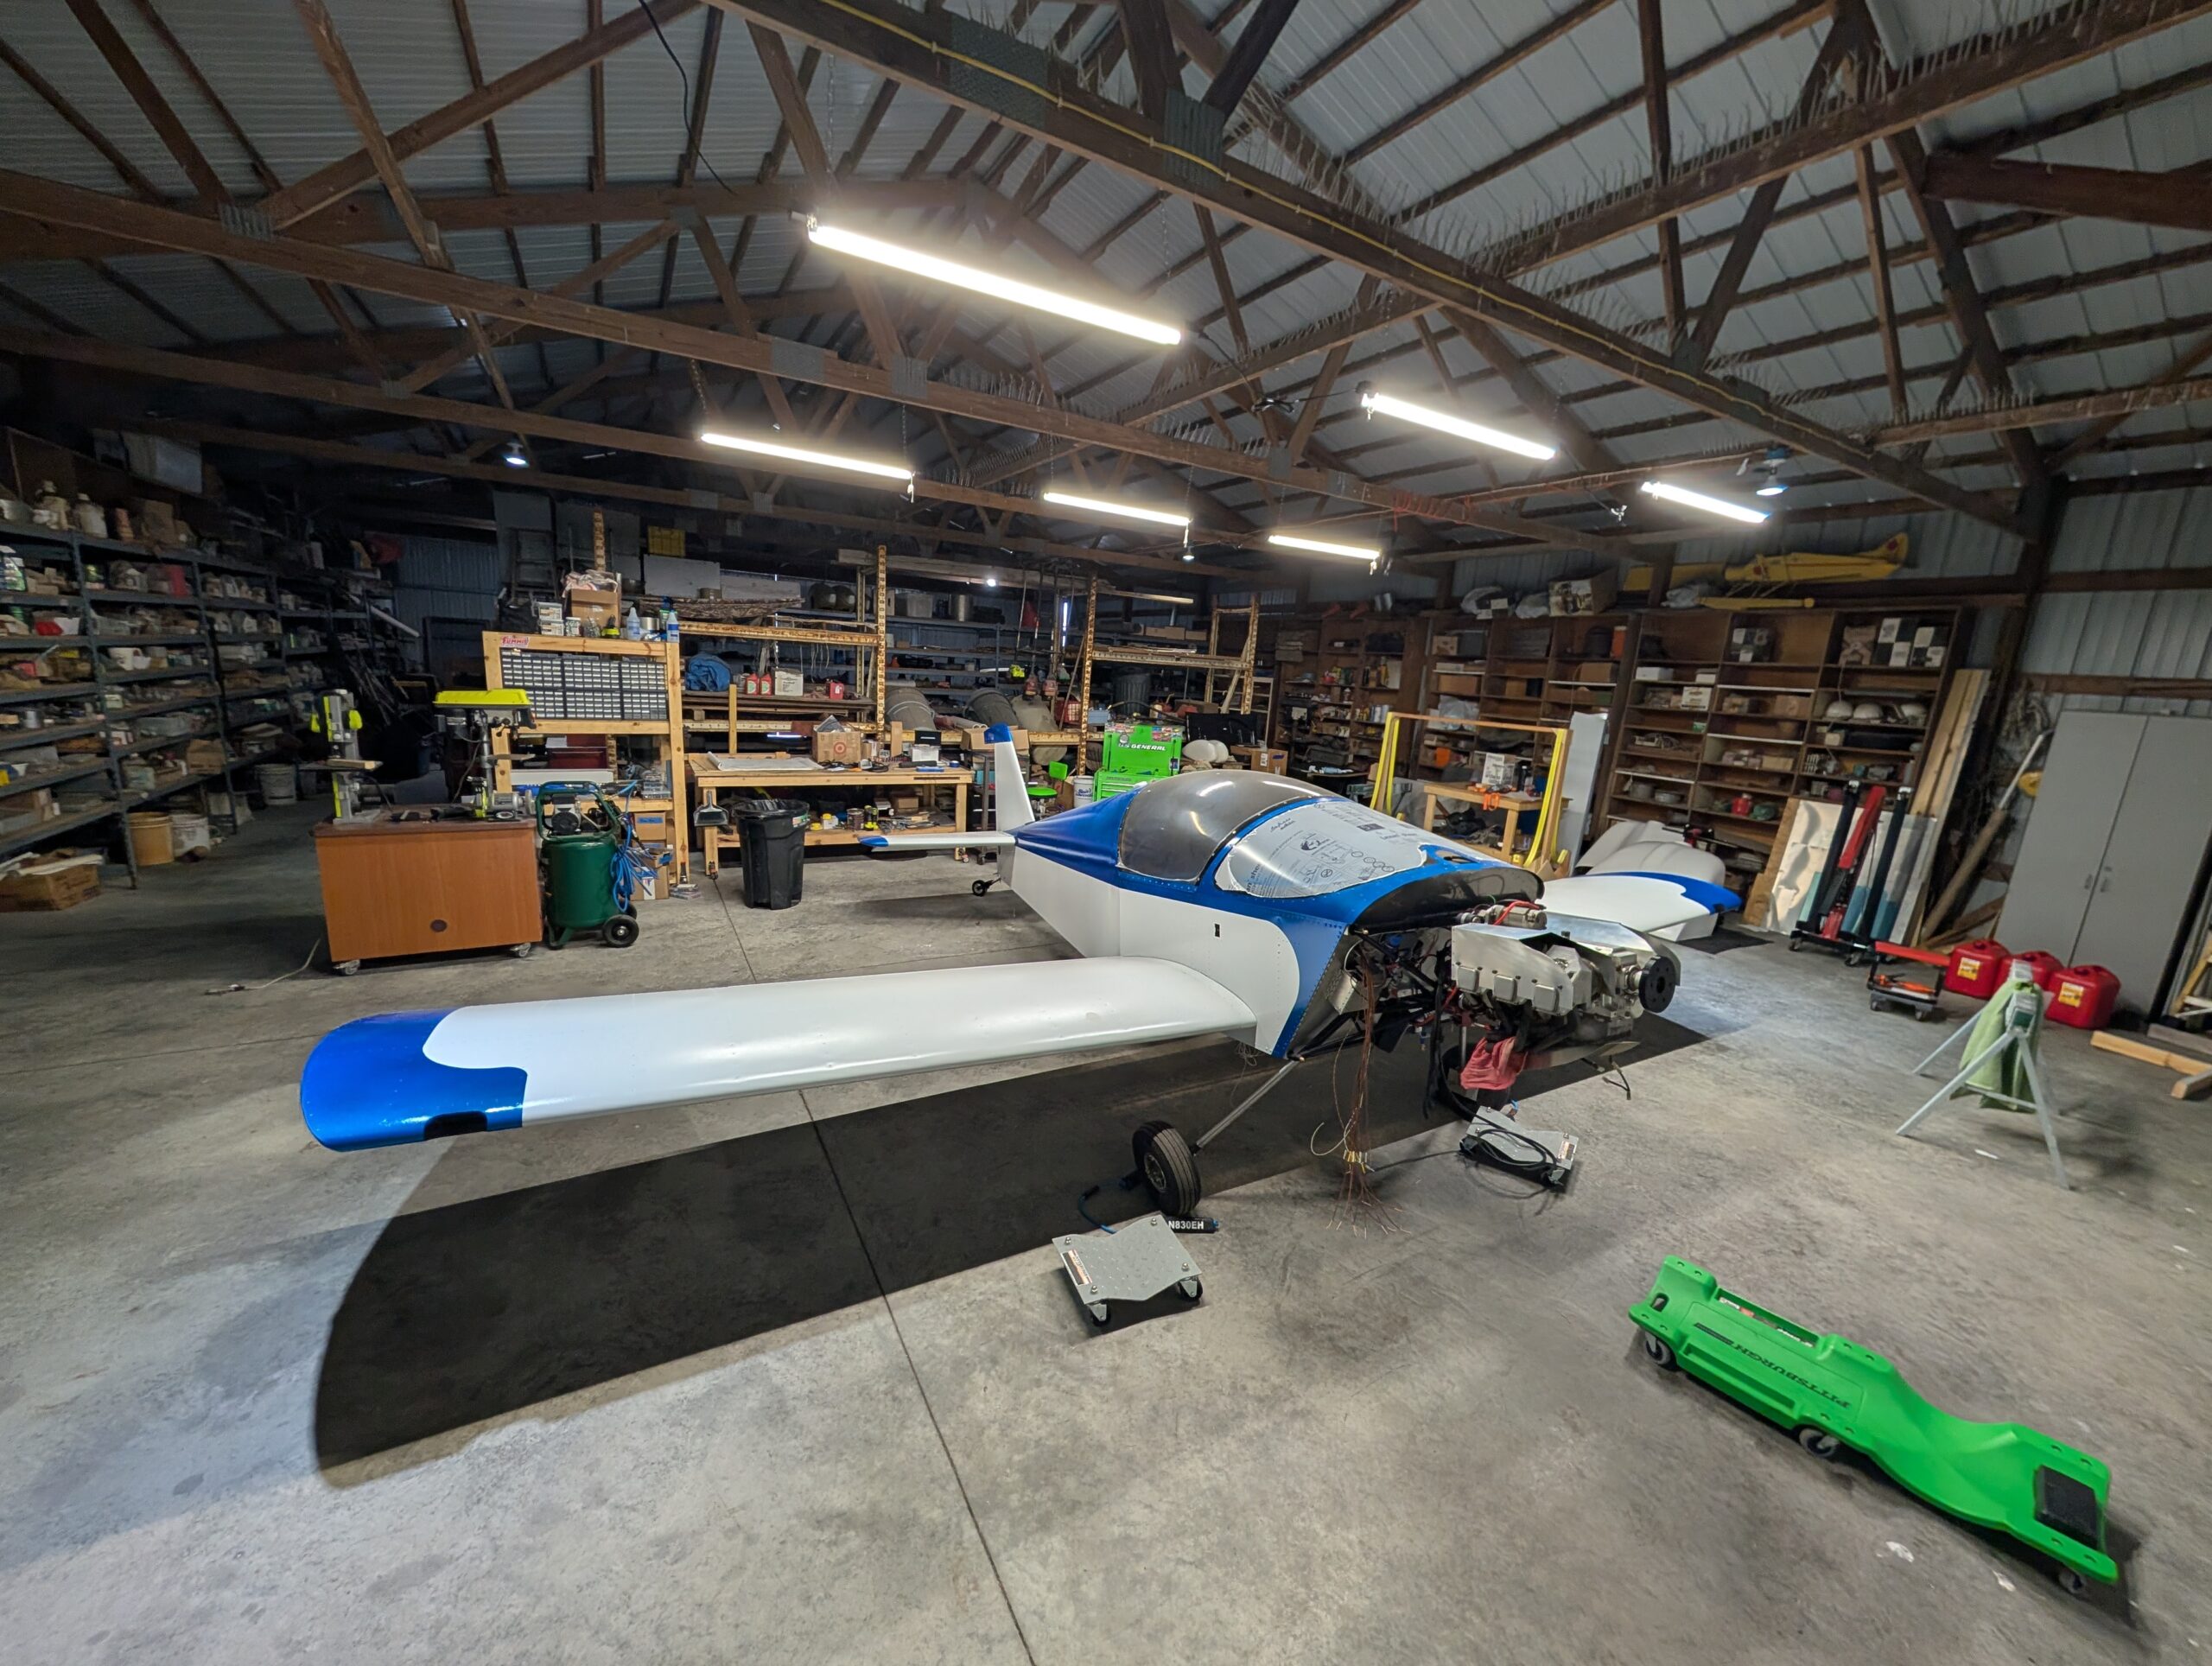
Wing Installation – Part 1
With help, mounted left and right wing assemblies onto fuselage. Attempted to add weatherstripping on inside edges of wings but there wasn’t enough clearance; will likely seal gaps with tape later on. Before sliding wings fully together, connected wing root…