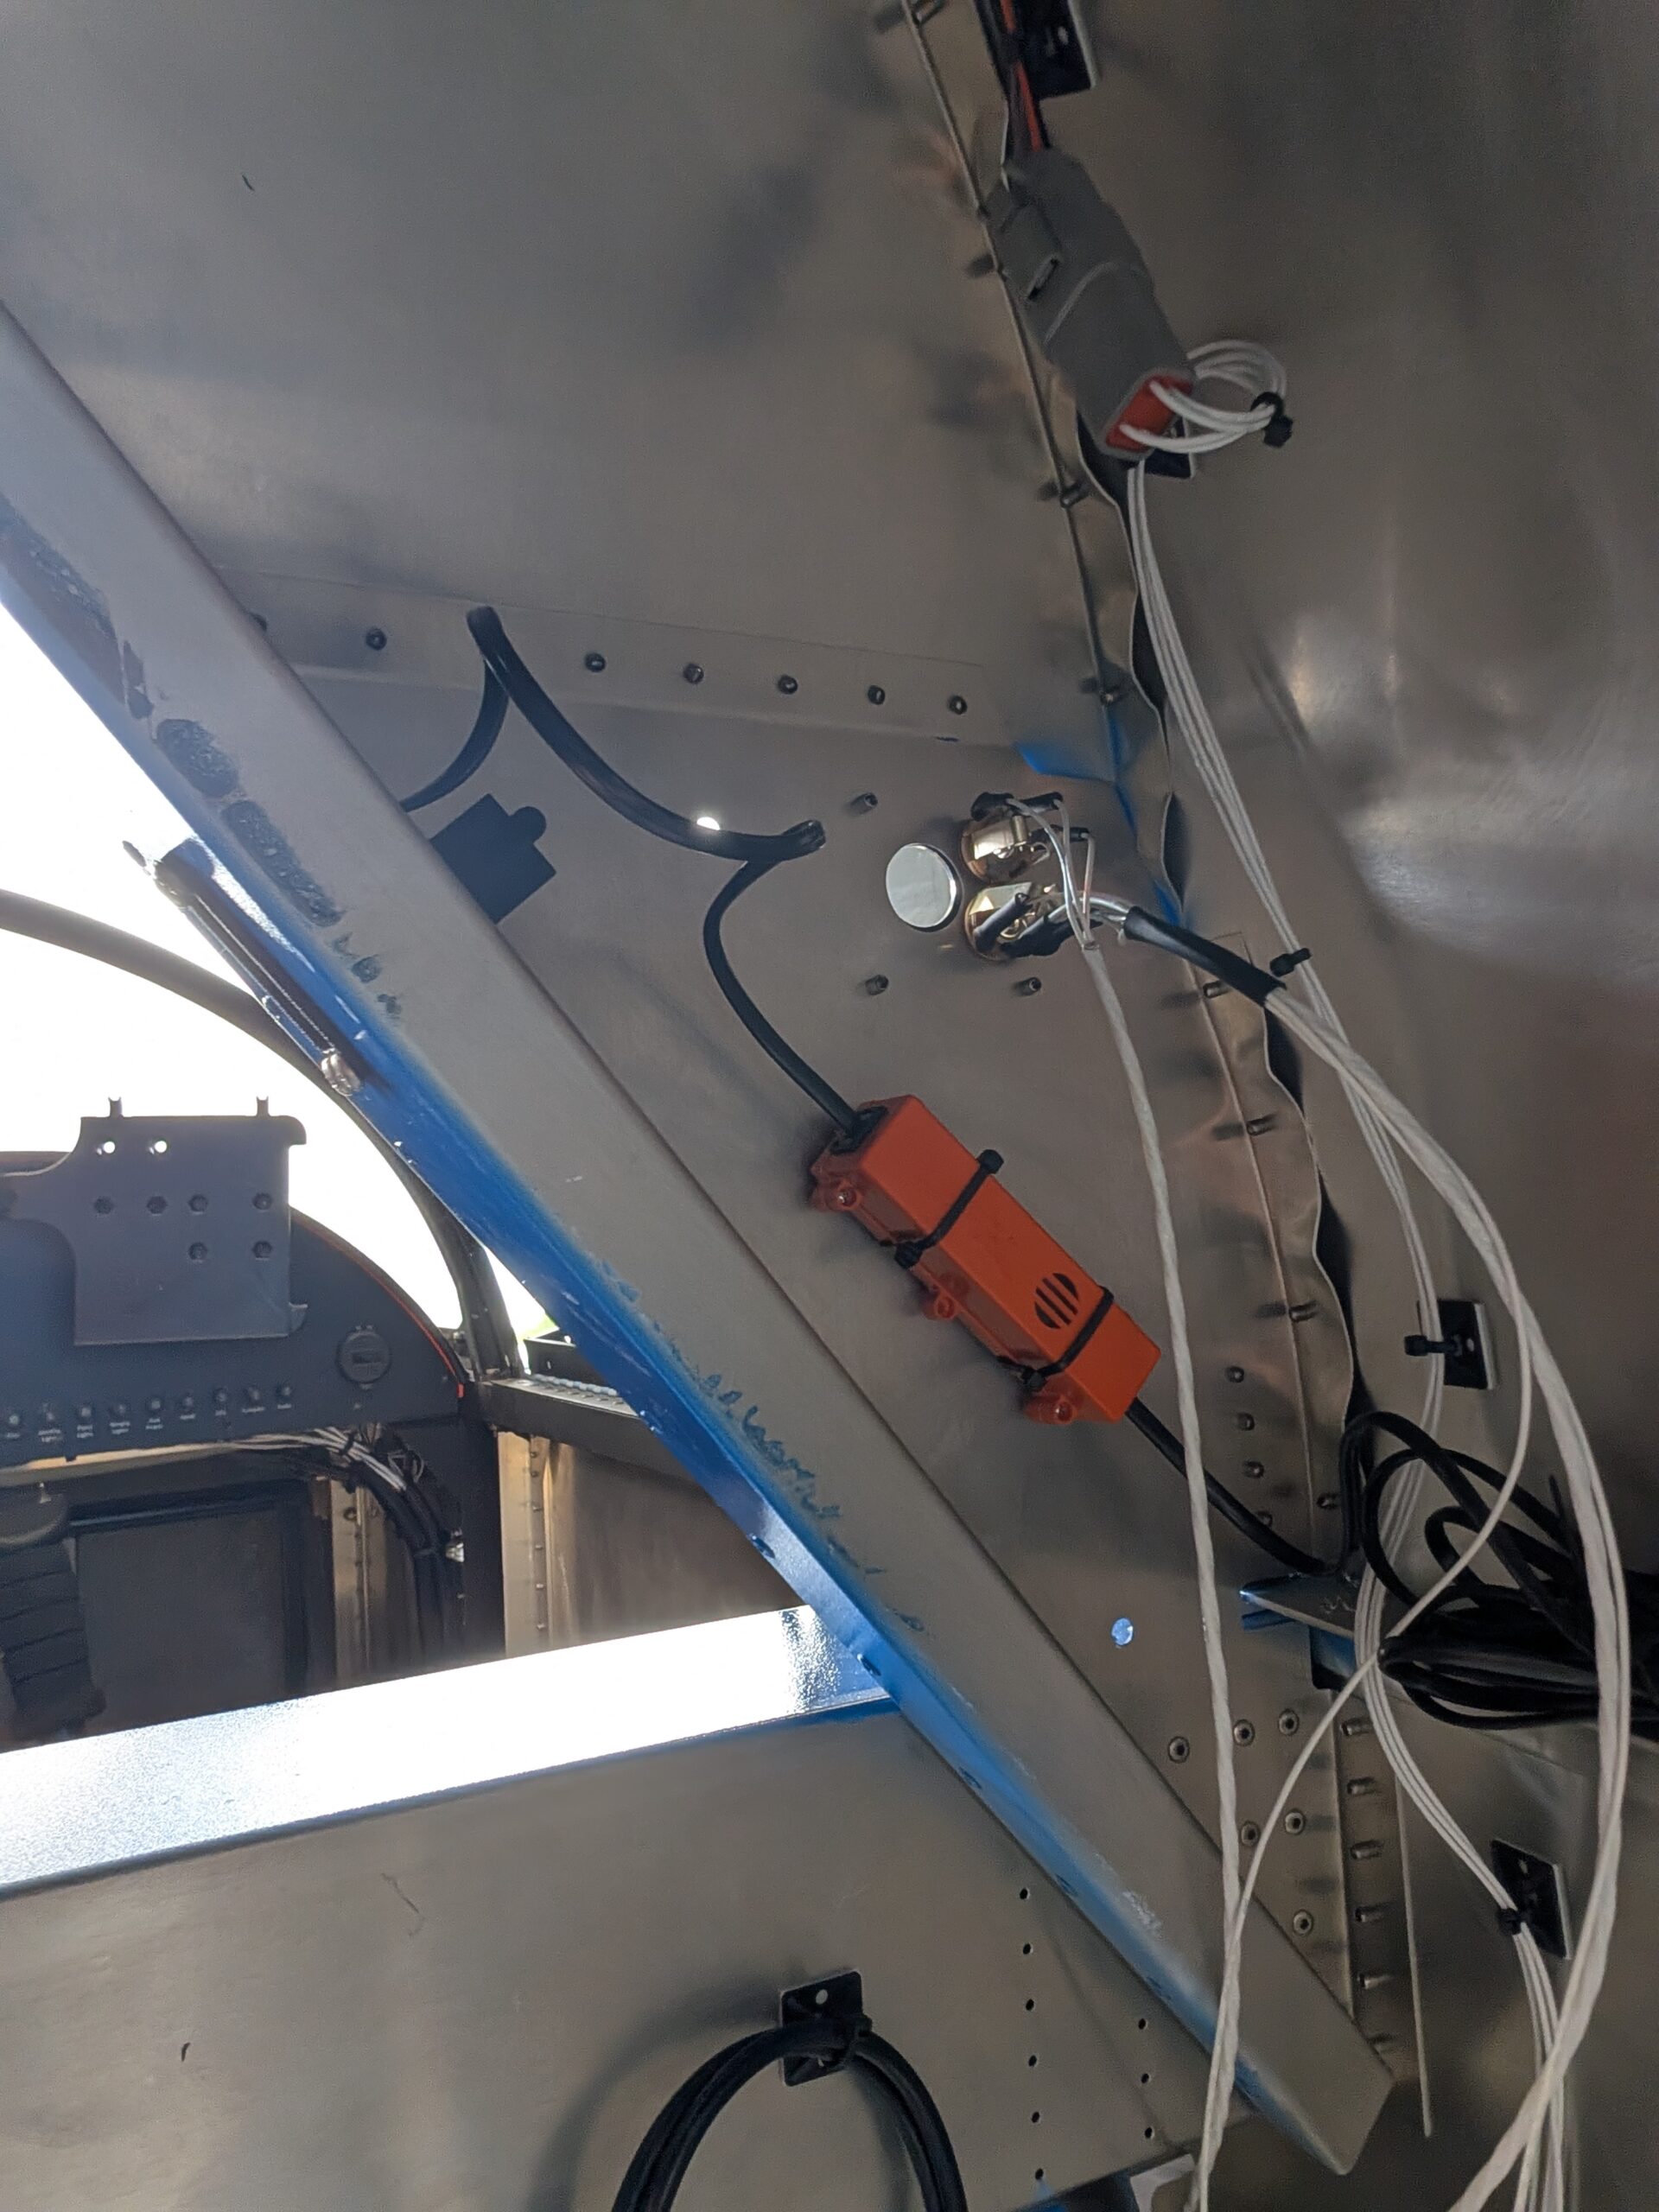
ELT Installation
Located and drilled hole for ELT antenna on aft portion of turtle deck. Secured antenna to fuselage then routed and connected coax cable from antenna to ELT. Cut hole in RH #1 former for RCPI and drilled mounting holes. Installed…

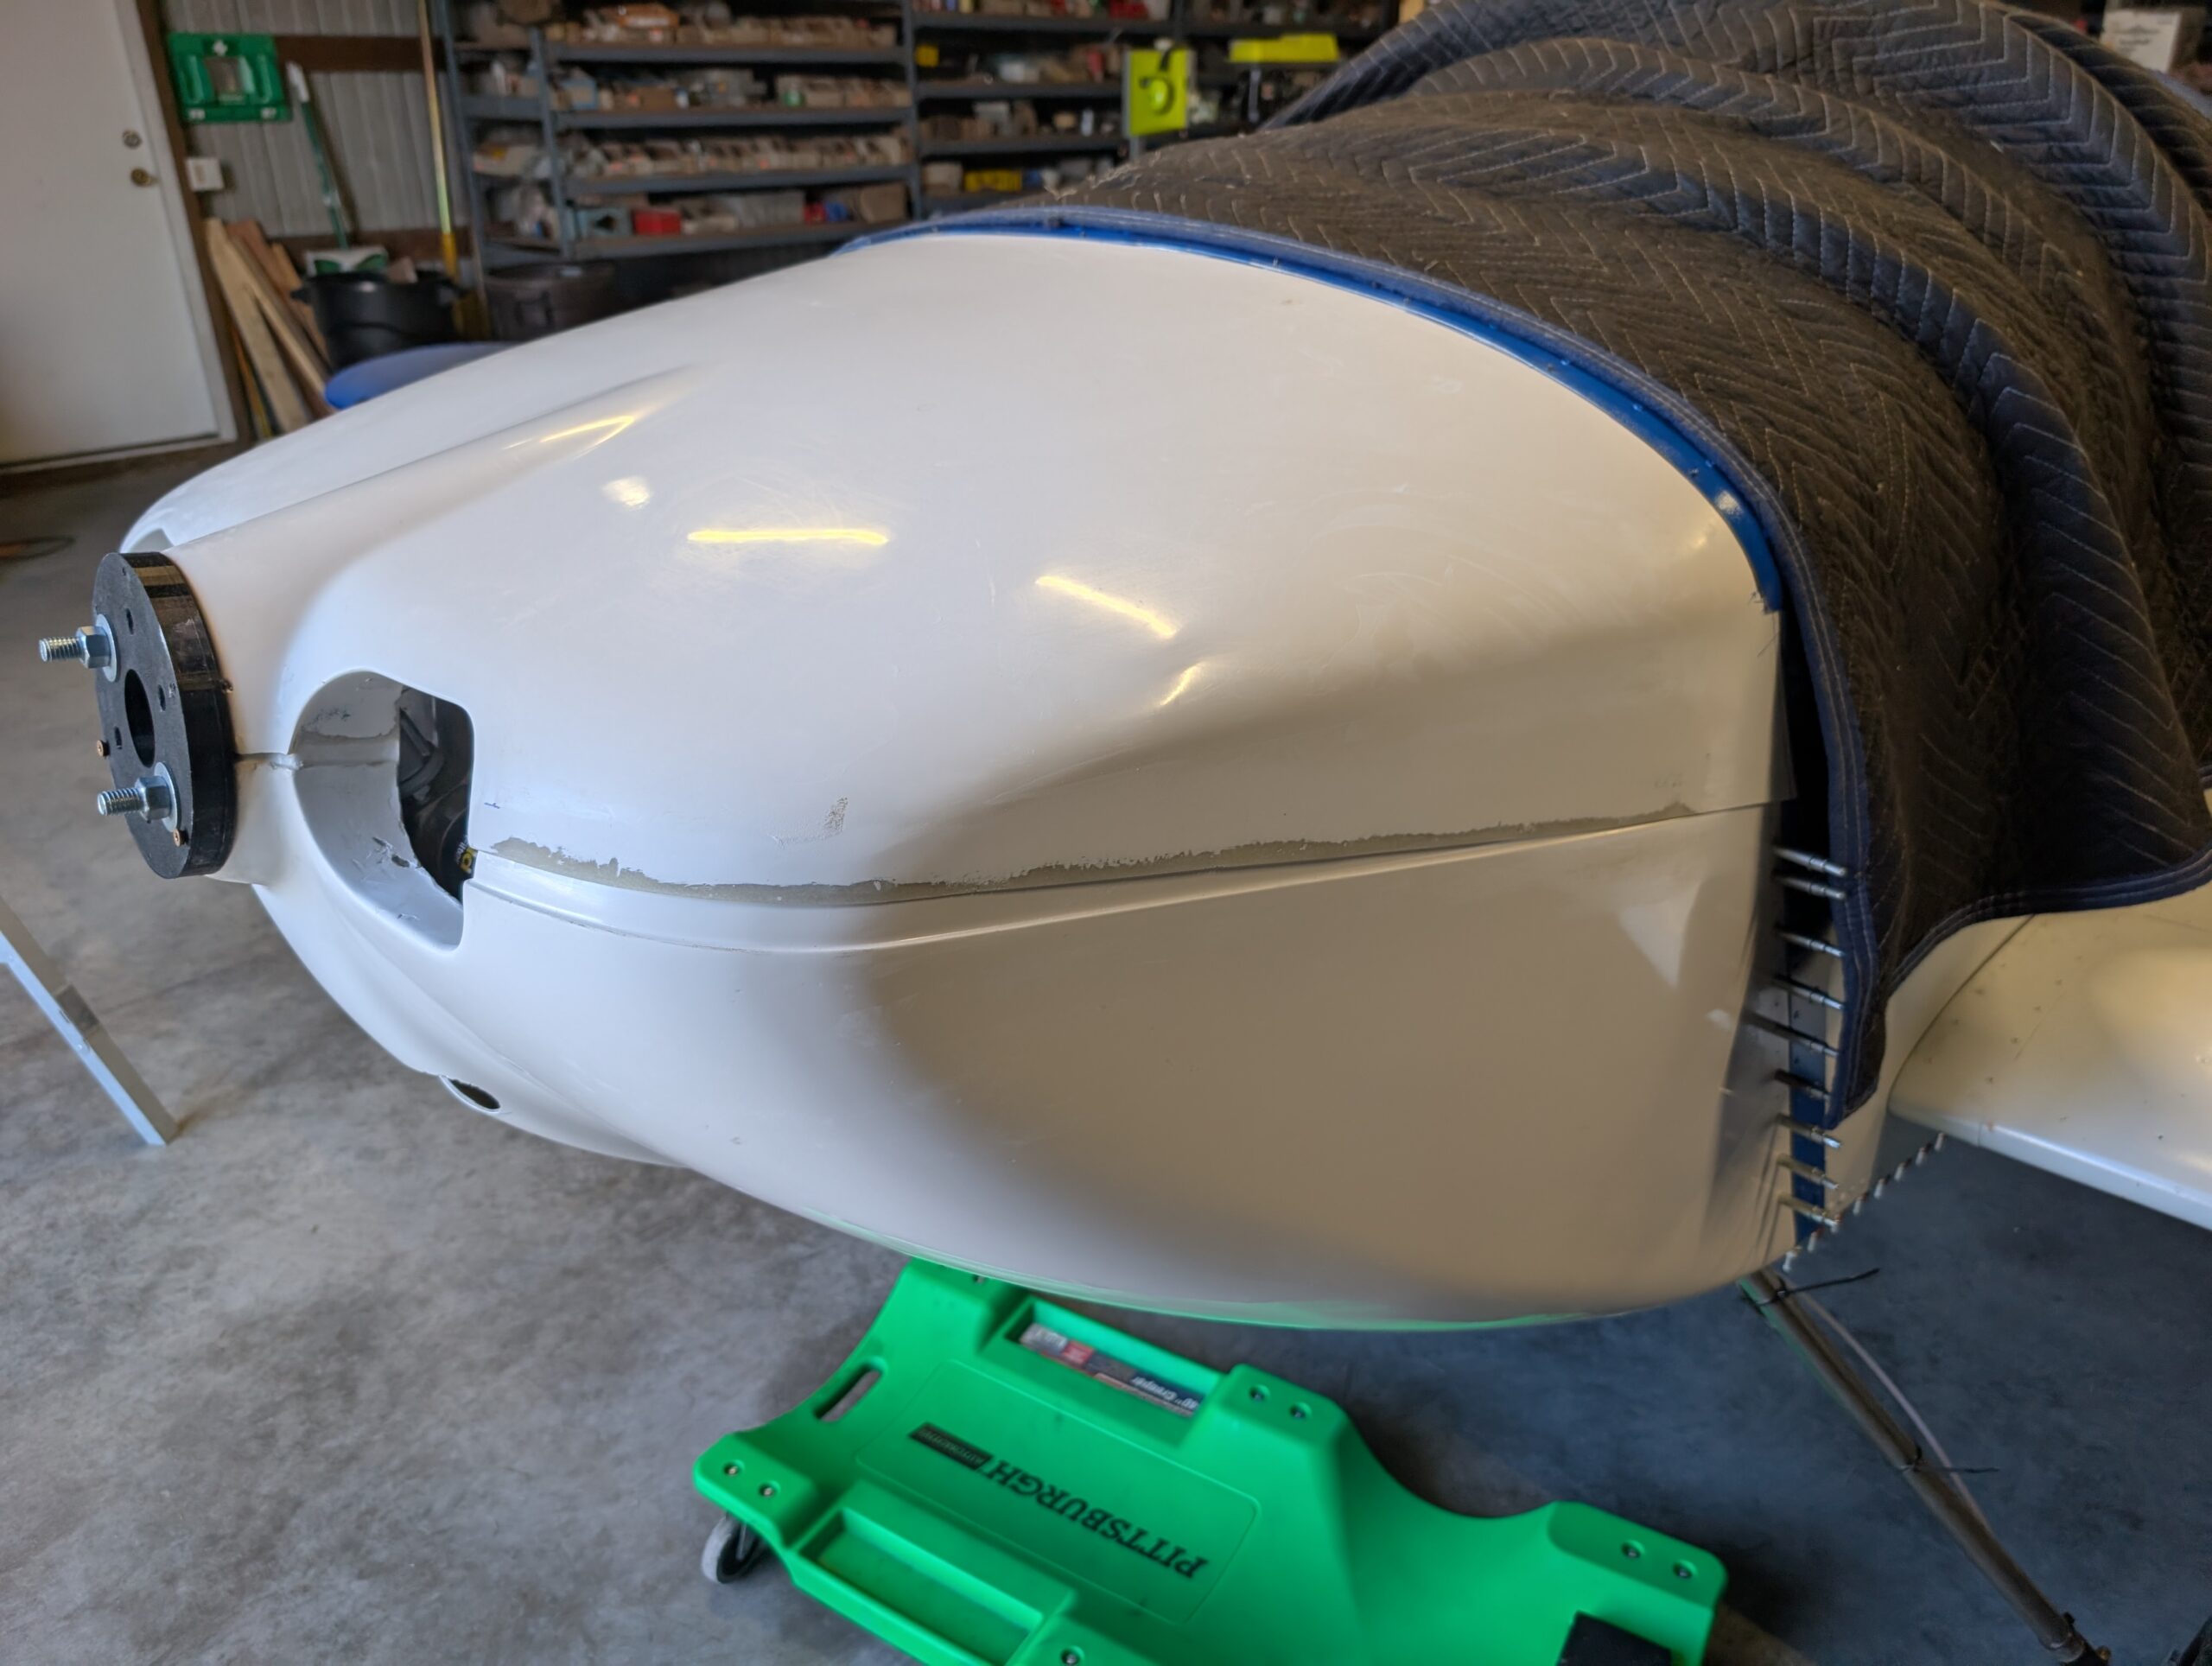
Cowl Fitment – Part 7
Continued to sand lower edge of upper cowling in preparation of lengthening the lower edge using hand and orbital sander with 60 grit. Finished rough sanding with 120 grit discs; should now be ready for fiberglass work. Cleaned upper edge…
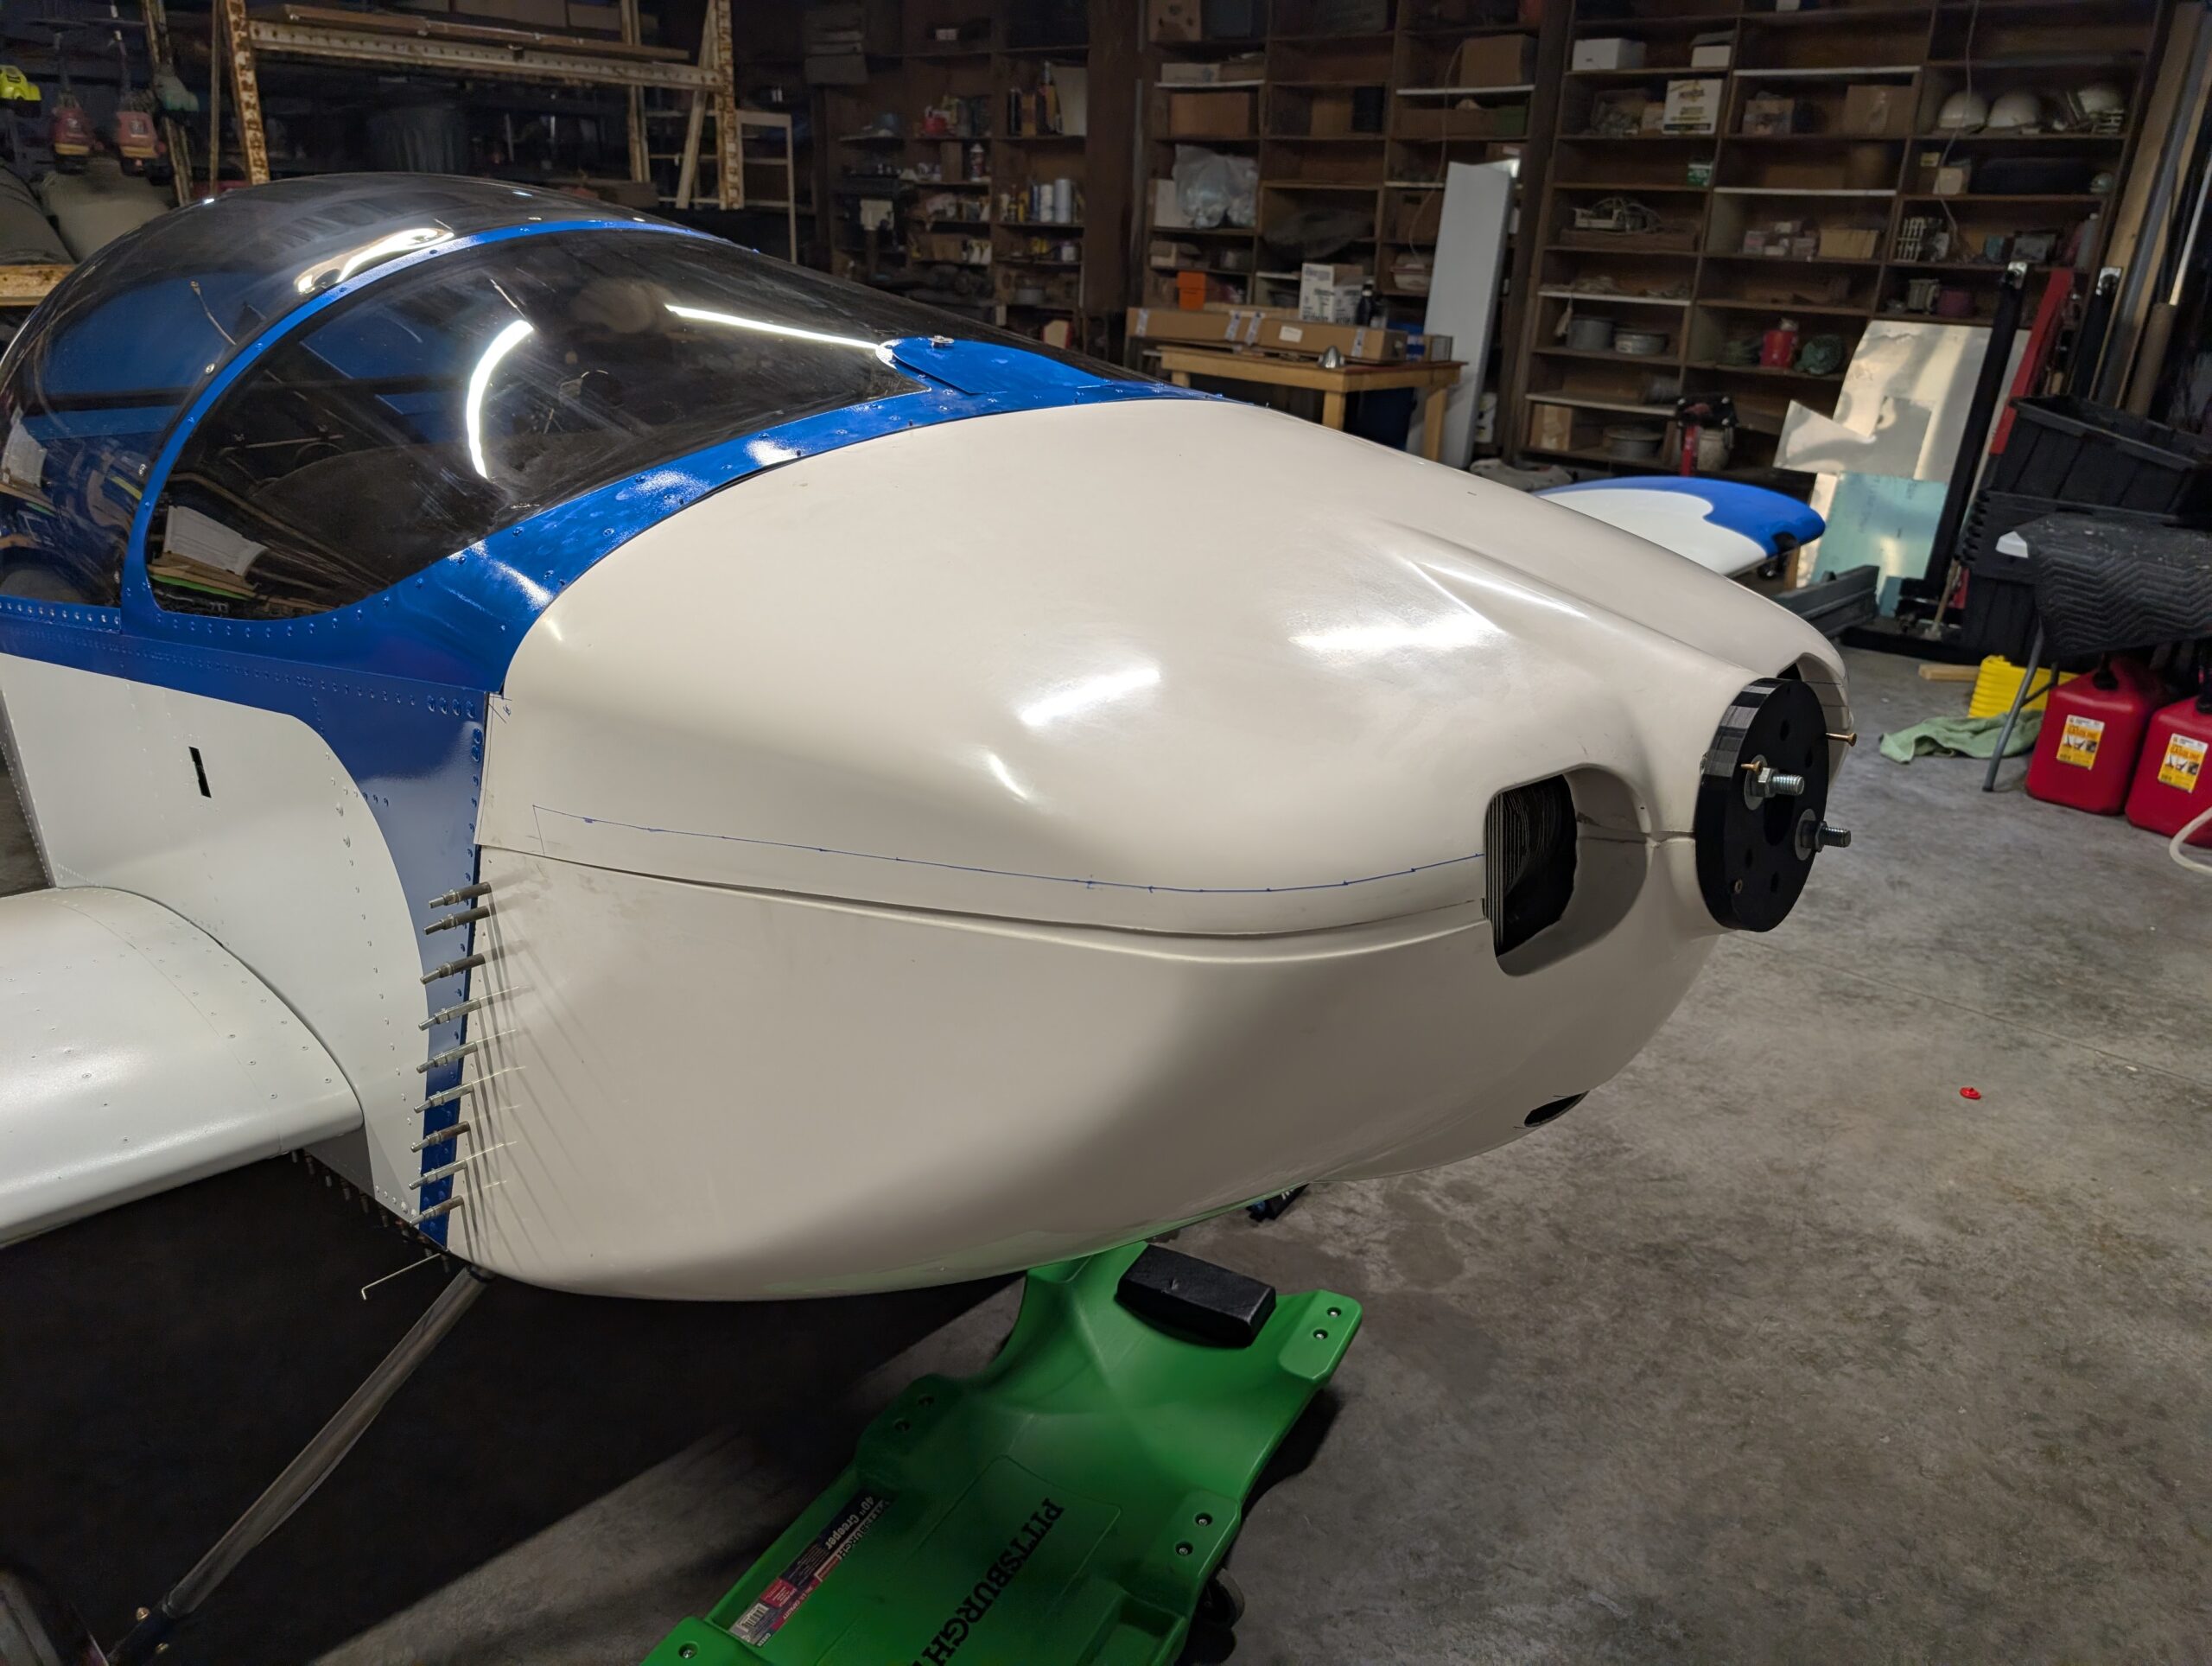
Cowl Fitment – Part 6
Began prepping upper cowl for fiberglass work by removing prop and spinner from engine then reinstalling lower cowl and cowl alignment spacer. Placed upper cowl into approximate position and secured to spacer. Traced 1.5″ line along upper cowl to mark…

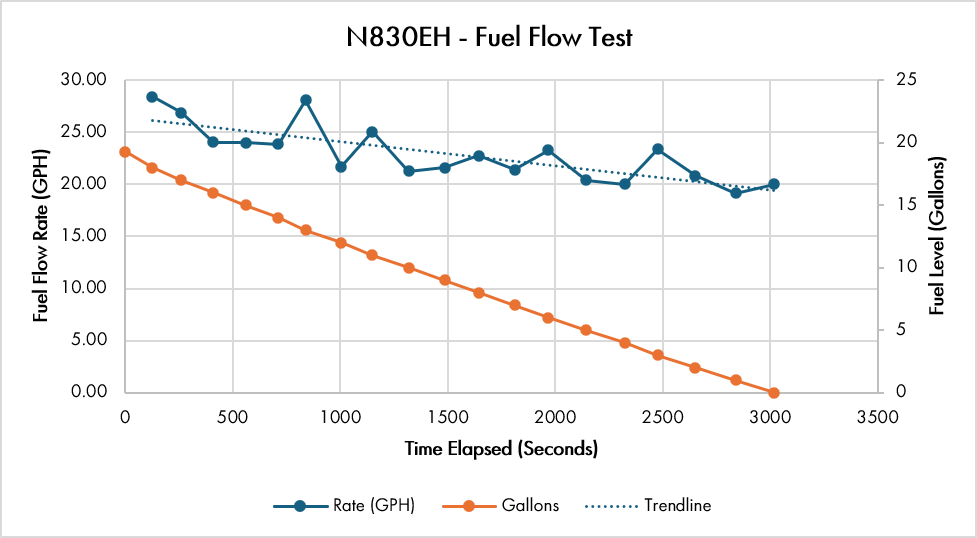
Card A – Fuel Flow Test
Configuration: Cowl removed; inspection covers for all fuel pumps and valves removed. Procedures: Results: Overall fuel flow rate from 19.25 gallons to 0.00 gallons was 22.95 GPH GallonsTime (Sec)Time (Total)Rate (GPH)19.250.000.00018126.81126.8128.3917134.05260.8626.8616149.89410.7524.0215150.21560.9623.9714150.98711.9423.8413128.32840.2628.0512166.111006.3721.6711143.791150.1625.0410169.481319.6421.249166.611486.2521.618158.451644.7022.727168.101812.8021.426154.741967.5423.265176.662144.2020.384180.062324.2619.993154.102478.3623.362173.072651.4320.801187.912839.3419.160179.873019.2120.01

Fuel Gauge Calibration
Calibrated fuel gauge by pumping fuel into tank from marked 6 gallon homebrewer’s bucket. Opted to calibrate fuel gauge in “ground stance” position (~8° nose up) and with ethanol free 91 octane mogas. Set points was recorded every 2 gallons…
Aileron Rigging
Created aileron neutral alignment tool with two rulers similar to the one used for flap rigging. Set neutral position for RH aileron and centered stick assembly using digital level. Adjusted aileron pushrod length via rod ends then secured RH aileron…
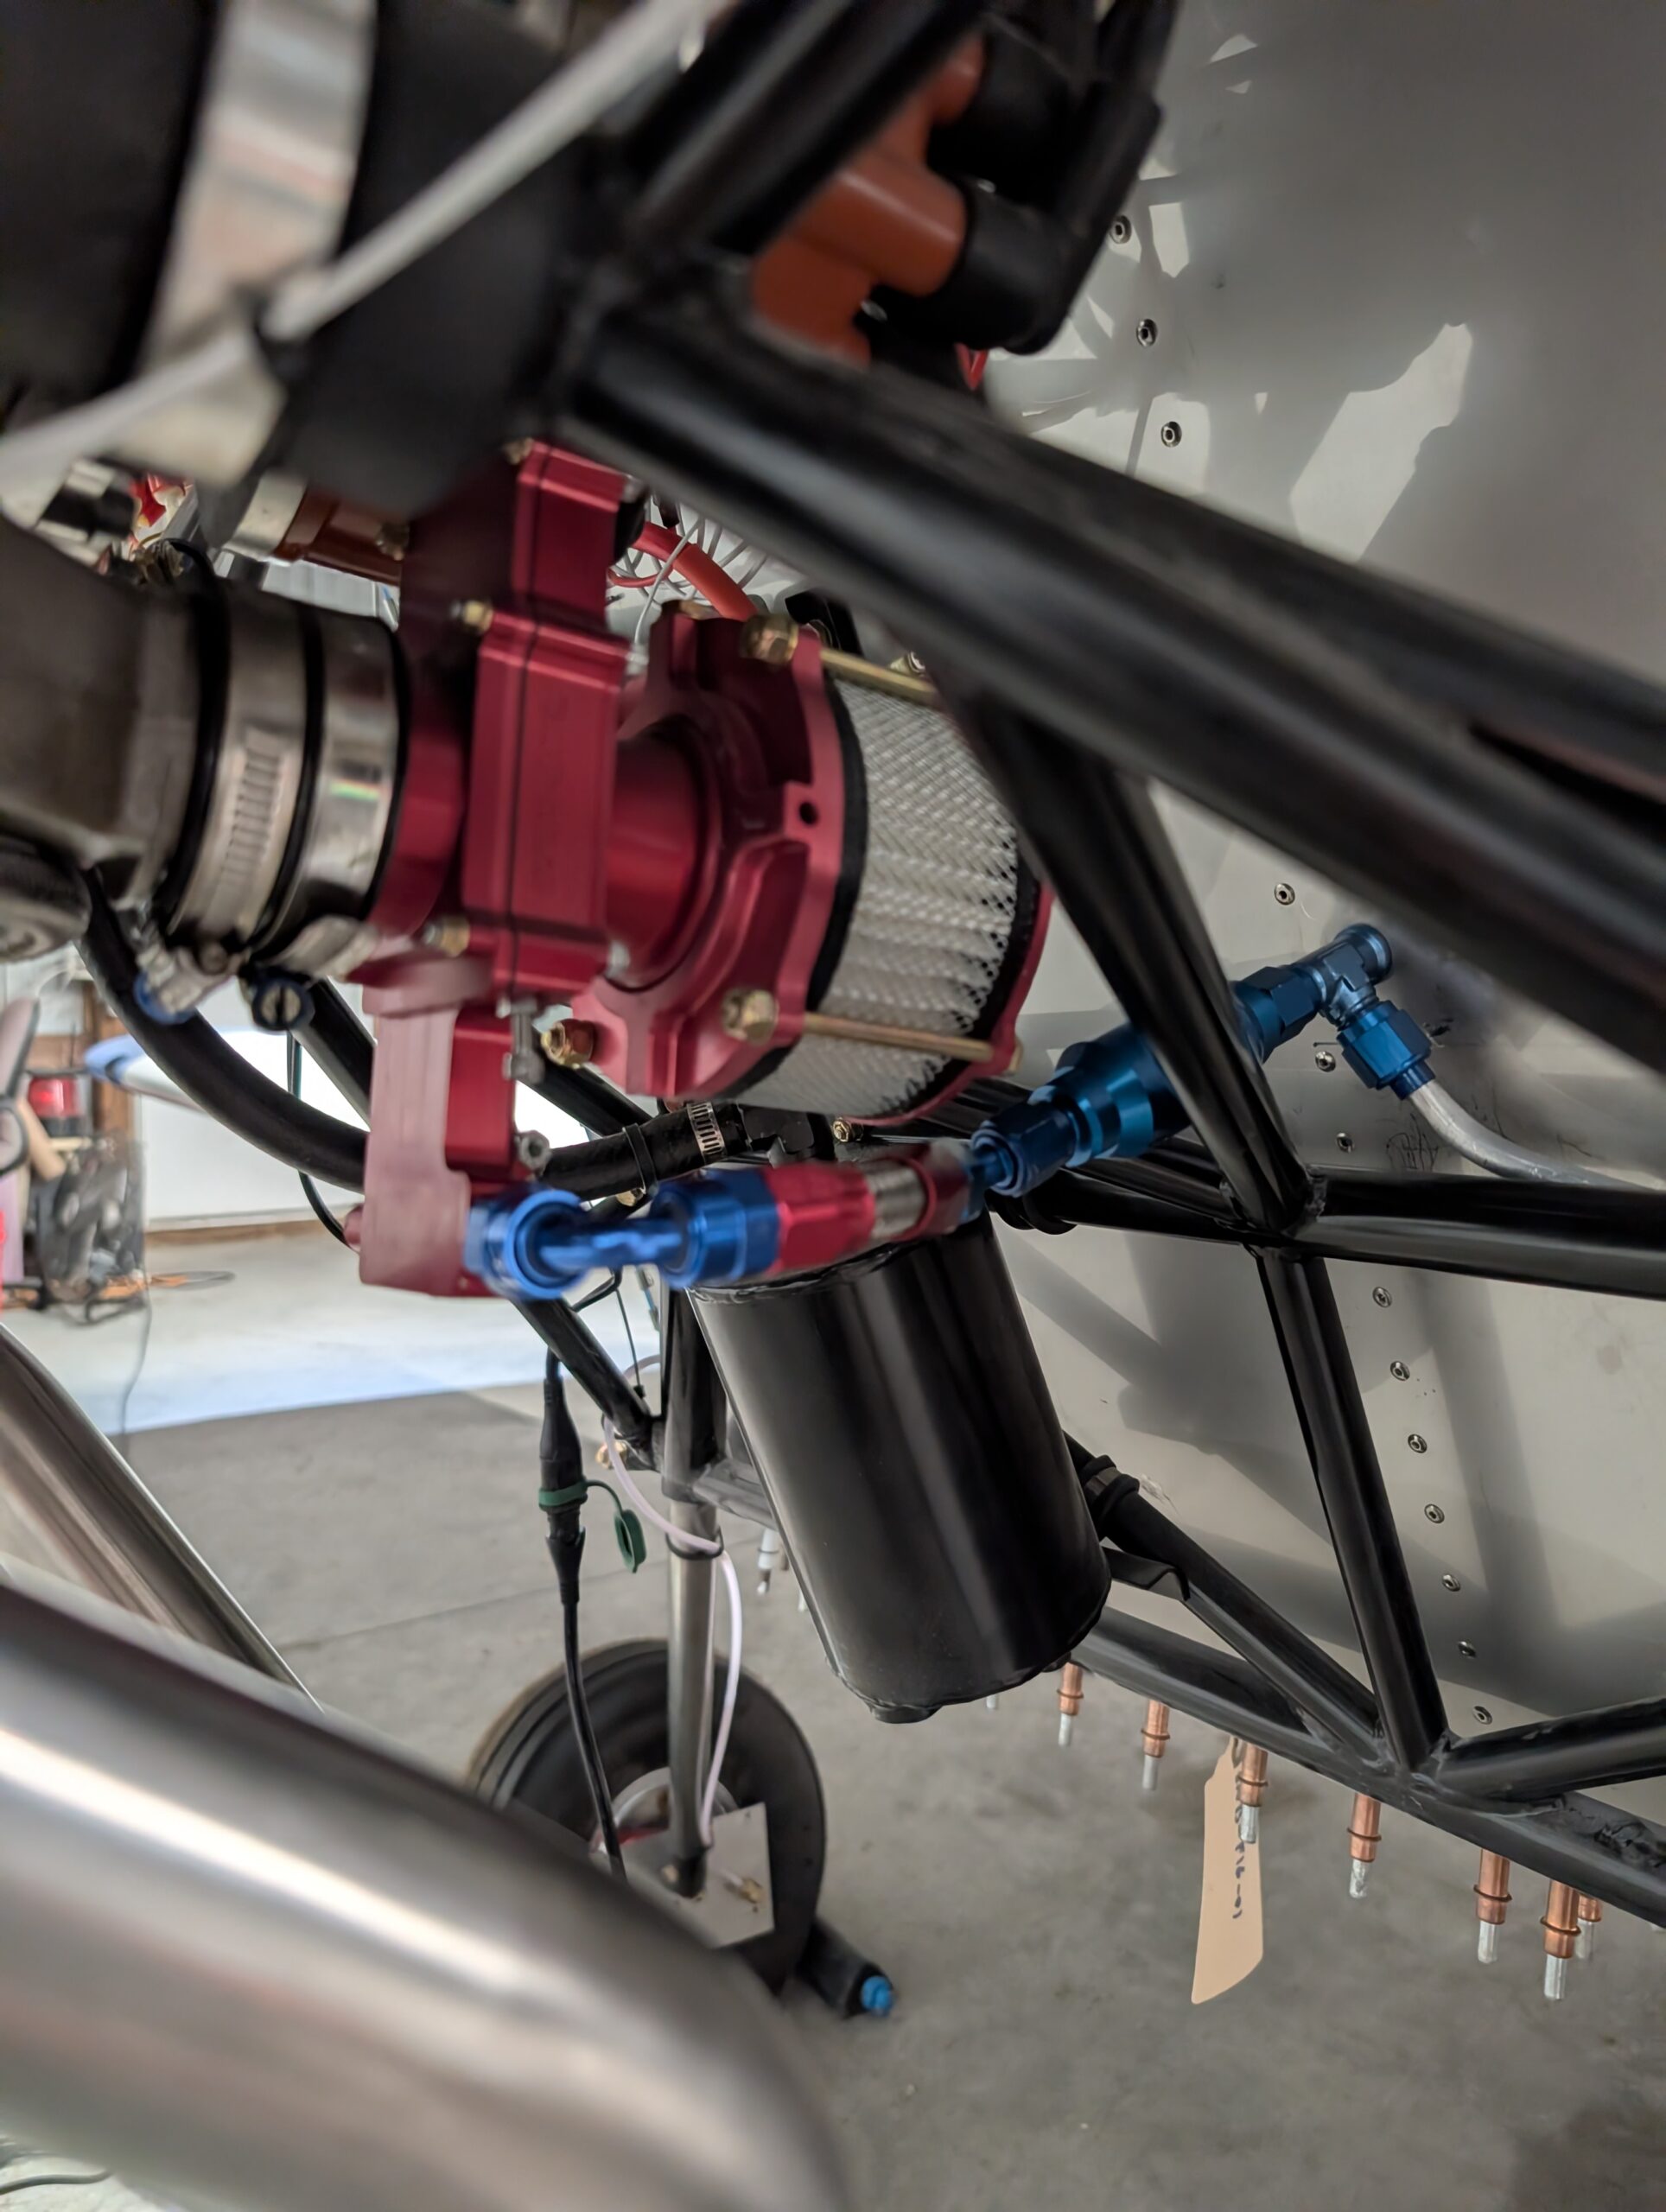
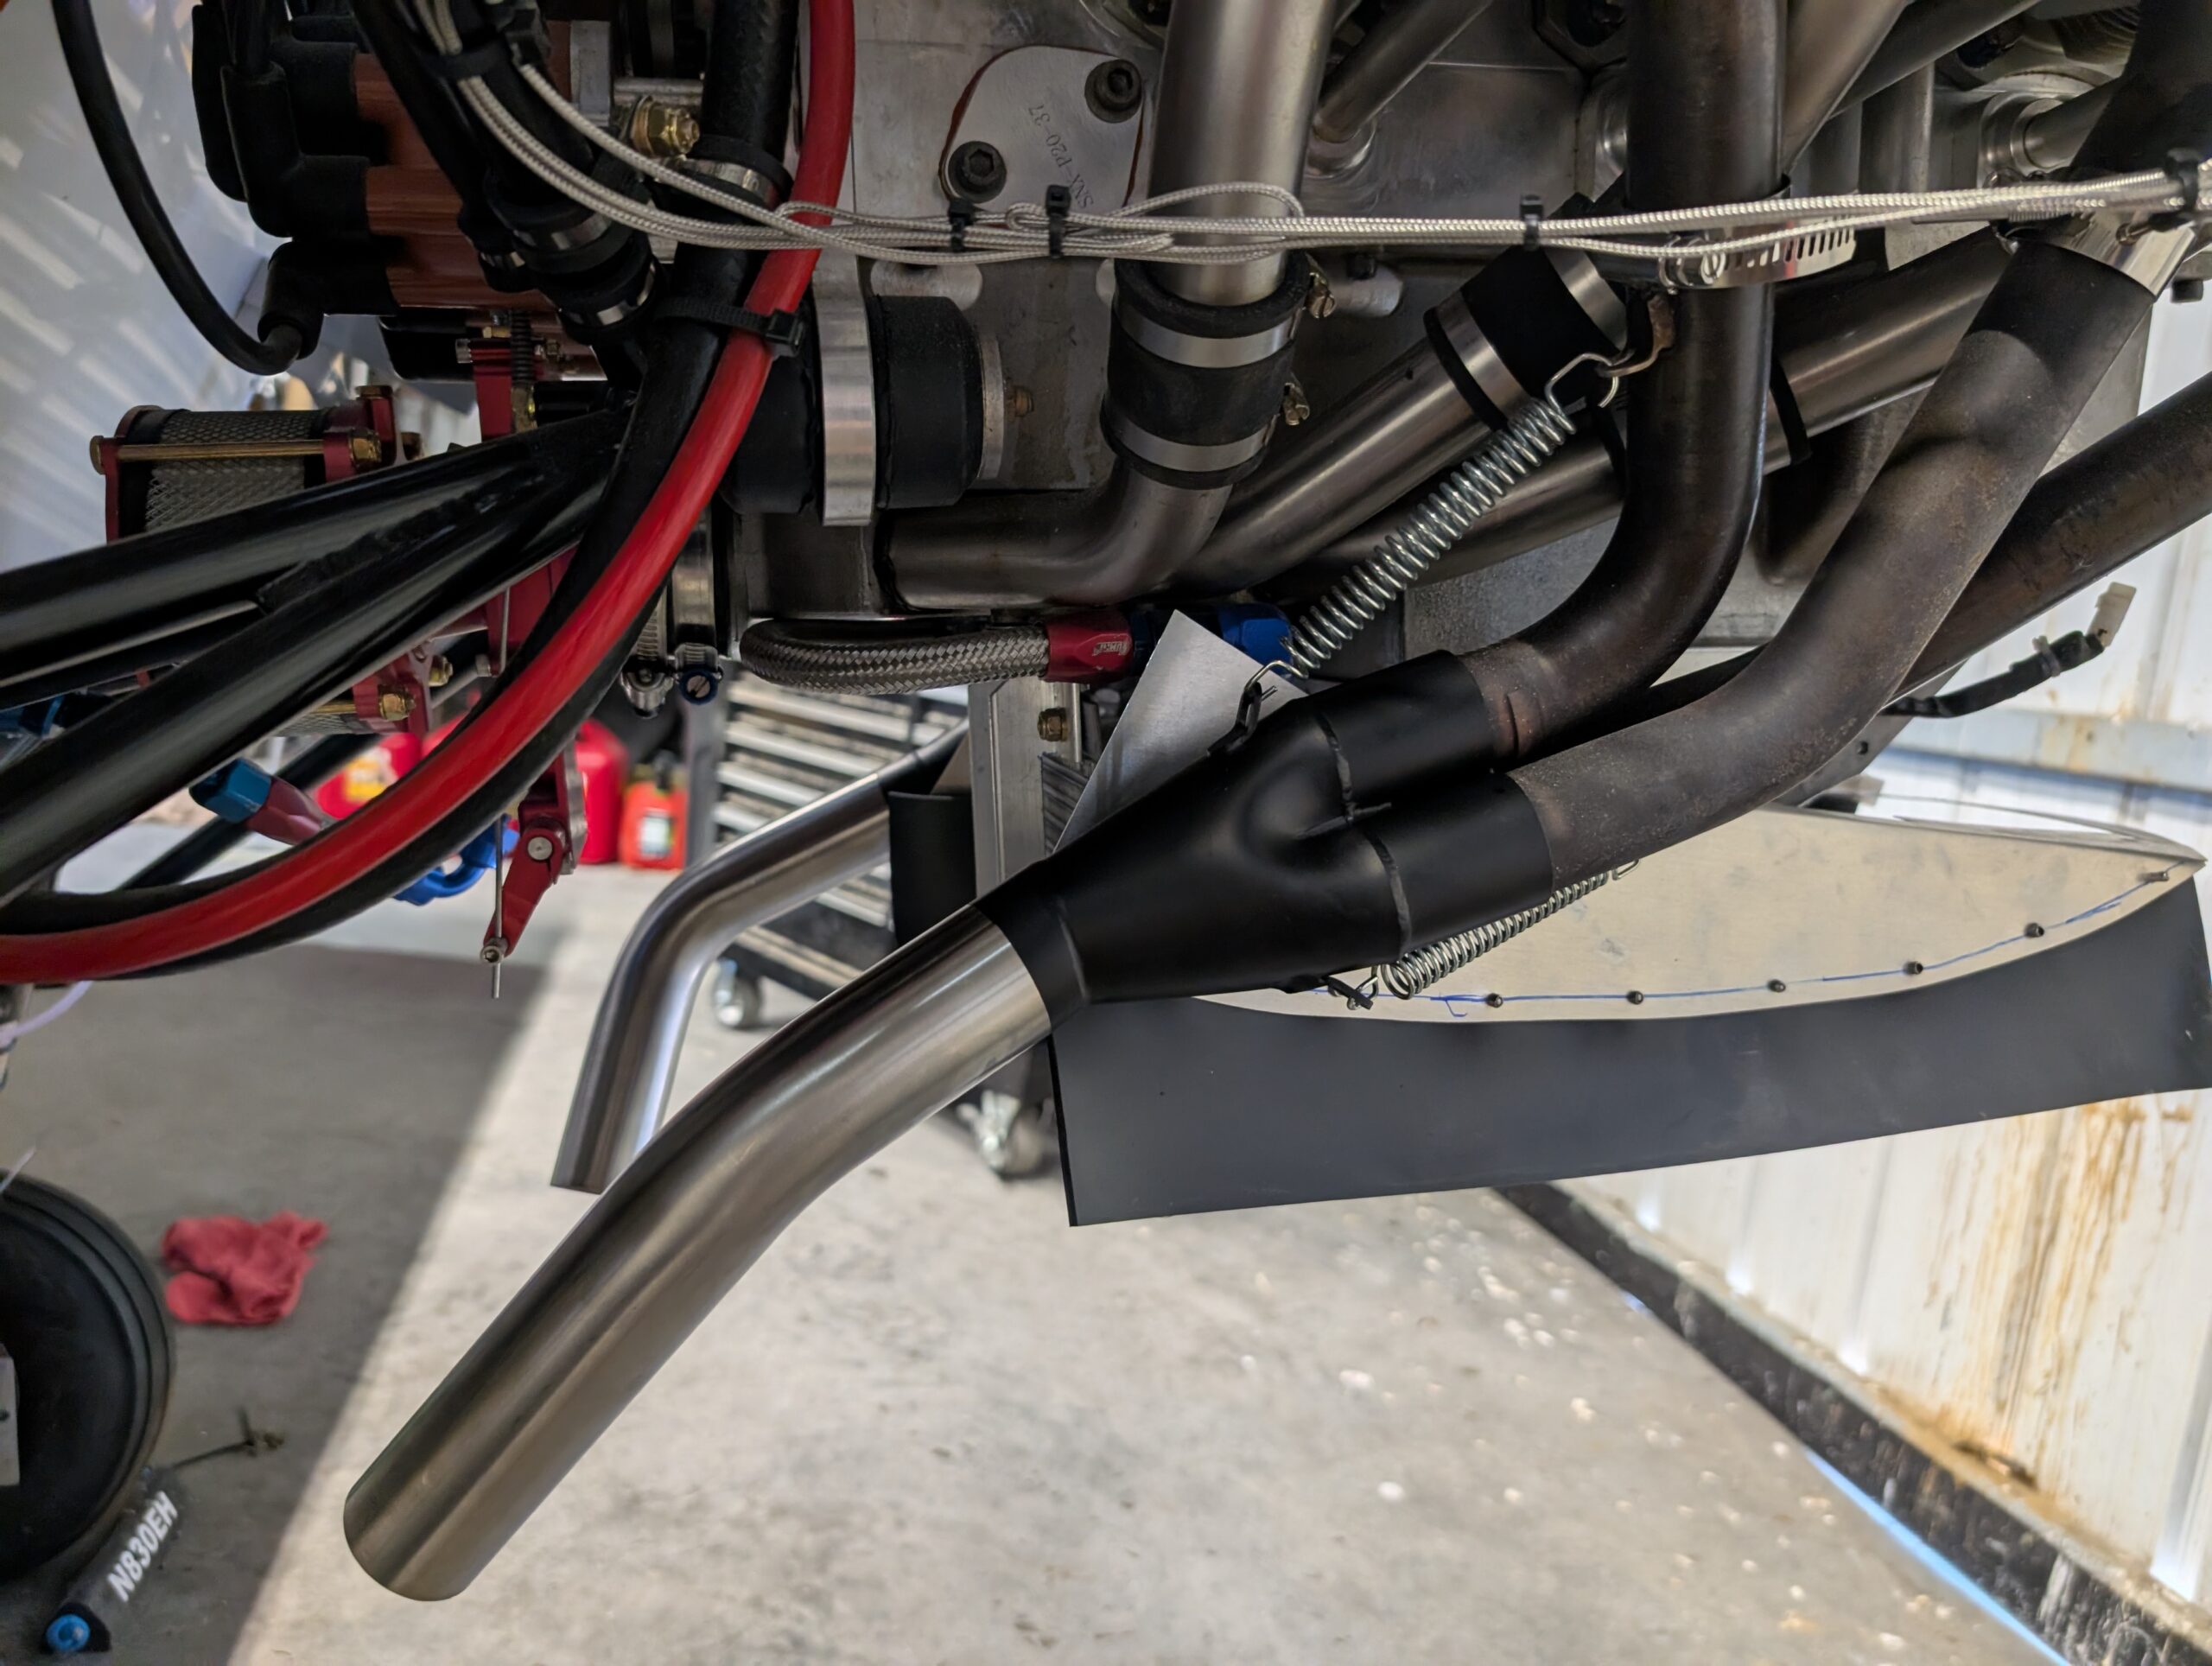
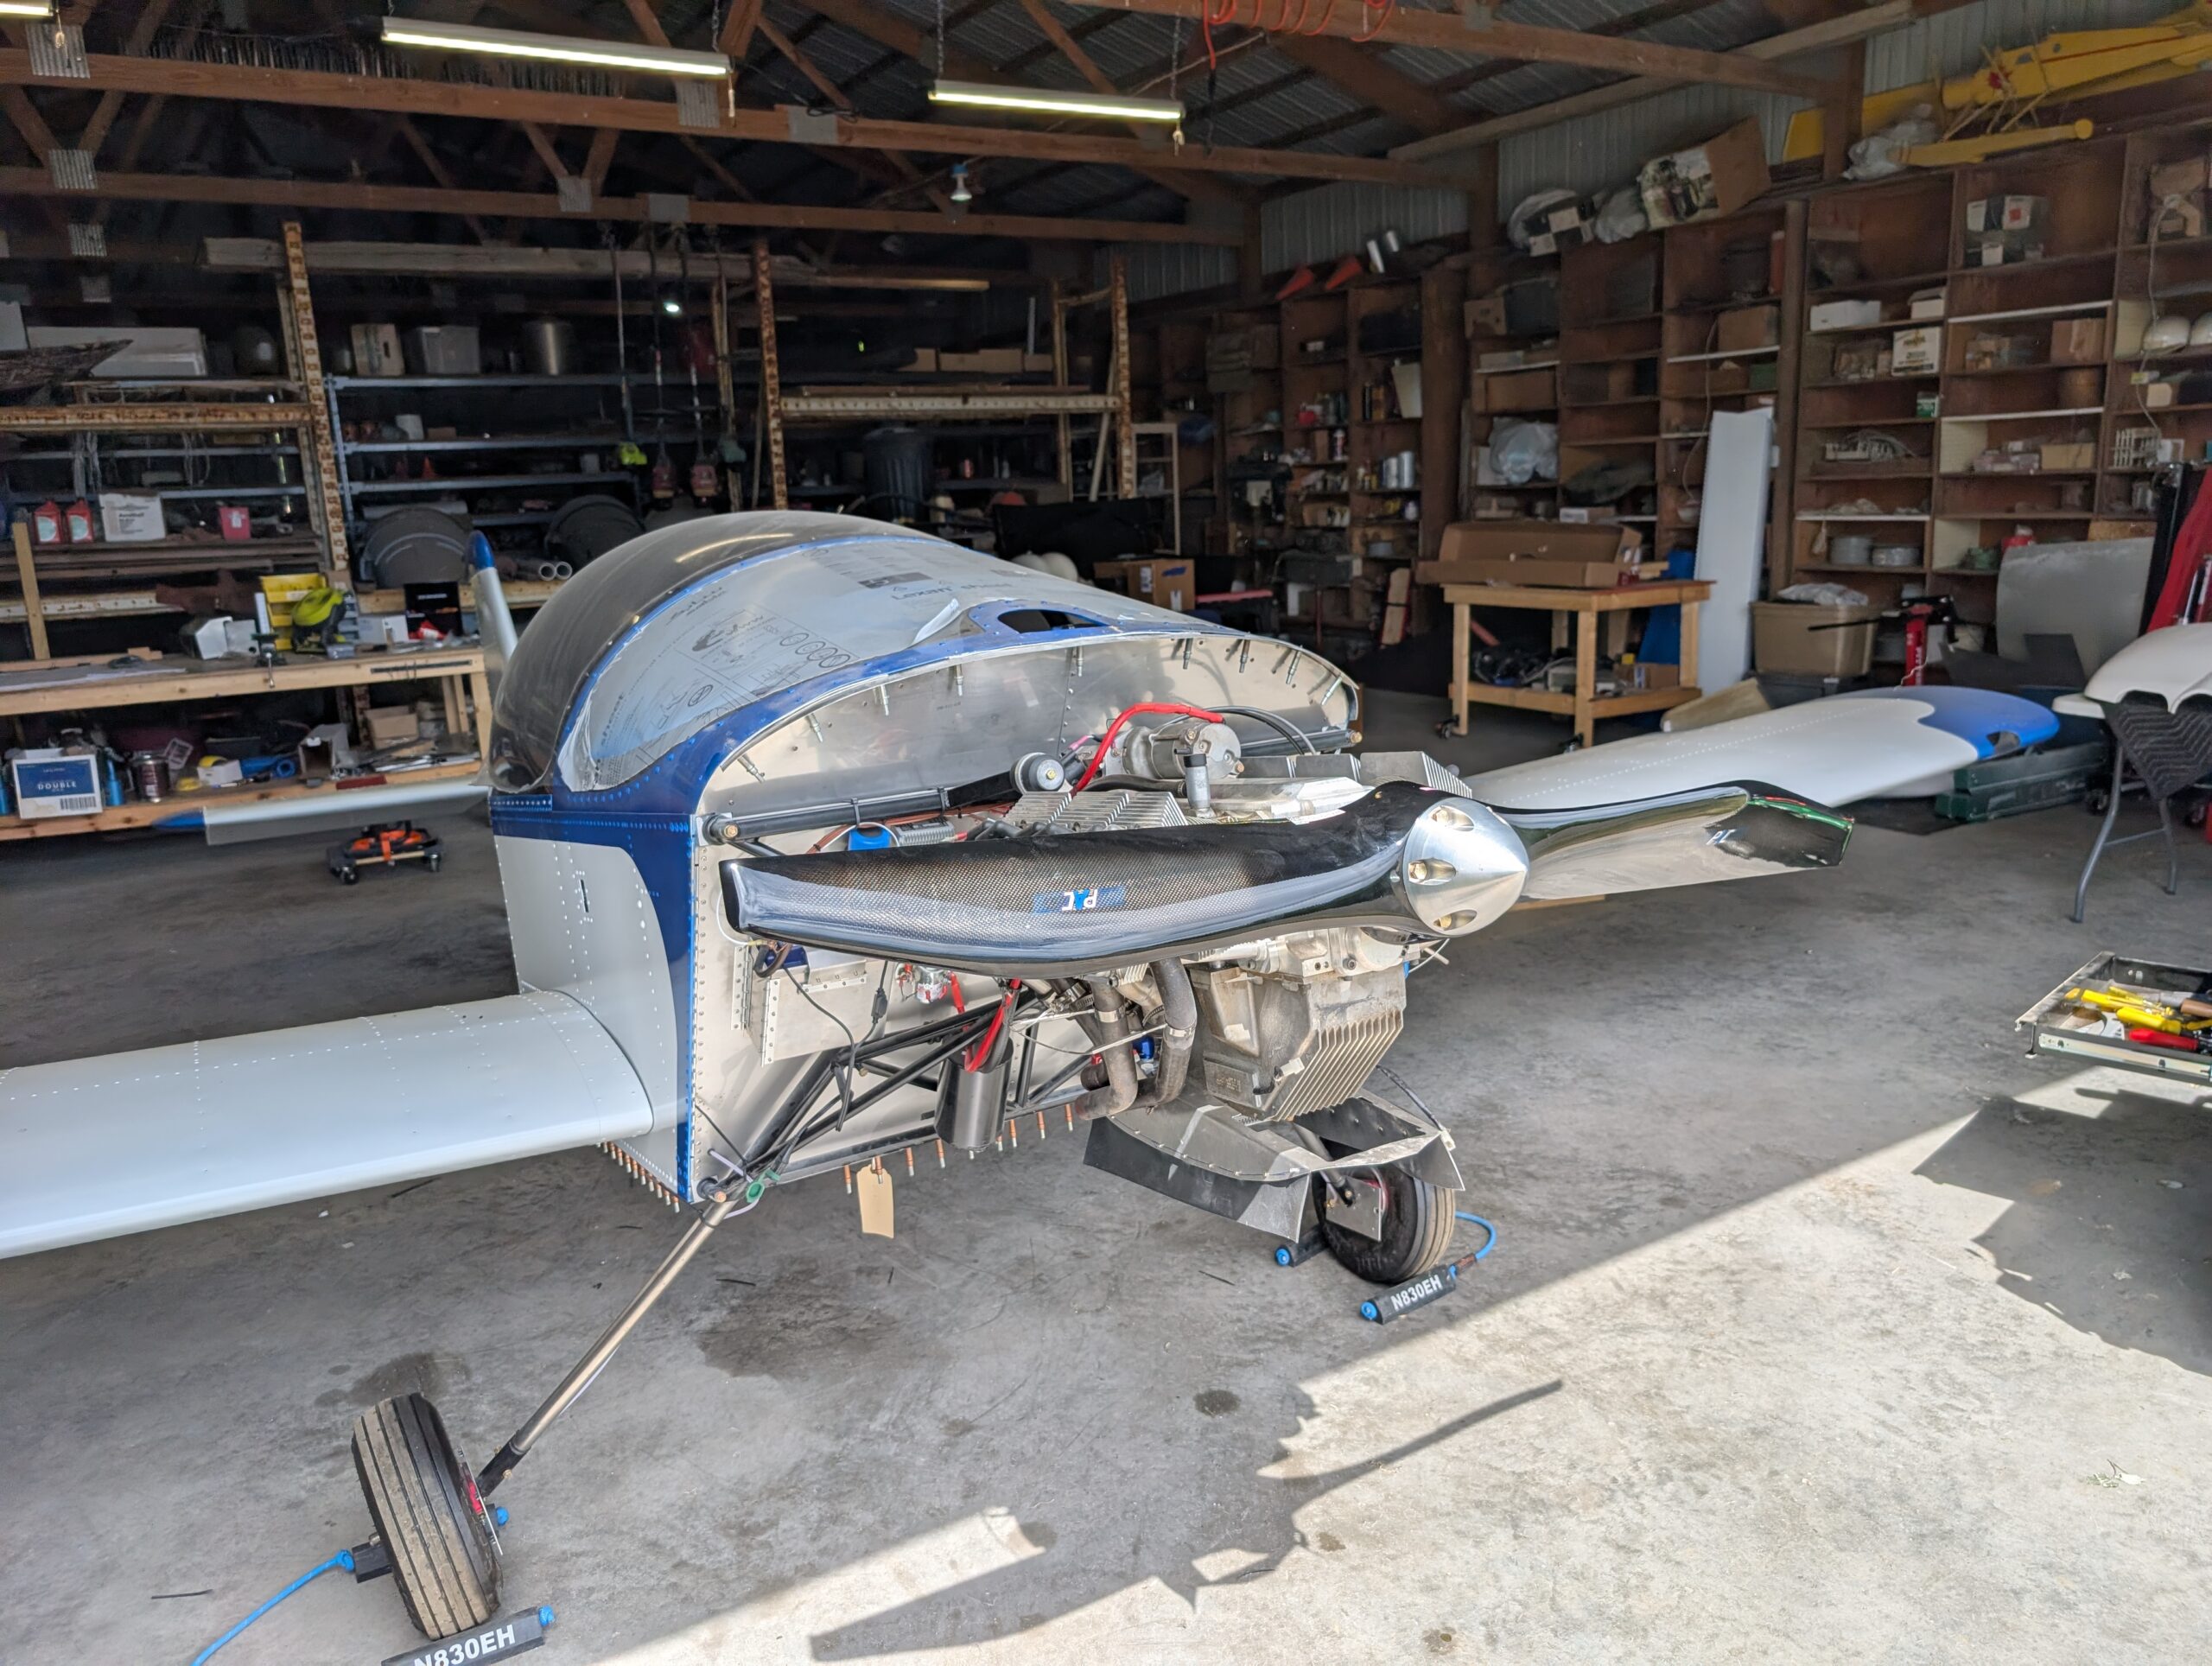
First Engine Run Prep
Began preparing engine for first run by draining preservation oil from engine and replacing 3.7 quarts of Shell 15W-50 oil. Replaced oil filter with NAPA 1394 Gold oil filter. Removed and replaced all 12 NGK D9EA spark plugs and set…
Stick Grip Wiring
Installed control stick ground wire and autopilot ground wire in GB24 ground block. Ran and routed PTT wires from mic jacks to stick grip harness and began populating fuselage side of connector. Attached aux fuse block power and ground wires…
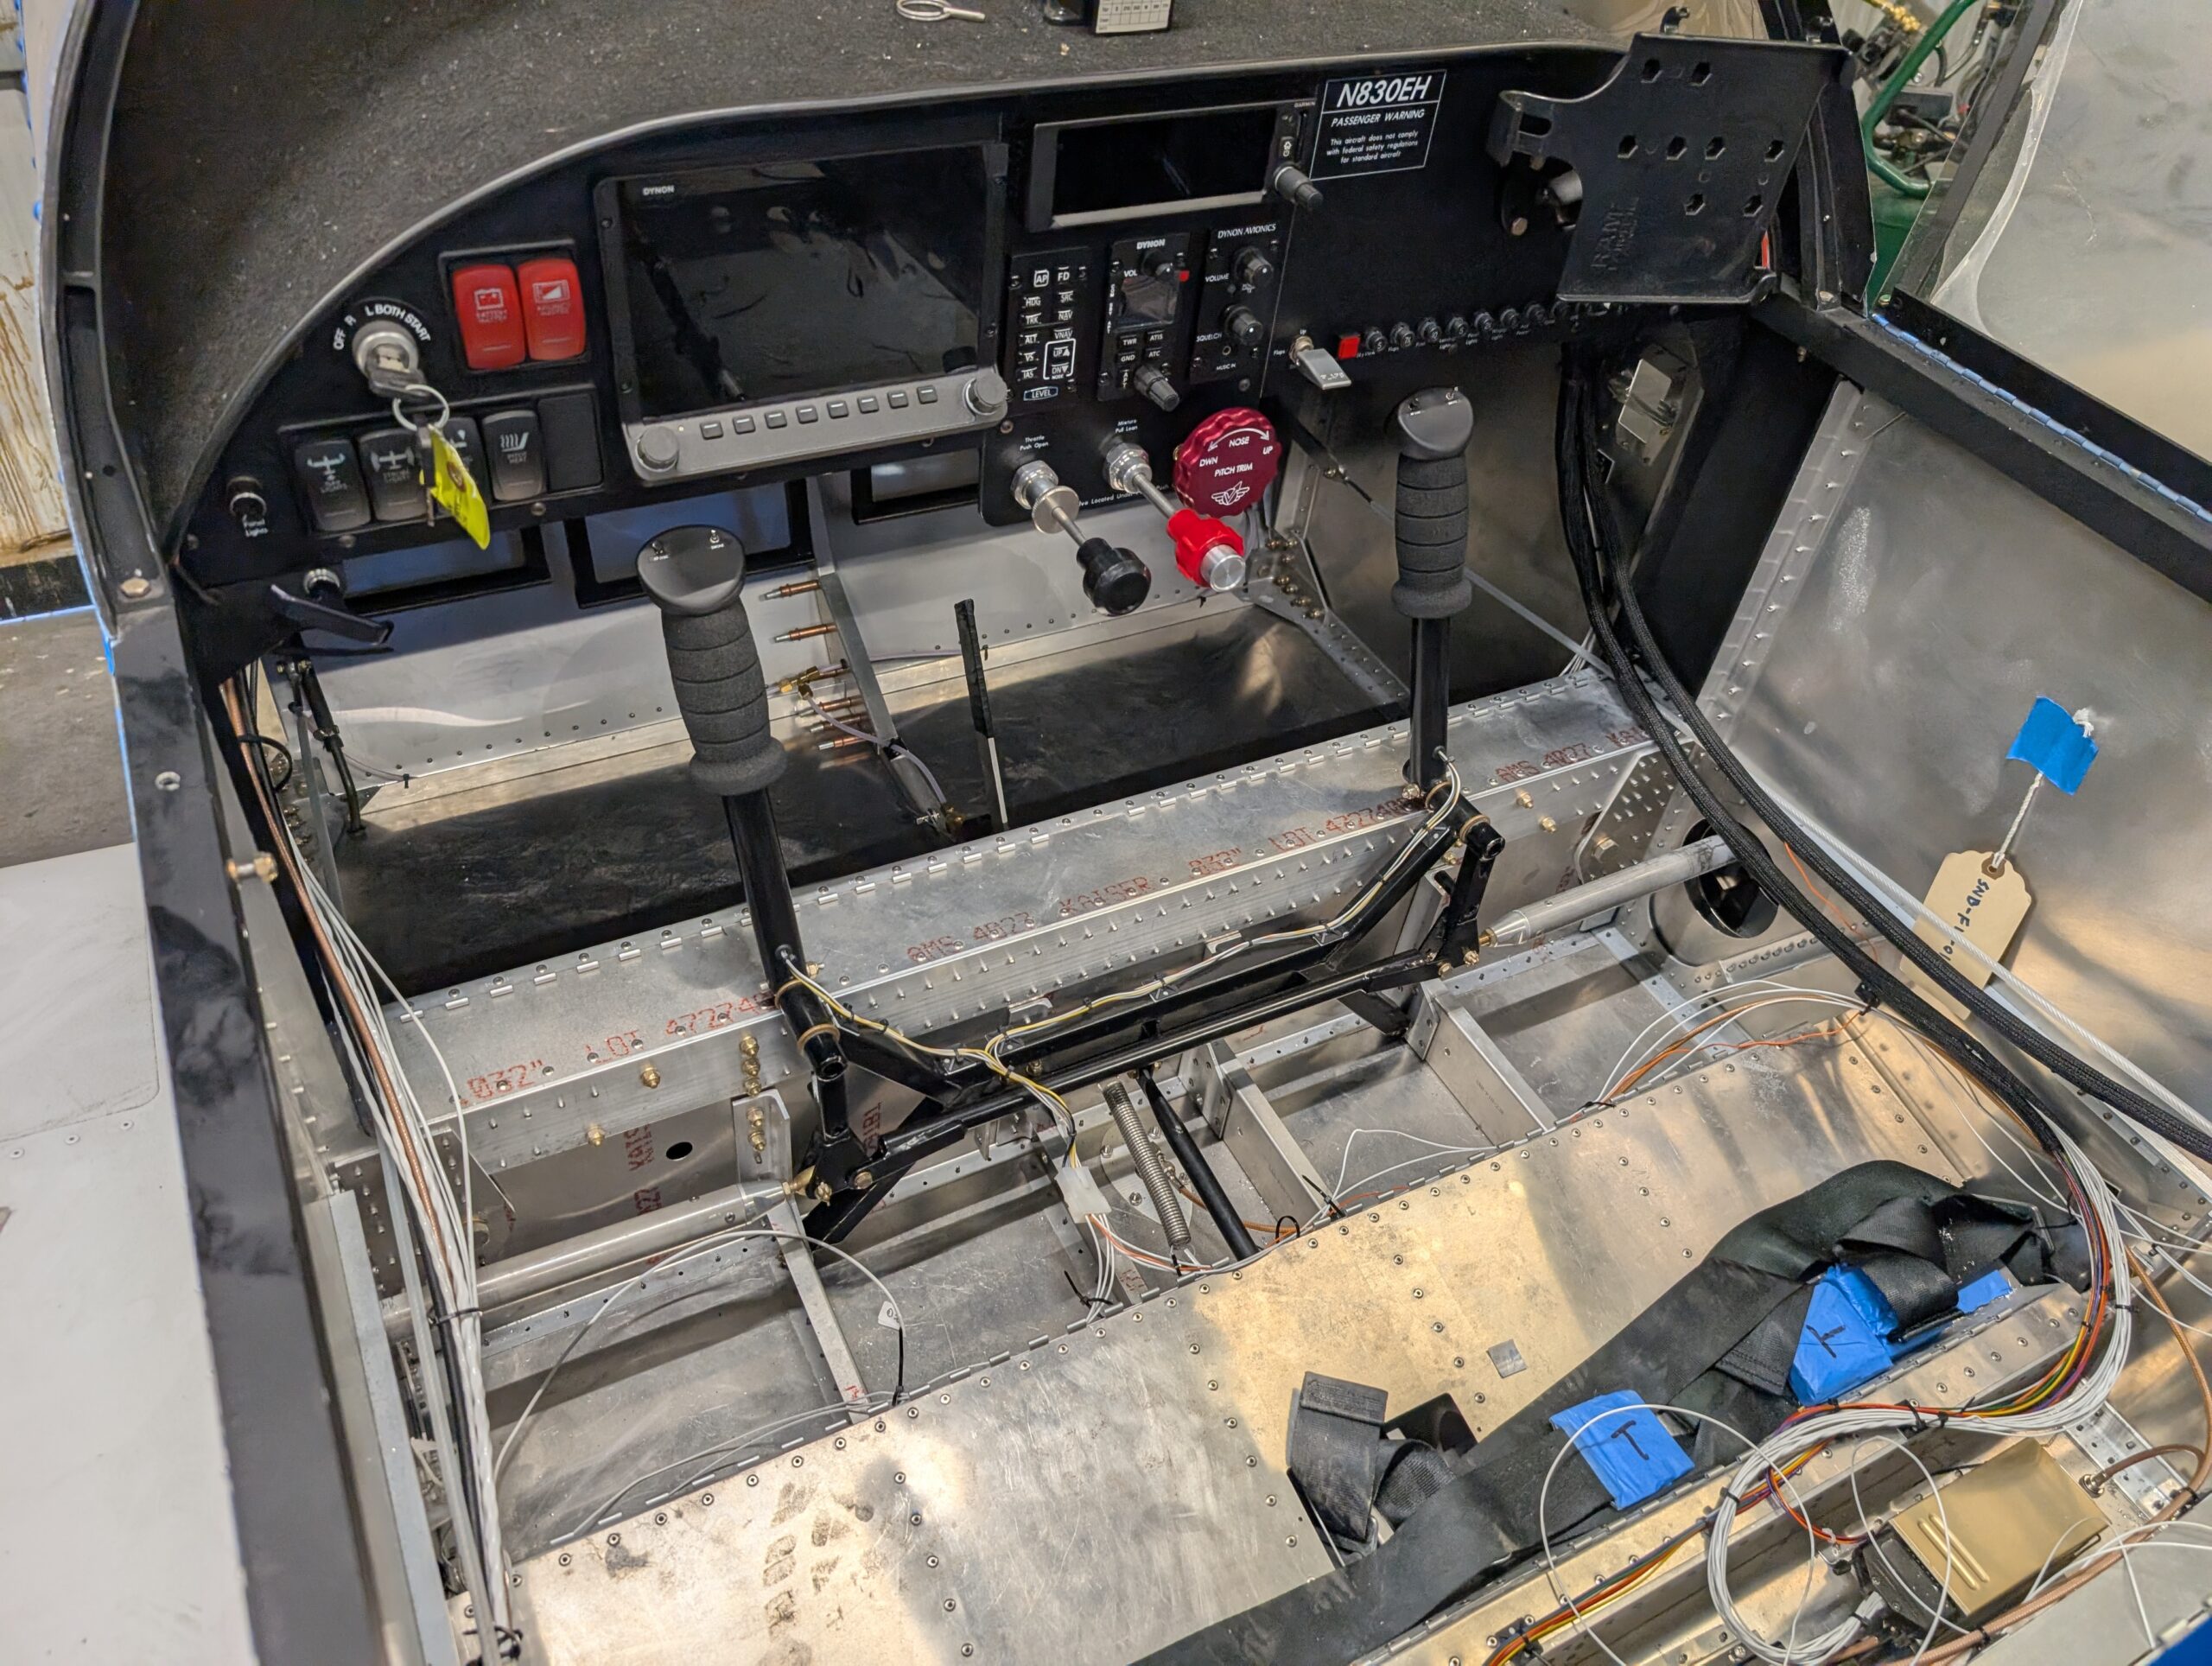
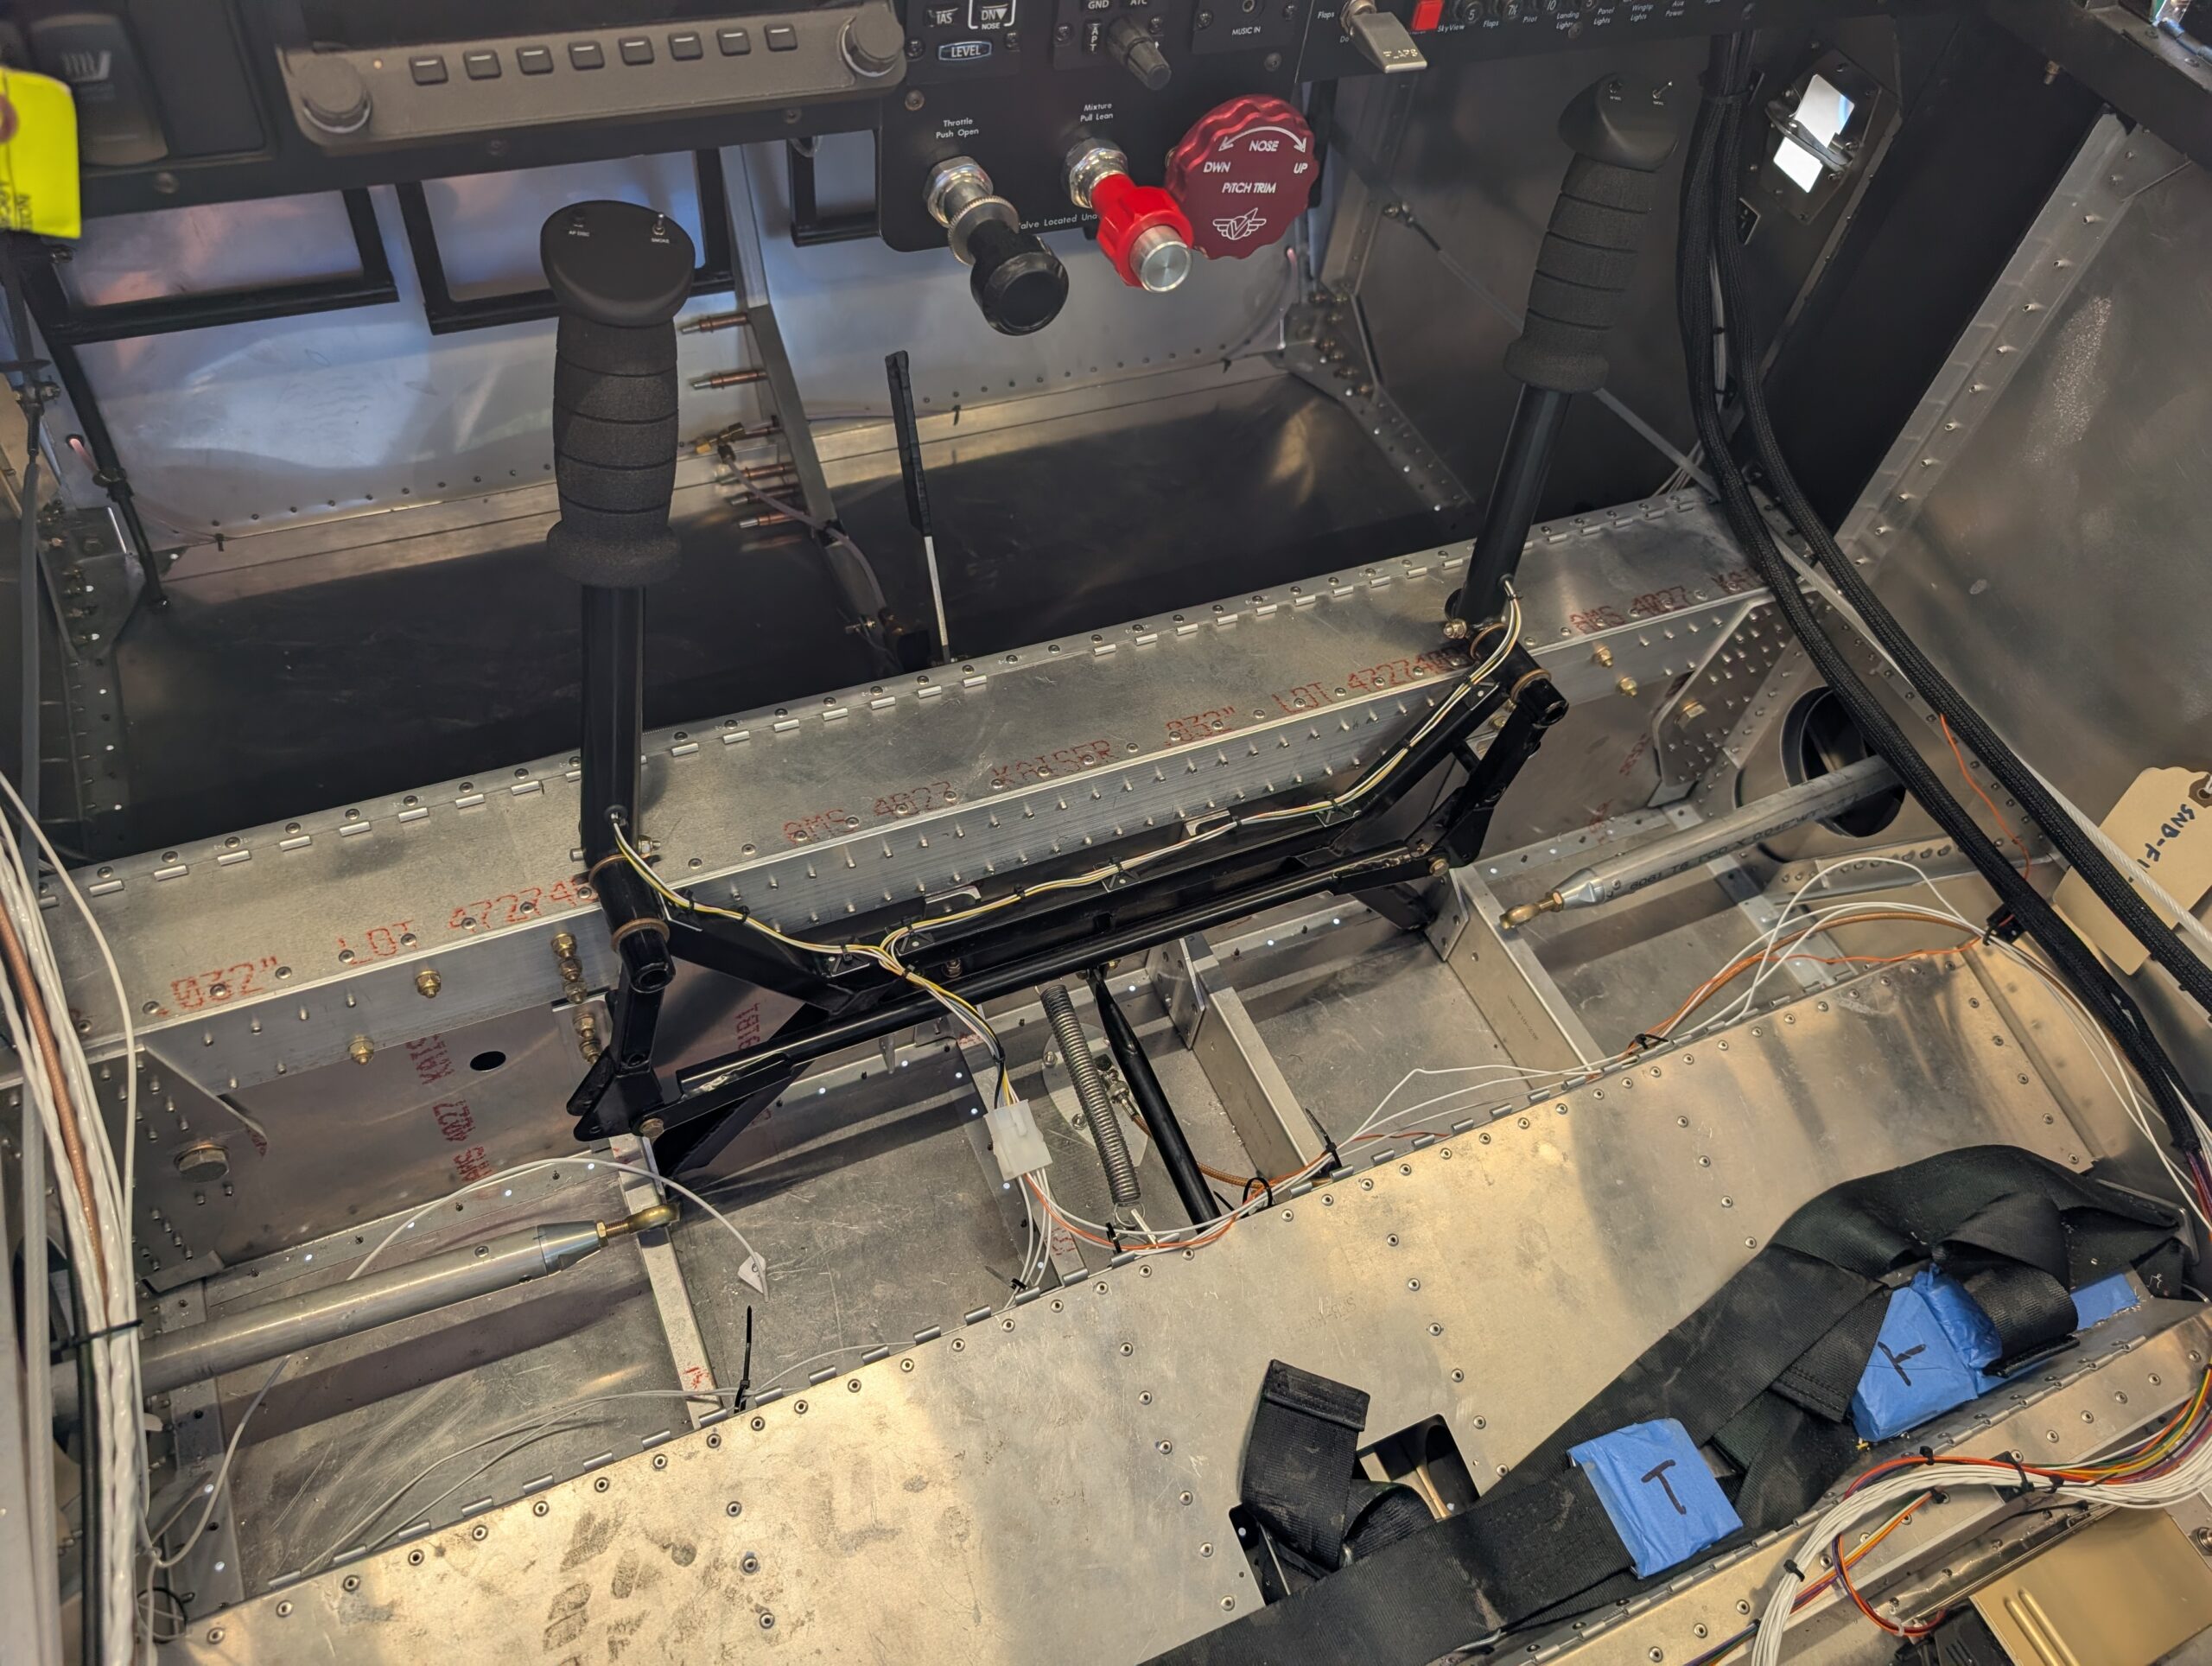
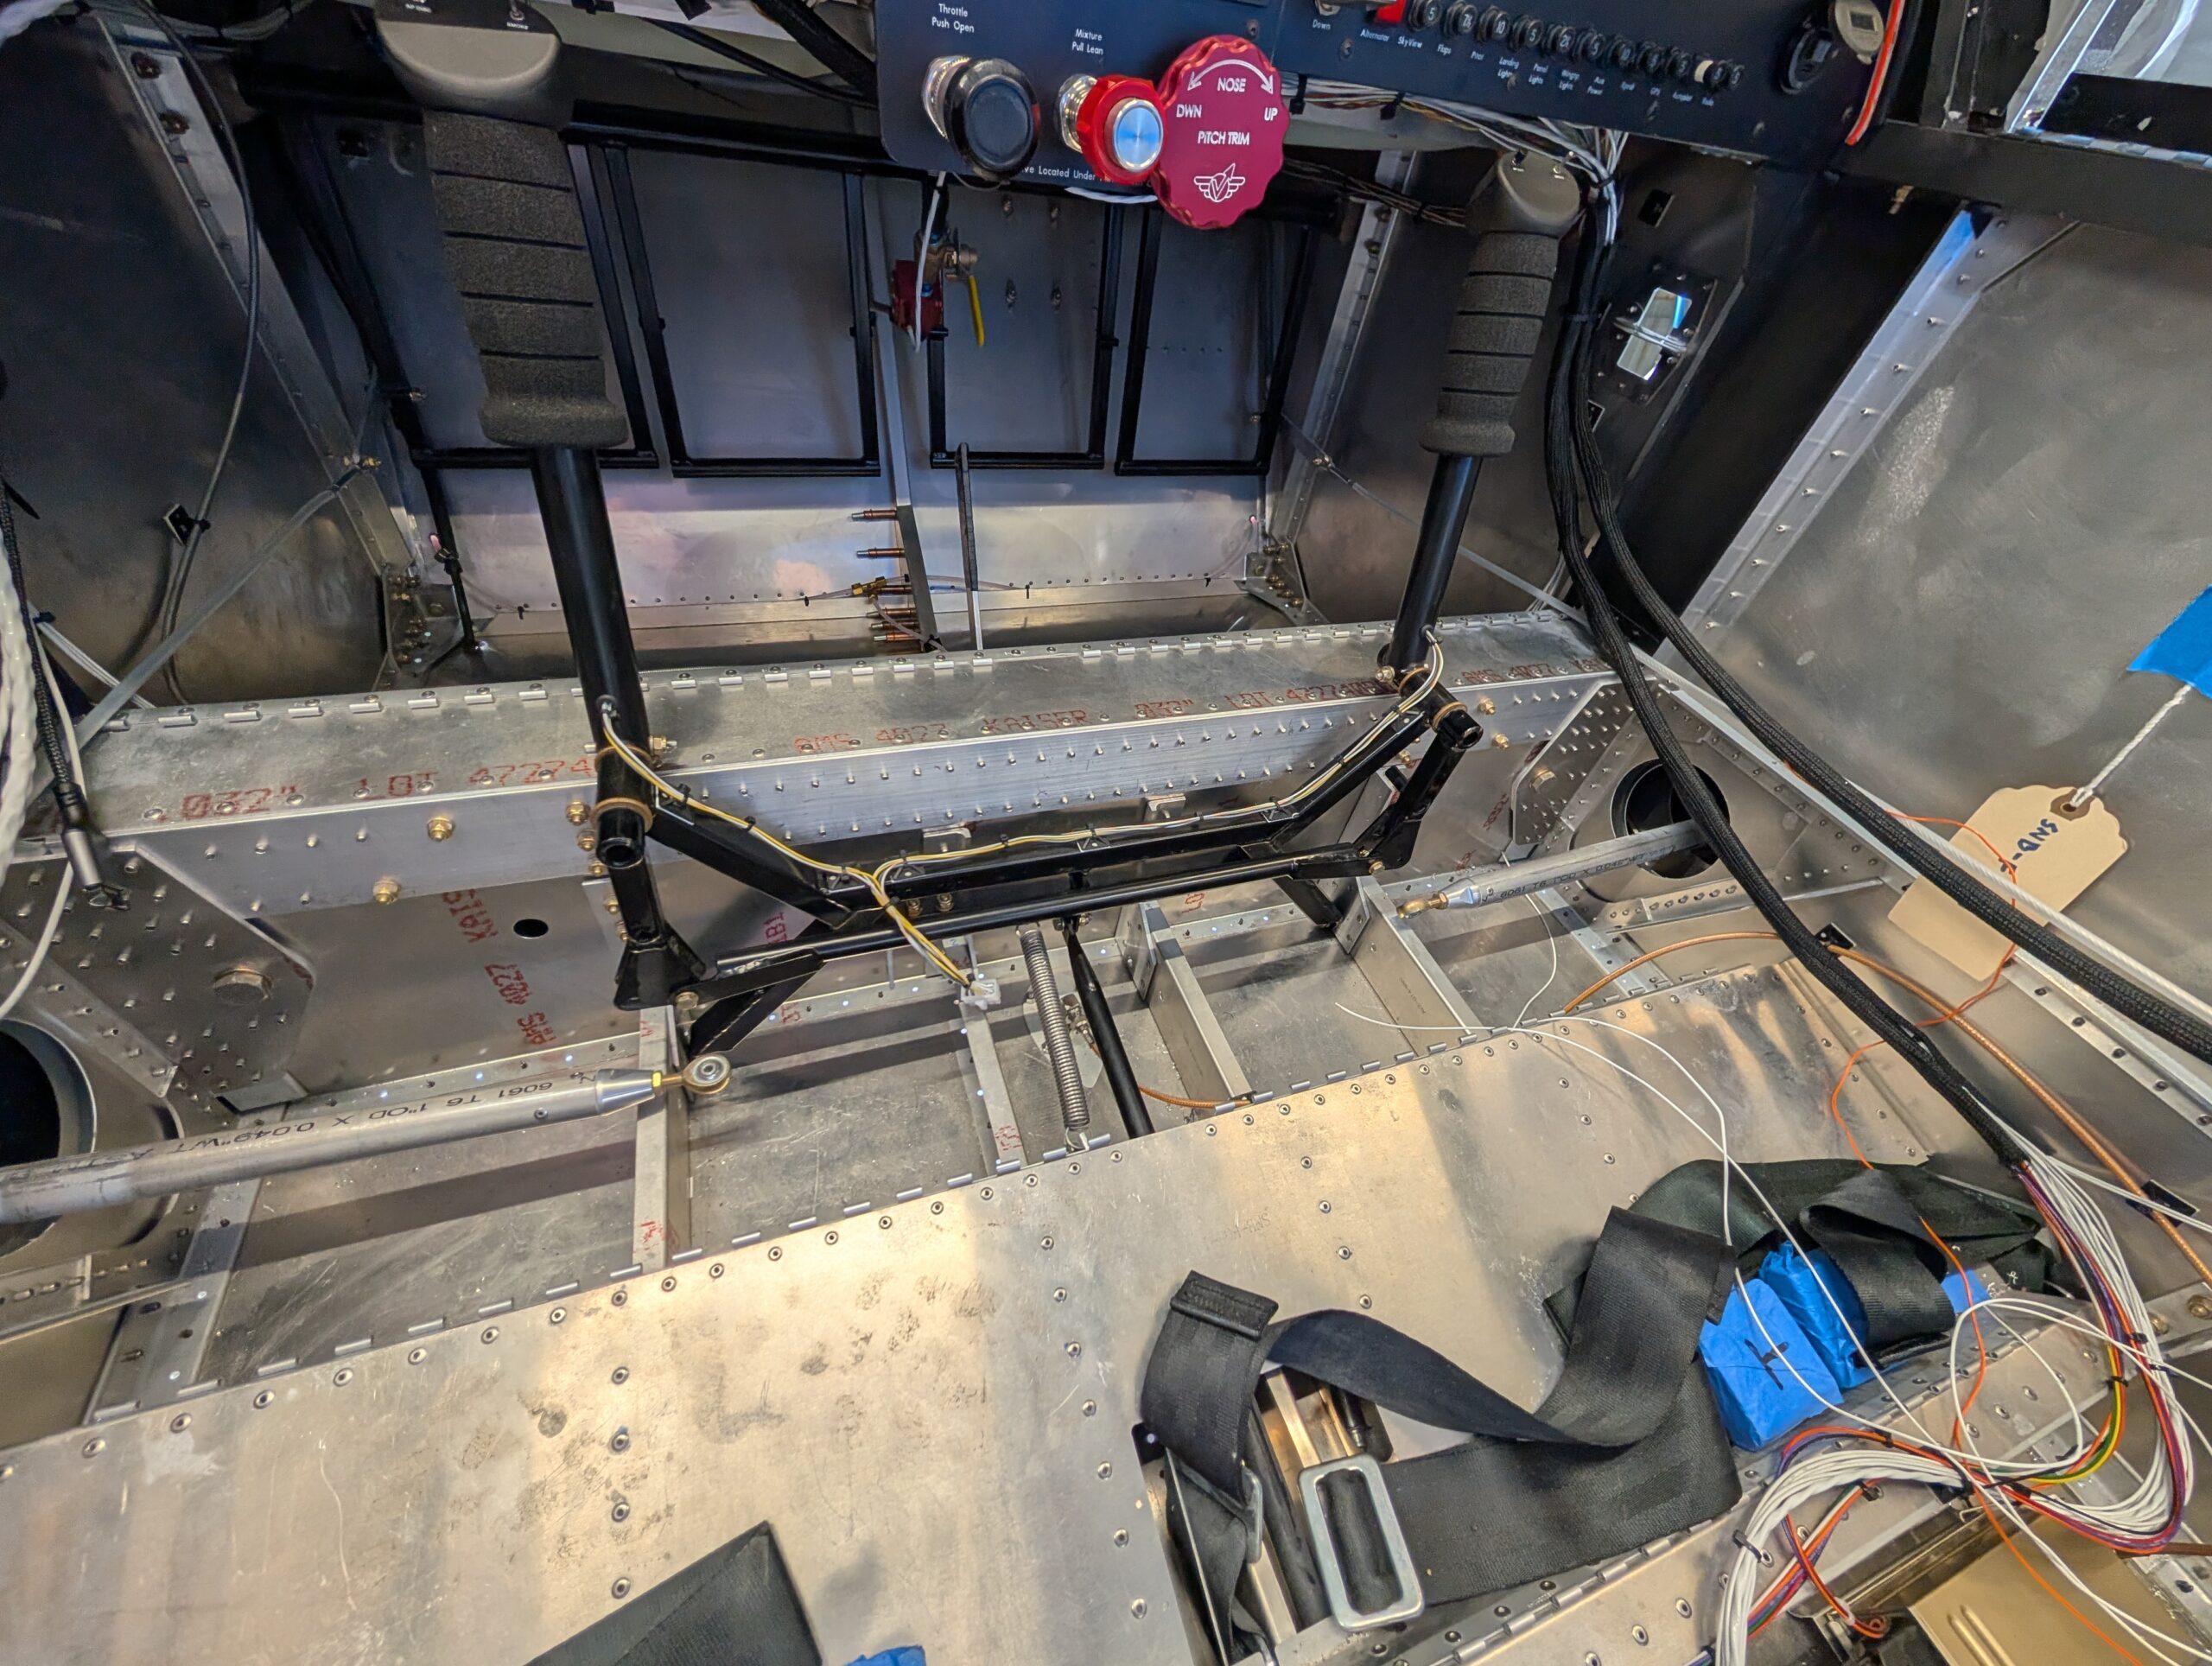
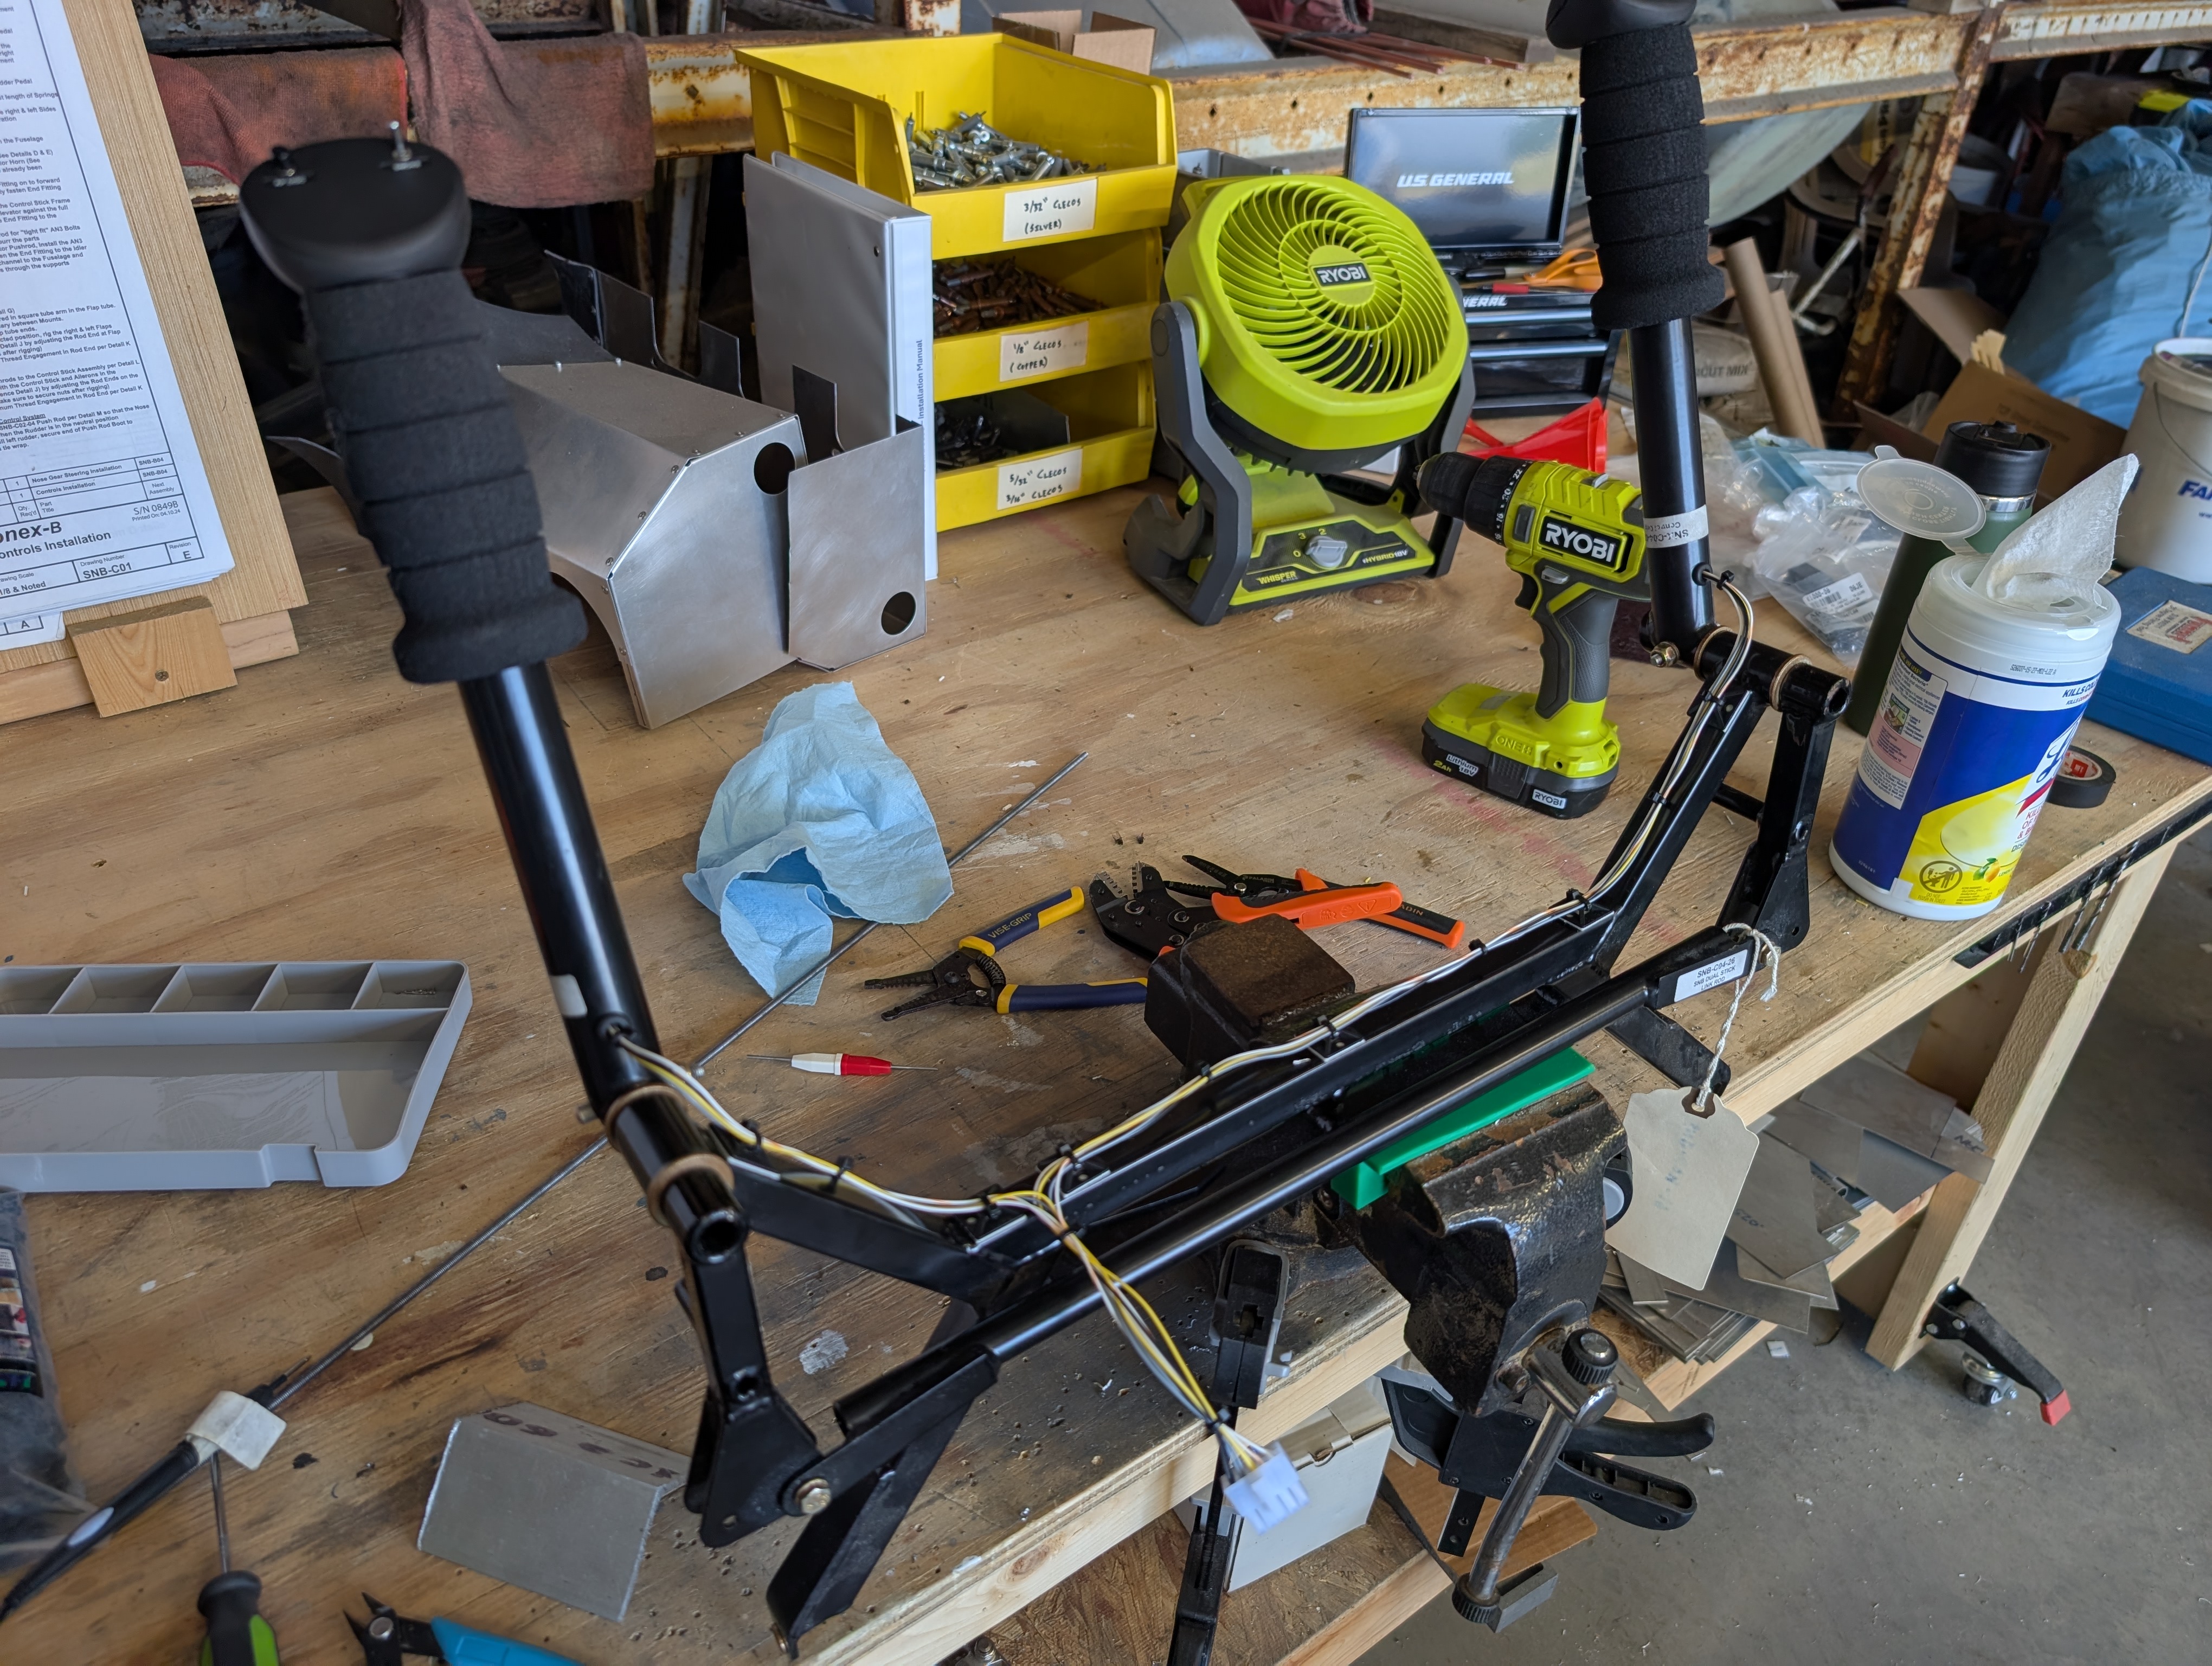
Control Frame Installation
Fabricated auto pilot push rod bracket from spare 2″ aluminum angle and bolted it to bottom LH side of control frame with AN3 hardware. Upon initial fit of the frame, discovered that aileron stops were contacting ends of spar tunnel…
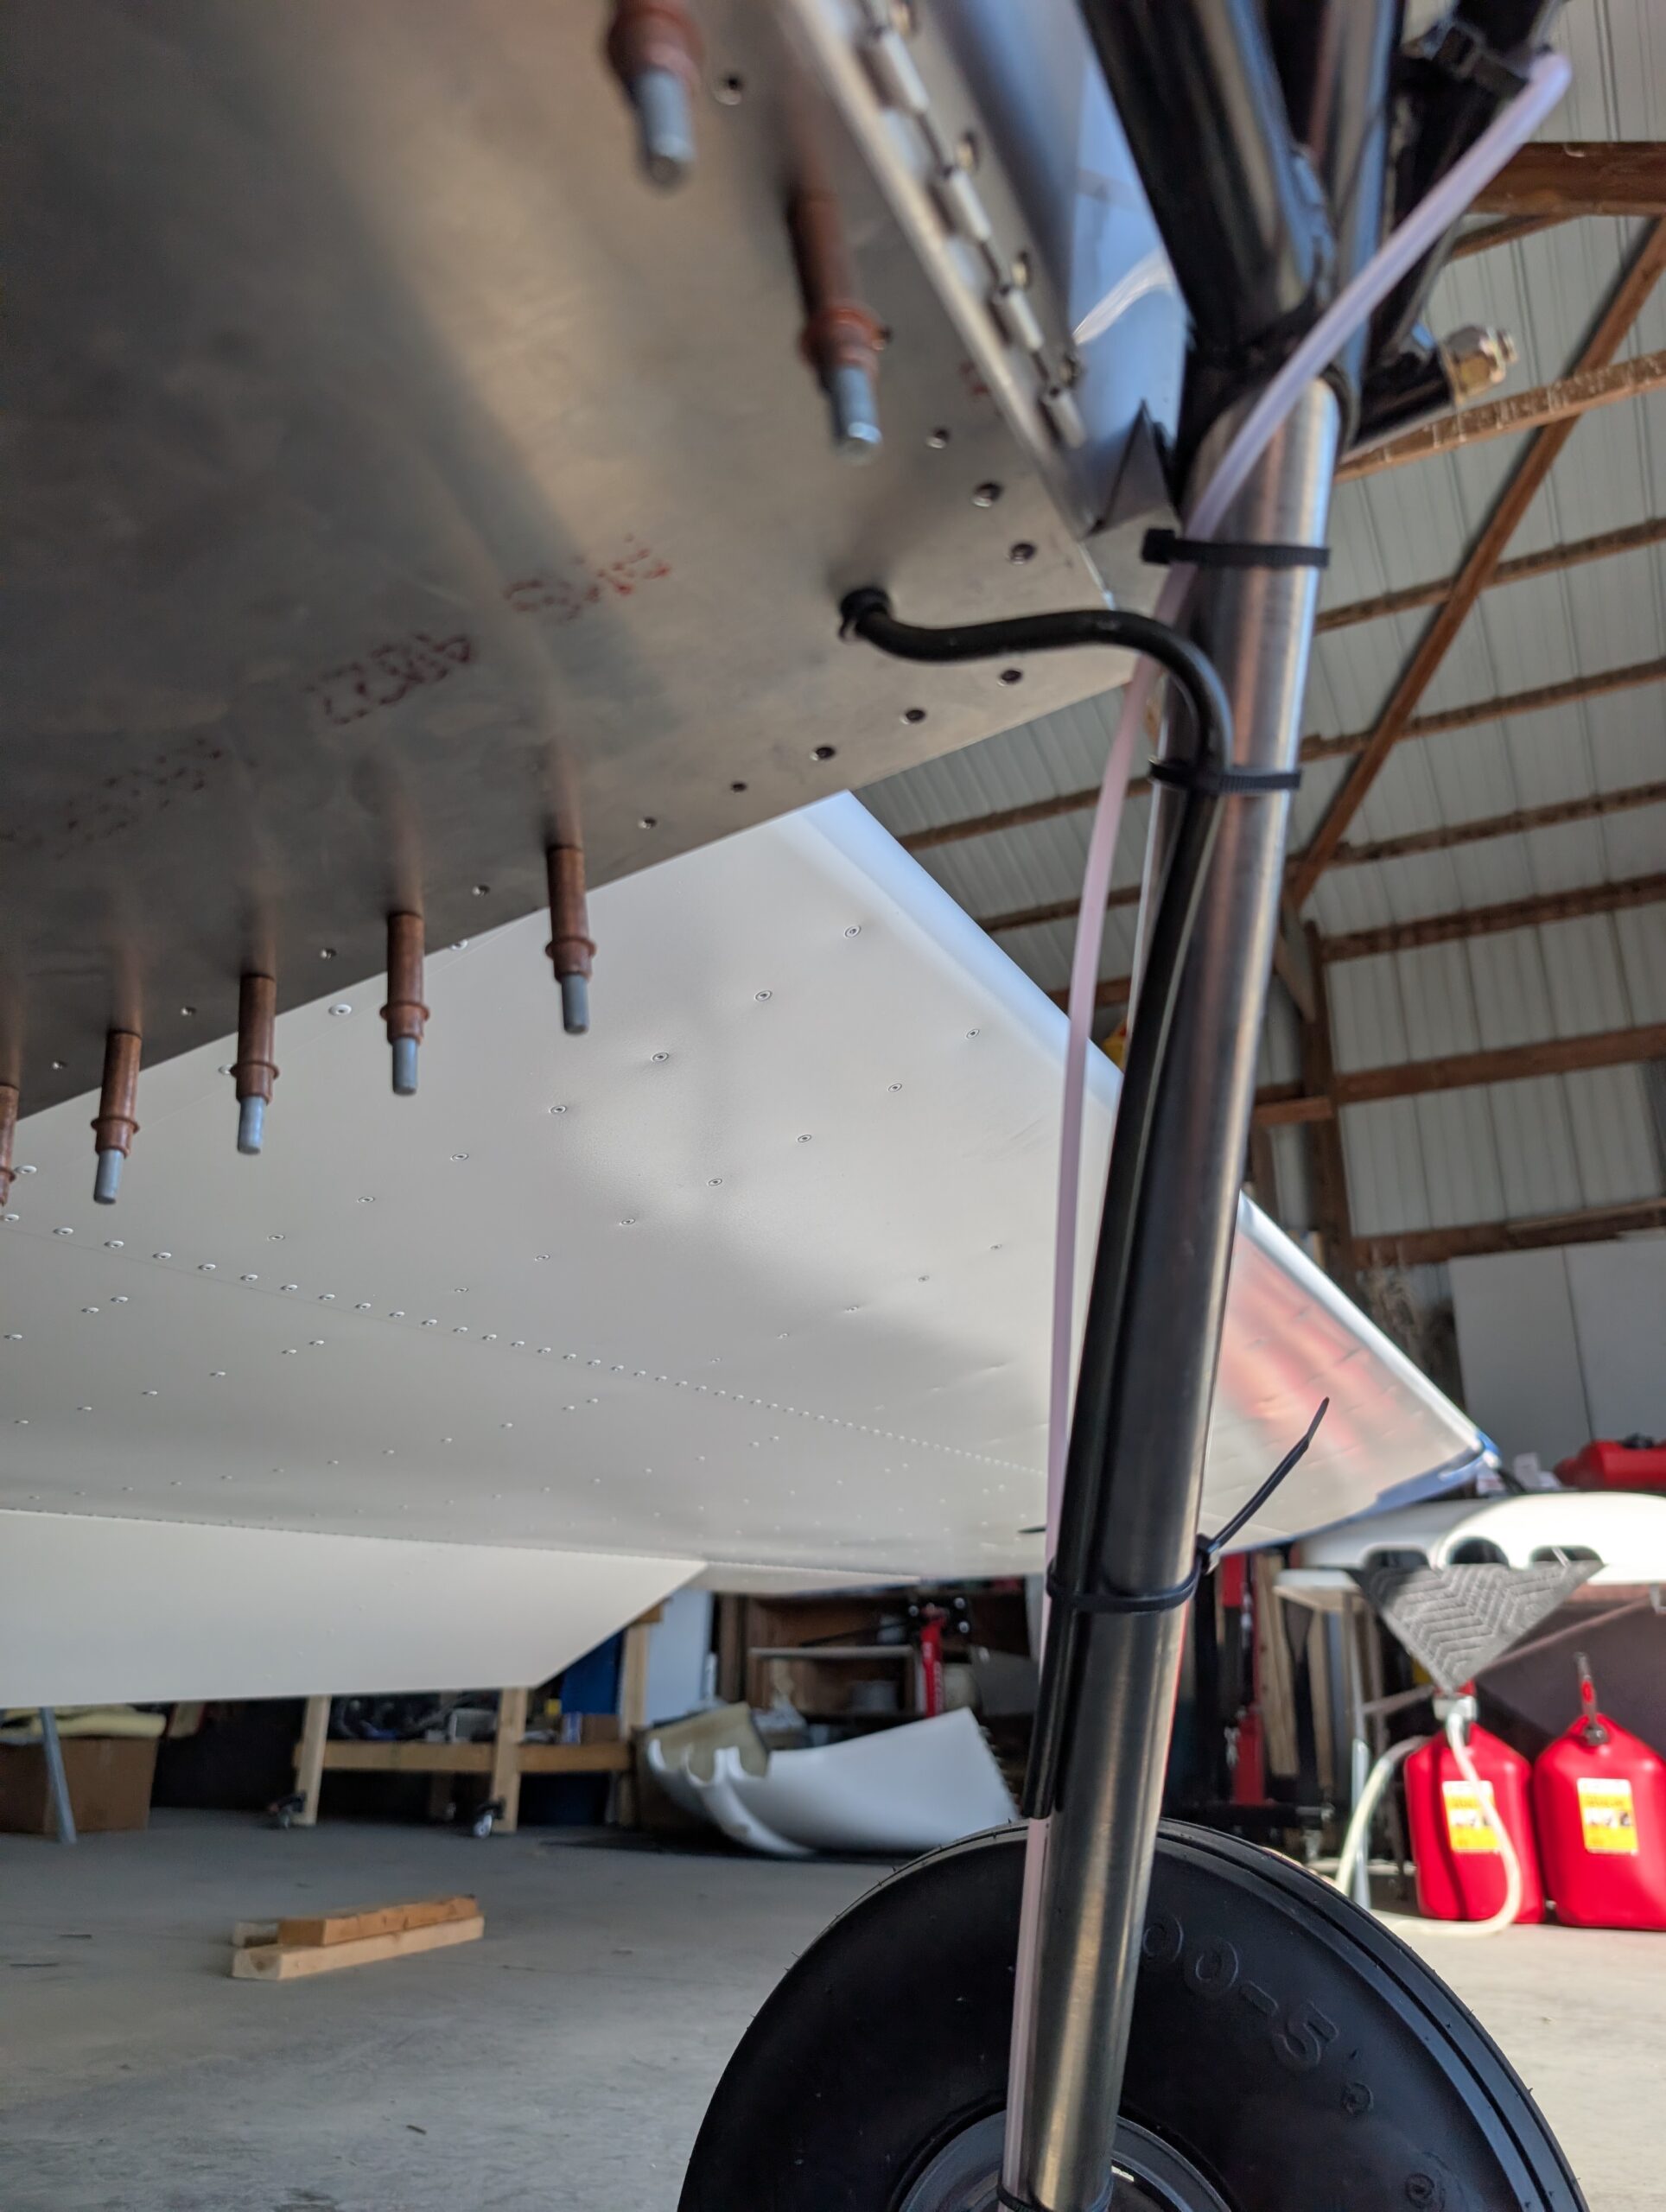
Fuel Leak Testing and Vent Installation
Added fuel to tank in order to test firewall forward side of fuel system. Upon opening fuel shutoff valve, discovered that hardline to system drain was leaking from both AN fittings. Upon removing the line, discovered that the flare fittings…

Stick Grip Installation
Finished securing wiring behind instrument panel and underneath sub-panel shelf. Drilled wire hole in bottom of both control sticks for stick grip wiring. Aligned stick grips and drilled pilot hole in grip and control stick. Updrilled holes and tapped stick…
Initial Prop Installation
Began initial prop installation by enlarging holes in Jabiru prop bushings from 1/4″ to 3/8″ using drill press. Verified holes in prop did not need any reaming but needed to ream holes in spinner slightly to allow for smooth bolt…